You are using an out of date browser. It may not display this or other websites correctly.
You should upgrade or use an alternative browser.
You should upgrade or use an alternative browser.
The AACC. Alien Audio Control Center.
- Thread starter ALXAndy
- Start date
More options
Thread starter's postsYou try in vain ! TBH with the amount of electronics being packed in there and the heat the head unit generates I think a little more noise is definitely worth it. I can really feel it blowing out air at 12v, not so much at 5v.
The power button and transformer for the TV box came today. I think I will test the AV-HDMI at some point first, then get the box fitted
The power button and transformer for the TV box came today. I think I will test the AV-HDMI at some point first, then get the box fitted

So a morning of ups and downs. Up until this point I had not made any mistakes that needed to be rectified. However, last night I realised I had lost one of my meds that helps me sleep and so I have had three hours sleep.
The power button and power supply thing for the HDMI converter came today. I set it all up and plugged it into the TV and it works really well. Not 100% crystal clear, but maybe that's just the fact that I was playing a DVD on a 65" TV. It's more than good enough though.
So, I fitted it and wired it permanently to the loom.
I then tried to fit the power button but soon realised the hole was not 16mm. I went off to the kitchen to grind it out (5mm alu and 1mm steel behind and in front) and underestimated how long it would take. I toggled my brain to "don't bother protecting it just be really careful" over and over. In the end the dumb side of my brain won and after about an hour and fifteen minutes (yes, it really took that long) disaster struck
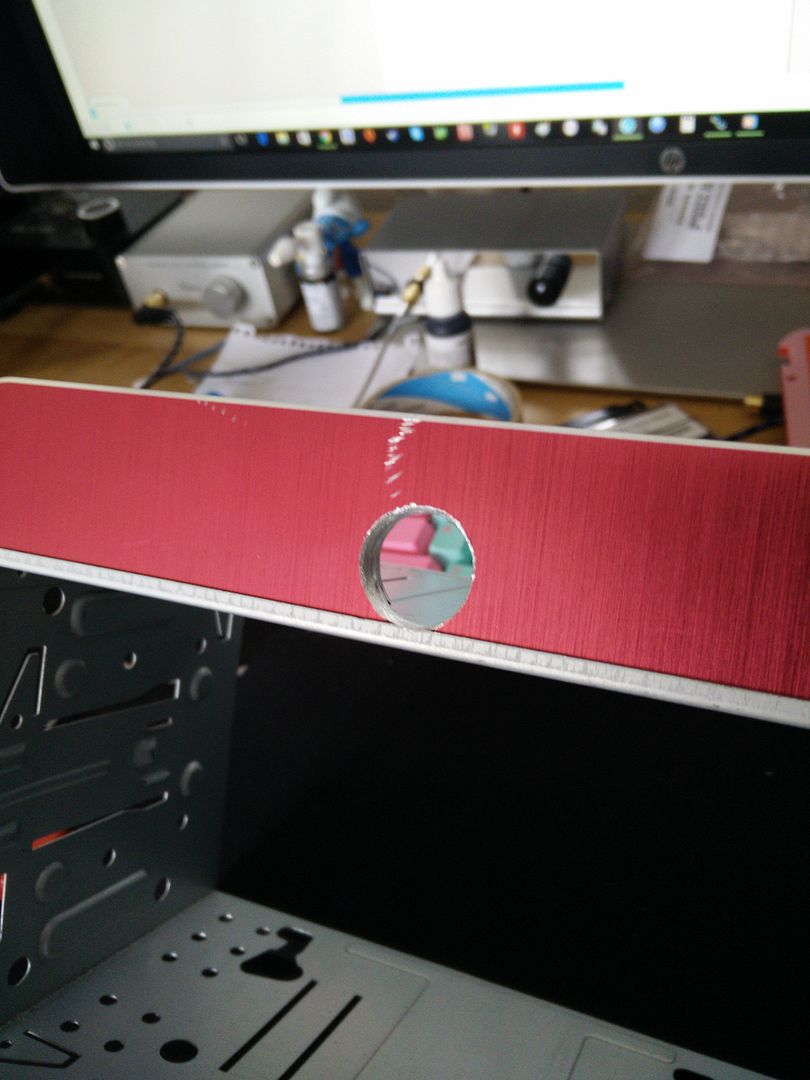
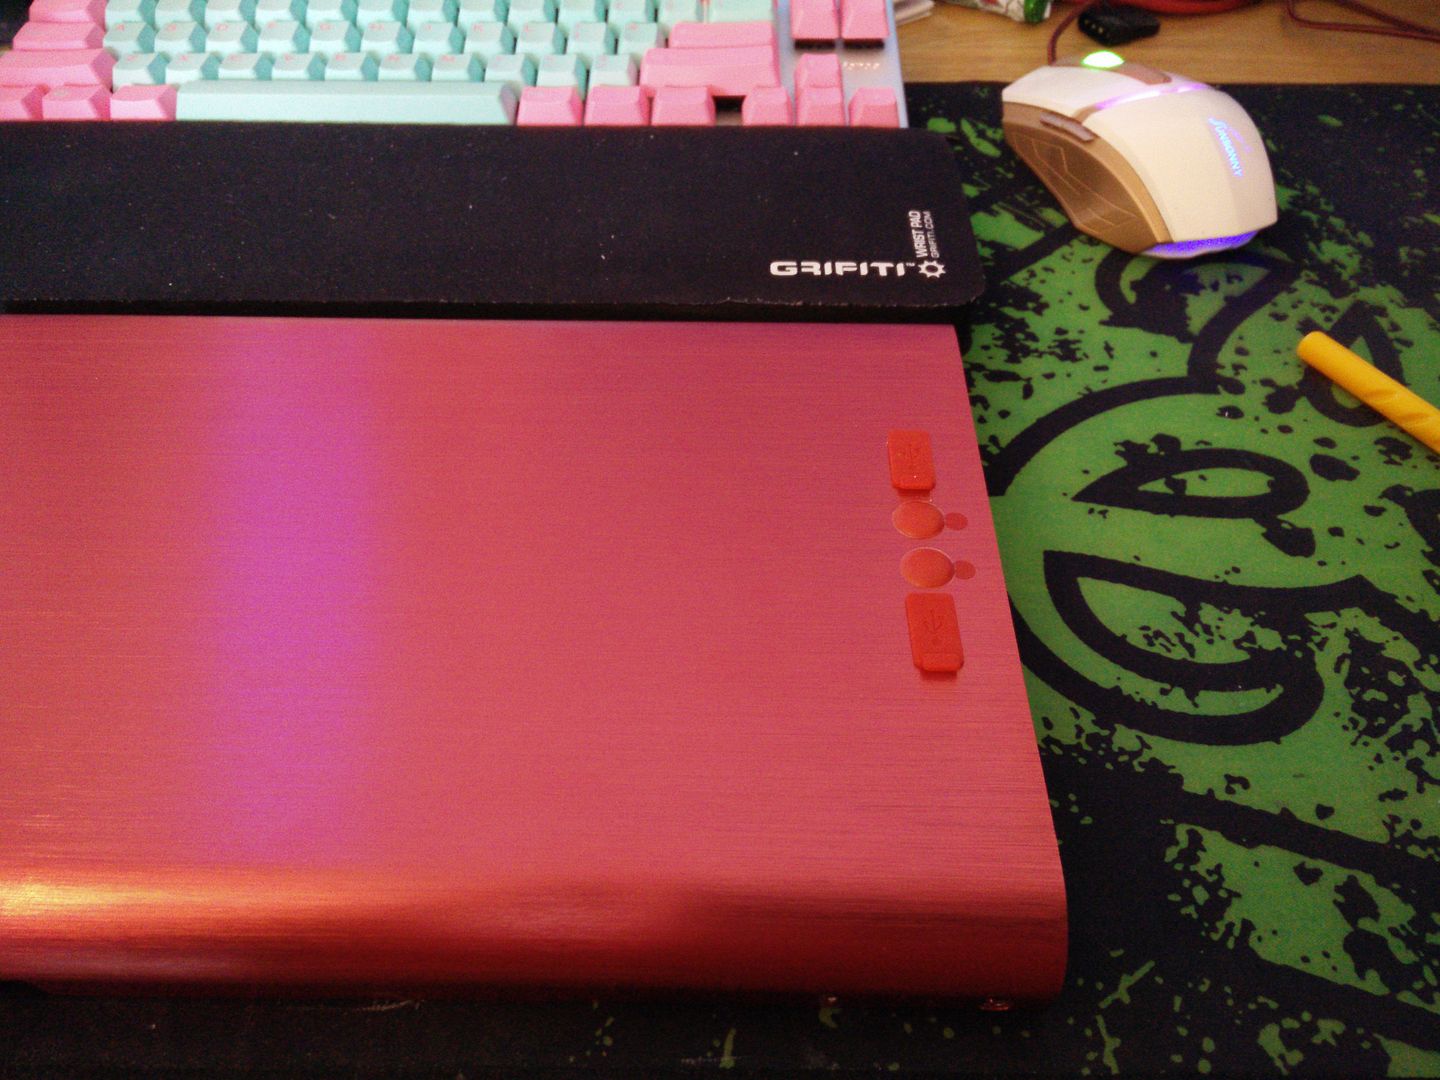
So thinking quickly I designed and cut this.
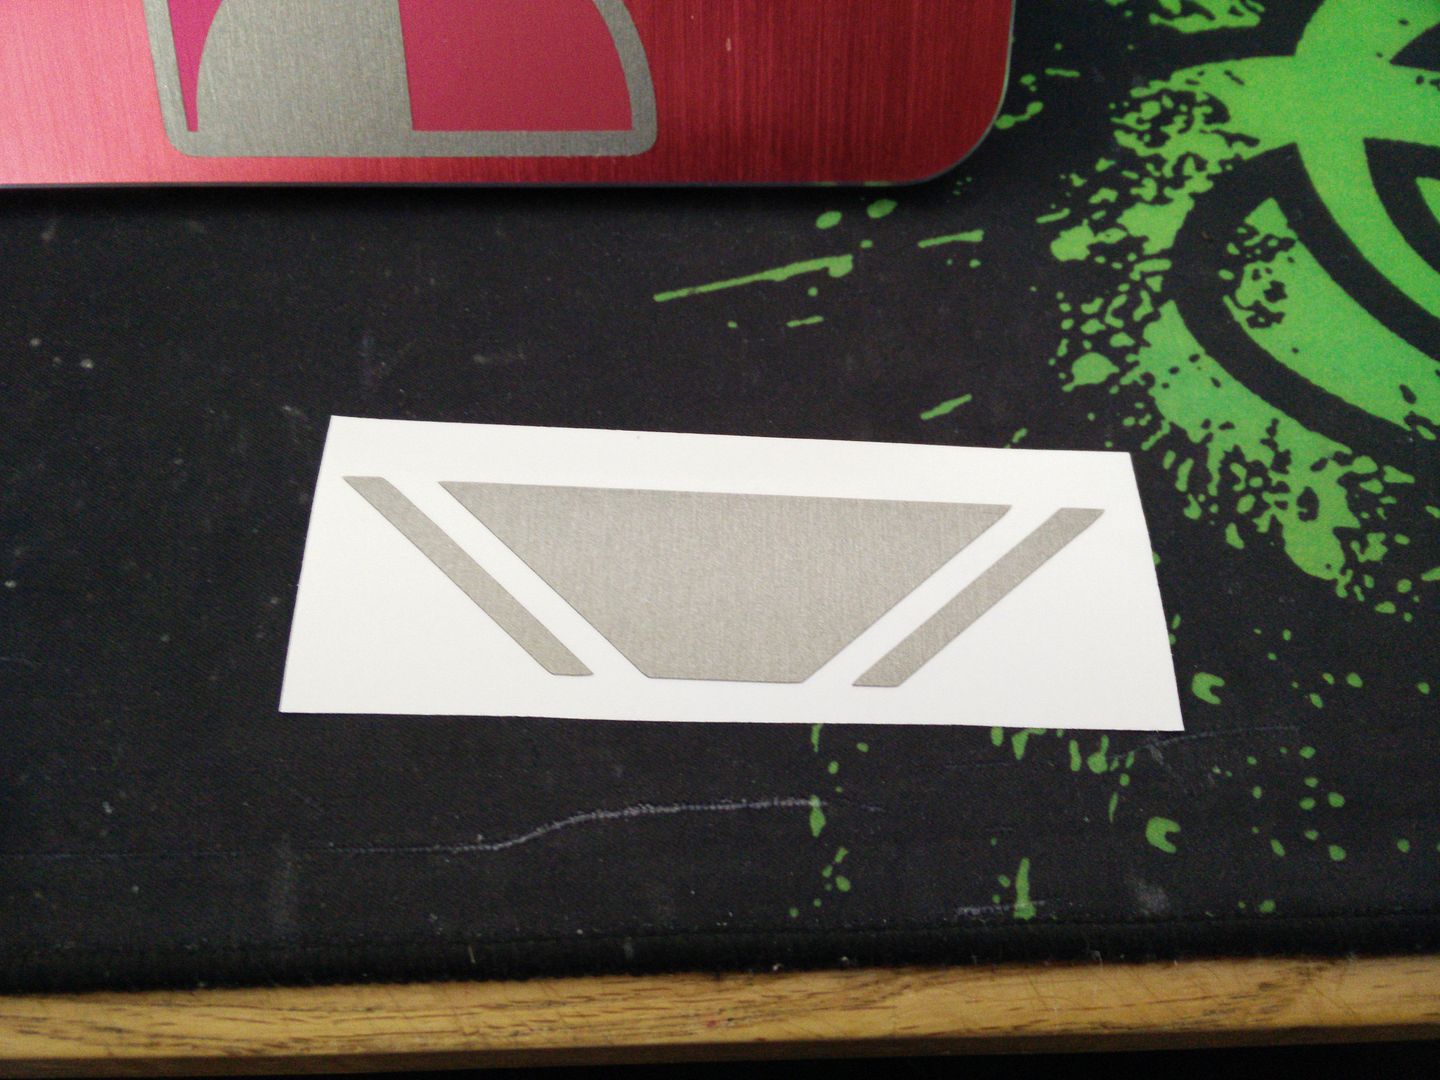
And.
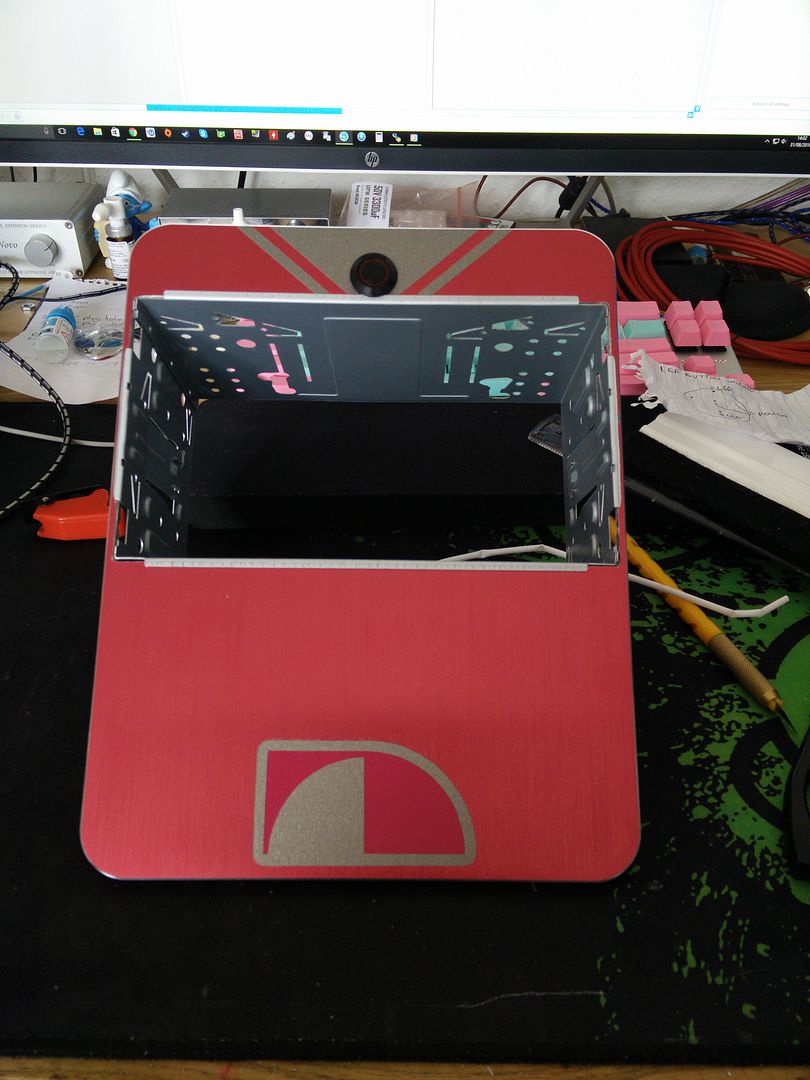
I'm actually really happy with that. Put it this way, I've had disasters end a lot worse. I quite like how that looks
The power button and power supply thing for the HDMI converter came today. I set it all up and plugged it into the TV and it works really well. Not 100% crystal clear, but maybe that's just the fact that I was playing a DVD on a 65" TV. It's more than good enough though.
So, I fitted it and wired it permanently to the loom.

I then tried to fit the power button but soon realised the hole was not 16mm. I went off to the kitchen to grind it out (5mm alu and 1mm steel behind and in front) and underestimated how long it would take. I toggled my brain to "don't bother protecting it just be really careful" over and over. In the end the dumb side of my brain won and after about an hour and fifteen minutes (yes, it really took that long) disaster struck


So thinking quickly I designed and cut this.

And.

I'm actually really happy with that. Put it this way, I've had disasters end a lot worse. I quite like how that looks

Well I must have got a second wind yesterday because I ended up working on the project at midnight lol. Probably not the best thing to run a Dremel at midnight but hey, DILLIGAF comes into play again.
Any way I sorted out that video converter (cut off the screw tabs and de-stickered it) and made the support rails.
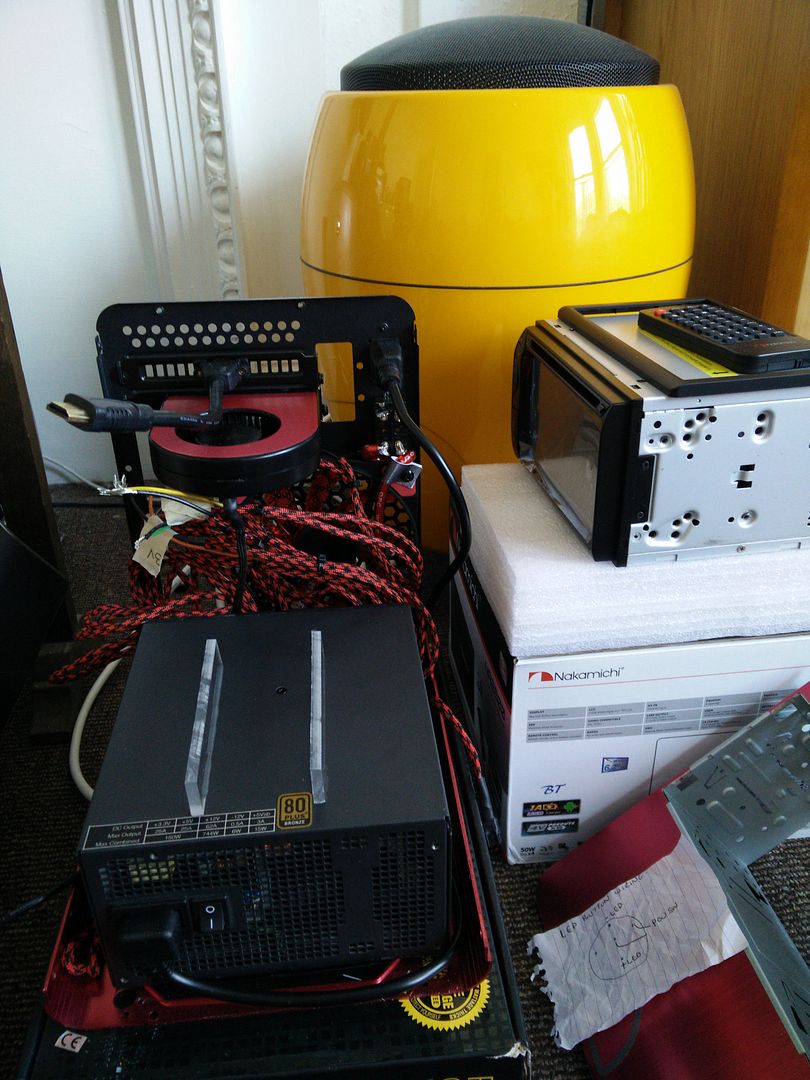
It was actually quite a job because I had to assemble the back, front and top to get the measurements (so that it wasn't twisted out of shape or anything) which meant about 20 screws.
Really hoping the drill bits come today.
Any way I sorted out that video converter (cut off the screw tabs and de-stickered it) and made the support rails.

It was actually quite a job because I had to assemble the back, front and top to get the measurements (so that it wasn't twisted out of shape or anything) which meant about 20 screws.
Really hoping the drill bits come today.
Moar werk ! Today the drill bits finally came, along with the hole punch (works brilliant but too small punchouts  ) some modding supplies, a fan splitter, and some other things I have forgotten.
Any way, last night I designed a revised IO panel along with 2mm hole marks. The reason I used Bradpoint bits is because they have a point that will follow a pilot hole making sure everything is straight.
So I cut a new back panel cover graphic from titanium. Sadly there are a couple of marks on it from where the blade has marked it but I wasn't about to pay £6.50 for something at the back.
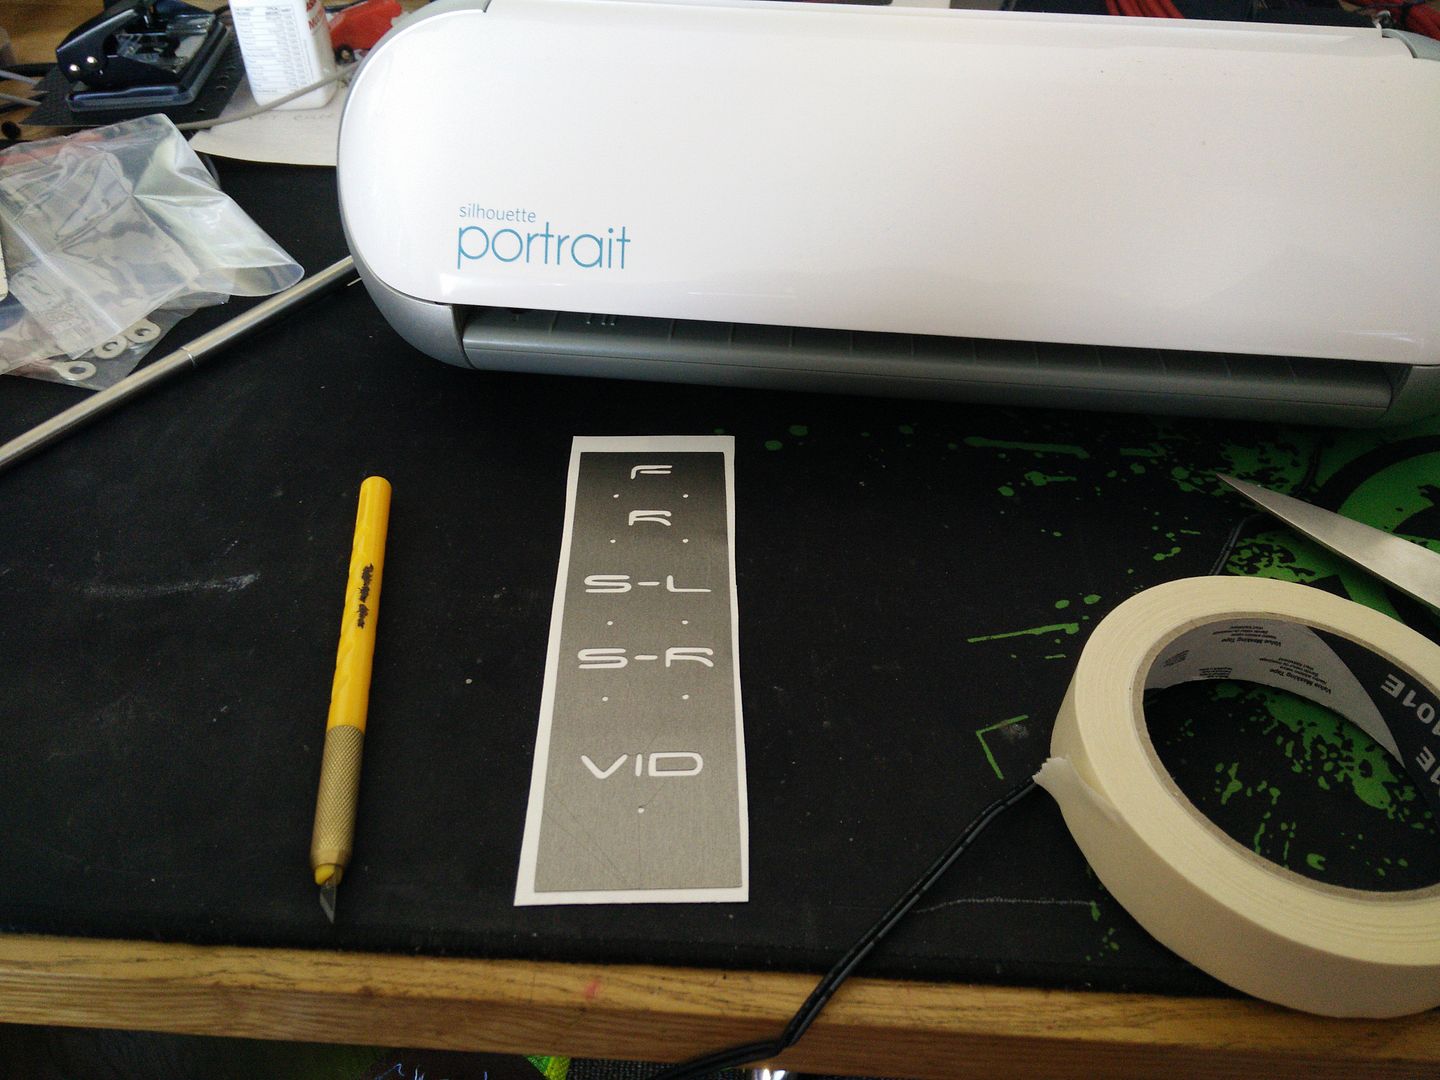
I then cut another one out of scrap for drilling with.
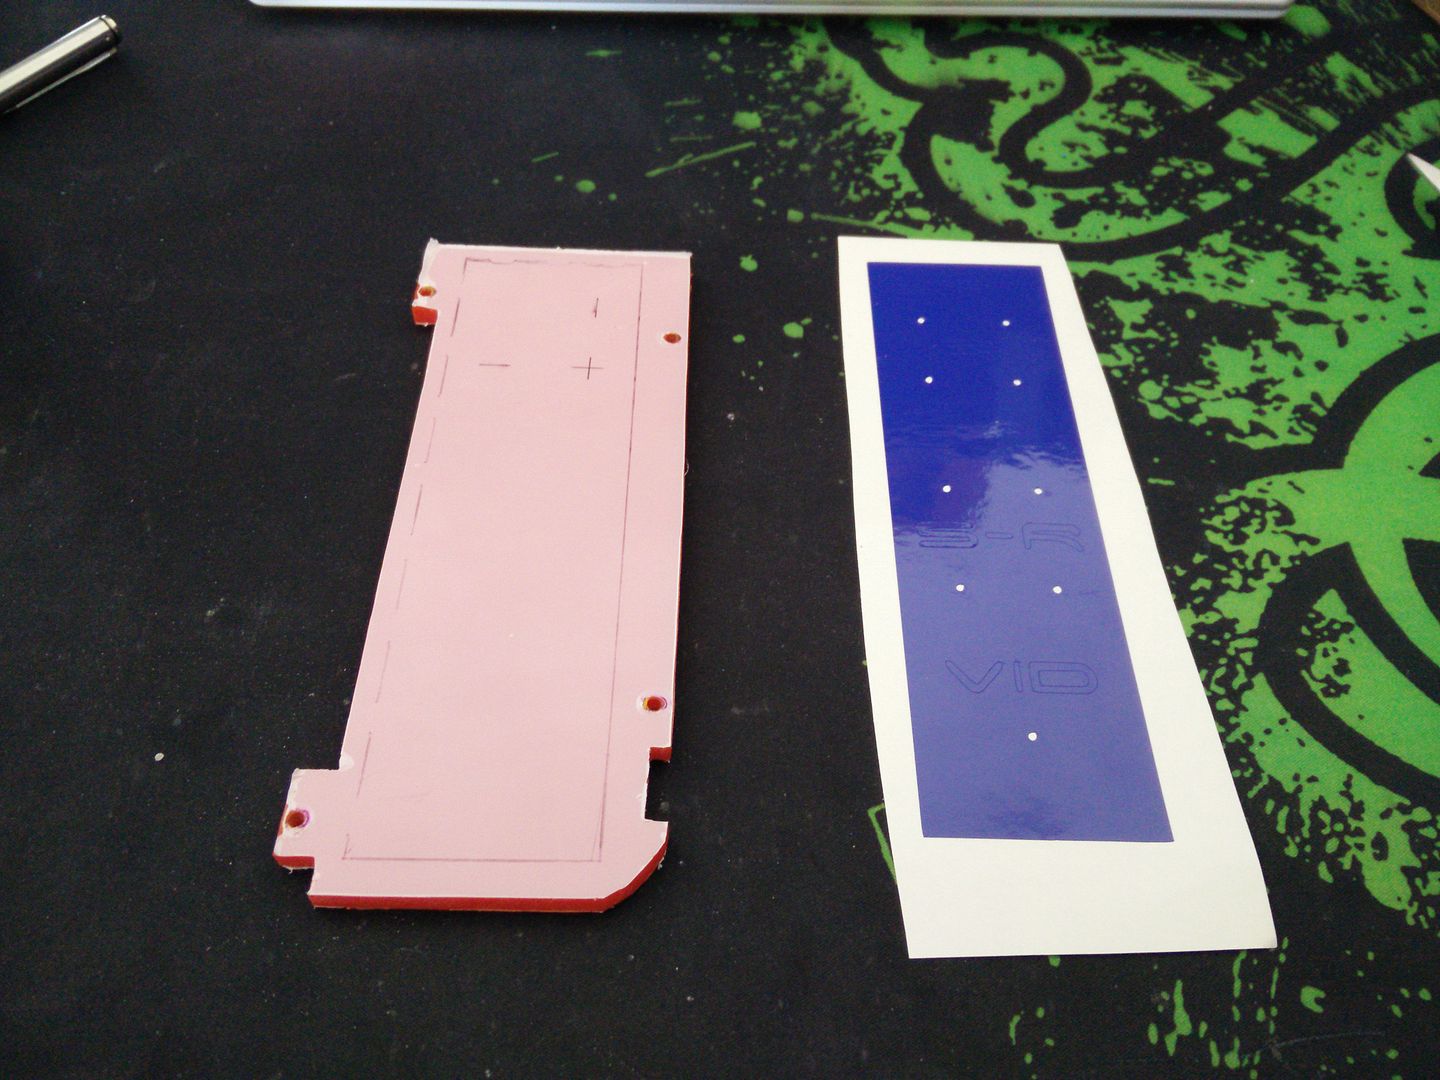
And masked, cut out and applied it where the old one was.
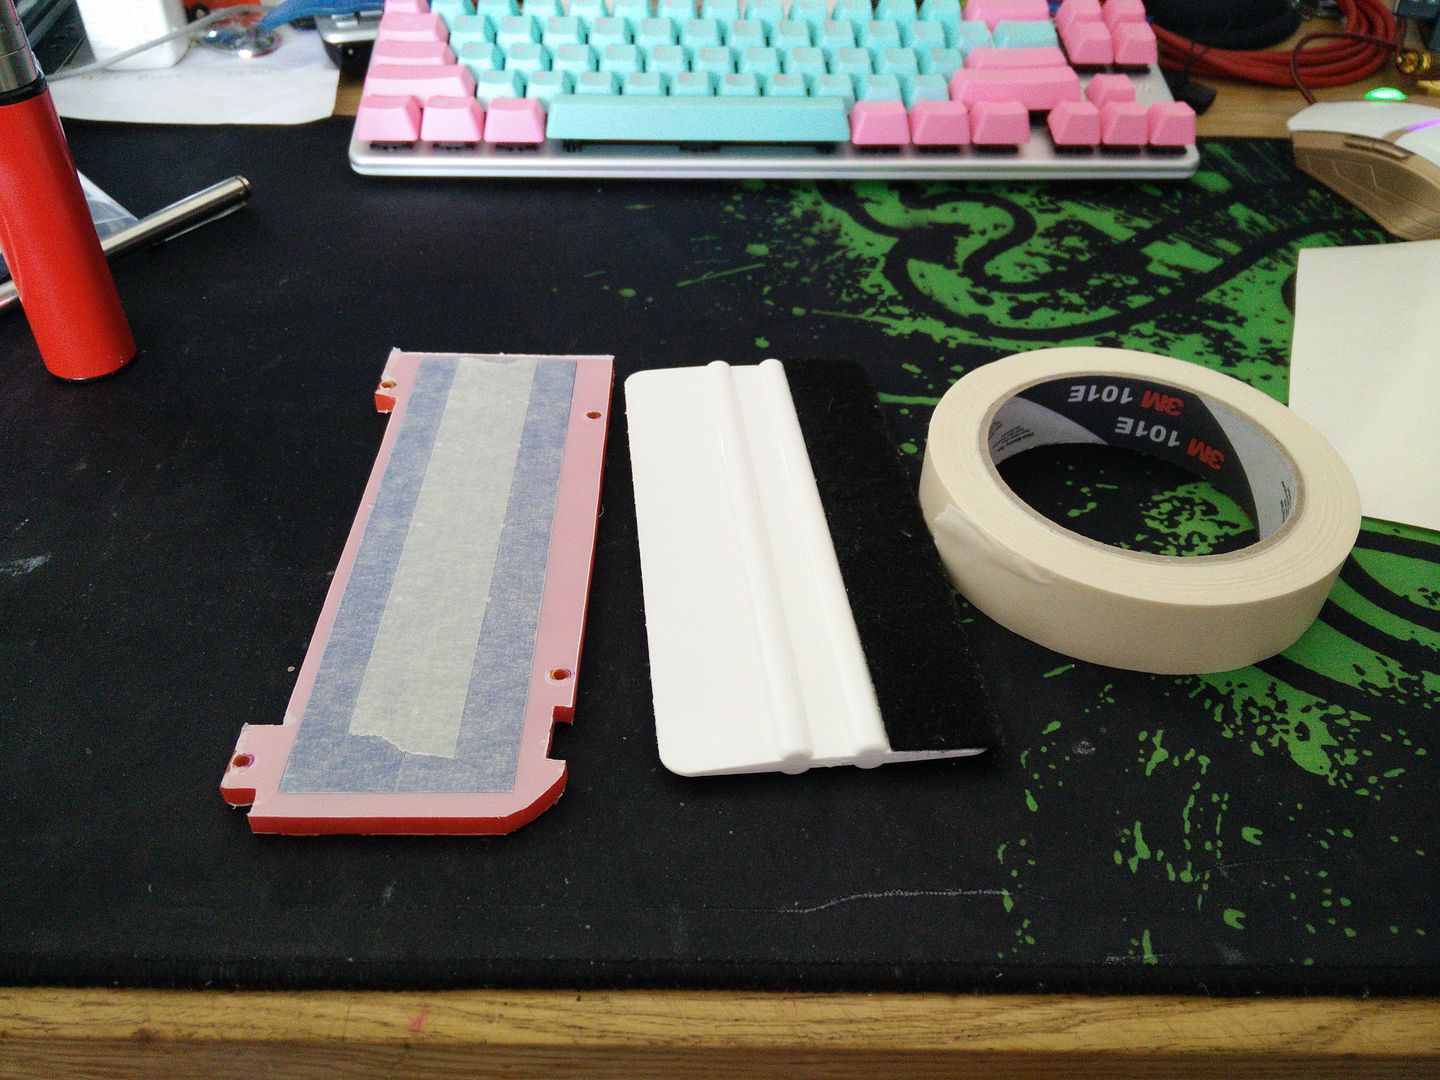
And peeled off the masking. It's a bit of a two and eight but whatevs, only needed it for drilling.
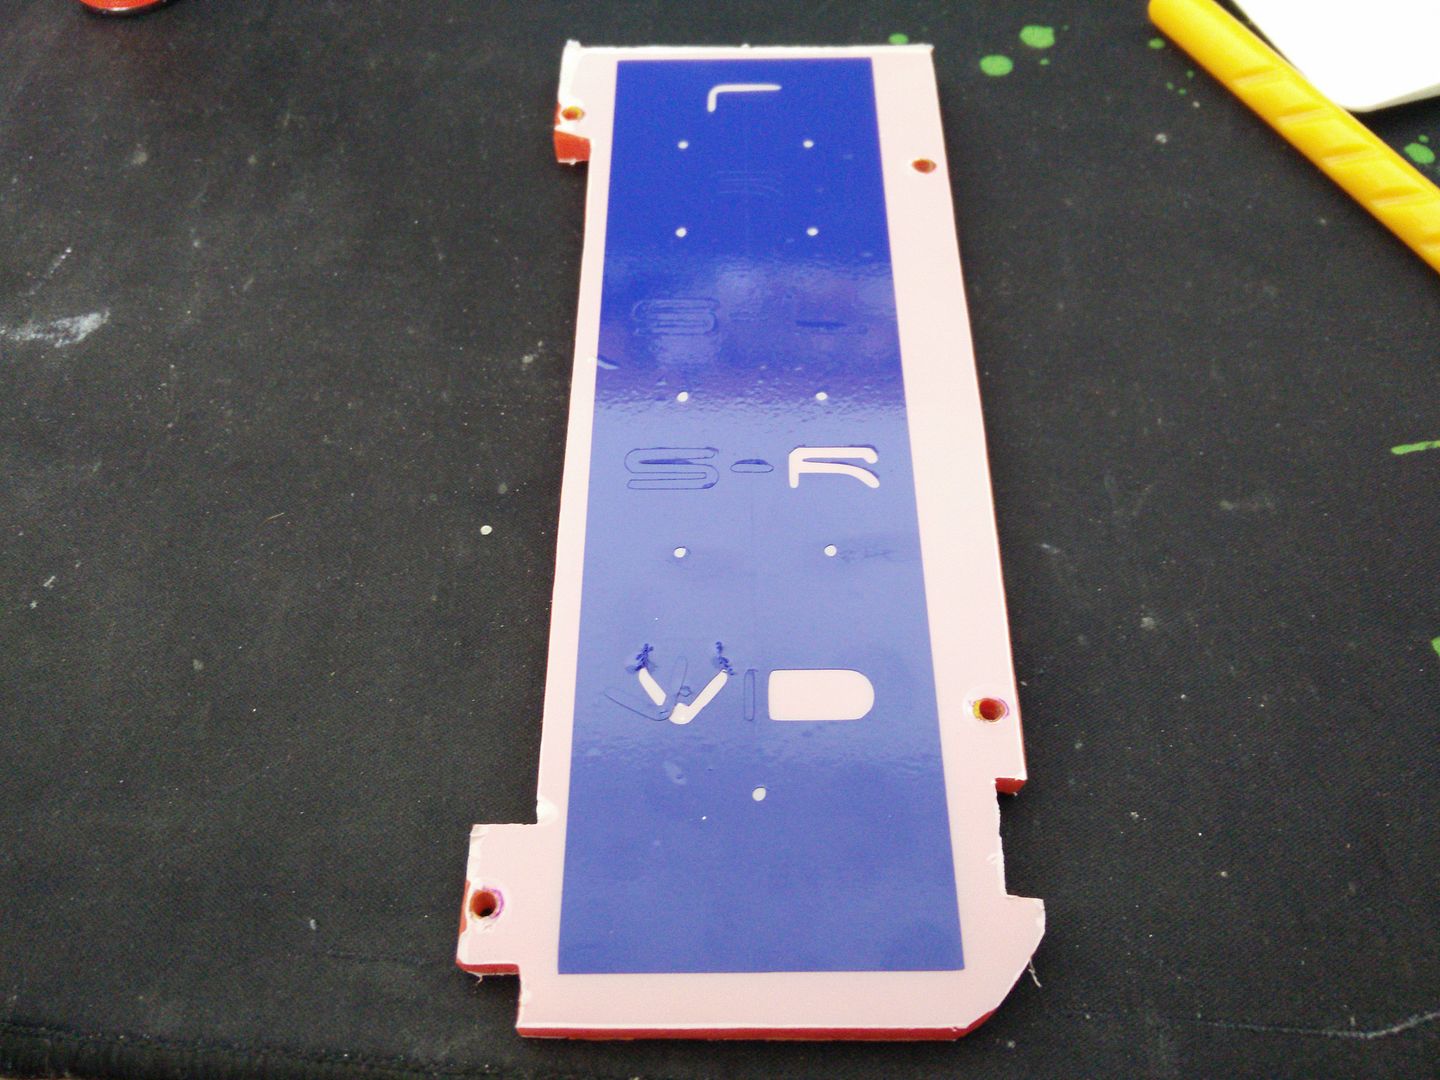
And drilled.
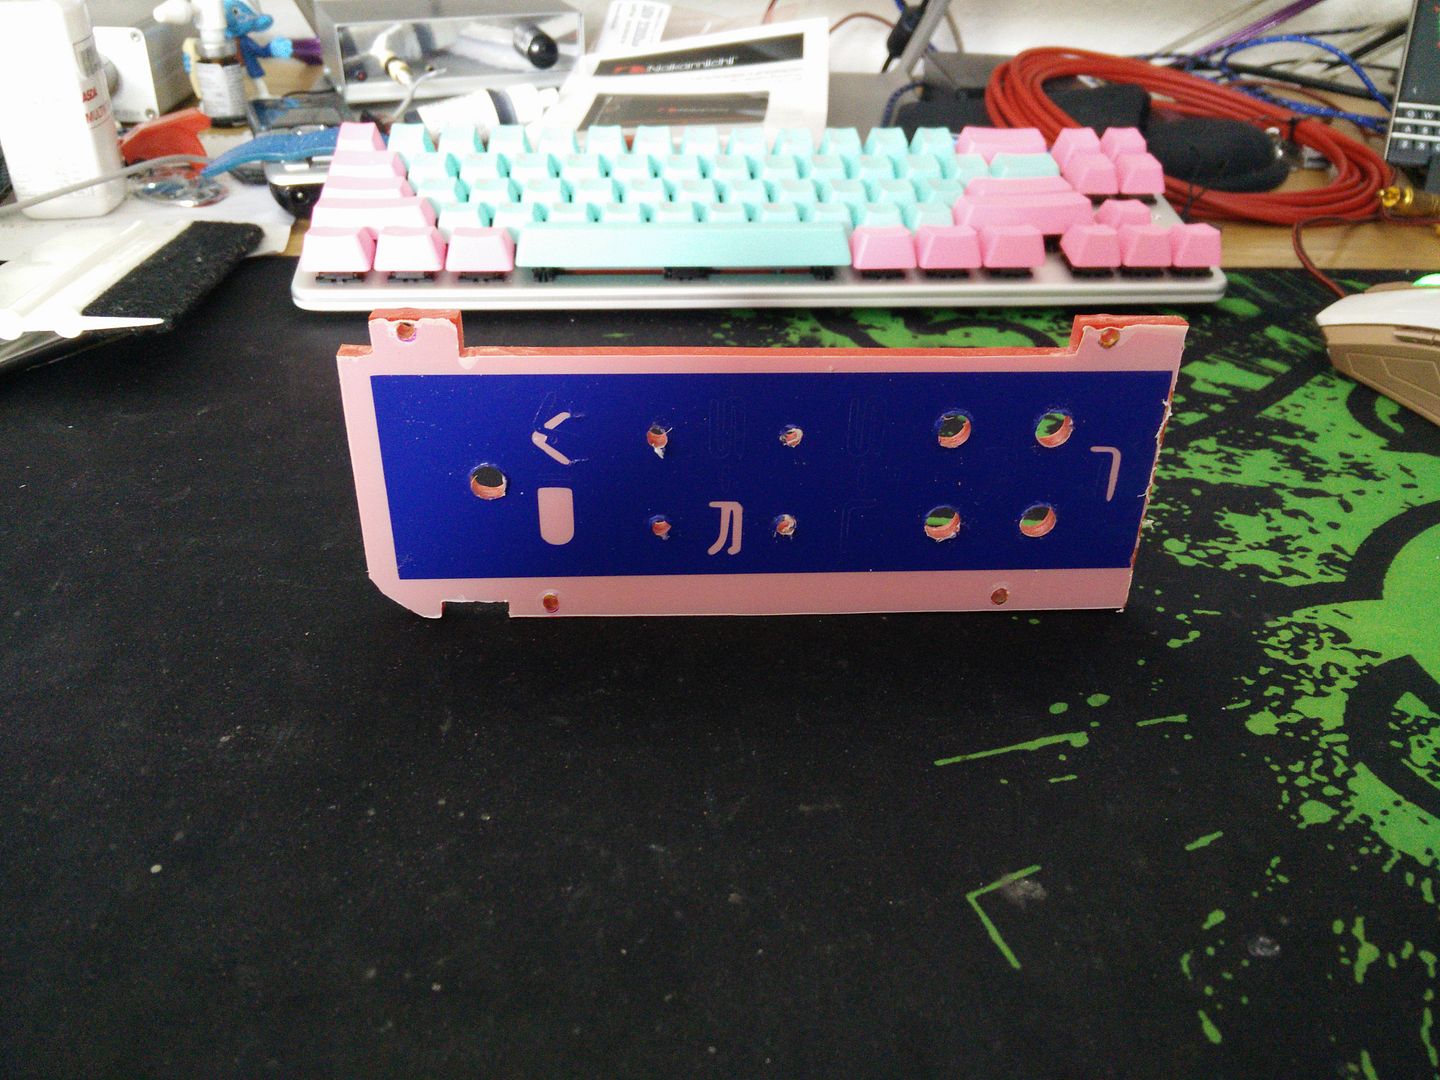
Teh back.
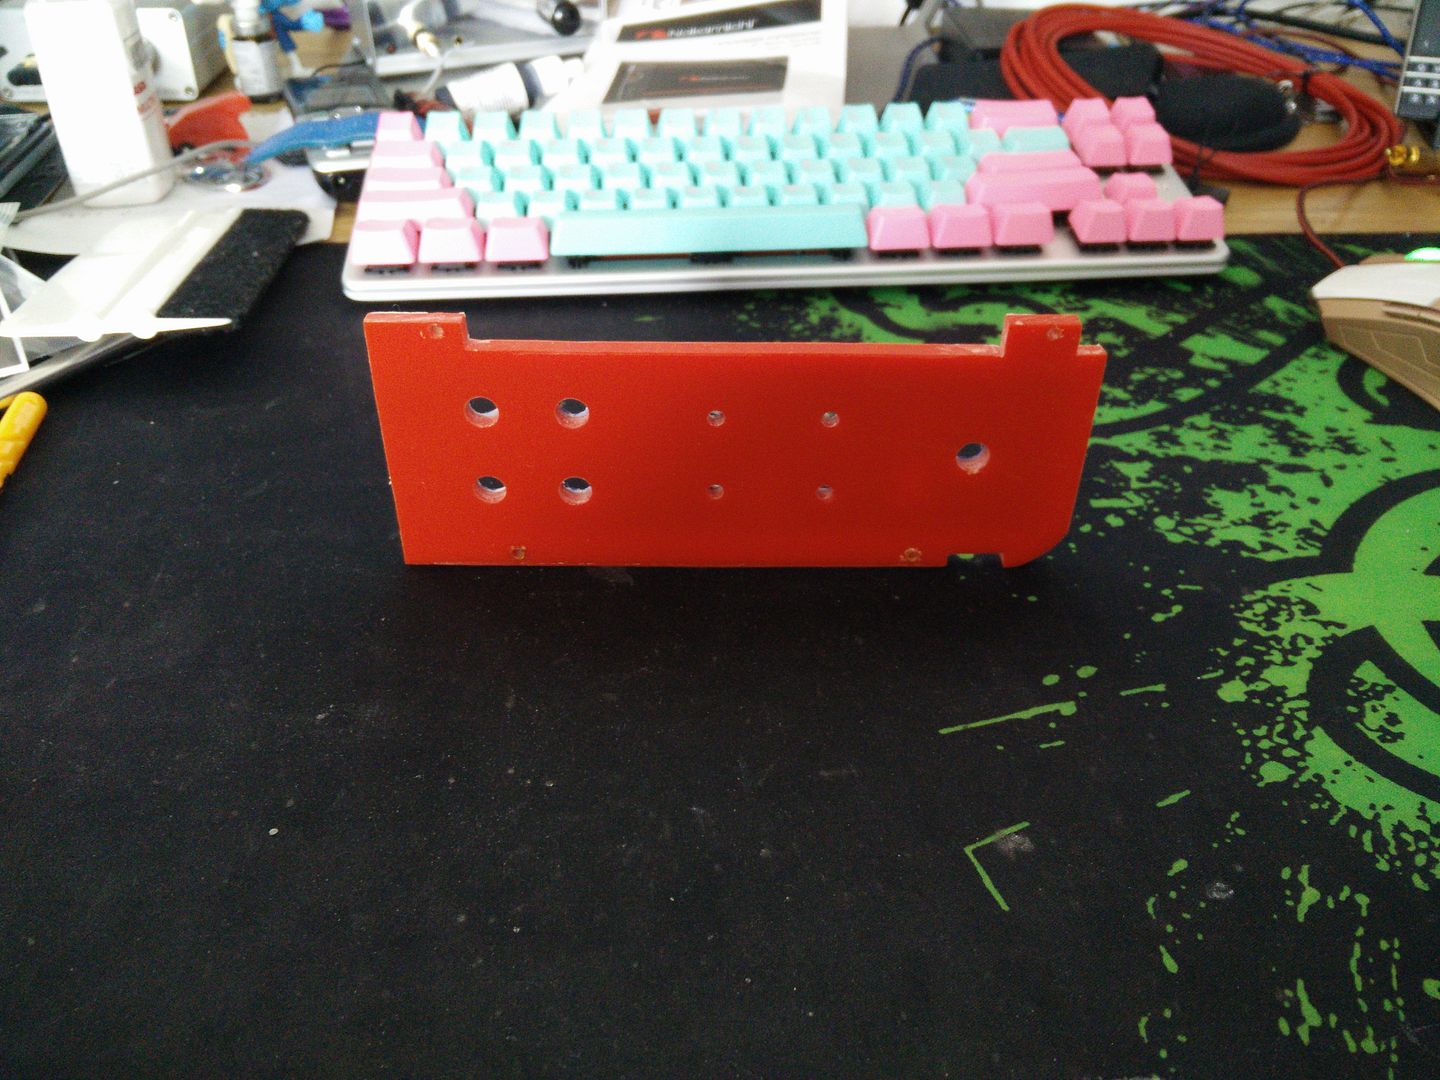
OK so to get the final cover on perfectly I put a ruler down and basically cut out the old one.
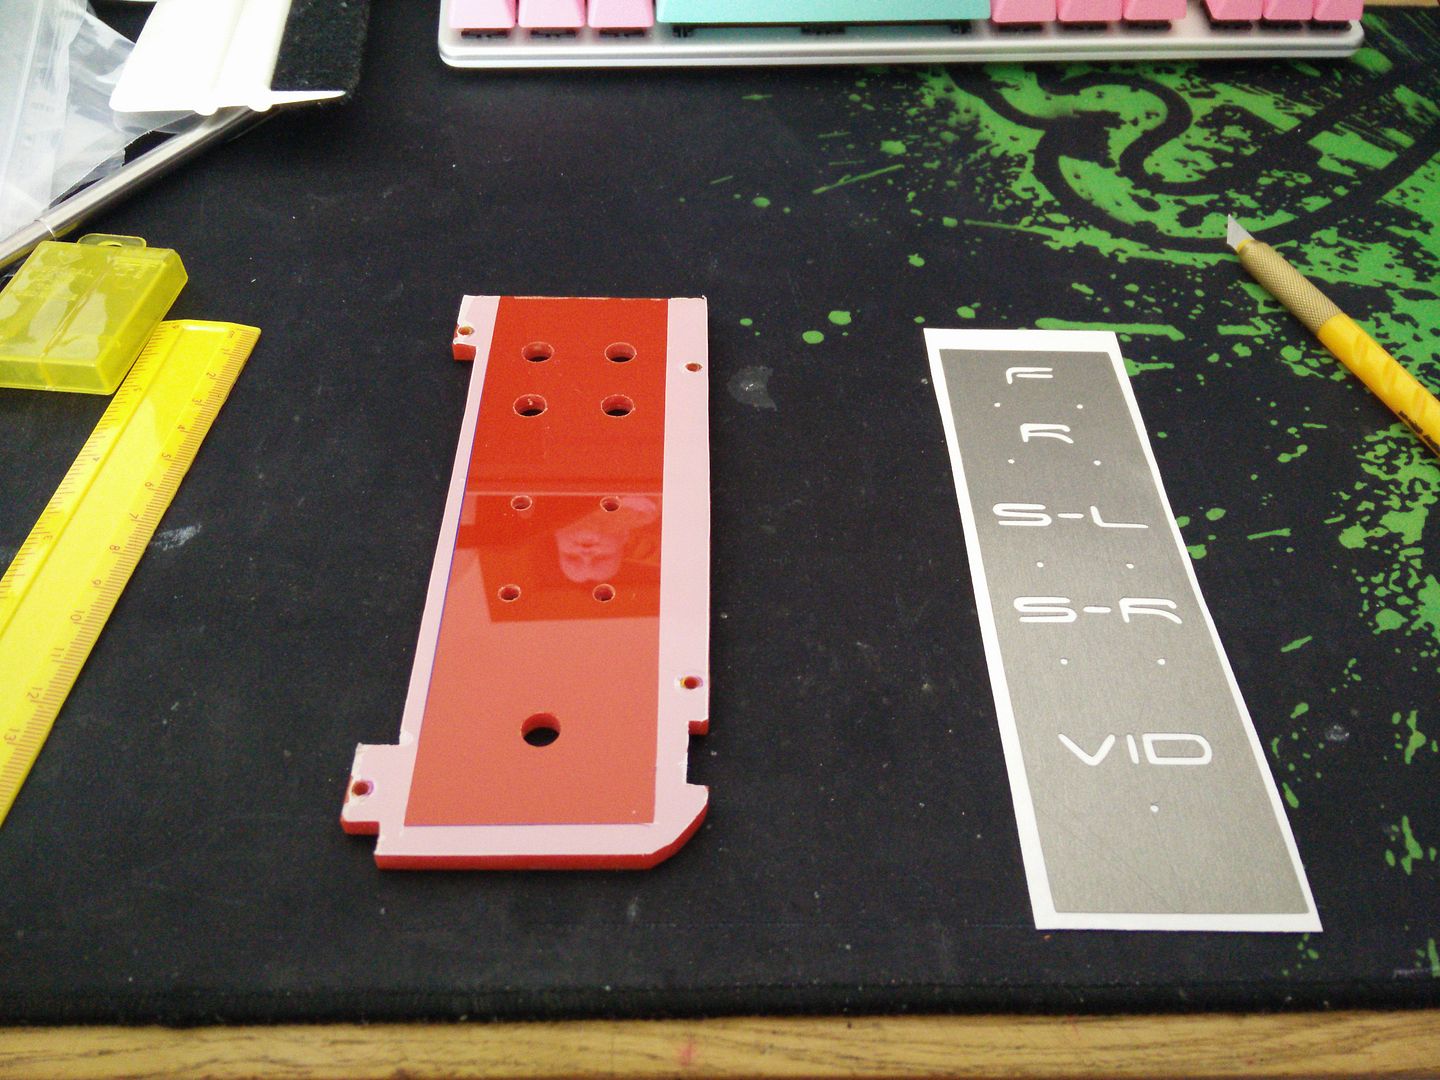
Apply.
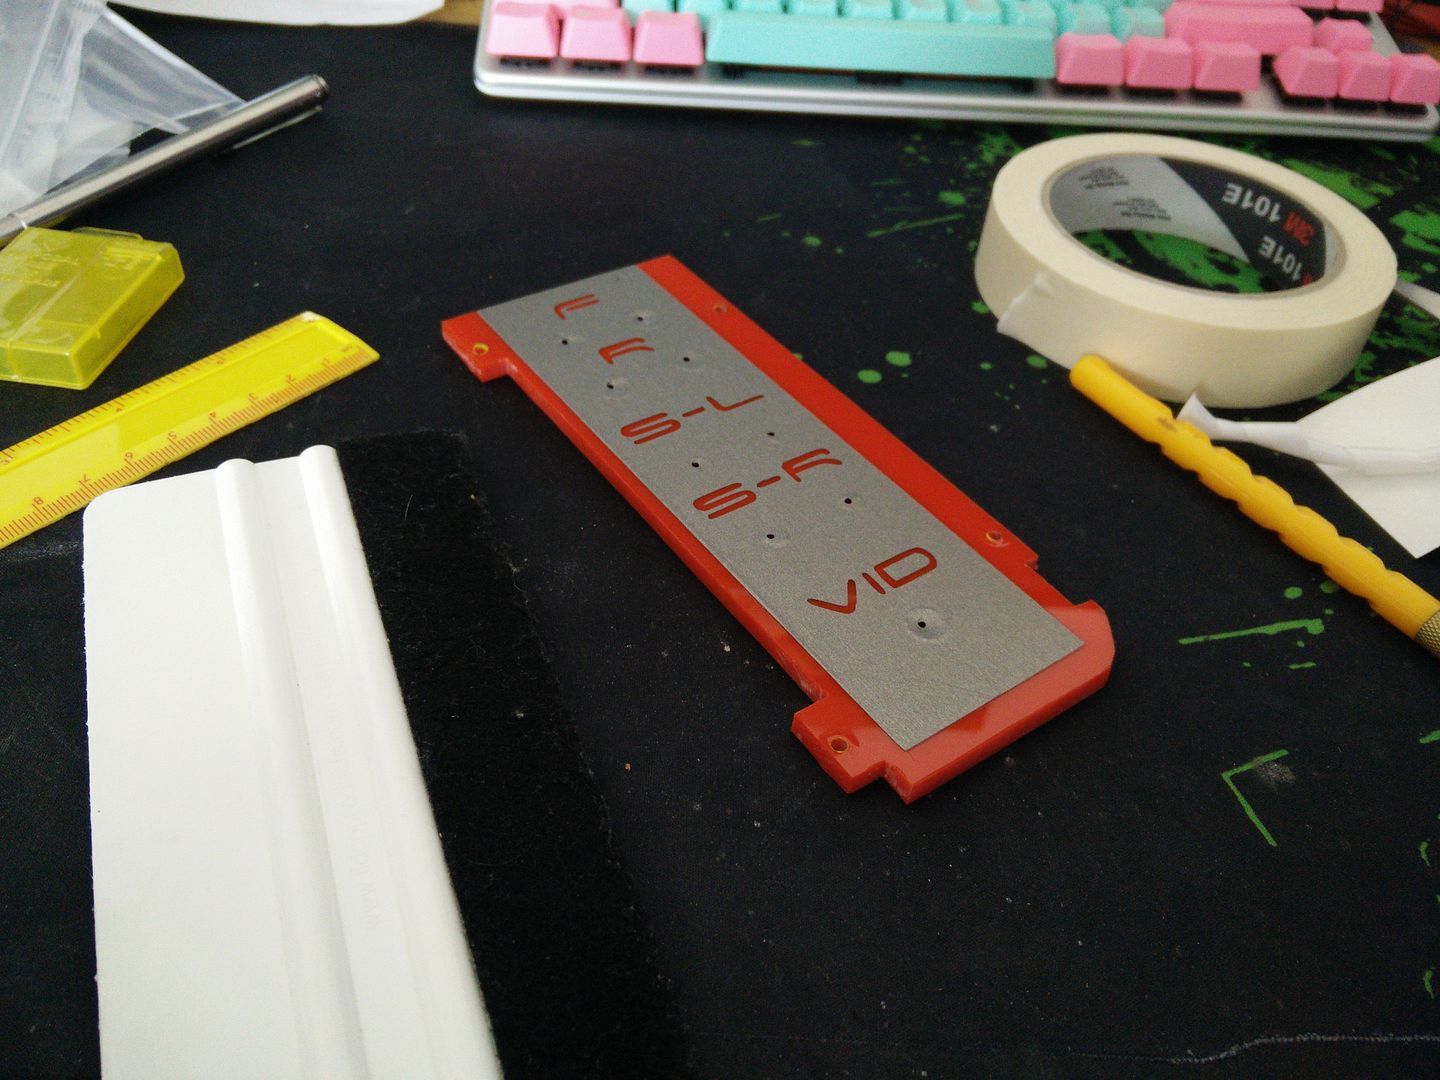
And build.
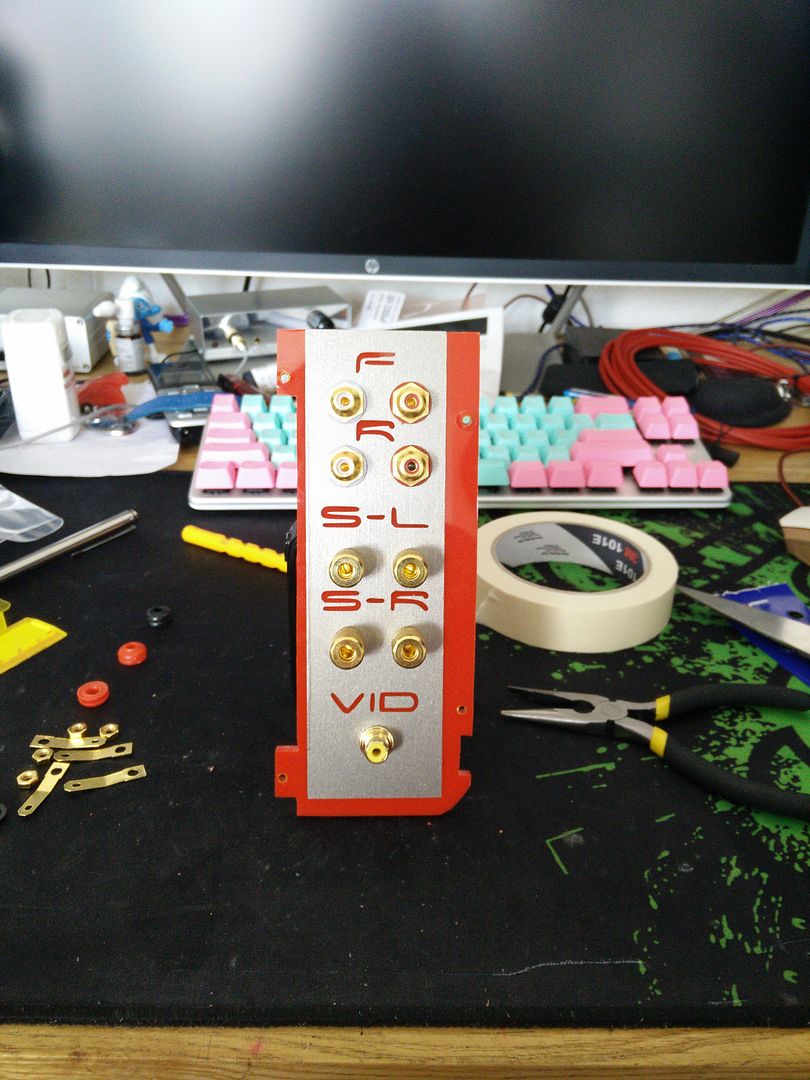
Back, noticing my careful placement of all of the grounds.
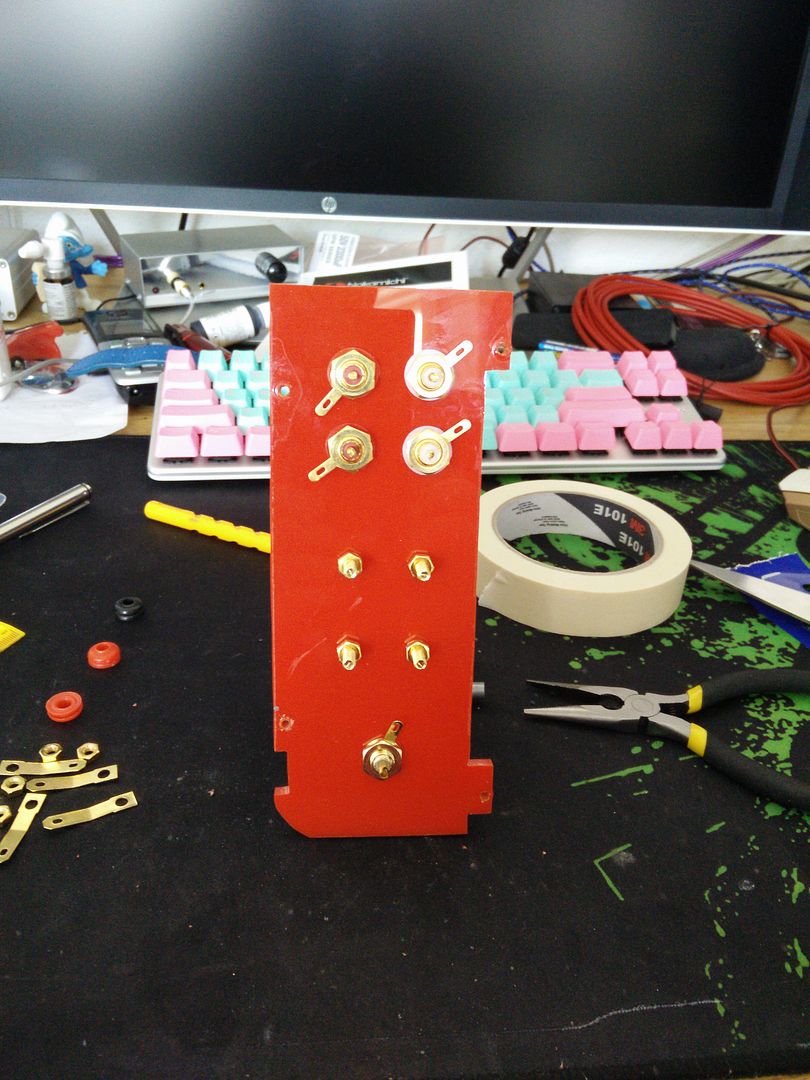
Now thankfully I can fit the RCA wires onto it without it being in the case, and then all I have to do is solder on the speaker tabs and bolt them on once it's in.
 ) some modding supplies, a fan splitter, and some other things I have forgotten.
Any way, last night I designed a revised IO panel along with 2mm hole marks. The reason I used Bradpoint bits is because they have a point that will follow a pilot hole making sure everything is straight.
So I cut a new back panel cover graphic from titanium. Sadly there are a couple of marks on it from where the blade has marked it but I wasn't about to pay £6.50 for something at the back.

I then cut another one out of scrap for drilling with.

And masked, cut out and applied it where the old one was.

And peeled off the masking. It's a bit of a two and eight but whatevs, only needed it for drilling.

And drilled.

Teh back.

OK so to get the final cover on perfectly I put a ruler down and basically cut out the old one.

Apply.

And build.

Back, noticing my careful placement of all of the grounds.

Now thankfully I can fit the RCA wires onto it without it being in the case, and then all I have to do is solder on the speaker tabs and bolt them on once it's in.
This is the loom for the stereo. I have been working on it bit by bit.
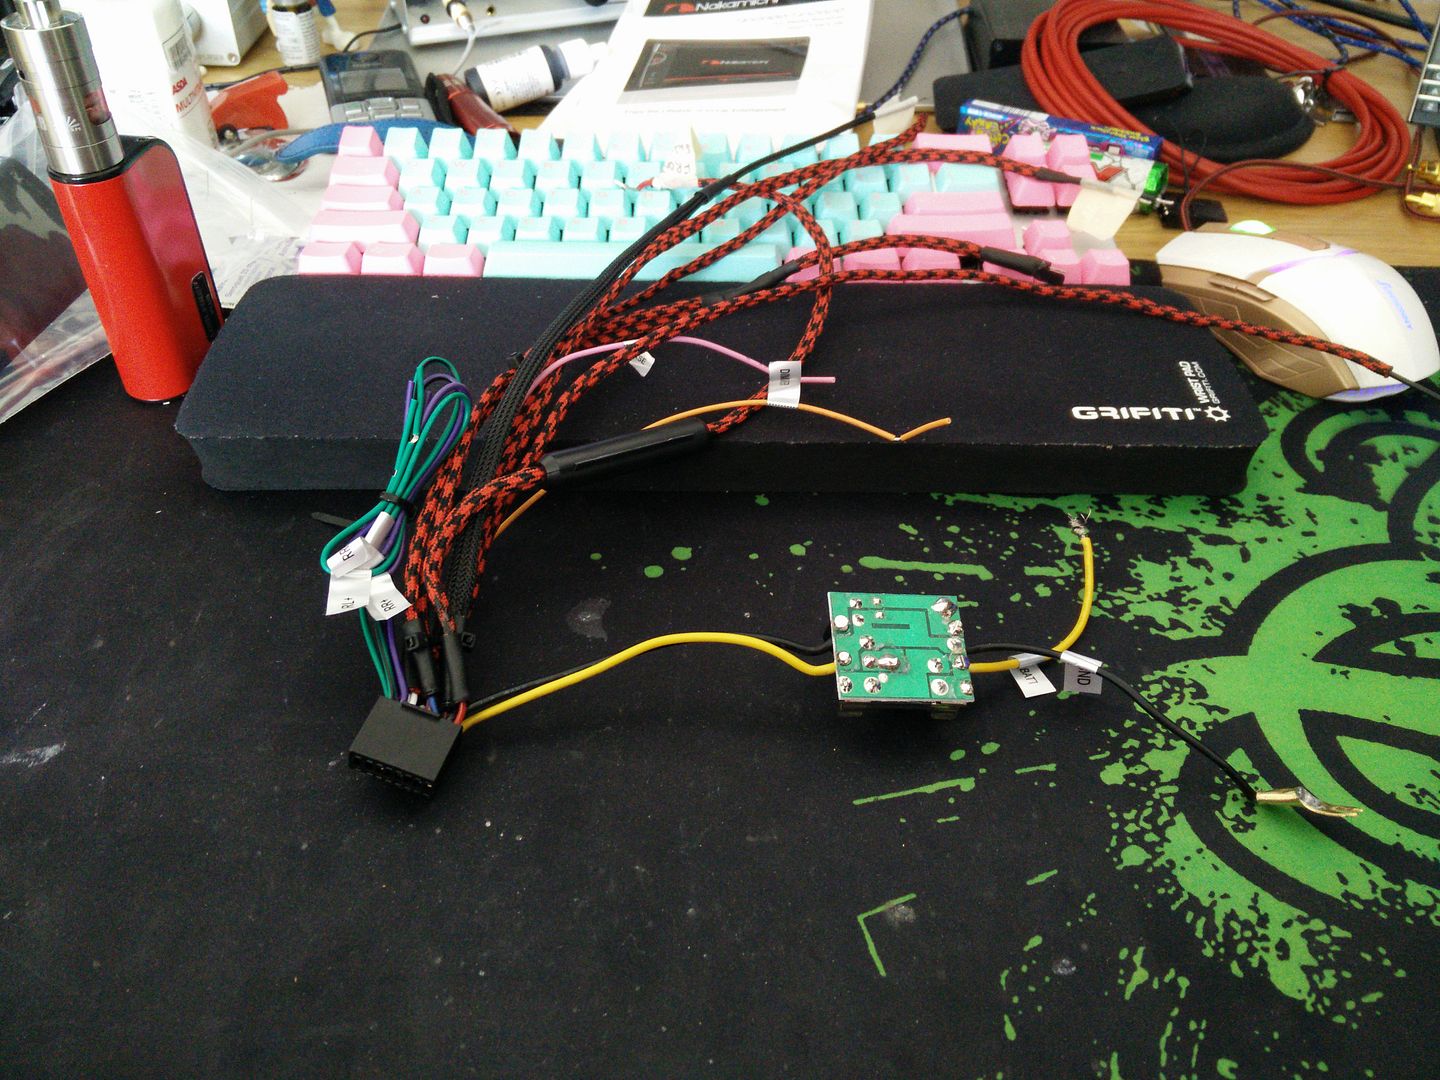
The one thing I did not like was how the fuse box and ground cables looked. I was worried about taking off the box because it has a filter in it that could prevent background noise.
I made a new ground and live cable.
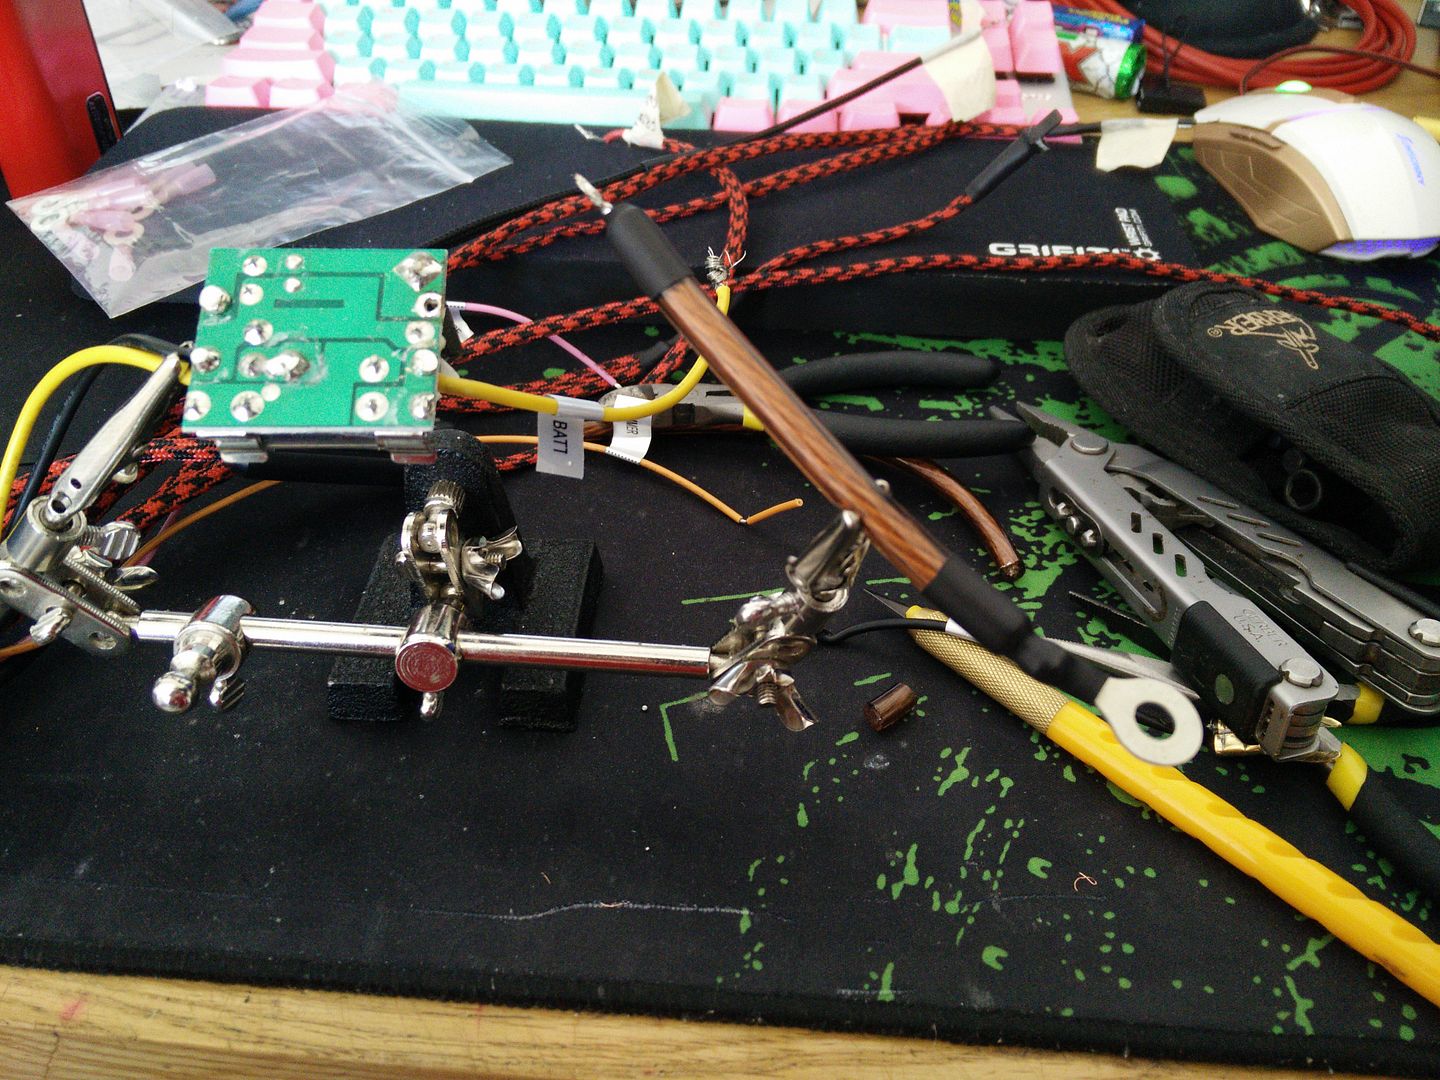
Then desoldered and braided the cables going into the loom plug.
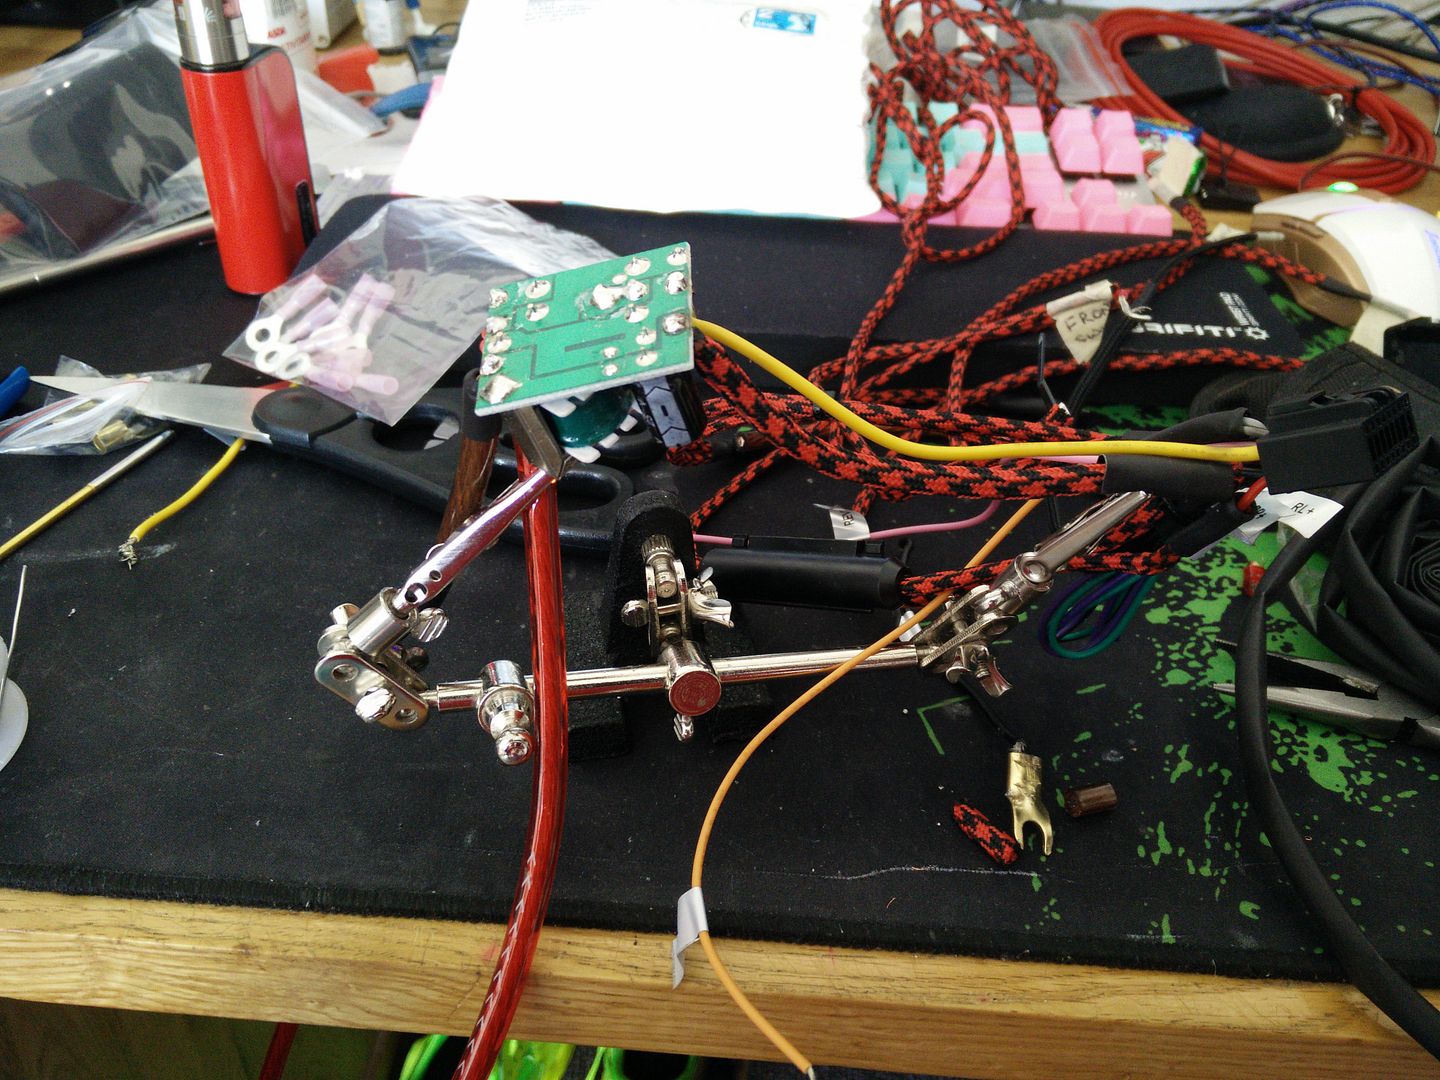
And then to finish it off I used some heat shrink, but not the regular kind. This stuff is for fishing rods/bike grips etc. I figured it would look better than just a plain slab of black. I've glued it now and it's drying
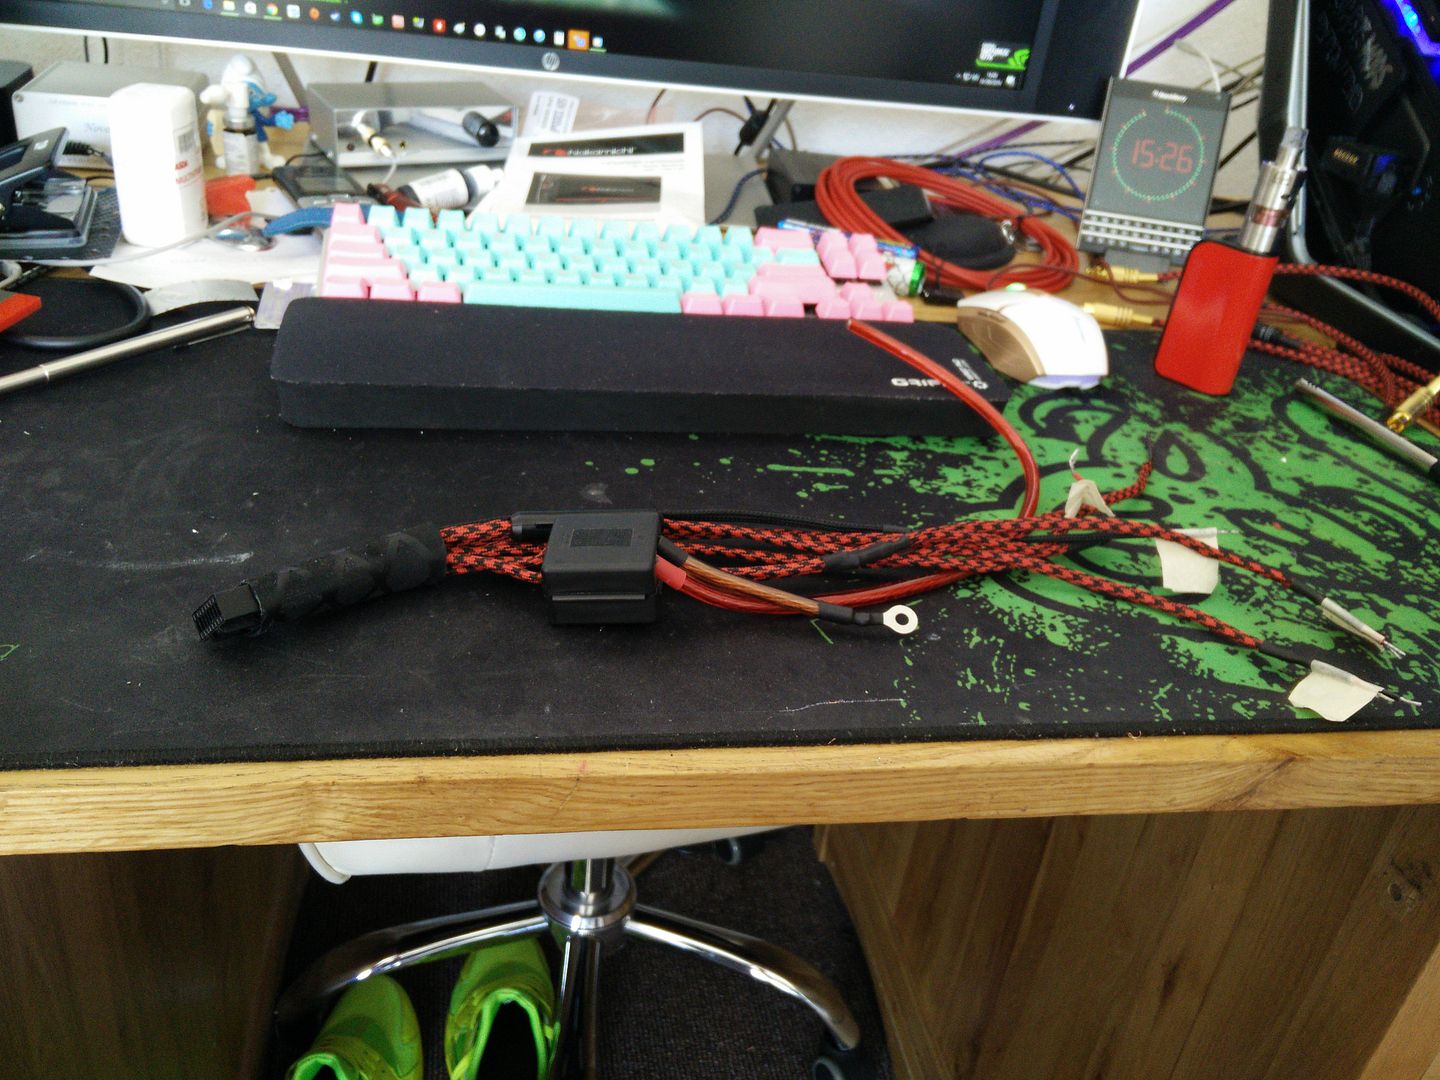

The one thing I did not like was how the fuse box and ground cables looked. I was worried about taking off the box because it has a filter in it that could prevent background noise.
I made a new ground and live cable.

Then desoldered and braided the cables going into the loom plug.

And then to finish it off I used some heat shrink, but not the regular kind. This stuff is for fishing rods/bike grips etc. I figured it would look better than just a plain slab of black. I've glued it now and it's drying


Looking good so far. I can't see that you should have issues with noise in this situation because you've not got any of the things that generate noise in a typical car audio situation: alternator, distributor cap, ignition system etc.....unless you've shoehorned an engine in there as well!  Not that I'm advocating unnecessarily removing filters or fuses.
 Not that I'm advocating unnecessarily removing filters or fuses.
Looking good so far. I can't see that you should have issues with noise in this situation because you've not got any of the things that generate noise in a typical car audio situation: alternator, distributor cap, ignition system etc.....unless you've shoehorned an engine in there as well!Not that I'm advocating unnecessarily removing filters or fuses.
Yeah man spot on but it was just nagging at me. thankfully the box was within range of the back of the head unit so I have stuck it down with 3M foam tape on a part that isn't vented. It may warm up when the stereo is on and fall off, if that happens I will have to glue it on.
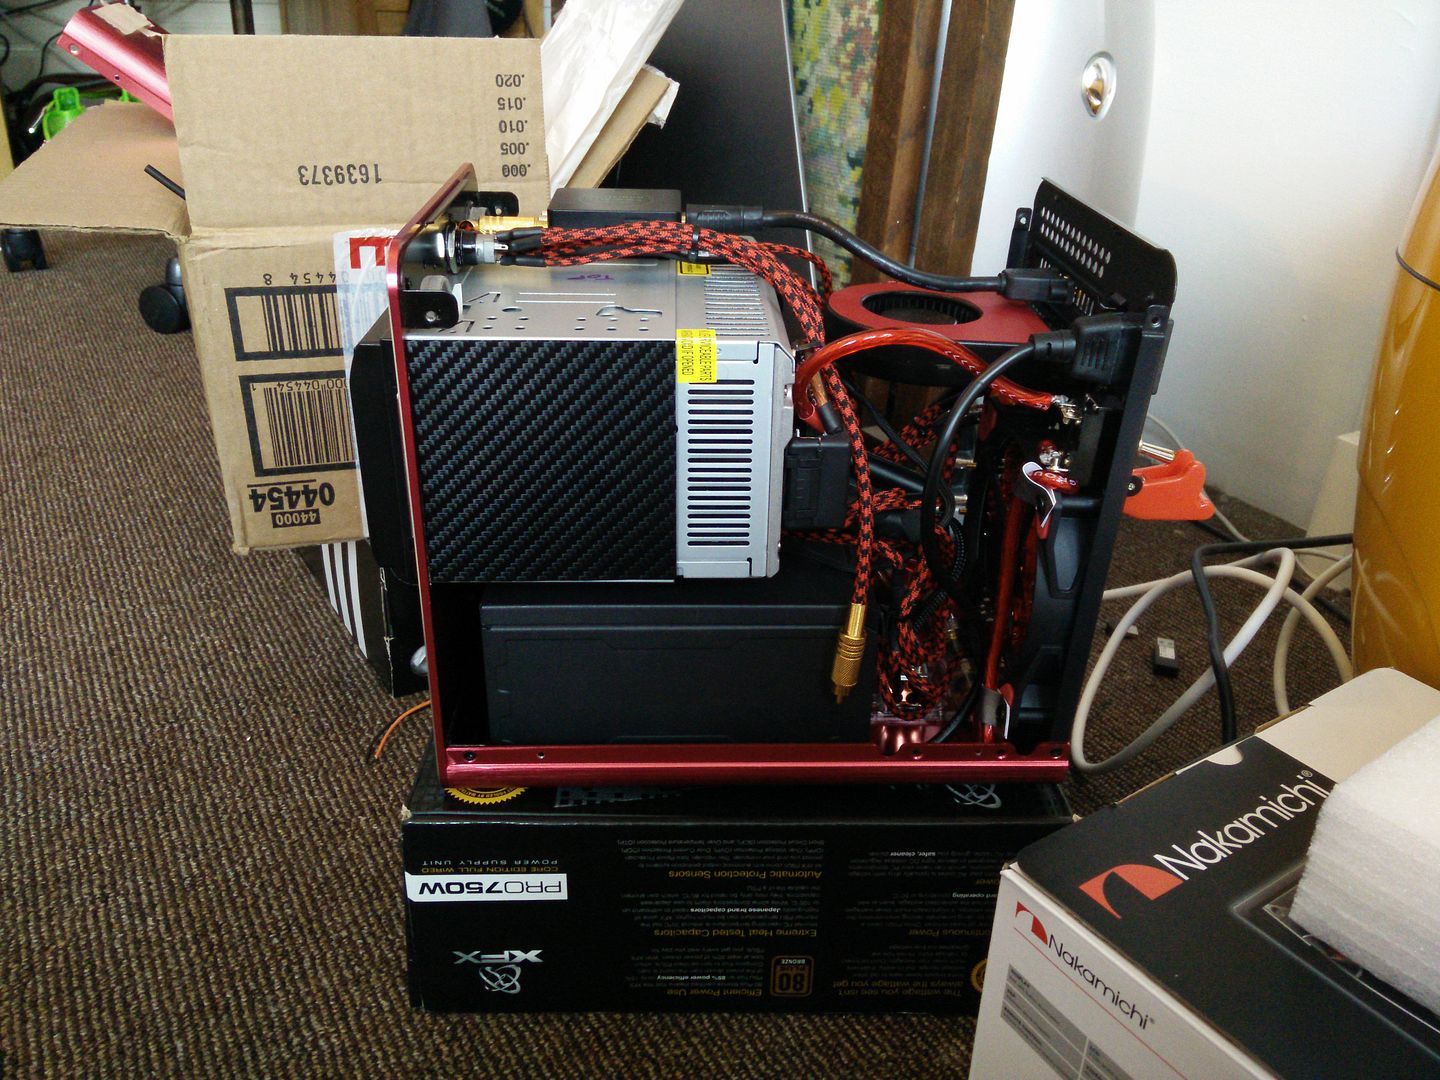
I decided to start assembly. I took a few pics to show how it all fits. There's literally millimeters in it.
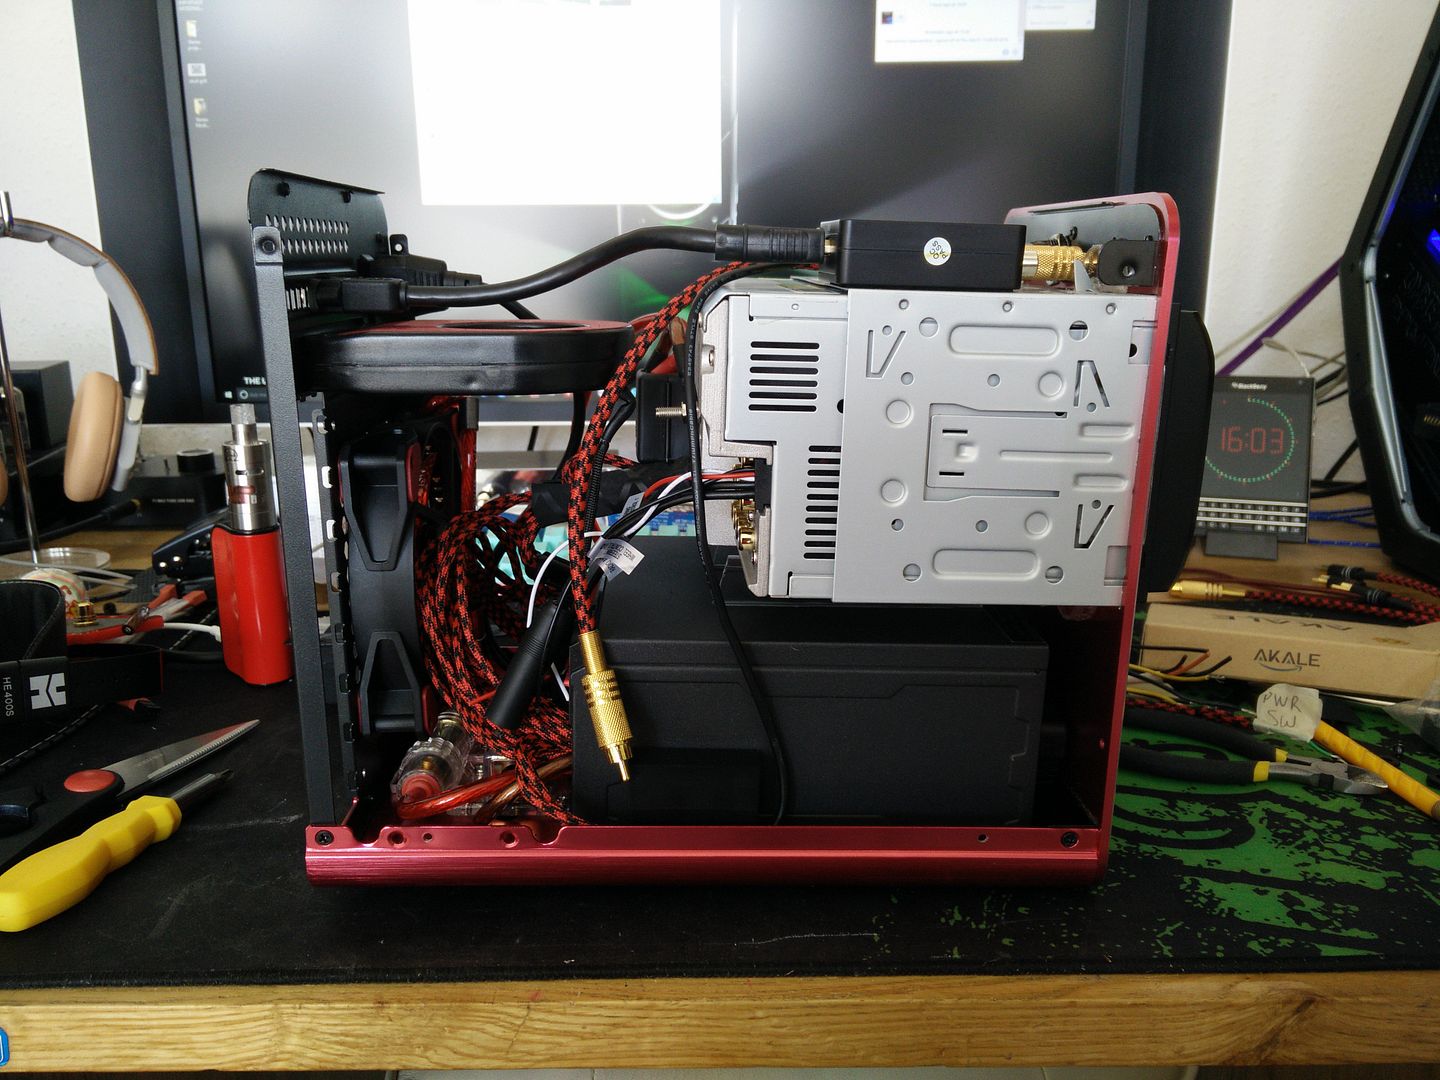
Again, we're talking tiny tiny tolerances.
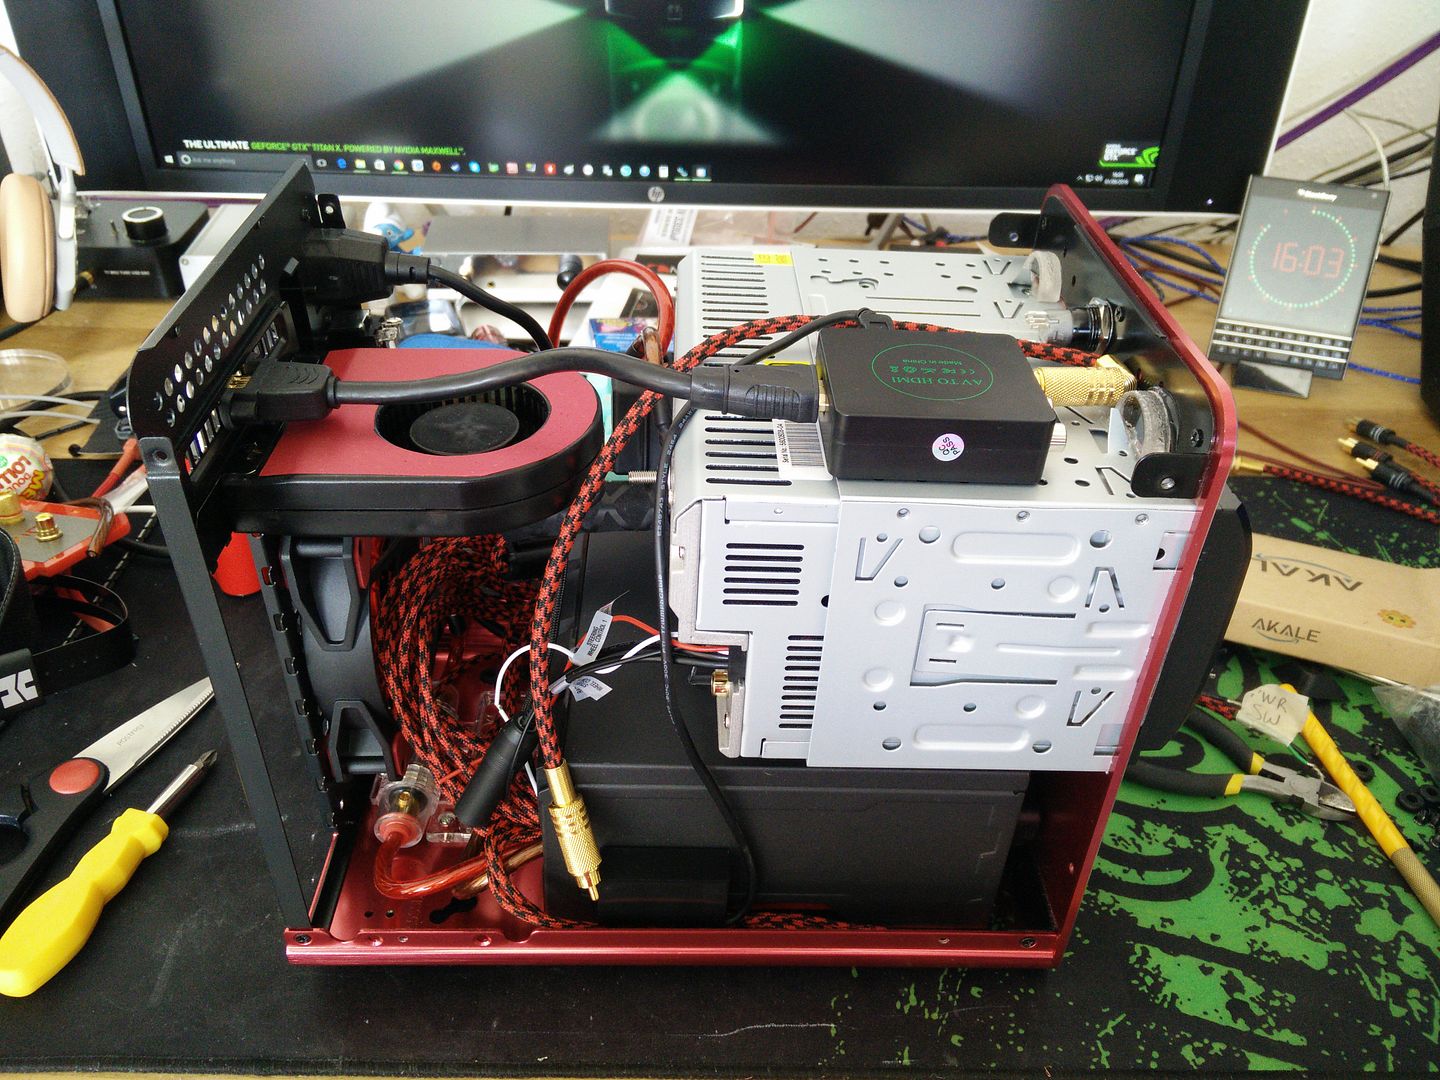
The only thing I forgot to measure was how much the top's sides come down. I ****** lucked out on that, because there is practically nothing in it. You wouldn't get a cig paper in there.
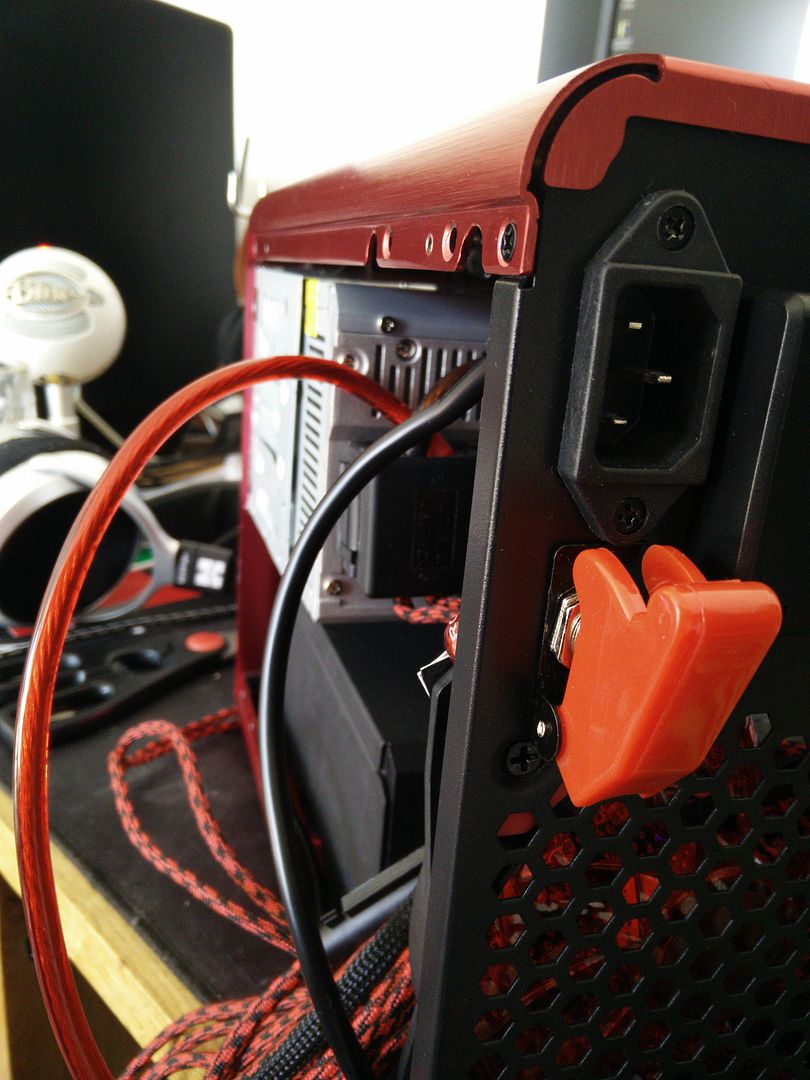
I've put the top on to keep it bending. It's getting heavy now.. Later though I have to take it all apart because the IO plate won't go in as it stands.
Nice when something conveniently just fits 
Always seems to be the way at the moment that you have to assemble, disassemble, mod, reassemble. That's what I'm currently up to as well as learning (and the word implies more progress than is fair! ) to bend tubing. Between that and sleeving I'm running out of colourful vocabulary!

Always seems to be the way at the moment that you have to assemble, disassemble, mod, reassemble. That's what I'm currently up to as well as learning (and the word implies more progress than is fair! ) to bend tubing. Between that and sleeving I'm running out of colourful vocabulary!

Yeah fabrication is a whole load of back and forth dude. I've probably partially assembled it and put it back together a good twenty or so times lol. Bit annoyed I have to take it all apart again to get the IO in, but once that's done (about 30 mins of soldering) it can stay together as the only job left will be the antenna and that should be easy.
One thing I still need is some 8awg ground cable to go from the main ground to the distro block. I shouldn't have used it in testing etc but now I don't have a length long enough. Cost me £4, but it's nice enough.
One thing I still need is some 8awg ground cable to go from the main ground to the distro block. I shouldn't have used it in testing etc but now I don't have a length long enough. Cost me £4, but it's nice enough.
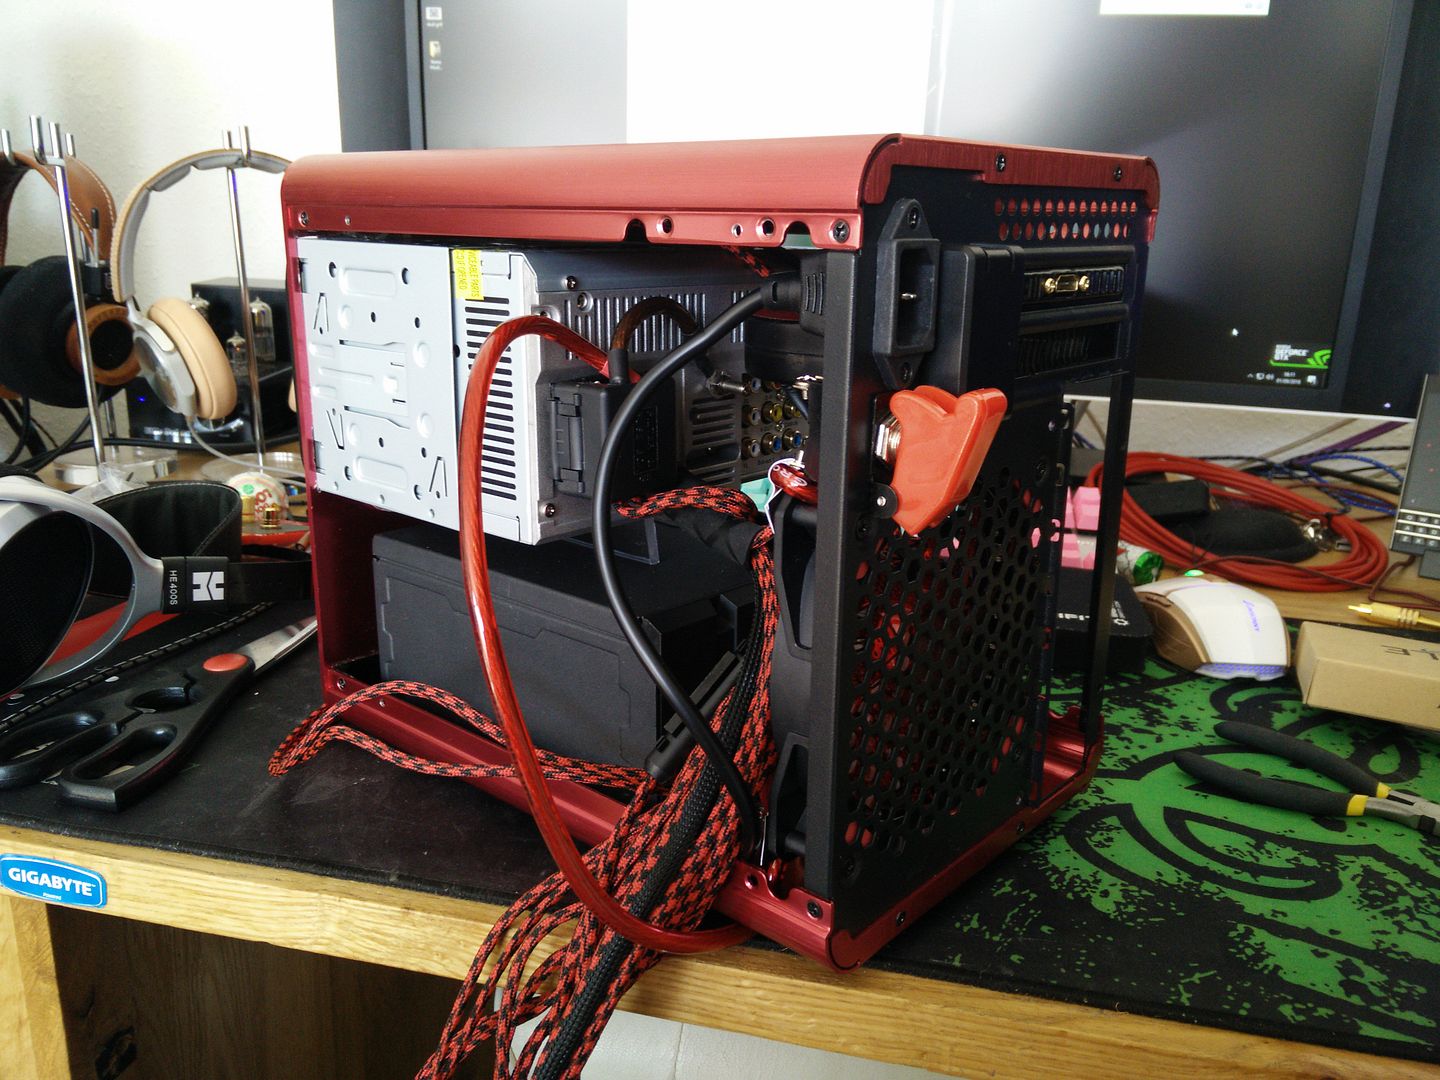
I had another second wind last night at 10pm, so I finished the back panel and did all of the soldering. I have now fitted it, and also done a few other small jobs (the main fat live cable is now connected to the rear switch for example and all ready to go, once I ground it with the cable I ordered yesterday). In the mean time some pics, as it was too late last night.
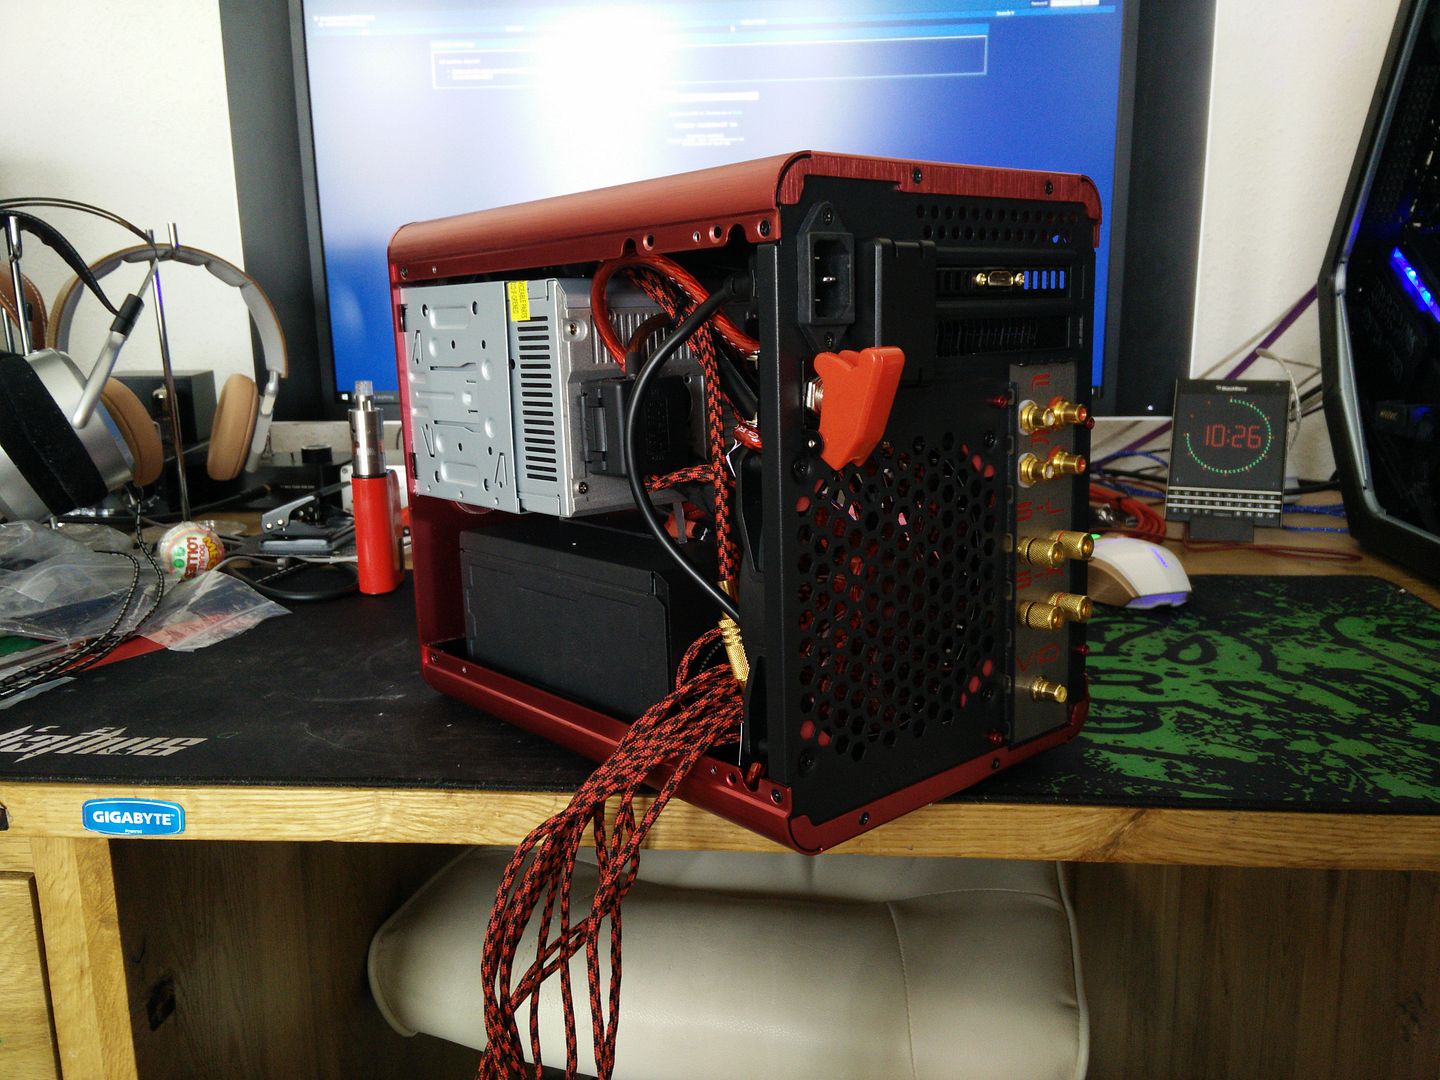
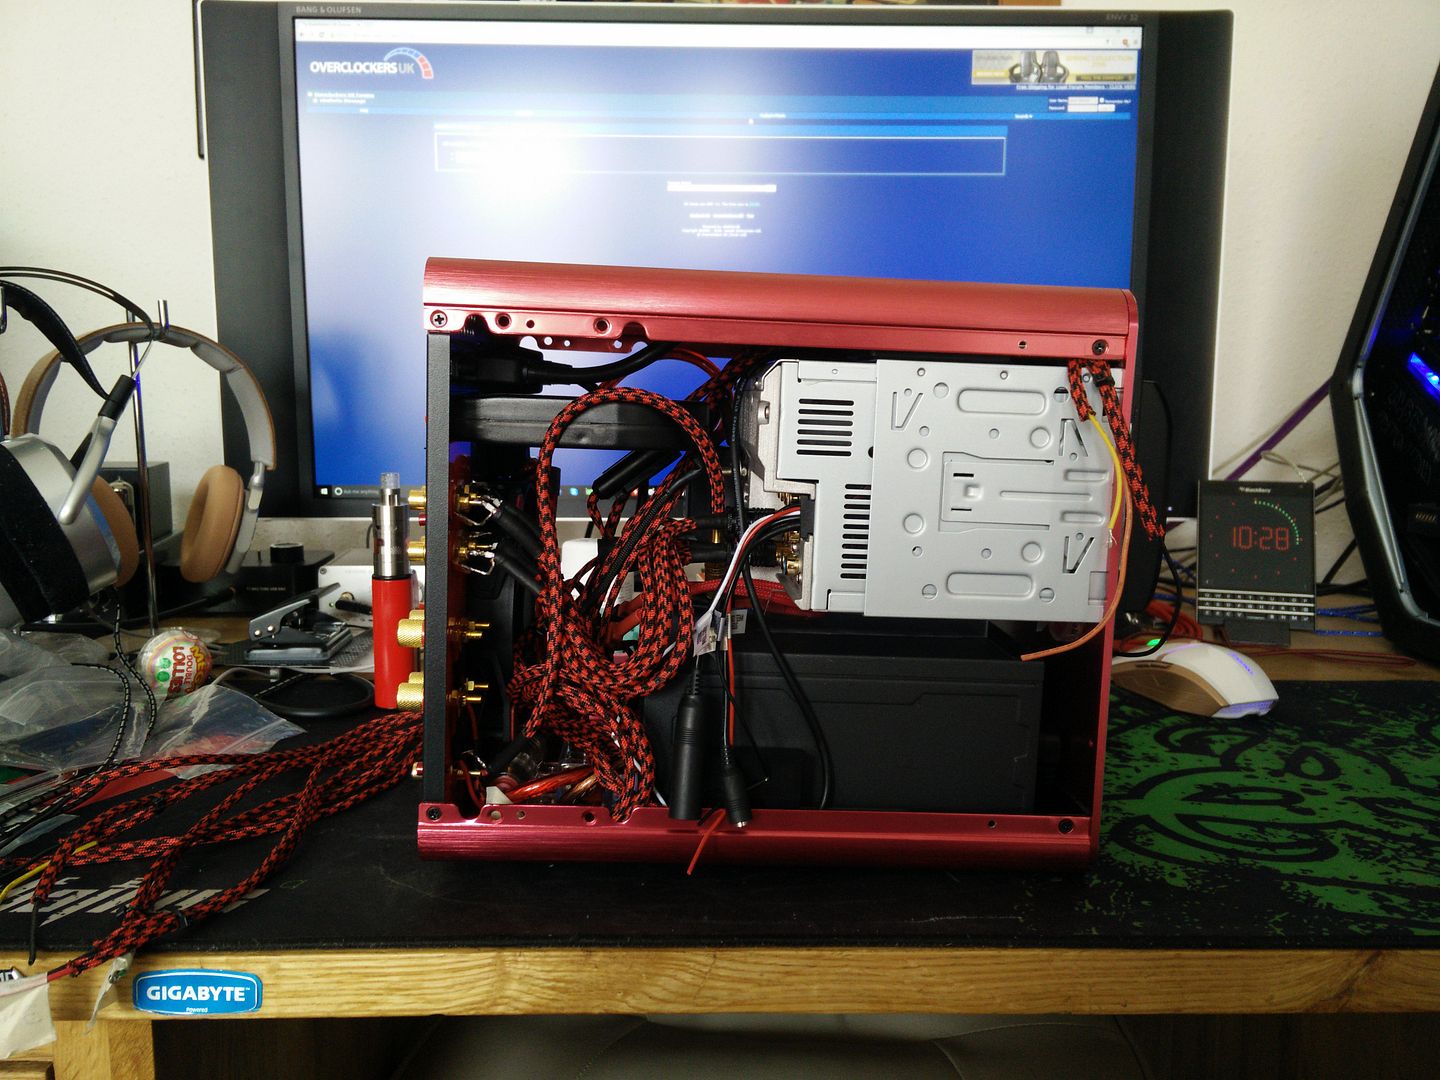
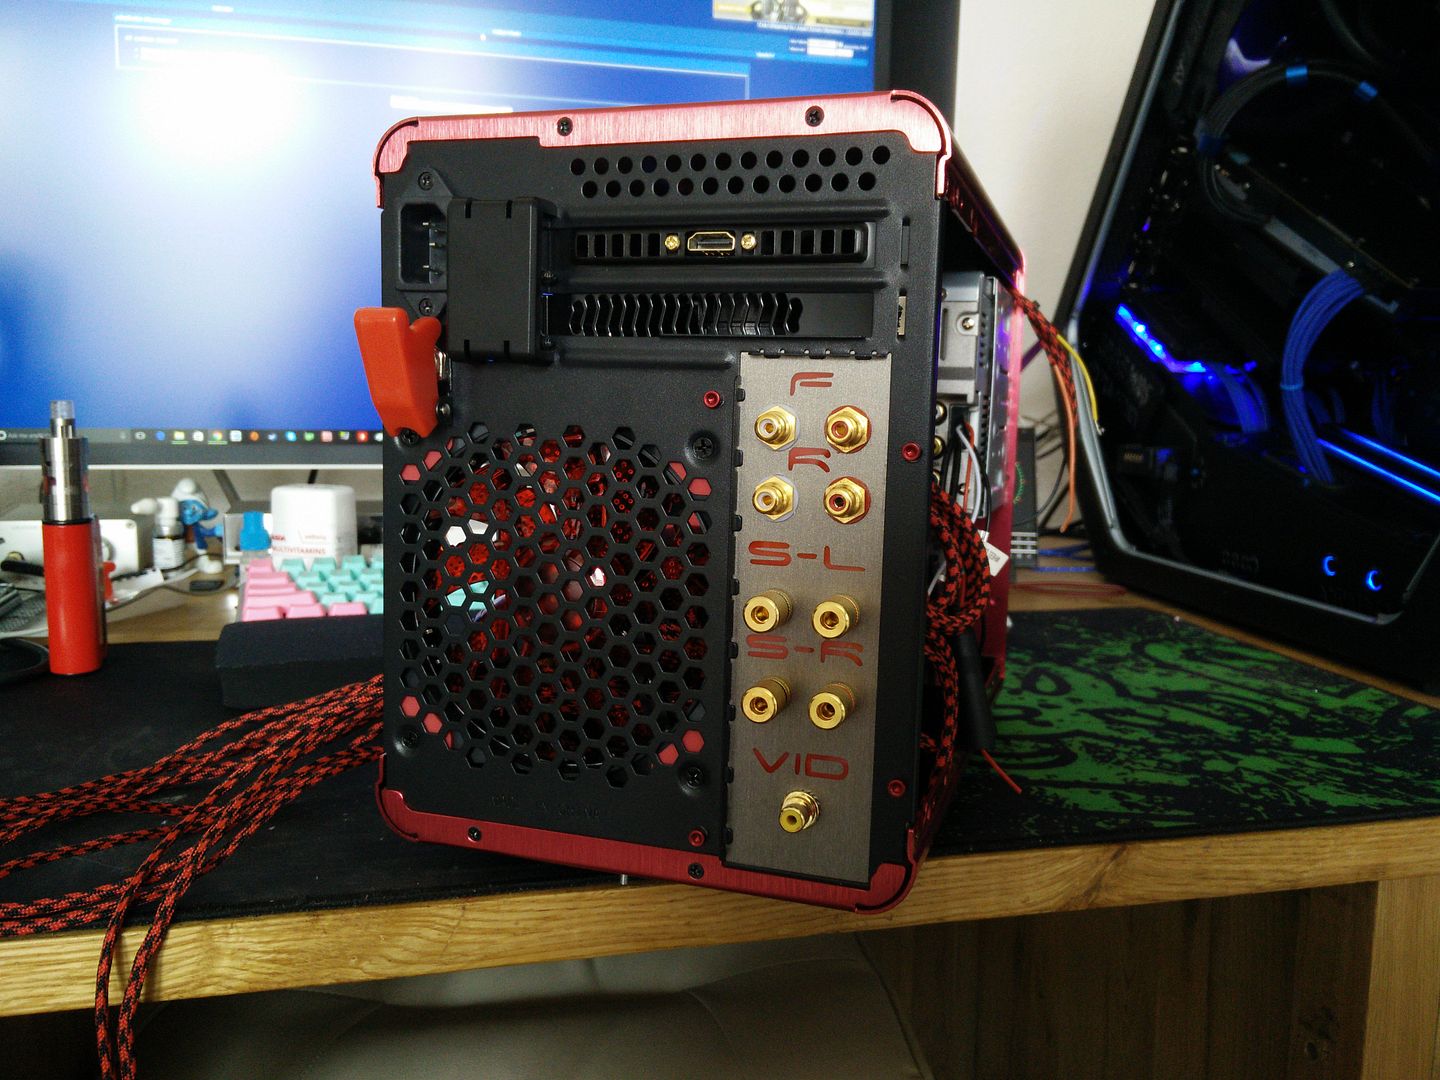
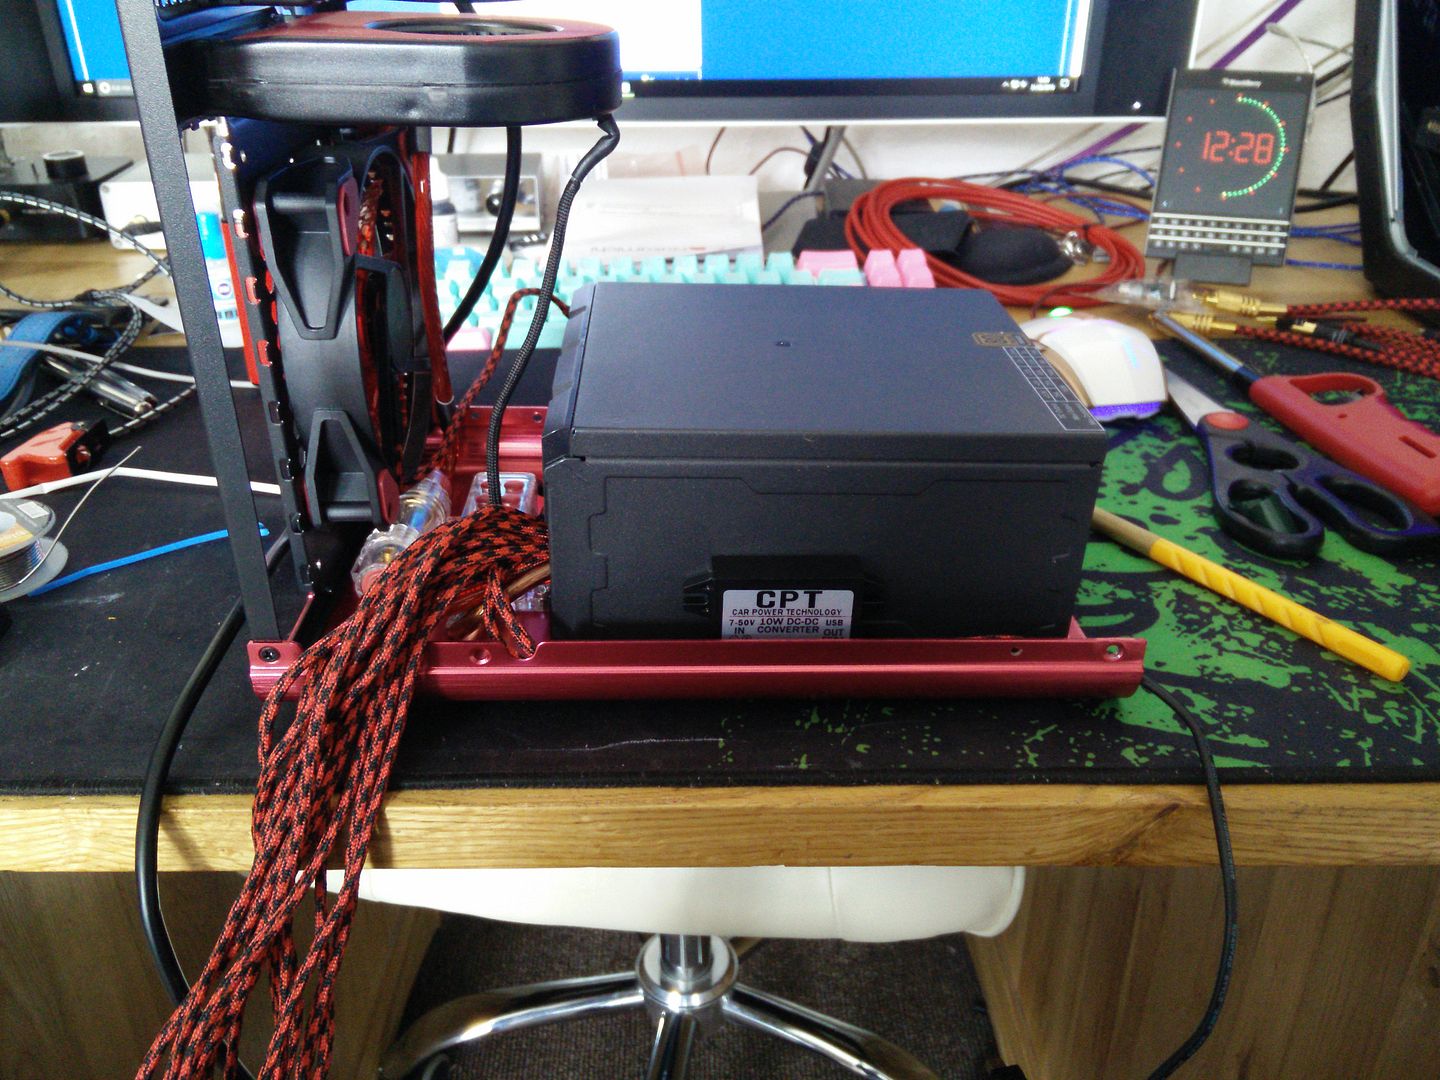
As the case is tiny and has no cable management at all I am going to have to use cable ties to make sure that the fan is not blocked. There isn't much I can do today really apart from connecting up the front switch (you can see the cables poking out) but I am now waiting on the ground cable as I can't fire up the stereo without it and I need to test a few things before I can proceed.


As the case is tiny and has no cable management at all I am going to have to use cable ties to make sure that the fan is not blocked. There isn't much I can do today really apart from connecting up the front switch (you can see the cables poking out) but I am now waiting on the ground cable as I can't fire up the stereo without it and I need to test a few things before I can proceed.
Well, you might not be getting any sleep but at least you're making good progress
It's convenient (or planned?) that the gold plated terminals go really well with the black and red theme too.
They're so popular that I don't even think you can get them in silver any more. Saying that I do have some silver ones but they're on like some sort of fibre board and very cheap and nasty looking.
What I like about this project is how cheap audio gear is. The head unit for example was £129. Case was £42 which I thought was terrific value being all alu and everything else was a couple of quid each items sort of thing. I probably could have built a media PC for around the same but it wouldn't have played DVDs or any discs for that matter in this case (crucial for a stereo) and I'd have needed an expensive sound card and so on. Then price up a PC with a 6.2" screen in the front, touch screen too. Oh, and a remote that turns it on and off properly etc.
But yeah, audio gear used to be hideously expensive back in the 90s. Then it started going into mass production and unlike PC gaming became cheaper because of it, not more expensive.
I've enjoyed this project so much that I may build one for my mother afterwards. I can get a green Metis for £42 and a Android based head unit for around £60, screen and all. I have another spare PSU etc, and all of the leftovers fro this project could be used. Maybe £150?
Obs I dread cutting the stereo into the fascia, but that was just one job. The rest I've enjoyed immensely (well apart from grinding out the button hole, but lesson learned and all that).
So it was time to wire up the accessory live to 12v switched and wire up the switch LED.
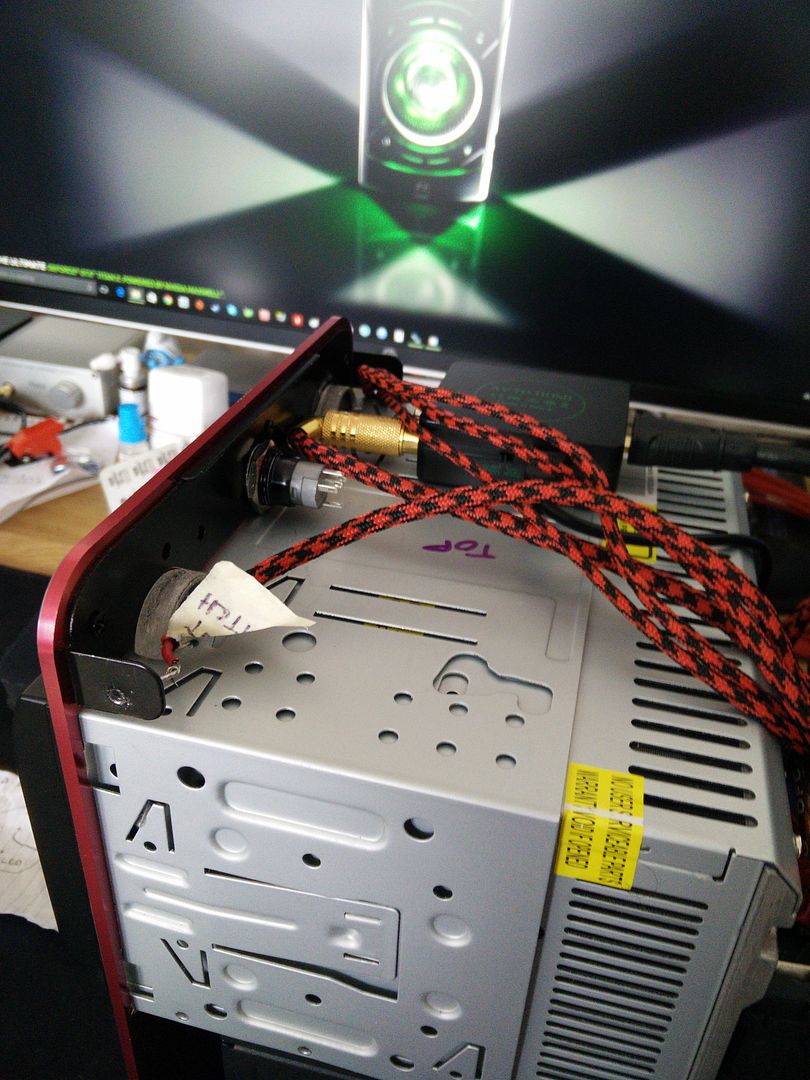
I did not want to use the internal PSU to test the LED in case something was wired wrong so I got out my test supply.
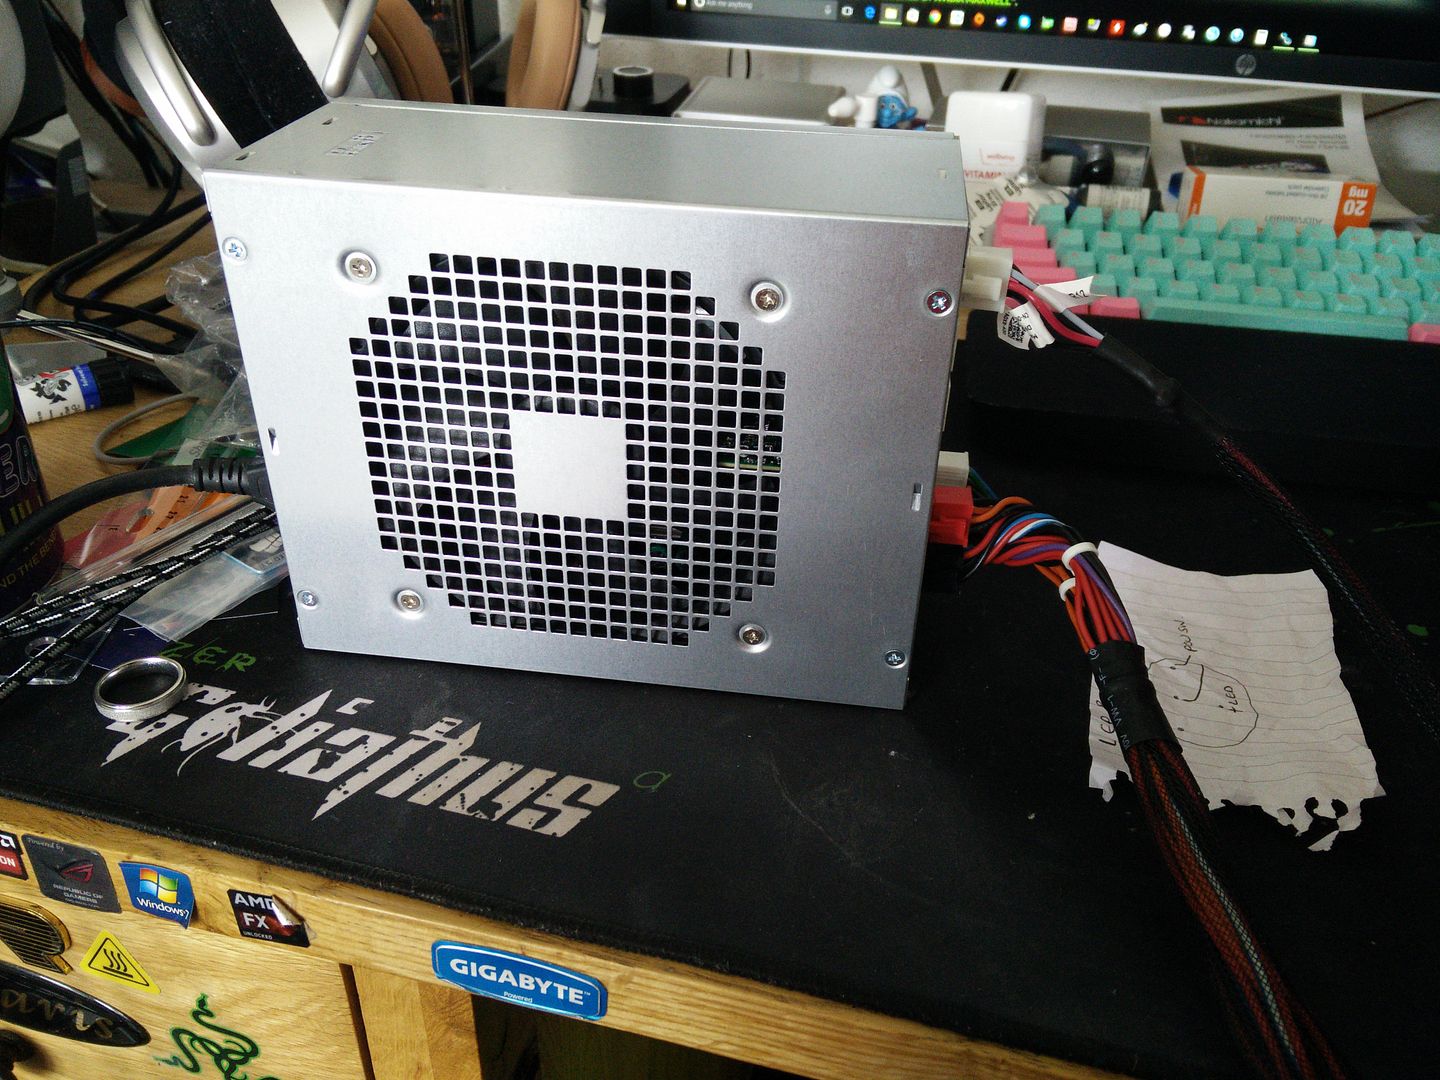
And tested the LED at 3v and 5v. 5v looked the best, so I have now wired that to the internal PSU. I then did a check and turned off the main power to the head unit (so it's getting none)
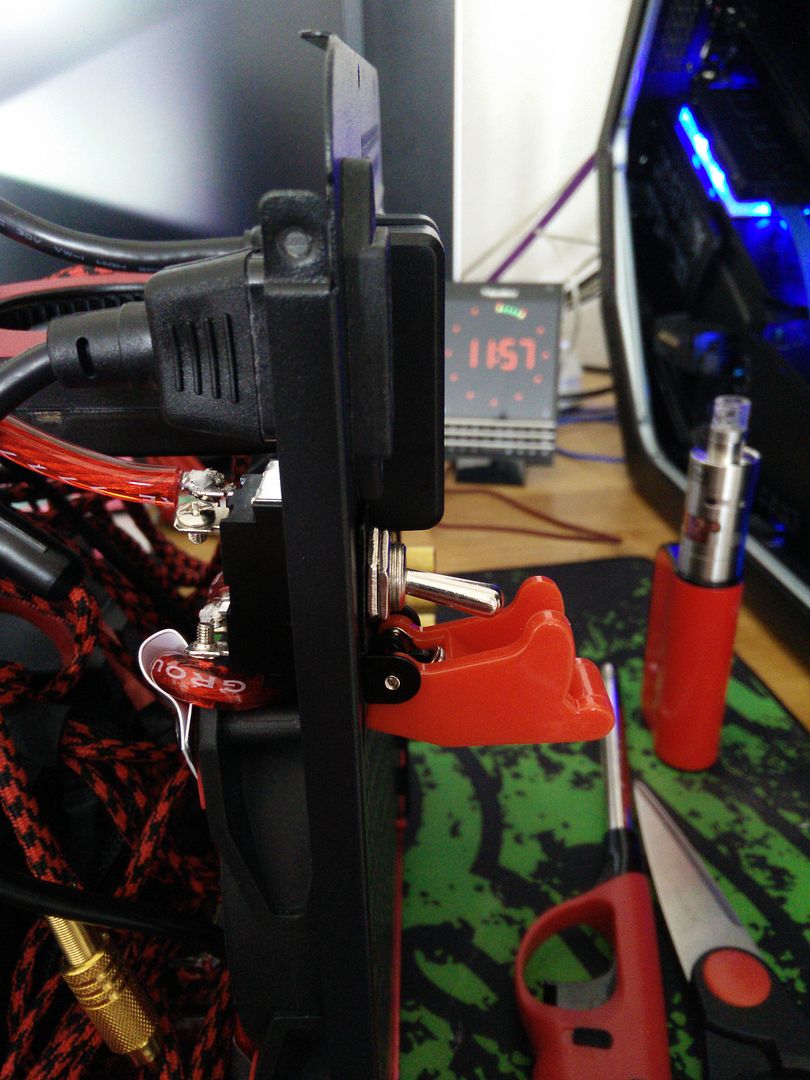
I used my multimeter to test for continuity, everything is fine the switch works
So I finished up the wiring.
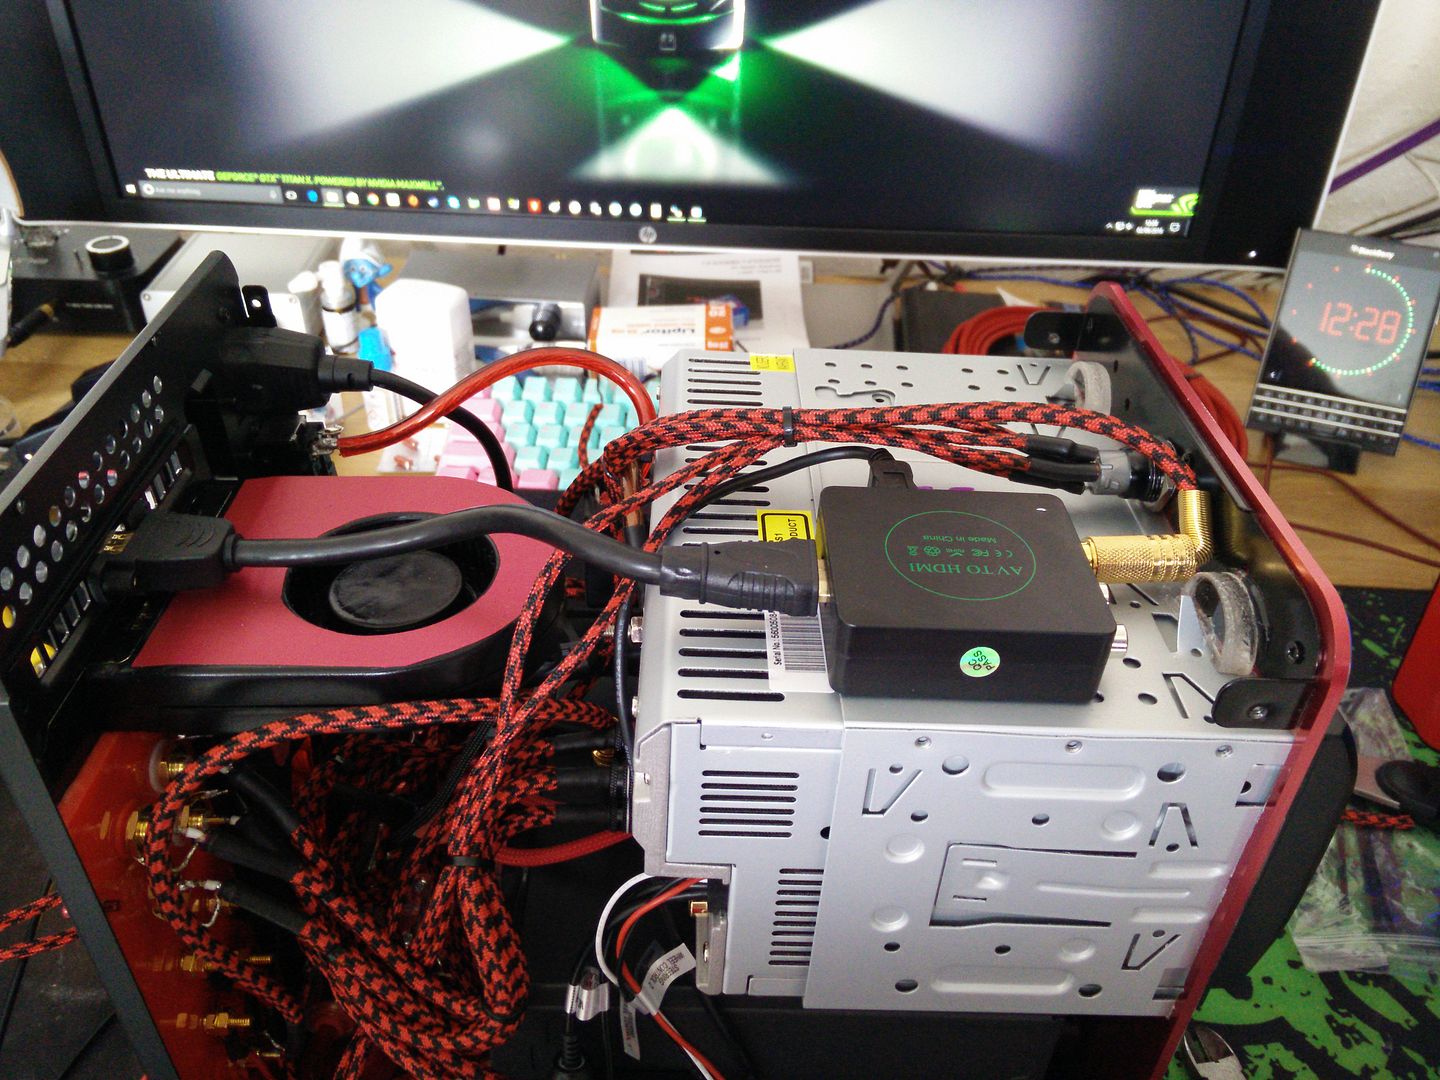
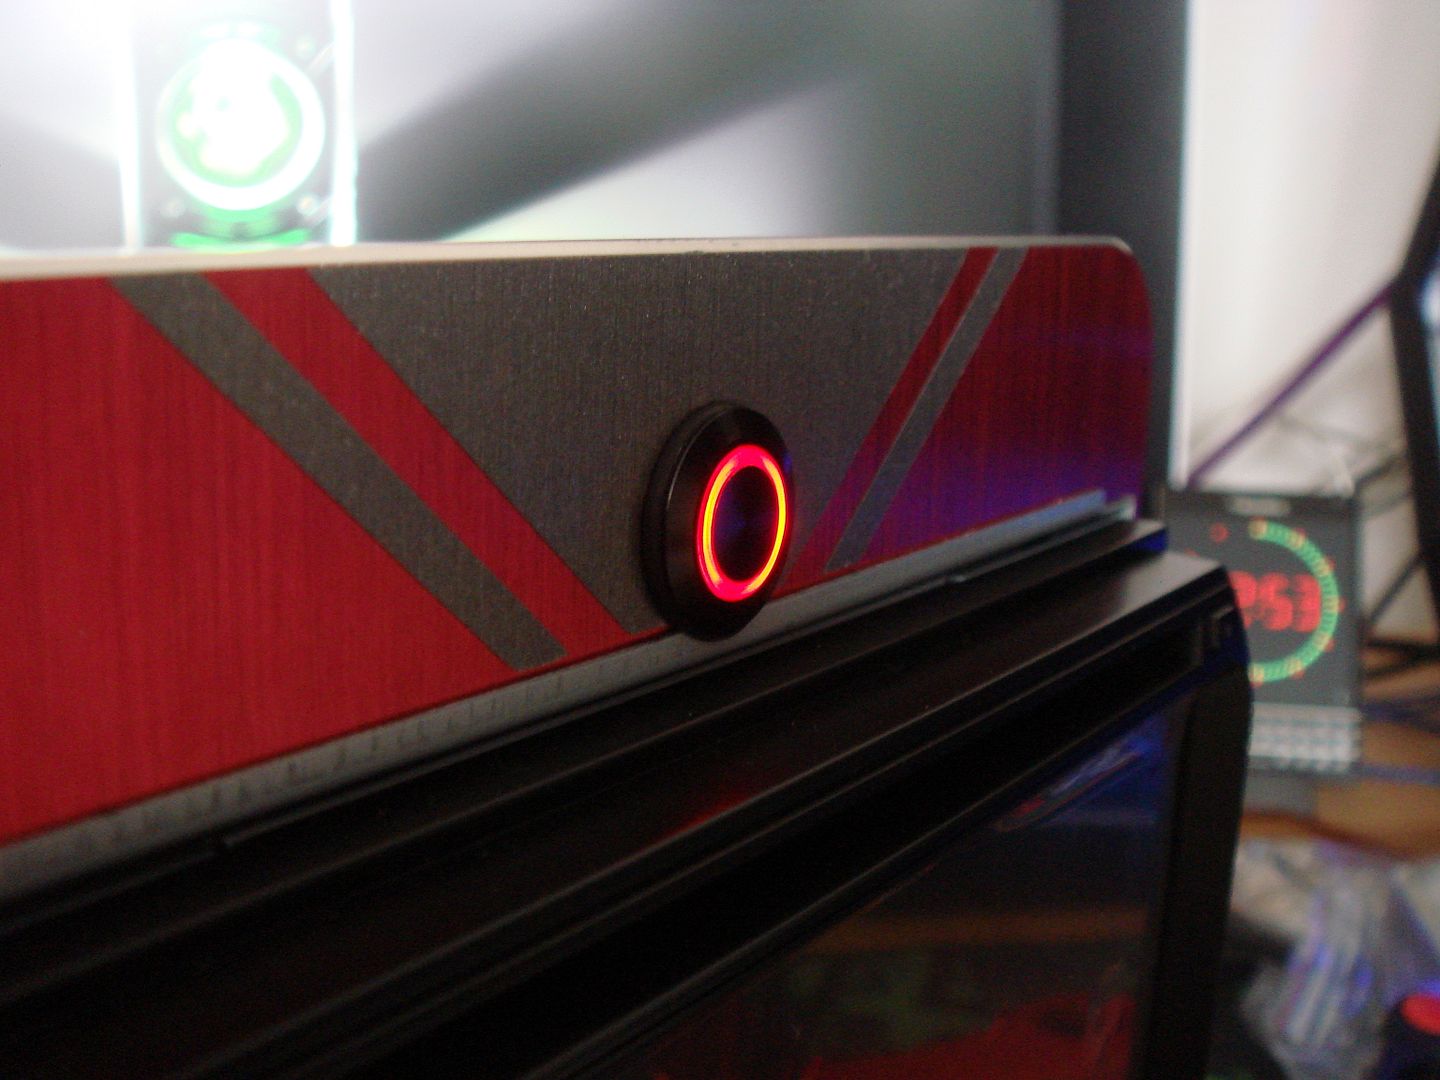
I then fired up the internal PSU and heard a really bad sparking sound. Turns out one of the spare 12v lines was shorting. I crapped a little, covered the wires and tried again (measuring all of the voltages (3v 5v and 12v) and thankfully I had not done any damage. Sadly the LED looks orange in photos.
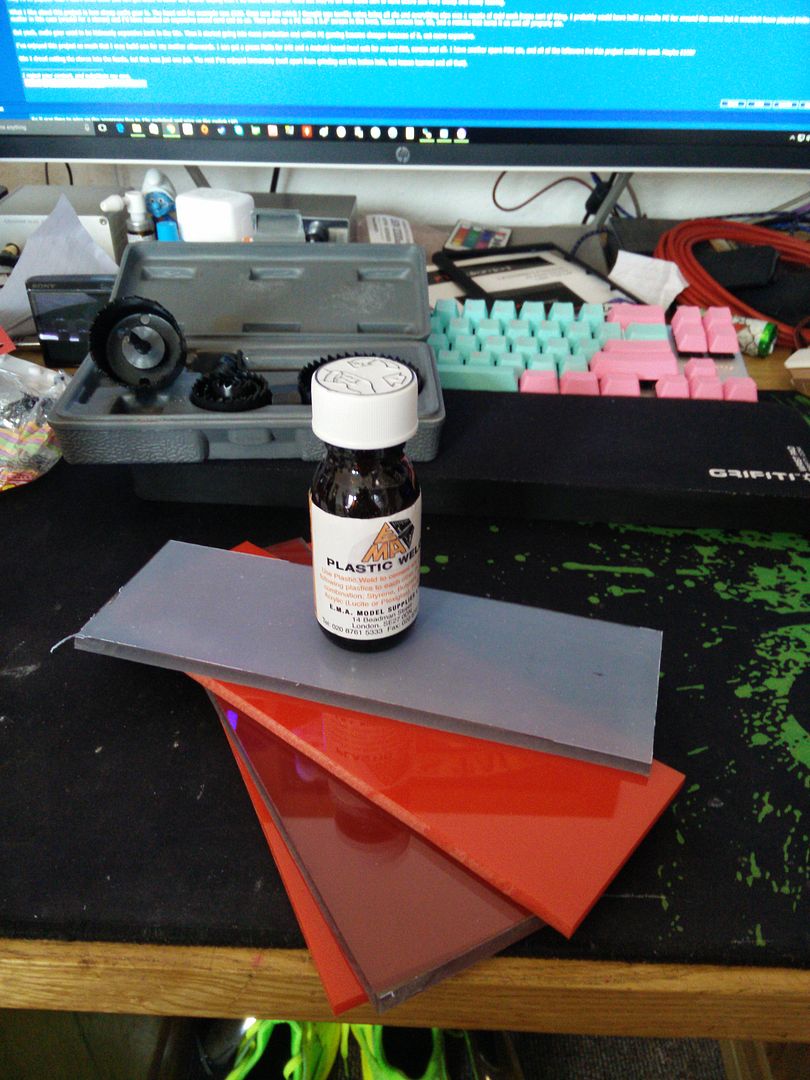
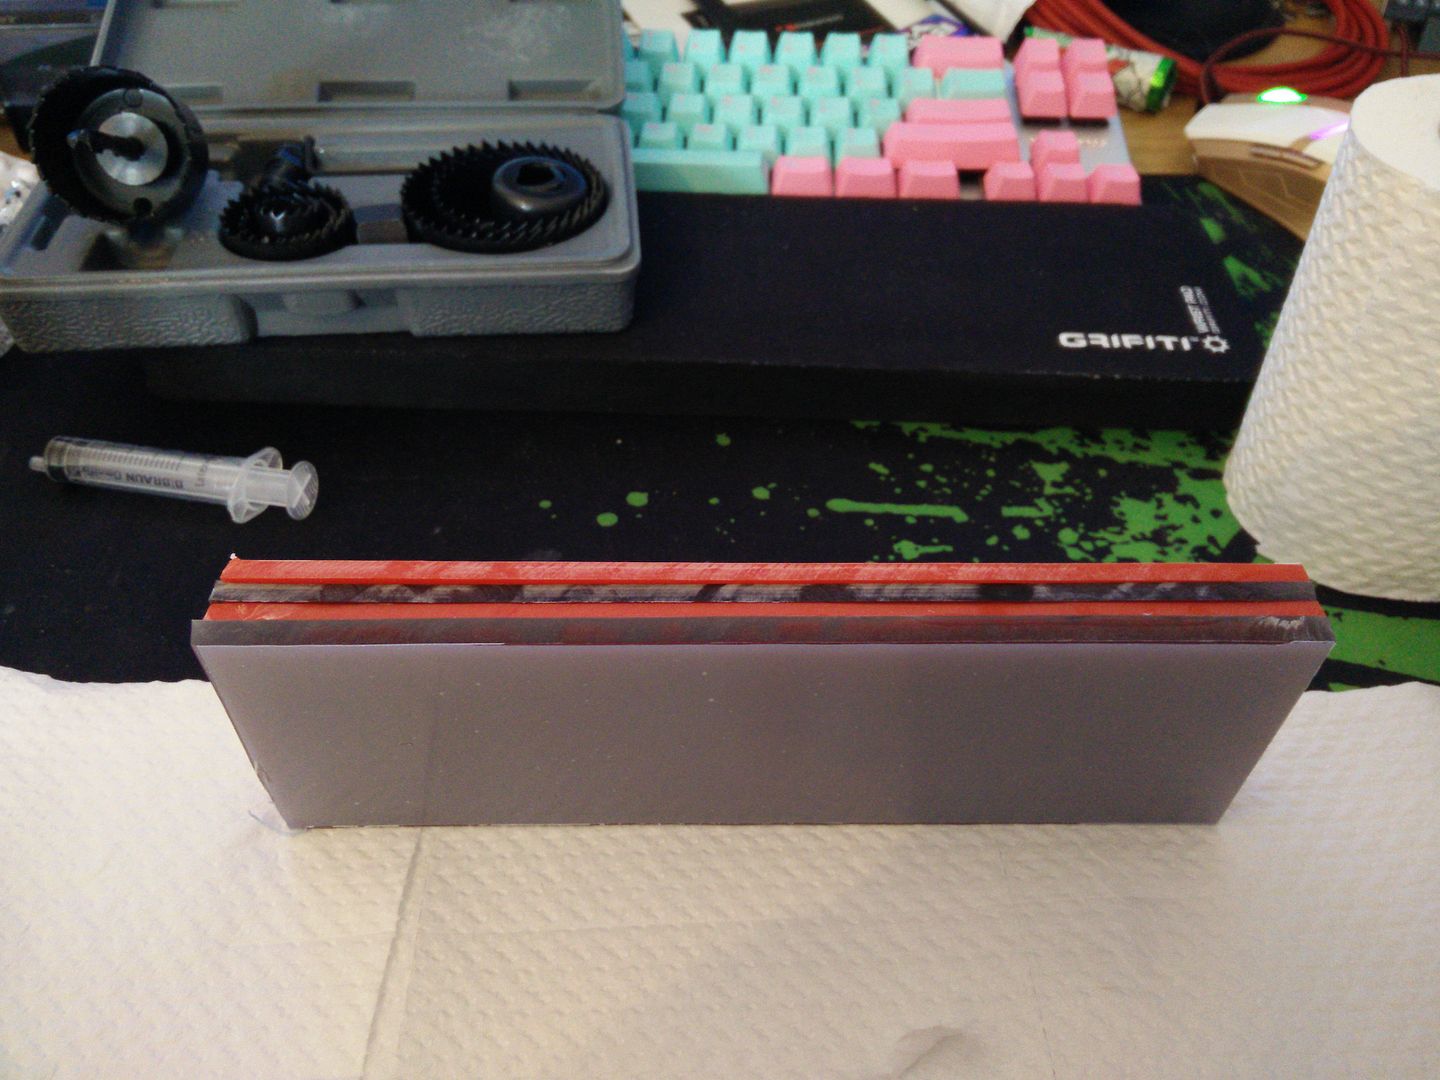
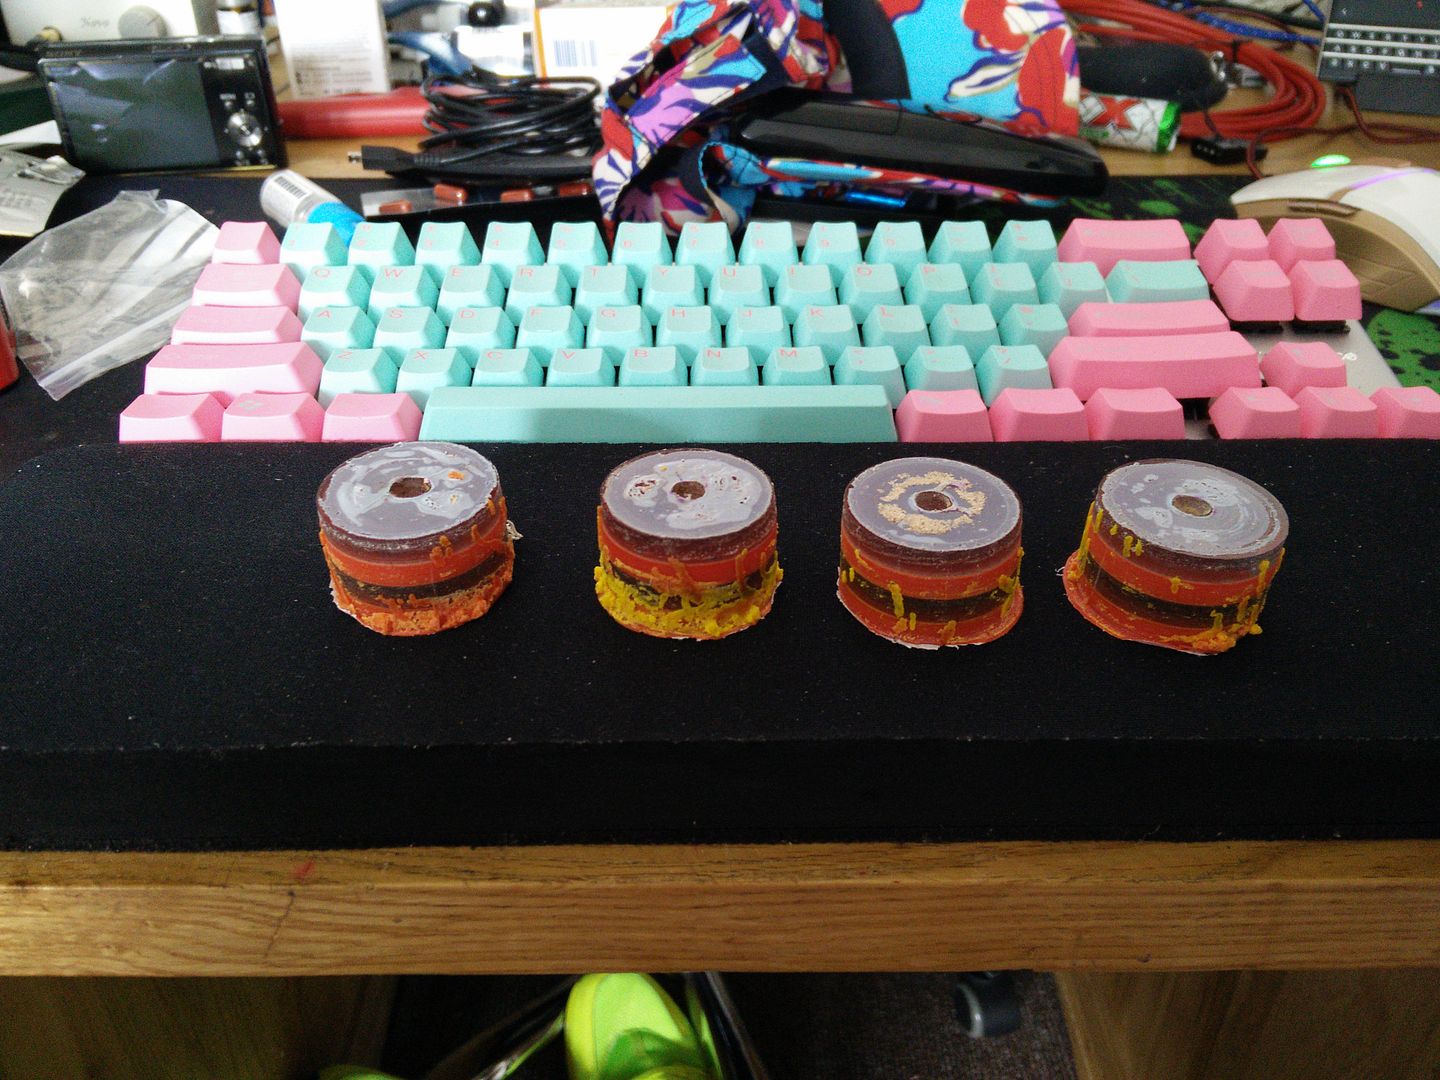
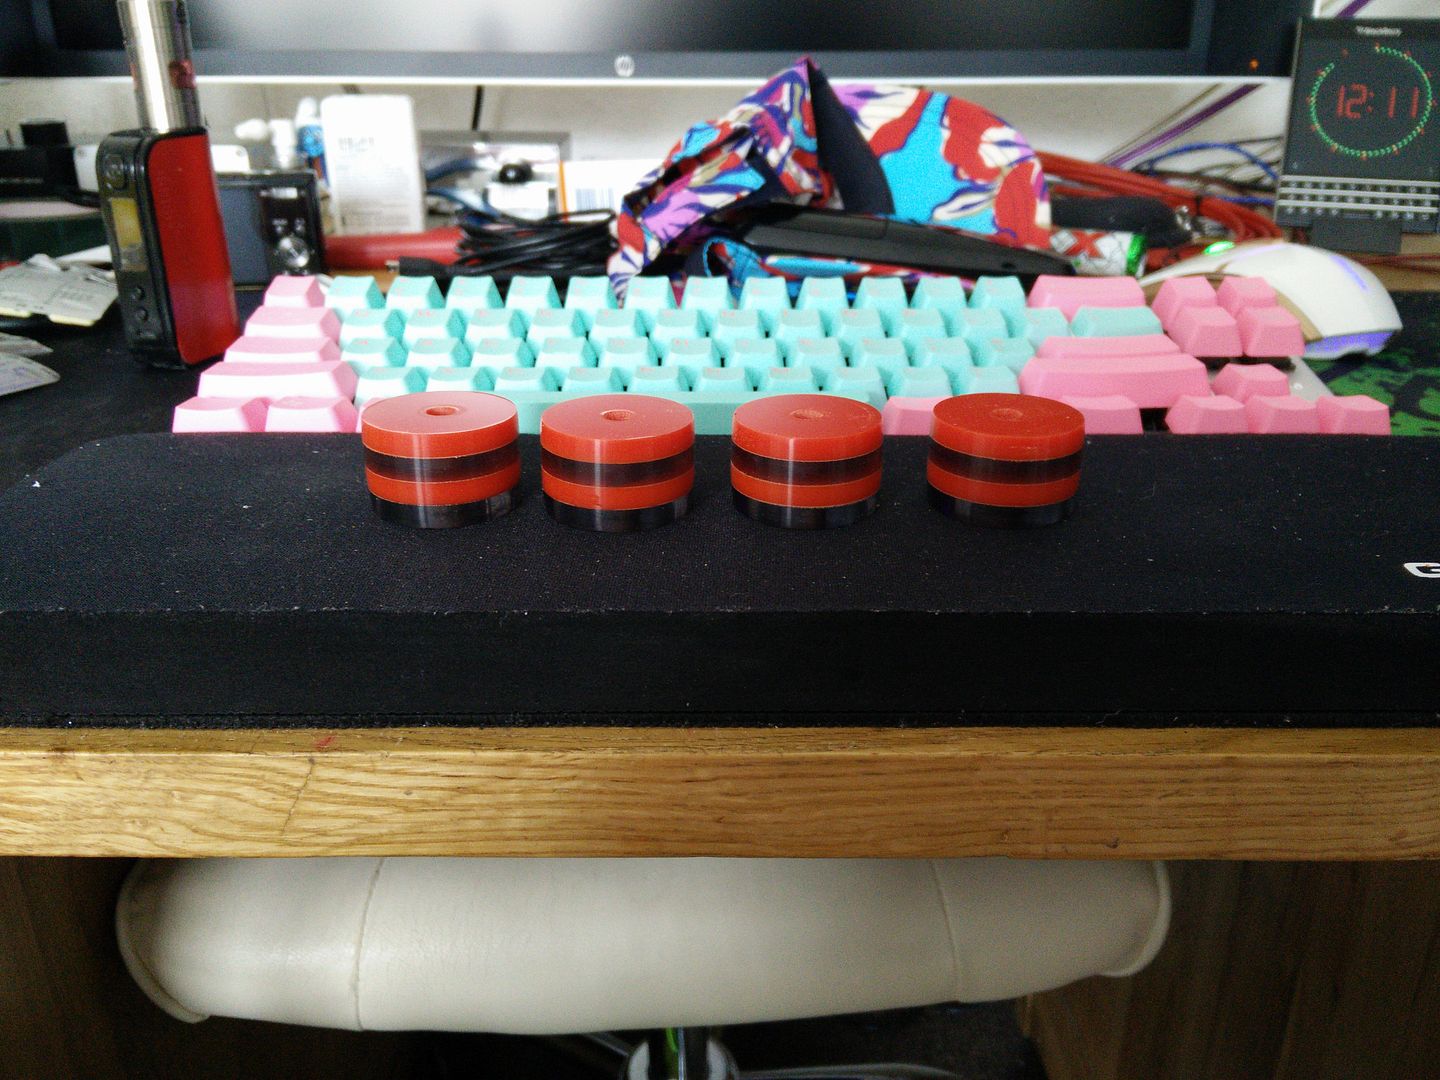
The postman turned up empty handed so I have about three hours spare. First I am going to make some covers for the side of the cage, then I will see about cutting the red and smoked acrylic to make the sandwich I need to make the feet out of.

I did not want to use the internal PSU to test the LED in case something was wired wrong so I got out my test supply.

And tested the LED at 3v and 5v. 5v looked the best, so I have now wired that to the internal PSU. I then did a check and turned off the main power to the head unit (so it's getting none)

I used my multimeter to test for continuity, everything is fine the switch works

So I finished up the wiring.

I then fired up the internal PSU and heard a really bad sparking sound. Turns out one of the spare 12v lines was shorting. I crapped a little, covered the wires and tried again (measuring all of the voltages (3v 5v and 12v) and thankfully I had not done any damage. Sadly the LED looks orange in photos.

The postman turned up empty handed so I have about three hours spare. First I am going to make some covers for the side of the cage, then I will see about cutting the red and smoked acrylic to make the sandwich I need to make the feet out of.
The way you worded the start of that post gave the sense of impending doom. Glad it wasn't of the permanent variety!
When you say covers for the side of the cage, do you mean the metal lip we can see jutting out from behind the head unit in that last pic? Bit of vinyl in black maybe?
When you say covers for the side of the cage, do you mean the metal lip we can see jutting out from behind the head unit in that last pic? Bit of vinyl in black maybe?


 but you've covered that brilliantly.