THE FIRST ORDER (Supermicro CeBIT 2016)

Associate
Joined
27 Sep 2012
Posts
593
Location
Netherlands


Hey everyone, I have been lucky enough to work with Supermicro before for the Opteron Prime casemod ( http://forums.overclockers.co.uk/showthread.php?t=18529582 ). Now Supermicro is working hard to get into the gaming market. They have released their 3rd line of Z-series motherboards and now also a chassis. They are taking this to the events around the world and what better way than to bring a casemod right? :D

That's what I thought. :clap:

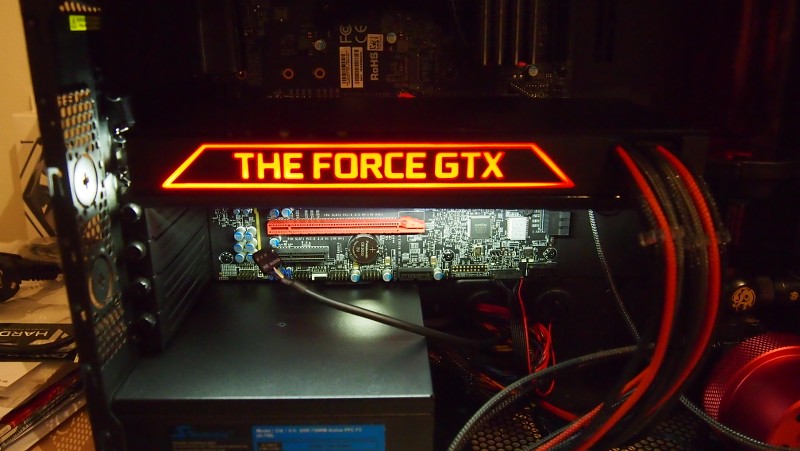
I am happy to be able to work with Supermicro again on this project. They asked me to make a project for them to take along them from event to event. The first one being: CeBIT 2016 Hannover Germany. The theme of the build is the dark force of Star Wars and the name is The First Order.

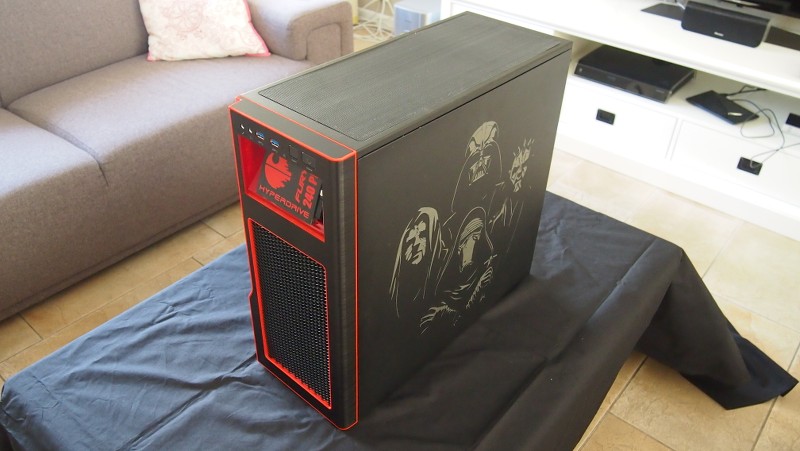
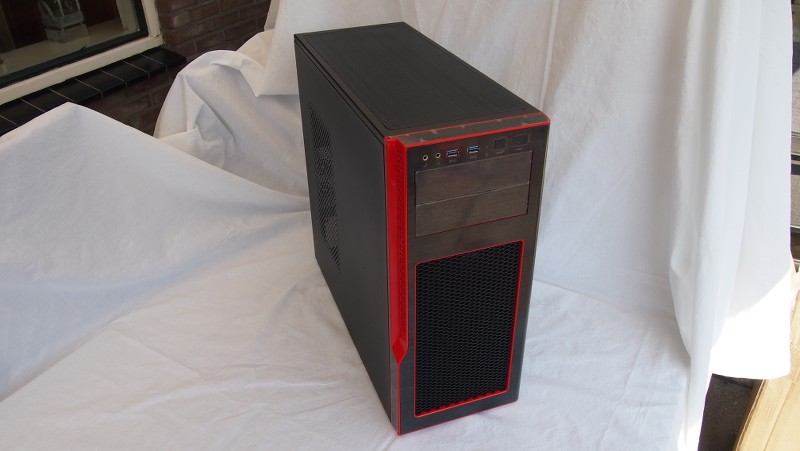
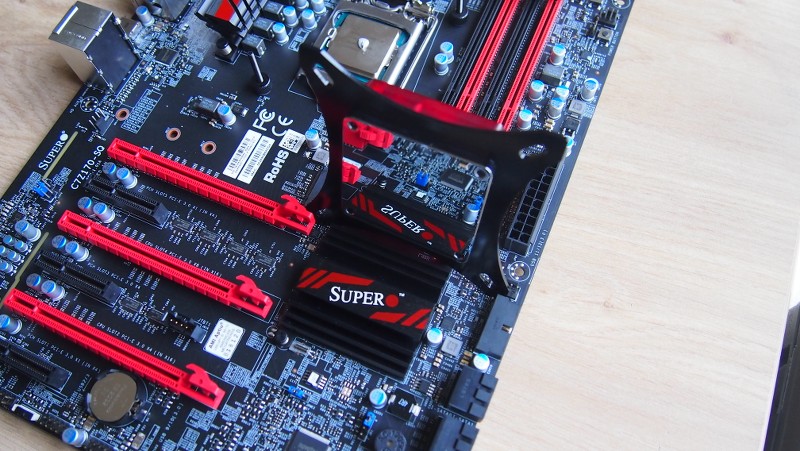
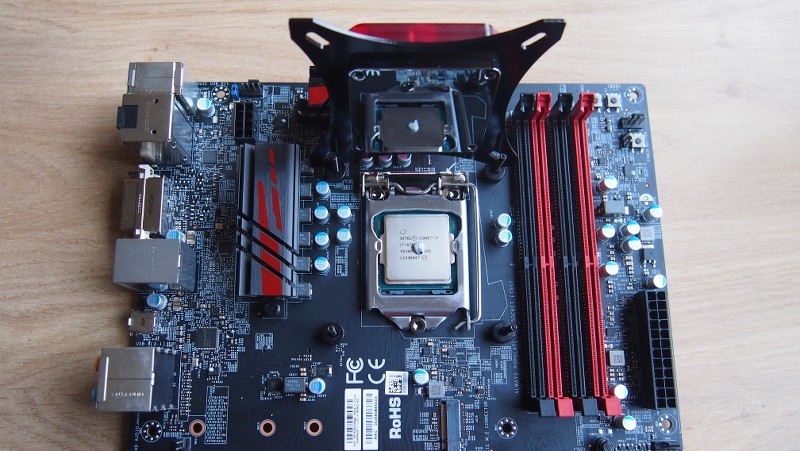
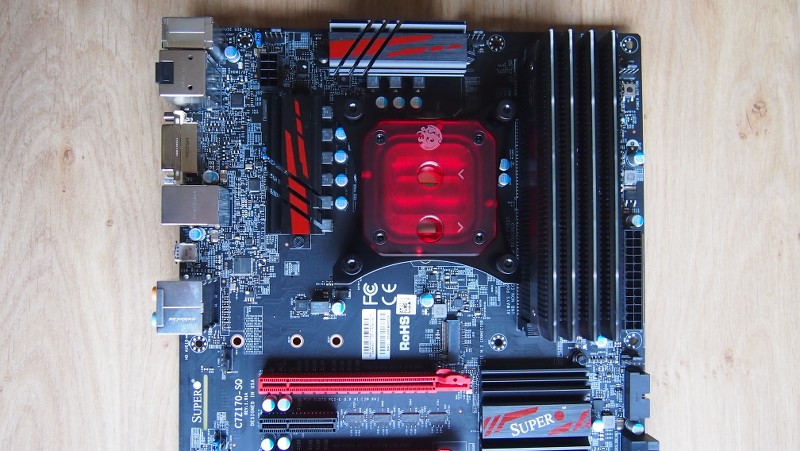
I am using their C7Z170-CQ motherboard and S5 Gaming chassis.

Thank you very much for your faith in my work Supermicro! :clap:

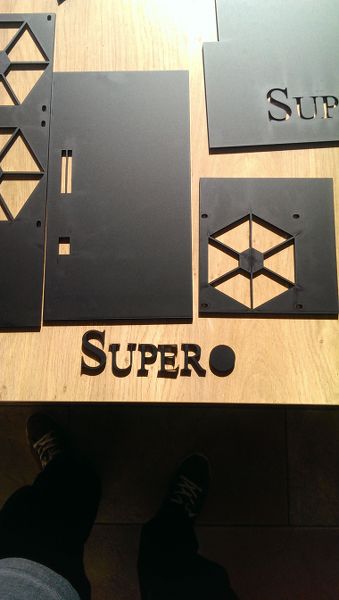
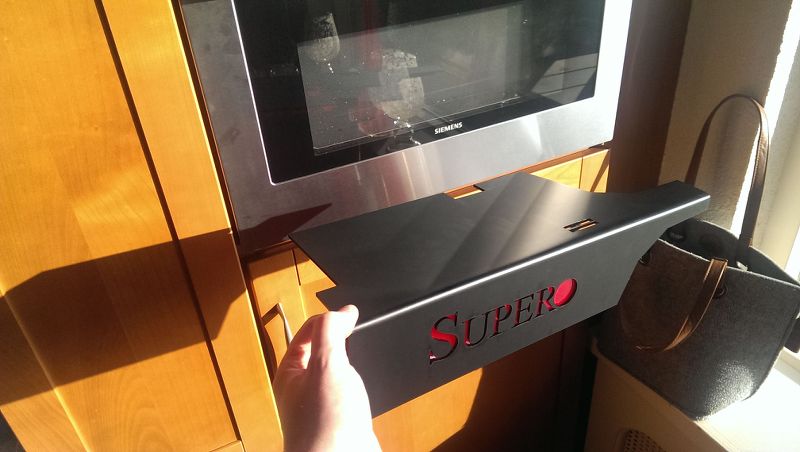
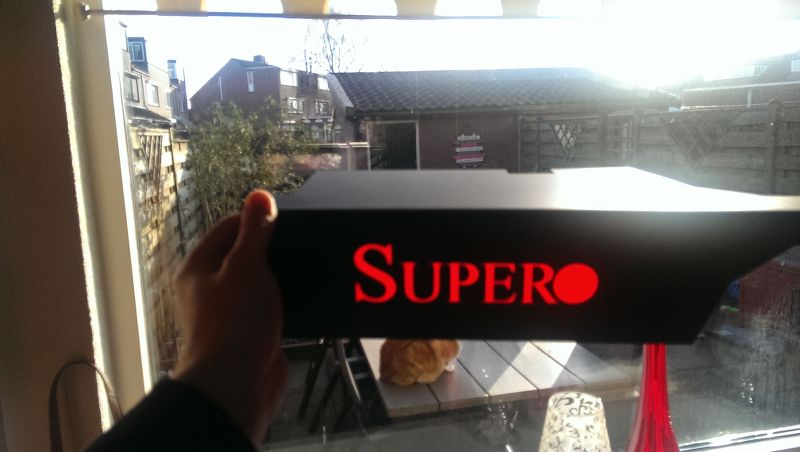
For those that are wondering: Supero is the Supermicro gaming brand.


Lets have the photos do the talking.


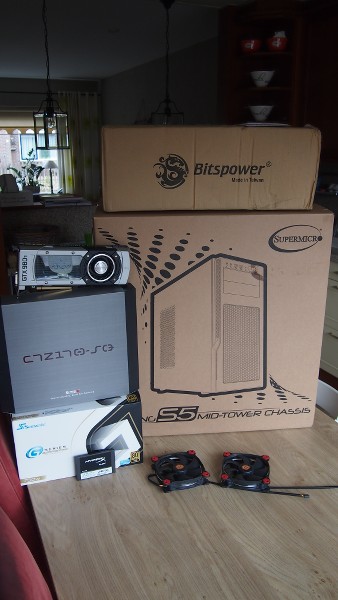
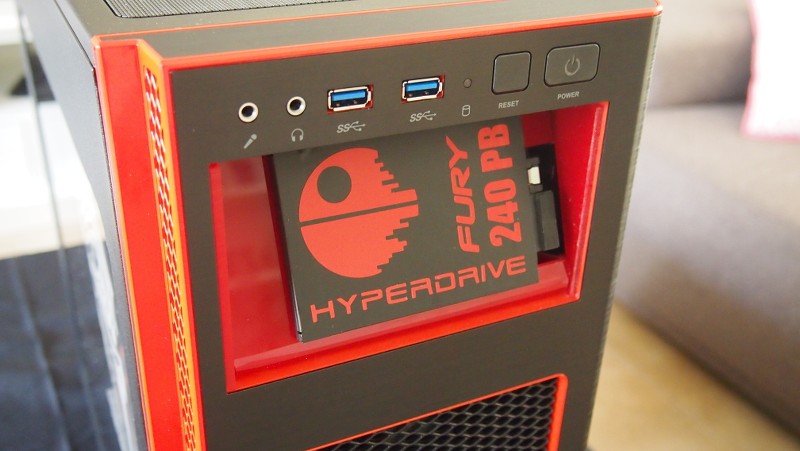
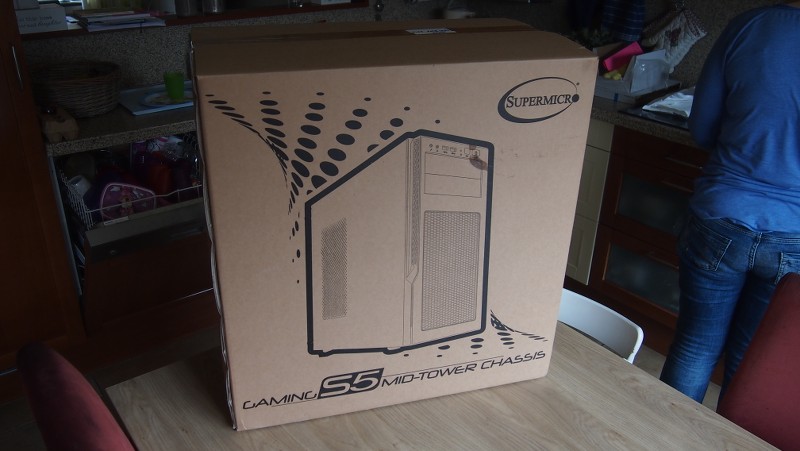
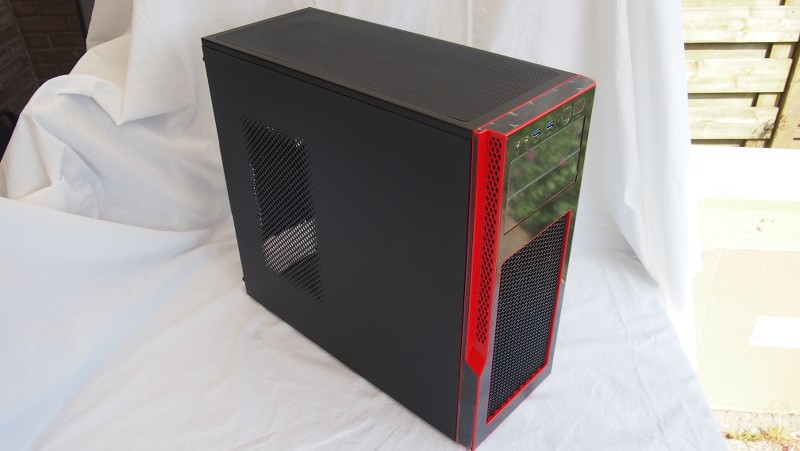
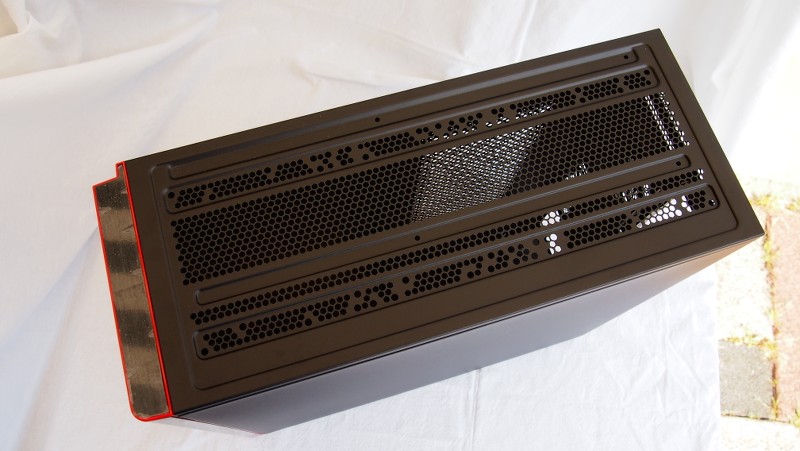
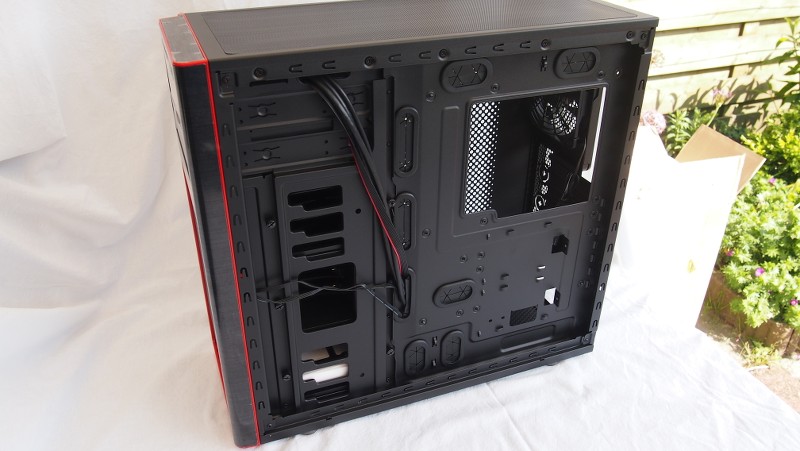
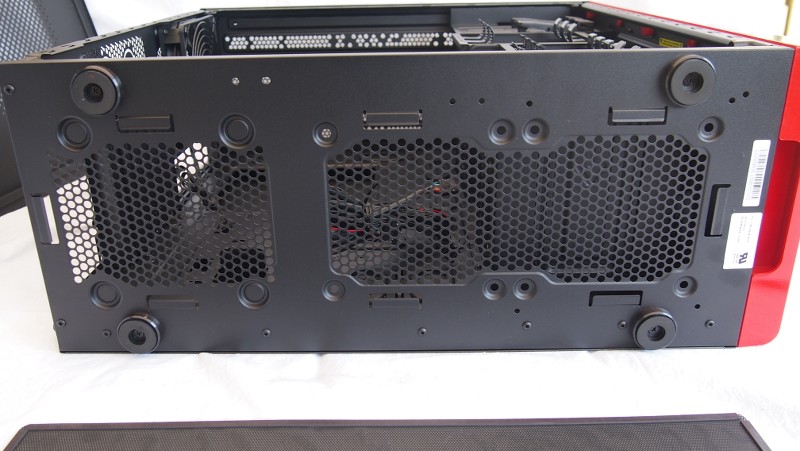
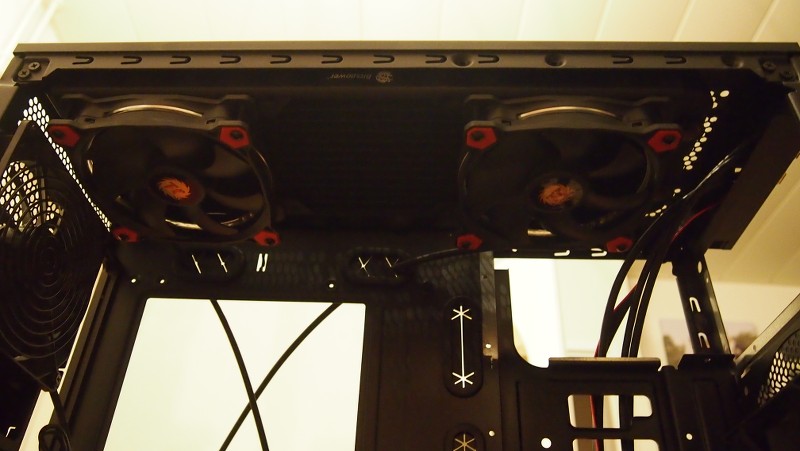
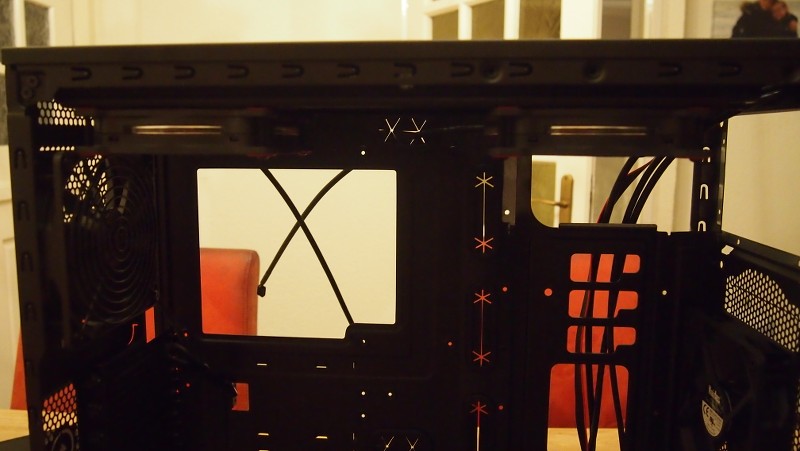
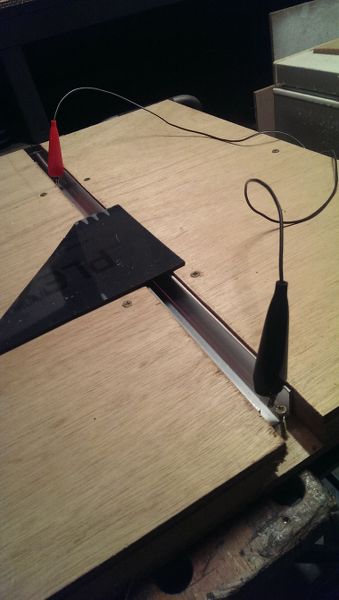
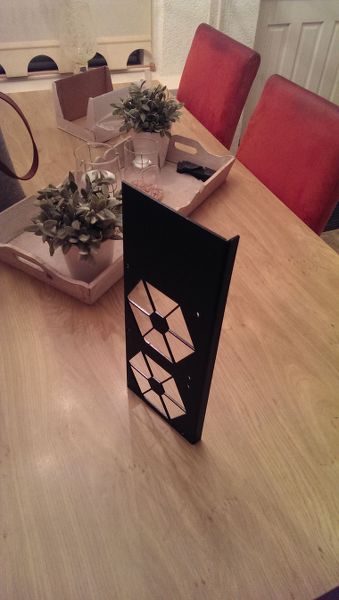
First up the Chassis:


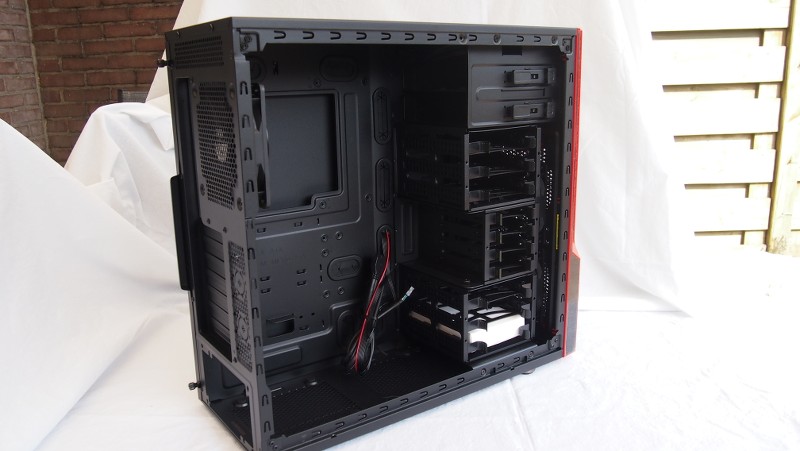
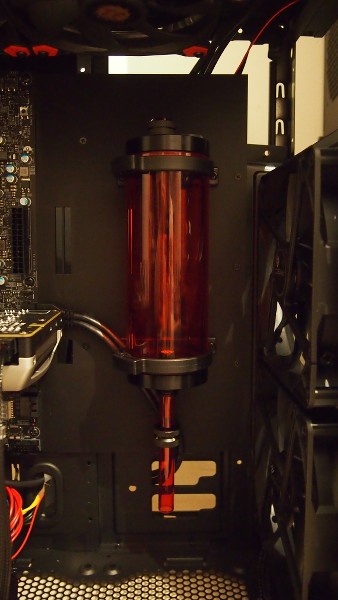
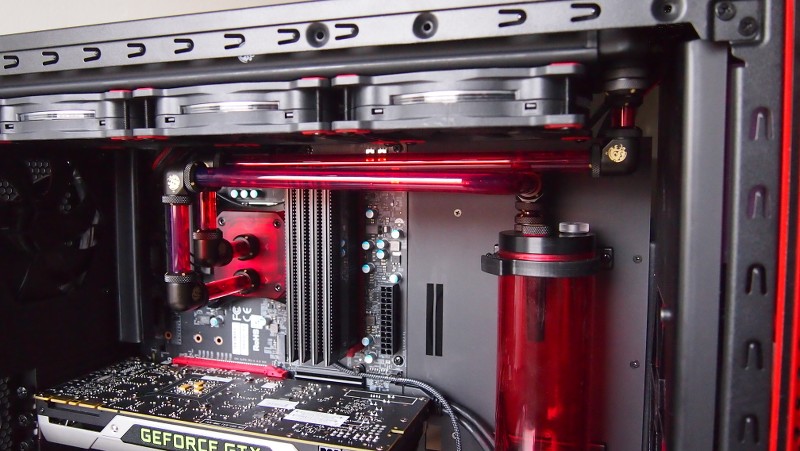
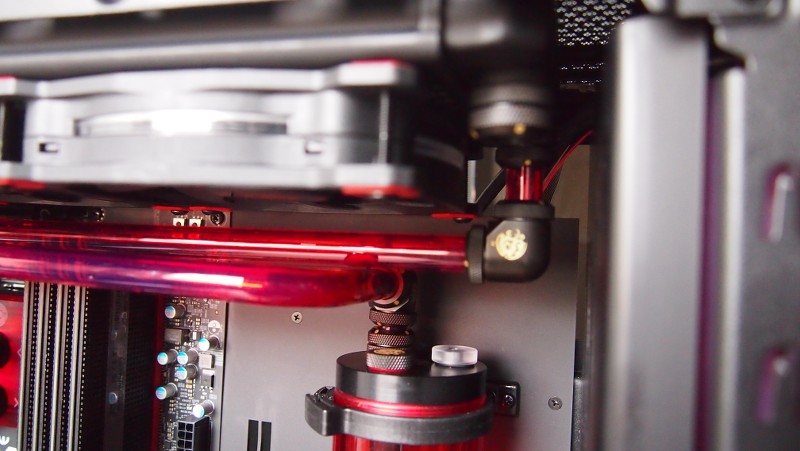
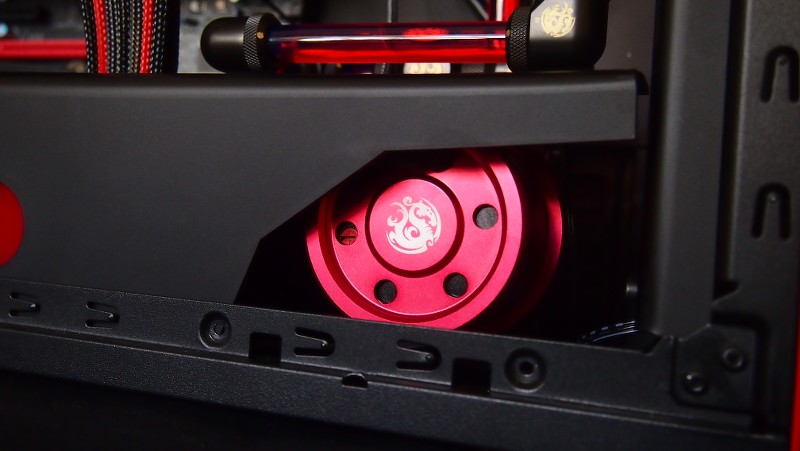
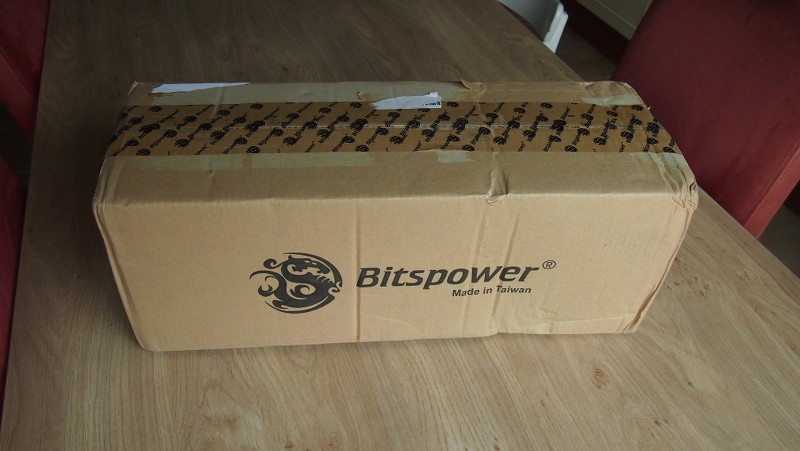
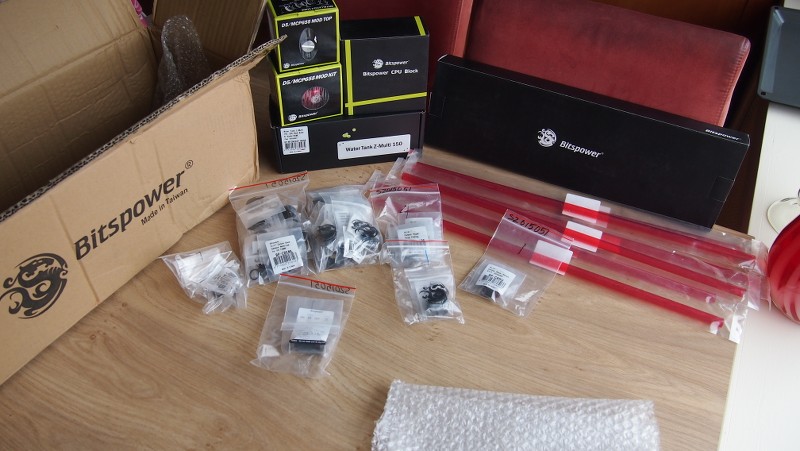
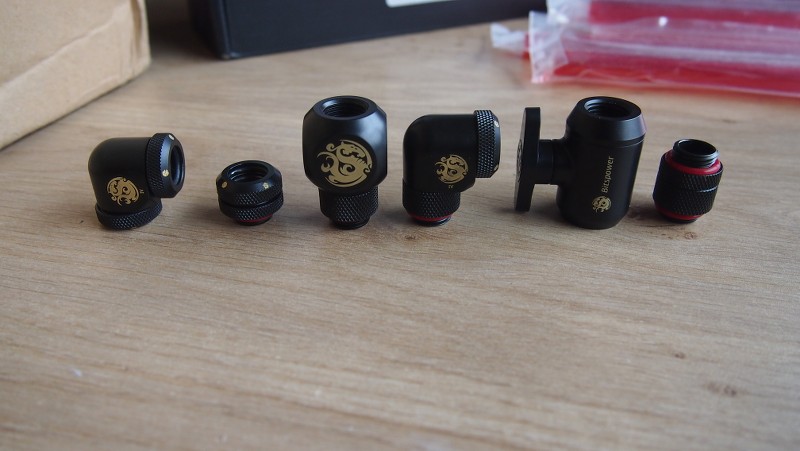
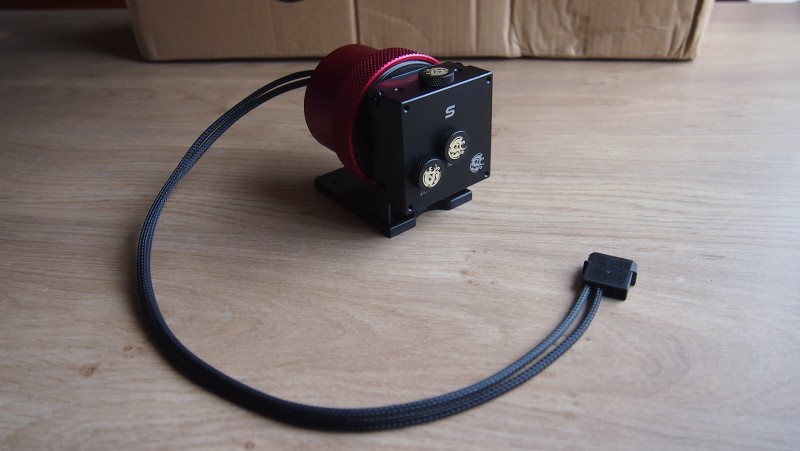
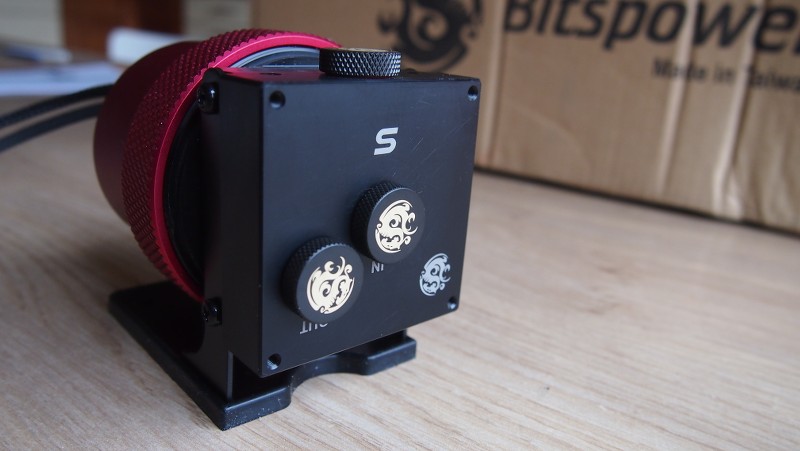
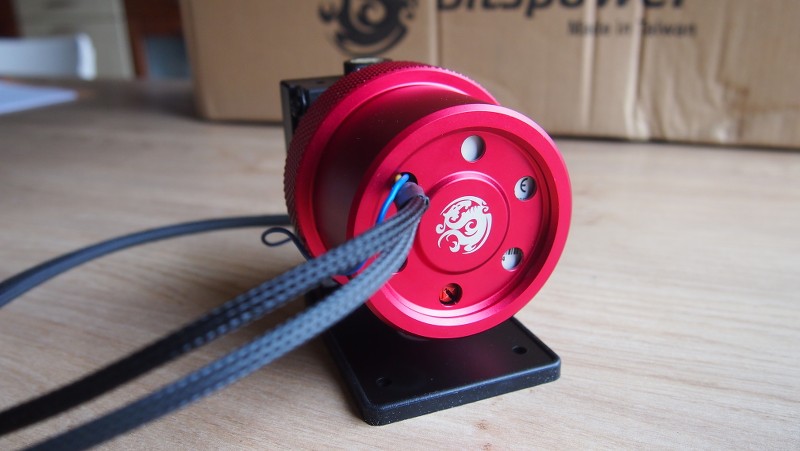
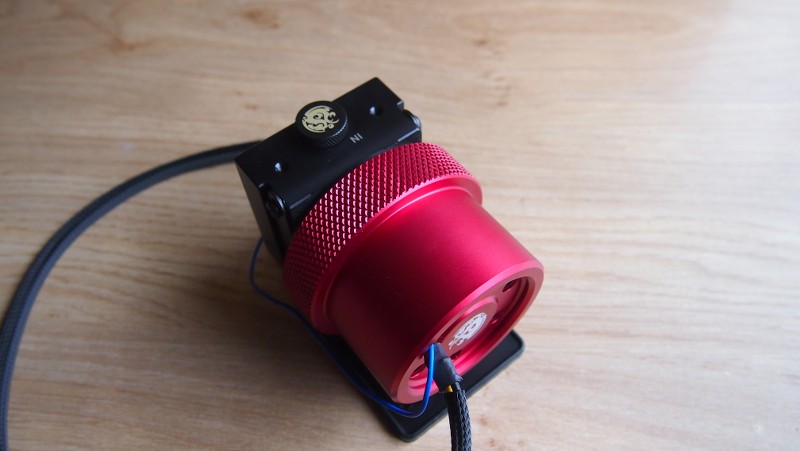
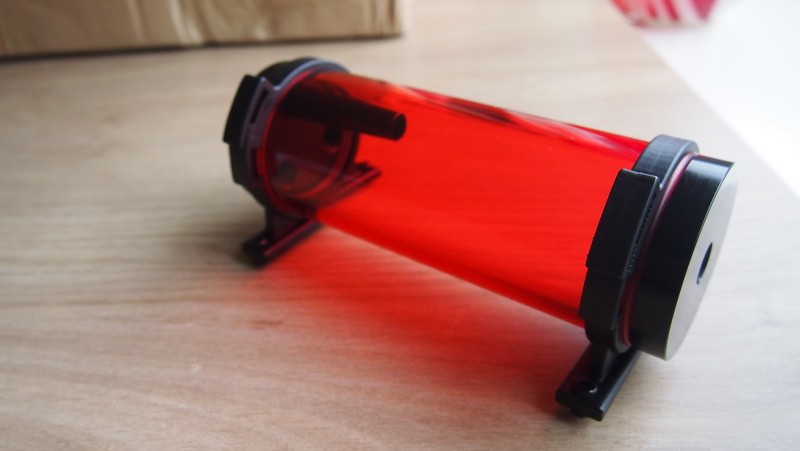
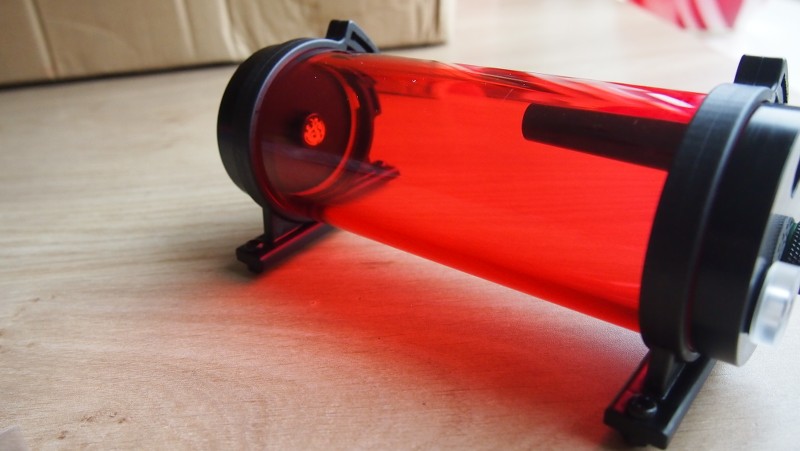
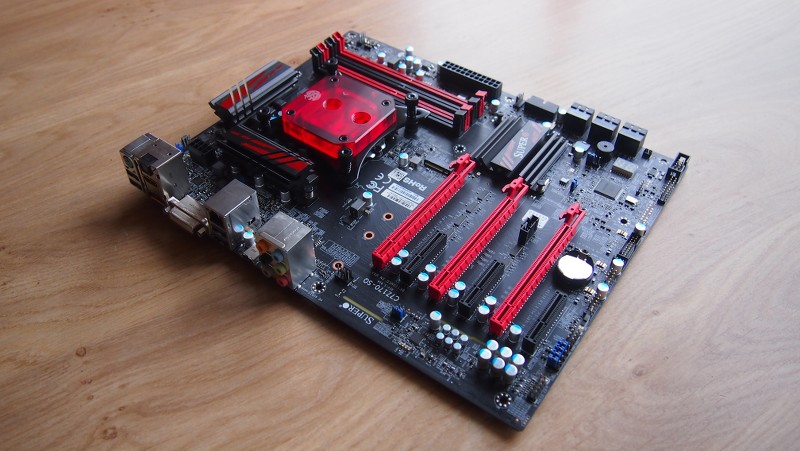
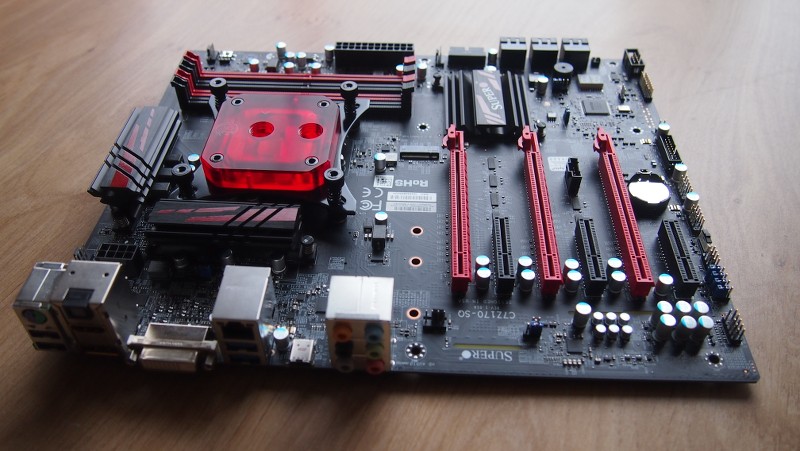
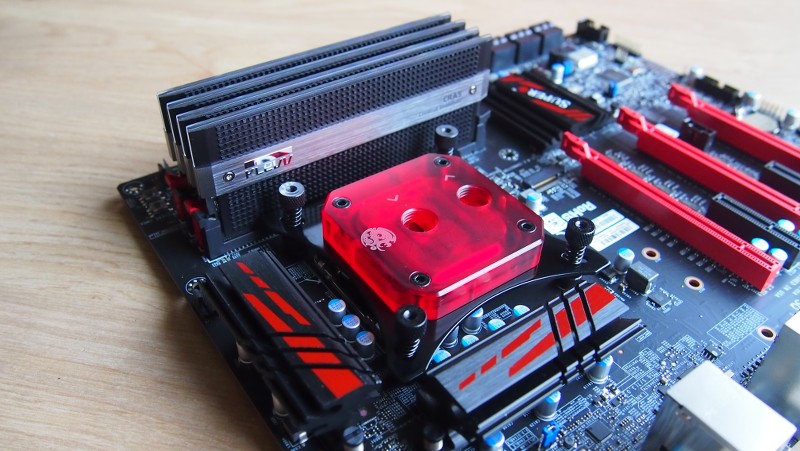
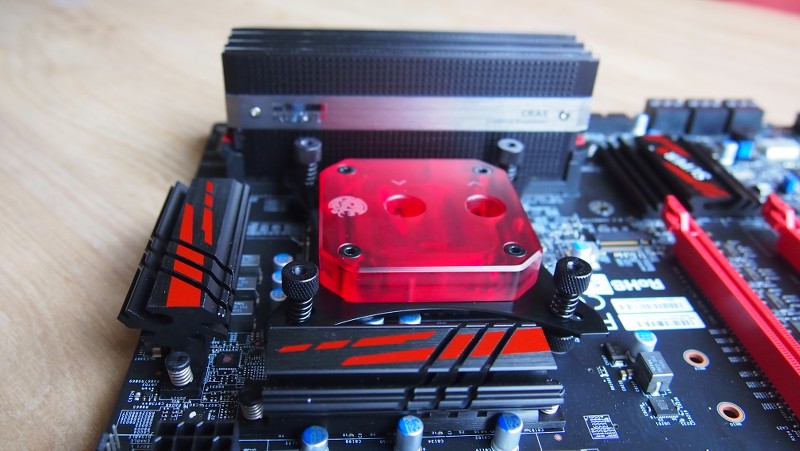
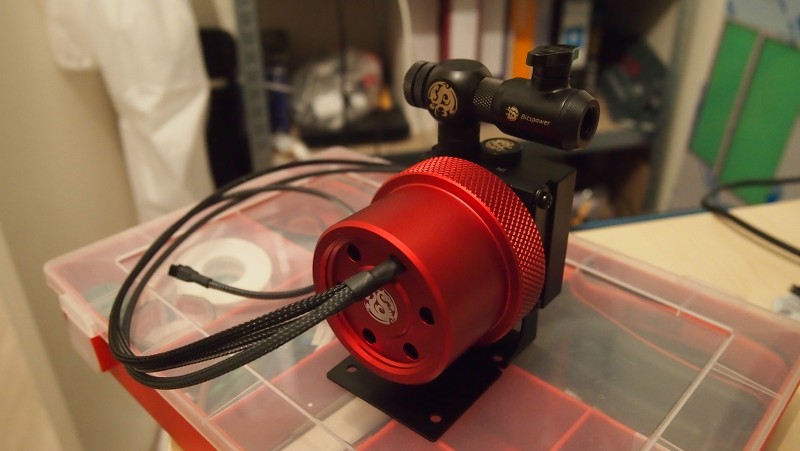
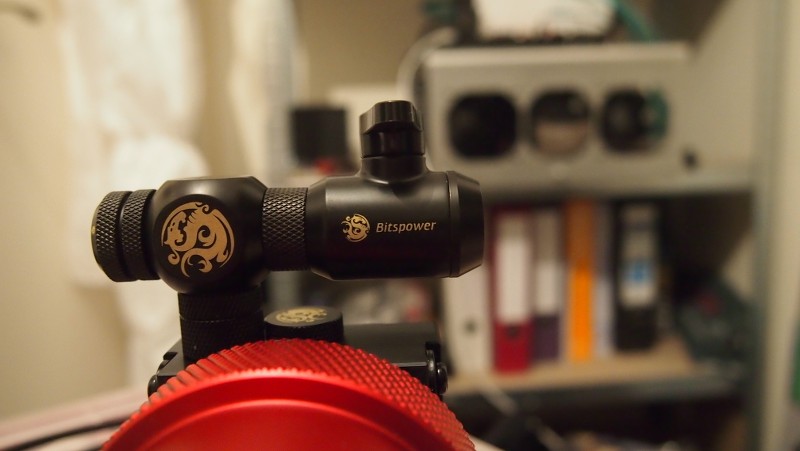
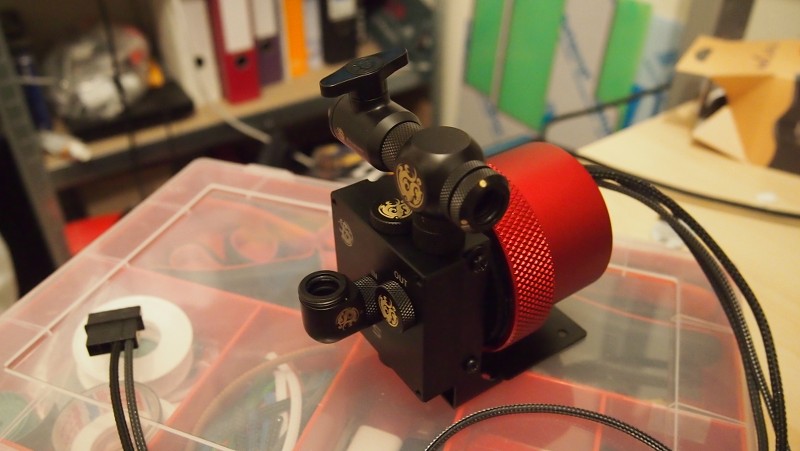
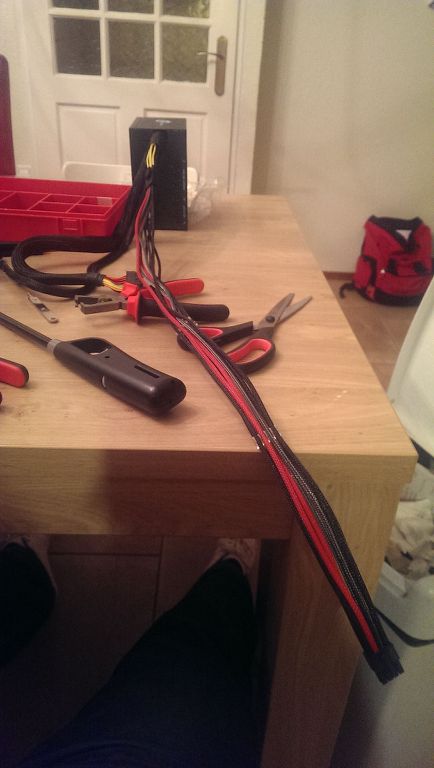
I was happy to have Bitspower on my side to aid with the watercooling parts.

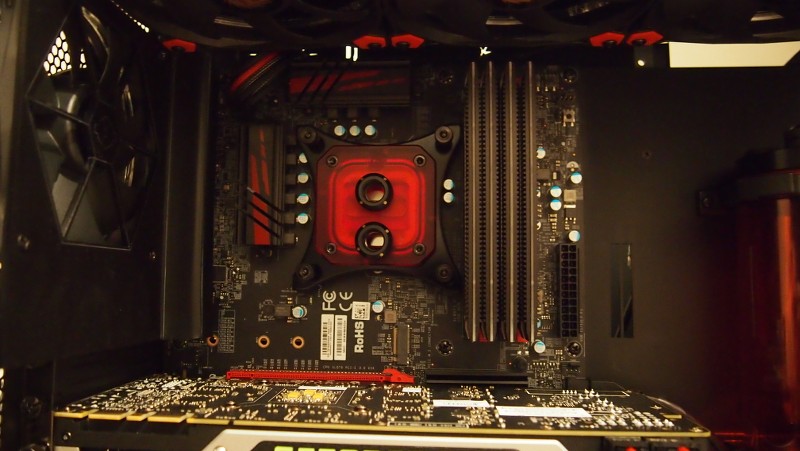
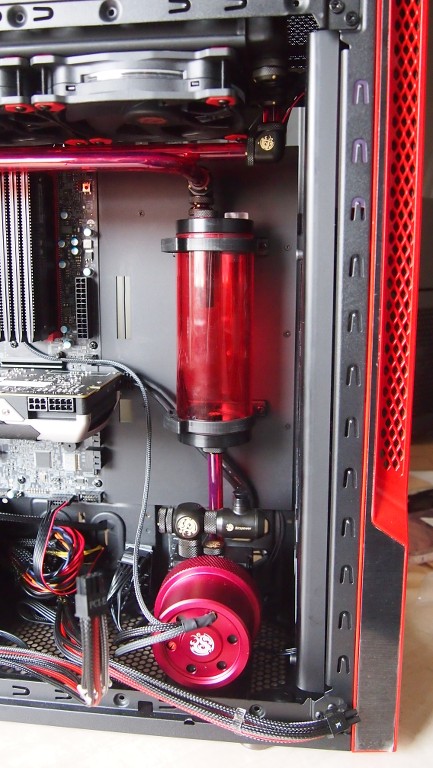
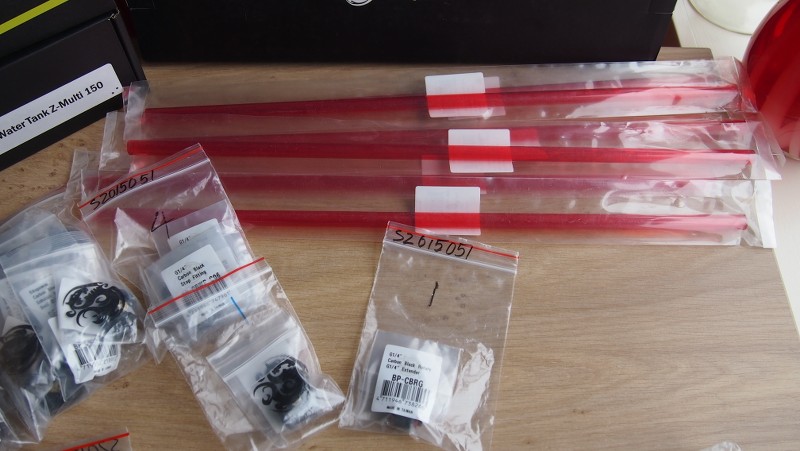
For the first time I went with pre-coloured hardware. So red CPU block, red pipes and red reservoir. I paired it with the carbon black fittings for a nice contrast and a black pumptop for the D5 pump and a red cover kit for the D5 pump.


Thank you very much Bitspower for the faith in another project! :clap:


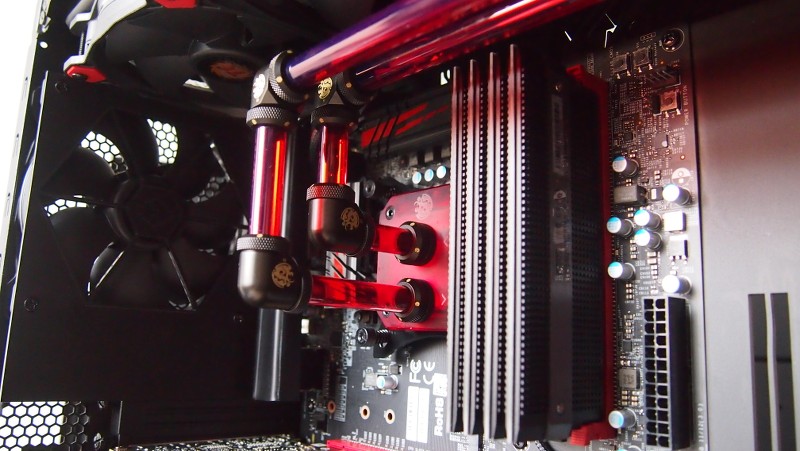
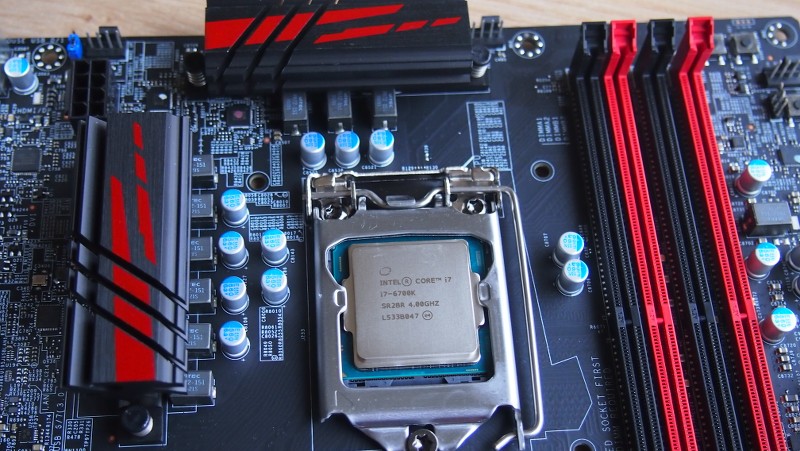
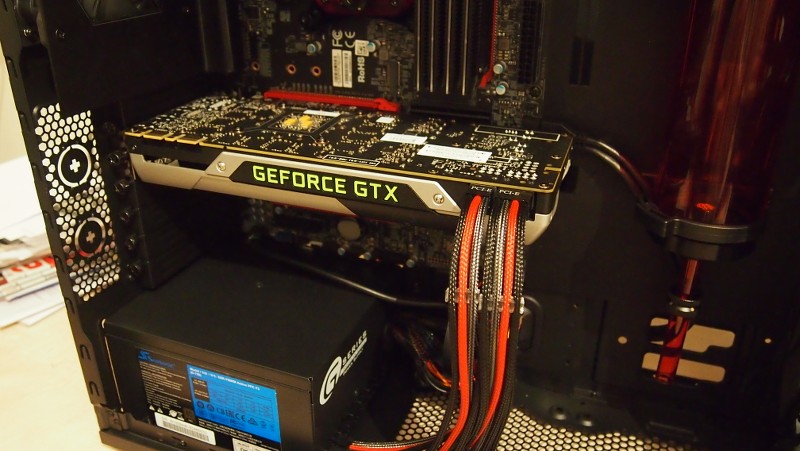
Next up is the motherboard and putting some lovely hardware onto it.
We bought some very nice KLEVV 3000Mhz 4*4GB DDR4 memory that suits the build really well.

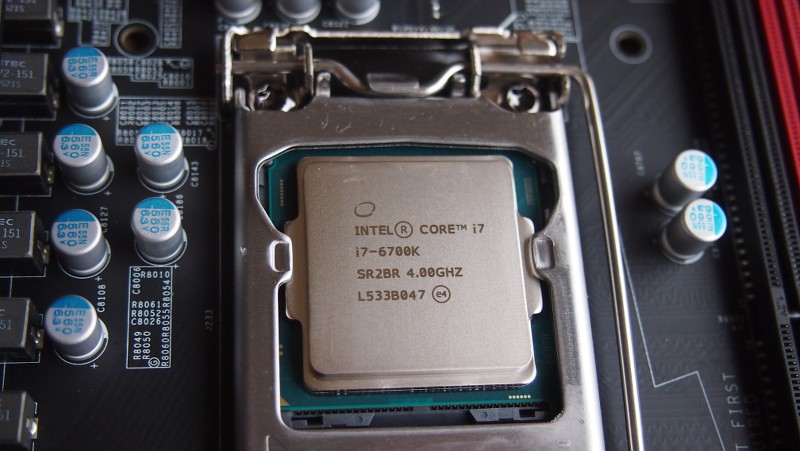
And we chose to go with the newest i7: the 6700K.


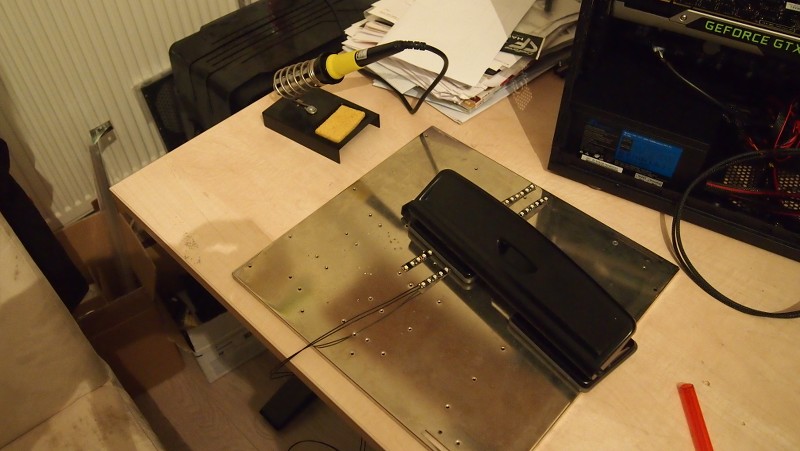
By now I drilled a few extra holes in the top so I could fit a 360mm Bitspower radiator (m4 threads on it nice). A very nice compact one.
I also tossed out all the HDD cages as I need the room for custom parts and watercooling goodness.


See you at the next update. :dremel:
 
look at you, coming into my house and wearing no trousers.... i like it.

Well the sign at the door said: no pantsies allowed. So I took off my pants :D

Looking tidy and nice colour combination. Interested in the updates.

Thank you sir :)

----------------------------------------------------------------------

I went to work with my buddy Django Soeterboek on drawing various covers for the fans, the PSU cover and one to also cover the IO silver blocks on the motherboard.


Up untill now I have always used a heatgun to bend all my plexiglass parts. But some bends were not always perfect and doing bends very close to eachother were near impossible. So I made my ghetto plastic bender from:

- piece of wood I had left;
- an aluminium U profile I had laying around;
- 2 screws for the wire;
- resistence wire;
- a 12v 6A LED strip power supply;
- 2 crocodile clips;
- 1 pull spring.

And that is it :)
It bends 3mm acrylic perfectly. 4mm is possible, but take a long wait and you have the risk of the surface burning / getting bubbles.

It works fine when

 
Looking forward to watching this build take shape, just wondering how sturdy the SuperMicro case is as although this is gaming hardware I expect supermicro have brought in some business/enterprise grade features with it?

Also, it's about time there was a Starwars build :D

The Supermicro S5 gaming case actually fullfills all the workstation regulations. But they want to make a real consumer case as well. Therefore this case is also available with a black interior. But they are working now on a new case design.

And thanks :)

Ok you have got my attention. Now I need more. FEEEEEEEED me

I will :)
 
I worked on the plexiglass pieces a bit more.
I found some red plexiglass that was a good shade of red to match the other stuff but also not be transparent but does let through light. Ideal for backlighting for the logos and other stuff.

Here is the PSU cover and the front inside fan grill.

I am using 4 Thermaltake RED riing fans (3 in the top for the radiator and 1 in the rear for the outlet fan). So just a black grill will work fine with it. But the 2 front fans are actually Antec 140mm quiet fans completely black. So a bit down the line I added a red layer of plexiglass to the front grill in the exact same size and shape to get the red and black contrast going on. I will show pictures of that later on.


Will be good if Supermicro get into the gaming market.

They have. This is their mid-range Z170 motherboard. Recently they have also released the C7Z170-OCE with a PLX chip and quite a cool green and black design. I hope to use that one soon as well :)

I really hope they have made some dramatic improvements to their oc boards. The first iterations were shocking. The BIOS was terrible to use and the "OC" Buttons (Car, Boat, Plane LOL) just didn't work and their OC profiles just were terrible.

Project looks good tho.

Your points are valid, only the quality of the motherboards were already good. But the presentation was very server hahaha

Thanks for the comment :)
 
I wanted to also make the other side of the case a bit interesting. So I went to Google for some nice engraving GFX. And I came across this one. I justhad to use it. I don't know who created it, but not me. So I cannot take any credit for these gfx.

I got it engraved in the sidepanel. What do you guy think?

 
Love the engraving Hukkel, picture is awesome and the actual job looks real tidy!

Thanks a lot :)
I haven't made the gfx themselves. But I think it does suit the project.

That power supply shroud looks great, almost as if it was designed to be part of the original case :)

How much did it cost roughly to create the shroud and how does it fix to the case?

Thank you sir. :)

The shroud is not very expensive to make. It is maybe 12 euros in plexiglass, 30cm / 11 inches of white LED strip and you have to pay for the lasercutting. You can bend it yourself using a heatgun. So if you have a nice lasercutting shop in the neighbourhood you could have it done for 25-30 euros. It is a lot of hassle to arrange it though (drawing it out, having it lasered, bending it, glueing the red plexi, soldering the LED strip and if you only need this made it will also cost the shipping of the plexiglass and LED strip. But if you do it all yourself it doesn't have to cost much.

It is not fixed to the case actually. It clamps between the side of the case and the watercooling. I have fixed shrouds in the past to the motherboard tray using a small plexiglass L-piece. But it was not needed this time.
 
I received a lot of parts from Bitspower, but at the last minute I changed the loop as the one I initially thought up was not good enough in my eyes. I was lacking room for it. So I had a bit of a dilemma how to use the fittings I had to make the new idea work. So I ended up with this construction :D
Basically if I drain the system only the pump has a tiny bit of liquid in it left. All other parts are higher. So that is not bad :) And I didn't have to buy additional fittings.


Looks good from here. The Bitspower fittings do look high quality...but then your shopping basket total does get eye-wateringly high all too quickly. :eek:

Like the side panel and shroud too. Part of me is jealous that you got yours done with laser cutting where I had to cut and file my metal shroud by hand....but I know I'd have had to redo it several times. I've already changed the plan and added a filter into the loop.

Spare stop for the end of the drain tap or is it safe enough and hard enough to turn accidentally?

Yeah Bitspower does cost quite a bit. They do have the biggest selection of fittings and colours.

Thank you very much :)

I have done many with a jigsaw and file as well haha.
I just didn't have much time for this one so I made sure I could get everything cut at the same time.

I usually do a stop fitting at the end. But that is more for looks. I have never had a leak in any of the builds I did from the tab.

Love the bending jig, you're getting some great results from it!

Thank you Brian.
 
Like always I sleeved my own cables :)

I made a rainbow extension for the 24 pin because of the double wires in the regular 24 pin cable. But sleeved the 8 pin EPS and a 6+6+2 cable I shortened and sleeved. The coloures are MDPC Color X, black and a hint of carbon sleeving.


Here is the GPU cable installed to see if the length is correct to the GTX 980TI ref.

 
I keep seeing images of cable combs and it just reminds me how much I need to buy some as the improvement they make is night and day as the cables look much nicer and trained :) Also the subtle hint of grey in the cables breaks up the colour and looks great :)

Thanks man. It is actually carbon coloured sleeving (so a weave of grey and black). I had it left from another build and I am really liking it in combination with other colours. Thank you for noticing :)
 
I wanted to do something funny with the SSD. It was self bought so we could do anything we wanted with it. It was originally a HyperX Fury SSD. I kinda wanted to give it a Star Wars theme with a wink. Like it could be in a Star Wars ship. But also like HyperX could bring it out in 10 years ;)

So I ended up making a HyperX Fury HYPERDRIVE of 240 Petabyte :D

I mounted it in the front dual 5,25 inch bay as I had no use for it.
There is a full red plexiglass enclosure around it so you cannot see any cables or the inside of the case.


Thats a nice mod at the front and the cables to the "Hyperdrive" :D look clean, also I don't suppose you have any of those Petabyte drives left lying arround do you as I could use one :D

Great work as always :)

Thanks man :)

I am not sure man. Some Jedi came over yesterday asking me for one. He might have taken the last one xD

Nice to see Supermicro gettin some love. Another to note though is instead of cable combs you can always sew the cables as I always think it looks a bit cleaner. (http://www.overclock.net/t/1309854/cable-sewing-tutorial)

Thank you for your comment.

The final photos won't have many in plain sight as the PSU cover will take care of a lot of the cable directions already.
 
I started work on putting the system together. Like always I need to do it in a specific order to be able to reach everything I need. I will never learn xD


Meh, it's no fun if there's actually room for everything! :D
Are the front fans easily removable for draining the loop or do you expect that fan to get so hot as to need extinguishing on-tap?! ;) or is there room to screw a 90° bend on when necessary?

How thick was the acrylic in your PSU shroud? Mine's metal but the existing holes are in the way and won't let me tidily mount the filter. I'm thinking of just laying a piece of acrylic over the top and mounting into that but not sure how thick it needs to be. I'd look at replacing the whole piece but it'd need multiple bends and it's structural in my case....and also, I'm lazy :D Worst case I could vinyl wrap over the acrylic onto the metal so it at least looks like one piece.

haha I still hurt my hands enough with this build xD

There is room for a non revolvable 90 on it. And otherwise the front grill and fans are removable without too much hassle (read; without having to take the entire build apart).

The acrylic I use is usually 3mm thick. But it is not a structural part of the case. It kinda depends on how much weight it needs to hold.
 
The final part I wanted to make from plexiglass was a shroud for over the GPU.

I wasn't allowed to mod the GPU itself because they wanted it to be easy swappable with another GPU. I still wanted to do something about the appearance.

So I made this cover with a small wink to Nvidia and Star Wars.

I hope you like it.


Devious. Like it!

Thanks :)

Looks amazing, that front drive mod is a thing of beauty.

Thank you sir. Great to read it :)

Love the cover, I think it's even better that it looks great but you can still change out the GPU with ease. Form and function :)

Thanks TM UK. I had to adapt to the wishes of the client here. I also think it came out rather nice :)

very nice

Thank you KS73
 
For the first time I am trying to use more 90 degreen pipe to pipe fittings. Because I thought it would fit the theme.


Nice runs with the fittings, you're right about them fitting the theme although I bet it bumped up the total cost of the loop though :)
Also, I was just wondering that since one of the tubes is suspended downards from the radiator how secure the fittings are to stop the tubing falling out.

I have been affraid about this in the past myself. But even using a non-compression fitting (so one with 2 o-rings in it) they stay put fine. And I have had multiple systems being travelling Europe and no leaks untill today.
 
I finally came to fitting the midplate. I had finished all cables to everywhere, mounted a fan hub powered by a molex connector for all LED strips and fans. But all invisible under the PSU cover.

I really like this shot :)

 
Back
Top Bottom