Thermaltake Mozart tx watercooling build

Permabanned
Joined
12 Feb 2007
Posts
8,731
Location
Teesside
Thermaltake Mozart tx watercooling build 56K A BIG NO NO

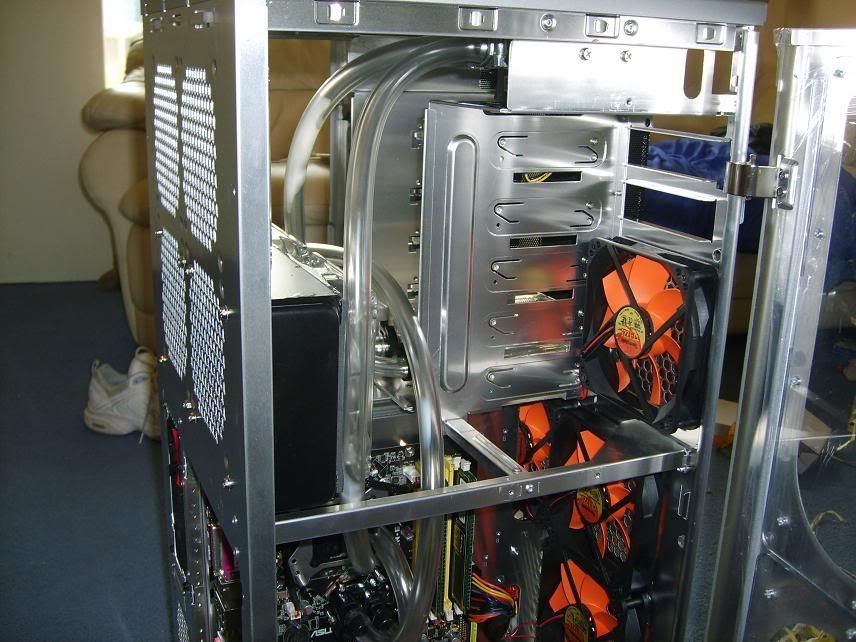
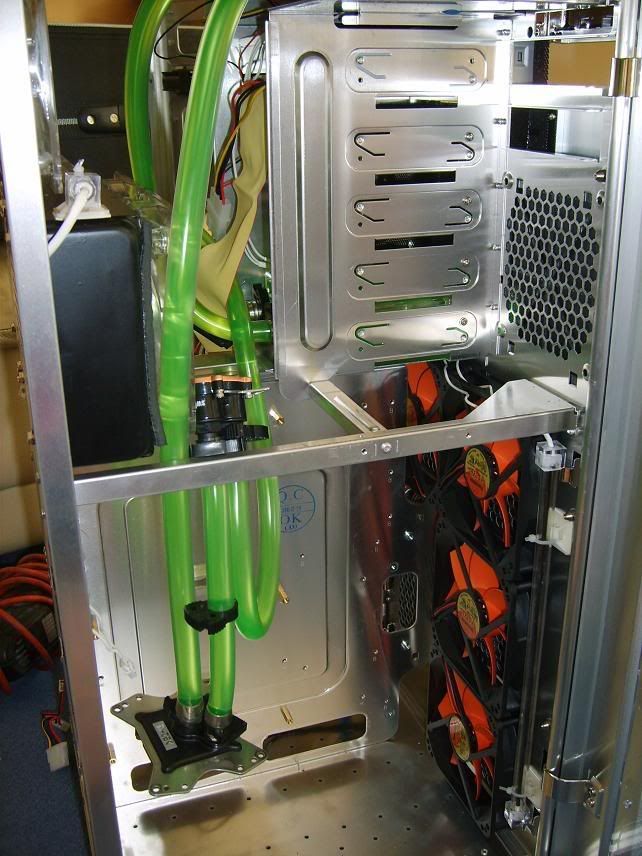
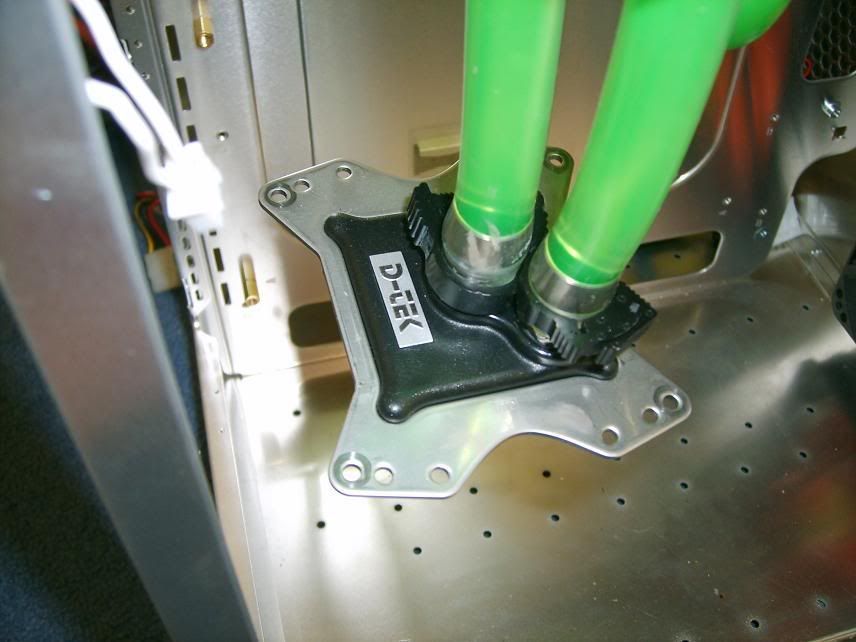
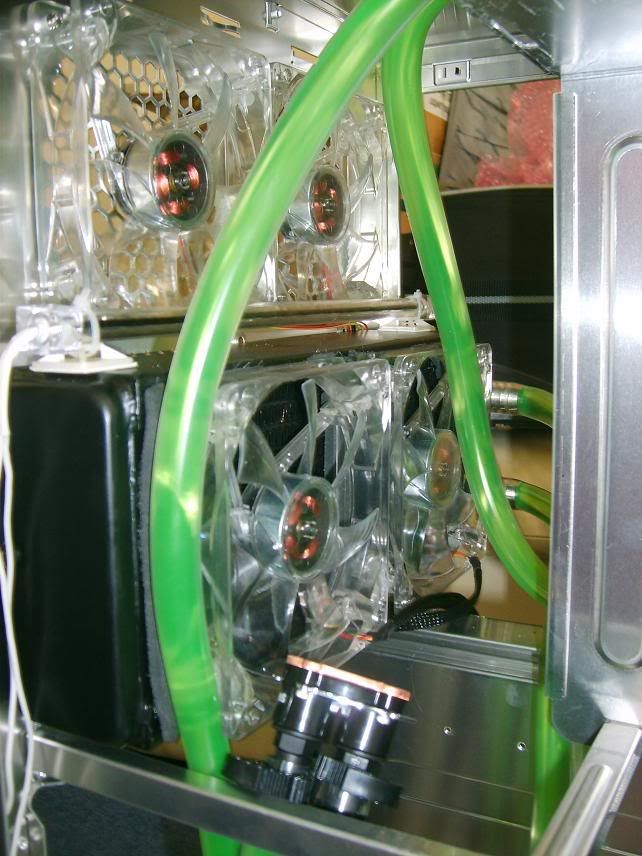
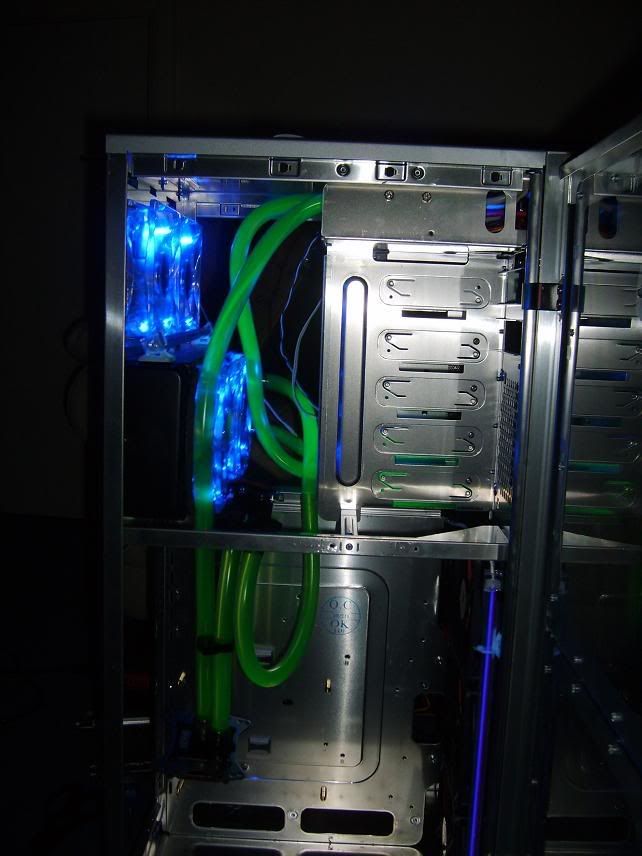
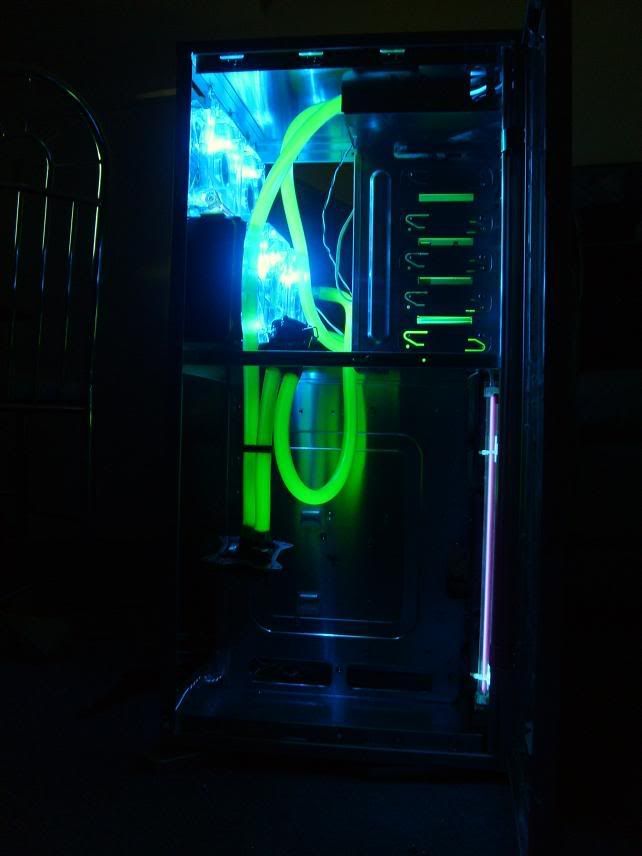
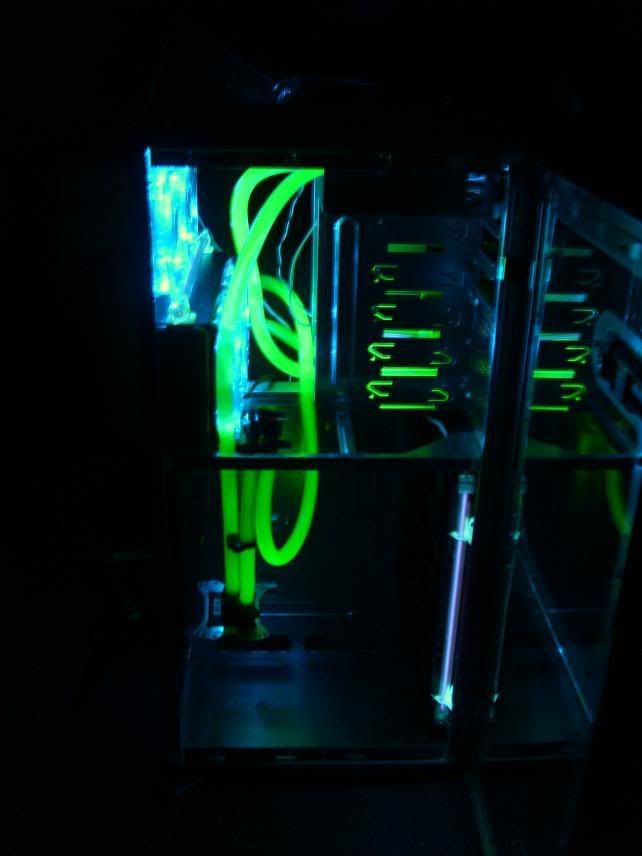
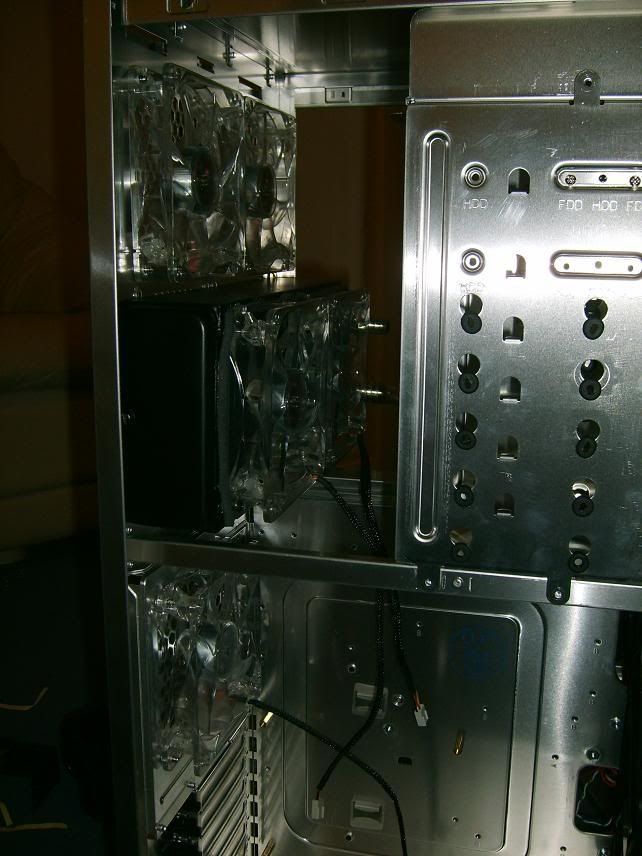
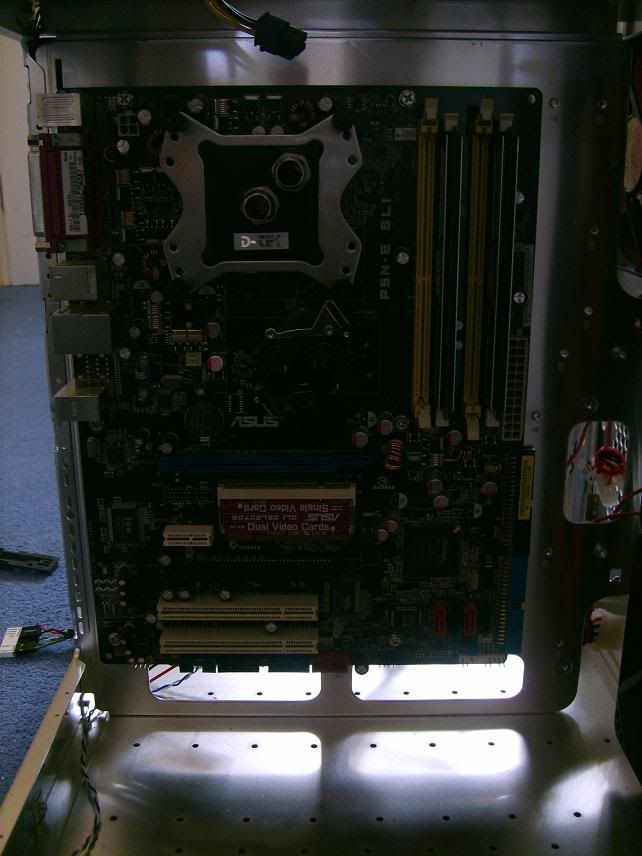
ok im watercooling my system in this case so here is a log of whats happening

01.jpg


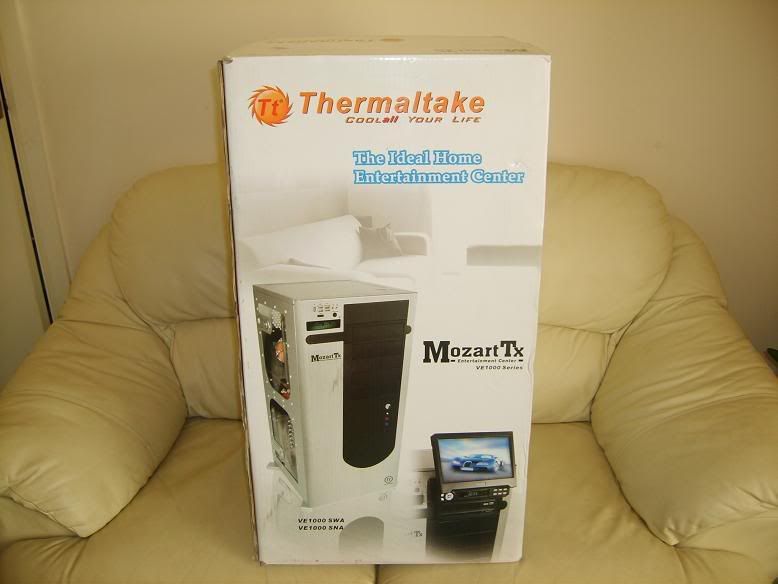
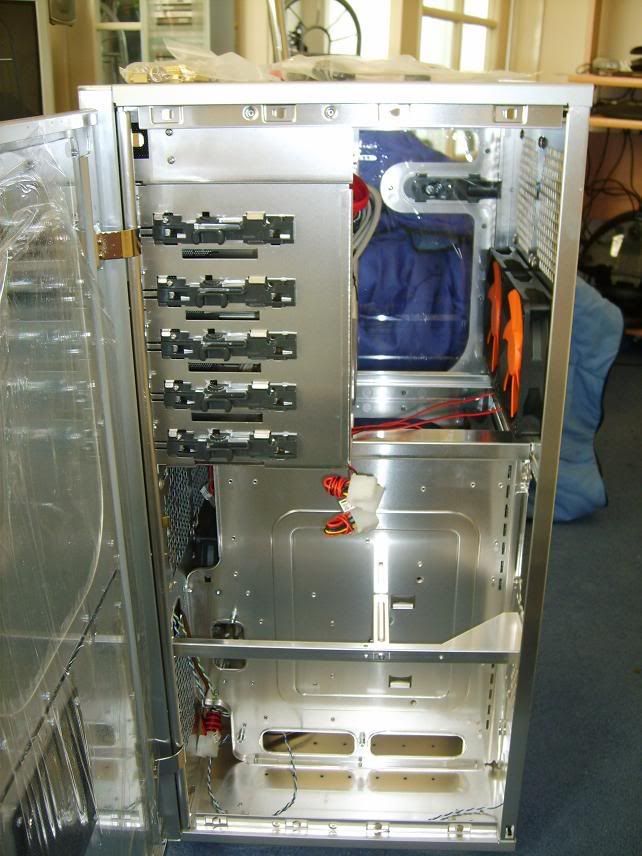
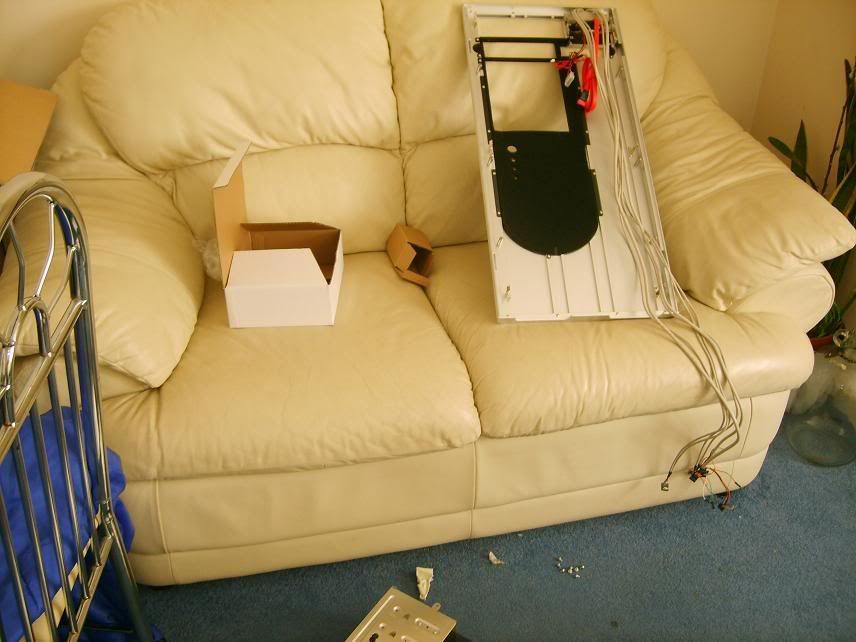
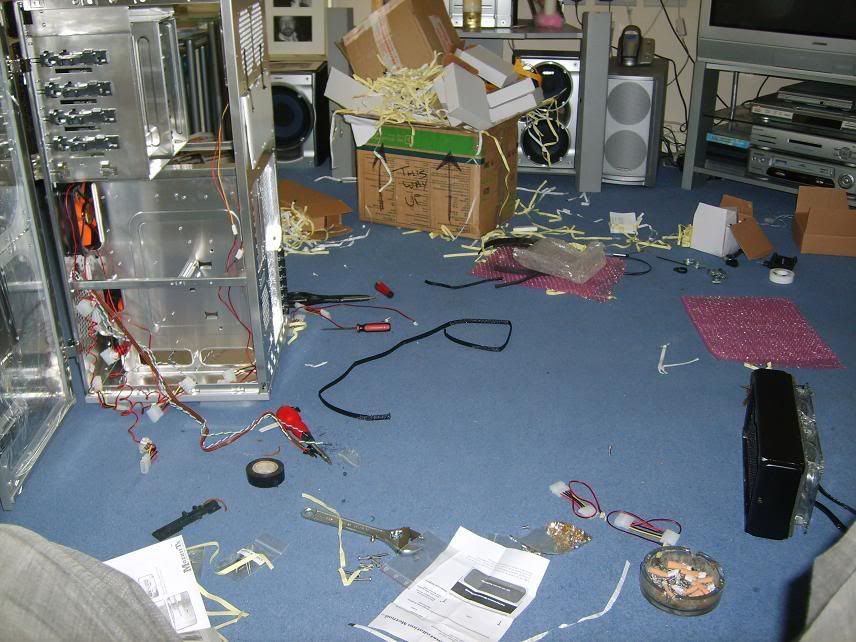
the case came the box is massive..... thats a big double seater its sat on

02.jpg


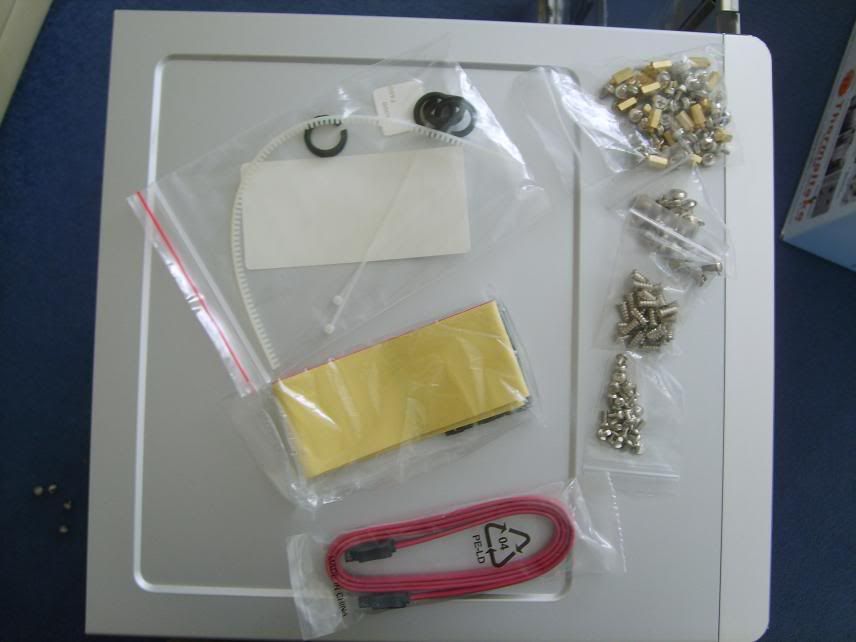
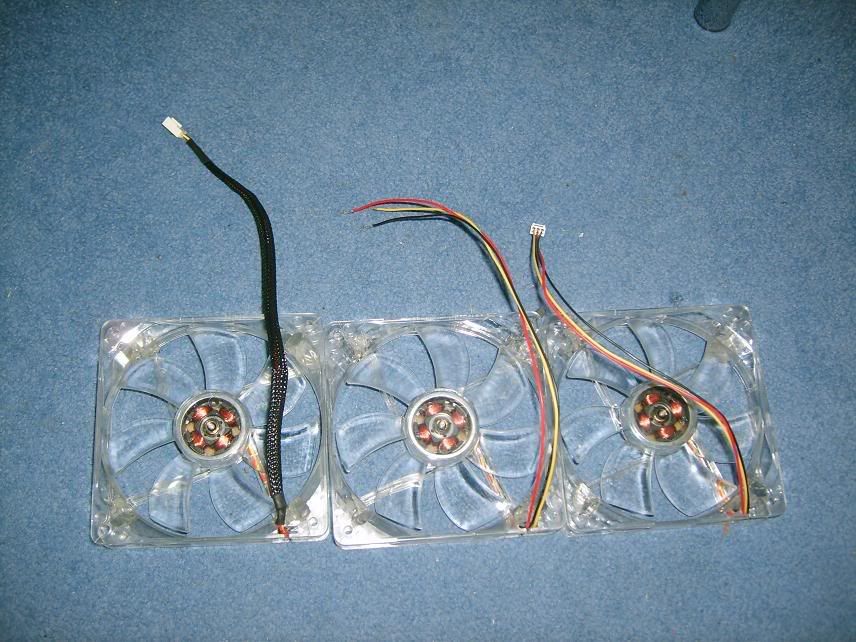
thats what came with the case the cables are 1m ones ( i need some more longer sata cables now)
 
Last edited:
the cooling potential for this case is amazing even though thermaltake are not known for the best cases ever this case is only 36cm from front to back and with it having the ability for 5 front and 5 rear 120mm fans there should be good airflow

03.jpg


thats the inside of the narrow side

04.jpg


that is the backplate off the mobo tray doesnt come off but with the back off its a lot roomier to get in there

07.jpg


Not the best pic in the world but you can see the mobo tray and the fans on this side
 
Last edited:
Azza said:
What rad(s) are you using paul_64l?

If you are using a 120.2 could I see it up against the back please. Can you fit two there?


Cheers

Azza

i got a pa120.2 in the back of there and another will fit althout you wil need to drill screw holes

and if you want another it will go in the top
the front could hold a 120.3 depending on the gpu
 
ok ive moved all the thermaltake fans to the front (5 came witht he case)

this is so i can have all my yate loons at the back

also rinsed my new rad out as it had perspex bits in it (used feser 1 for a colour test to rinse it its now fitted

05.jpg


06.jpg


the length of the wires from the front panel means stealth routing them should be easy

08.jpg
 
Last edited:
i love it a few people were saying get a mm case and i was fulling prepared to but i just had to give this a try whilst mm came in stock in the shop i was gonna get it from.. ocuk also had this at a great price.. this was going to just be an in between case but im defoo keeping it its an awsome case for the money u cant go wrong

the front panel is ally about 5mm thick
 
ok starting to braid my yate loons to tidy it up a bit

09.jpg


taped up my barbs fitted them in my rad finger tight plus 1/2 a turn

10.jpg


fitted the fans to my rad al braided up

11.jpg
 
ok the rad wont be a straight forward fit so some holes need drilling in the case the quickest way for me to do this was get the cardboard from the rad box and pin ***** some hols in and tape it on so here goes

12.jpg


i phoned my wife an hour before she got home to say the living room was in a little bit of a mess but id clean it up abit before she got home.... she walked in from work to meet this

13.jpg


i like that keyboard im sick of mine
 
Last edited:
ok the holes are driled and the rad is in also the yate loons are all in

15.jpg


ok the pump is now fitted i drilled 2 holes to fit it above the hdd bays to keep the piping short

16.jpg
 
Last edited:
Azza said:
Well his wife is still there.

Hes just out in the car.

no its the dog house lol

she was fine tbh i was well prepared for an argument ant she came in and said im not cooking tea lets have chinese bonus all round id say
 
ive been buys today drilling the holes for the hdd's to turn them around. orderd the 1m sata cables so they should be here tomorrow morning
 
i want the screen and the little display with remote but they will be after some other bits... getting there now wit the basic setup
 
ok all the pipes are cut and run my loops direction is

pump > cpu > nb > rad > res back to pump

20.jpg
 
motherboard is out the system is filled and is running a 24 hour leak test


21.jpg


22.jpg


24.jpg


also my 4 uv cathodes are in but not wired up as i will do all the cables when the leaktest is finished.. i can now see a working pc coming from this.. about time

you will notice a plastic clip halfway along the pipe from the cpu > the nb blocks.. this is becuase i didnt want huge pipes so adding this to the centre of the bend stopped the pipe from kinking
 
Last edited:
ok a few dark pics.... i still need to change all my fans to uc led fans but heres a look anyway

this is without flash on to cancel out uv

25.jpg


this is no flash so the uv is see able

26.jpg


27.jpg
 
well leak test is passed waiting for 1m sata cables and a 72cm floppy cable as that was the longest i could find.. with any luck they will be here tomorrow... also got some more braiding and heatshrink so doing the rest of the fans tonight

thanks for your comments
 
Back
Top Bottom