Tiger Style: Build log

To do list:

Interior

Fitment of 3870x2 EK block (this is a maybe atm) or a 2nd 3870x2.
Finish coiling of loops
Led's for the pumps
Cable tidy
Fitting of Radgrills / fan grills
Temp Gauges
Ram cooler mod
2 UV cathodes
Still not really happy with the cathodes in the shroud so something needs to be done with them.


Exterior

Fitment of powdercoated front PA120.3 rad grill and 120mm grill
Sunbeam Rehbus led mod
Paint power/reset buttons or fitment of delrin Bulgin switches.
Final polish/wax of exterior.
 
Aye but I gotta finish the exterior (and interior) first;). Just got word the powdercoating will be done for monday.
 
Sunbeam rheobus LED Mod

Sadly my Scythe Karma meter gave up the ghost due to me asking too much of it. I needed to run 9 120mm fans off it and while it was ok for a couple of days it eventually gave up the ghost. Tbh I was a little gutted because its about the only black fan controller that has the capability to glow orange.

As a replacement I got the Sunbeam rheobus fan controller which while not being anywhere near as fancy as the Scythe it is renown for being one of the most powerfull controllers around so if this couldn't handle 9 fans nothing would. The Sunbeam has 20W per channel, of which there are four whereas the Scythe is only 7w per channel - so more than double the power.

The problem with the sunbeam is that at stock it looks a little cheap (it is tbh @ £14.99) and not only are the led's the wrong colour for my build they are also extremely bright!

10-1.jpg


So I set about taking it to bits to see what could be done.;)

IMG_0242.jpg


Well its very basic inside apart from the huge heatsinks to cope with the power going through the rheobus and as luck would have it the LED's will pop straight out so are easily changeable. The problem being is that the LED's are dual type and sadly getting orange and another colour that don't clash is nigh on impossible. Heres what I figured out after a little testing which may help anyone who gives this simple mod a try.

IMG_0243-1.jpg


As you look at it front side on the left prong is 0-7v, middle Gnd, and right 7-12v.
 
Last edited:
So as I couldn't find any dual led's to my liking, I used 4 amber and 4 orange ones which were a pain to solder (need to connect the Ground terminal on both leds). I wired them up thus : 0-7v = Amber and 7-12v Orange, which brought the rheobus much more inline with the theme of this build.

ITS ALIVE!!!!!

IMG_0257.jpg


Looks much nicer now and best of all I no longer burns my retinas when looking at the damn thing.

The Drive bay area is pretty much complete now, just need to sort the power/reset buttons :

IMG_0263.jpg
 
Last edited:
Its a very easy mod tbh. I guess if you want to make them dimmer you will need to solder a resistor on the existing led's. Failing that go out and buy some dual led's with a lower candesance.
 
Did a few more little bits and pieces over the weekend :

IMG_0265.jpg


A pair of Temp gauges (orange of course!). Top is the board mosfet temp and the bottom is the exhaust air from the 3870x2.

I also painted a couple of thermochill grills for the inside of the case (black powdercoated ones just arrived for the exterior), a 120.1 and 120.3 which look great under UV and perfectly match the theme:

IMG_0267.jpg


IMG_0268.jpg


I still need to even out the coils but thats will be one of the last things I do after doing the final cable tidy.

More to come soon....
 
Cheers lads. I make no bones of the fact that my soldering skills leave a lot to be desired. I just asked around, read up a few things and cracked on with it - pretty much self taught. Having an old psu and leds that cost £3 for 100 also helps as you don't mind if things go pop when you get it wrong. :D

Feser comes in either pre-mix or dye. I have had some good (green/blue) results and some very poor results (purple/orange). If you stick to green blue then feser is quite good and I know a couple of people who have had massive leaks but their components still worked afterwards - a testiment to feser's non conductive properties (or luck!).
 
Well it is yeah, with dye in it. I don't know the 'secret recipe' but distilled isn't very conductive afaik as all the minerals (that conduct electricity) have been taken out thus making it non conductive.

I have gone of dyes and prefer coloured tubing these days as all clear tubing eventually goes 'milky' which requires replacing, dyes only accelerate this process. You don't really get that with coloured tubing so maintenance is a lot less.
 
Last edited:
It's almost done now m8 just waiting for a couple of 60mm fans(!) to arrive and some more UV paint for the last mod and then its pretty much complete, save for an imported custom etched acrylic psu plate:cool:.

Needs another wash'n'wax tho before the final shots as the fingerprints on this case are a nightmare!
 
Update :

OCZ Ram cooler

ocz-XTC_Cooler_4036.jpg


I bought this ram cooler after having one previously and being impressed with it. However three things let it sown imo. The fans are a little 'whiney' and get a little irritating after a while and they also don't exactly push a lot of air. They are also blue led versions which dont fit in well with my build at all. So I got a couple of replacement fans:

IMG_0278.jpg


These 60mm fans are almost twice as thick as the original fans but push a lot more air through without being 'whiney'. They are however very loud as you would expect being 60mm but run quite @60% speed while still pushing more air than the stock fans. Fitting them was relatively easy as I just bent out the original screw holes and then bent them over the top of the new fans after they were replaced. So thats the blue led, noise and airflow problem sorted - now onto the aesthetics.

The main unit, while having a fantastic chrome effect sticks out like a sore thumb in my new build so something had to be done about it. A little sanding, priming and spraying and hey presto, a more sullen but subdued look:

IMG_0276.jpg
 
Now while black looks a lot better, I still felt it still didn't 'fit' with my theme. It left a big dark area on the motherboard area which looked kinda out of place. I tried using some orange leds behind the mesh but that didn't look right either so I got a little creative:

Note to self - must wait for things to dry before taking pics :

IMG_0279-1.jpg


The paint is AC ryan acrylic UV wasn't exactly easy to use on a mesh surface but the effect I was after comes out fine under UV I think you'll agree:

IMG_0281-1.jpg


Well thats pretty much all the work done now so I just need to do a few tidyup operations and then I'll take the 'money' shots.
 
Last edited:
Quite simply... WOW! :eek:

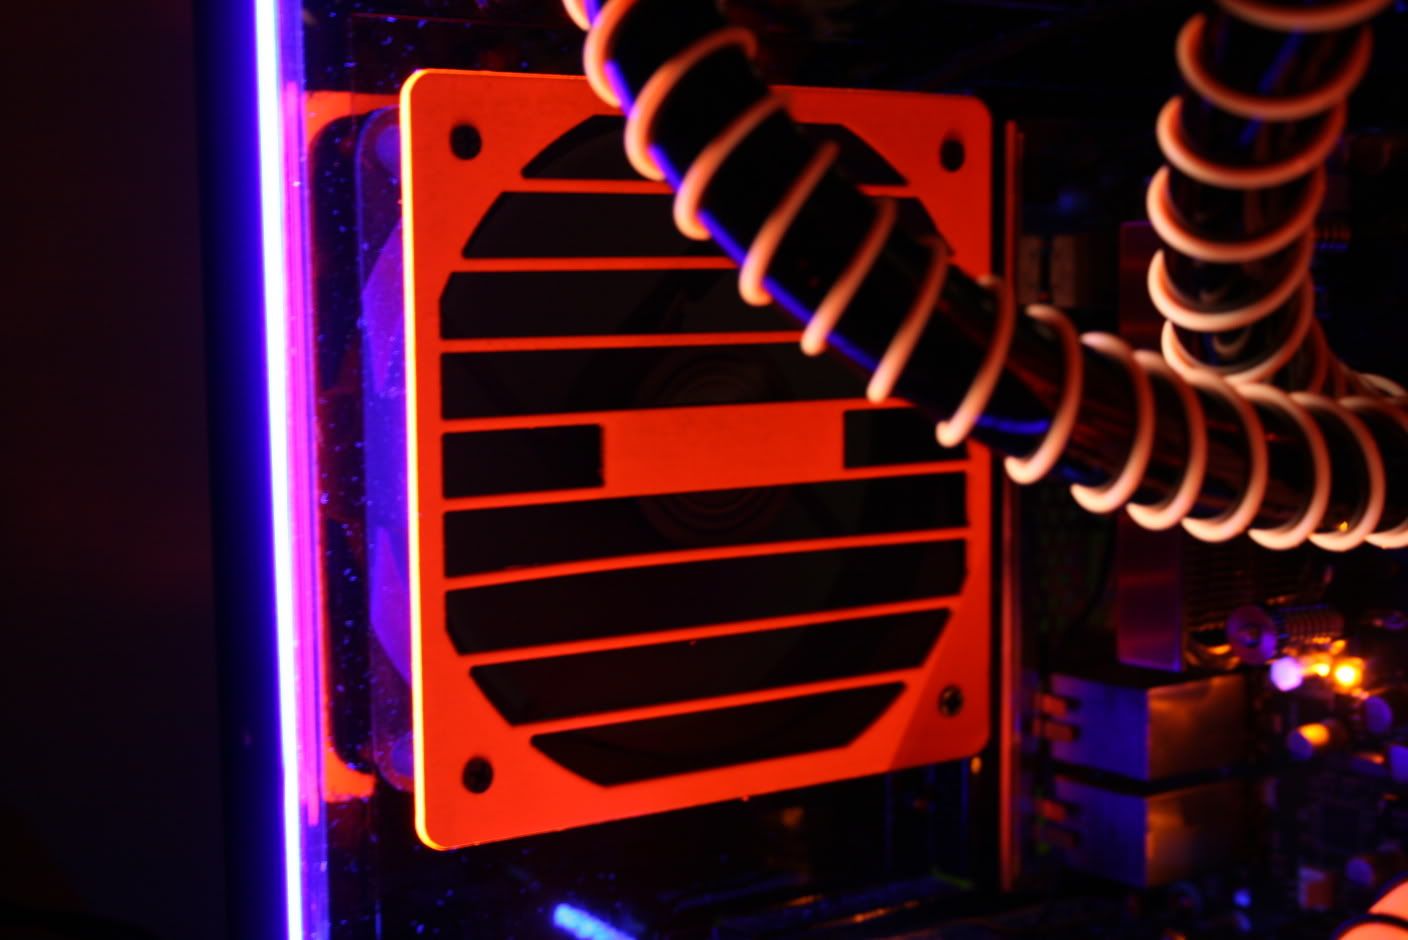
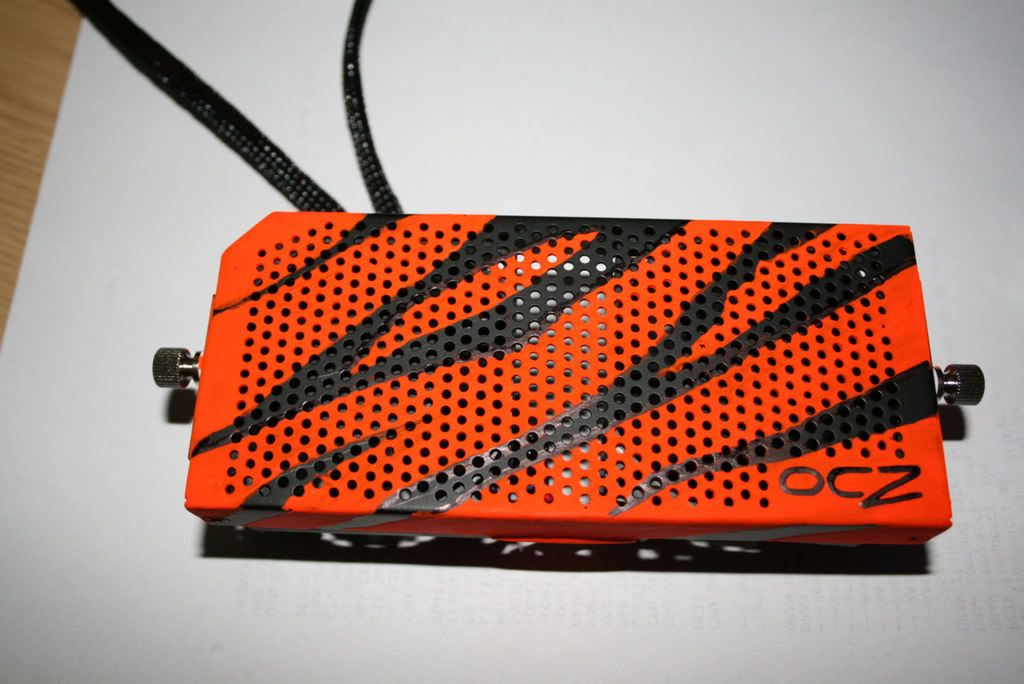
Loving that tiger stripez look!

5 stars from me! :cool:

gt

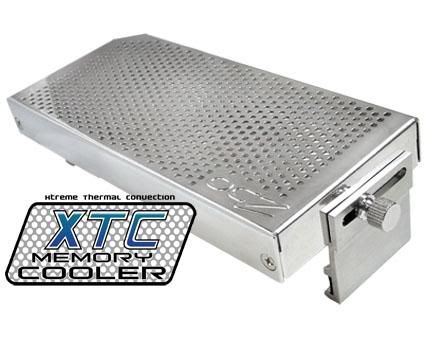
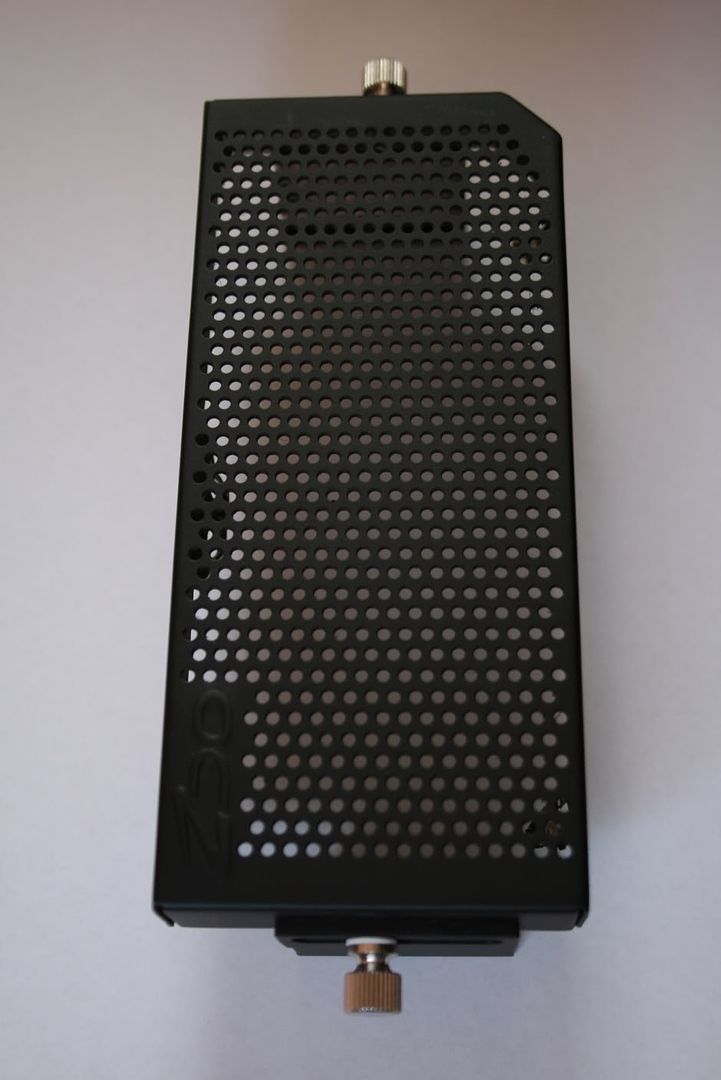
Wow very nice, that cooler is huge!

Wow man, that actually does look immense, well impressed

Naud

loving the work so far w3bbo keep it coming

This thread is grrrreat!
frosties.gif


Sorry. had to be done. :p

PK!

Looks great almost finished! :)


Cheers for the compliments guys, especially the 5 stars!:)

Hey w3bbo, looking really good.

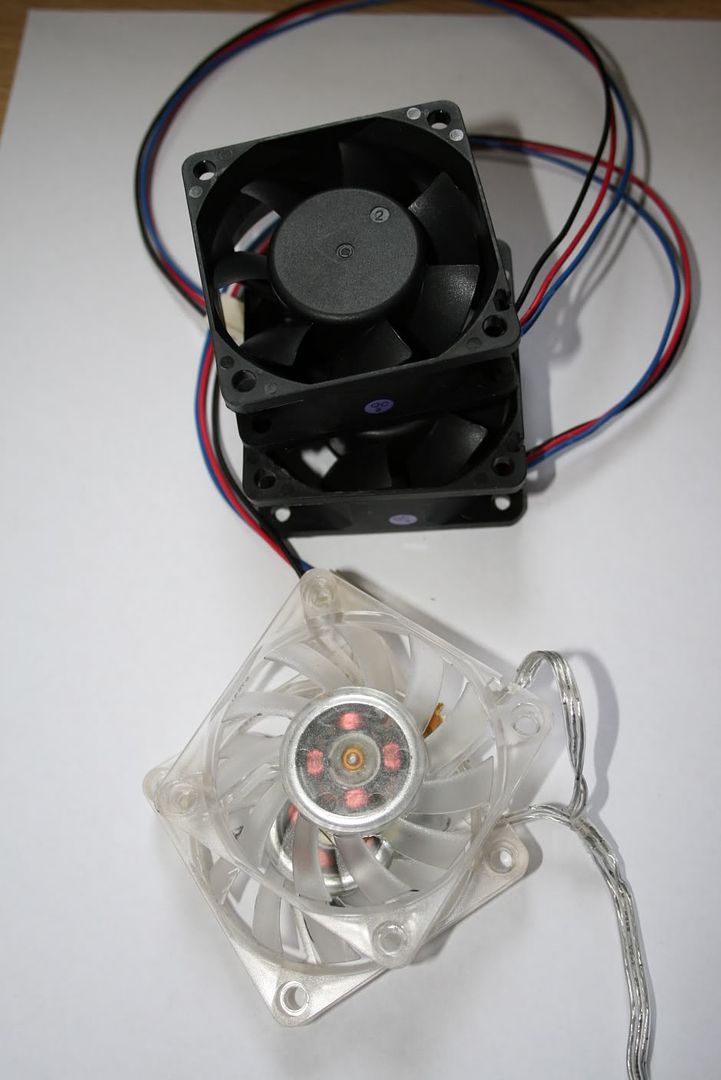
Out of interest, which 60mm fans did you use in the OCZ cooler? I have the same cooler and was considering replacing the fans too.

The fans are Evercool 60mm fans. They are twice as thick as the original ones so to fit them you have to bend out the original fan screw holes, pop the new fans in and then bend the screwholes back over the top to hold them in place. Sounds ghetto but works quite well.

10/10 for creativity w3bbo, now you just need to improve thoses brush skills :p

and SO much better that the silver or black option.

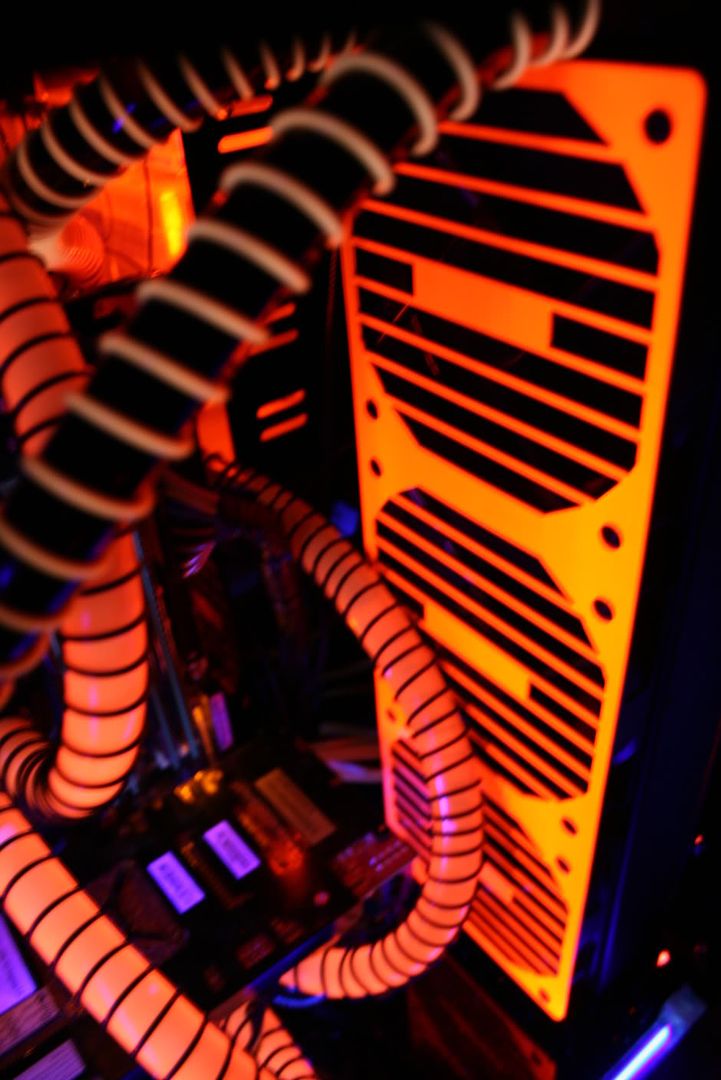
You might have consider a more stylised stripe design that follows the direction of the holes, maybe even with some white highlights. As the perforations are working slightly againest your design

IMG_0279-1revA.jpg


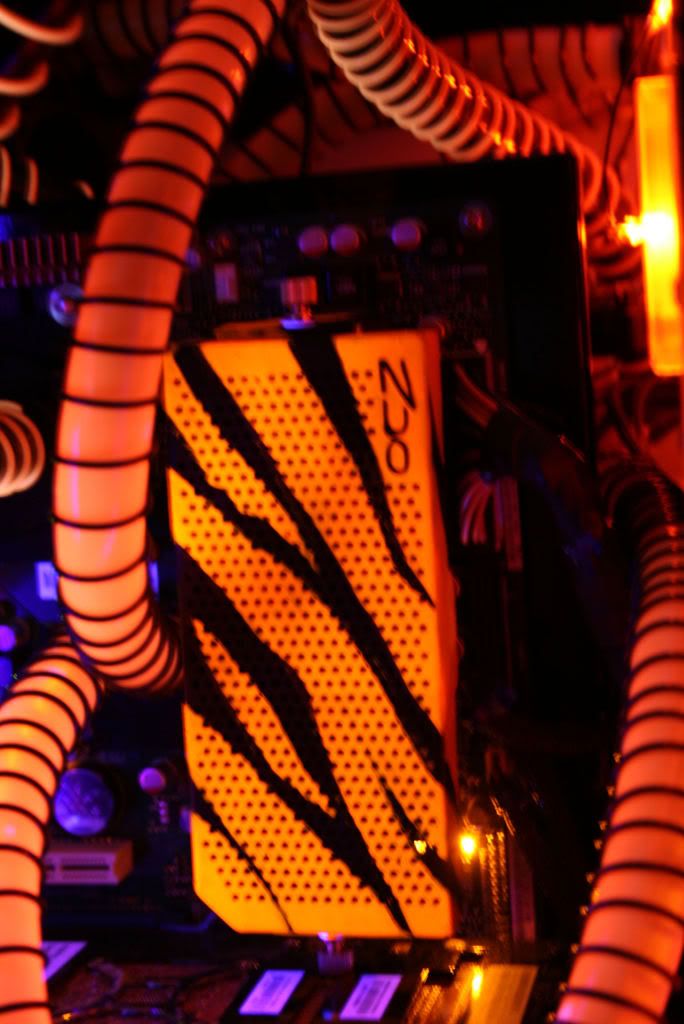
Excuse the quick photoshop mockup - it's just an idea I had looking at the painted cooler in isolation, When installed it really lifts the whole case aesthetics.

Five starts from me also and really looking forward to the glamour shots :cool:

Tbh I only did it as an experiment so didn't put that much thought into it. I was gonna use some white but I was afraid the white would come out looking purple/blue under UV. I will however re-do this part of the mod eventually with some spray paint as the paintbrush method looks a little uneven without UV light.

Amazing effort put into this, thread definitely worth 5 stars. You don't make PC's and sell them by any chance? A pretty penny people would pay for such great customized work.

I do make them and then sell them but only for my own enjoyment and generally only really when I want to update it. I'd love to go into business doing it tbh, or maybe have a little sideline going part-time.
 
Sorry for the lack of updates guys and thx for your kind comments. I'm just waiting on a few little bits and pieces to arrive aswell as finding the time to complete it, which due to the kids being off for 2 weeks is hard to come by!
 
P&P would cost the GDP of a small country - not that they would know what to do with it anyway.;)

Anyone know how to make red (read pink) cathodes orange? I've tried marker pen and I've also tried using led strips - neither of which look 'right'.
 
Yeah thought of that bought having trouble sourcing some. The same sort of stuff stained glass windows use but I can only find bulk orders.
 
End results almost here. I'm afraid you will have to sit through one of my video build logs to see the finished product;):cool:

Uploading........
 
How did you get to see it, I aint even finished uploading it yet!;)

Ah yes - sneak preview:cool:

Nearly there now.....
 
Back
Top Bottom