V1000B water-cooling log

Ok, so i filed down and sanded smooth my cut edges, and i must say, it looks rather nice, even if i do say so myself :D

I have also cut out my applique, but there is going to need a lot of filing down and sanding before its anywhere near ready, as you can see in the PIC

I've decided not to paint the bare aluminium, as it looks pretty sweet as it is (imo) Anyone know where i can get some cheap (unscratched) perspex from? and what would be an ideal thickness?

P7130003.jpg


EDIT: for scale, thats about 5.5inches across the top
 
Ok, so here's a pic of the window finished minus the perspex and applique:

window.jpg


And a close up of the filing/sanding work:

close.jpg


Yes that is a scratch, the rest is dust, and that scratch is actually barely noticable, the camera really brings it out :eek:

I also bought this today:

perspex.jpg


That 2 foot by 4 foot, 3mm thick, and cost me a grand sum of £4.90 from my local diy store. Should be enough there for a couple of **** ups :D

Looks like i can finally fit my southbridge heatsink tomorrow, as i took the plunge and bought a Q6600 (along with some more feser 1, some UV sata cables and some UV cold cathodes) So the water cooling can come off for the cpu to be installed, and i'll get the SB cooler on at the same time.
 
Last edited:
artaxerxes said:
She is science goth from NCIS. Abby?

Indeed :D

Pauly Perette.. she bares an uncanny likeness to my missus too ;) (goth chick rock)

Now i have a dilemma, my new parts have arrived, so i should get fitting stuff... but so has bioshock... ooooh, choices choices!
 
OK, thursday saw me install the quad, troubles clocking, probably the board, but hey, stable 3.6ghz out of it now. Also managed to get the Thermalright cooler in (*****'d a fan on it at the moment, i'll remove it at some point...)

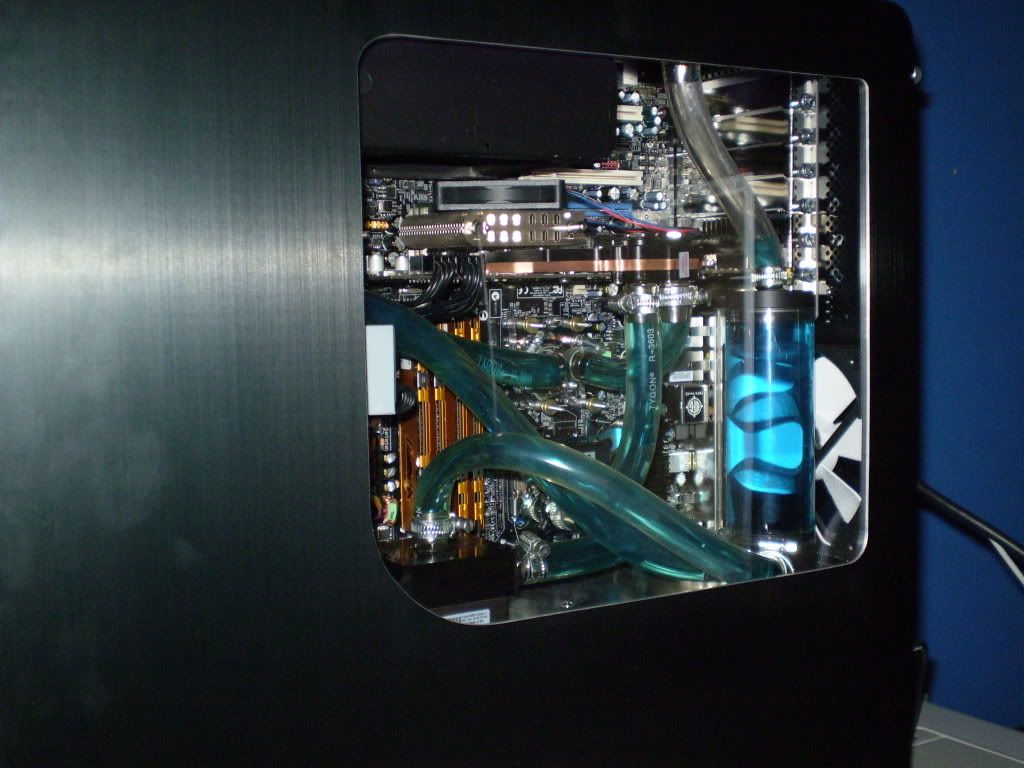
Anyway, also managed to do some propper cable tidying, and got a couple of cathodes in, perspex fitted, and this is the result:

P7200004.jpg


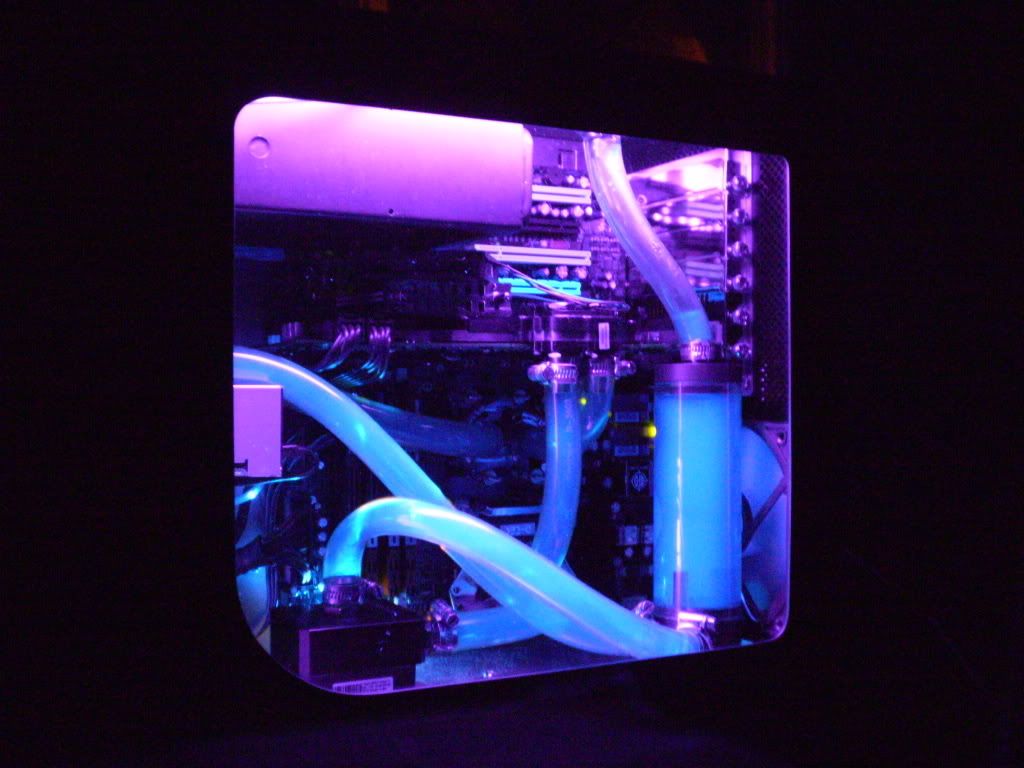
And the dark shot (which looks naff as my camera doesn't work well without a flash..)

P7200002.jpg


Next stop, get that applique finished :D
 
Last edited:
Hey, great work on the case man. Its really tempted me to get one myself.

If you dont mind me asking, how did you fit the perspex into the window hole?

Also, do you think it would be possible to fit a 3x 12cm fan radiator in the top? Also would 1/2" id hose down each side if a hole was placed in the metal? This might give you some more room to play as well as removing the tight tubing from the radiator.

The perspex was fitted using superglue in the end, just 1 blob on each corner, and one halfway down each length, easily removable.

a 120.3 should fit in the top, but you do have to bare in mind that it does cover a fair bit of the motherboard, i cant access my cmos reset, and there is no chance of sli anymore as the pci-e slot os covered, along with 2 pci slots, and possibly the 3rd pci-e lane too :(

This is haalf inch tubing by the way mate, so there is no reason why you cant use it :D
 
That looks really nice, I'm trying to do the same thing with my rig, except I've got a GTS, and a P5B and the Akasa Eclipse. Don't suppose you have the template you used for the fan cuts on the top of your case as I could do with them to get my case CNC cut.

Sadly not, as the case came pre-cut with the fan holes from it's previous owner.

They look like they are just 114mm hole saw holes to be honest, but i'm sure youcould get a template from a website, i'm sure i've seen them mentionned on here before.

Also, if you are mounting a rad bigger than 120.1, remember that the dimensions are not universal, some will have the fans spaced closer than others, the last thing you want is to use a template for a PA 120.2 and find out the rad you have has completely different dimensions!
 
Back
Top Bottom