Soldato
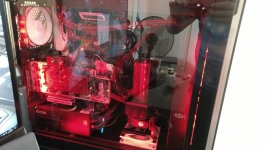
Here is my basic but nice red view 71 build ive been saying i would post.
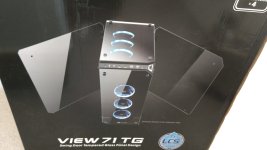
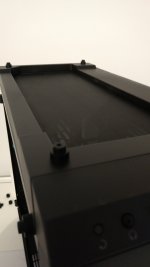
Top of case with the glass removed showing where the glass sits on to.
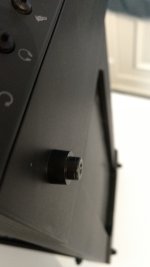
Case front showing where glass mounts are, its good there like this as whjen you put the glass ojn them it stops the glass from moving about and makes holding them in place while you screw in place much easier.
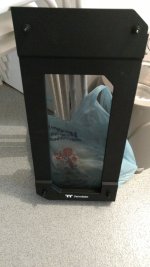
Front panel removed from case, while these simply pull off the case, they seem sturdy enough, but i do wonder how long pulling them off will last in terms of the connectors breaking which are hard plastic.
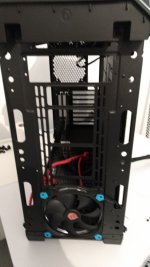
Case front with fitted blue fan which comes with the case and front removed, this is where i will be fitting a 360mm rad with vadar white fans. Also this is a 60mm rad.
I realised after taking the pic i had put fans on wrong way around so had to turn them around, doh!
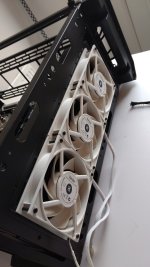
This is showing the top mount which is removable. and shows its current offset position and the other hole for its non offset placement.
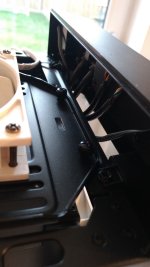
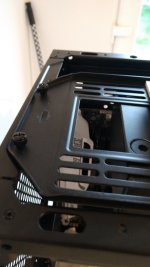
Top rad in place with fans pulling through the rad for positive pressure all around the case. Also showing the gap between the rad and motherboard.
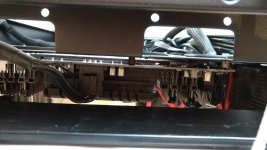
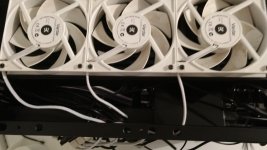
This shows the space between the 2 360 mm rads with 60mm thicknesses where they meet up. Also the other side the top rad could go across a fair bit more if you didnt want them as near each other as this.
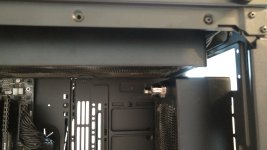
The next pic shows the motherboard fitted and psu, but also shows more of the top bracket for rad mount and its placements for rad fittings.
You can also see the riser card mount for gpu which comes with the case.
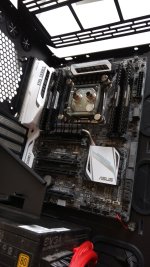
Gpu riser mount.
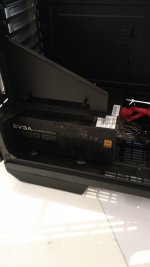
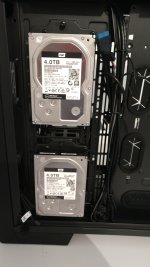
Hdd mounts around the back of the case as well for 2.5" and 3.5" Drives supported.
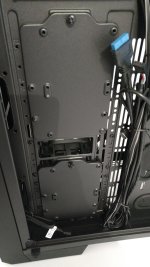
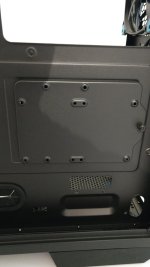
To get my D5 water pump fitted i would need to remove the HDD cadies, to do this they unscrew from around the back of the case.
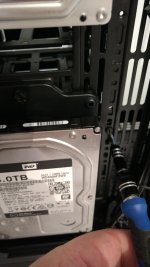
The drive caddies are very sturdy and dont move at all.
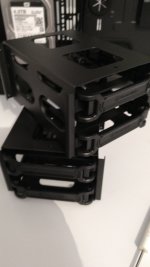
Showing 3 drives fitted to the mounting areas at the back of the case.
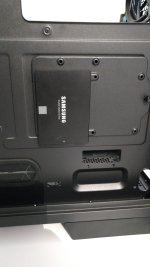
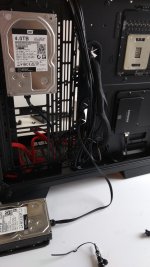
Now to fit the cables to the bottom of the 2 3.5" hdd i had to remove it from the case and then fit them as there is not enough room to fit them with it in situ.
Cleaned CPU block.
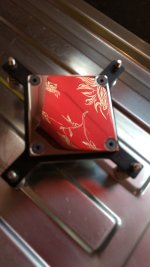
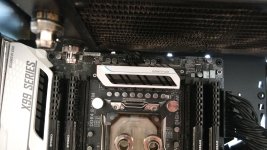
CPU block fitted, also shows space between modules and top rad.
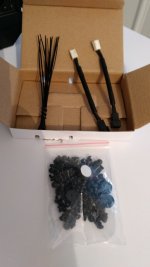
The box of bits n bobs that comes with the case.
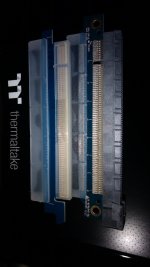
I purchased a Thermaltake Premium riser cable so i could mount the gpu on the bracket to display it in all its glory. I read the earlier versions suffer from signal loss problems etc, expensive but was it worth its hefty price tag?
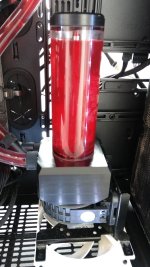
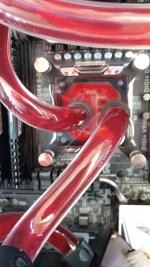
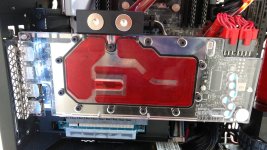
This shows all the pipework in place and pump fitted, also the gpu in position, just needed to fill the loop and see if the results were any good.
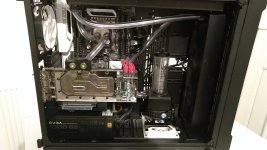
I went with Mayhems Aurora red for the loop this time around, fed up with the wifes choice of green lol.
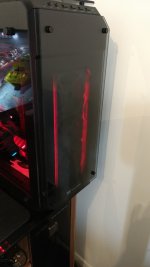
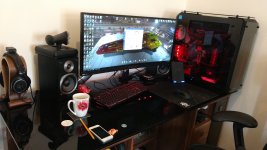
Now i see in a review they mentioned about the feet of the case leaving rubber black scuff marks on white surfaces. Well here is my experience with the case while building it at least and what it left behind is not ideal.
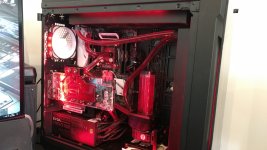
In this build i have a Hue+ lighting setup and i have managed to put the box that controls the lighting in the top of the case between the rad in its offset position and and the back of the case, so completely out of sight.
I also havew an Aquero which i managed to mount in the back of the case as well, the cable management space is plentiful and im sure others would do a far better job thean myself
The Riser cable in use has thus far not given me any issues whilst gaming, my fps is the same as its always been with my 1080TI. Still think they are expensive and think they should be a lot cheaper IMO.
I have not used the thermaltake riing fans with lighting and so far opted to just use the HUE+ lighting. To me at present this is sufficient and adds some mystery to the case as its not as bright as some of the pics have come out. Darker in some areas giving a nice look.
I have considered the Halos for my vadar fans so i keep the rad cooling they give and silence compared with some, but im happy with the results so far.
All in all a very good case, a lot of space and great for different build options.
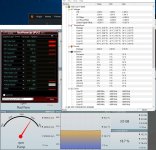
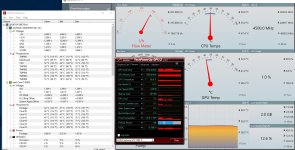
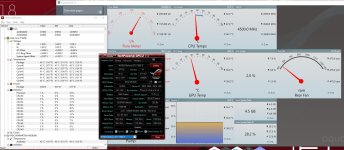
Also just remembered that when i did my last water build i could not get the flow any higher than 130 lph @ 100% pump poweer. well for what ever reason i have much better flow this time around and at 77% pump power i have 193 lph so much much better.

Top of case with the glass removed showing where the glass sits on to.

Case front showing where glass mounts are, its good there like this as whjen you put the glass ojn them it stops the glass from moving about and makes holding them in place while you screw in place much easier.

Front panel removed from case, while these simply pull off the case, they seem sturdy enough, but i do wonder how long pulling them off will last in terms of the connectors breaking which are hard plastic.

Case front with fitted blue fan which comes with the case and front removed, this is where i will be fitting a 360mm rad with vadar white fans. Also this is a 60mm rad.

I realised after taking the pic i had put fans on wrong way around so had to turn them around, doh!

This is showing the top mount which is removable. and shows its current offset position and the other hole for its non offset placement.


Top rad in place with fans pulling through the rad for positive pressure all around the case. Also showing the gap between the rad and motherboard.


This shows the space between the 2 360 mm rads with 60mm thicknesses where they meet up. Also the other side the top rad could go across a fair bit more if you didnt want them as near each other as this.

The next pic shows the motherboard fitted and psu, but also shows more of the top bracket for rad mount and its placements for rad fittings.
You can also see the riser card mount for gpu which comes with the case.

Gpu riser mount.

Hdd mounts around the back of the case as well for 2.5" and 3.5" Drives supported.


To get my D5 water pump fitted i would need to remove the HDD cadies, to do this they unscrew from around the back of the case.

The drive caddies are very sturdy and dont move at all.

Showing 3 drives fitted to the mounting areas at the back of the case.


Now to fit the cables to the bottom of the 2 3.5" hdd i had to remove it from the case and then fit them as there is not enough room to fit them with it in situ.

Cleaned CPU block.

CPU block fitted, also shows space between modules and top rad.

The box of bits n bobs that comes with the case.

I purchased a Thermaltake Premium riser cable so i could mount the gpu on the bracket to display it in all its glory. I read the earlier versions suffer from signal loss problems etc, expensive but was it worth its hefty price tag?

This shows all the pipework in place and pump fitted, also the gpu in position, just needed to fill the loop and see if the results were any good.

I went with Mayhems Aurora red for the loop this time around, fed up with the wifes choice of green lol.


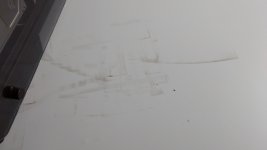
Now i see in a review they mentioned about the feet of the case leaving rubber black scuff marks on white surfaces. Well here is my experience with the case while building it at least and what it left behind is not ideal.

In this build i have a Hue+ lighting setup and i have managed to put the box that controls the lighting in the top of the case between the rad in its offset position and and the back of the case, so completely out of sight.
I also havew an Aquero which i managed to mount in the back of the case as well, the cable management space is plentiful and im sure others would do a far better job thean myself

The Riser cable in use has thus far not given me any issues whilst gaming, my fps is the same as its always been with my 1080TI. Still think they are expensive and think they should be a lot cheaper IMO.
I have not used the thermaltake riing fans with lighting and so far opted to just use the HUE+ lighting. To me at present this is sufficient and adds some mystery to the case as its not as bright as some of the pics have come out. Darker in some areas giving a nice look.
I have considered the Halos for my vadar fans so i keep the rad cooling they give and silence compared with some, but im happy with the results so far.
All in all a very good case, a lot of space and great for different build options.
Also just remembered that when i did my last water build i could not get the flow any higher than 130 lph @ 100% pump poweer. well for what ever reason i have much better flow this time around and at 77% pump power i have 193 lph so much much better.
Last edited:


 Nice build Cmdr