You are using an out of date browser. It may not display this or other websites correctly.
You should upgrade or use an alternative browser.
You should upgrade or use an alternative browser.
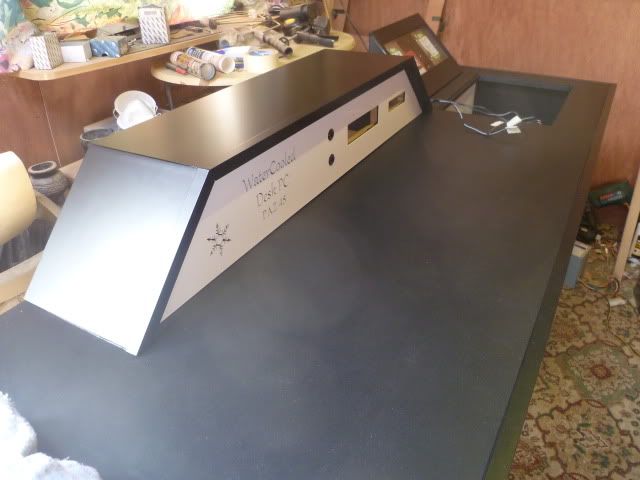
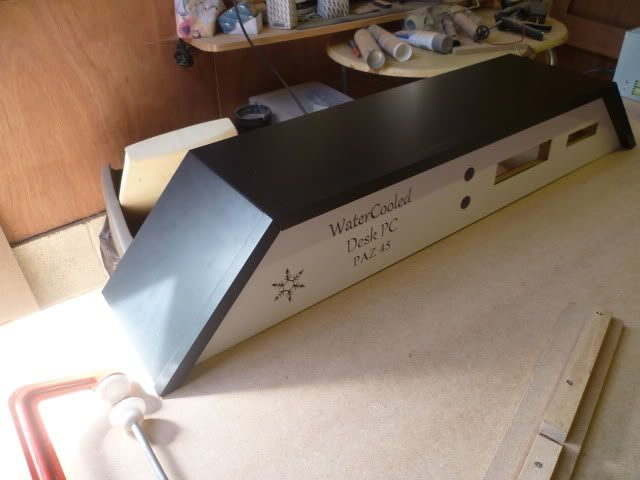
Watercooled desk pc
- Thread starter paz45
- Start date
More options
Thread starter's posts
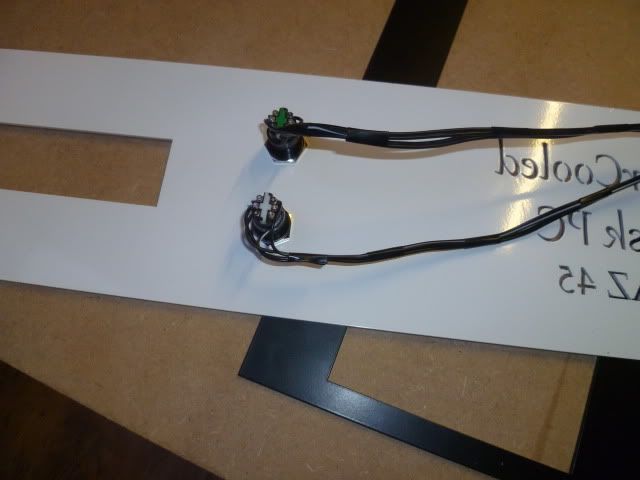
") Nothing like a lovely tactile feeling when flipping a switch
Nothing like a lovely tactile feeling when flipping a switch 


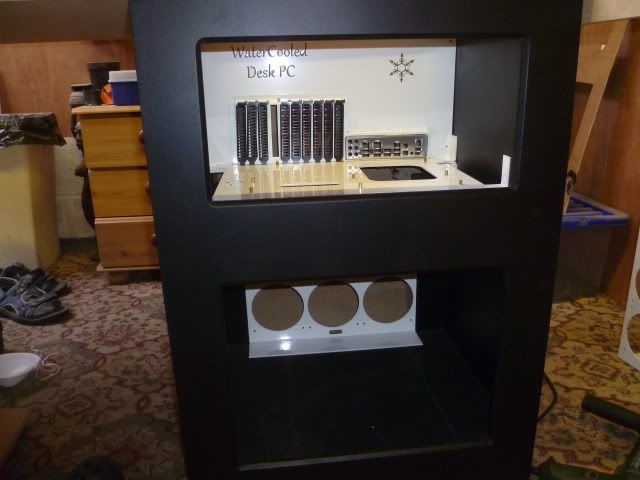
Going to use clear tubing and white fluid
The mayhems pastel or?