You are using an out of date browser. It may not display this or other websites correctly.
You should upgrade or use an alternative browser.
You should upgrade or use an alternative browser.
When THREE watercooling loops ARE NOT ENOUGH!
- Thread starter gilgamesh
- Start date
More options
View all postssure is.
surprised it's still on here to be honest.
Last edited:
sorry that it has been a while again. Obviously the machine I use to get onto the net is being built in this project lol. So to post the latest I have had to use my netbook!
Right first loop built (cpu loop) using the 140.3 rad
this is after thirty-six hour leak test.
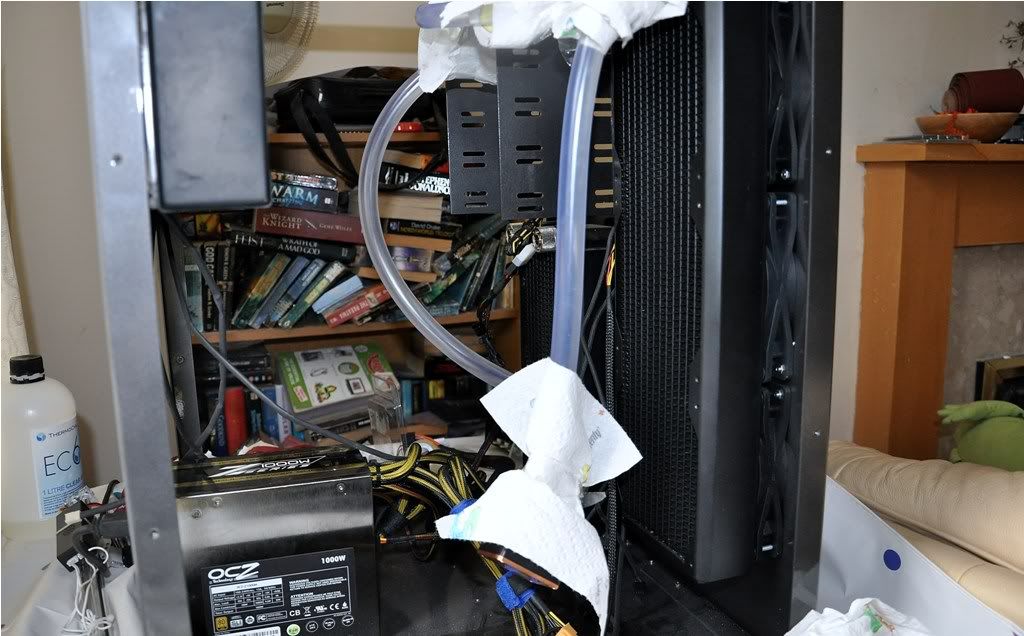
No -wet or damp paper towels -all set to go
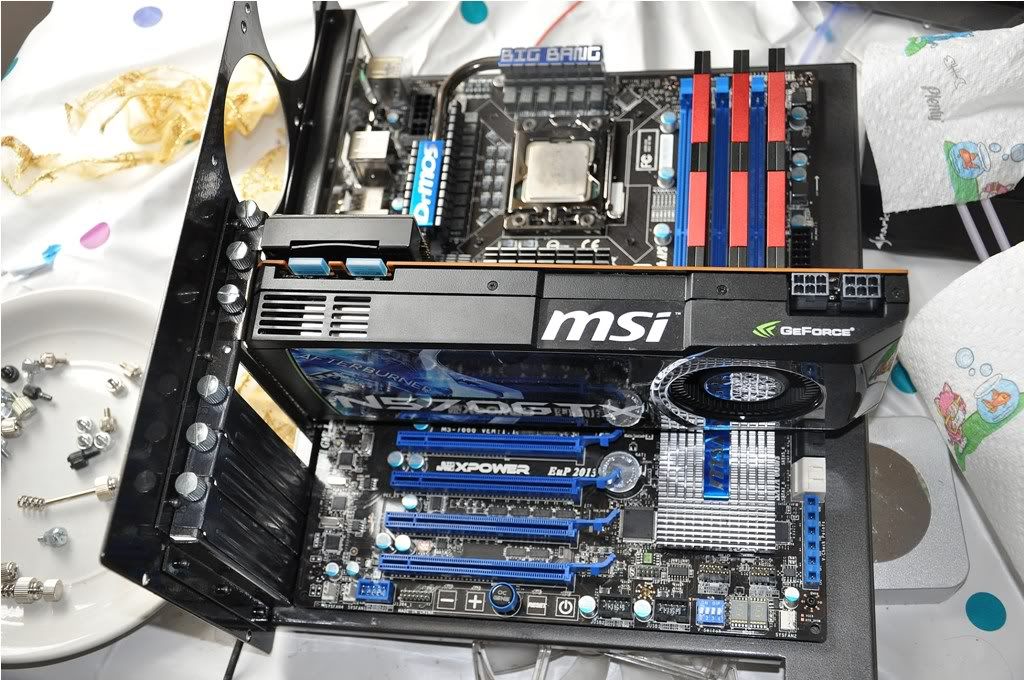
in the meantime, building up the motherboard onto the tray with everything installed in order to get a general feeling of how it will look
NOTE THE RAM IS MY FAVe Manufacure it is 12 gigabyte of GEIL EVO 2 DDR3 2000 ram!
right there is no need to show the gpu before as its already posted earlier in this build. but let us show it it with its cover off shall we?

The standard grey gunk on the GPU
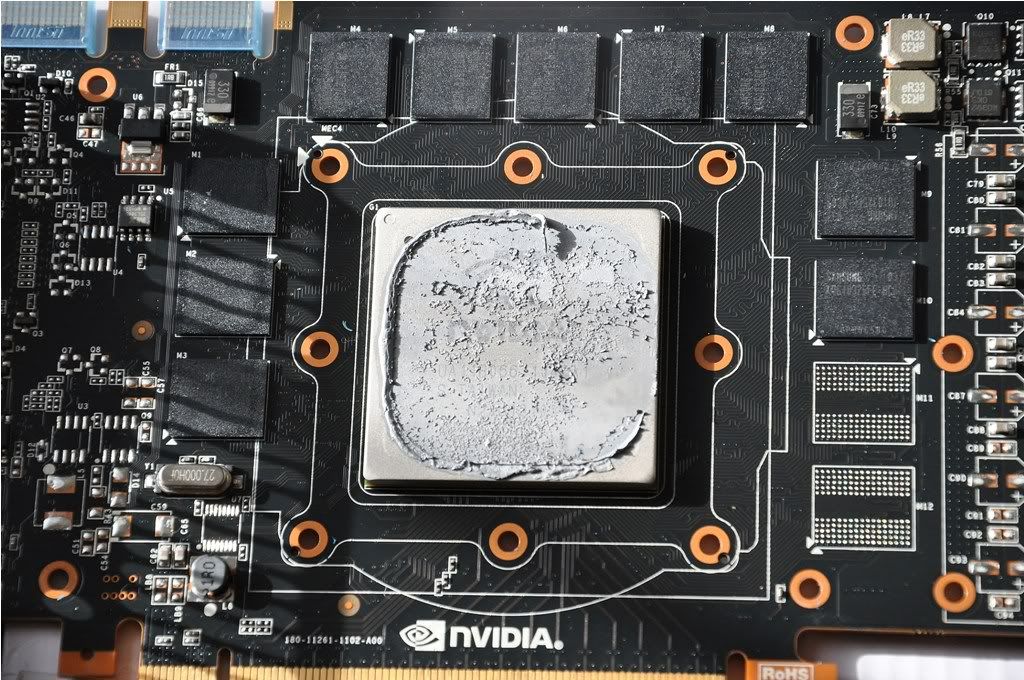
After cleaning the memory and the gpu ihs. We also have the thermal pads laid down correctly and soME IC-DIAMOND laid into the ihs-lolol the centre splodge looks like a great big steaming pile of doggy p** doesnt it? hahaha
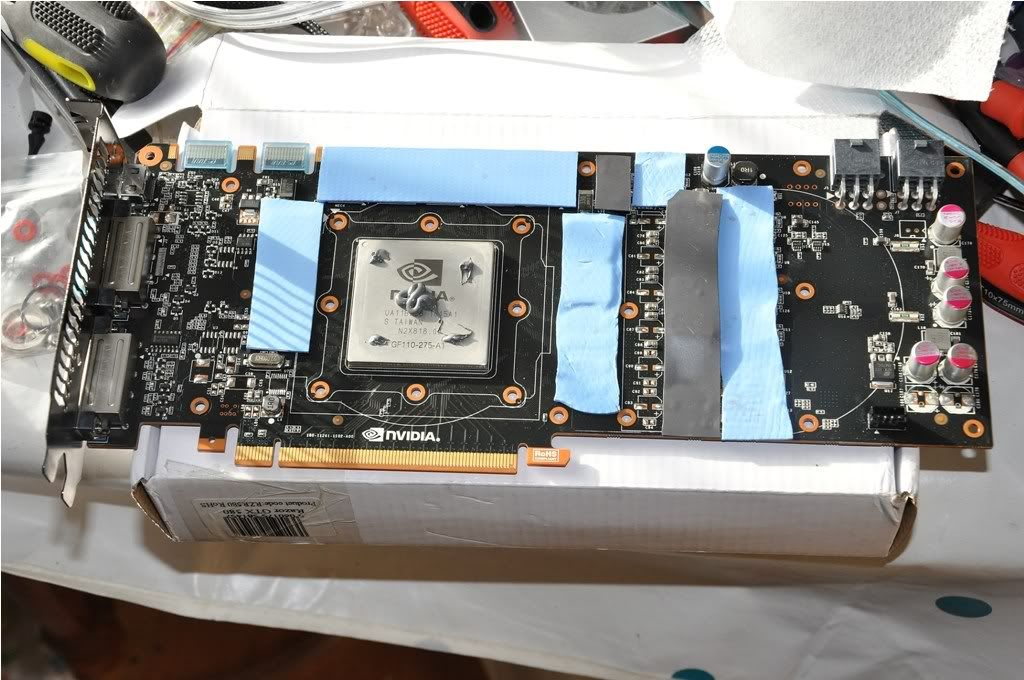
I must say xspc gpu blocks have to be the easiest i have ever installed. Thumbs up XSPC!
This post will be edited with more photos once I have downloaded them from my phone
edit photos updated
First my apologies for the lack of quality in the photos here, at the time I could not be bothered to get the DSLR out, so i just used my handy phone camera bnleaaaaah
first loop done and air bled out

Previous to all this i leak tested the pump/res bays and the xspc 360mm that is going for loop 2
so all we need to do is pipe up wrap towels around all joints and off we go
piping up for 2nd loop

motherboard removed and another 36 hour leaks test undergone.
towels removed motherboard tray inserted gpu sorted

lots of air to bleed out of gpu loop still.
Next is wire management which is hard to do as MM cases HAVE no wire management!
ALSO Third LOOP TO DO!
This is the PHYSIX GPU!
This is a GTX460 1 GIG water cooled JUST FOR PHYSIX (extreme i know but thats he idea of the build)
This will be cooled by a Black ICE SR1 280MM Radiator
THE cpu loop one is a black ice SR1 420MM RAD 3X140MM fANS
lOOP 2 FOR GTX 570 LOOP ABOVE IS A XSPC RX 360MM RAD ( eventually this will cool 2X GTX570's)
gilgamesh
gilgamesh
Right first loop built (cpu loop) using the 140.3 rad
this is after thirty-six hour leak test.
No -wet or damp paper towels -all set to go

in the meantime, building up the motherboard onto the tray with everything installed in order to get a general feeling of how it will look
NOTE THE RAM IS MY FAVe Manufacure it is 12 gigabyte of GEIL EVO 2 DDR3 2000 ram!

right there is no need to show the gpu before as its already posted earlier in this build. but let us show it it with its cover off shall we?

The standard grey gunk on the GPU

After cleaning the memory and the gpu ihs. We also have the thermal pads laid down correctly and soME IC-DIAMOND laid into the ihs-lolol the centre splodge looks like a great big steaming pile of doggy p** doesnt it? hahaha

I must say xspc gpu blocks have to be the easiest i have ever installed. Thumbs up XSPC!
This post will be edited with more photos once I have downloaded them from my phone
edit photos updated
First my apologies for the lack of quality in the photos here, at the time I could not be bothered to get the DSLR out, so i just used my handy phone camera bnleaaaaah
first loop done and air bled out

Previous to all this i leak tested the pump/res bays and the xspc 360mm that is going for loop 2
so all we need to do is pipe up wrap towels around all joints and off we go
piping up for 2nd loop

motherboard removed and another 36 hour leaks test undergone.
towels removed motherboard tray inserted gpu sorted

lots of air to bleed out of gpu loop still.
Next is wire management which is hard to do as MM cases HAVE no wire management!
ALSO Third LOOP TO DO!
This is the PHYSIX GPU!
This is a GTX460 1 GIG water cooled JUST FOR PHYSIX (extreme i know but thats he idea of the build)
This will be cooled by a Black ICE SR1 280MM Radiator
THE cpu loop one is a black ice SR1 420MM RAD 3X140MM fANS
lOOP 2 FOR GTX 570 LOOP ABOVE IS A XSPC RX 360MM RAD ( eventually this will cool 2X GTX570's)
gilgamesh
gilgamesh
Last edited:
major update
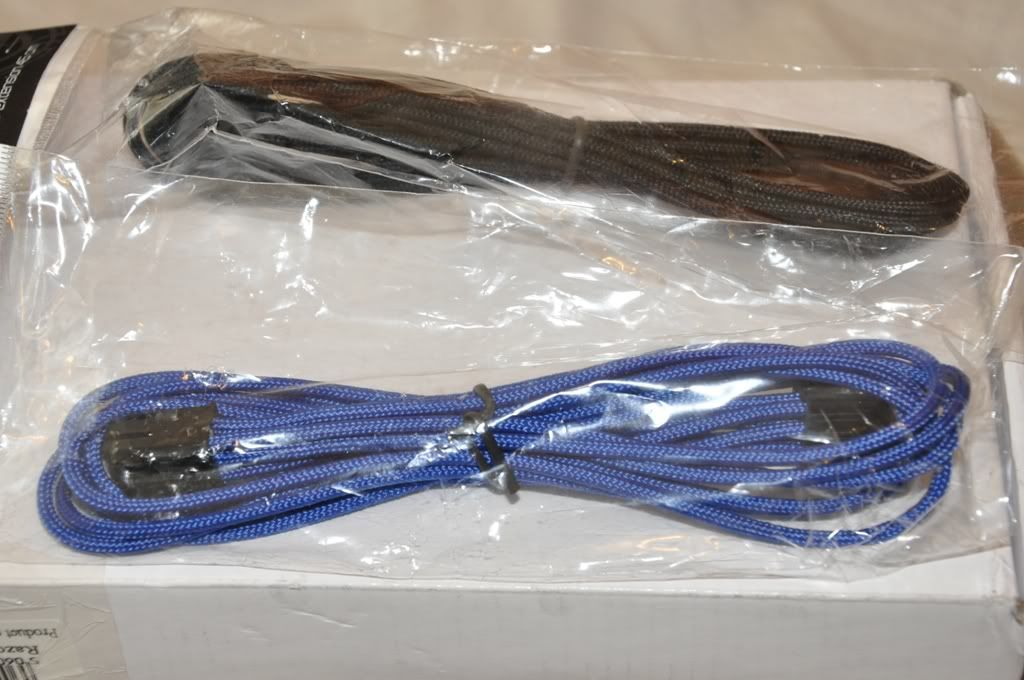
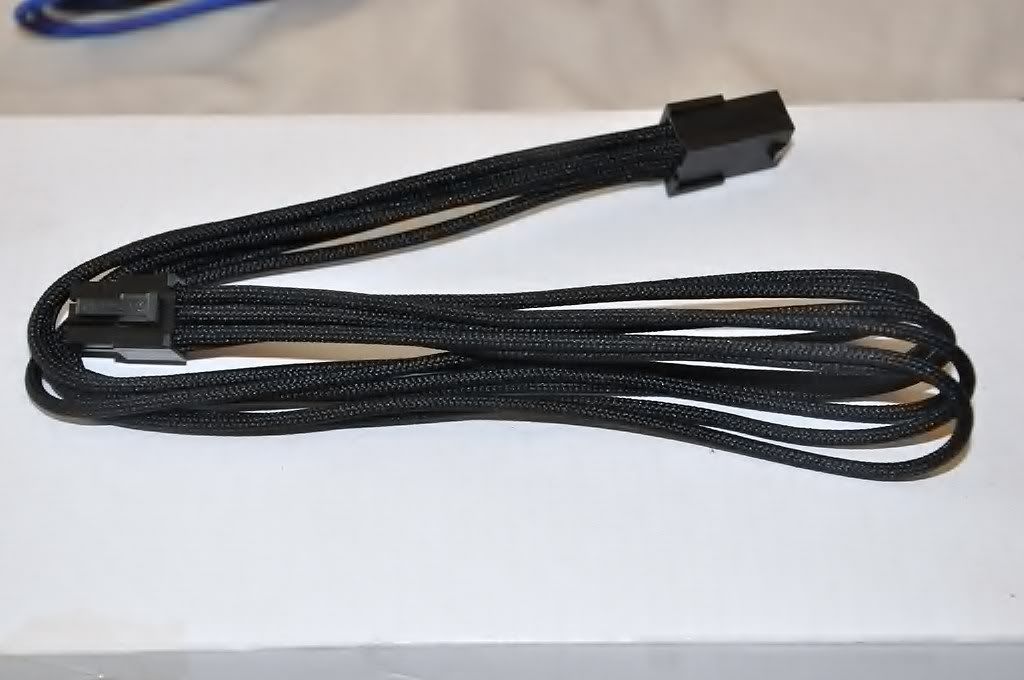
2nd switch and four bitfenix pcie 6 pcie cables have arrived

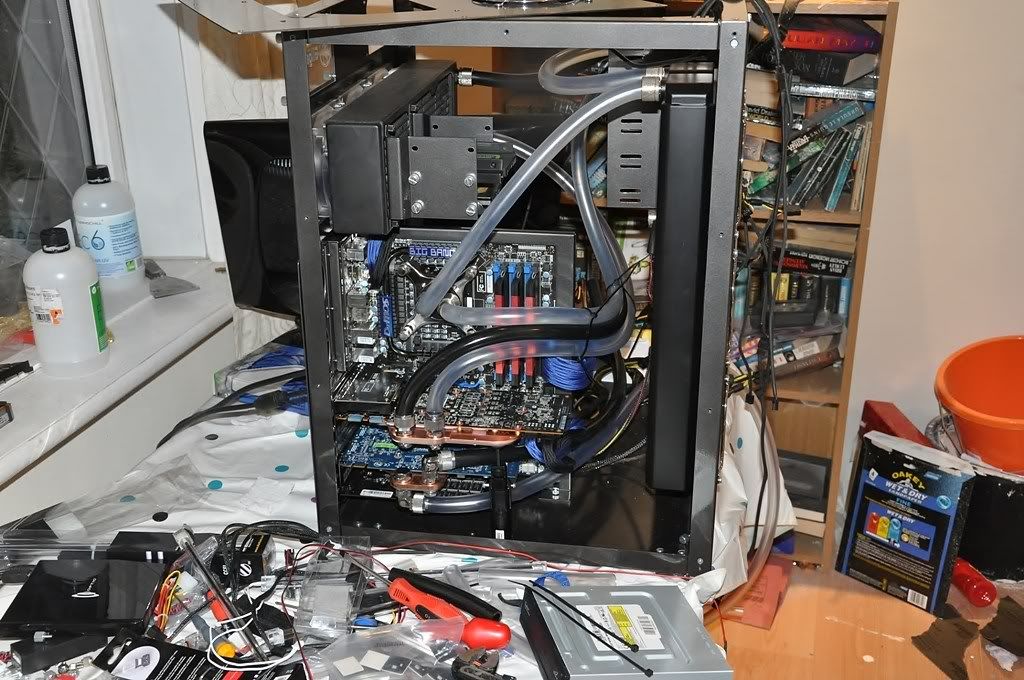
at this point i cannot remove the motherboard due to all the loops so we pipe up and later we wrap paper towels around the joints
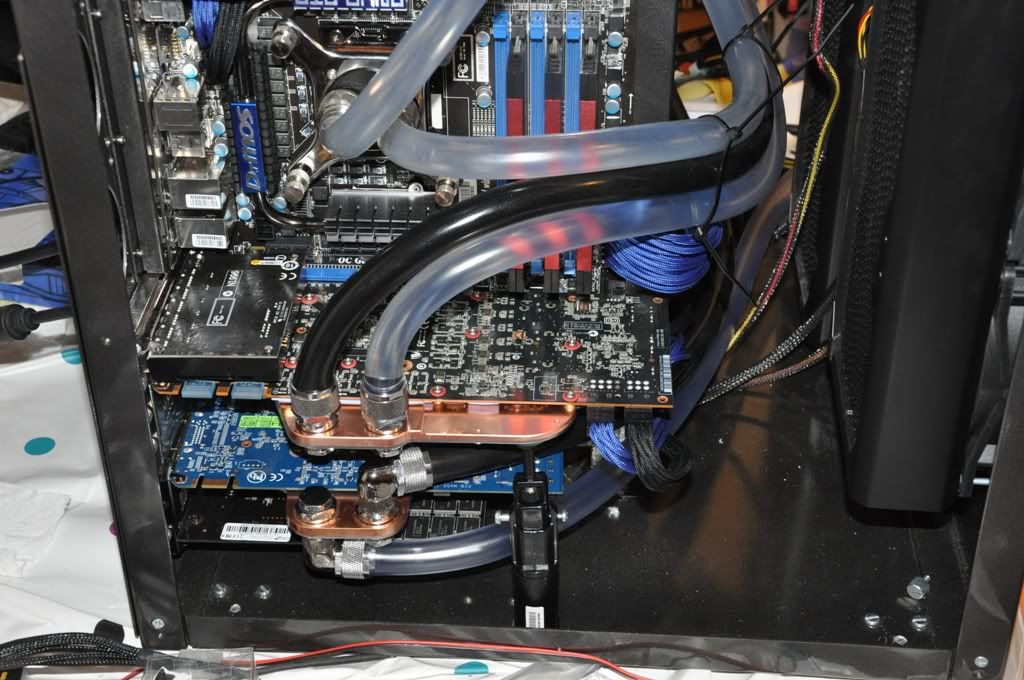
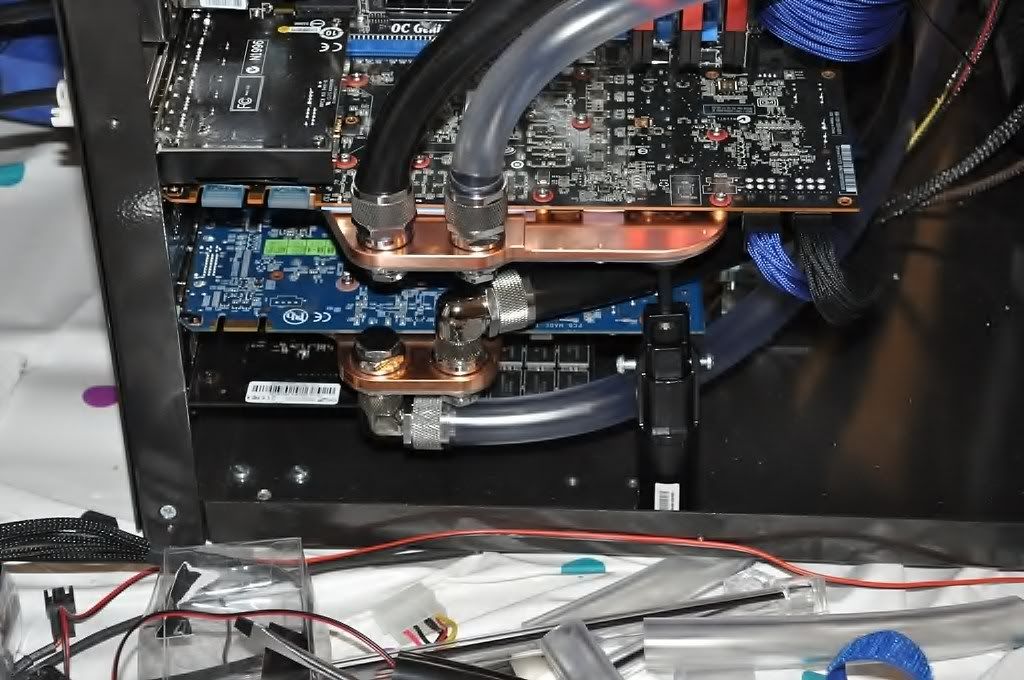
mounting mods LACK of wire management-good job 2nd psu and mobo tray wil eventually hide all this
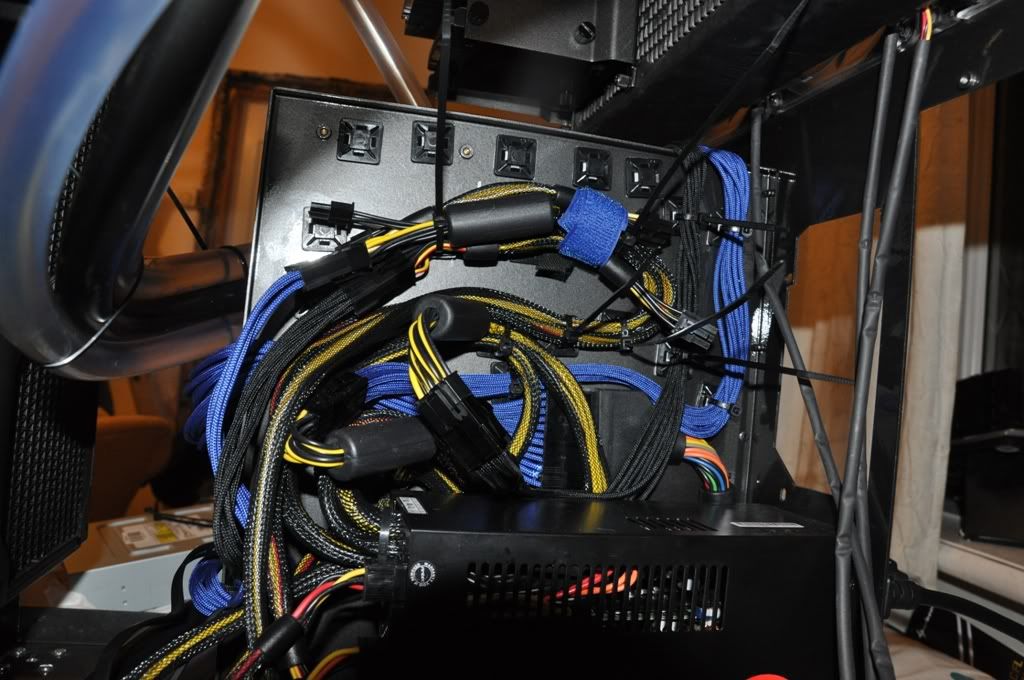
note all cable tied around tubes will be cut once everything is in place
gilgamesh
2nd switch and four bitfenix pcie 6 pcie cables have arrived


at this point i cannot remove the motherboard due to all the loops so we pipe up and later we wrap paper towels around the joints


mounting mods LACK of wire management-good job 2nd psu and mobo tray wil eventually hide all this

note all cable tied around tubes will be cut once everything is in place
gilgamesh


