Chocolate Box

Associate
OP
Joined
25 Aug 2011
Posts
407
Location
CLASSIFIED
I would much prefer a watercooled graphics card rather than CPU, the build is looking very nice.

Well yeah, I find it kind of funny I thought brown would be the controversial element of this build but everyone seems to immediately jump to 'y u no wet CPU'. Not anyone on forums having genuine discussion but casual facebook arguments and haters. Funny seeing as it's just a 4440 with a locked multiplier and the 290X is the loudest card since 8800's :D

Not a fan of the Parvum cases, but I'm an SFF freak so I still think it's an epic build, kudos to you chap. Anything that involves a bit of turning gets the thumbs up from me.

Not a Parvum fan :eek:
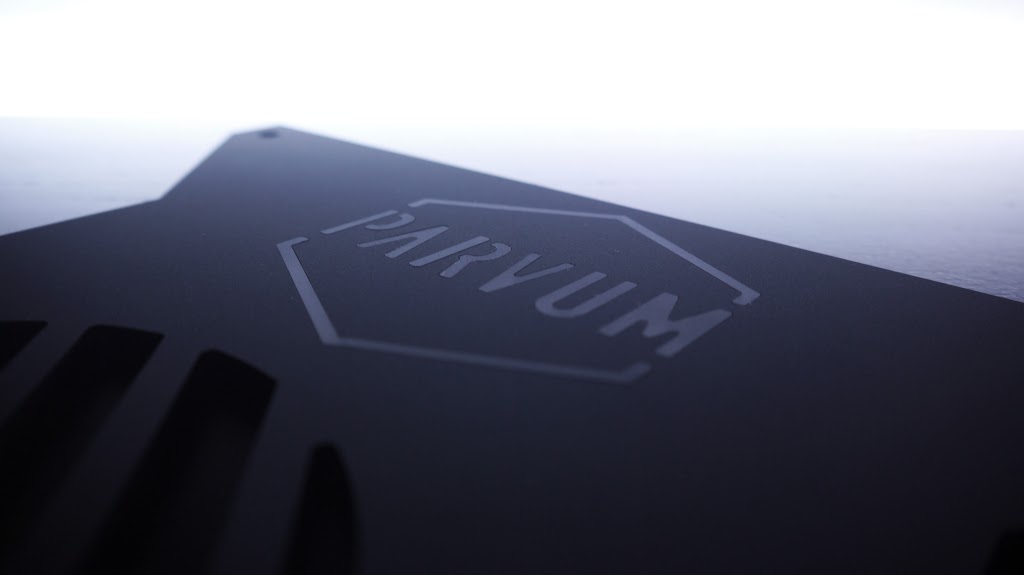
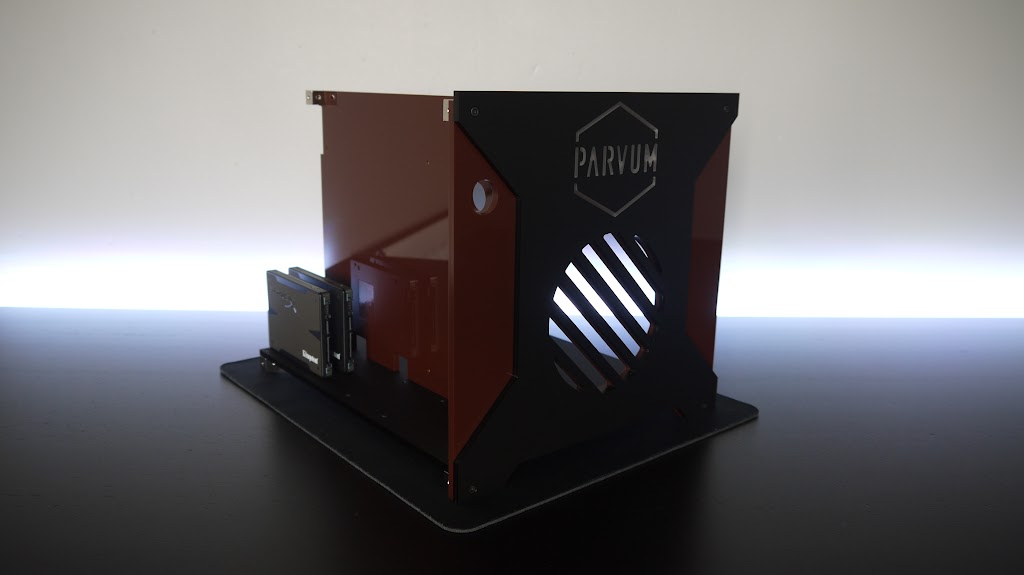
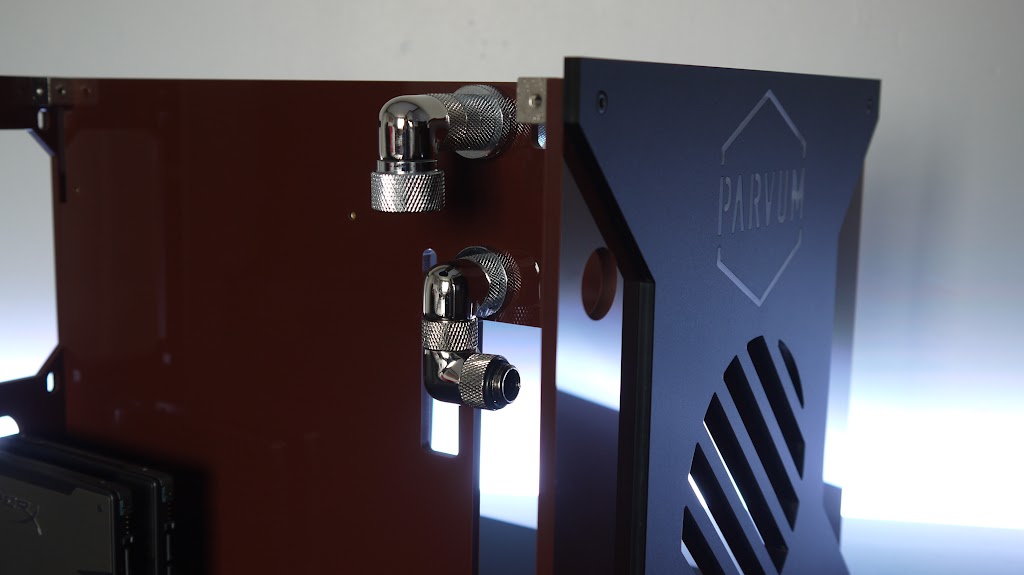
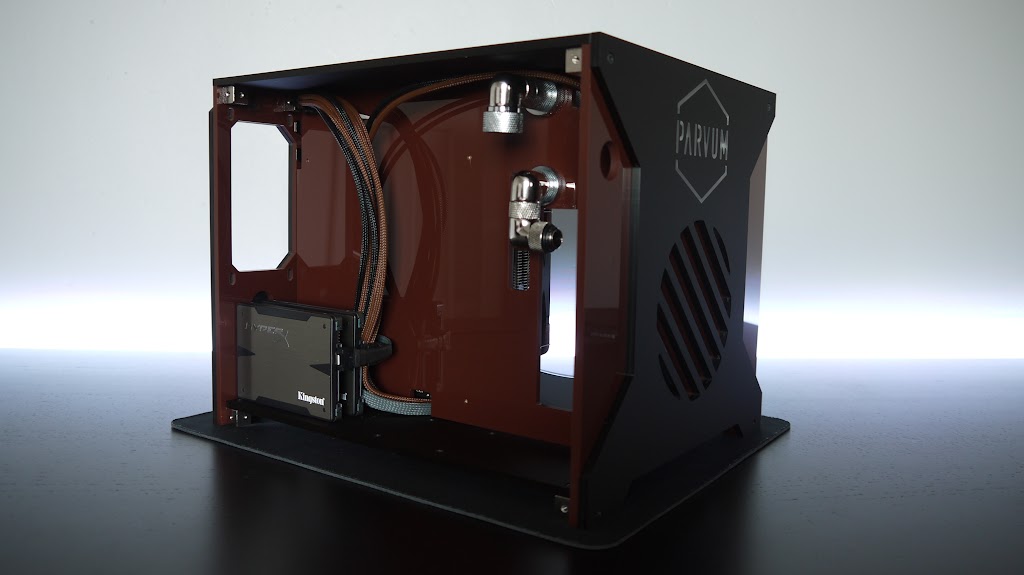
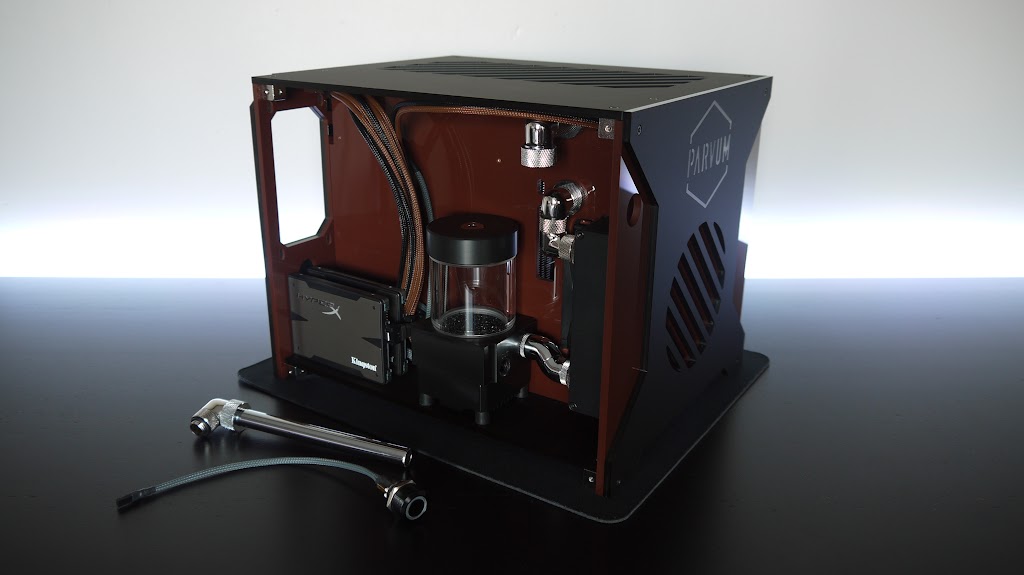
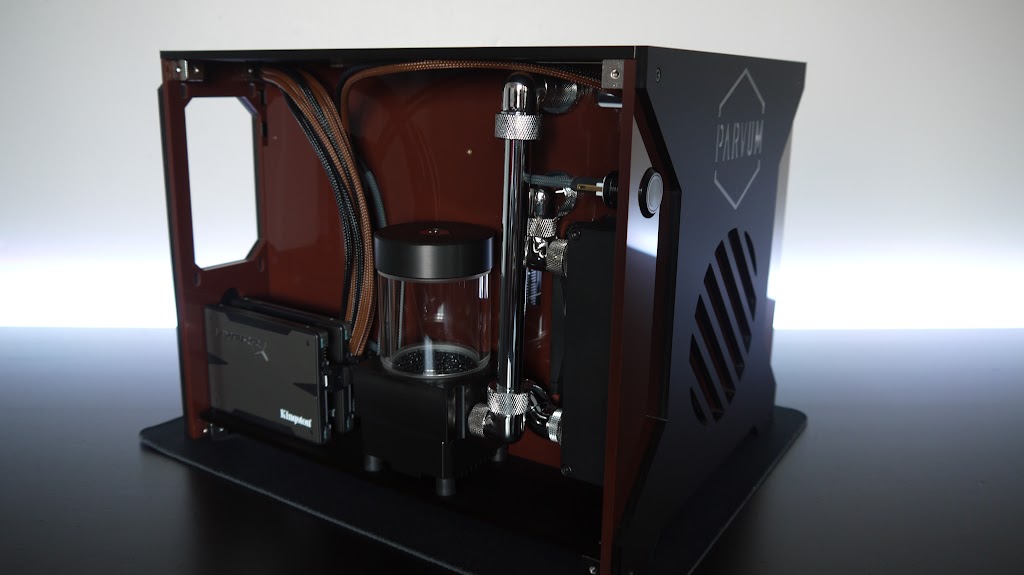
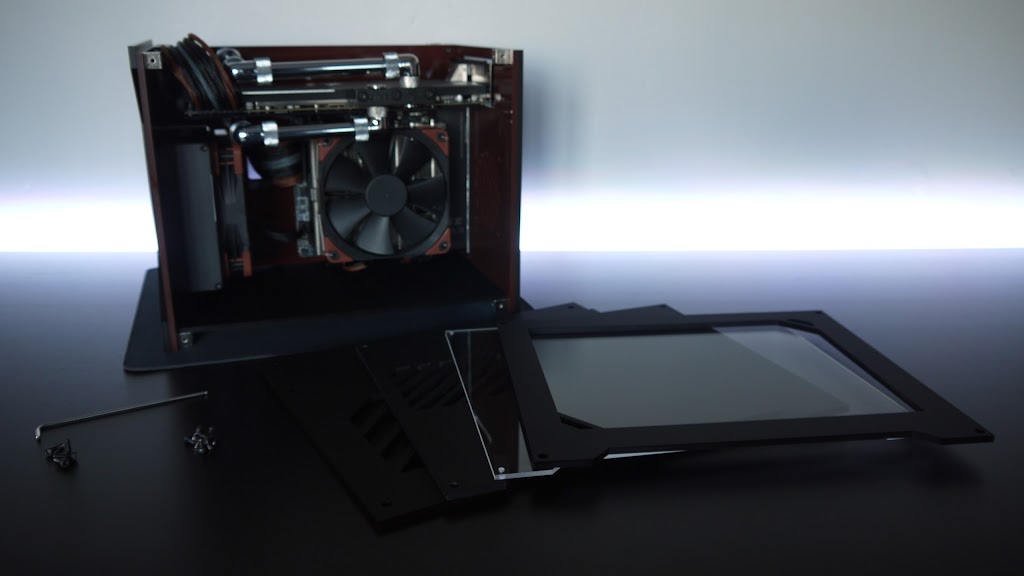
, I must say their format really makes sense for SFF builds, being able to remove any panel and assemble it in any random order is invaluable when things are so tight. Really really nice to mod too not that i've done a lot to it. I must admit they would be much nicer in a make belief world with no dust.

Great build, looks epic - any chance of a picture of your photo "studio" setup - your pictures are astonishingly good!

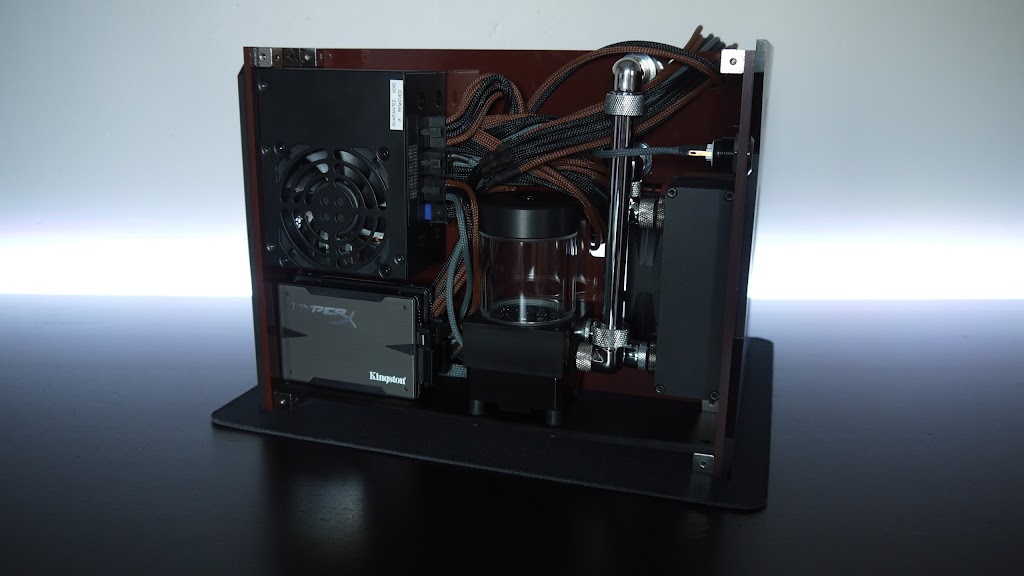
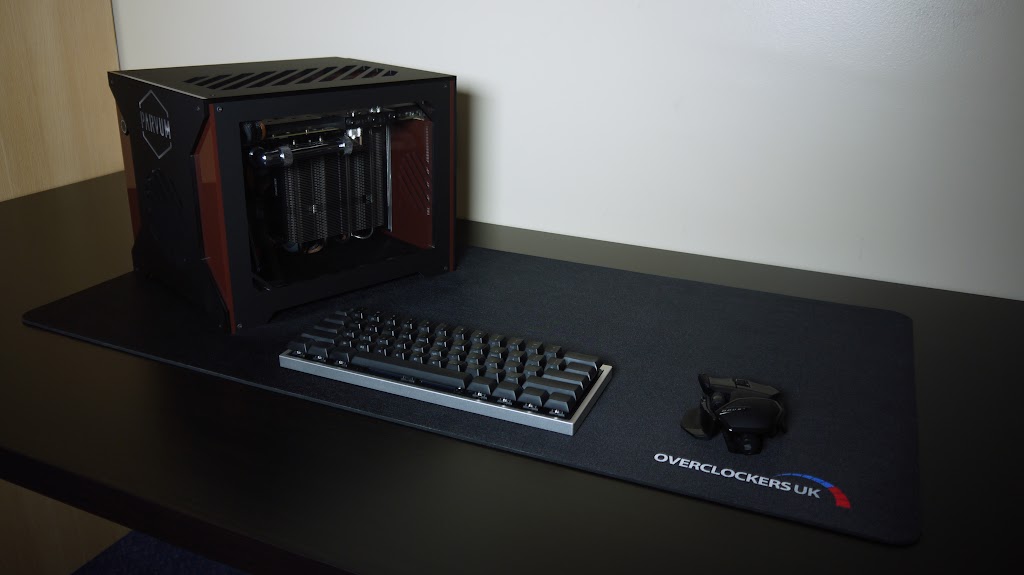
The earlier pics with the grey background were taken in my room at uni with background paper pinned to the wall and my ultrabook with a white screen for lighting. The later pics are just on my desk at home which is backlit with RGB LED strips and natural lighting, nothing special at all and I can't really show you any more than you can see in the actual pics.

Top build, I love all the parts you ordered they certainly have had much thought put into them.

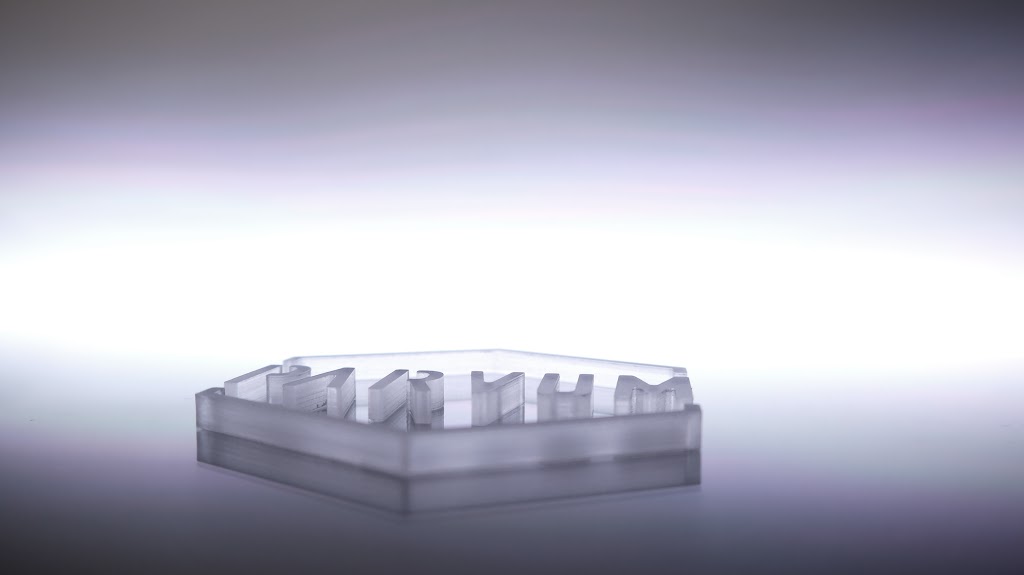
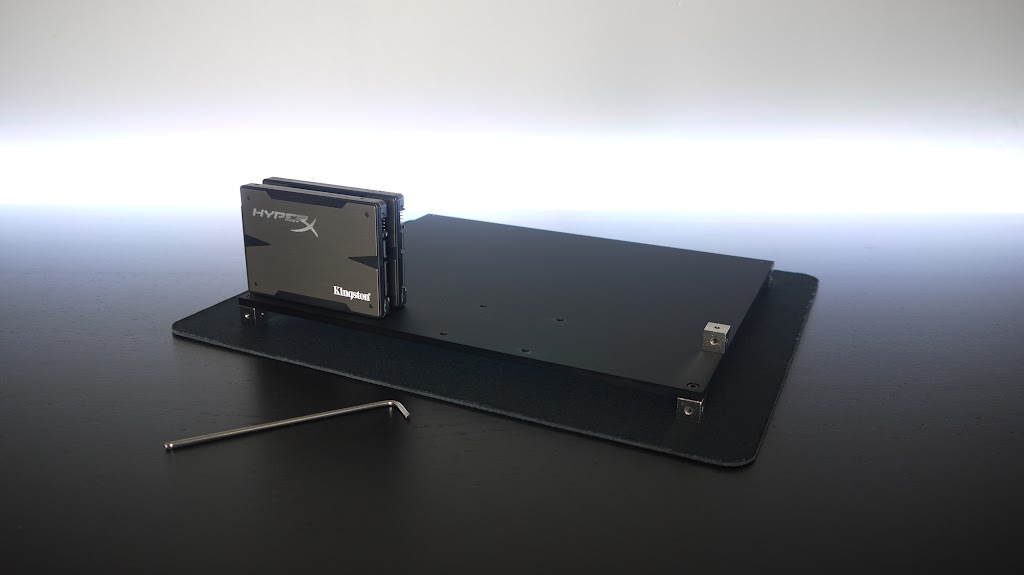
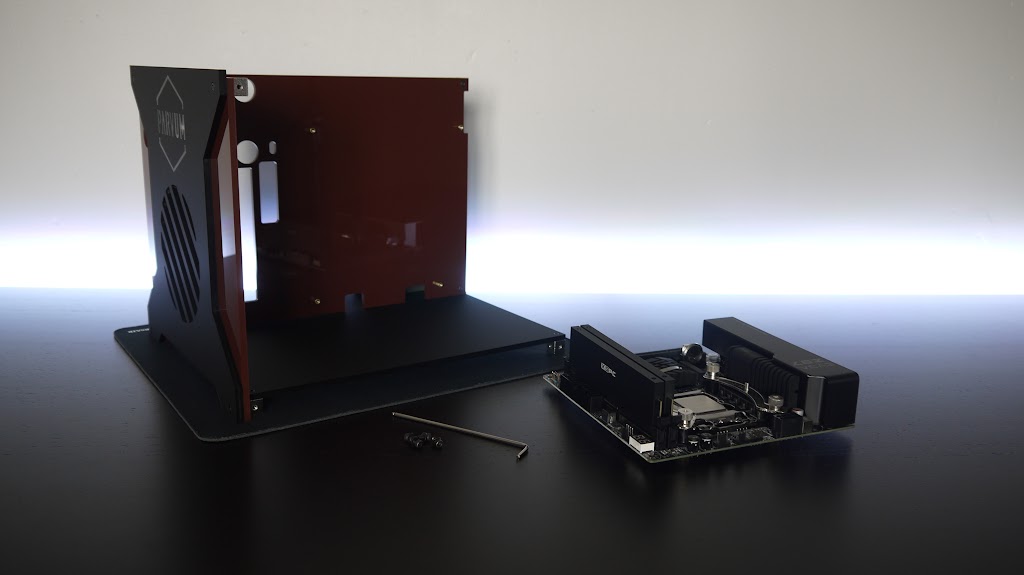
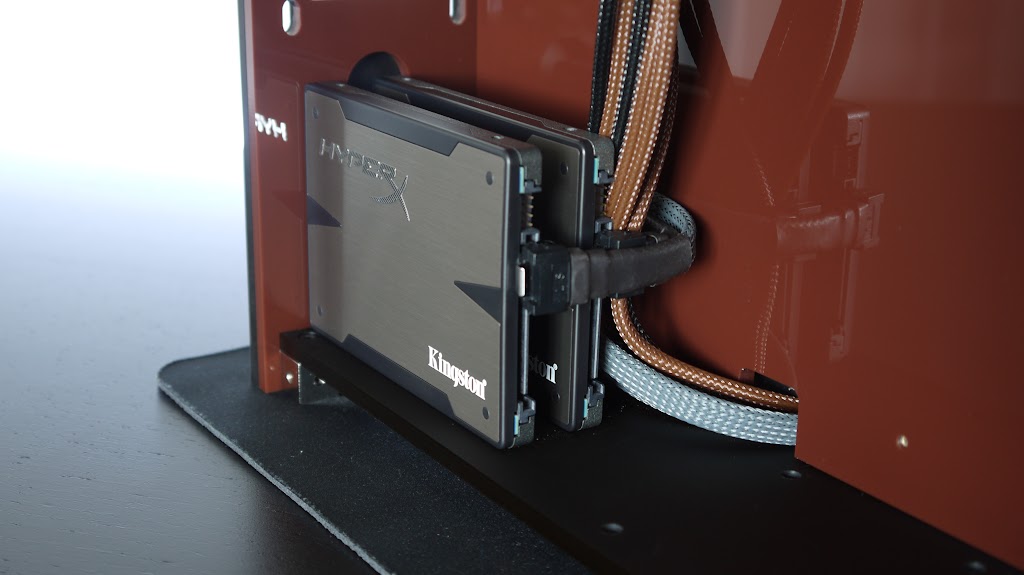
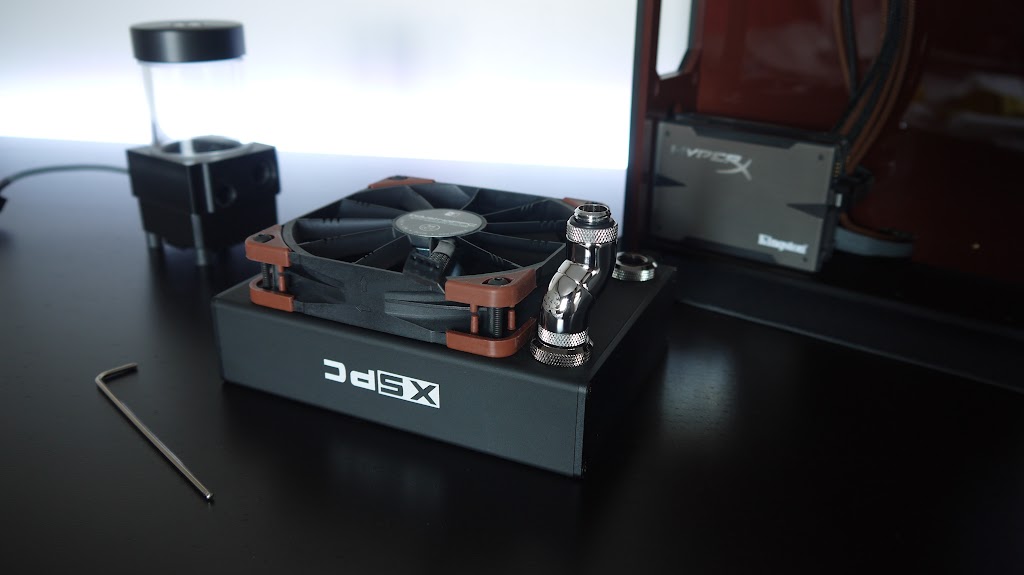
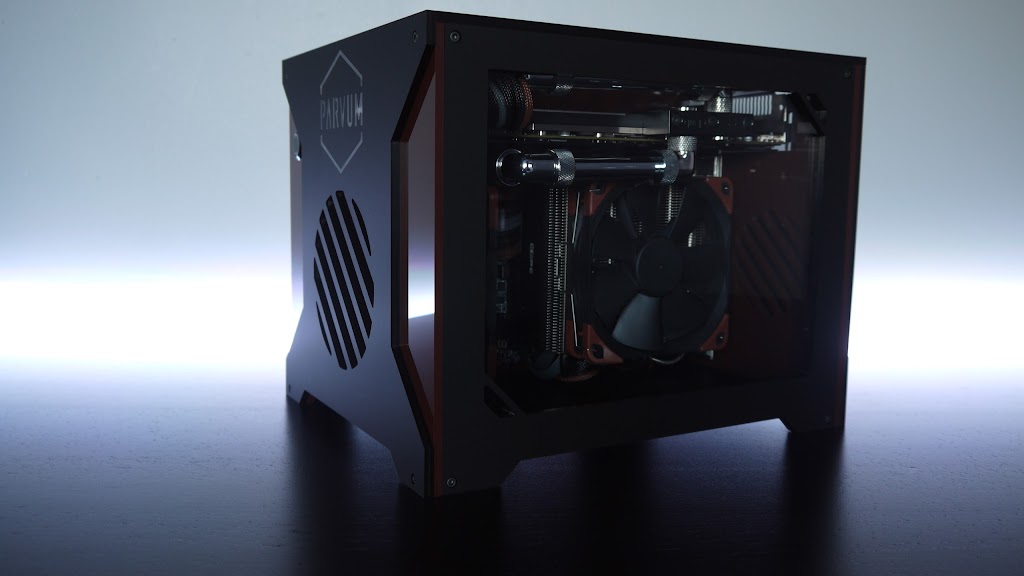
Thank you, yeah they came together really well. Surprising considering i'd never seen most of it before, Parvum are on the right wavelength though the XSPC and HyperX stuff is lush.

JR
 
Last edited:
Associate
OP
Joined
25 Aug 2011
Posts
407
Location
CLASSIFIED
Lovely bukd - subbed :)

Not so sure about the grey in the cables looks awsome though m8

very nice

Thanks guys. I must admit i'm addicted to grey, I don't think it's a bad thing and it just makes them a little more subtle. Various parts are black and brown with grey details and that's something I wanted to bring through to the cables to. The iPPC fans have grey writing on the sticker/box as does the motherboard, radiator and the case so I think the three will draw everything together.

Great job shortening the pump mount screws :D Should be a super solid little rig with everything bolted down!

Look forward to seeing this IRL.

Thanks boss, it needs to be solid to take the pressure of the cables, it's starting to feel really chunky now :D

Oooh where are we going IRL, i55 o.O?

JR
 
Associate
OP
Joined
25 Aug 2011
Posts
407
Location
CLASSIFIED
I'm another step closer to final assembly now after gluing in each piece of the inlay. Parvum normally rely on the tightness of each piece to hold it in place however i'd noticed the extremely small parts would stand proud of the front panel on occasion. Scared of losing one in the car or at a show I decided to superglue them in place besides it made for an epic photo opportunity. It was an extremely delicate operation and I just used a needle to wipe on a small amount of glue to the back corner of each letter and then pressed them down onto a sheet of glass.

P1190527.JPG


P1190553.JPG


P1190561.JPG


P1190571.JPG


P1190599.JPG


Thankfully it went really well and all of the pieces are cleanly secured in place. Very relieved now...

JR
 
Associate
OP
Joined
25 Aug 2011
Posts
407
Location
CLASSIFIED
The update has landed :p 
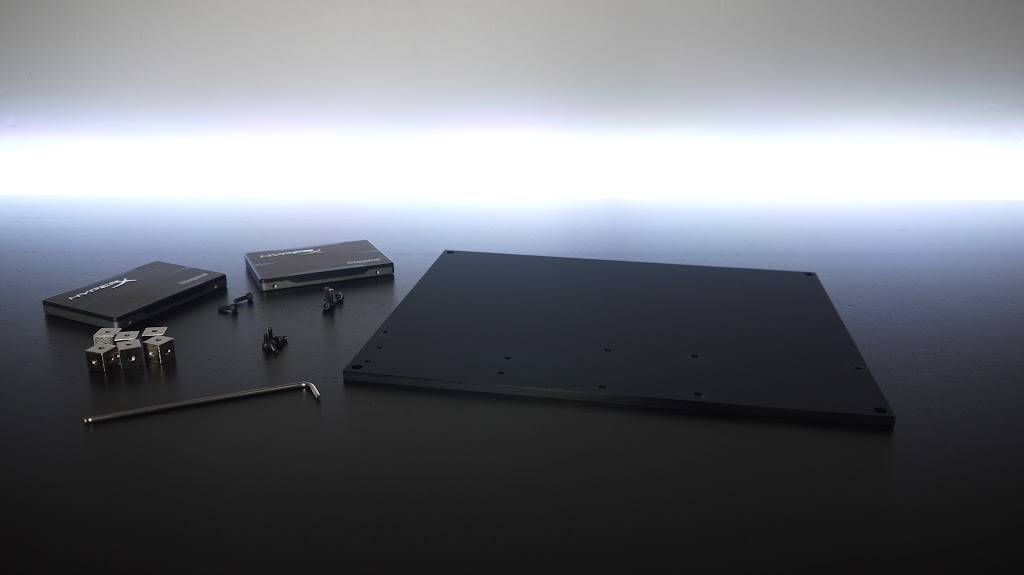
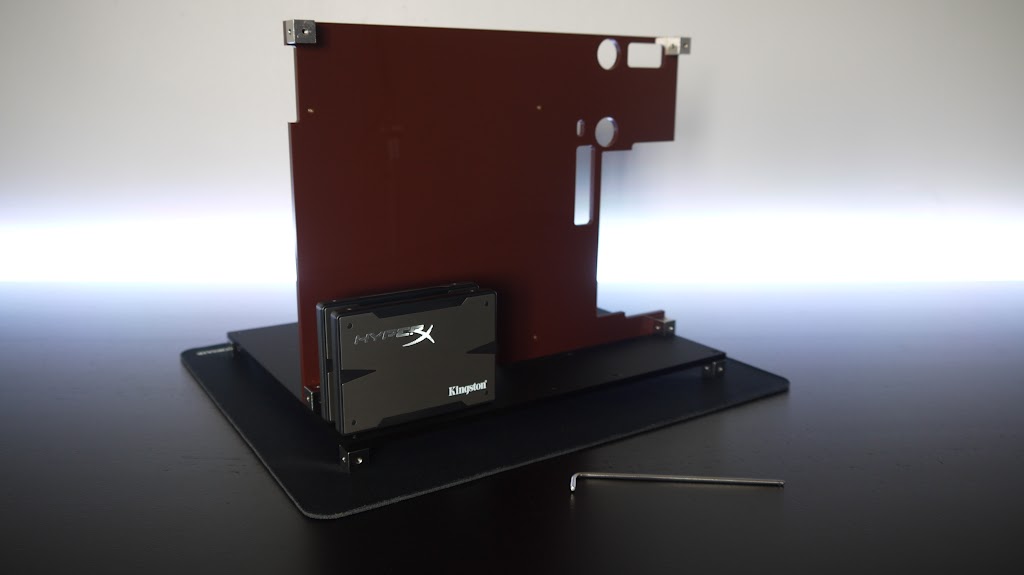
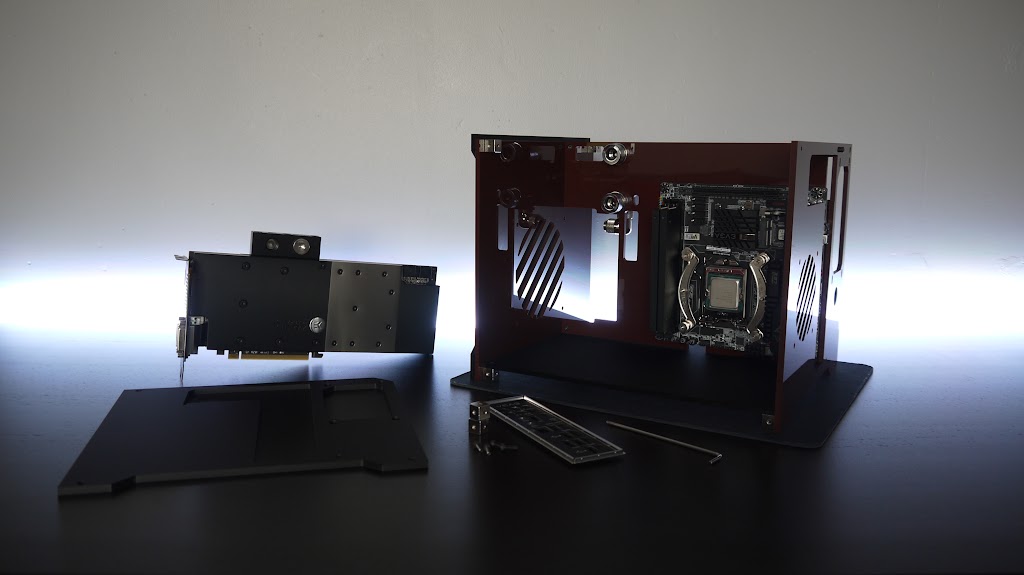
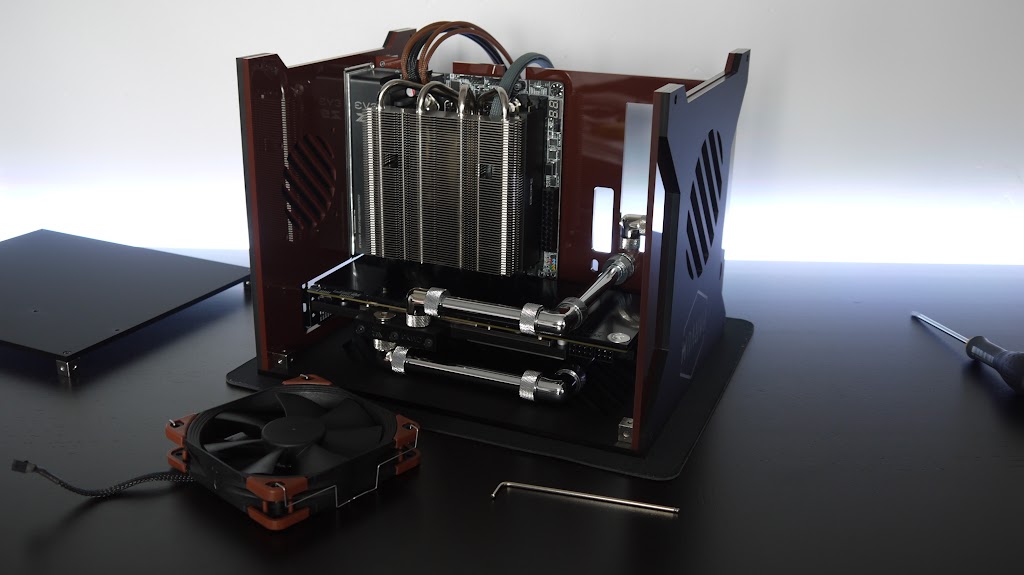
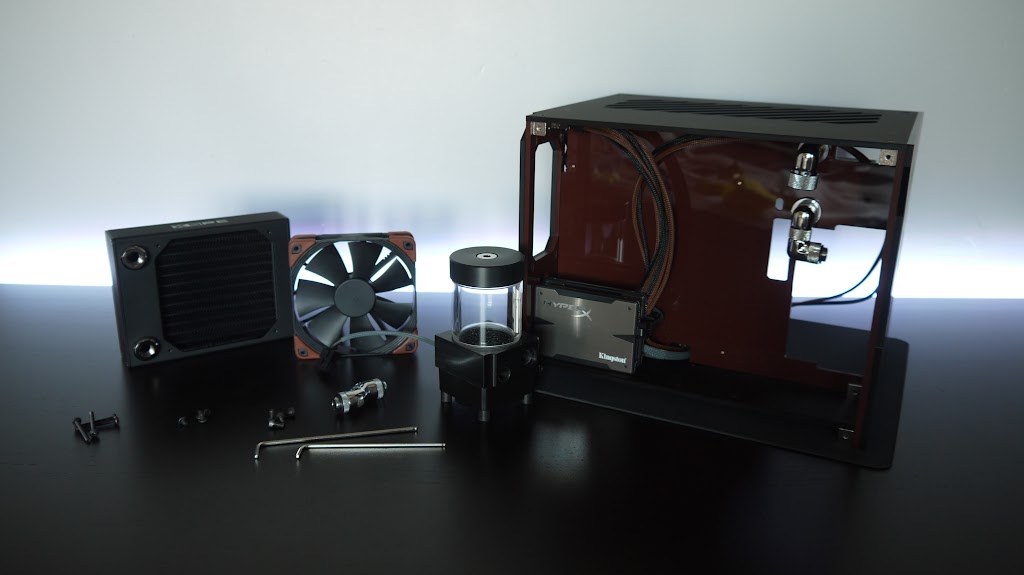
in this single post I will attempt to show the entire 'build' from start to finish. As you know every piece has already been designed, modded, test fitted and adjusted to fit precisely in position however this is the first time everything can come together.

Normally one might expect to start with an assembled case, or even with a Parvum build at least put it together at the start. Chocolate Box however is a little different. The case, components, loop and cables must all come together simultaneously.

P1190684.JPG


These are all of the parts which go into making the case, quite a lot for how big it is.

P1190687.JPG


P1190690.JPG


As with most Parvums I started with the floor, securing all six cubes and the pair of HyperX's

P1190694.JPG


P1190695.JPG


Next in was the motherboard tray, a custom part which I designed around all of the components.

P1190696.JPG


P1190698.JPG


P1190701.JPG


P1190706.JPG


Although I knew the front, like the floor, would have to come off again I installed it to support the motherboard tray while fitting the motherboard and graphics card.

P1190715.JPG


P1190720.JPG


The motherboard, CPU and RAM were left together just because it's the safest way to store them. Also the IO plate which I earlier modded by removing the bottom end to clear GPU backplates is now permanently glued in place. That made fitting the motherboard just a little less fiddly.

P1190724.JPG


P1190729.JPG


Assembling the back end of the case is done alongside the graphics card installation, this is the same for all X1.0's. The inner part of the back holds the card vertically while the outer keeps it securely in the PCI slot. By temporarily securing the inner part the GPU can be installed easily with one pair of hands.

P1190733.JPG


P1190735.JPG


With little else in the way this was also a great time to install the fittings used to pass through the motherboard tray.

P1190738.JPG


Next up the card itself and the IO plate, which I forgot derp.

P1190741.JPG


P1190744.JPG


Above you can see the card in place being supported by the inner part of back panel. The single screw at the top is removed carefully, the outer panel put in position and then all of the screws tightened up. That's all which is involved in installing the graphics card. If you started with the case full assembled you simply remove the outer panel, position the card and put it back together.

P1190747.JPG


Front half of the loop complete :)

P1190750.JPG


Remember me saying the floor would have to come off? well this is why. Rather humorously the case has to be un-inverted to fit all of the cables along the bottom. SATA's, 8-pin and LED's must be plugged in before fitting the heatsink.

P1190752.JPG


P1190753.JPG


P1190755.JPG


P1190756.JPG


Once's everythings plugged in the floor can be replaced.

P1190760.JPG


With the case back on it's feet a little cable management is in order.

P1190763.JPG


P1190768.JPG


Next another part which i've probably made unnecessarily complicated, the radiator and pump must be installed simultaneously to ensure the fitting that links them is tight. Also because there isn't enough room to tighten the fan screws when it's inside the case that goes in at this stage too.

P1190770.JPG


P1190772.JPG


And the only way to get all that lot inside is to pull the front off.

P1190773.JPG


P1190774.JPG


Then the pump could be easily bolted down and the front of the case re-assembled. Everything aligned nicely.

P1190778.JPG


P1190777.JPG


Leaving just one piece to complete the loop.

P1190780.JPG


P1190782.JPG


One big component left to go, the rather small PSU! and of course all of the cables.

P1190784.JPG


P1190787.JPG


P1190788.JPG


P1190792.JPG


A little cable management later...

P1190793.JPG


P1190795.JPG


All that was left to do was fit the sides and roof.

P1190797.JPG


P1190800.JPG


P1190807.JPG


P1190805.JPG


Leak testing is now in progress and the DDC is purring away, everything looks good so far. Fingers crossed for the first ever boot.

JR
 
Last edited:
Associate
OP
Joined
25 Aug 2011
Posts
407
Location
CLASSIFIED
****ing hell that is some lathe work mate. The screws alone are a work of art.

Thanks, I hope you like the way it turned out :eek: :D 'turned' :D

Wow looks awesome and your pics are stunning. 5*

Thank you, i'll be going back to the paper backdrop style for the final pics, probably another week away, i'm going to get the keyboard finished first.


Can't tell if big mouse mat or small rig :eek: just need to find a monitor now.

MAT.jpg


JR
 
Associate
Joined
18 Jan 2014
Posts
675
Location
United Kingdom
great build enjoyed reading the thread, it looks good enough to eat. What drill bit did you use for the fill port holes, only im prob gonna do some port holes myself and just wondered what you used, il be using 10/12 tubing i know yours was 13mm but just to give me an idea what people are using, i was gonna use a cone bit, but i live in a flat so no man shed or anything like that, lol so ive got to be careful on that side. :)

plus how you finding the board, audio, overclocking, general use etc, there isnt many reviews of it at all.
 
Last edited:
Back
Top Bottom