Associate
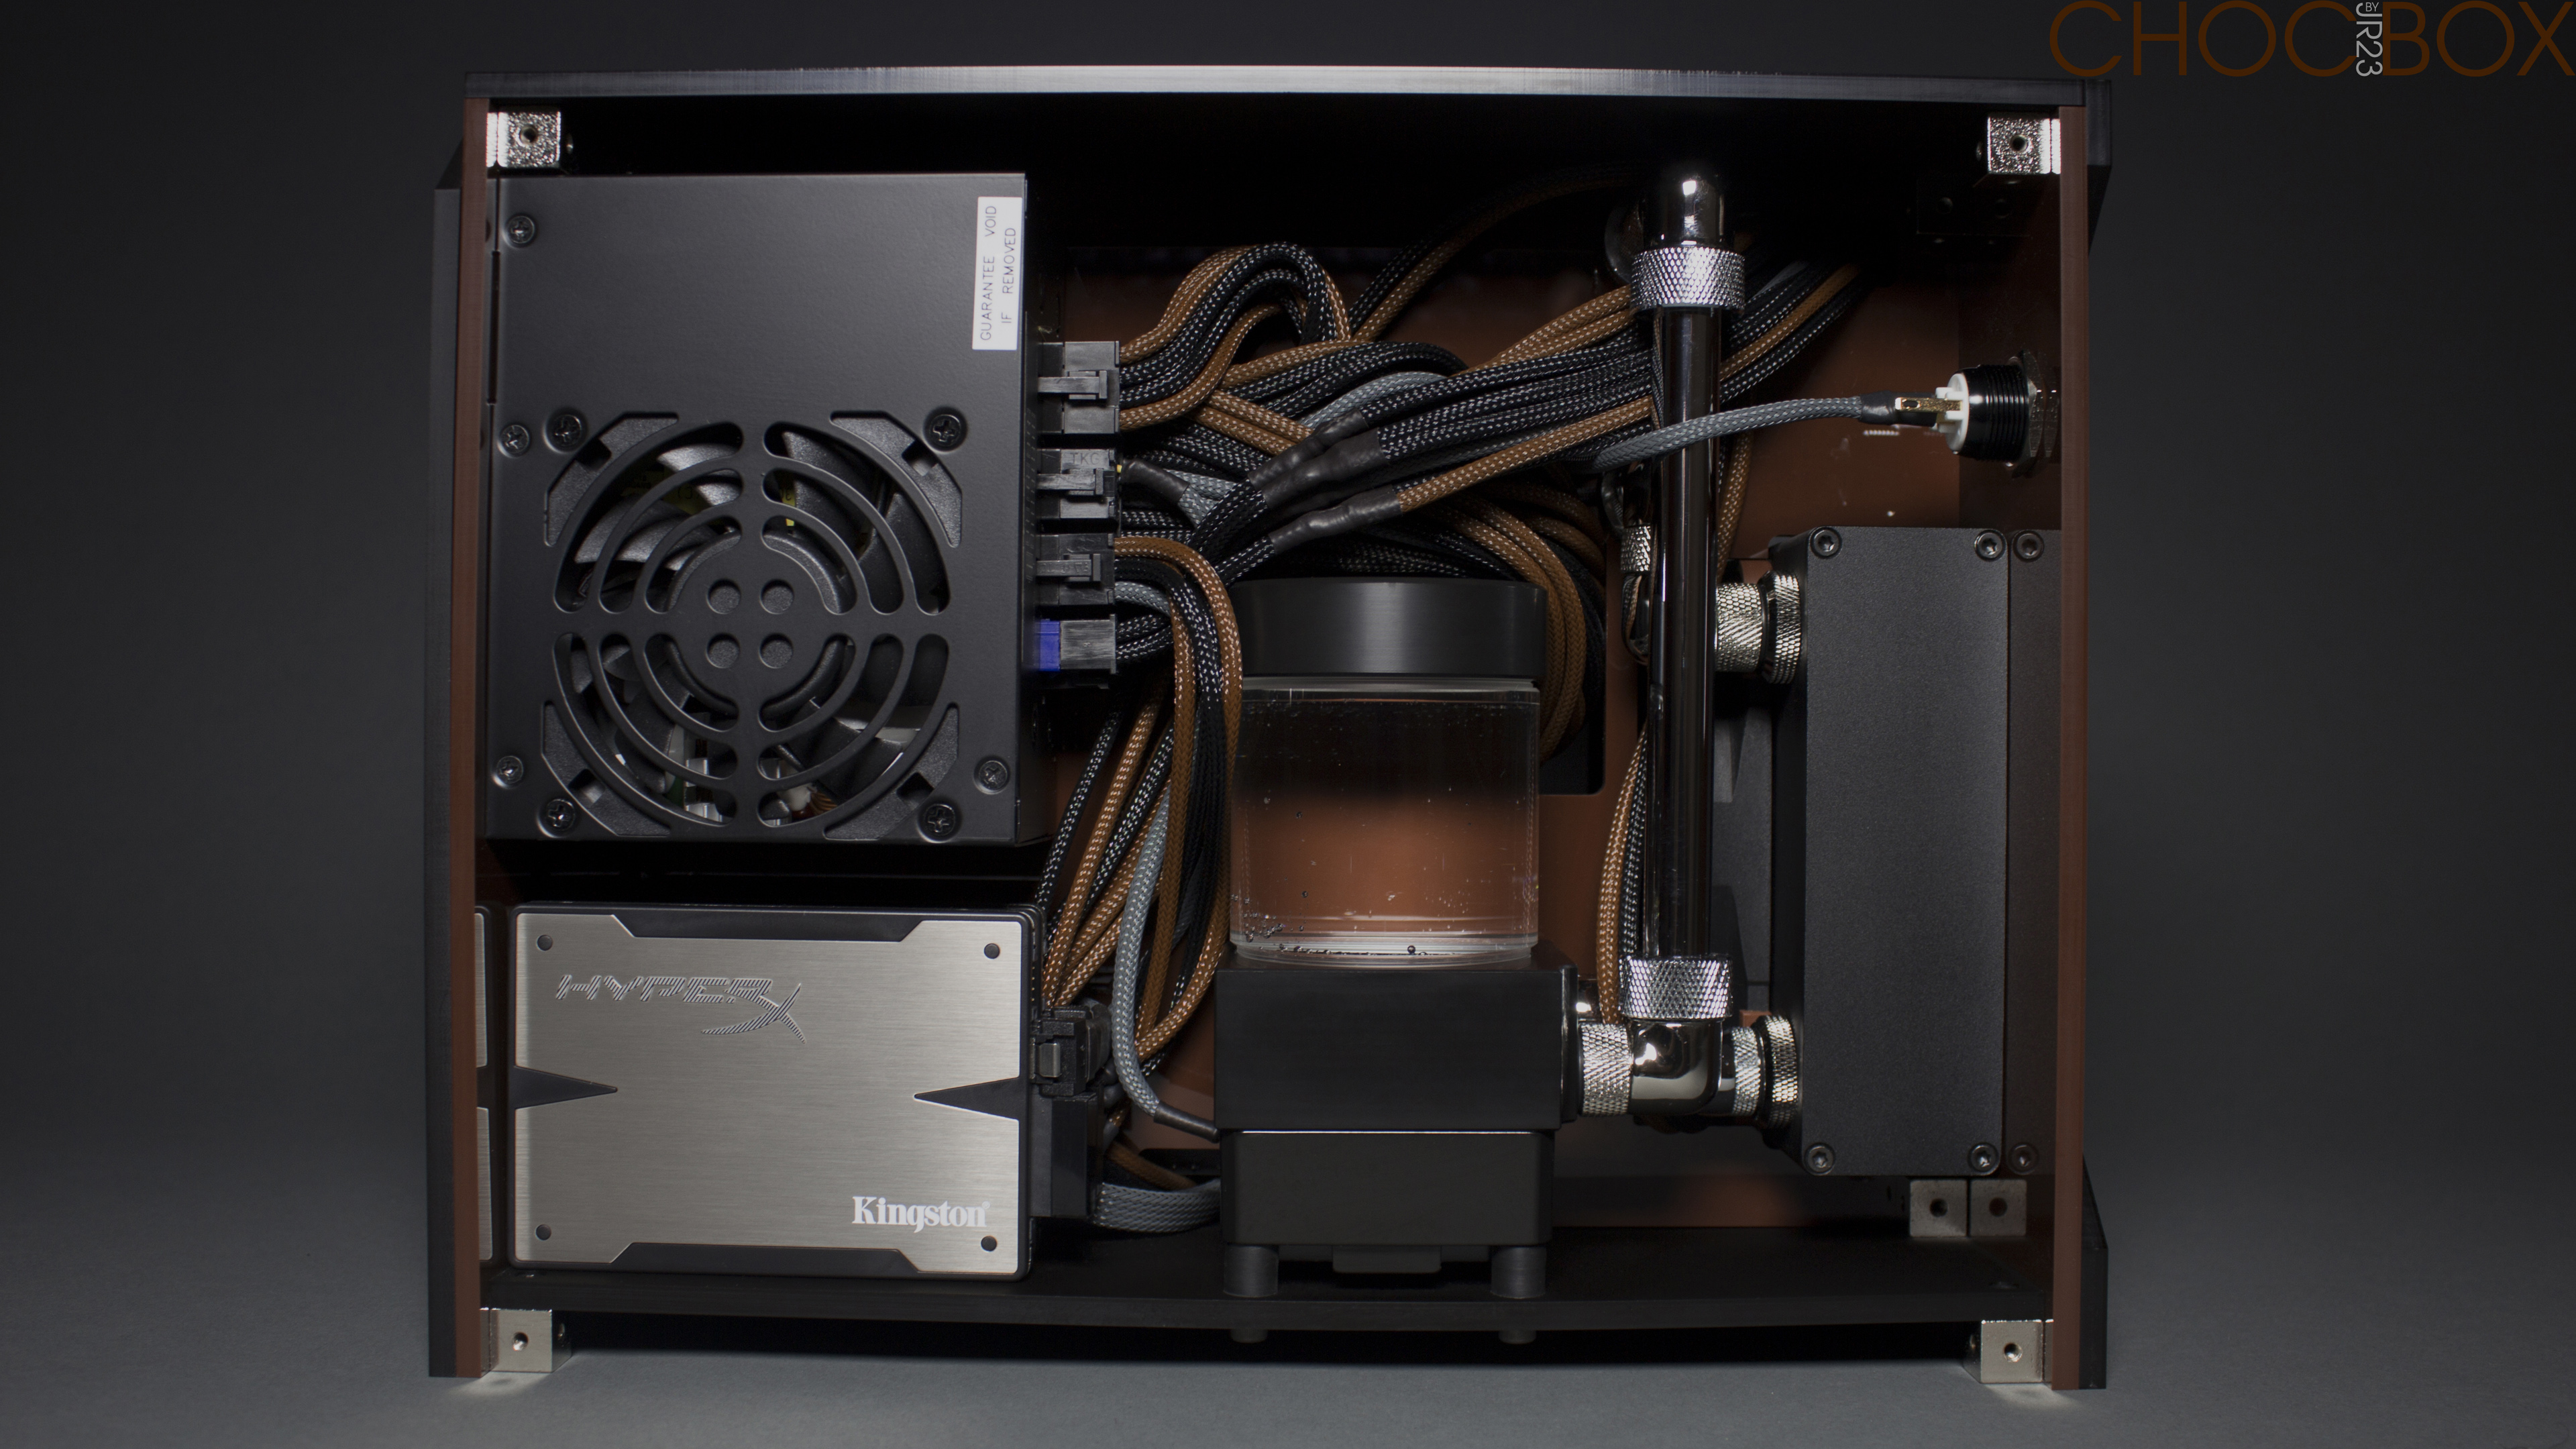
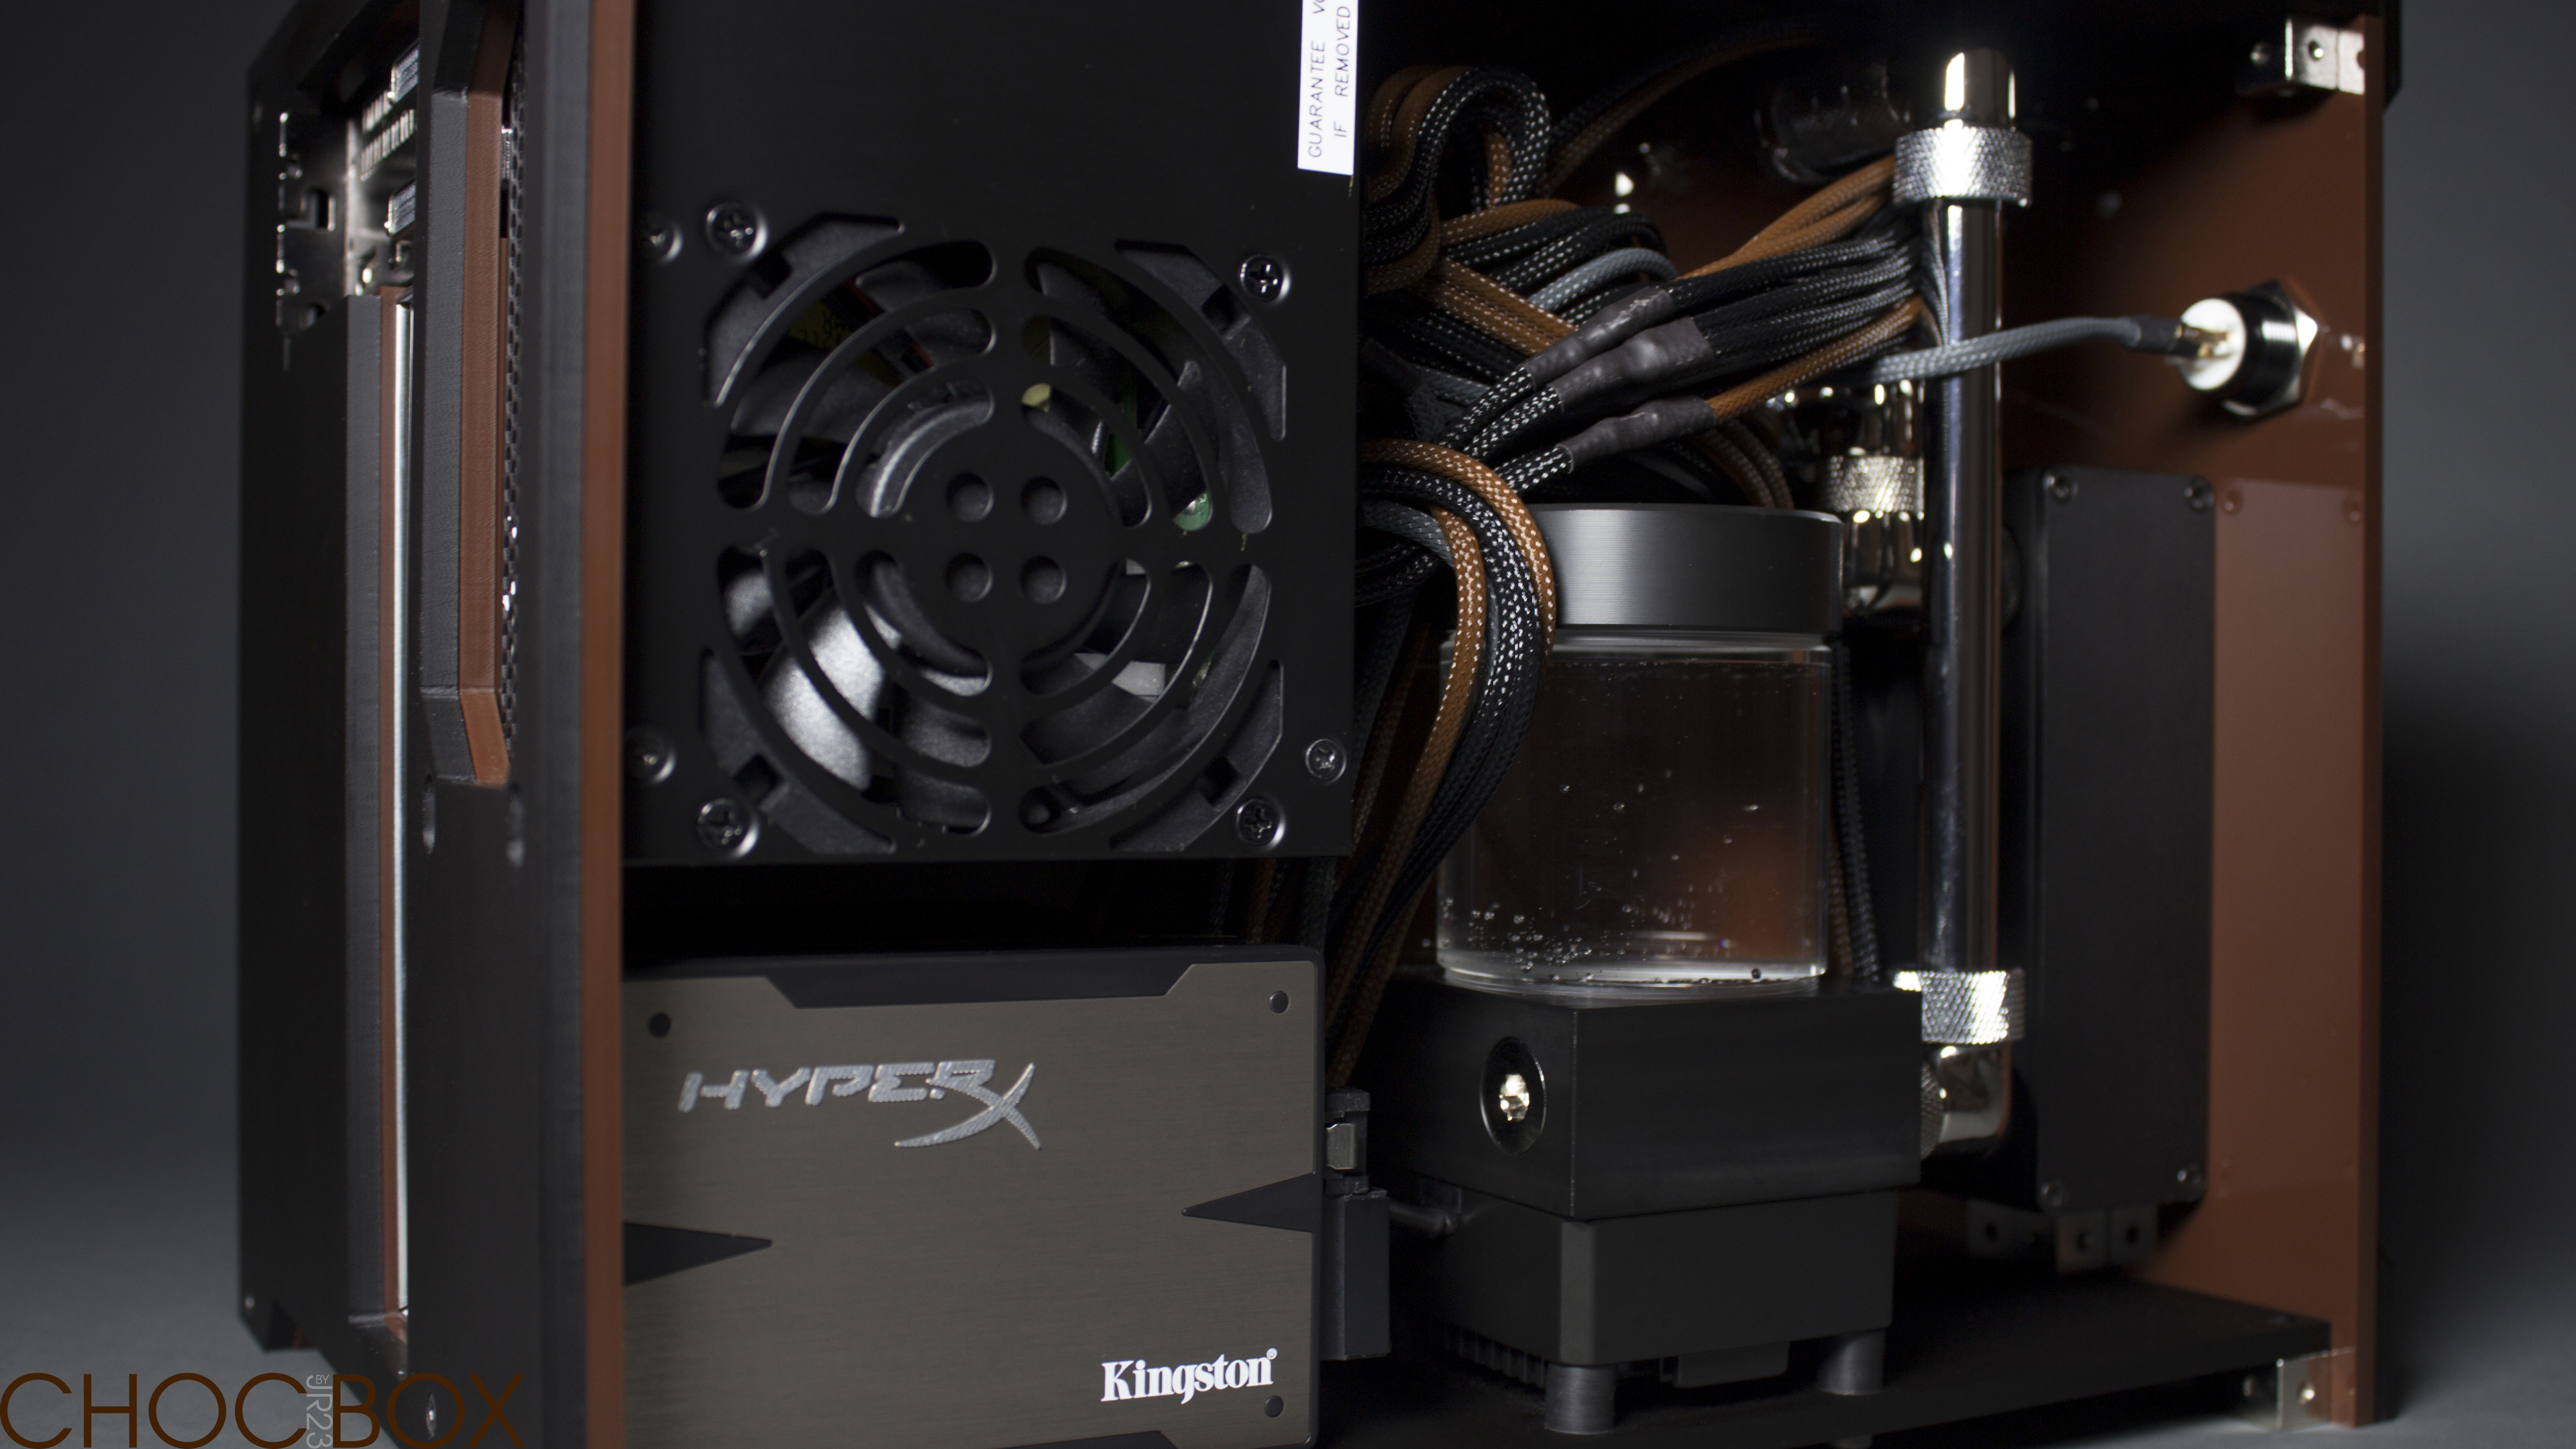
Amazing. I love the way the pump is fitted to the floor using the standard EK fittings. Excellent job!
great build enjoyed reading the thread, it looks good enough to eat. What drill bit did you use for the fill port holes, only im prob gonna do some port holes myself and just wondered what you used, il be using 10/12 tubing i know yours was 13mm but just to give me an idea what people are using, i was gonna use a cone bit, but i live in a flat so no man shed or anything like that, lol so ive got to be careful on that side.
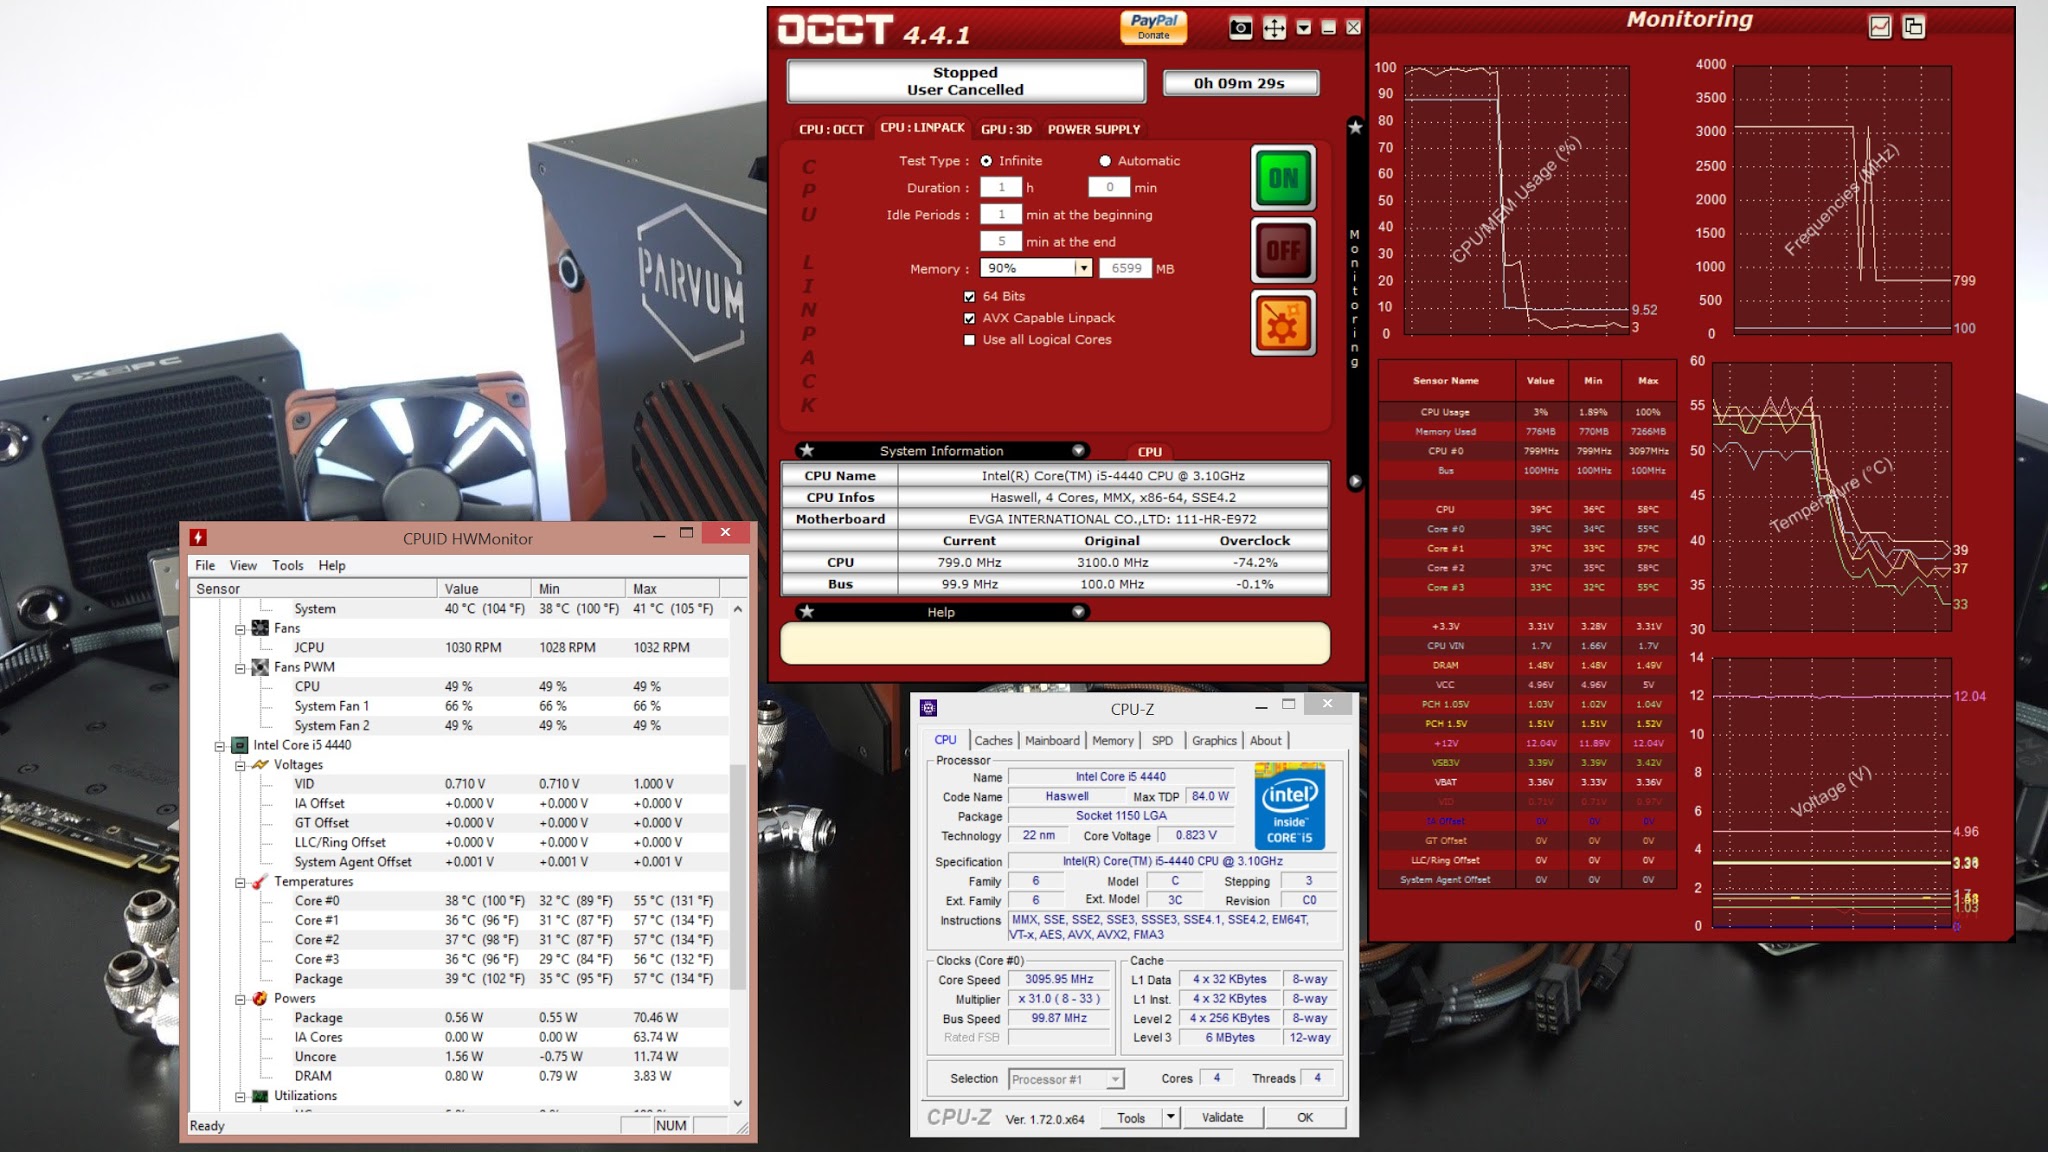
plus how you finding the board, audio, overclocking, general use etc, there isnt many reviews of it at all.

not keen on the colour combination for your braided cables, apart from that it's stunning.
Amazing. I love the way the pump is fitted to the floor using the standard EK fittings. Excellent job!
Stunning build. Good work.
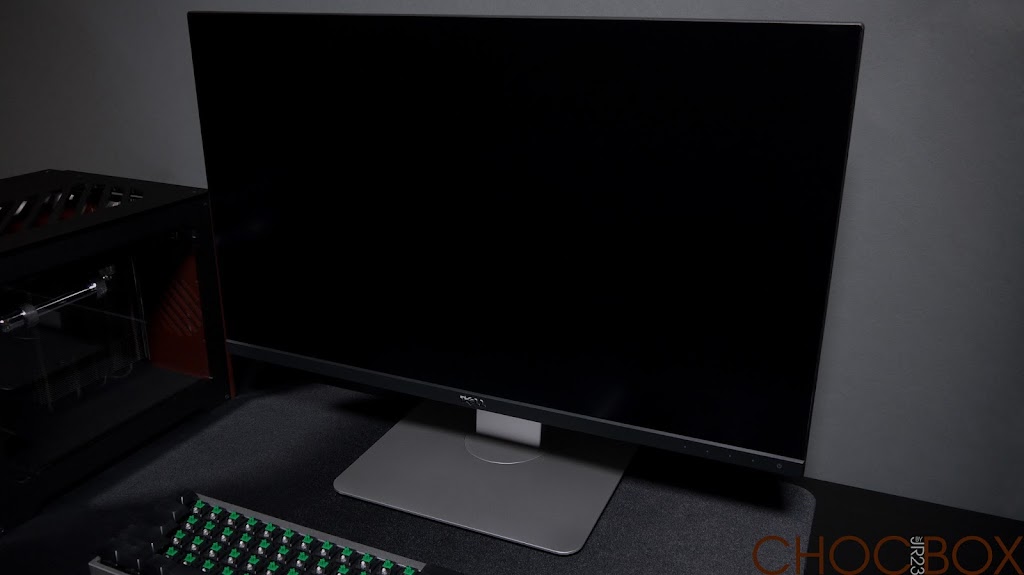
Very nice pictures. The PC looks great and you've presented it very well.

")
Stunningly beautiful build dude a pleasure to read through.
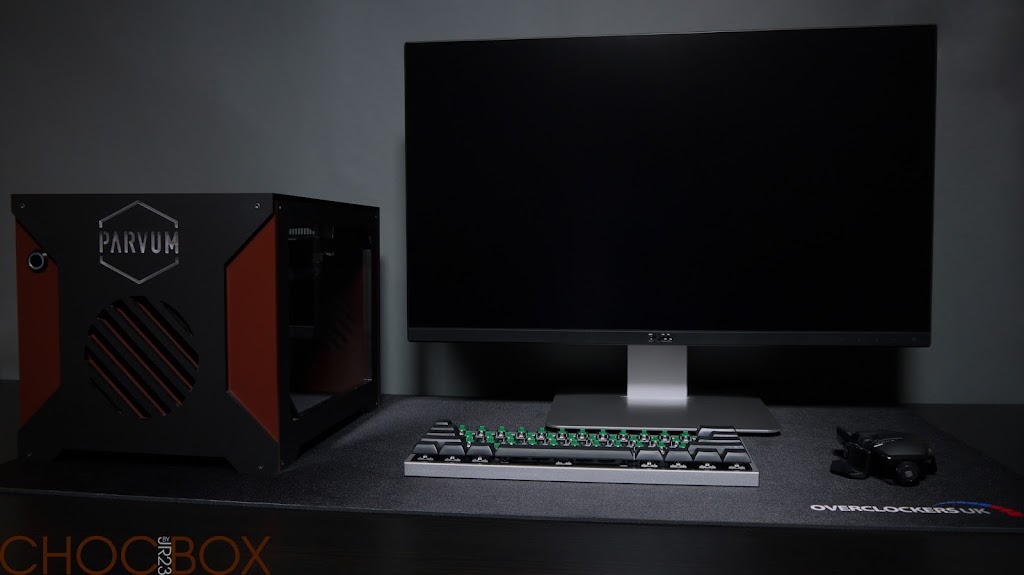
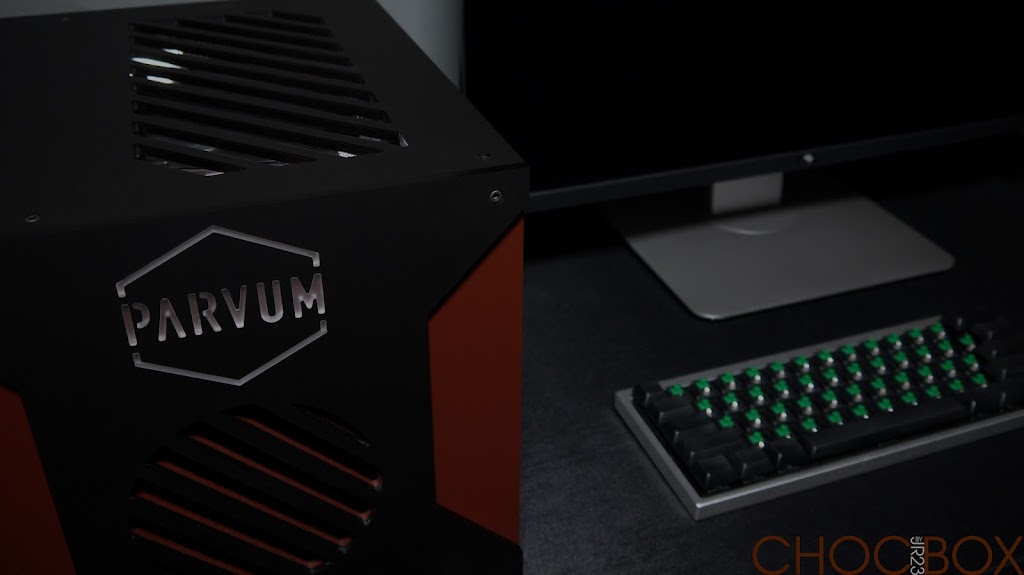
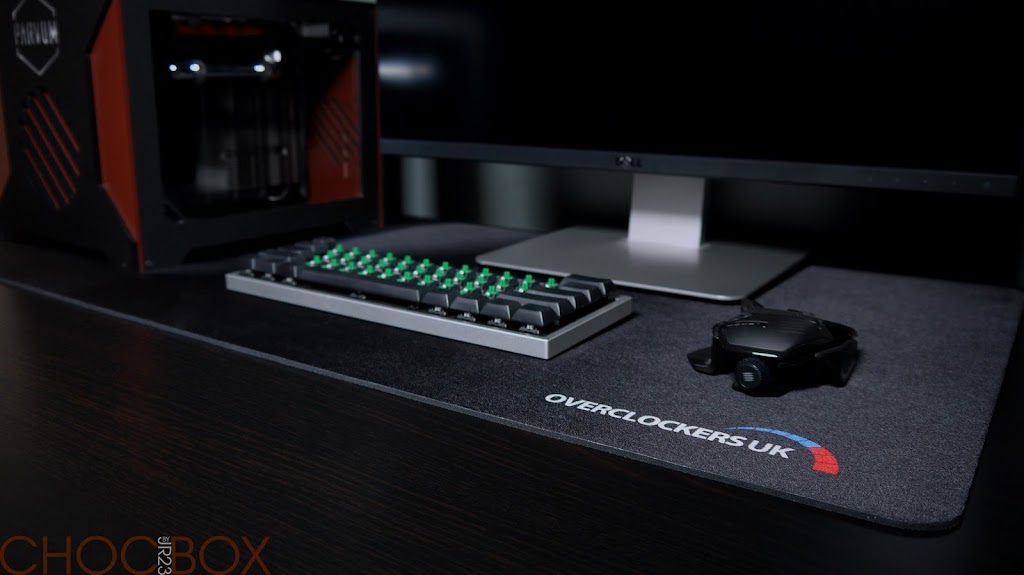
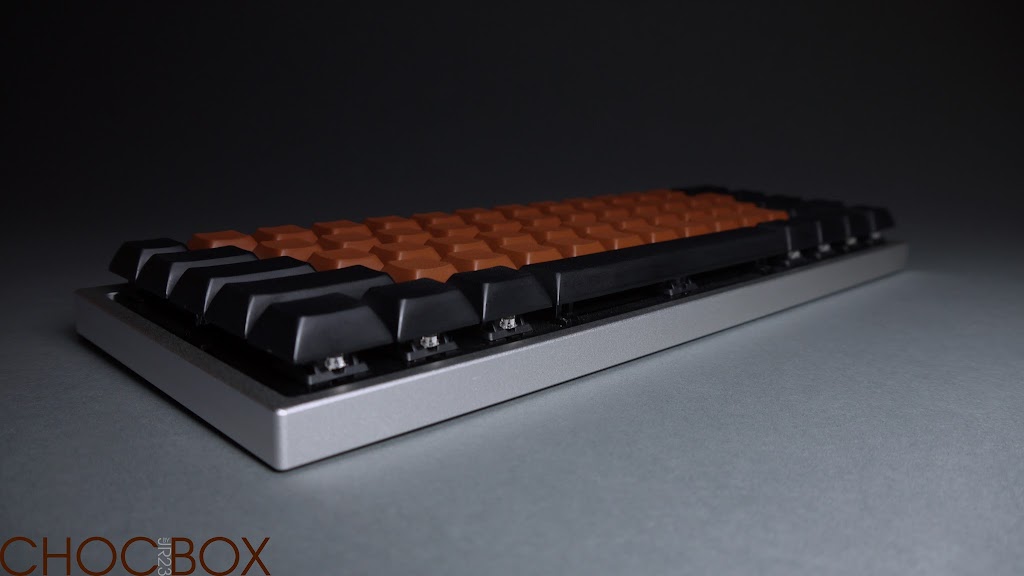
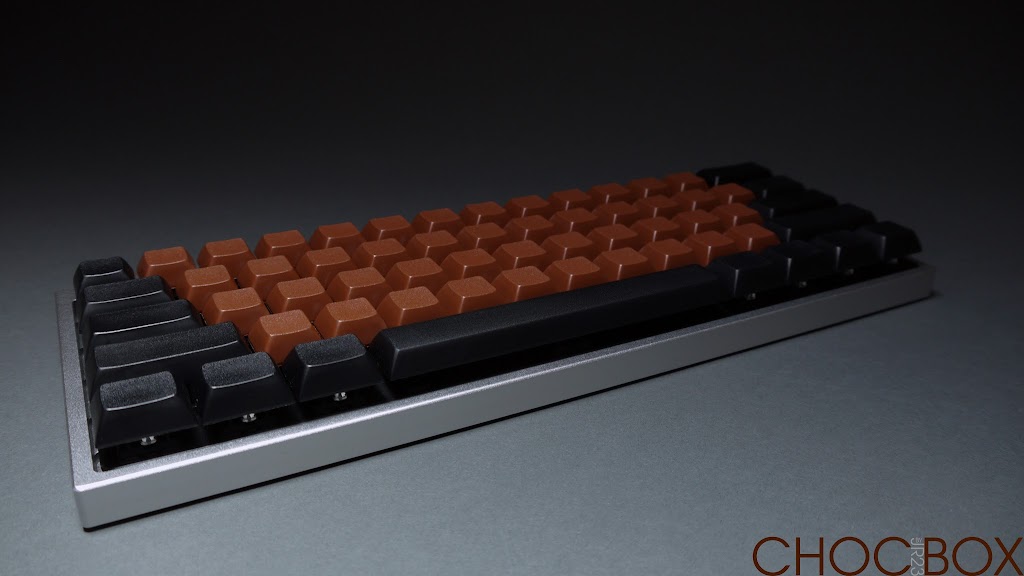
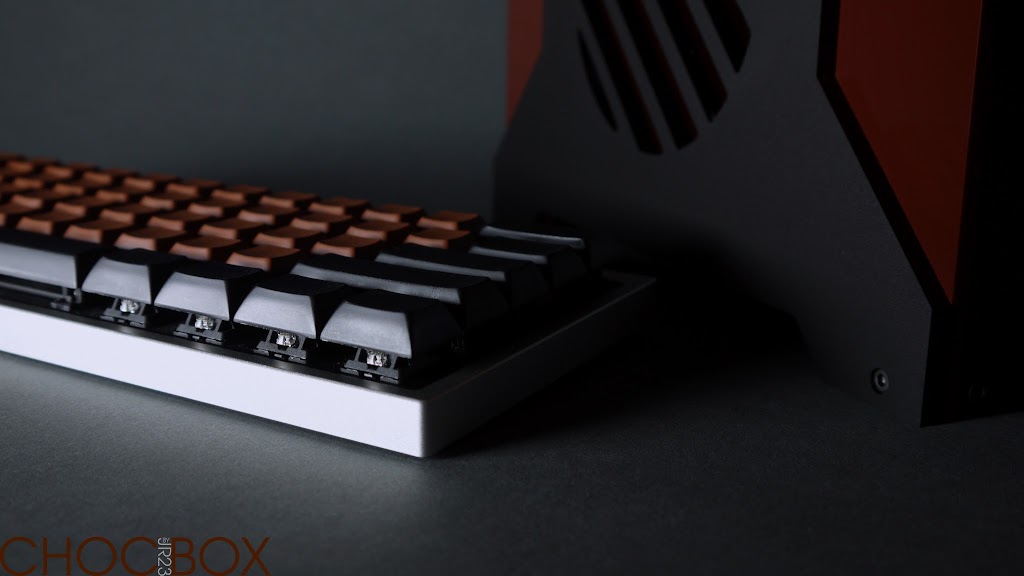
What mini keyboard is that? do u go to lan events often?
")

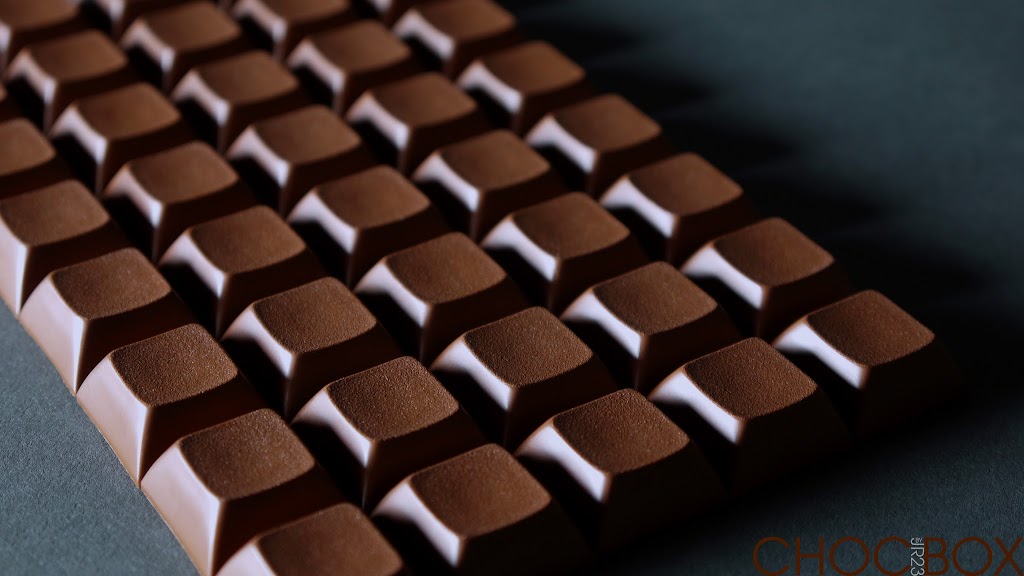
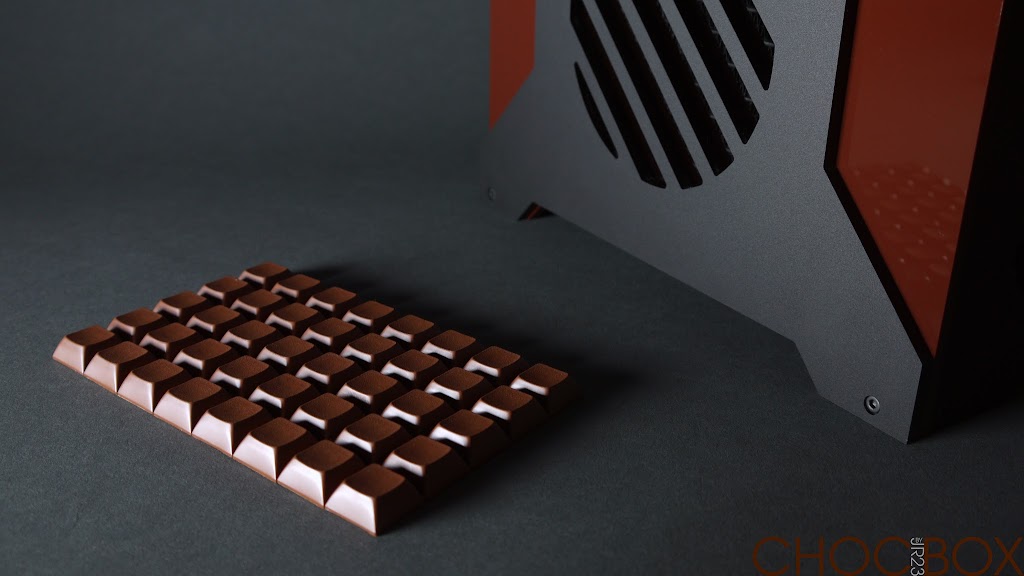
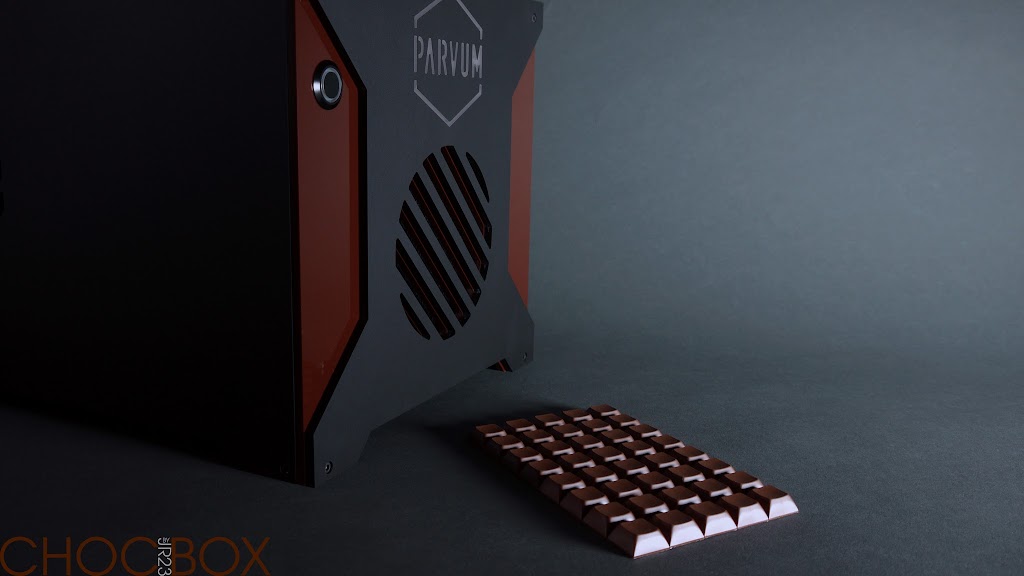
 what could this special shape chocolate be for?


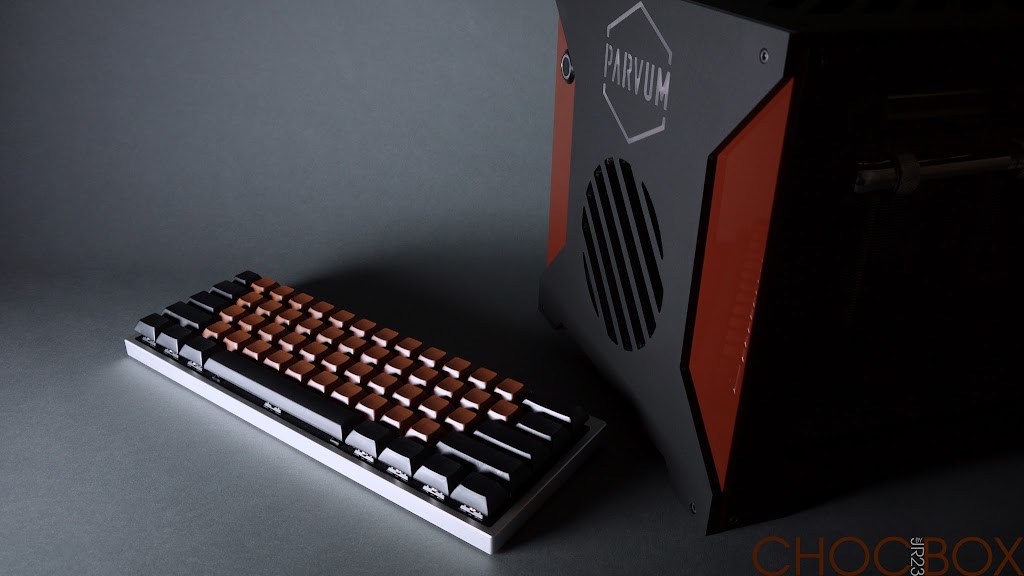
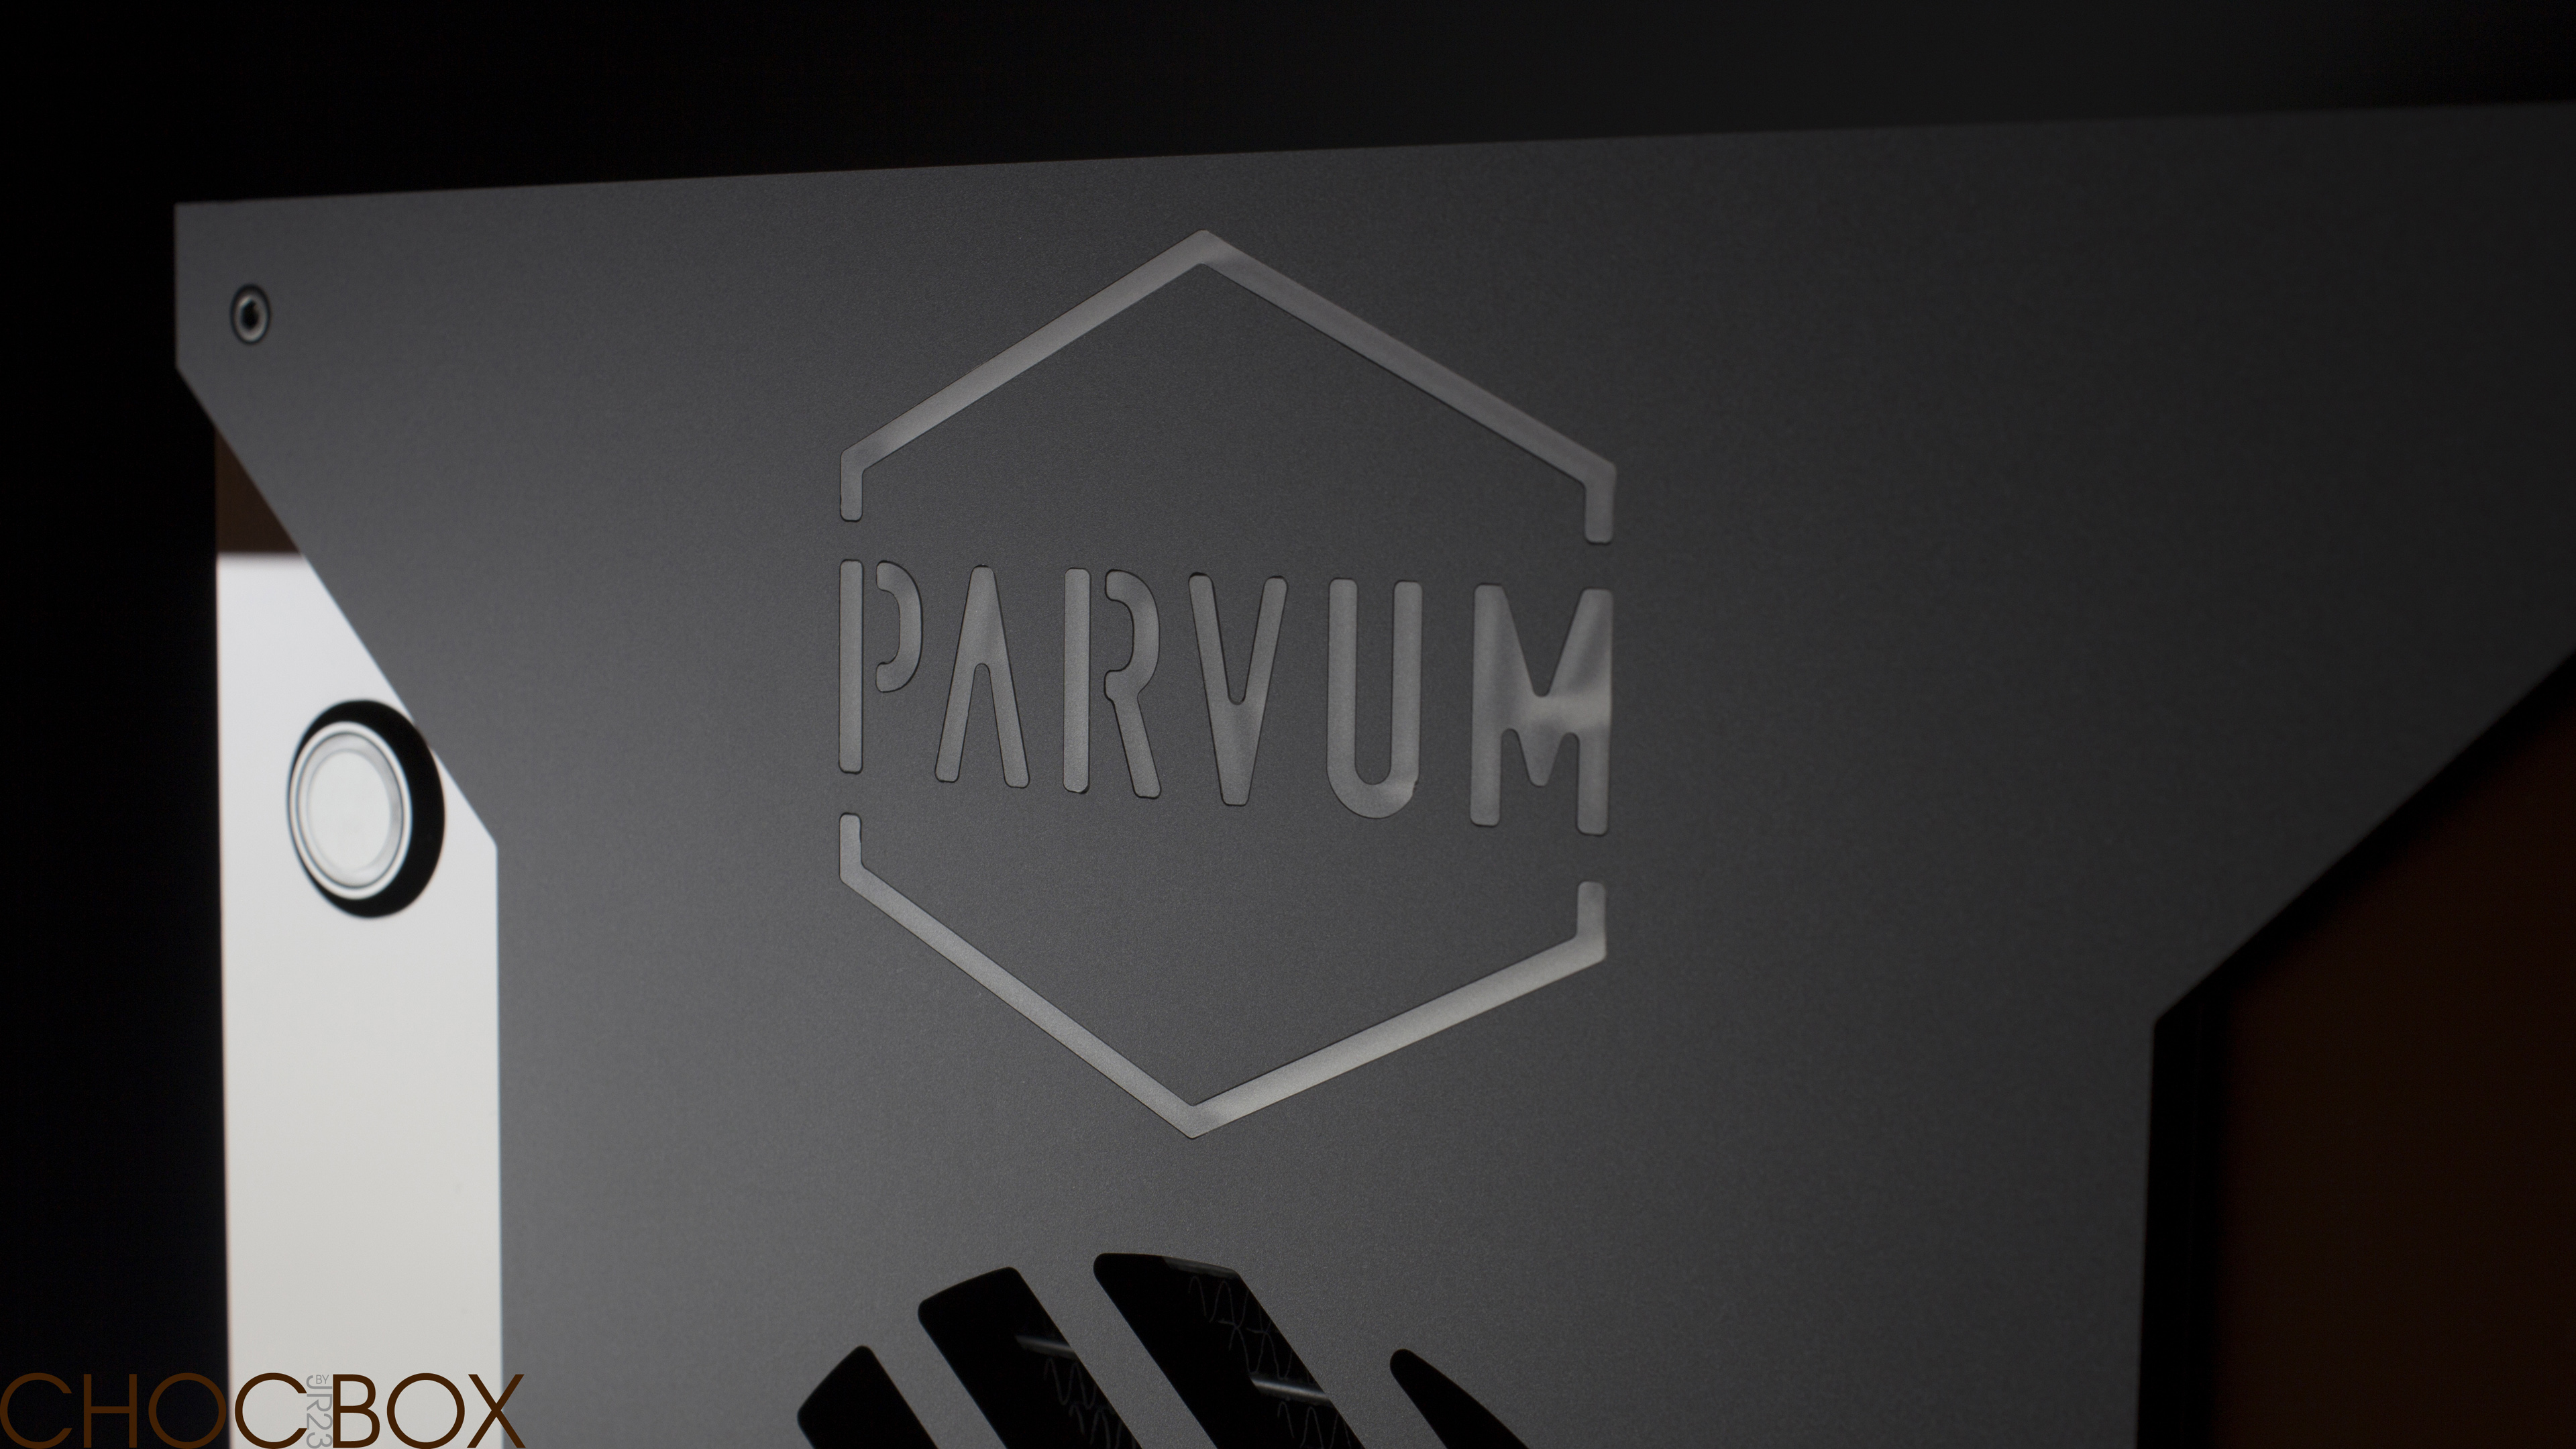

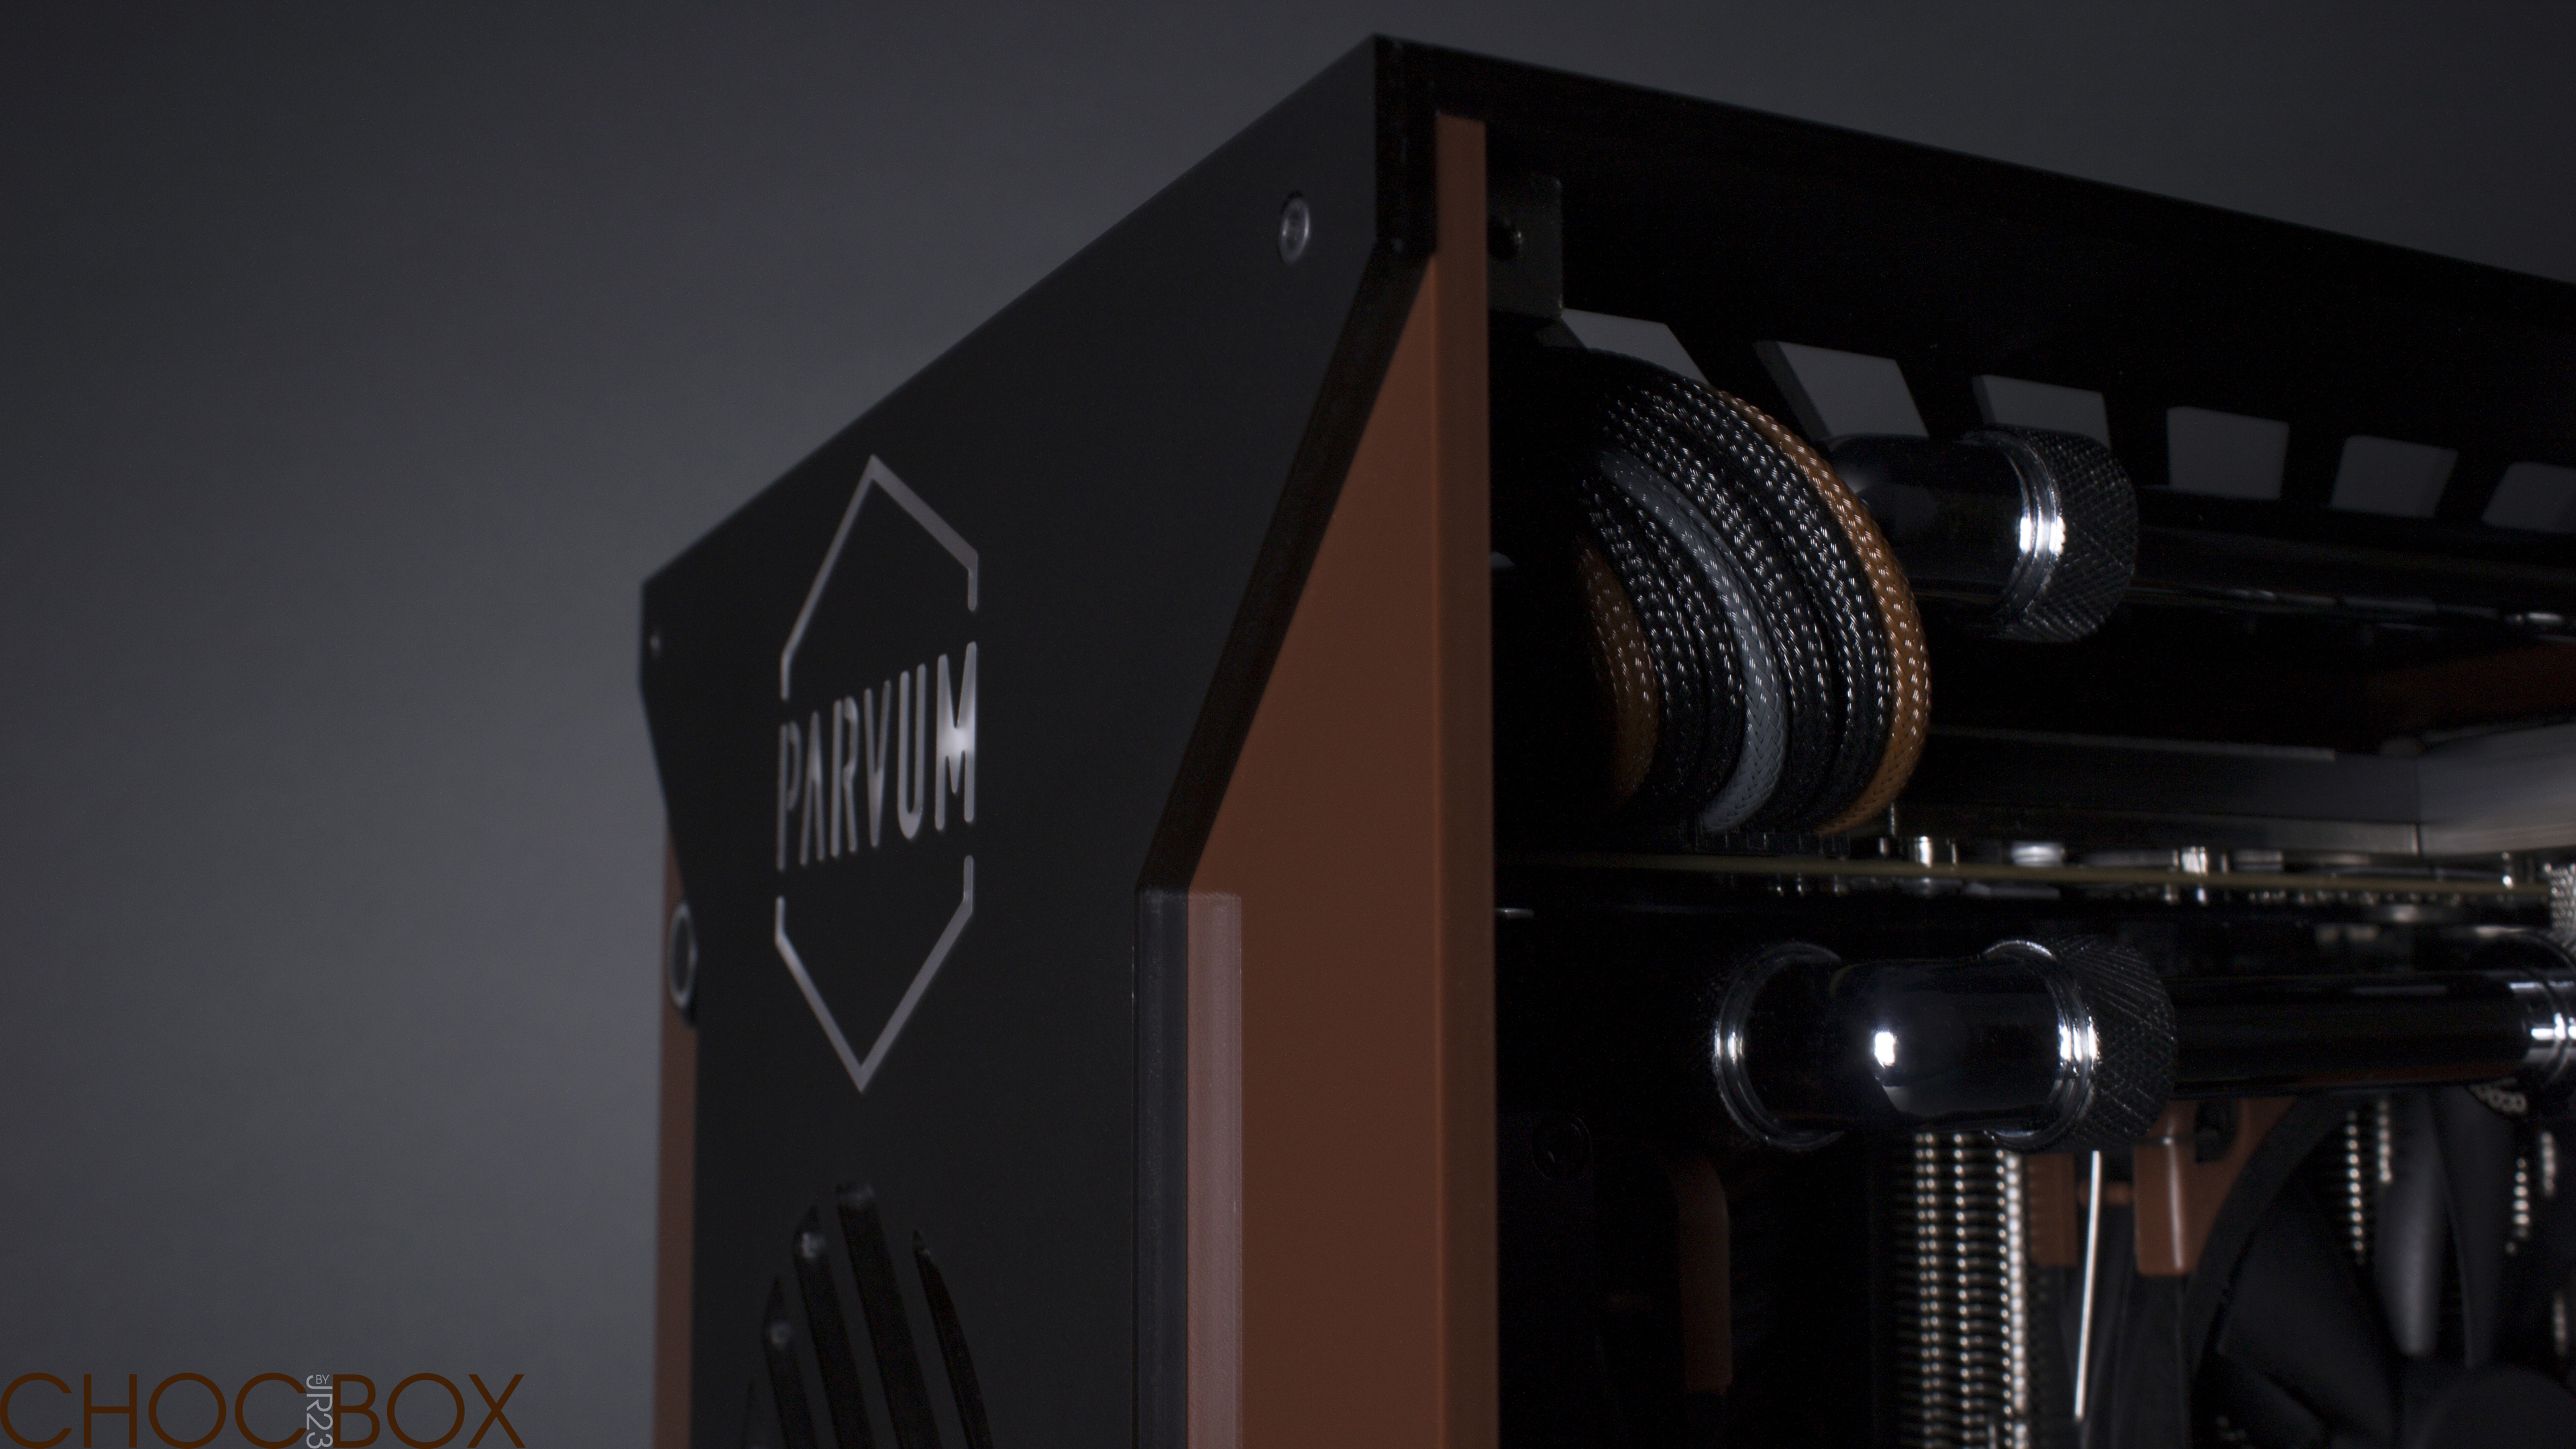


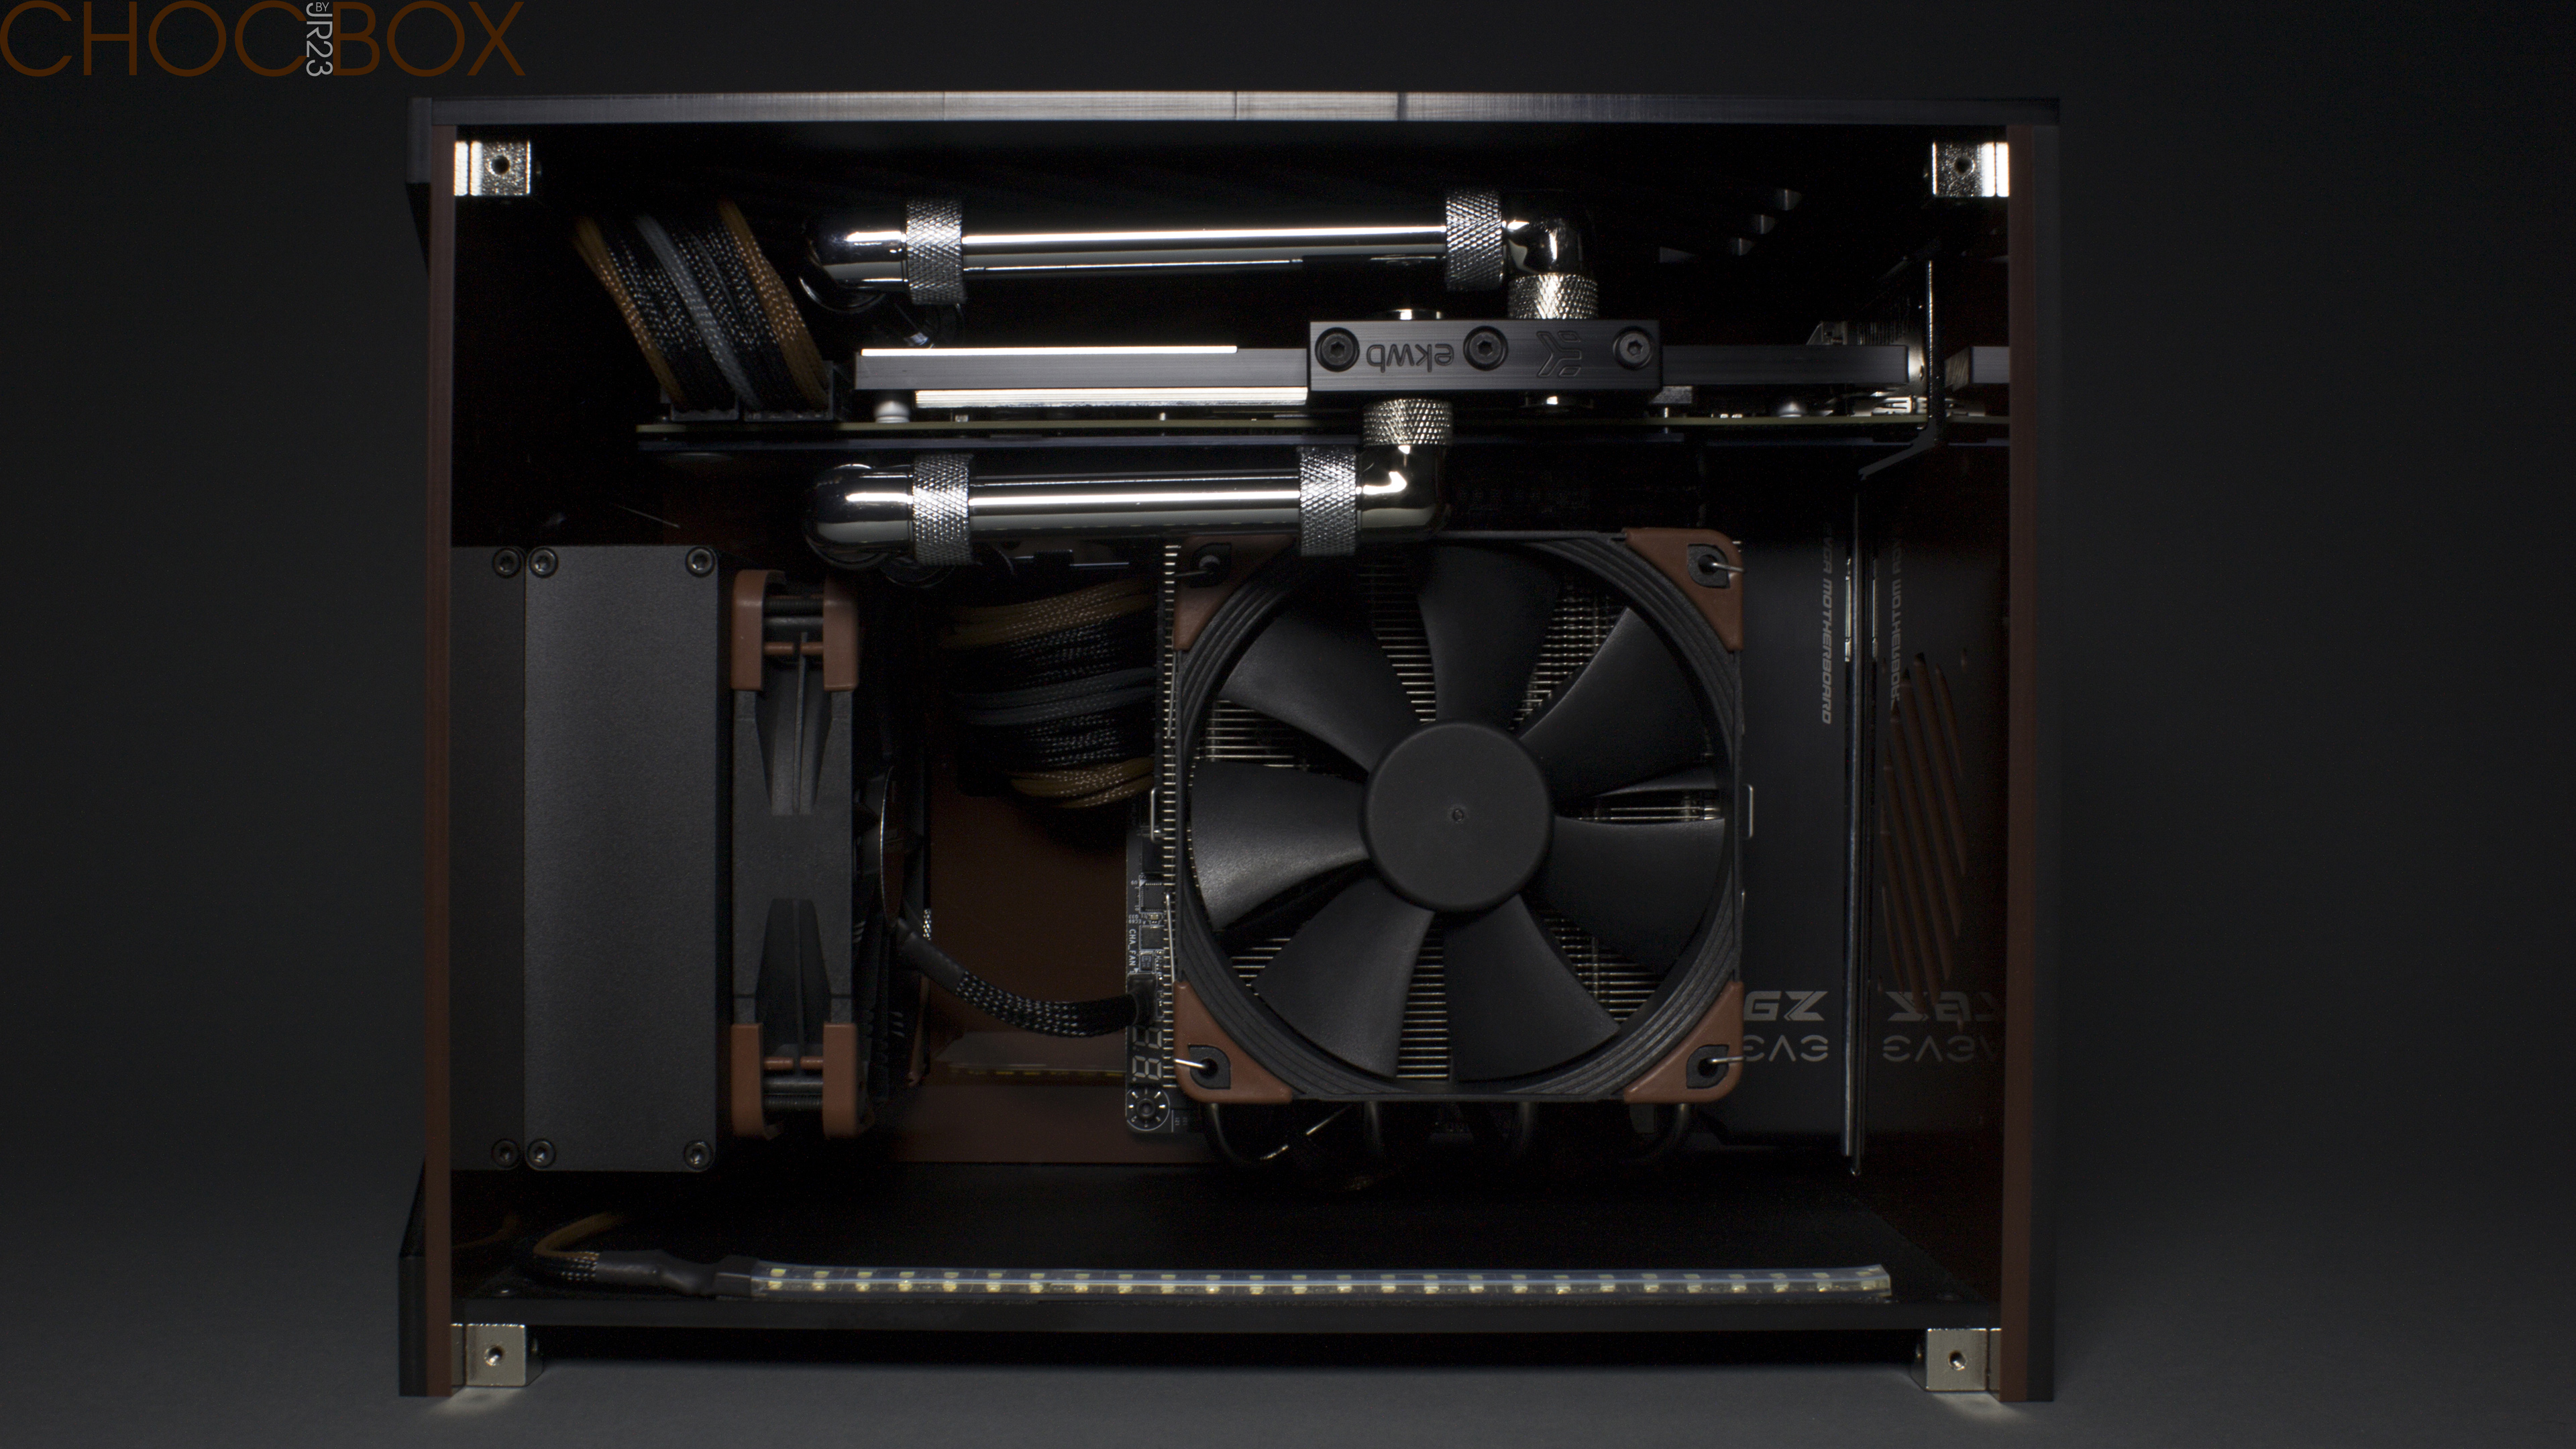


Great looking build. How was your overall experience working with the Parvum?
 It has been great working with them and I think we understand each other very well now, the same with Pexon too. The big step forward with this project I think came out of me having a little more input to Parvum at the start. Once most of my bits were done I handed it over to Pexon so he could see the bigger picture rather than working from what I could say on its own. That method was definitely needed where each piece was so dimension critical and that sets it apart. Quite a bit of CAD work went into it early on too. It will definitely take a couple more projects to turn it into a real slick operation though
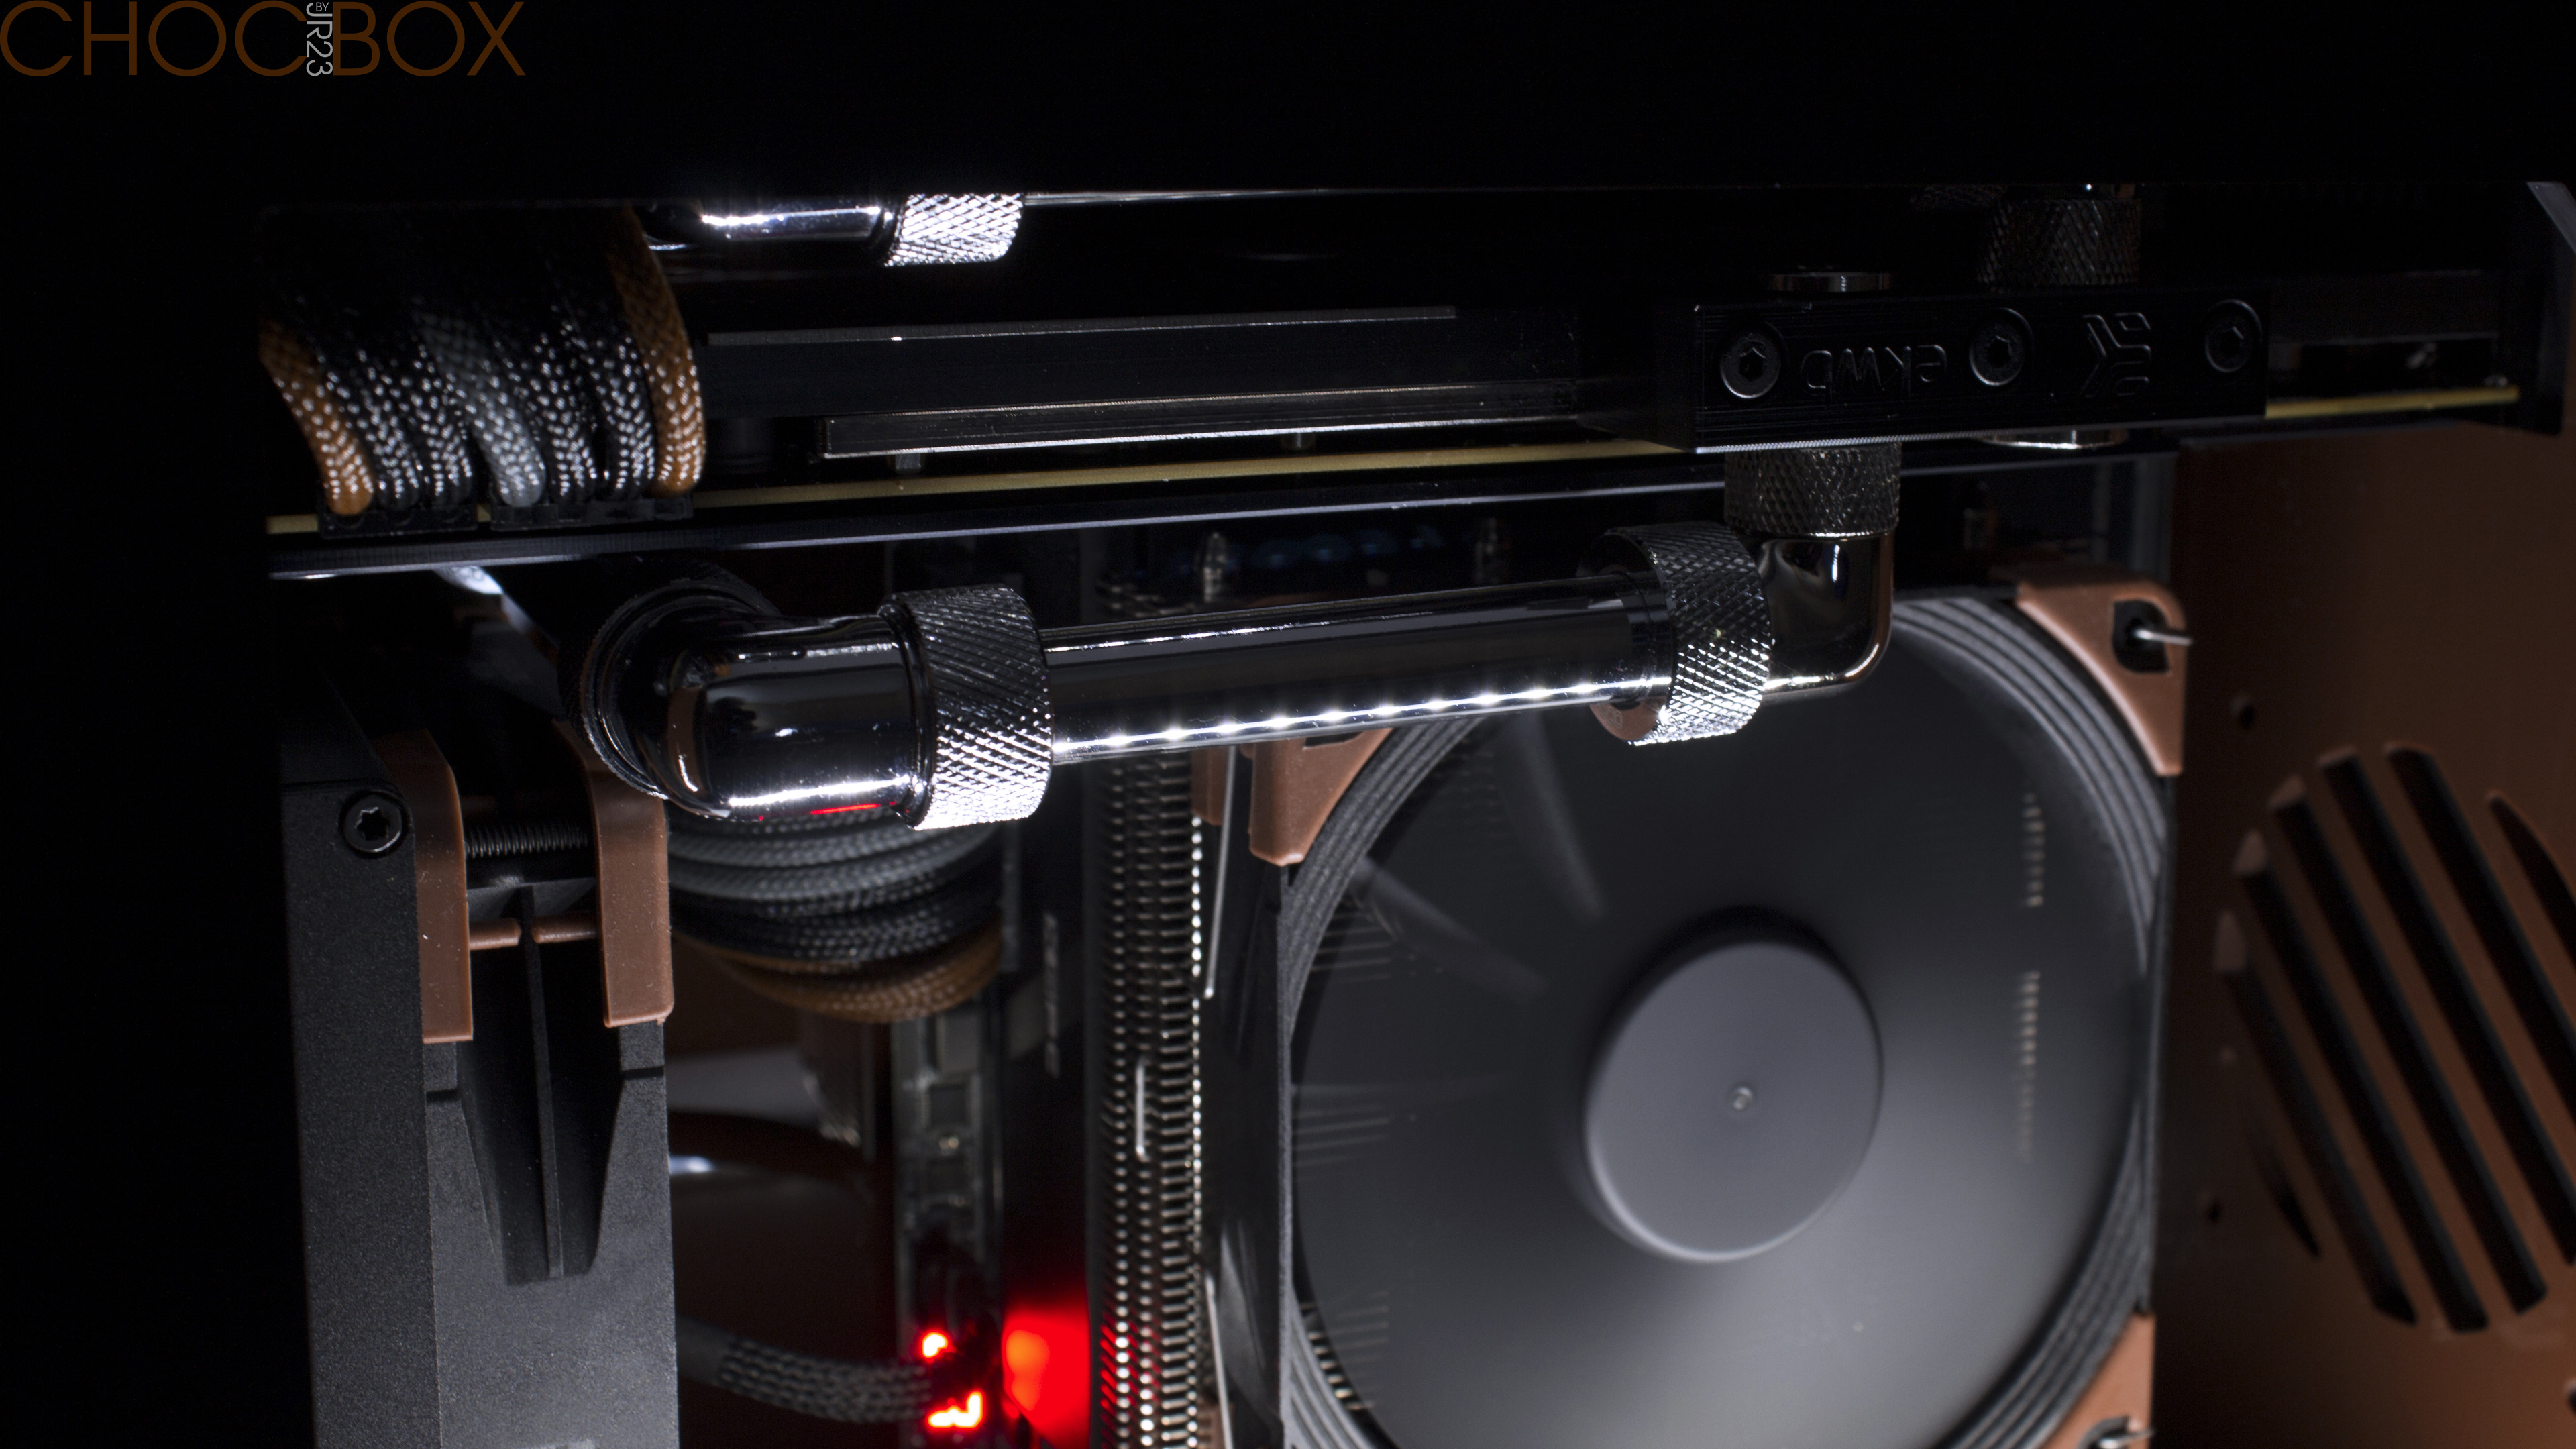
 Can i ask is that chrome tubing bendable?
and did you cut it too?
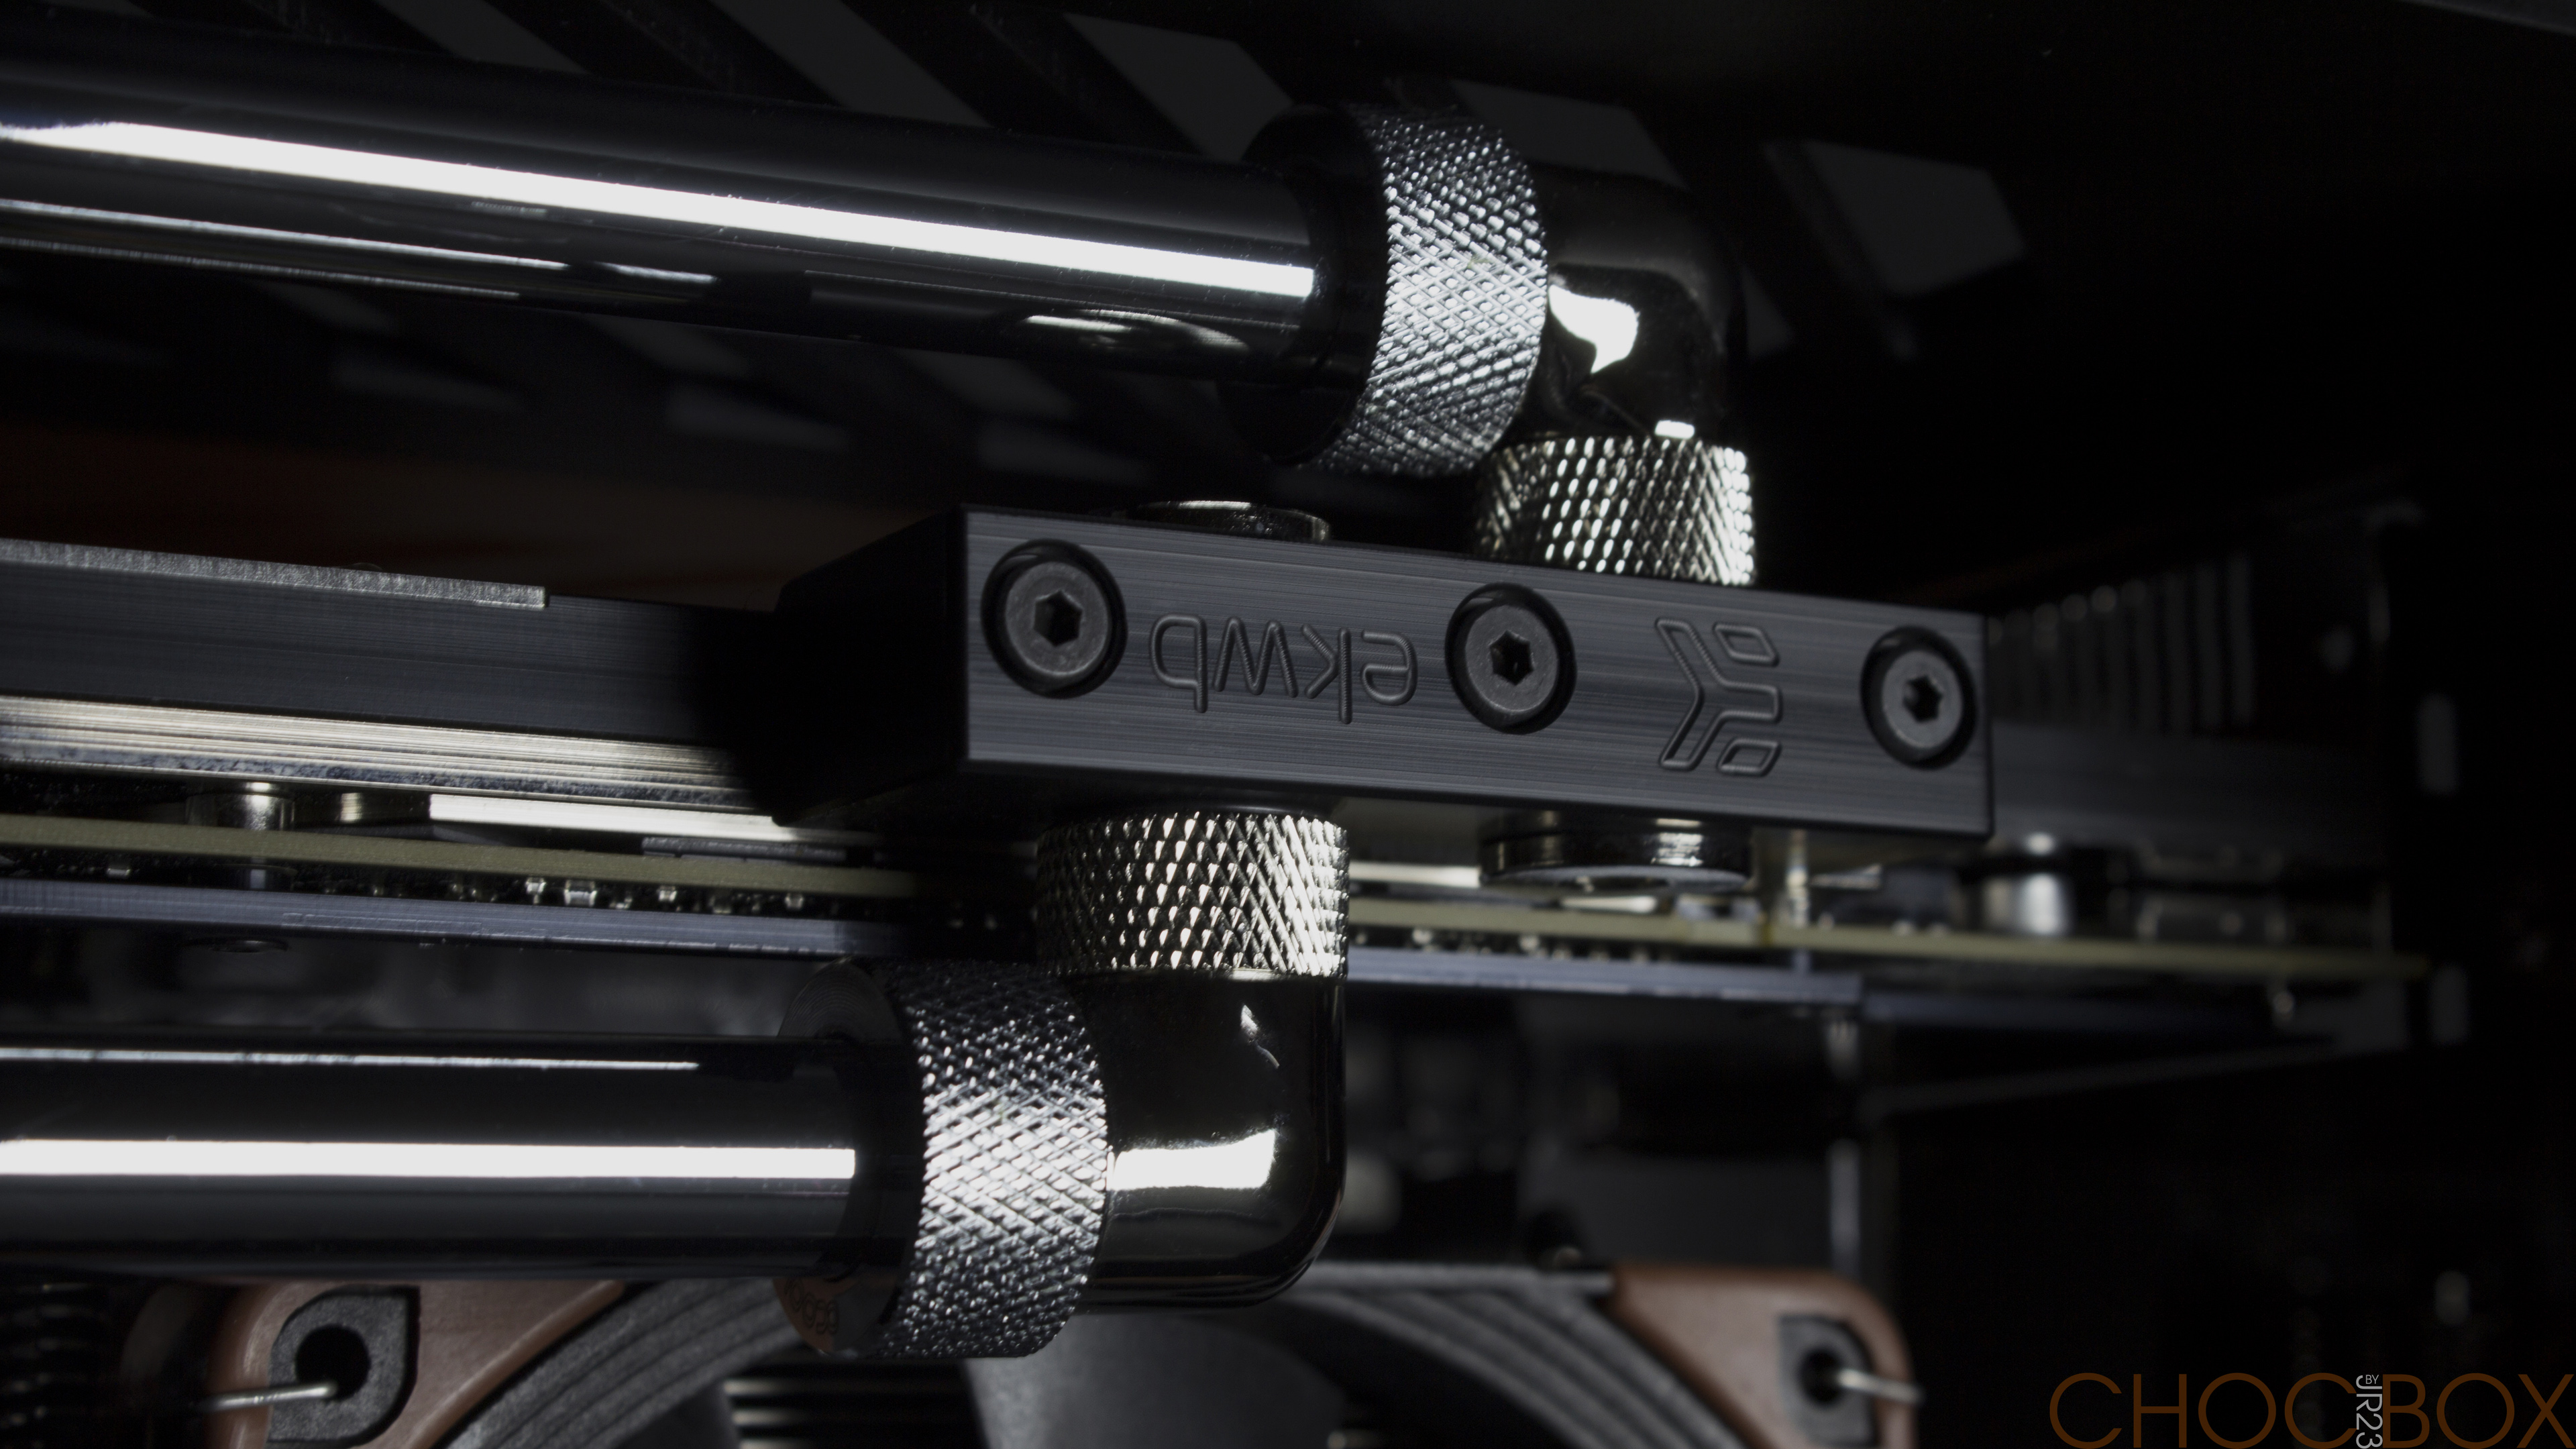
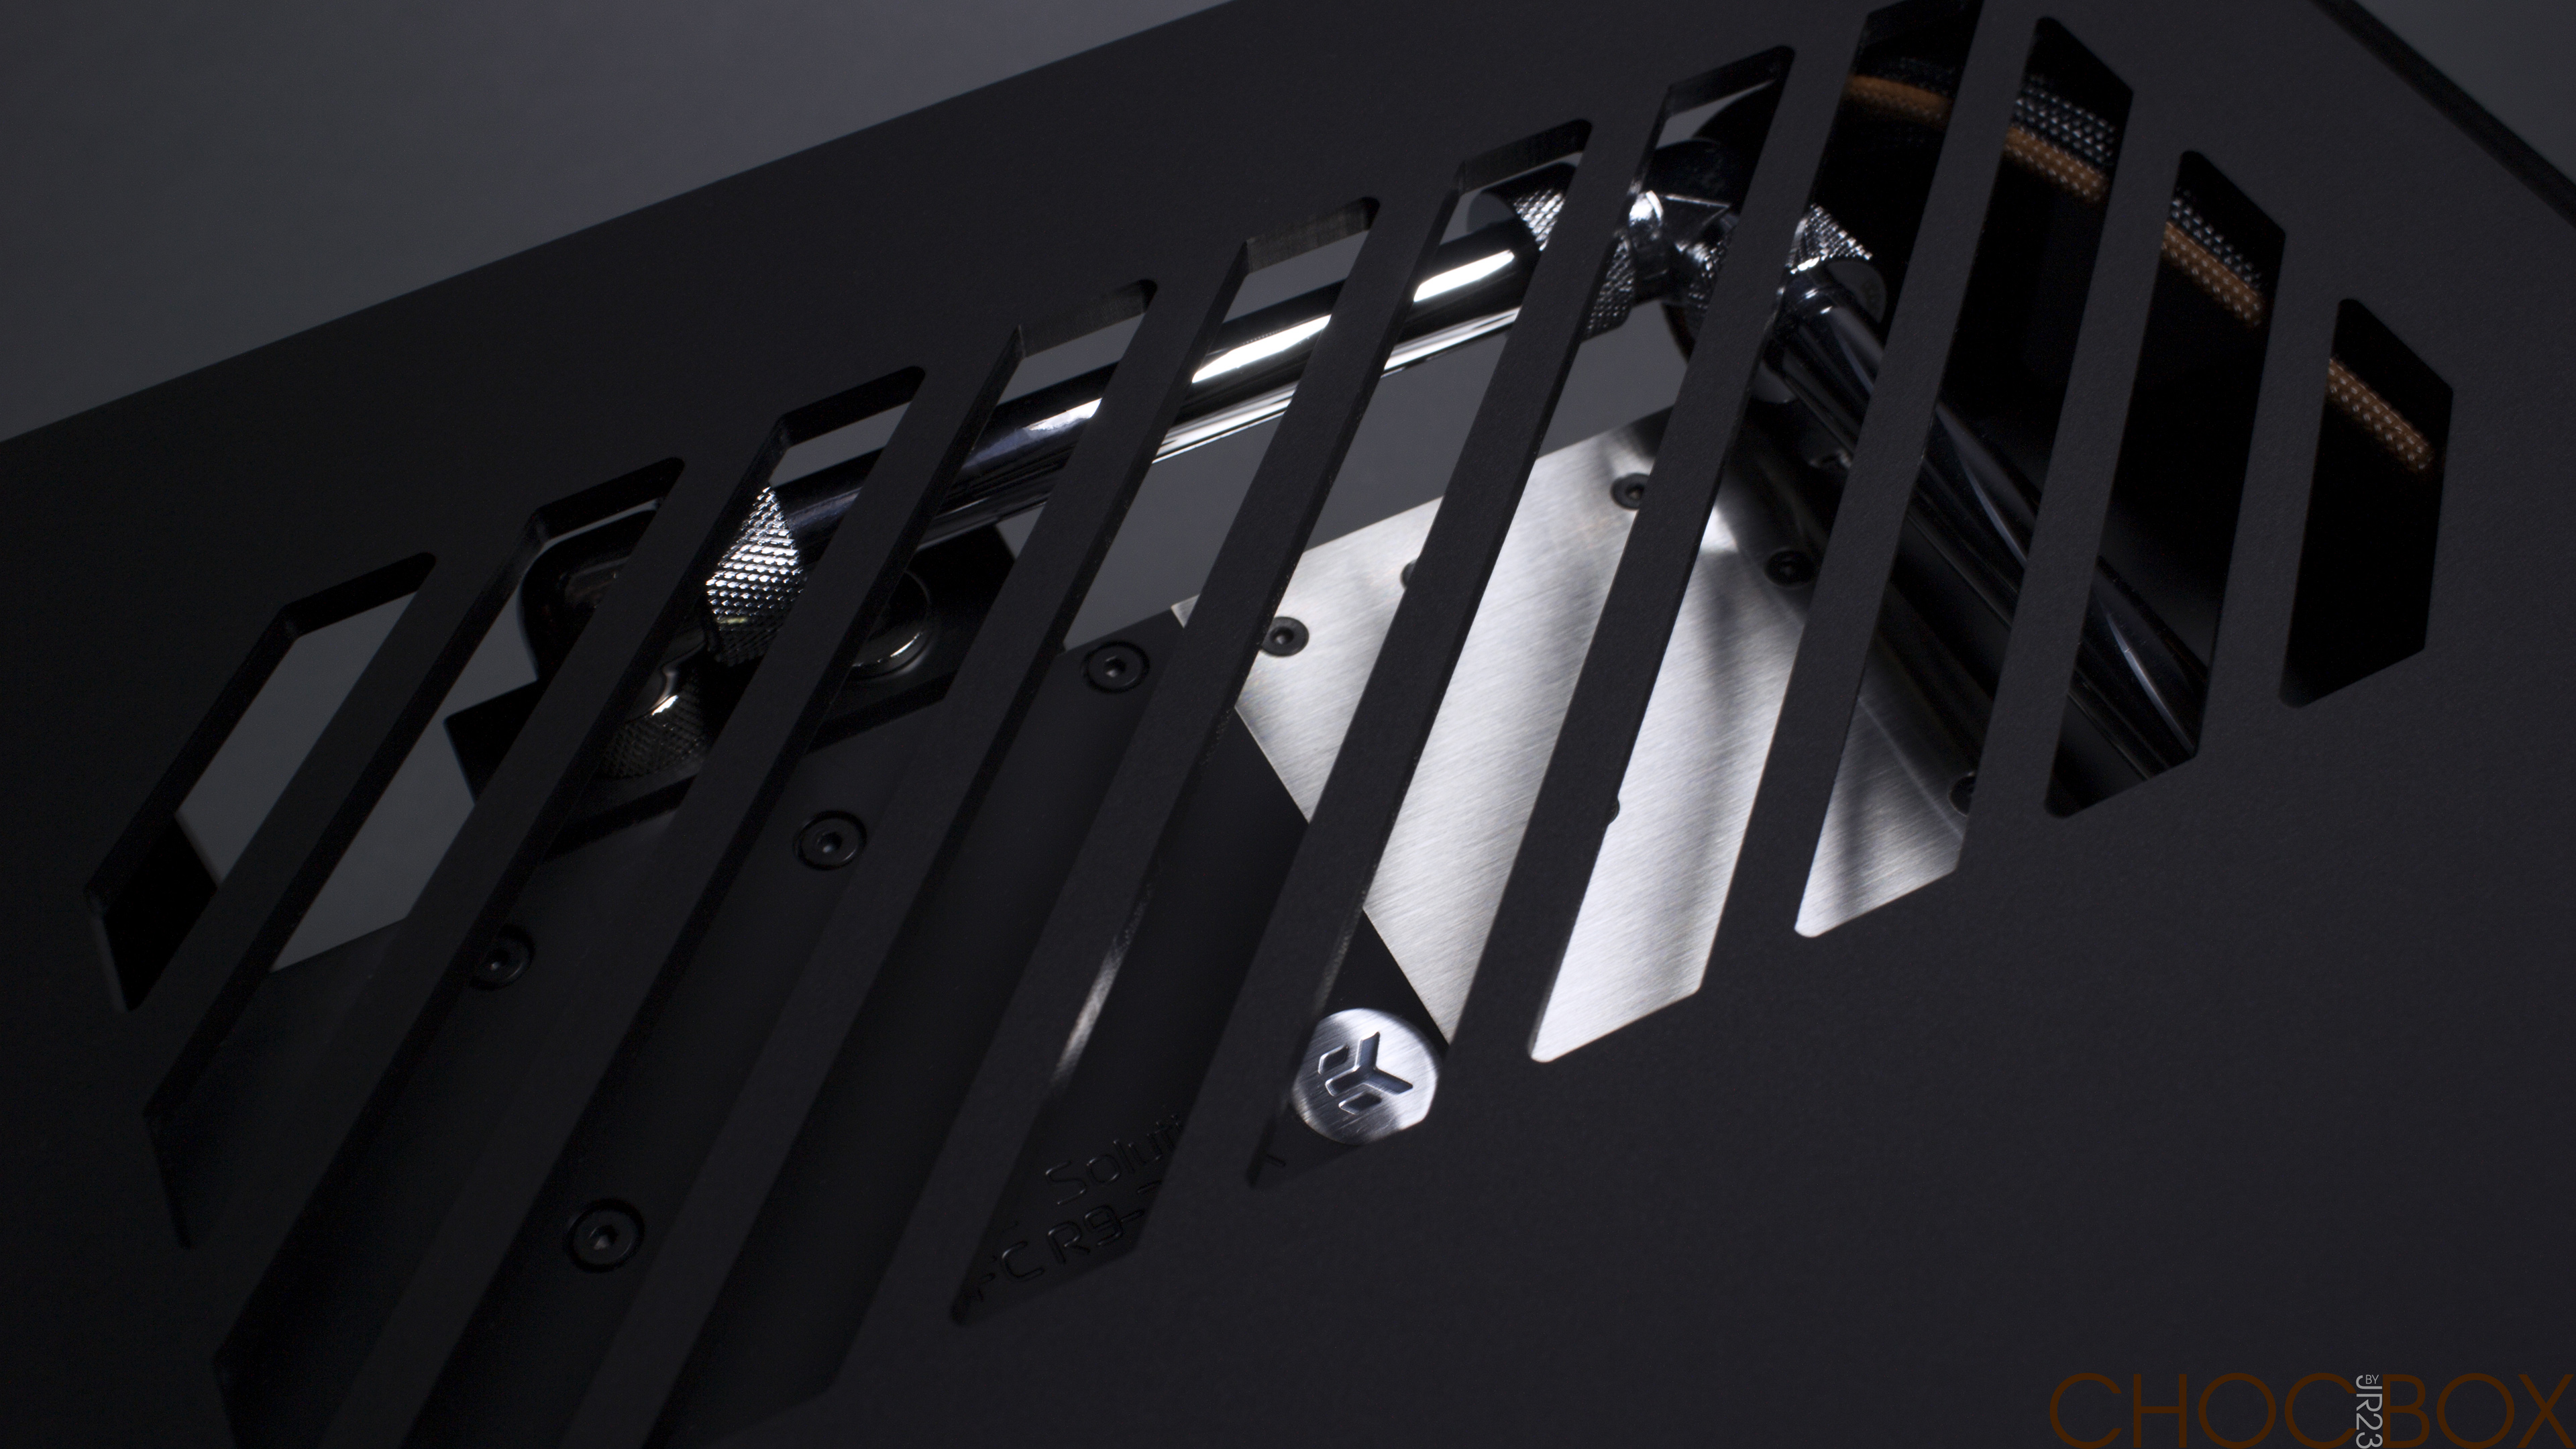
I didn't try to bend it all, it's way too expensive to experiment with and it wouldn't of really helped anywhere on this build. I would imagine with the correct equipment you could bend it however you risk damaging the plating. I've seen modders to bend copper tube and then have it plated afterwards and presumably that's the most cost effective way to do it with the best results as copper tube is much cheaper than this stuff and quite available.
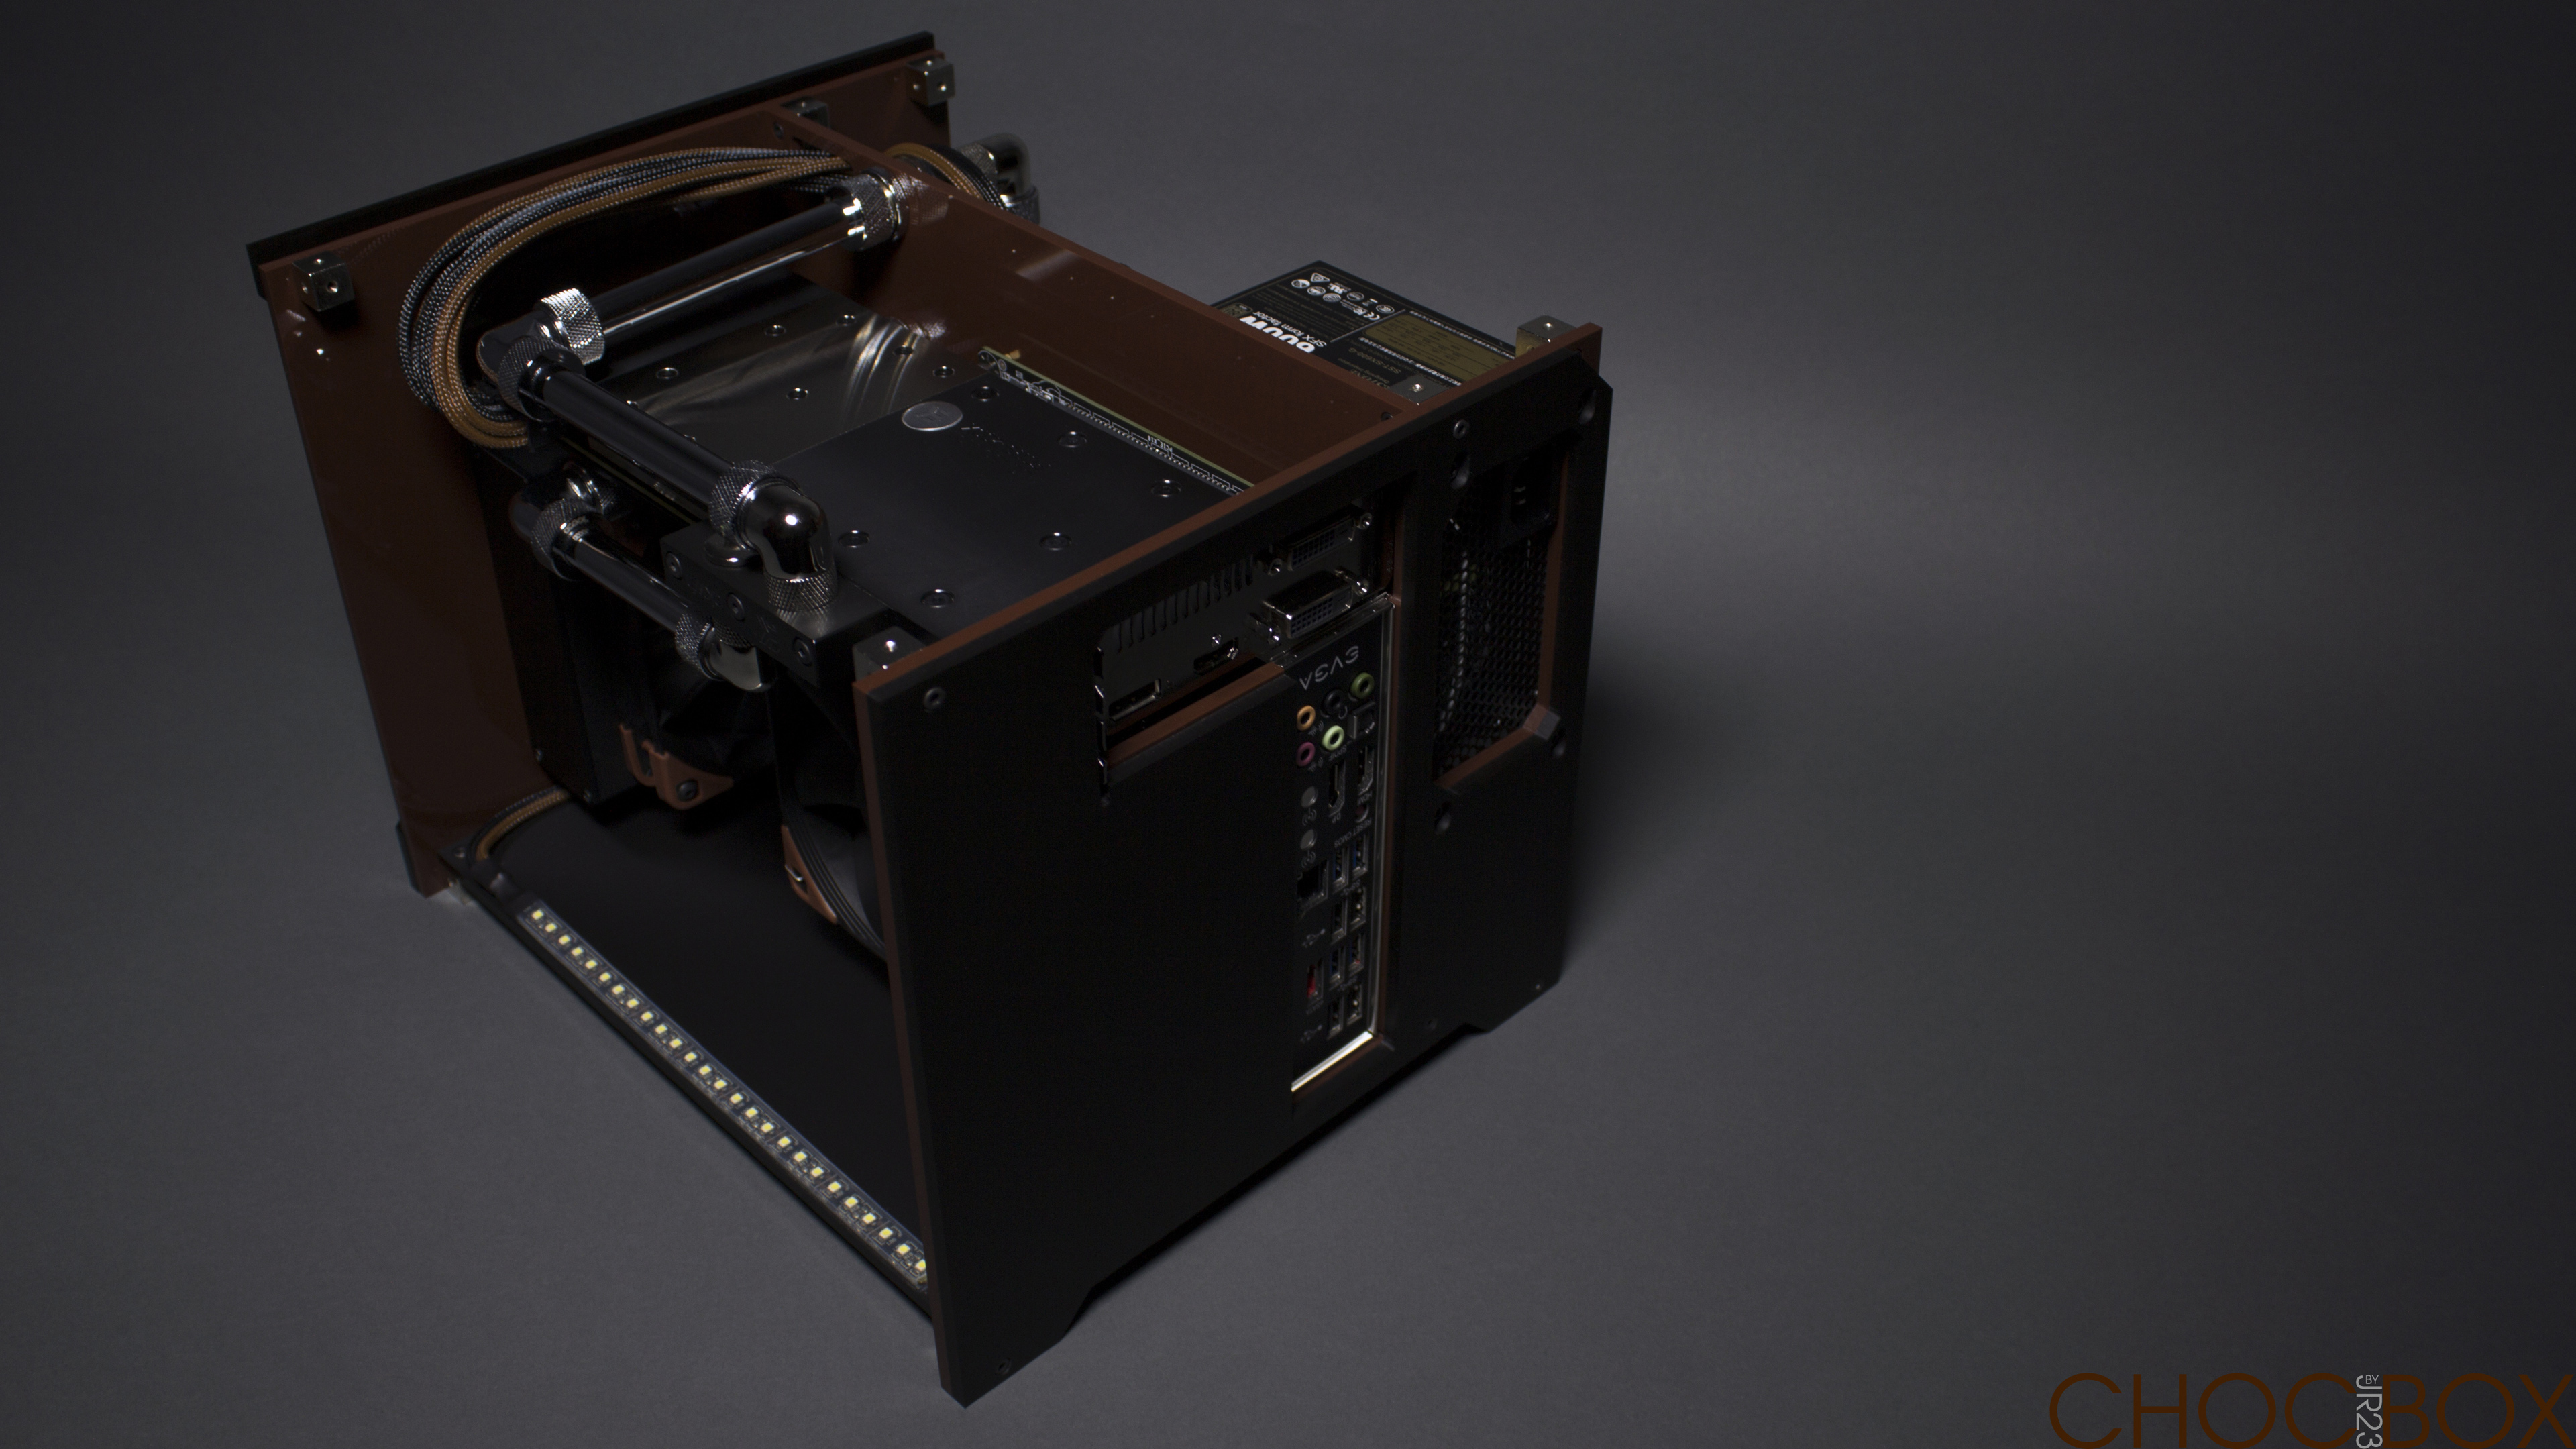
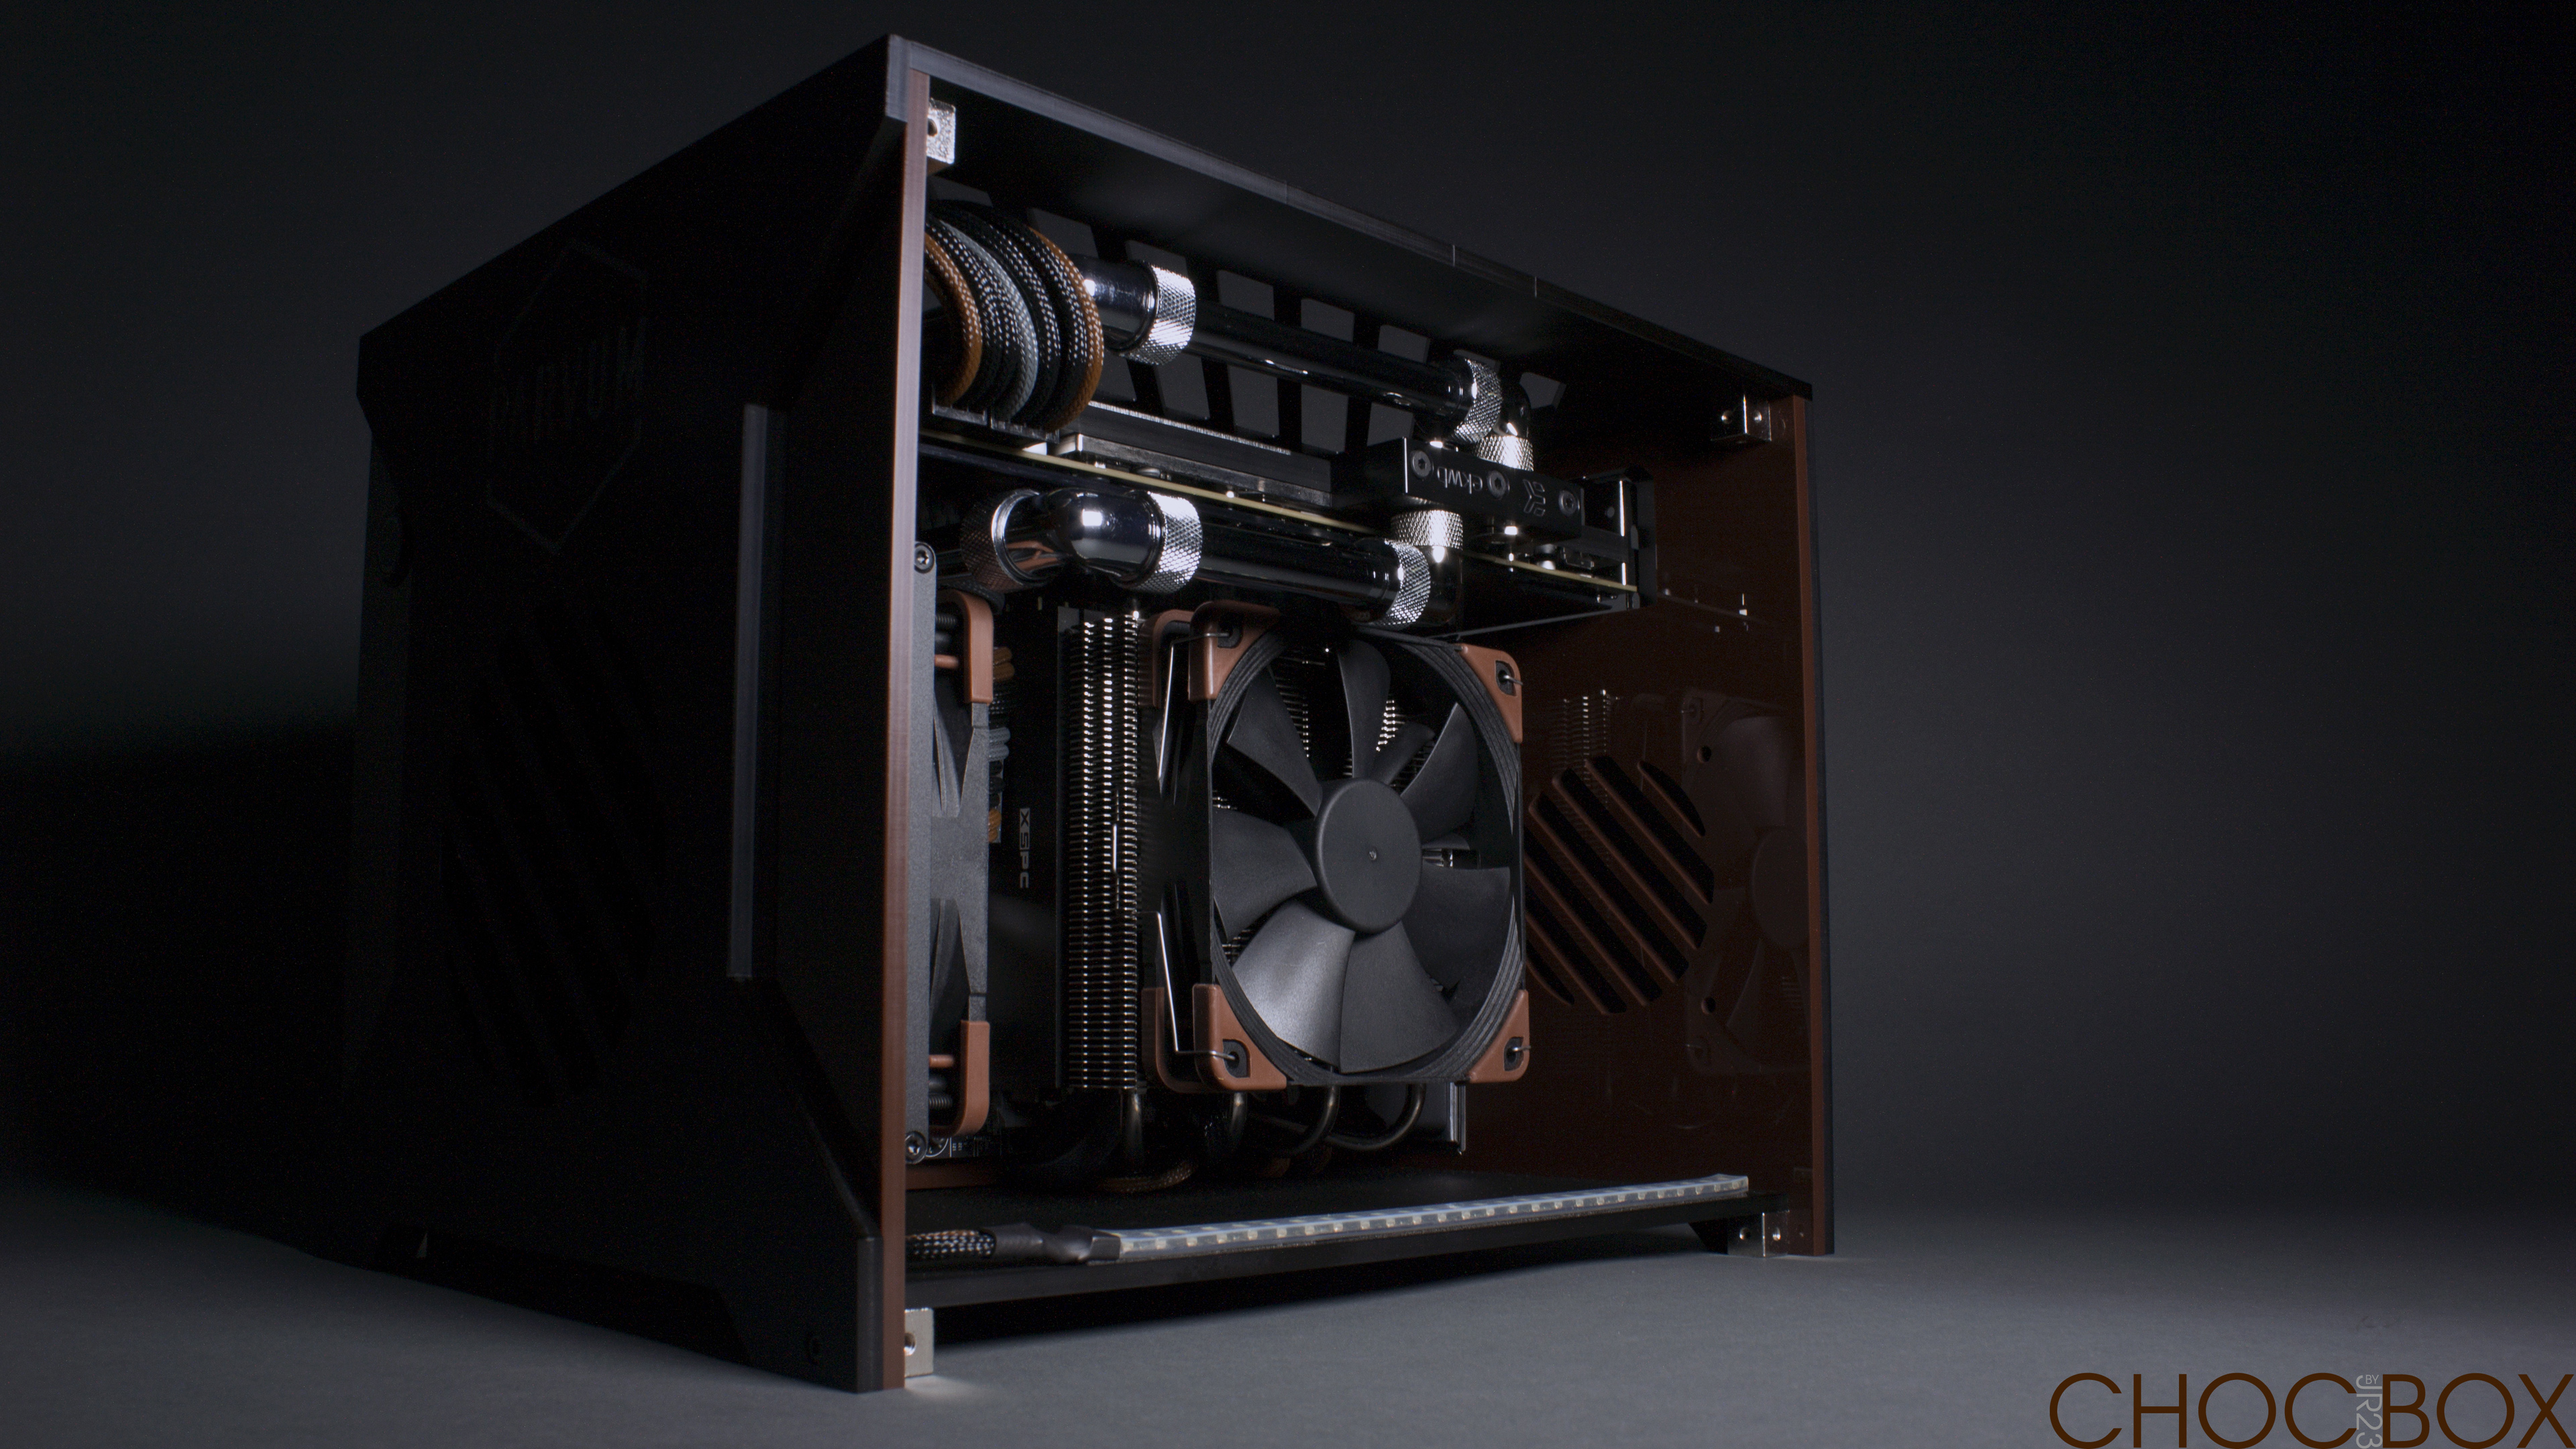
I did cut it as you can see in Post #72, I have access to a lathe hence choose to chamfer and face the ends to length but if with a hacksaw, vice and a file you could achieve acceptable results. I just did it because I could not because it's necessary.
JR
Thank you i was looking at there black chrome version, i guess brass is soft as copper? I have seen the bending machine they use with copper tube quite straight forward, Where could you go to get it plated after? or is this something you can do yourself?
Also the 13mm primochill fittings would work or is it just Alphacool?
Awesome build just beautiful


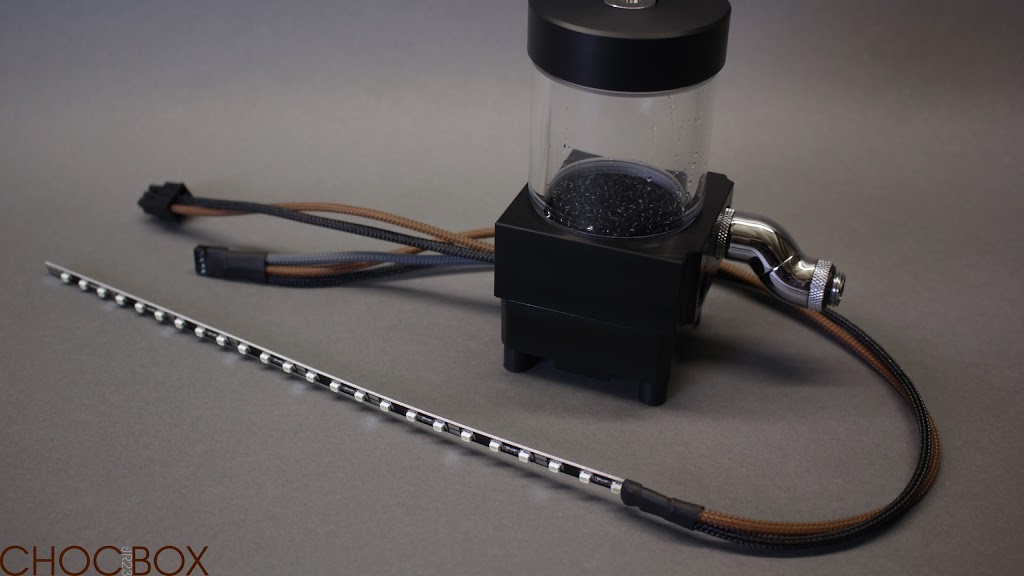
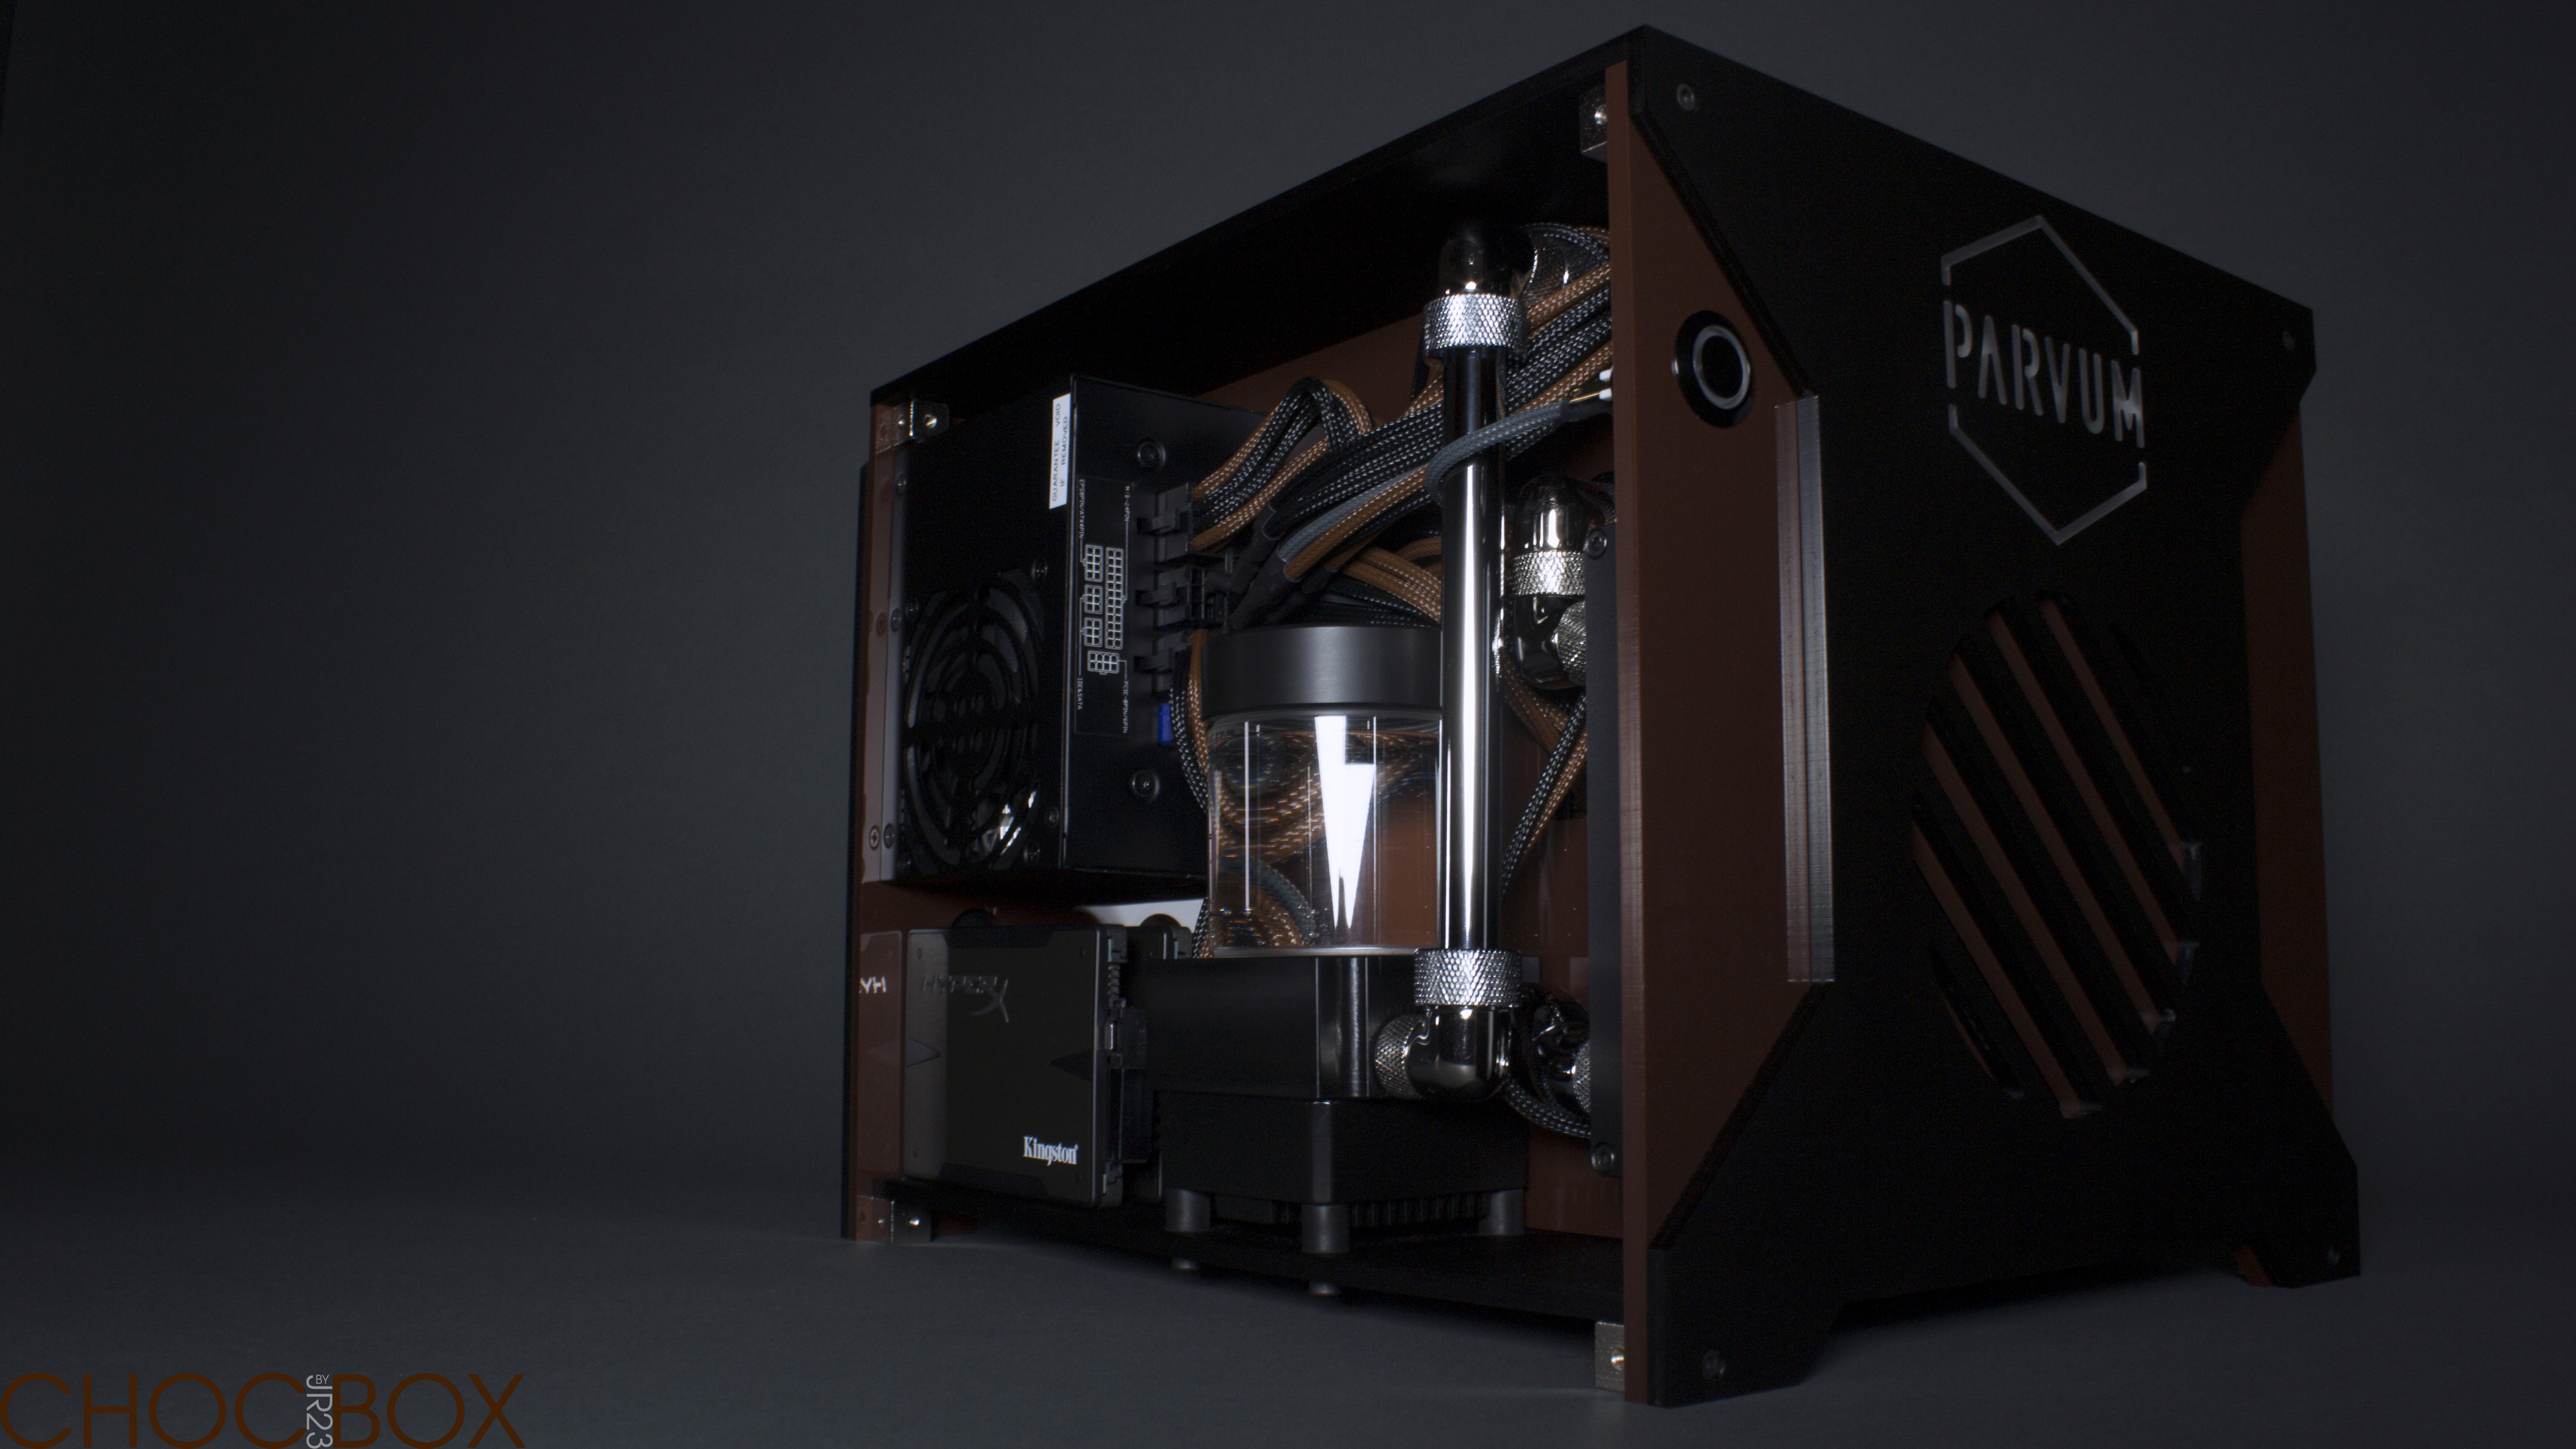
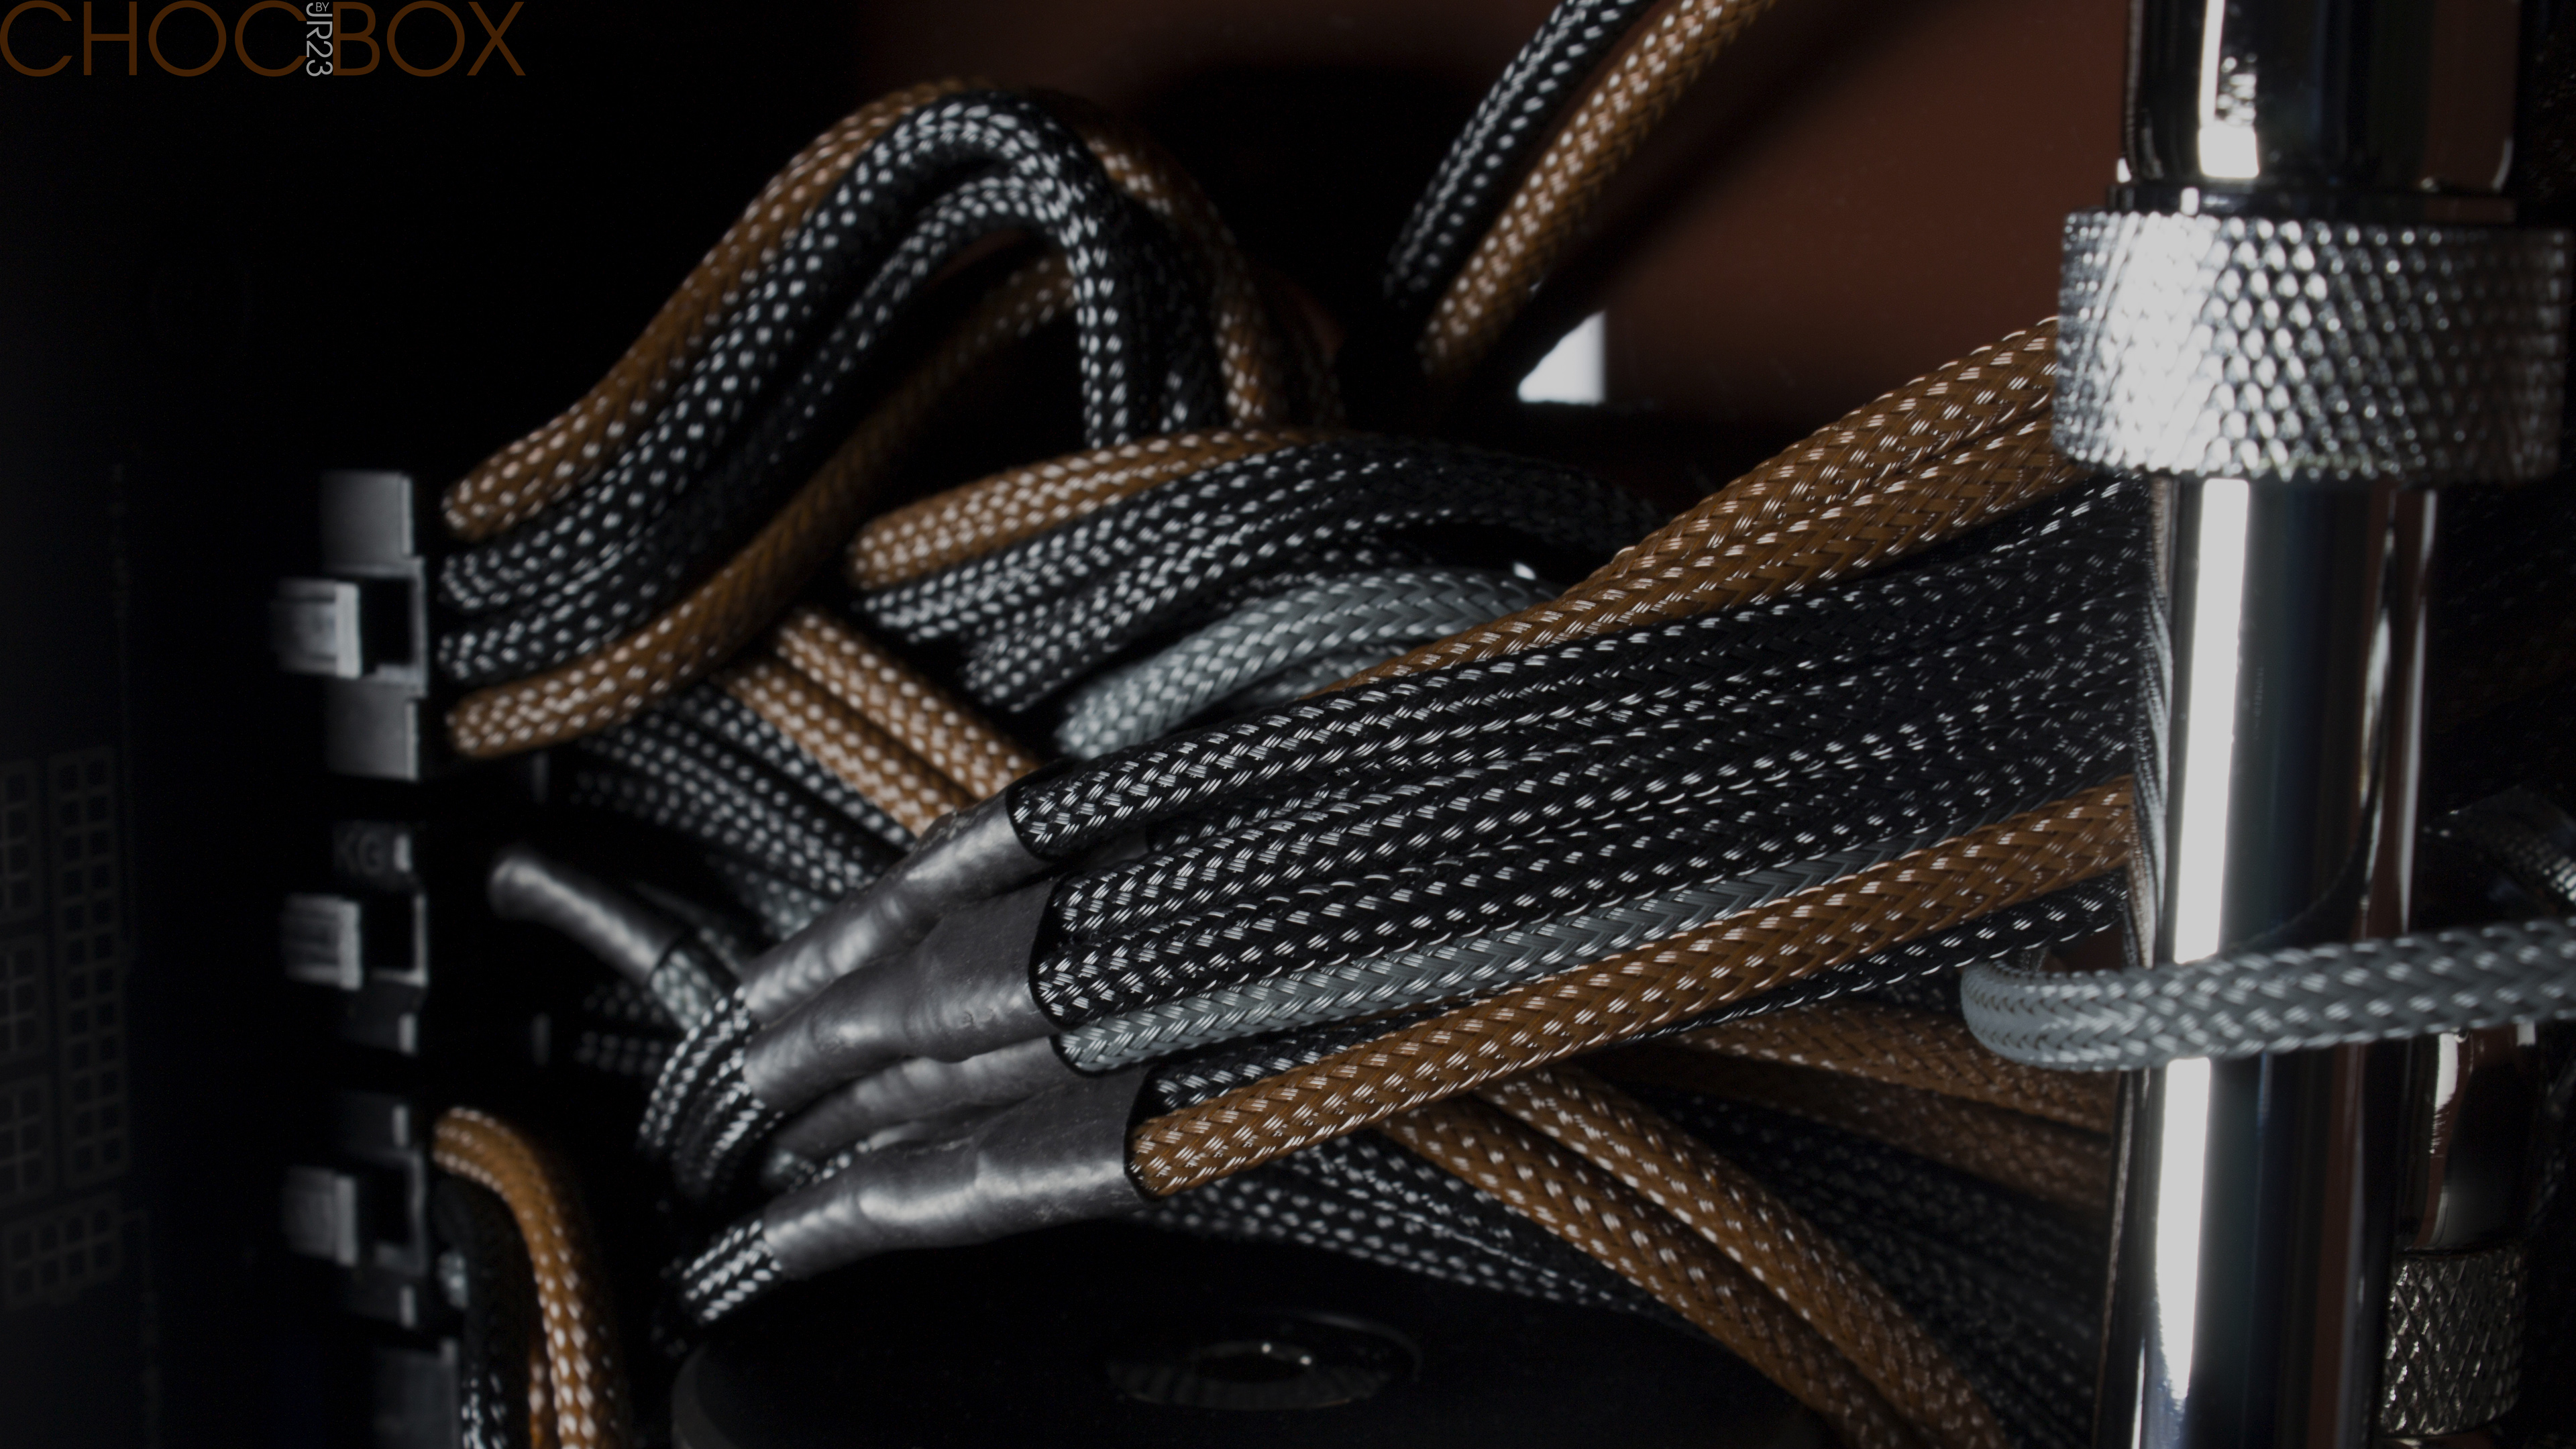
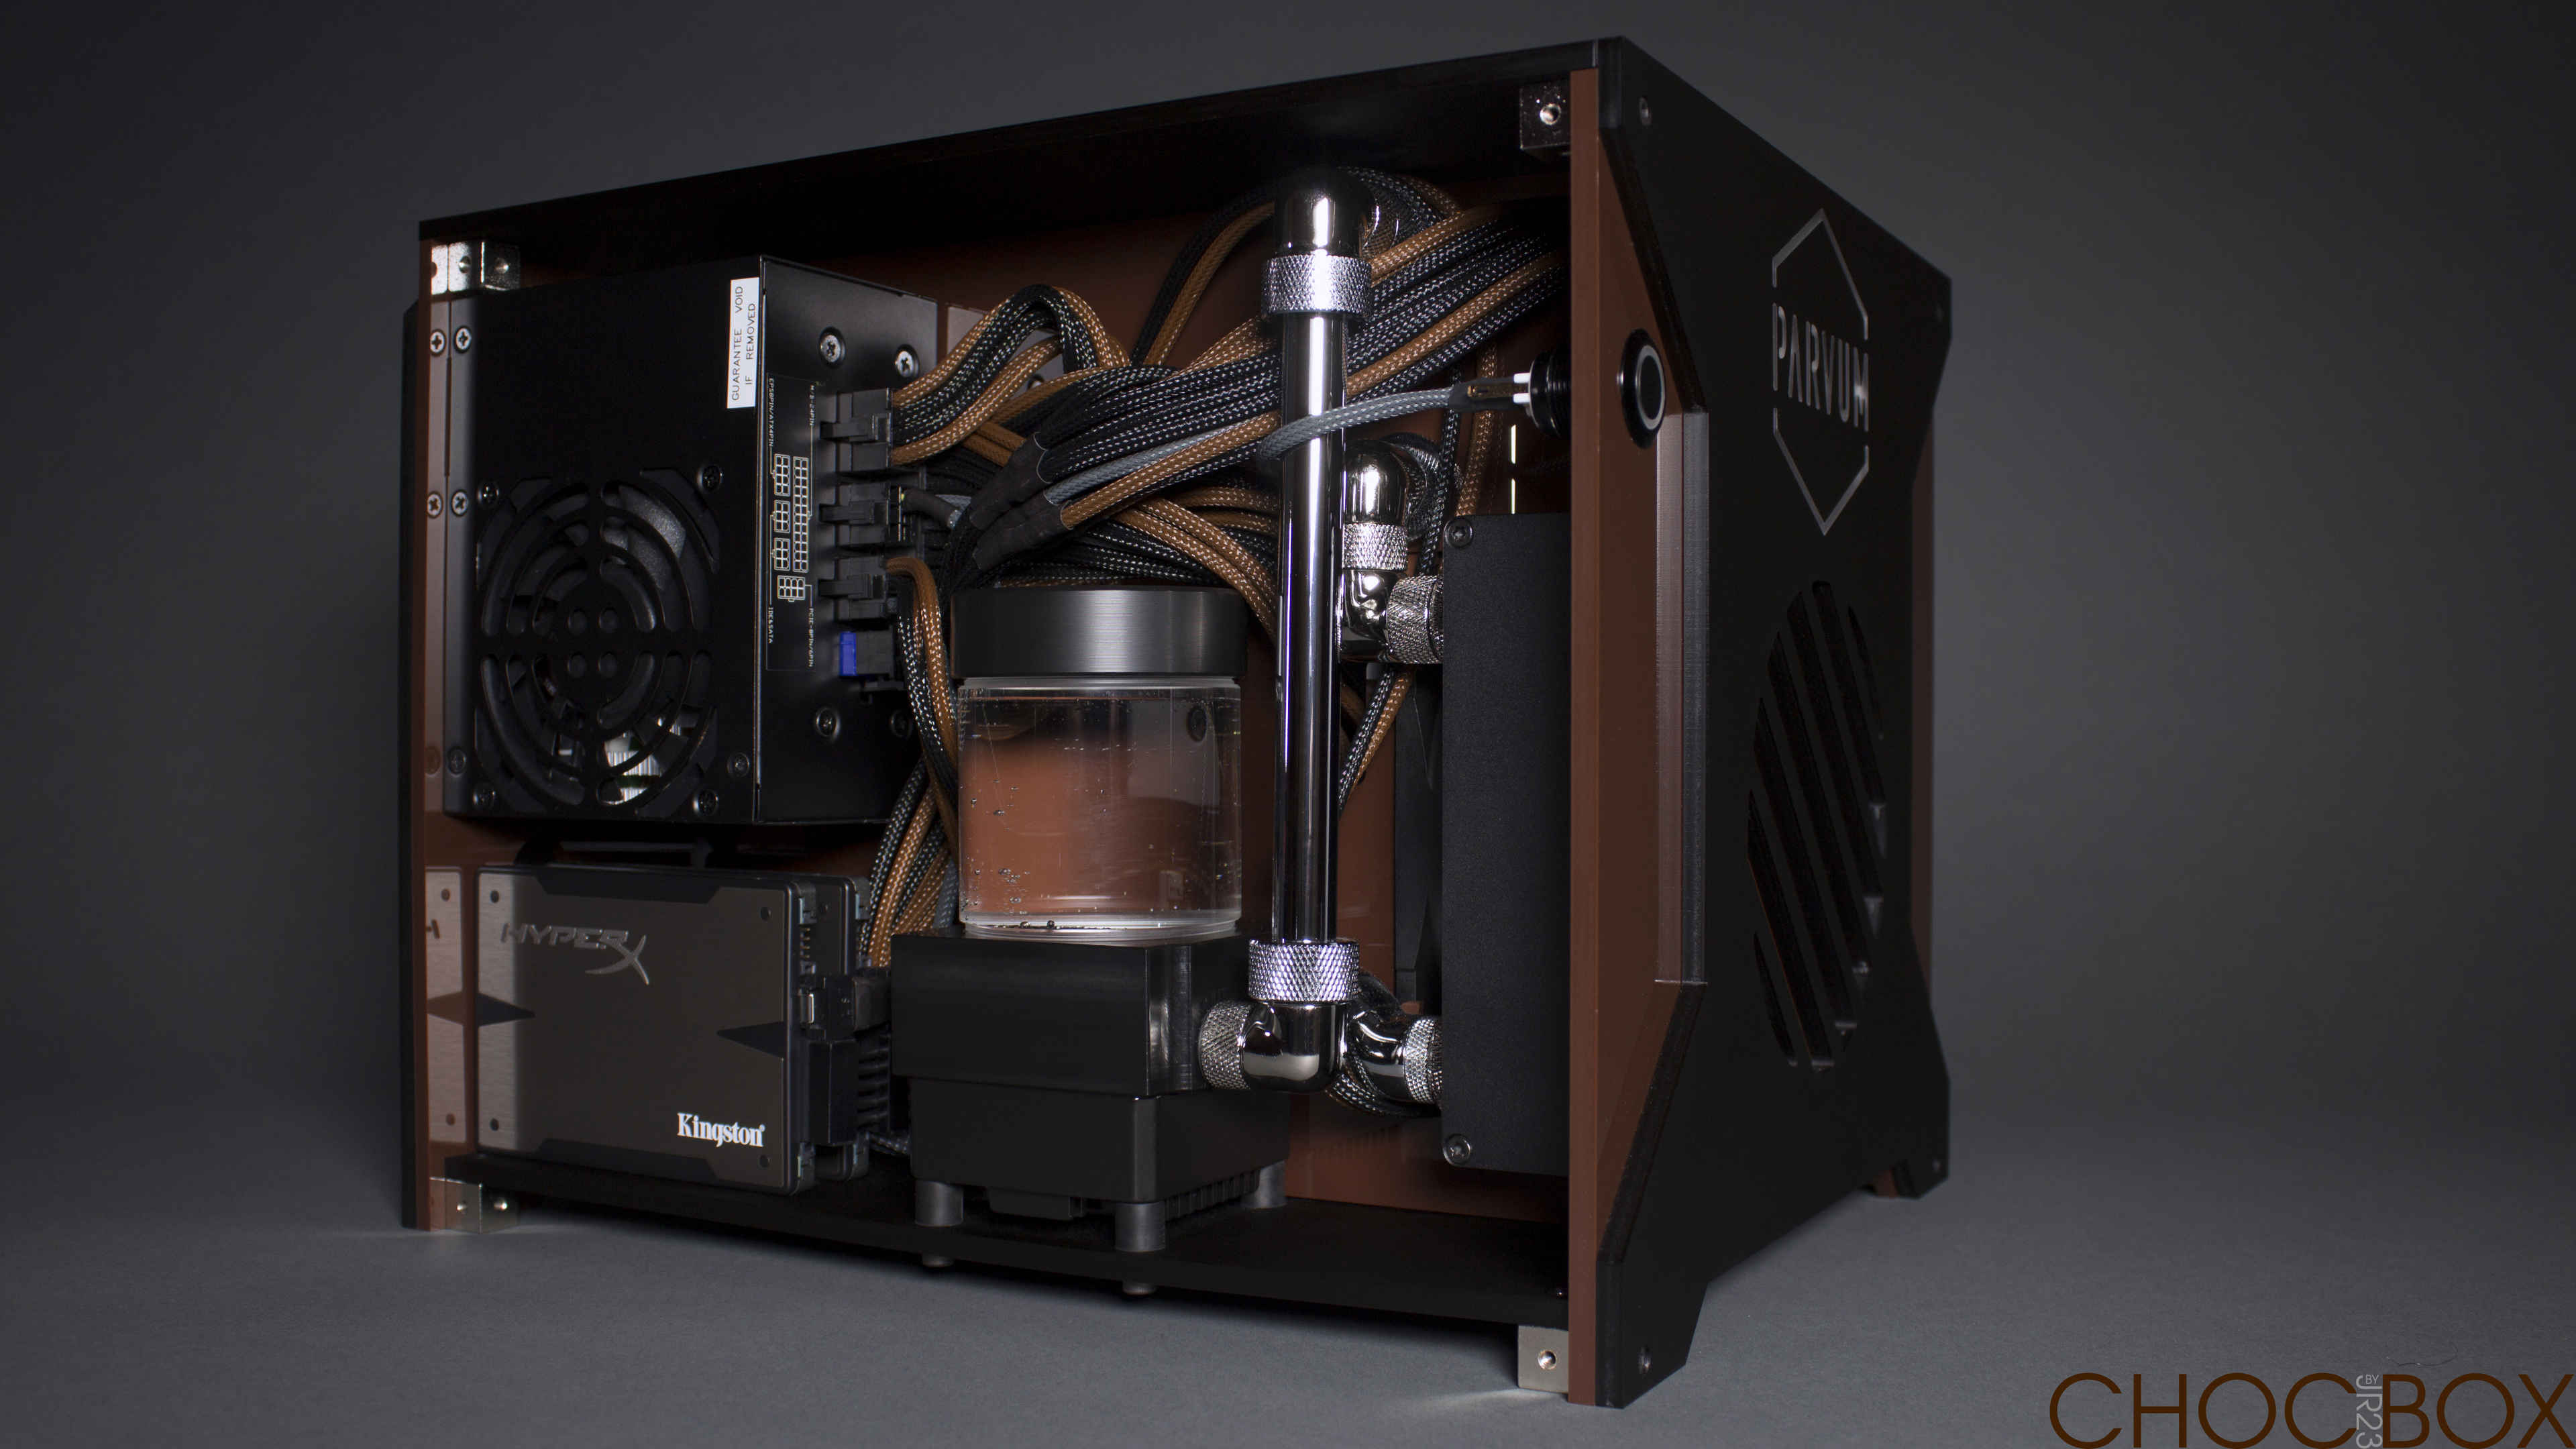
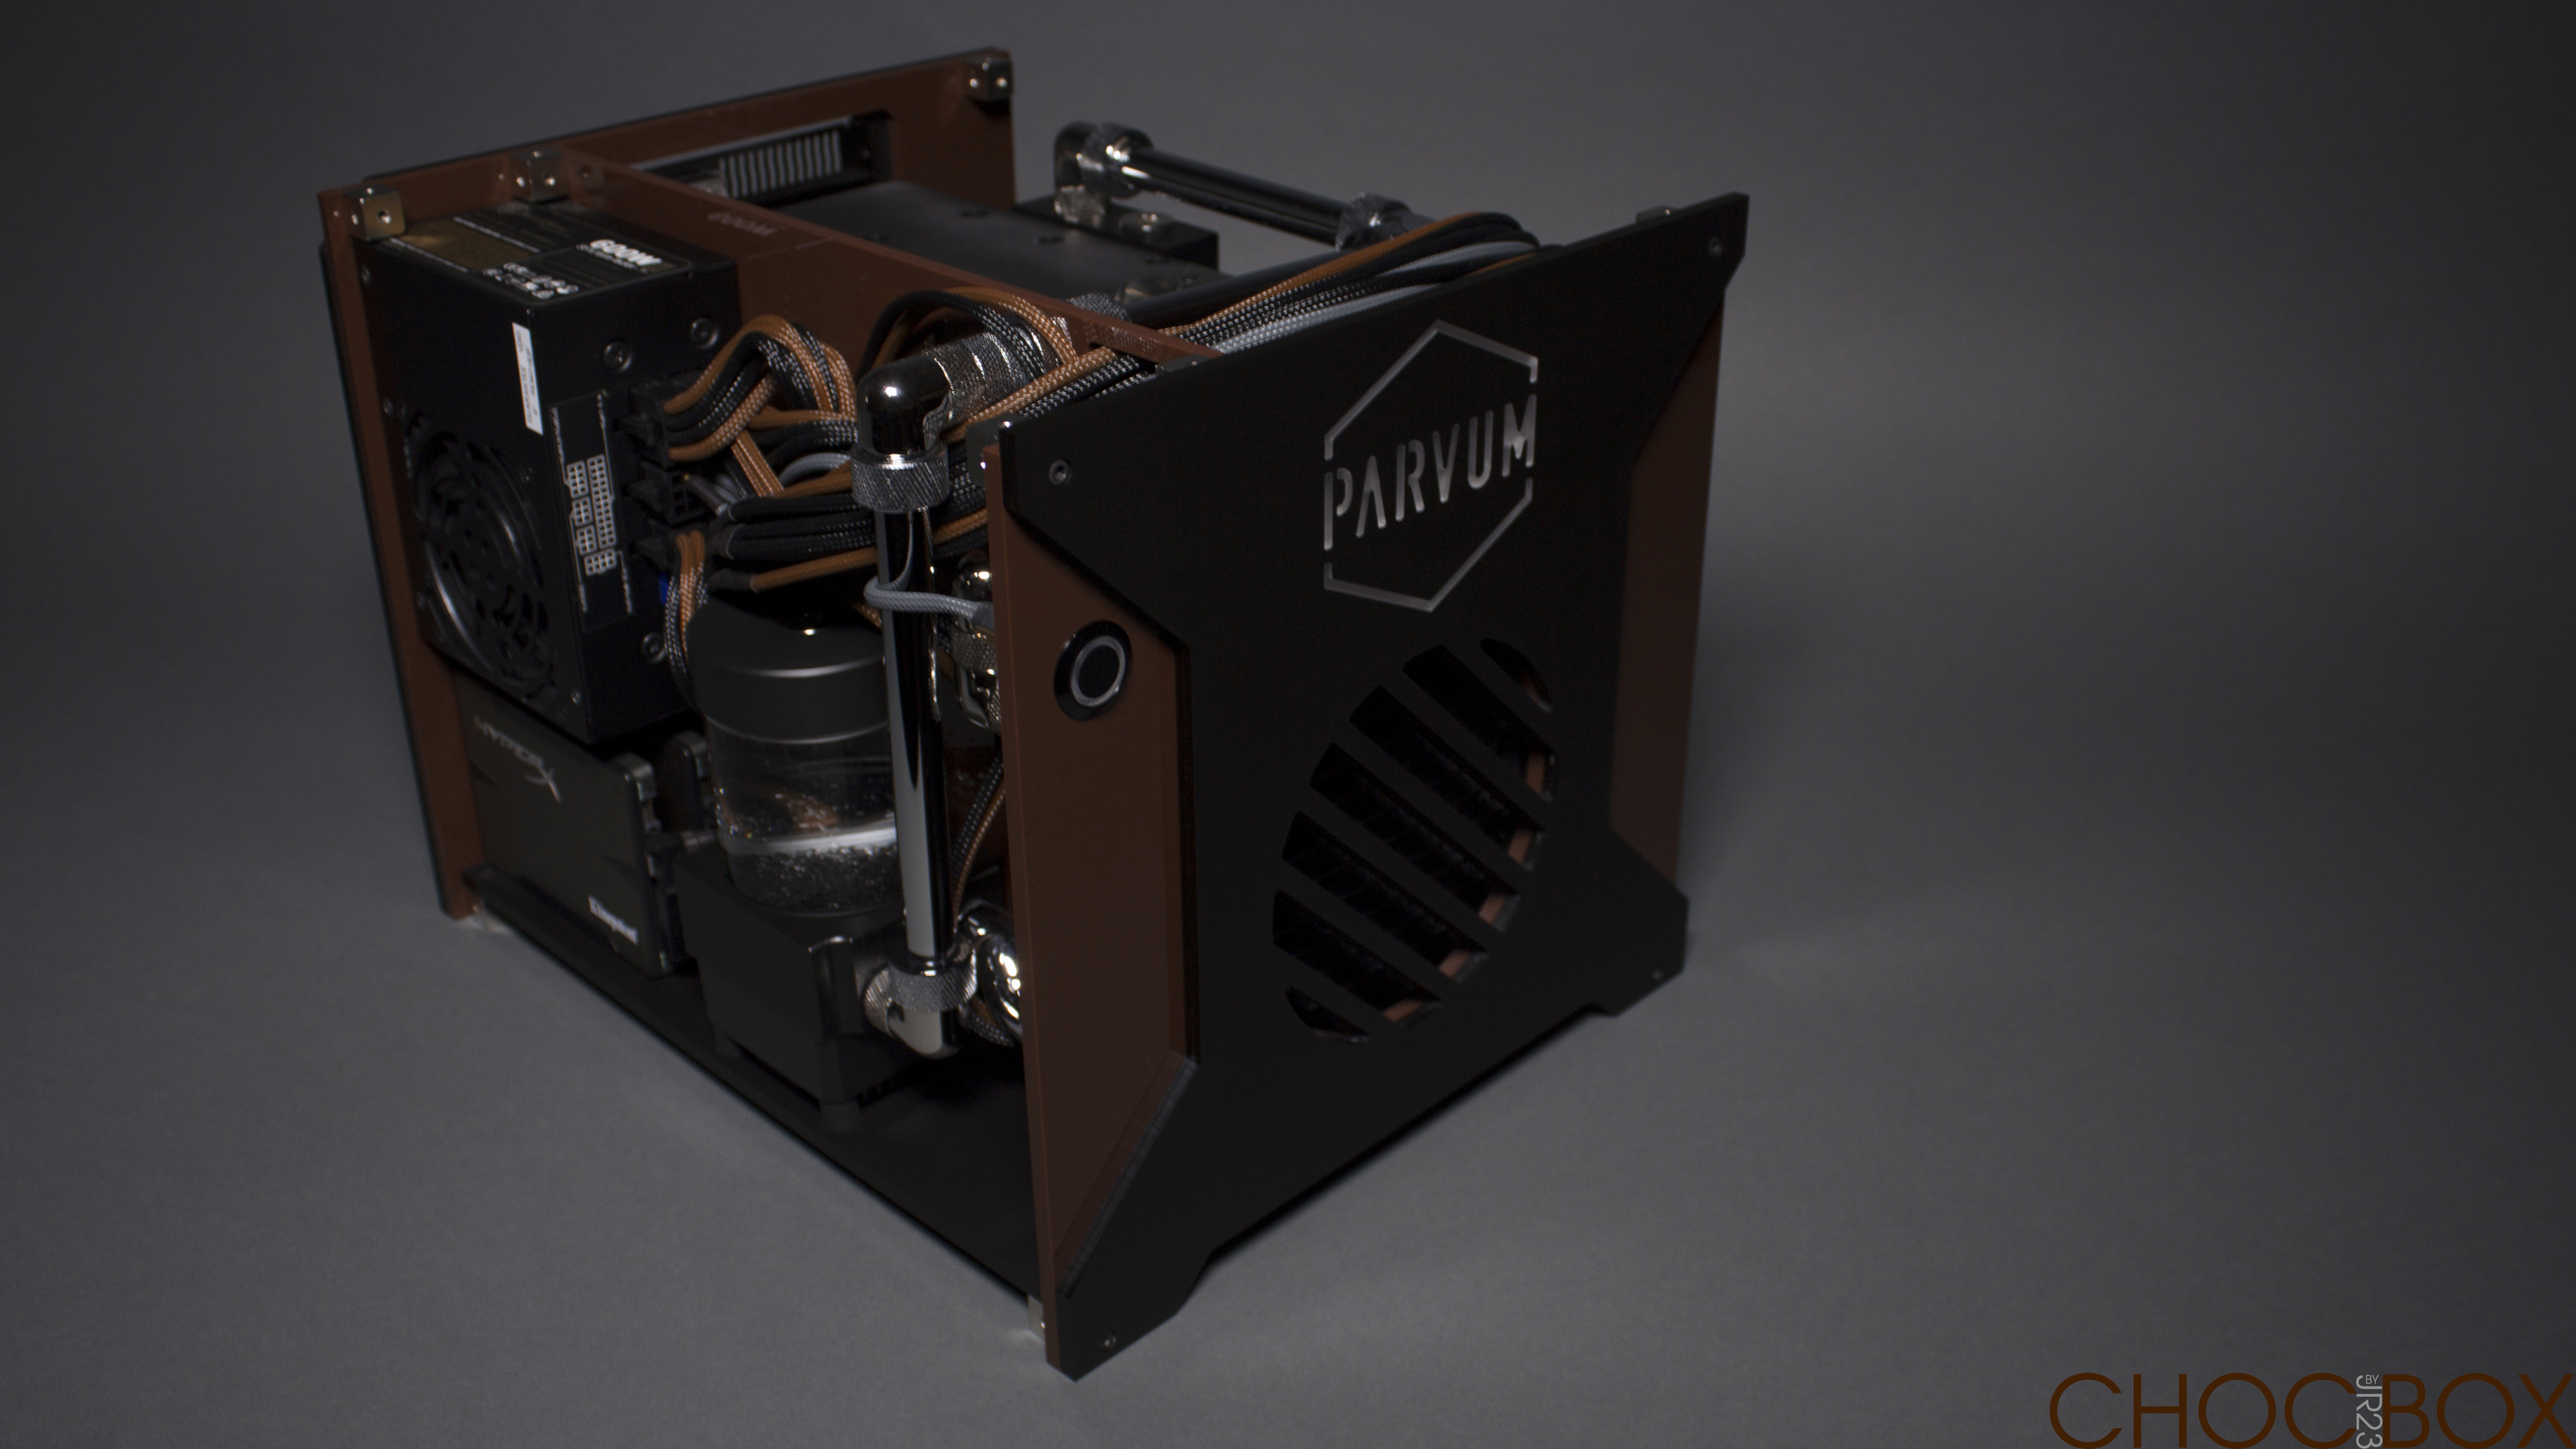
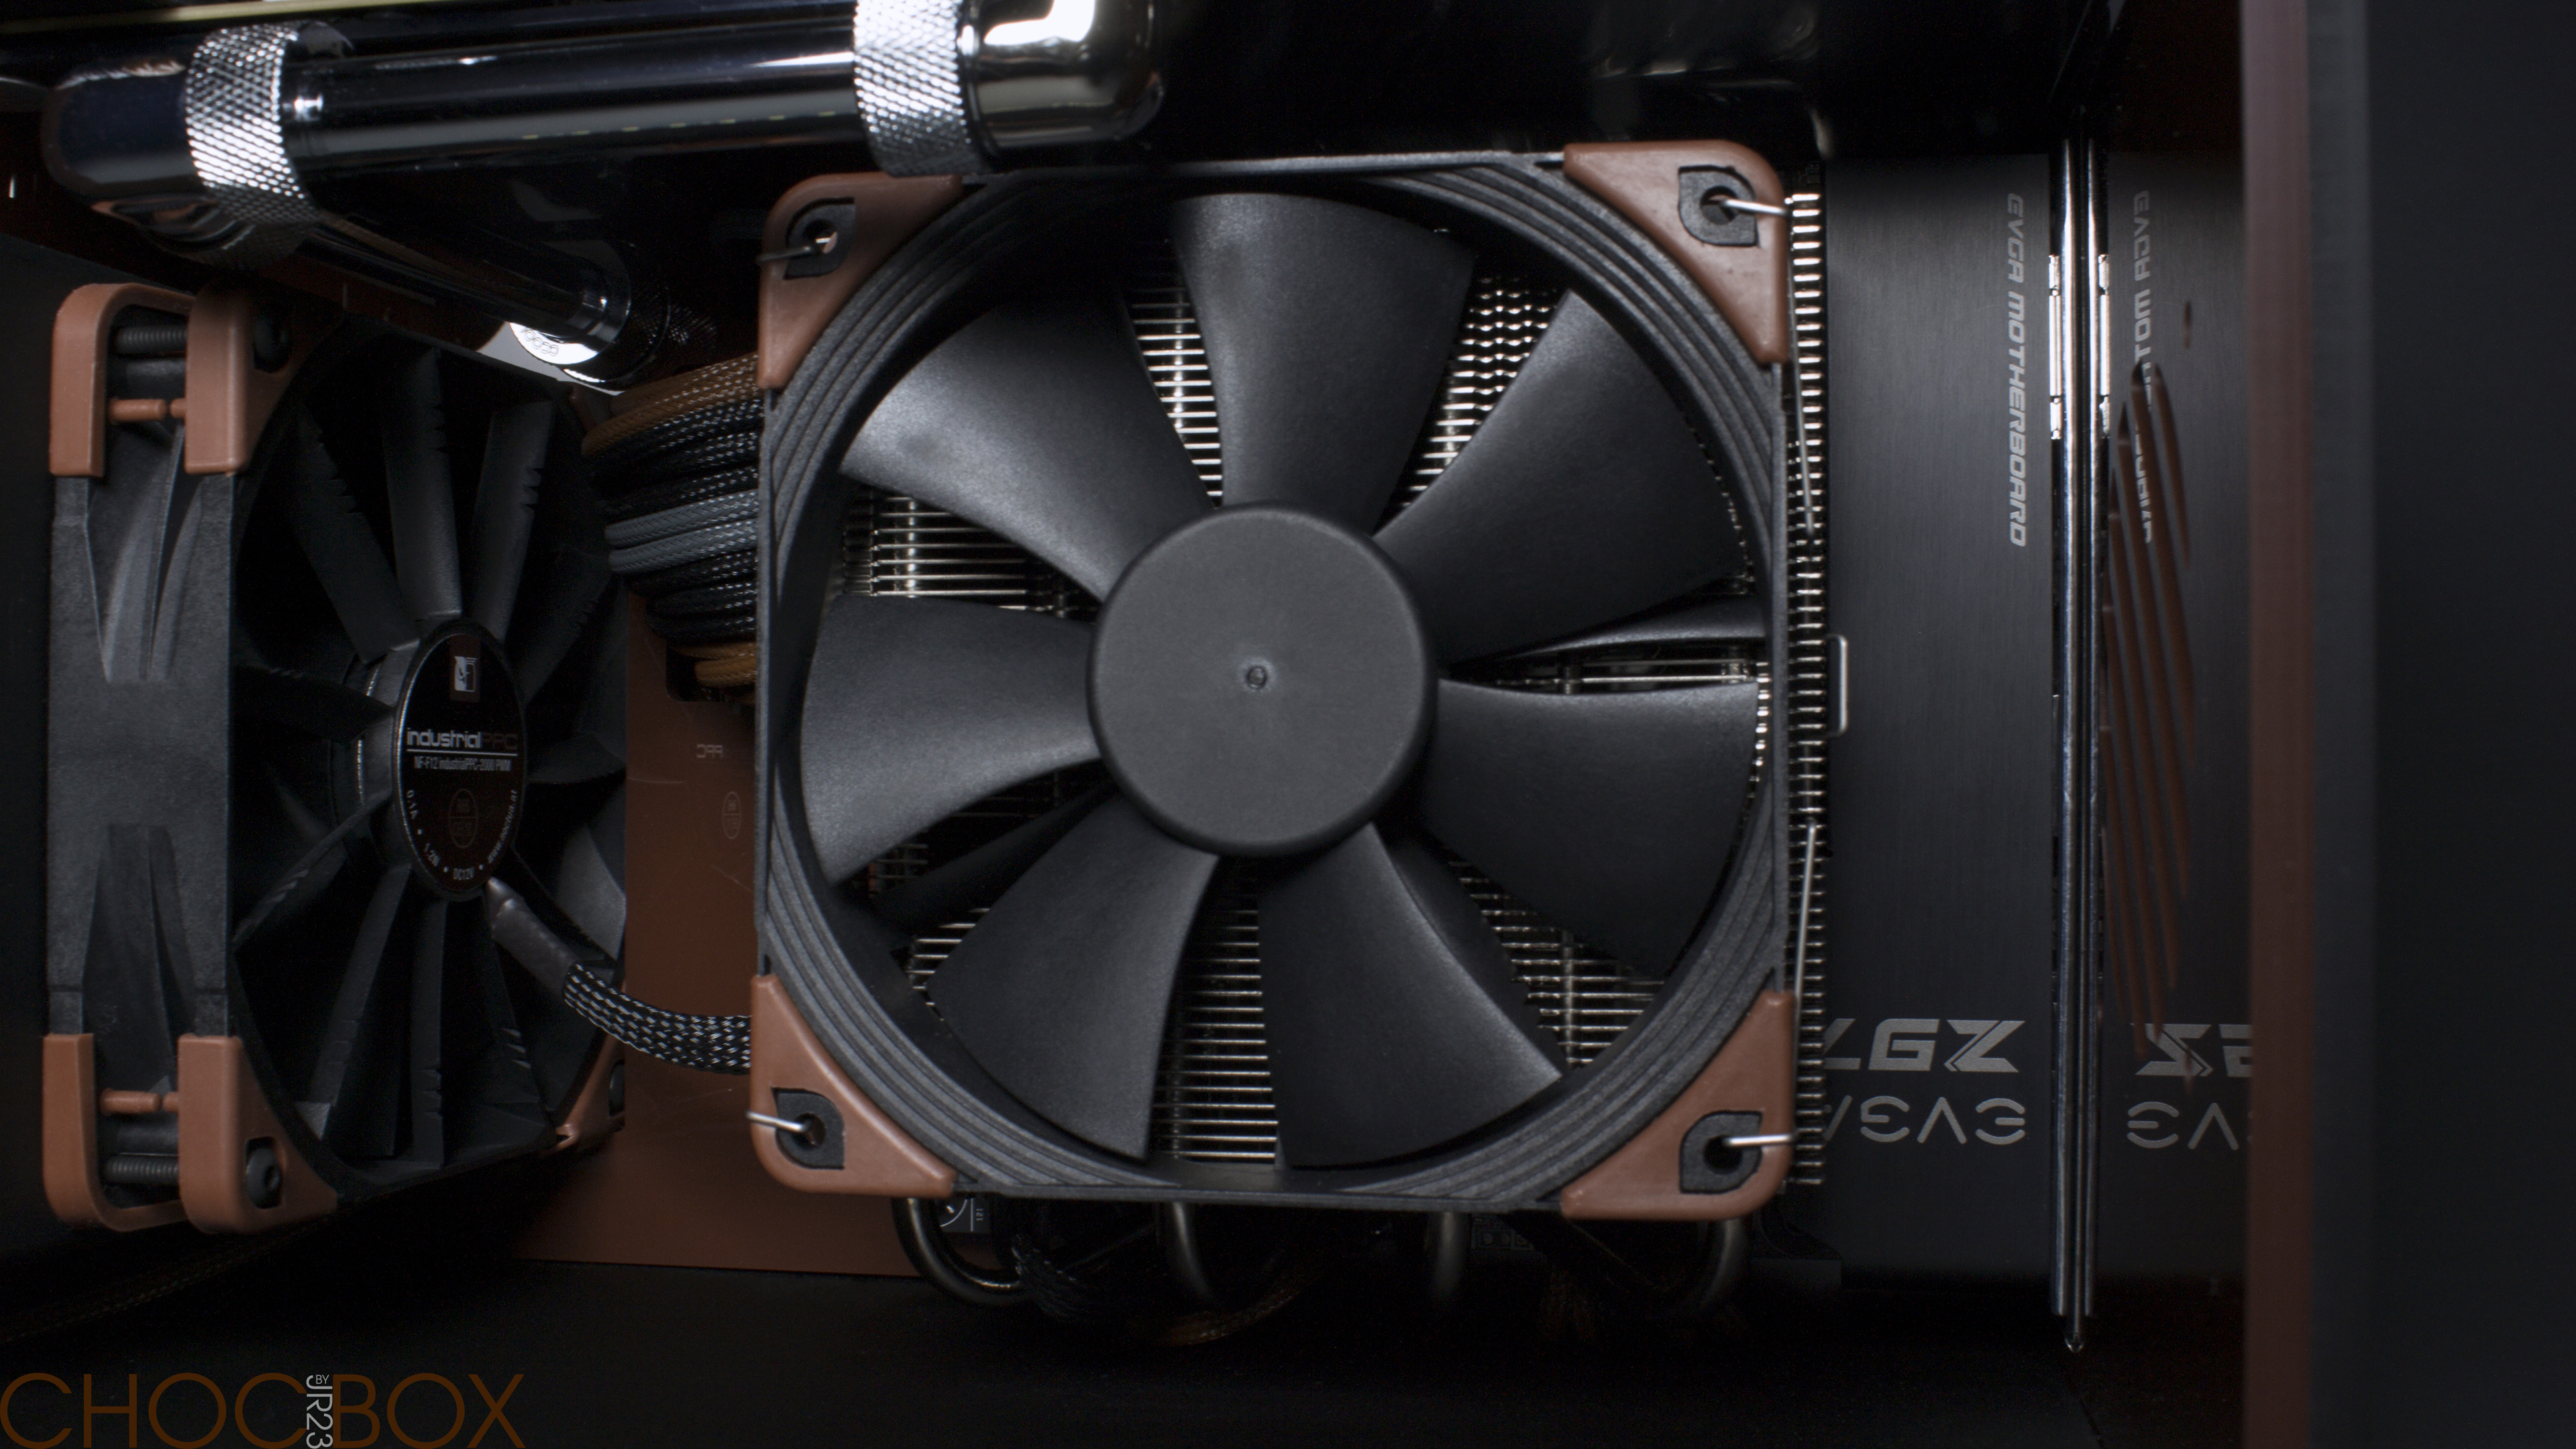
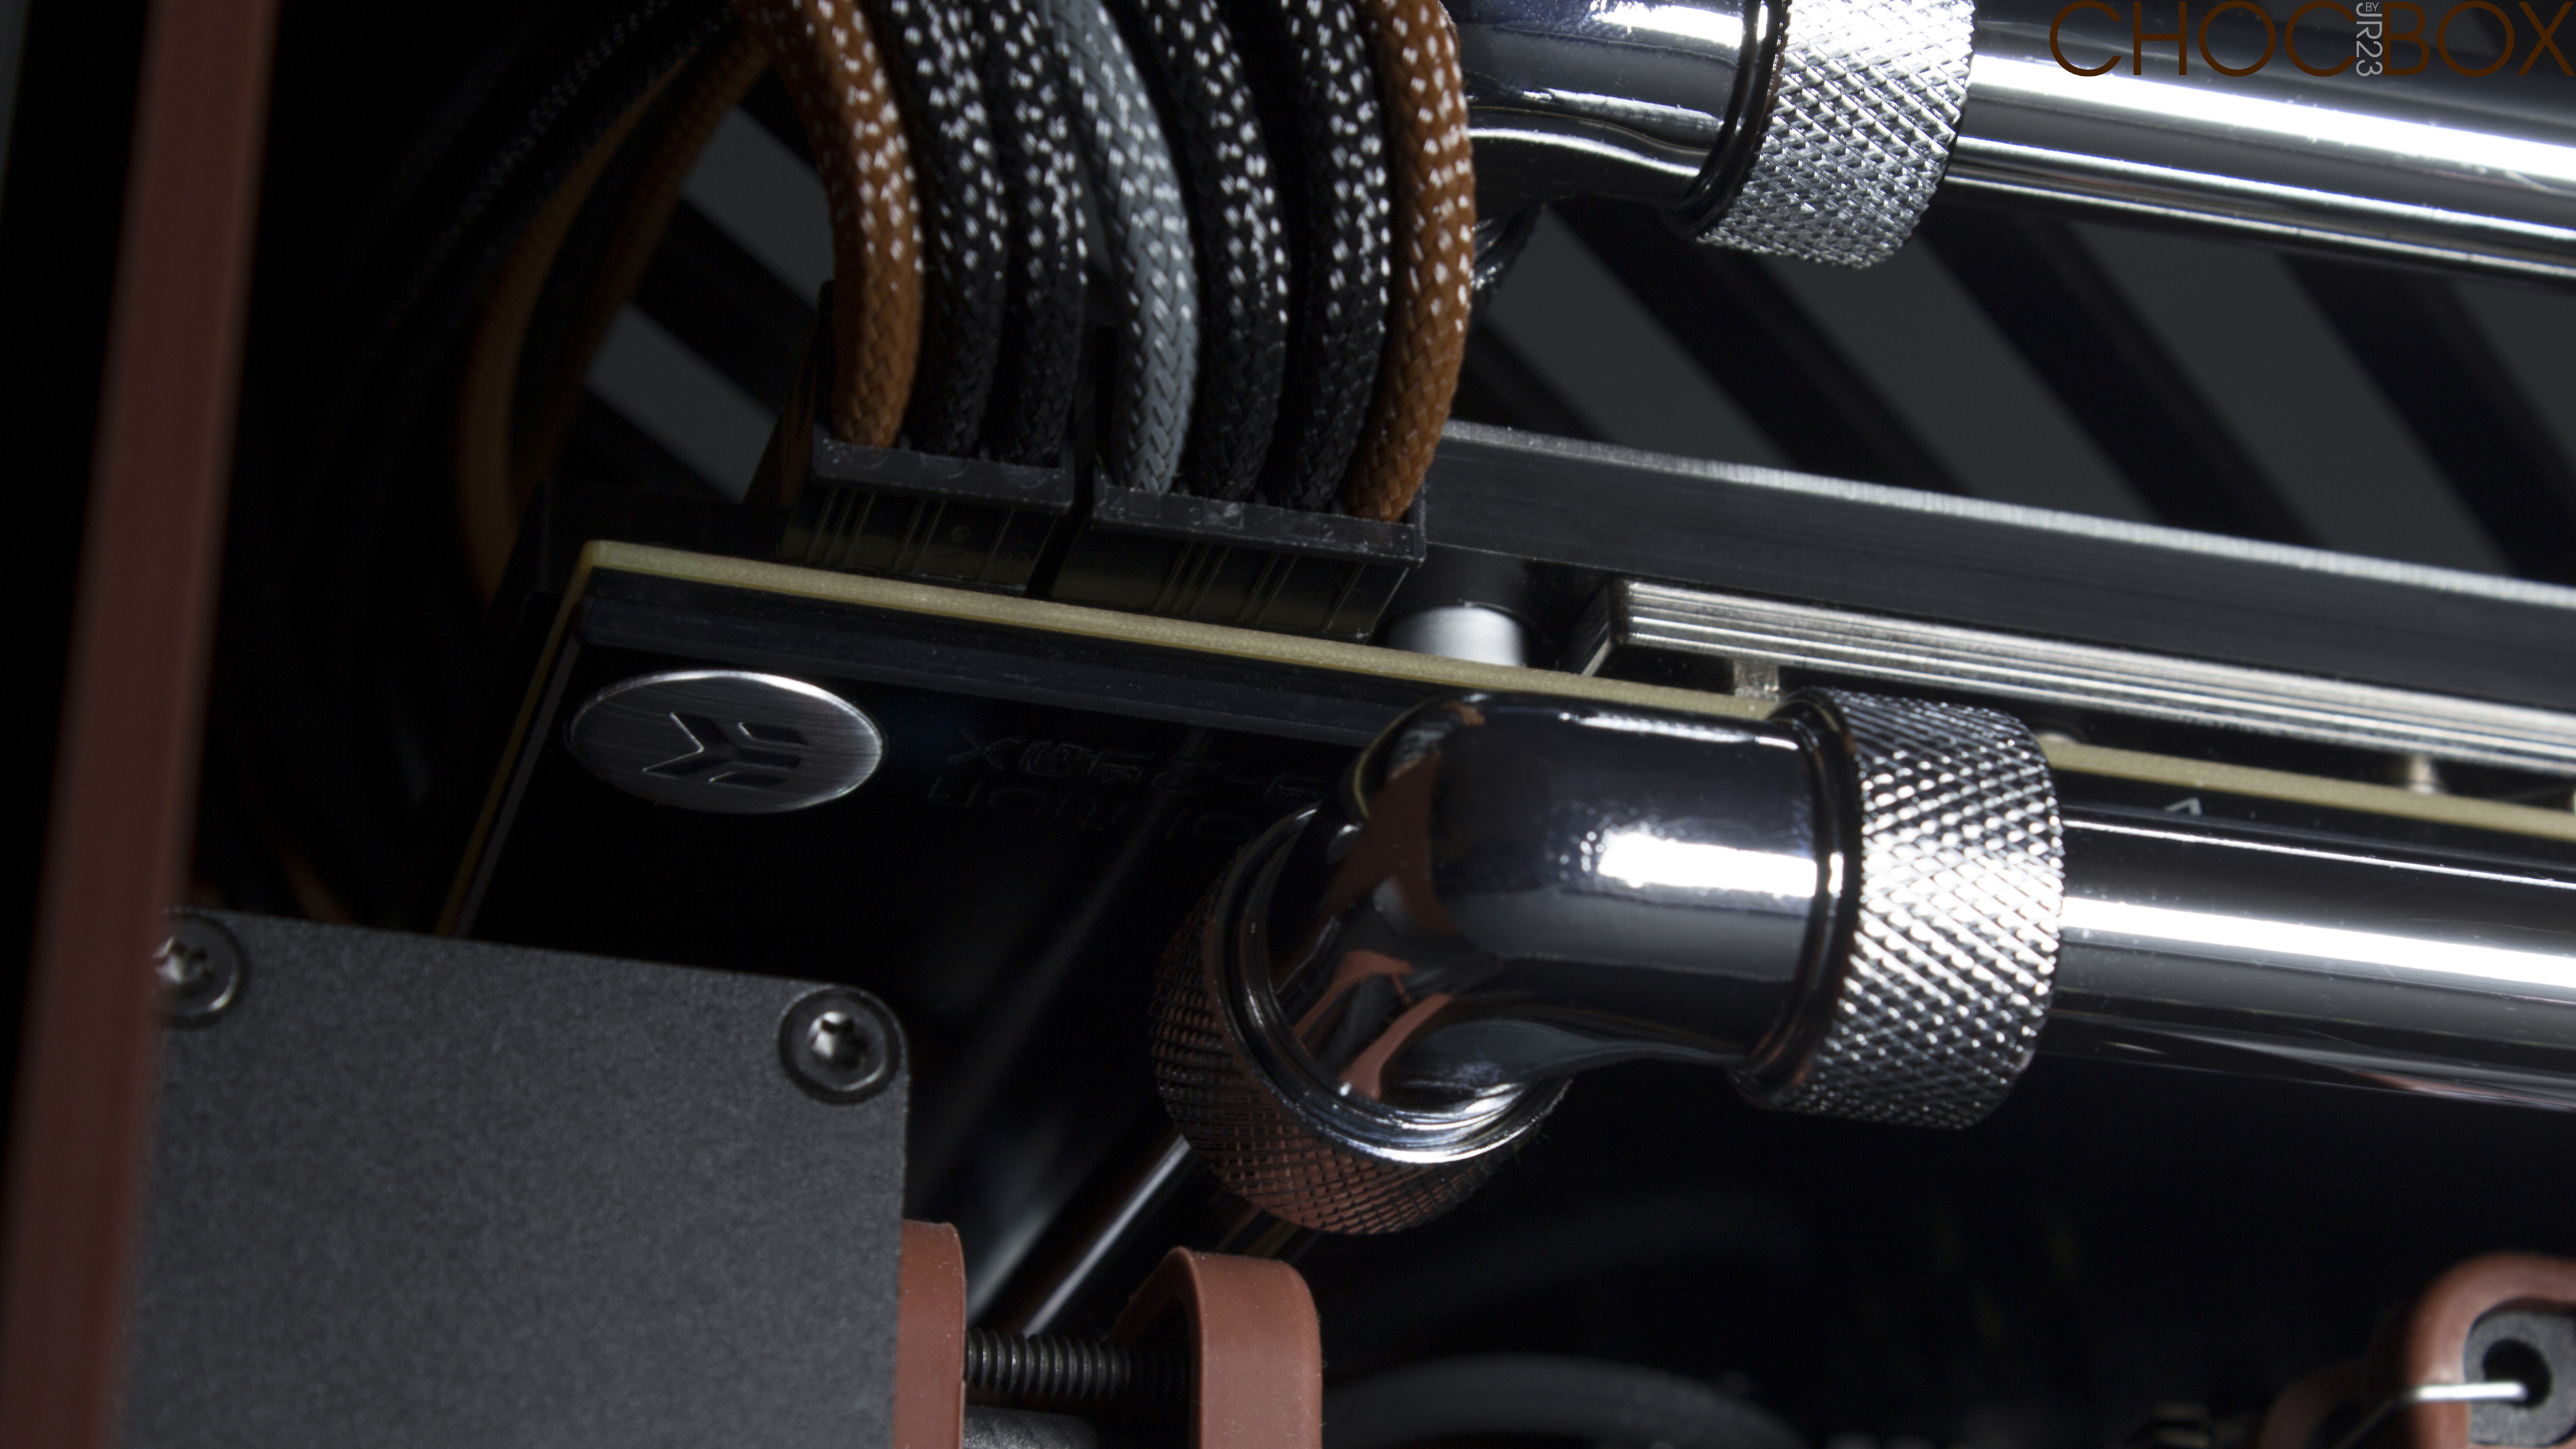
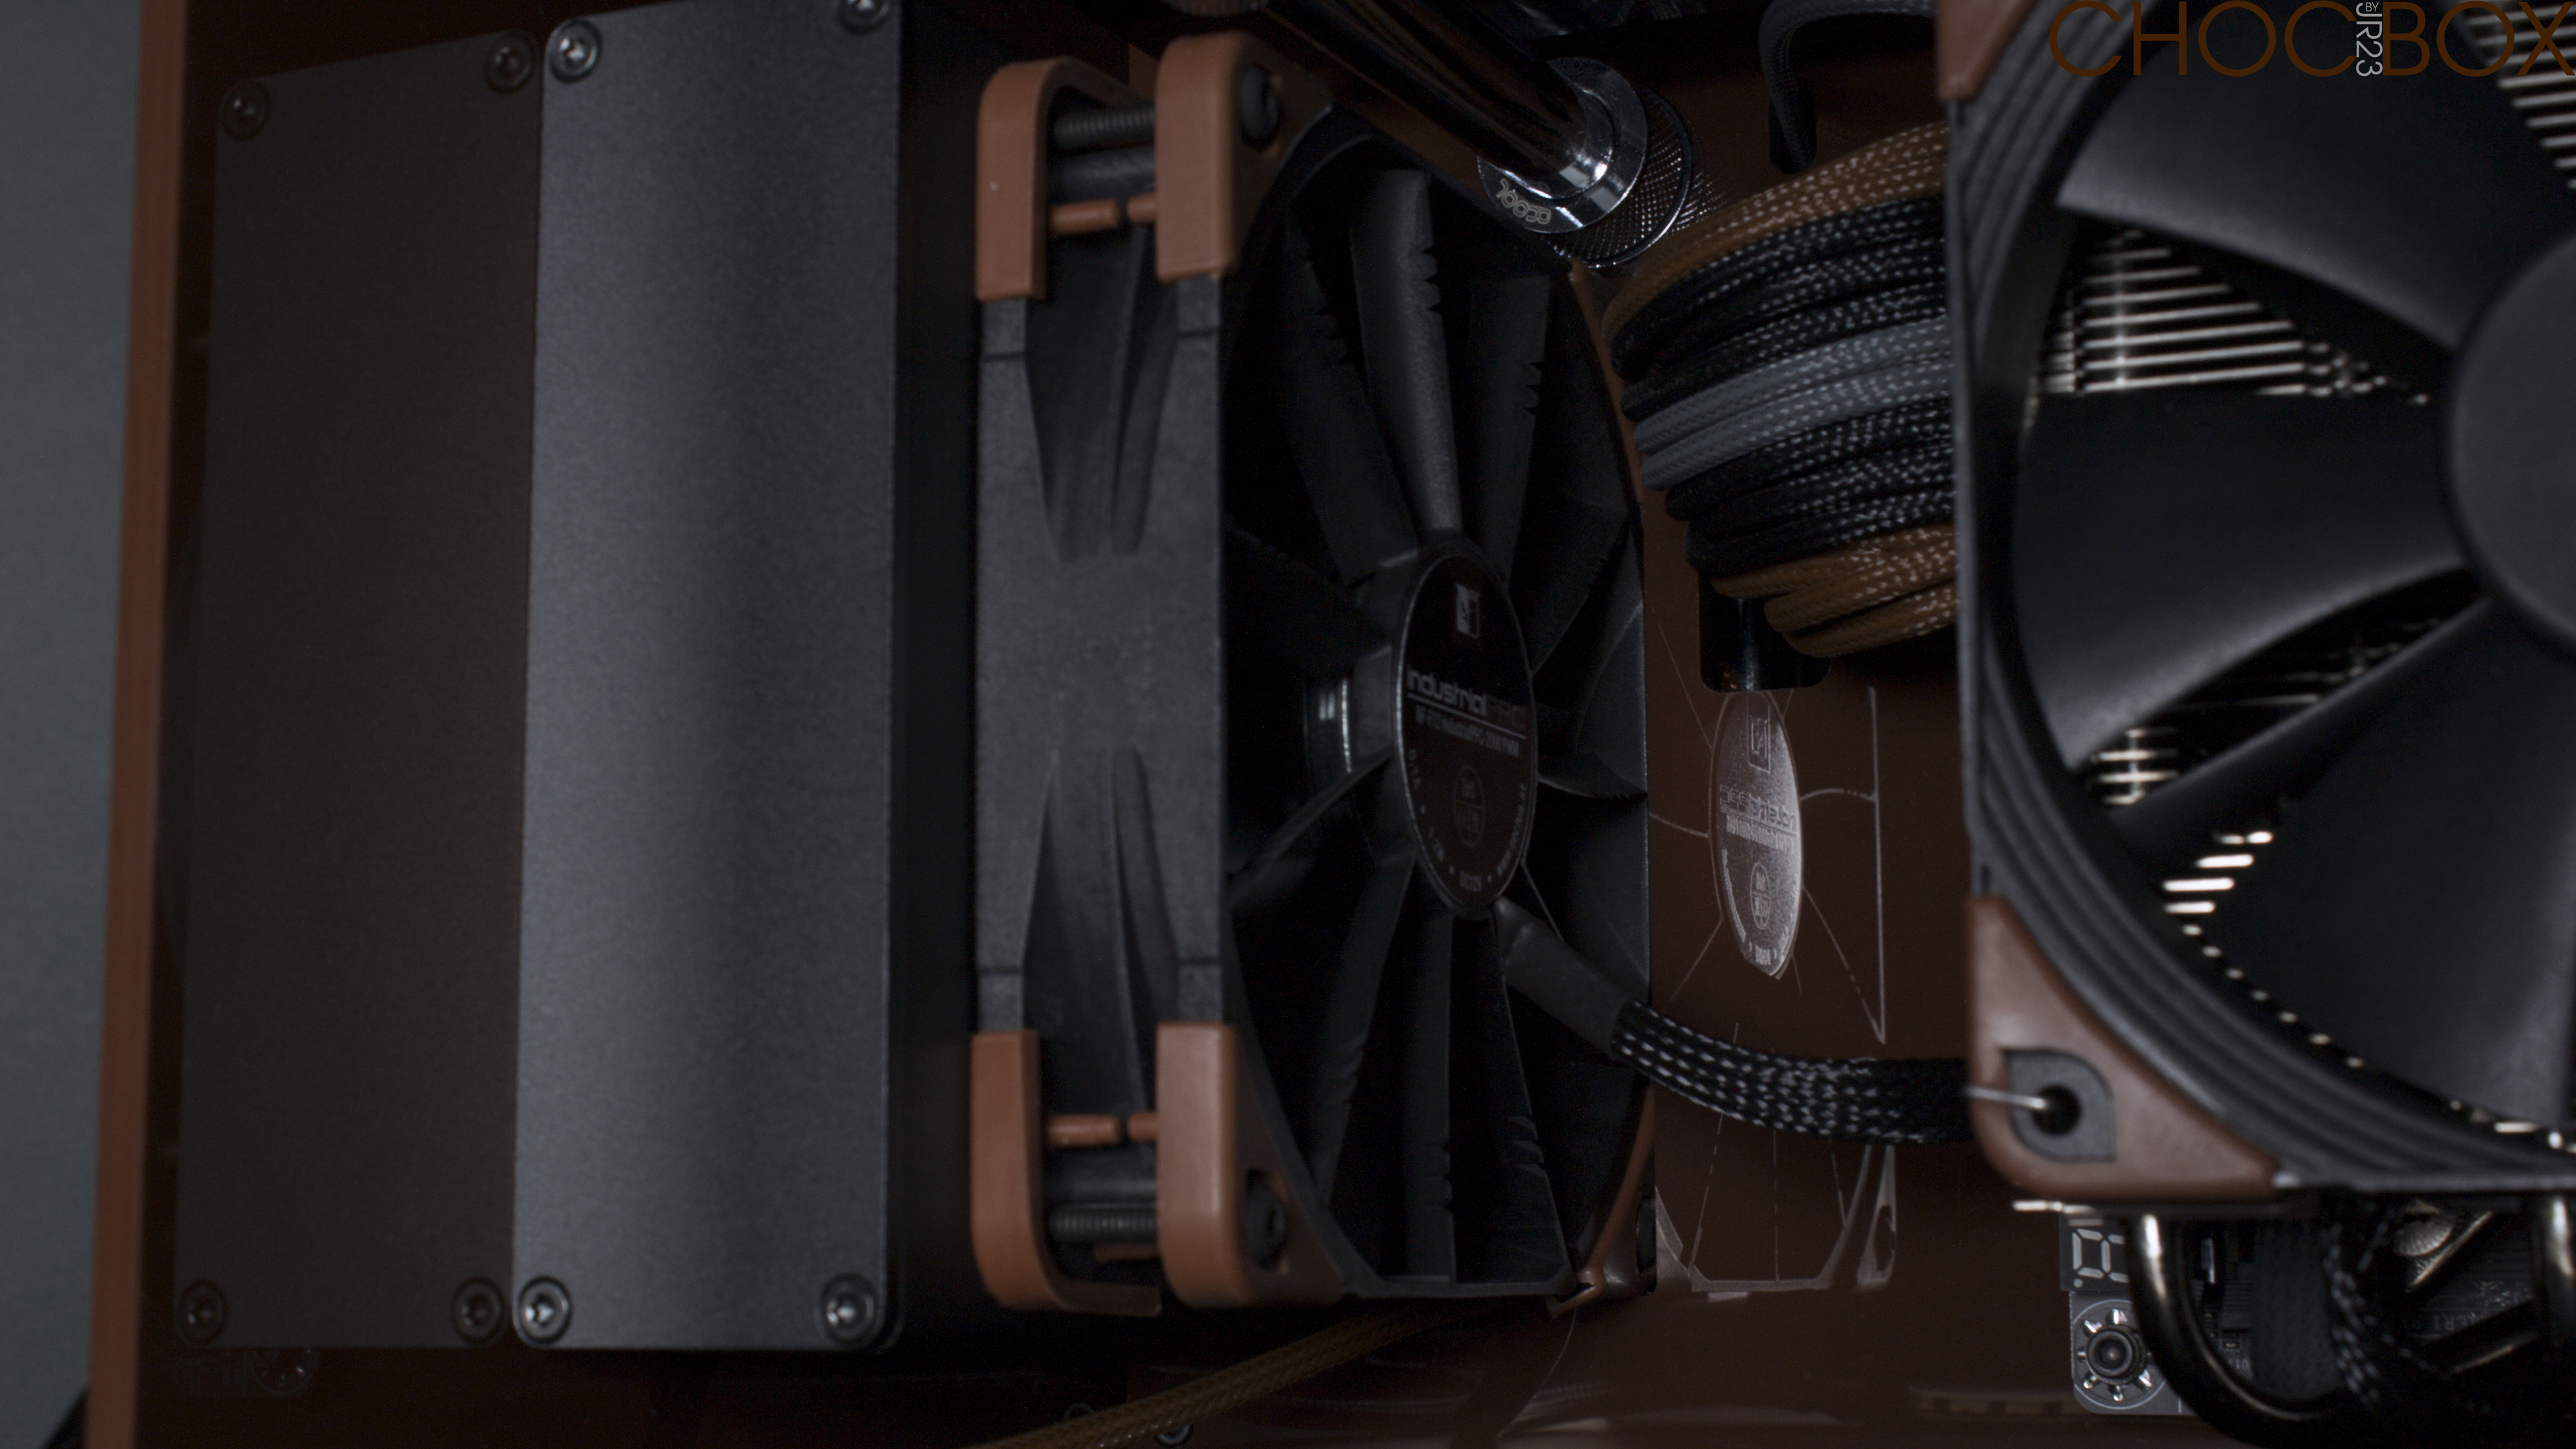
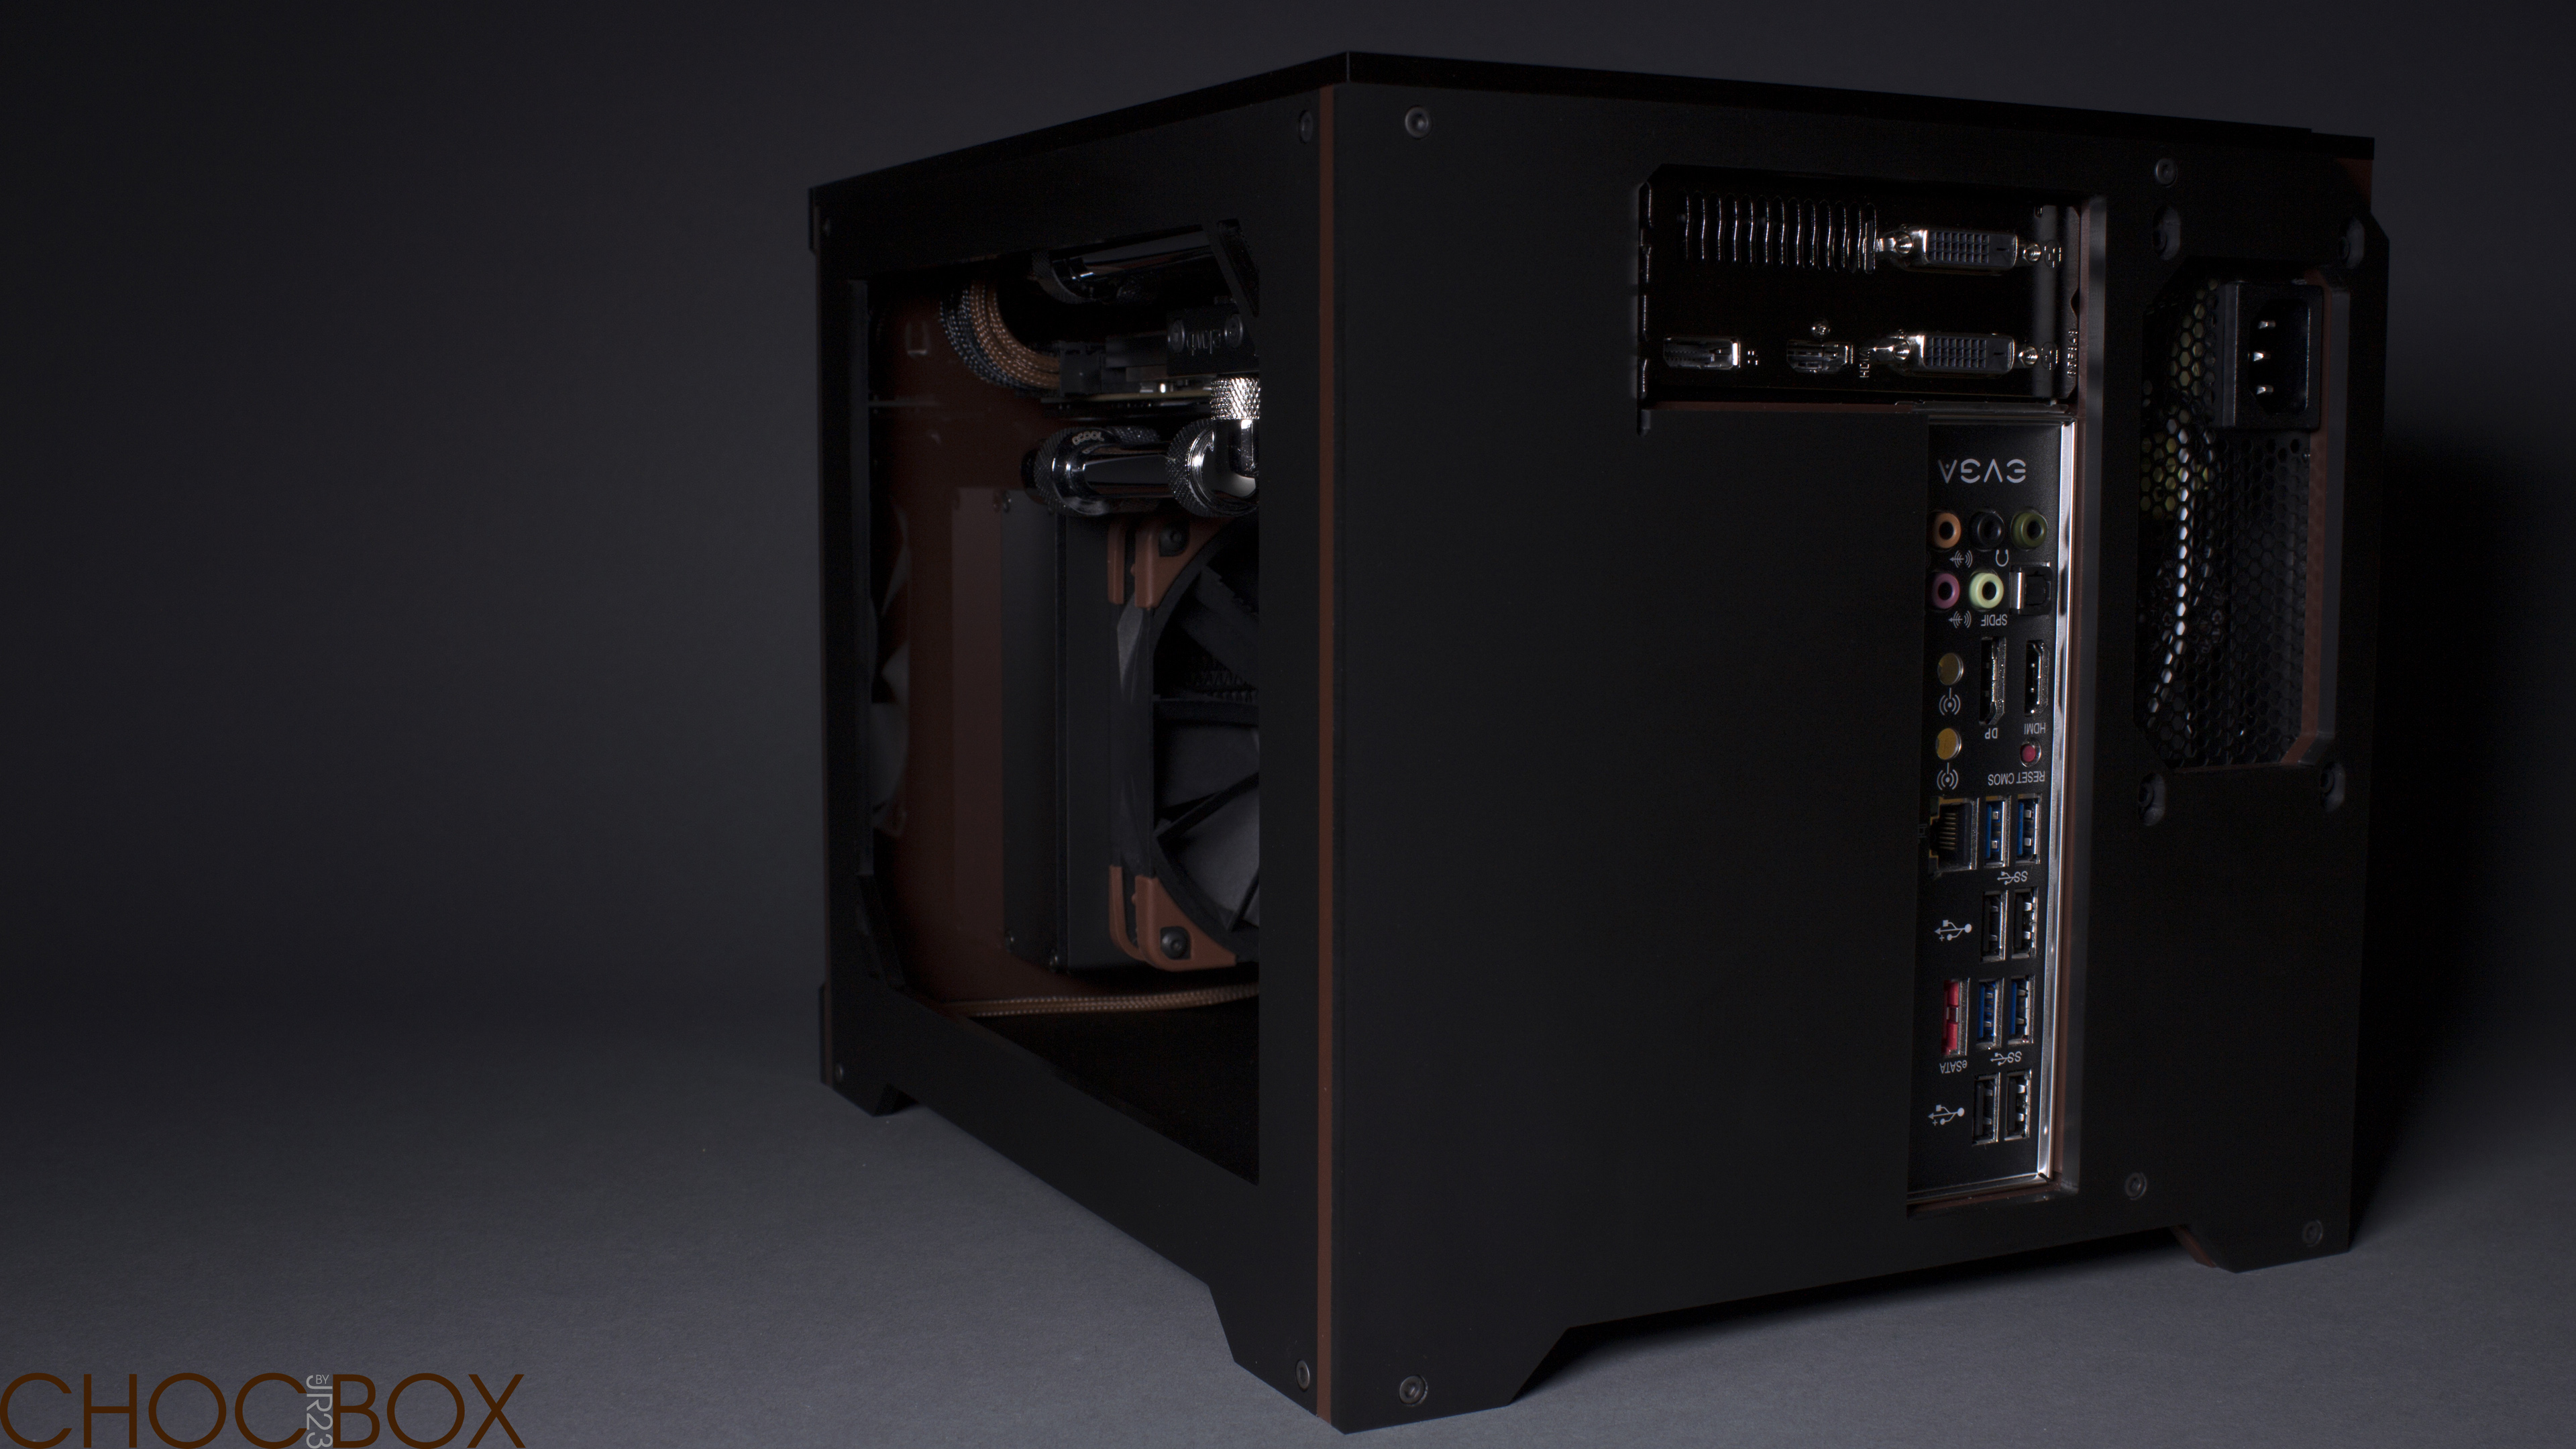
 Black being ground, brown +12v and grey sleeve carrying both the sensor and PWM wire for the pump. The LED was also swapped out for a clean white Darkside strip.