Soldato
Having recently succumbed to the upgrade itch, I thought it was all over for a few years. Then I got involved in building a complete new build for a friend and started looking at all the shiny new cases. New toy syndrome took hold and some half-baked ideas were hatched. You guys know how these things are 
So I've been chatting about it with OJ46 by polluting his excellent build log (see page 9) and he's either inspired me or led me astray - we'll see which as this progresses. Basically OJ, it's all your fault")
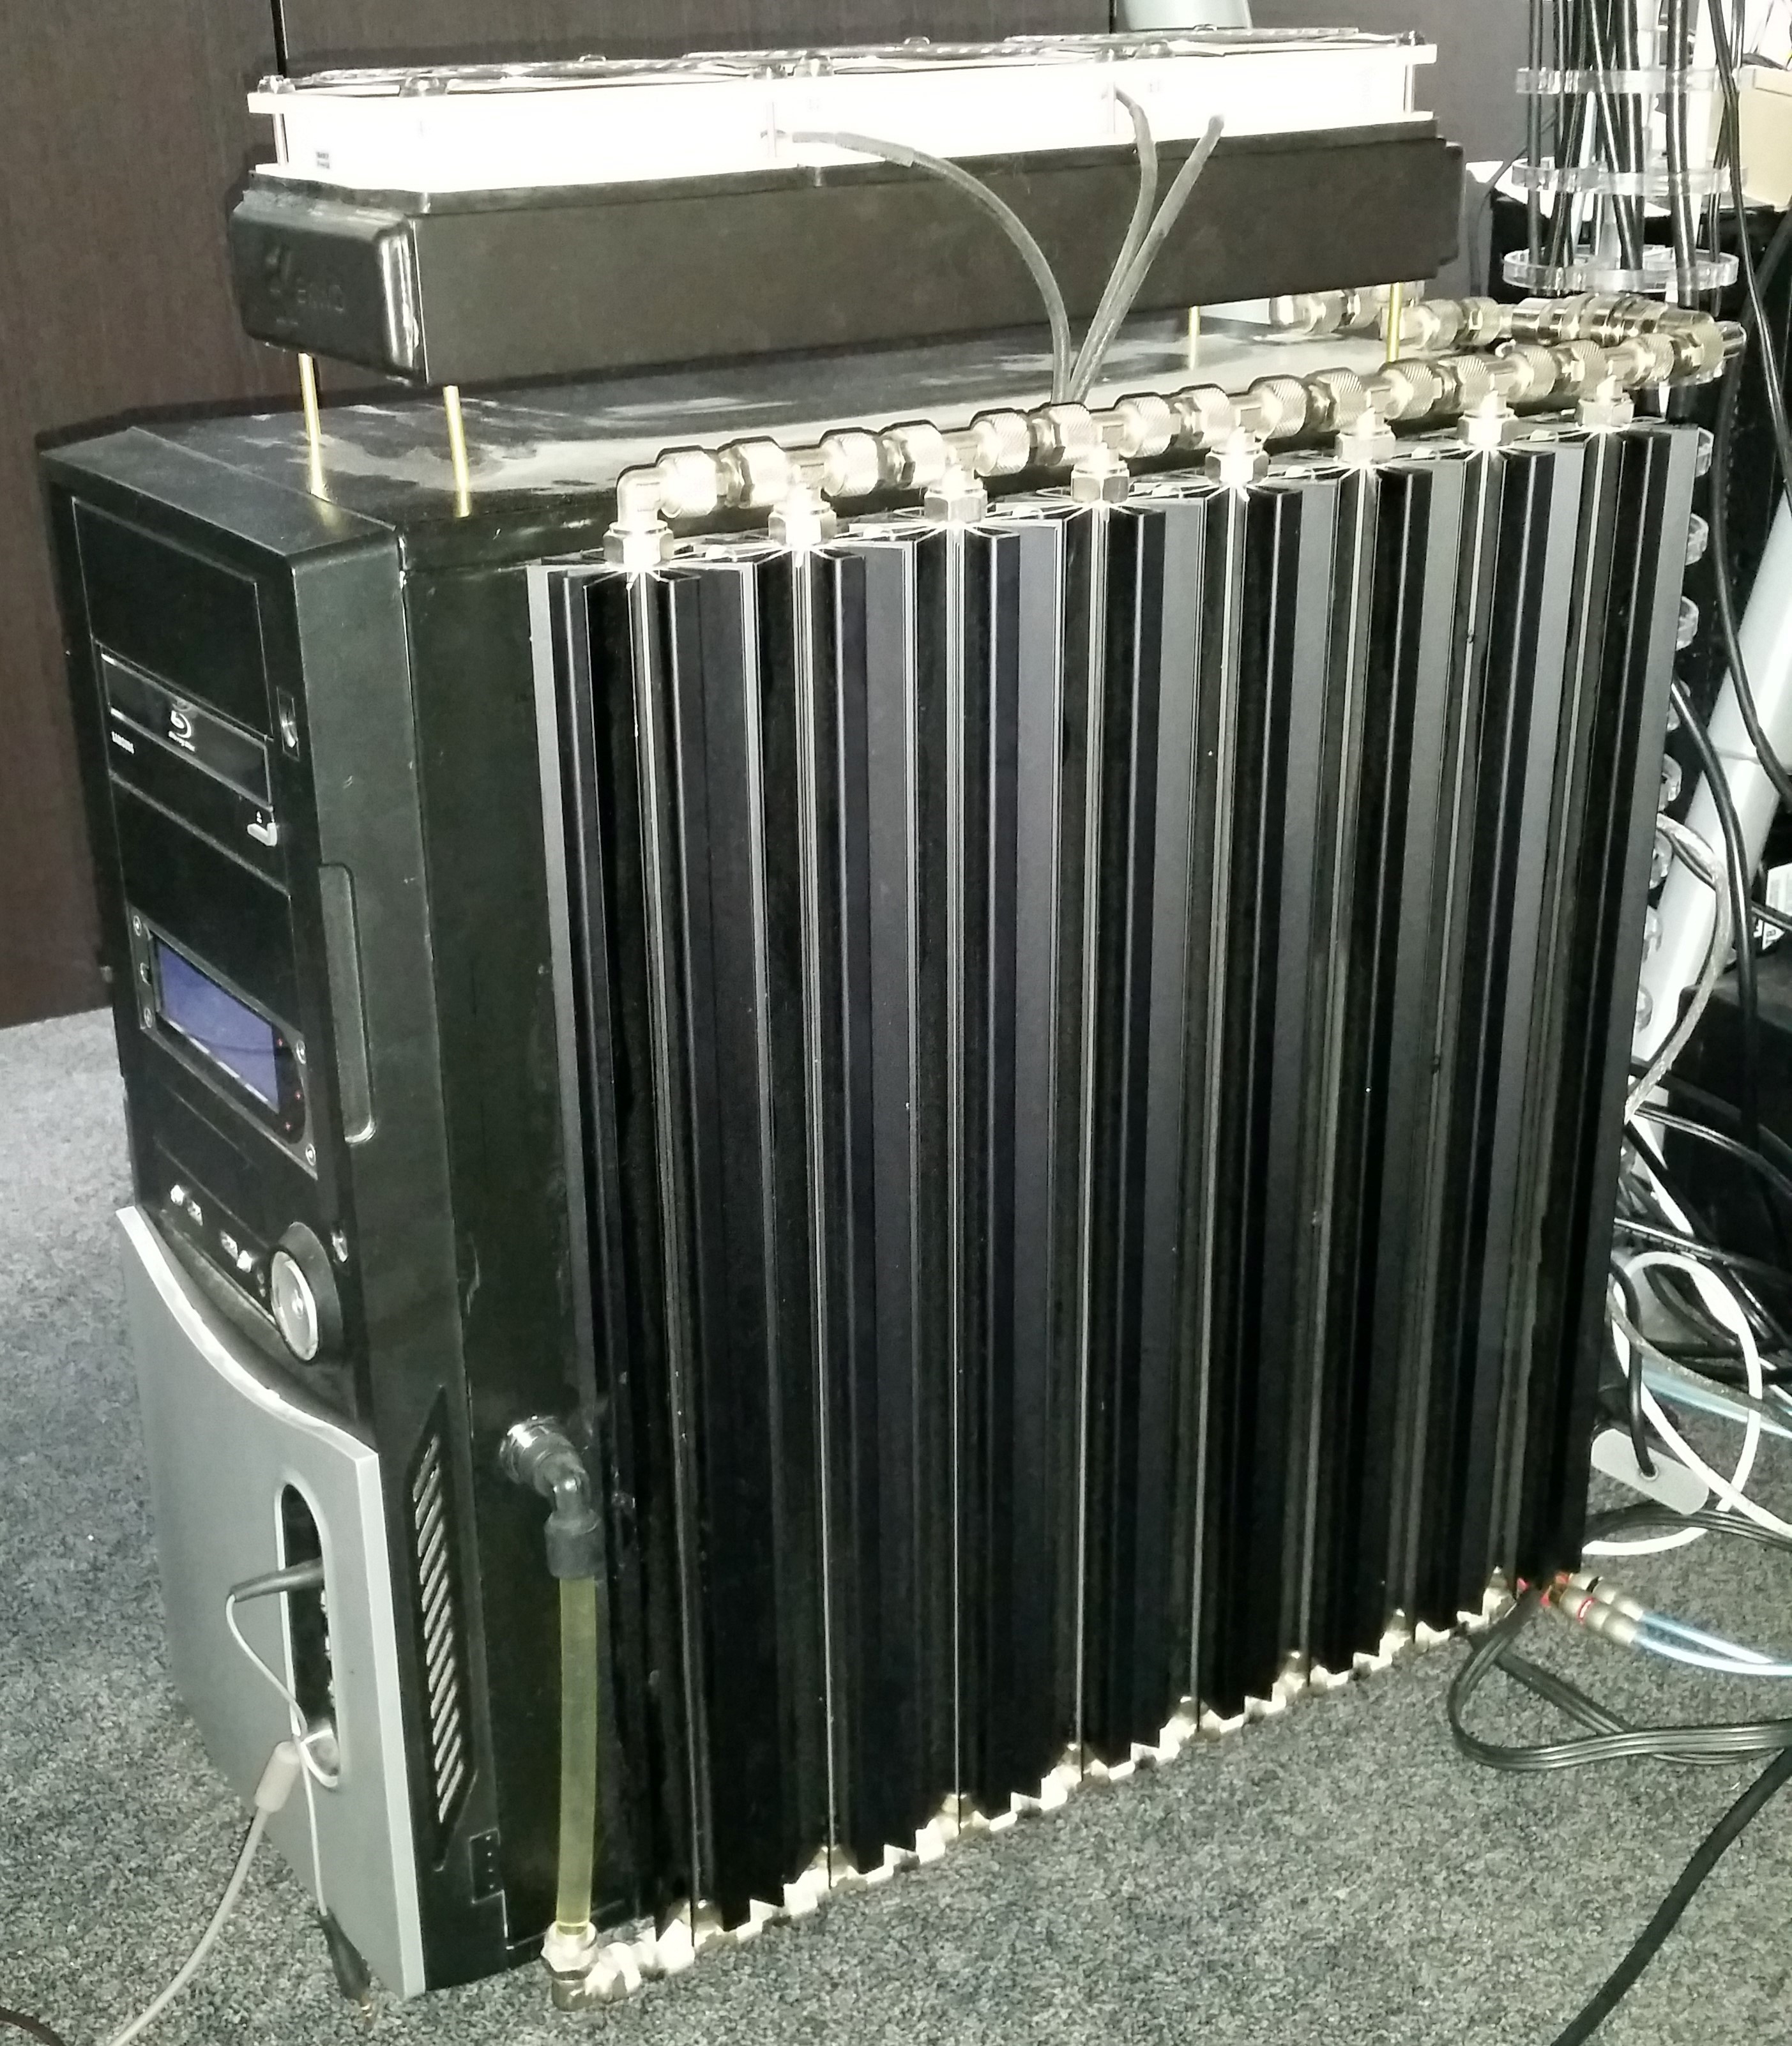
So what's the plan and why? Well, I've got a relatively old case that's entirely unsuited to watercooling but has been bent to my will. It started off with eight Alphacool Cape Cora's mounted externally and then had an EK 3x120 rad mounted unceremoniously on the outside of the roof on stand-offs. Now with a 980Ti and a 4GHz Skylake it gets a bit hotter than I'd like when gaming and I'm too stubborn to ramp the fans up from relatively silent
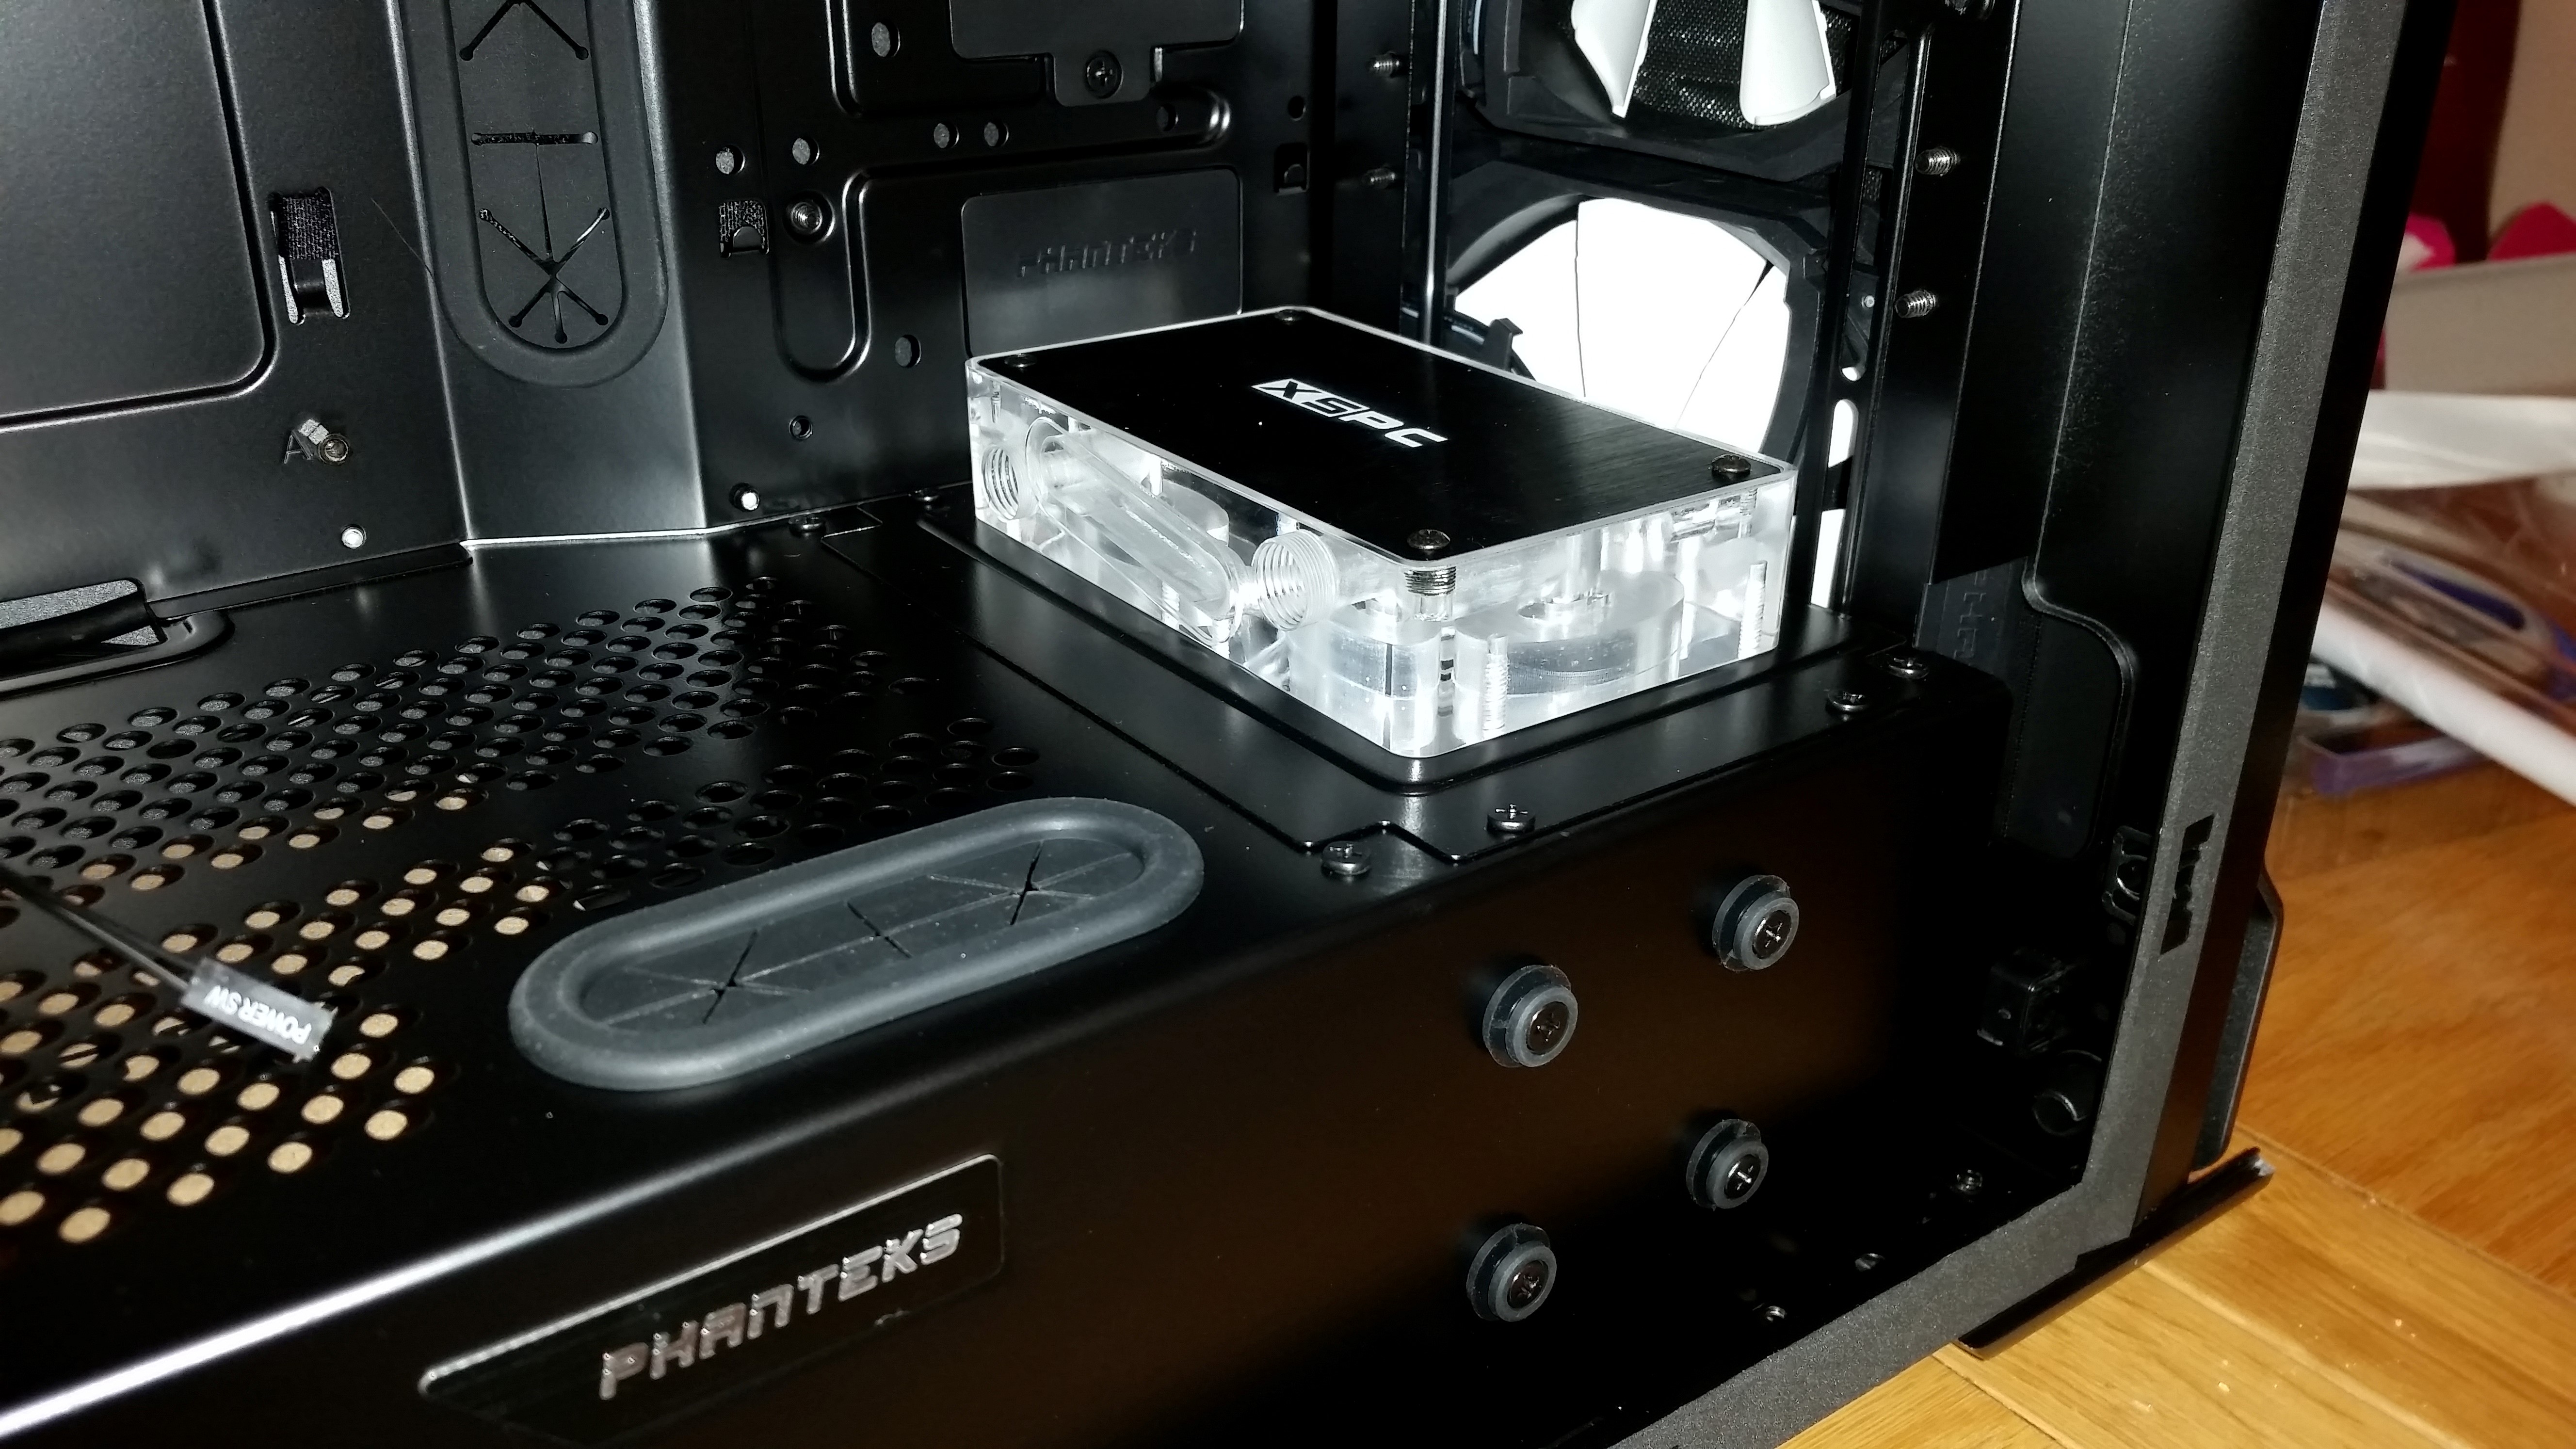
I'm drawn to the Phanteks Enthoo Evolv ATX. My local storage is all M.2 SSDs and any more is iSCSI so I don't need the entire front of the case lined with disk cages. I want a bit more space in the case and I want it clean and tidy. Currently I have lit stuff like the res, GPU and CPU blocks....but I have no window so it's kind of pointless.
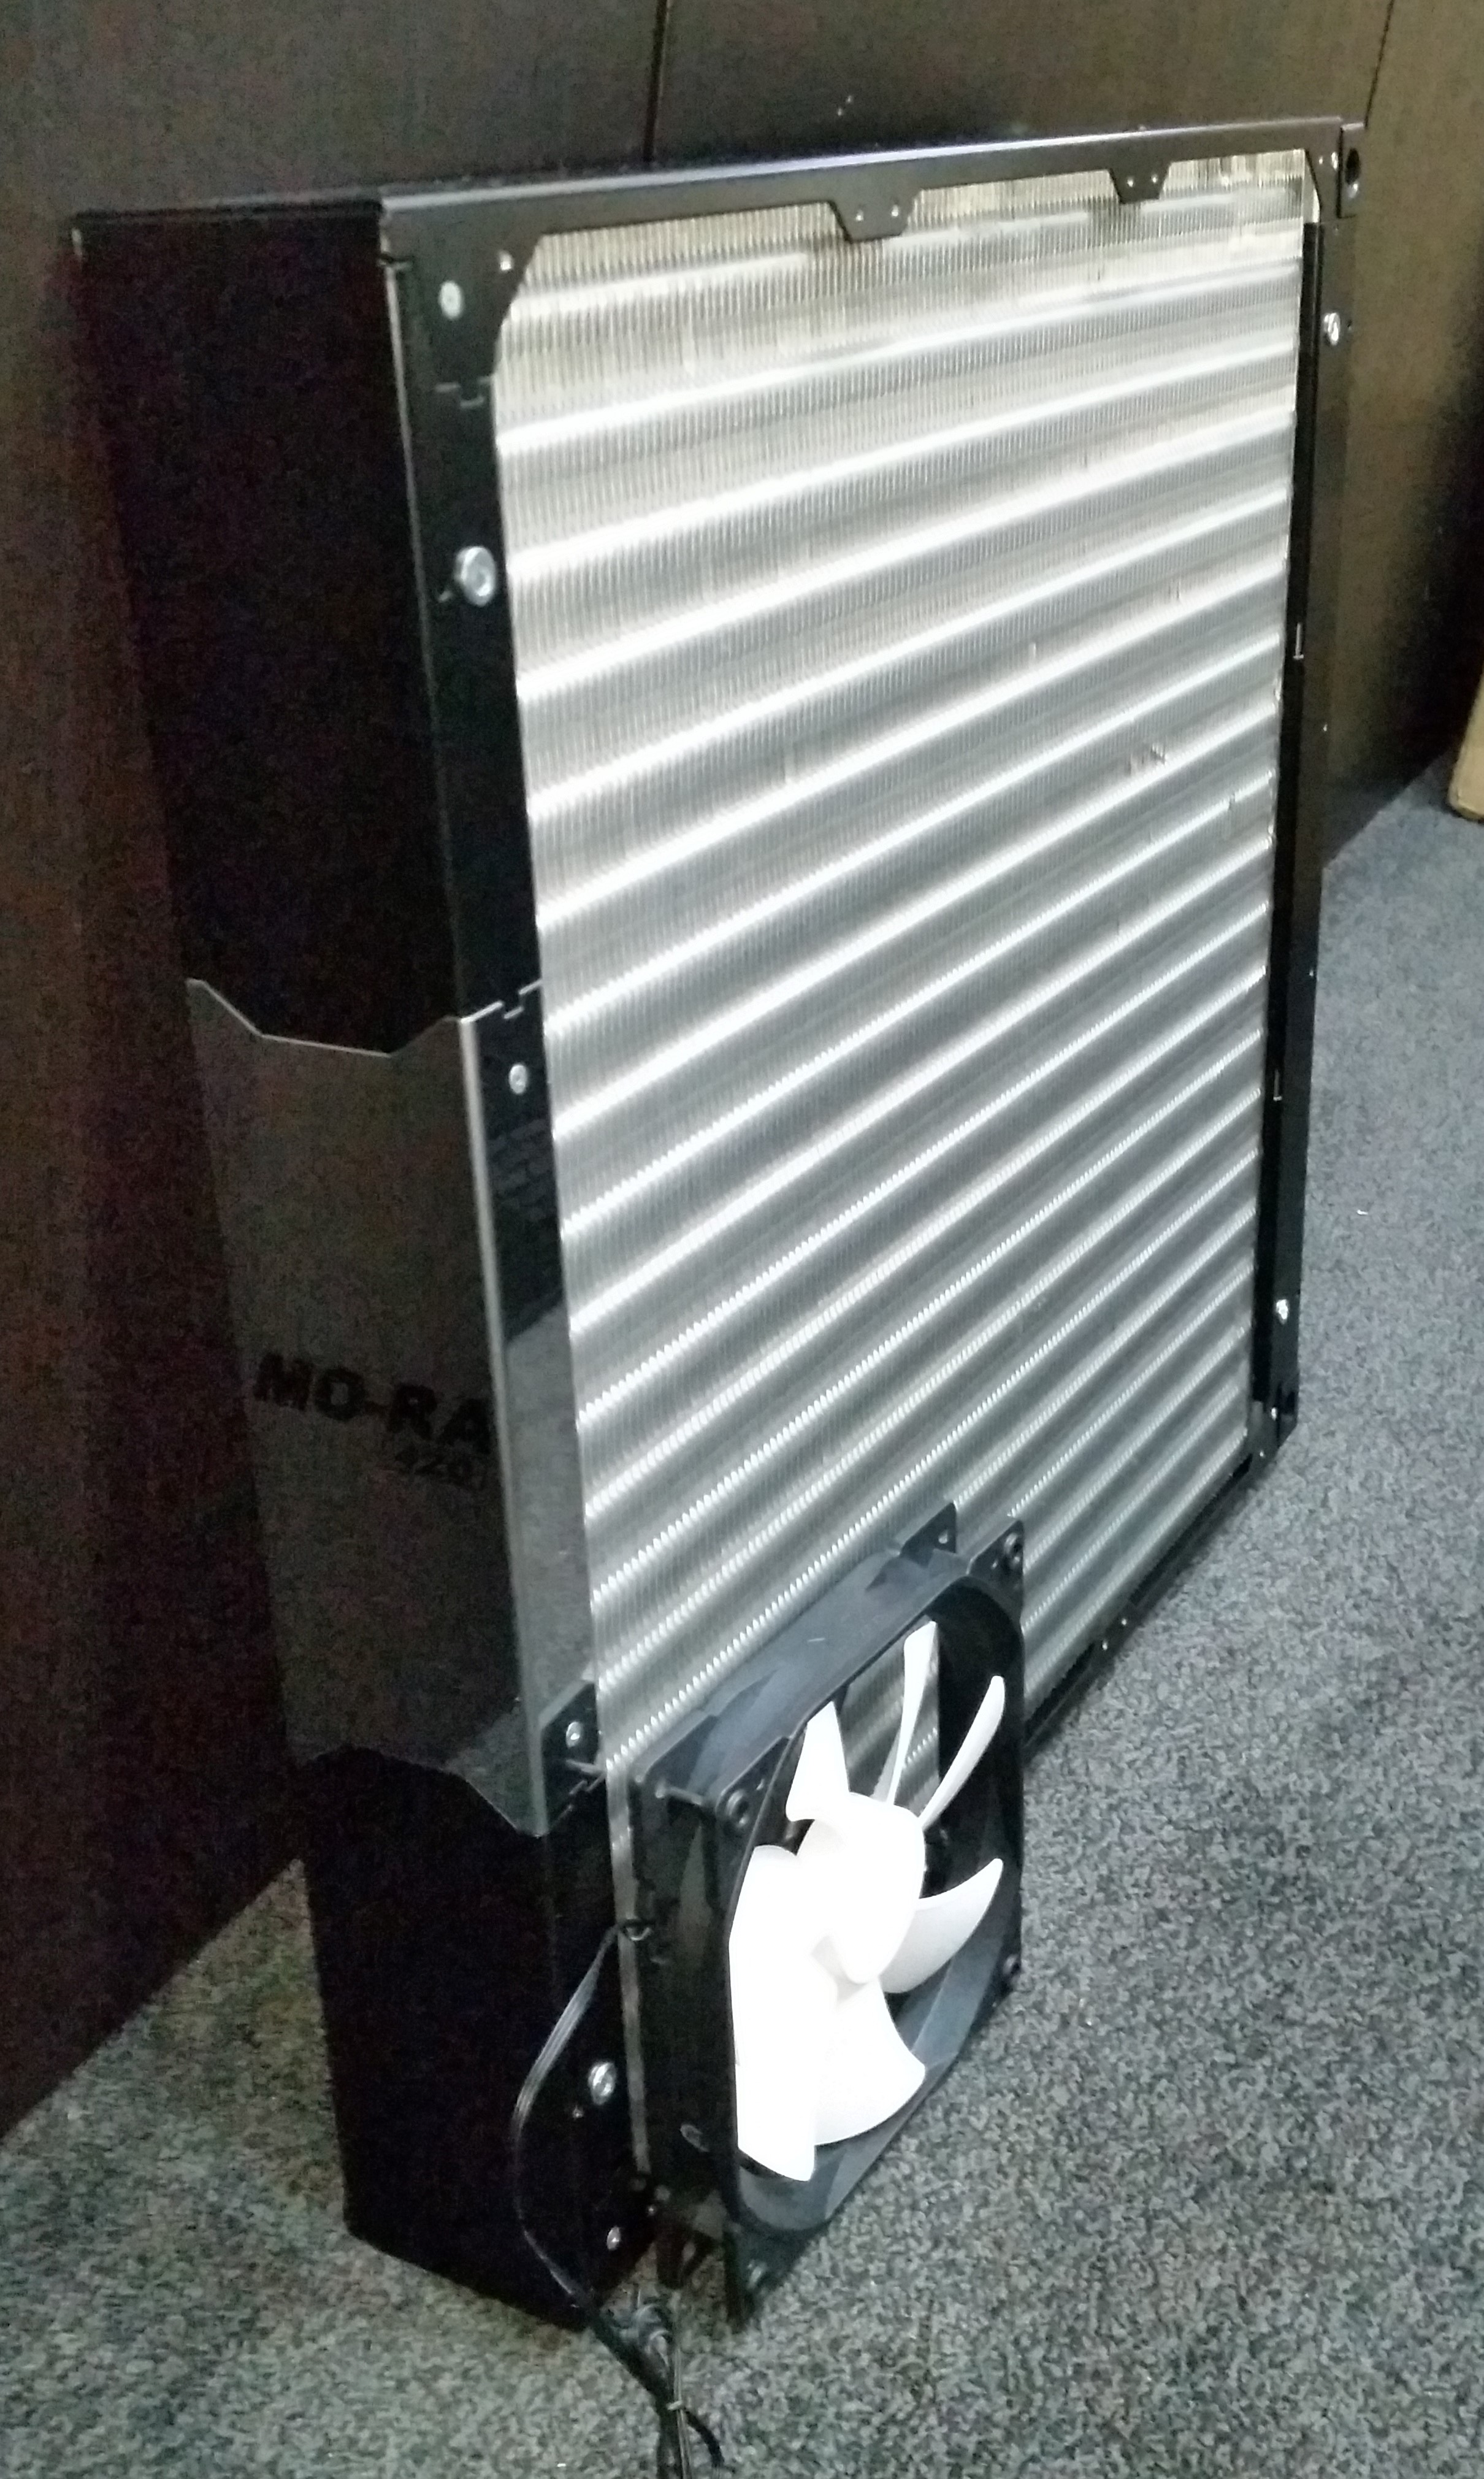
I know this case only has room for a 3x120 and a 2x120 which isn't really an upgrade....but I reckon it'll have room to slap a Mo-Ra 420 on the side if I'm lucky
I don't really have any pictures of anything at this stage and I'm more of a suck-it-and-see style builder than a sketch-up artist so it's entirely possible that this whole thing could just fail horribly....but such is the way of things. OCUK will be getting an order for a case in a sec so I can start there. Once I have it I can assess (read make wild assumptions and hope it pans out) whether I can mount the rad on the off-side side panel (the one without the window) or even whether it's possible to mount the rad in place of the side panel without making a horrible mess of it.
So the to-do list is this:
Spec:
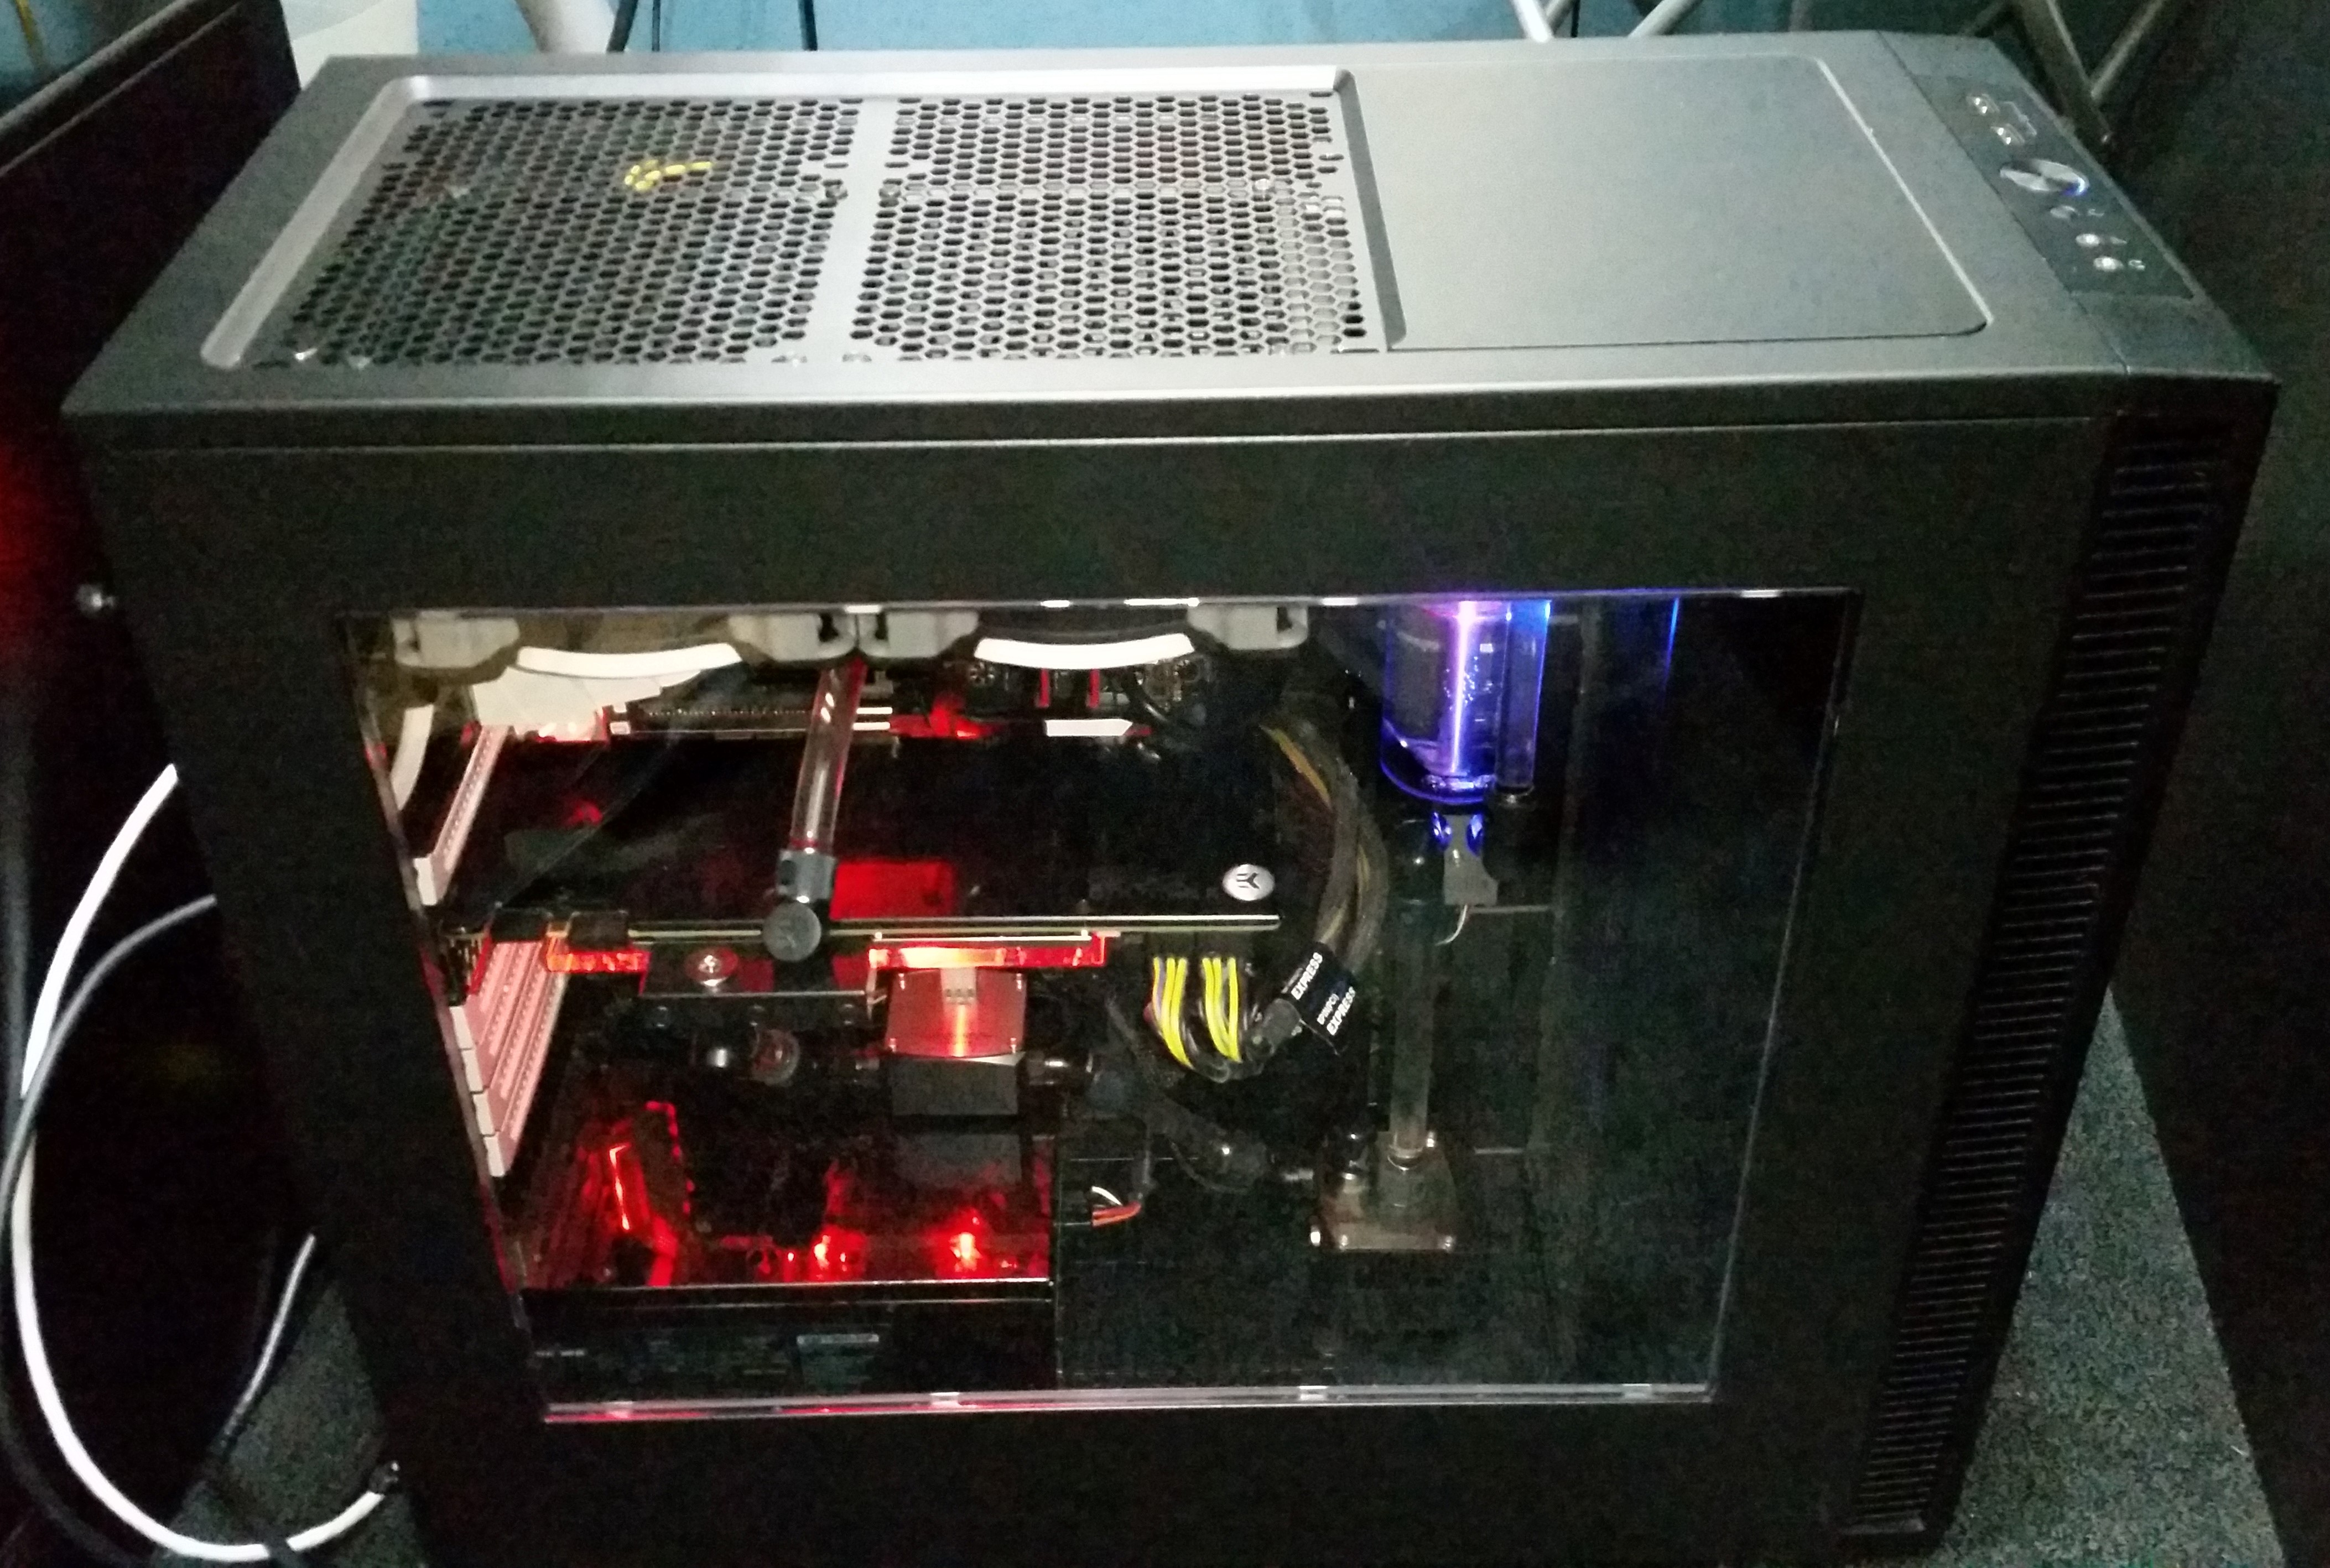
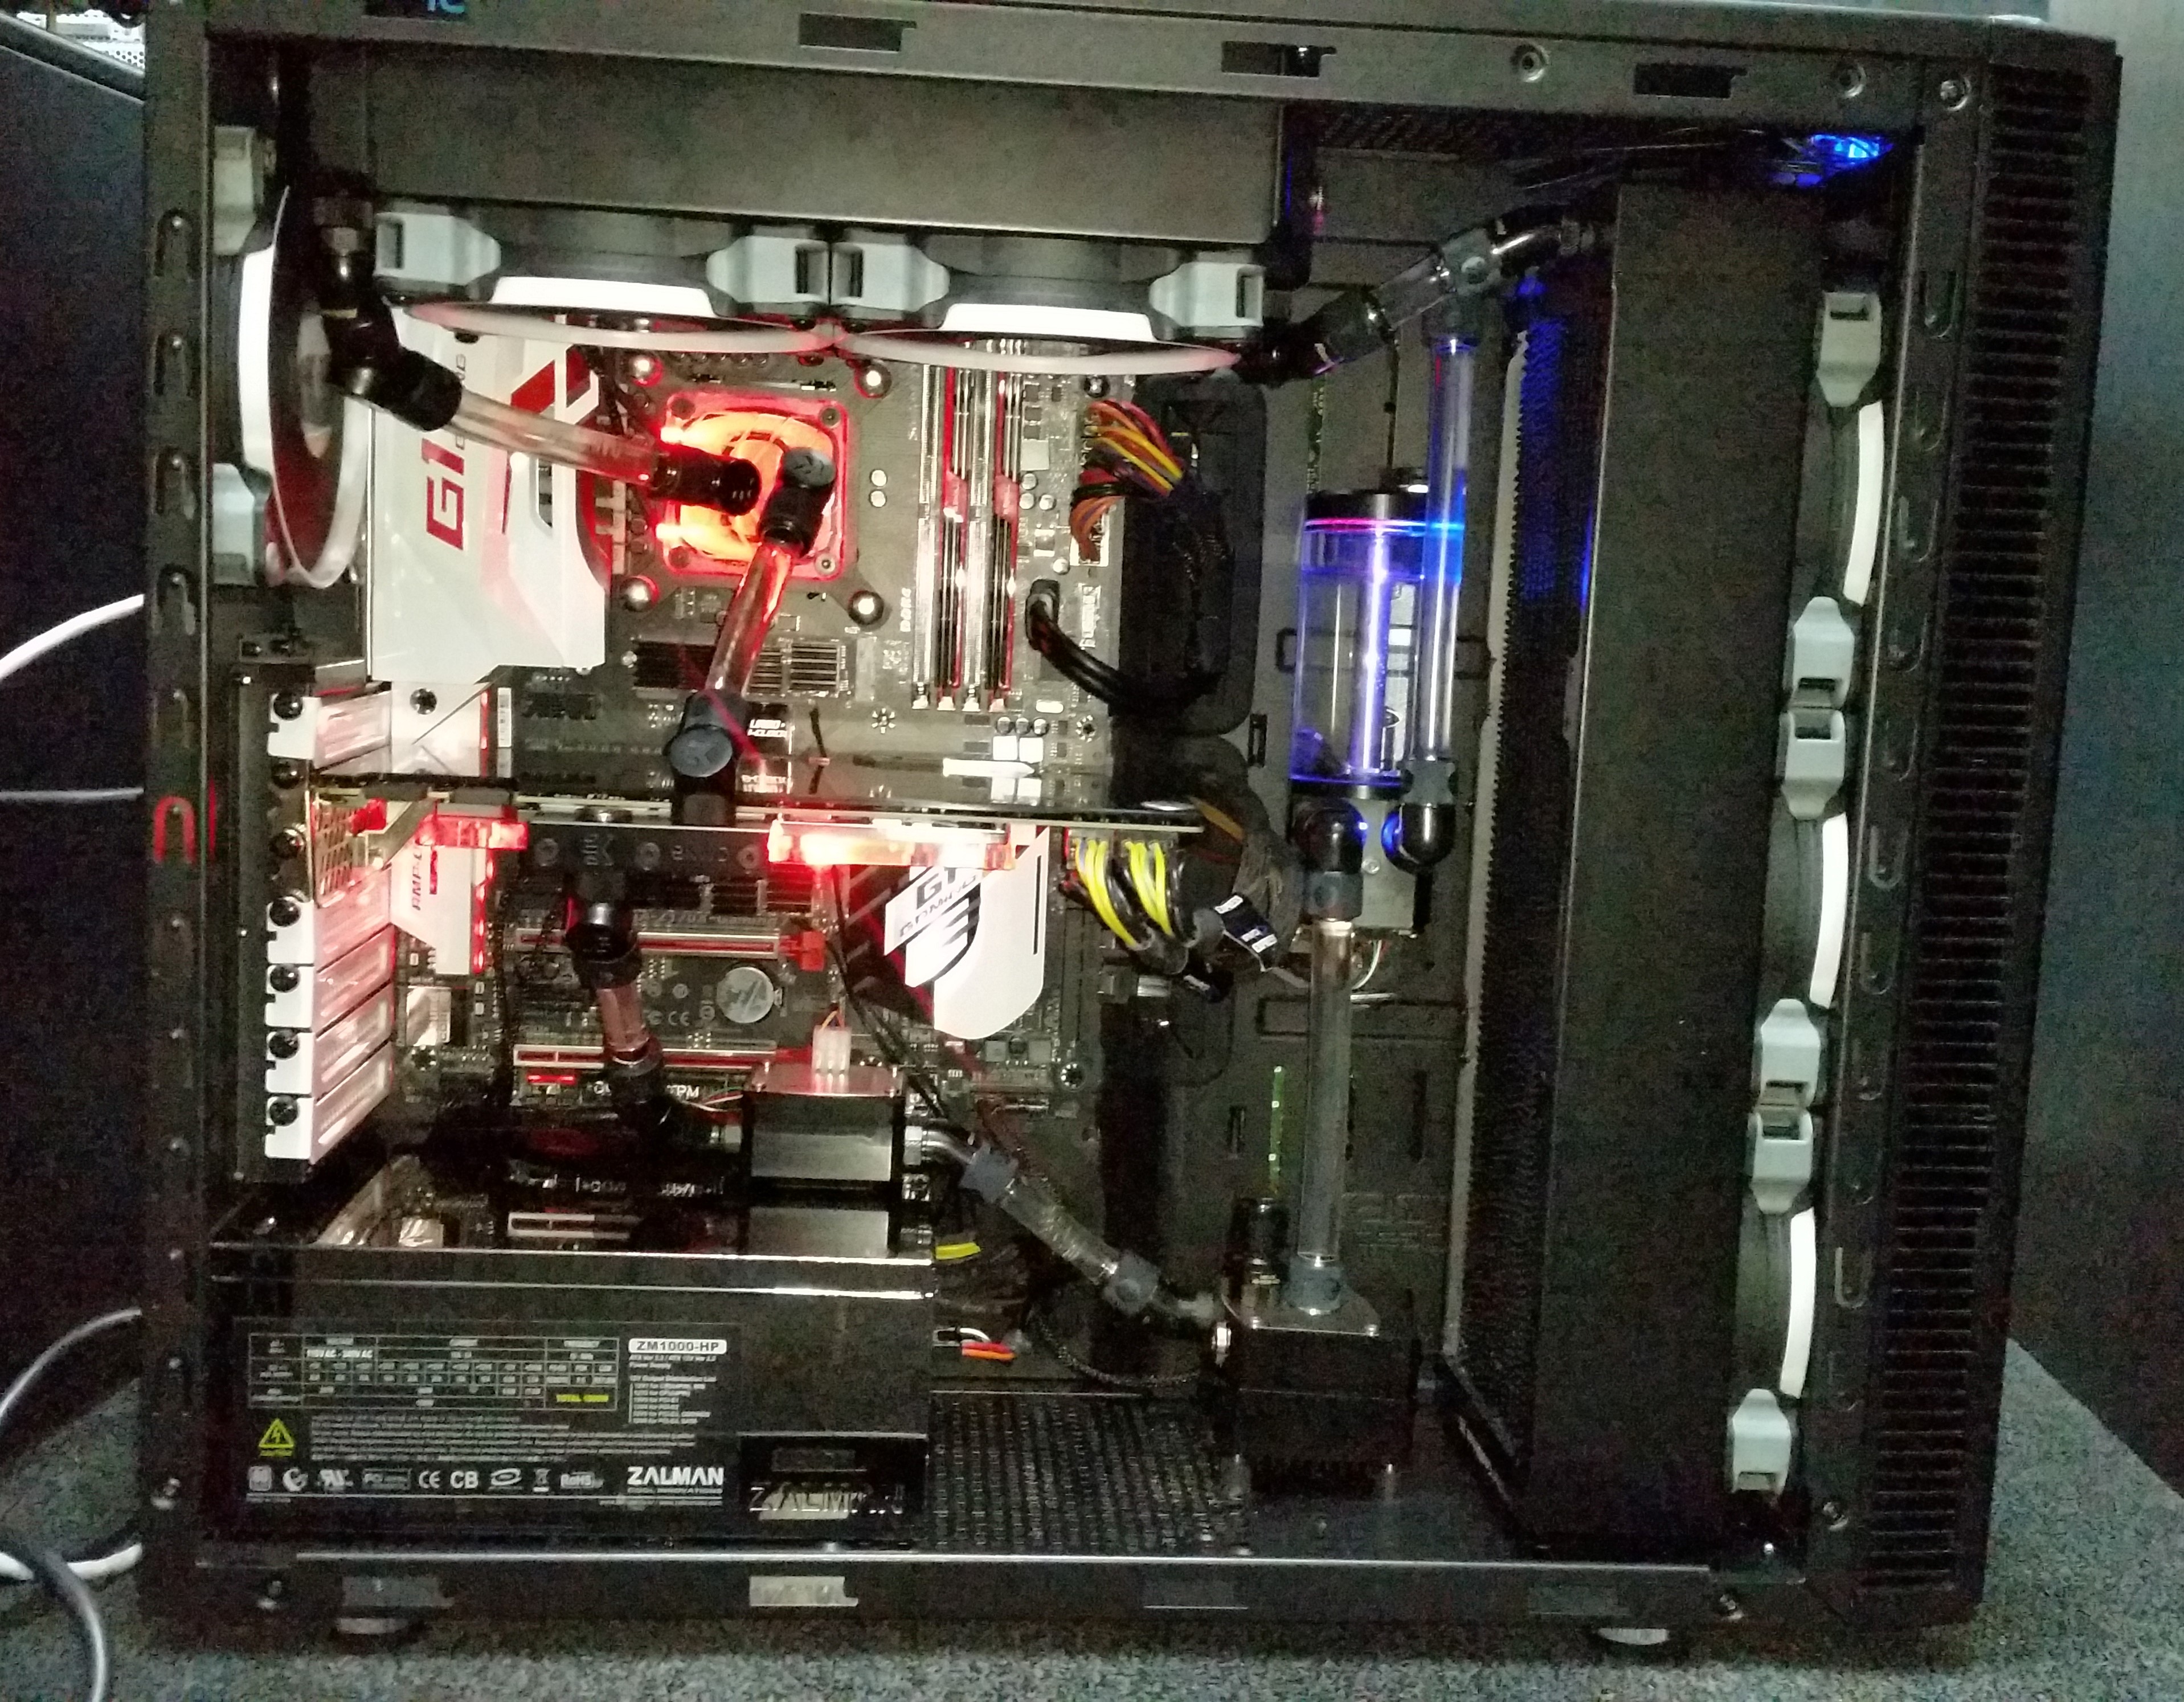
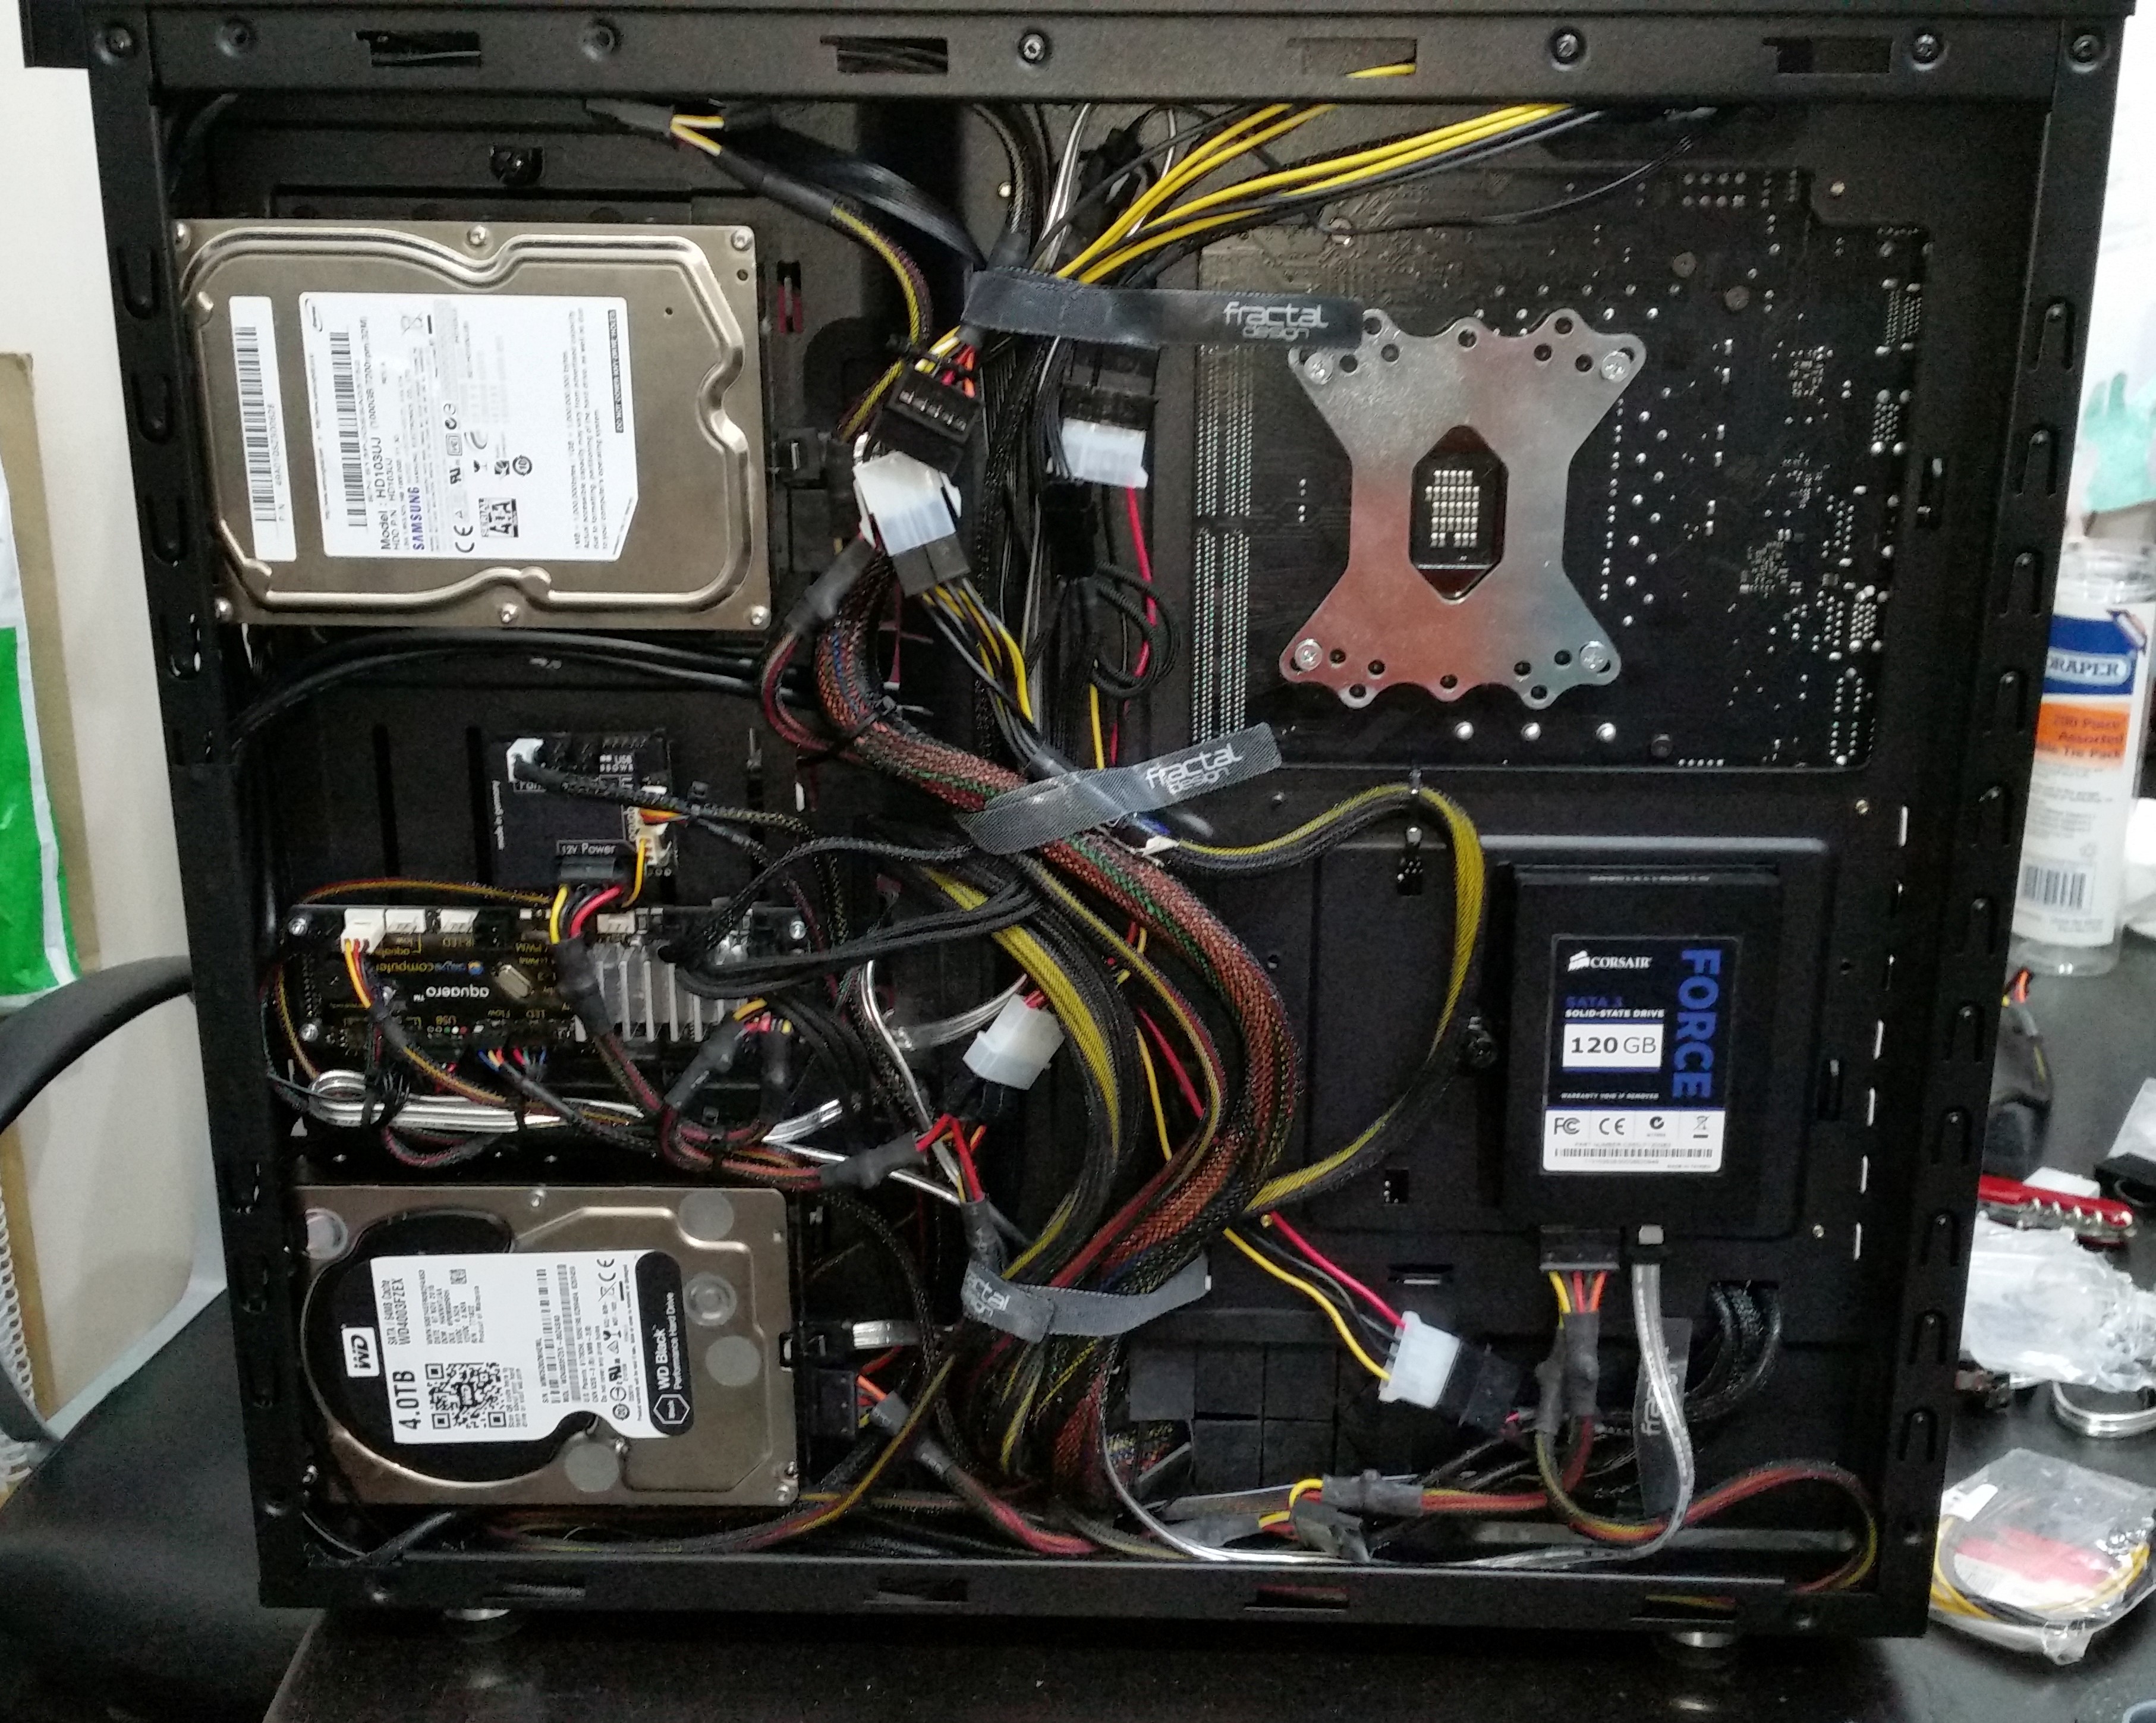
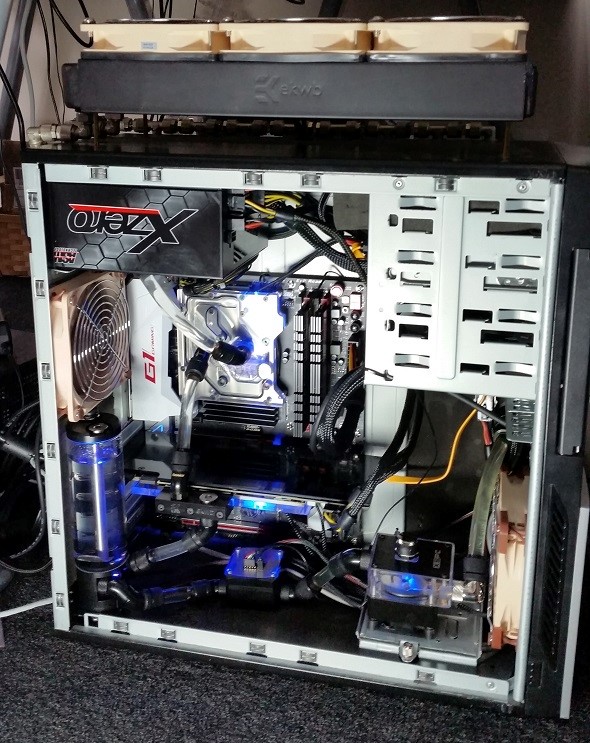
These are pics of the current rig back and front. I'm not sure why it won't embed the smaller image but it is clickable to a full-size pic. If someone can tell me why it won't let me display the image I'll sort it out - it could just be referencing an http image on an https page.

Well, hope this is of some interest. It's rather wordy at the moment but I'll try to get it more picture-oriented once actual stuff starts to turn up! (and I work out how to get it embedded properly).
Gareth
So I've been chatting about it with OJ46 by polluting his excellent build log (see page 9) and he's either inspired me or led me astray - we'll see which as this progresses. Basically OJ, it's all your fault
So what's the plan and why? Well, I've got a relatively old case that's entirely unsuited to watercooling but has been bent to my will. It started off with eight Alphacool Cape Cora's mounted externally and then had an EK 3x120 rad mounted unceremoniously on the outside of the roof on stand-offs. Now with a 980Ti and a 4GHz Skylake it gets a bit hotter than I'd like when gaming and I'm too stubborn to ramp the fans up from relatively silent
I'm drawn to the Phanteks Enthoo Evolv ATX. My local storage is all M.2 SSDs and any more is iSCSI so I don't need the entire front of the case lined with disk cages. I want a bit more space in the case and I want it clean and tidy. Currently I have lit stuff like the res, GPU and CPU blocks....but I have no window so it's kind of pointless.
I know this case only has room for a 3x120 and a 2x120 which isn't really an upgrade....but I reckon it'll have room to slap a Mo-Ra 420 on the side if I'm lucky
I don't really have any pictures of anything at this stage and I'm more of a suck-it-and-see style builder than a sketch-up artist so it's entirely possible that this whole thing could just fail horribly....but such is the way of things. OCUK will be getting an order for a case in a sec so I can start there. Once I have it I can assess (read make wild assumptions and hope it pans out) whether I can mount the rad on the off-side side panel (the one without the window) or even whether it's possible to mount the rad in place of the side panel without making a horrible mess of it.
So the to-do list is this:
- Will it
blendhang? The weight of the rad could just be too much. - Is it possible/better to mount the rad instead of the side panel?
- Could some hybrid side-panel/rad door mash-up be made so that the rad is hinged onto the case but the front of the side panel is bolted on the front so the case looks right?
- How to get QDCs installed so the side-panel/rad can be opened?
- Should it be 9x140mm fans or a conversion plate to mount 4x230mm beasts and if so are they too thick to then mount a fan guard?
- Would it be a crime not to take the opportunity to go hardline? OJ46 thinks so....so that's my easy life out the window!
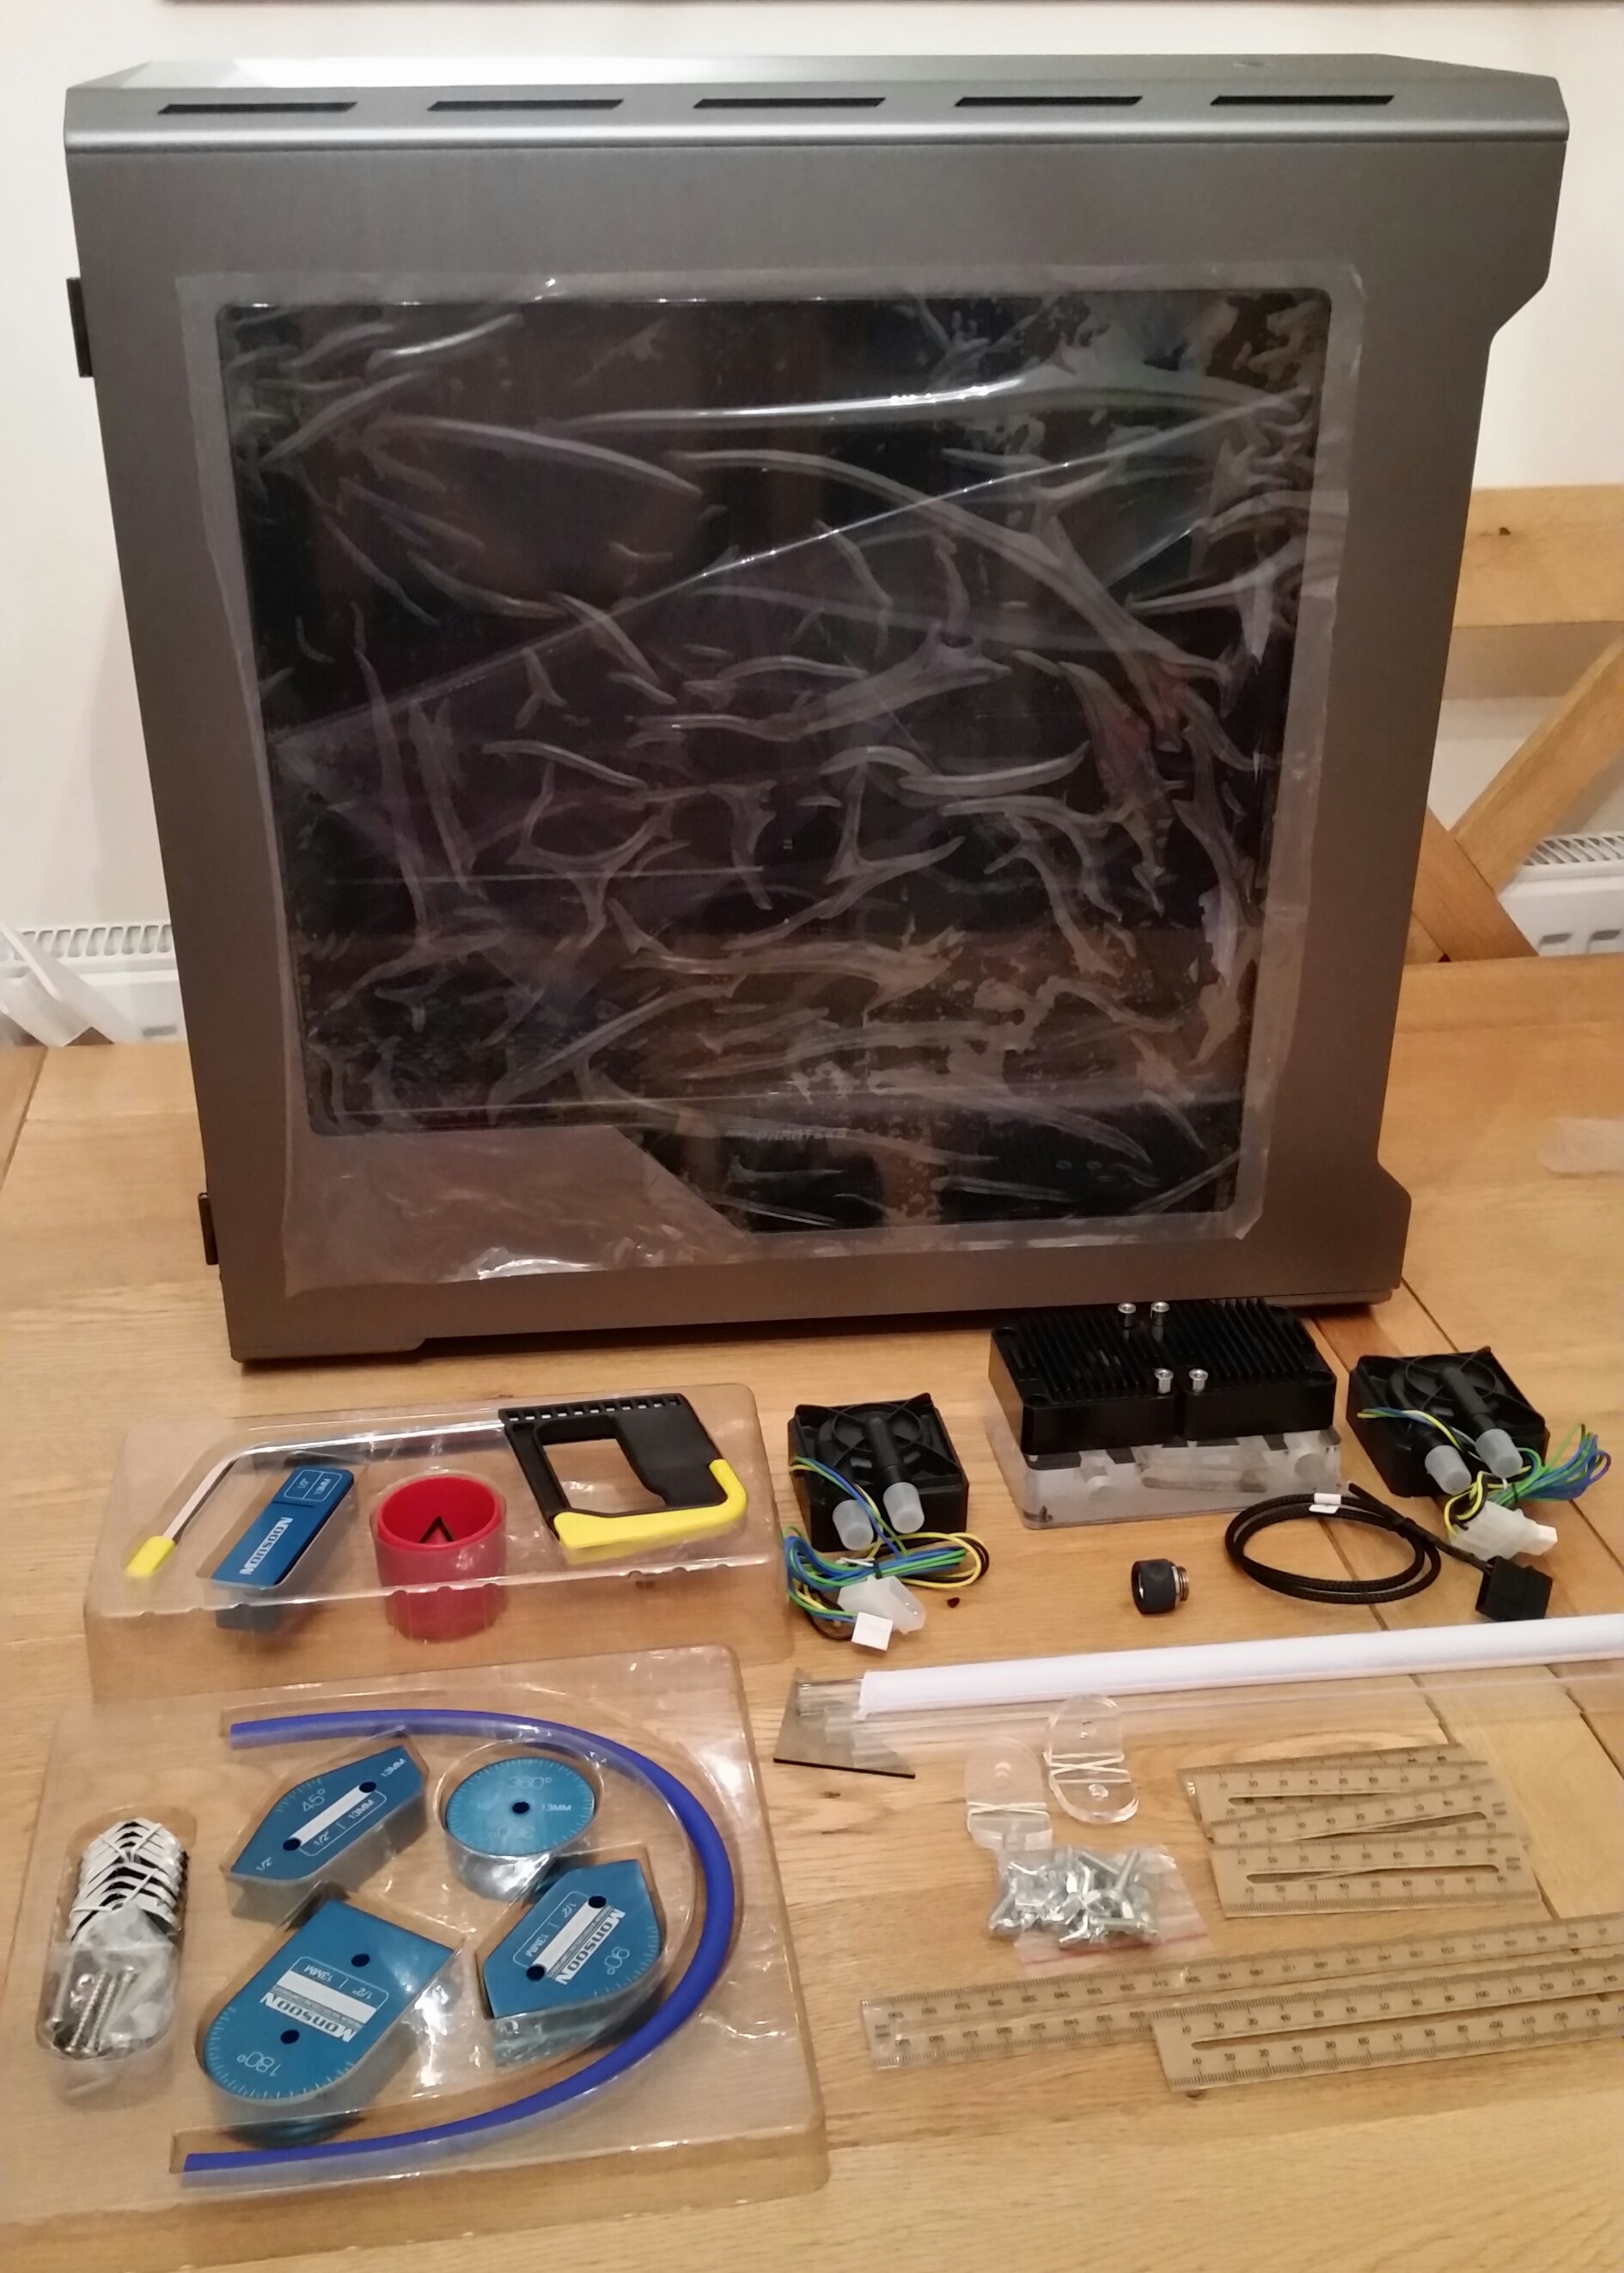
Spec:
- Gigabyte GAZ170X-Gaming 7 Motherboard
- EK Monoblock
- Intel 6700K at stock but turbo turned up (currently at 4 x 4.4GHz).
- 2x8GB Team Group Xtreem DDR4 @ 3733MHz
- Inno3d Airboss x3 but stripped and blocked
- Pair of Samsung 950 Pro 256GB M.2 SSDs in RAID 0 with custom heatsinks.
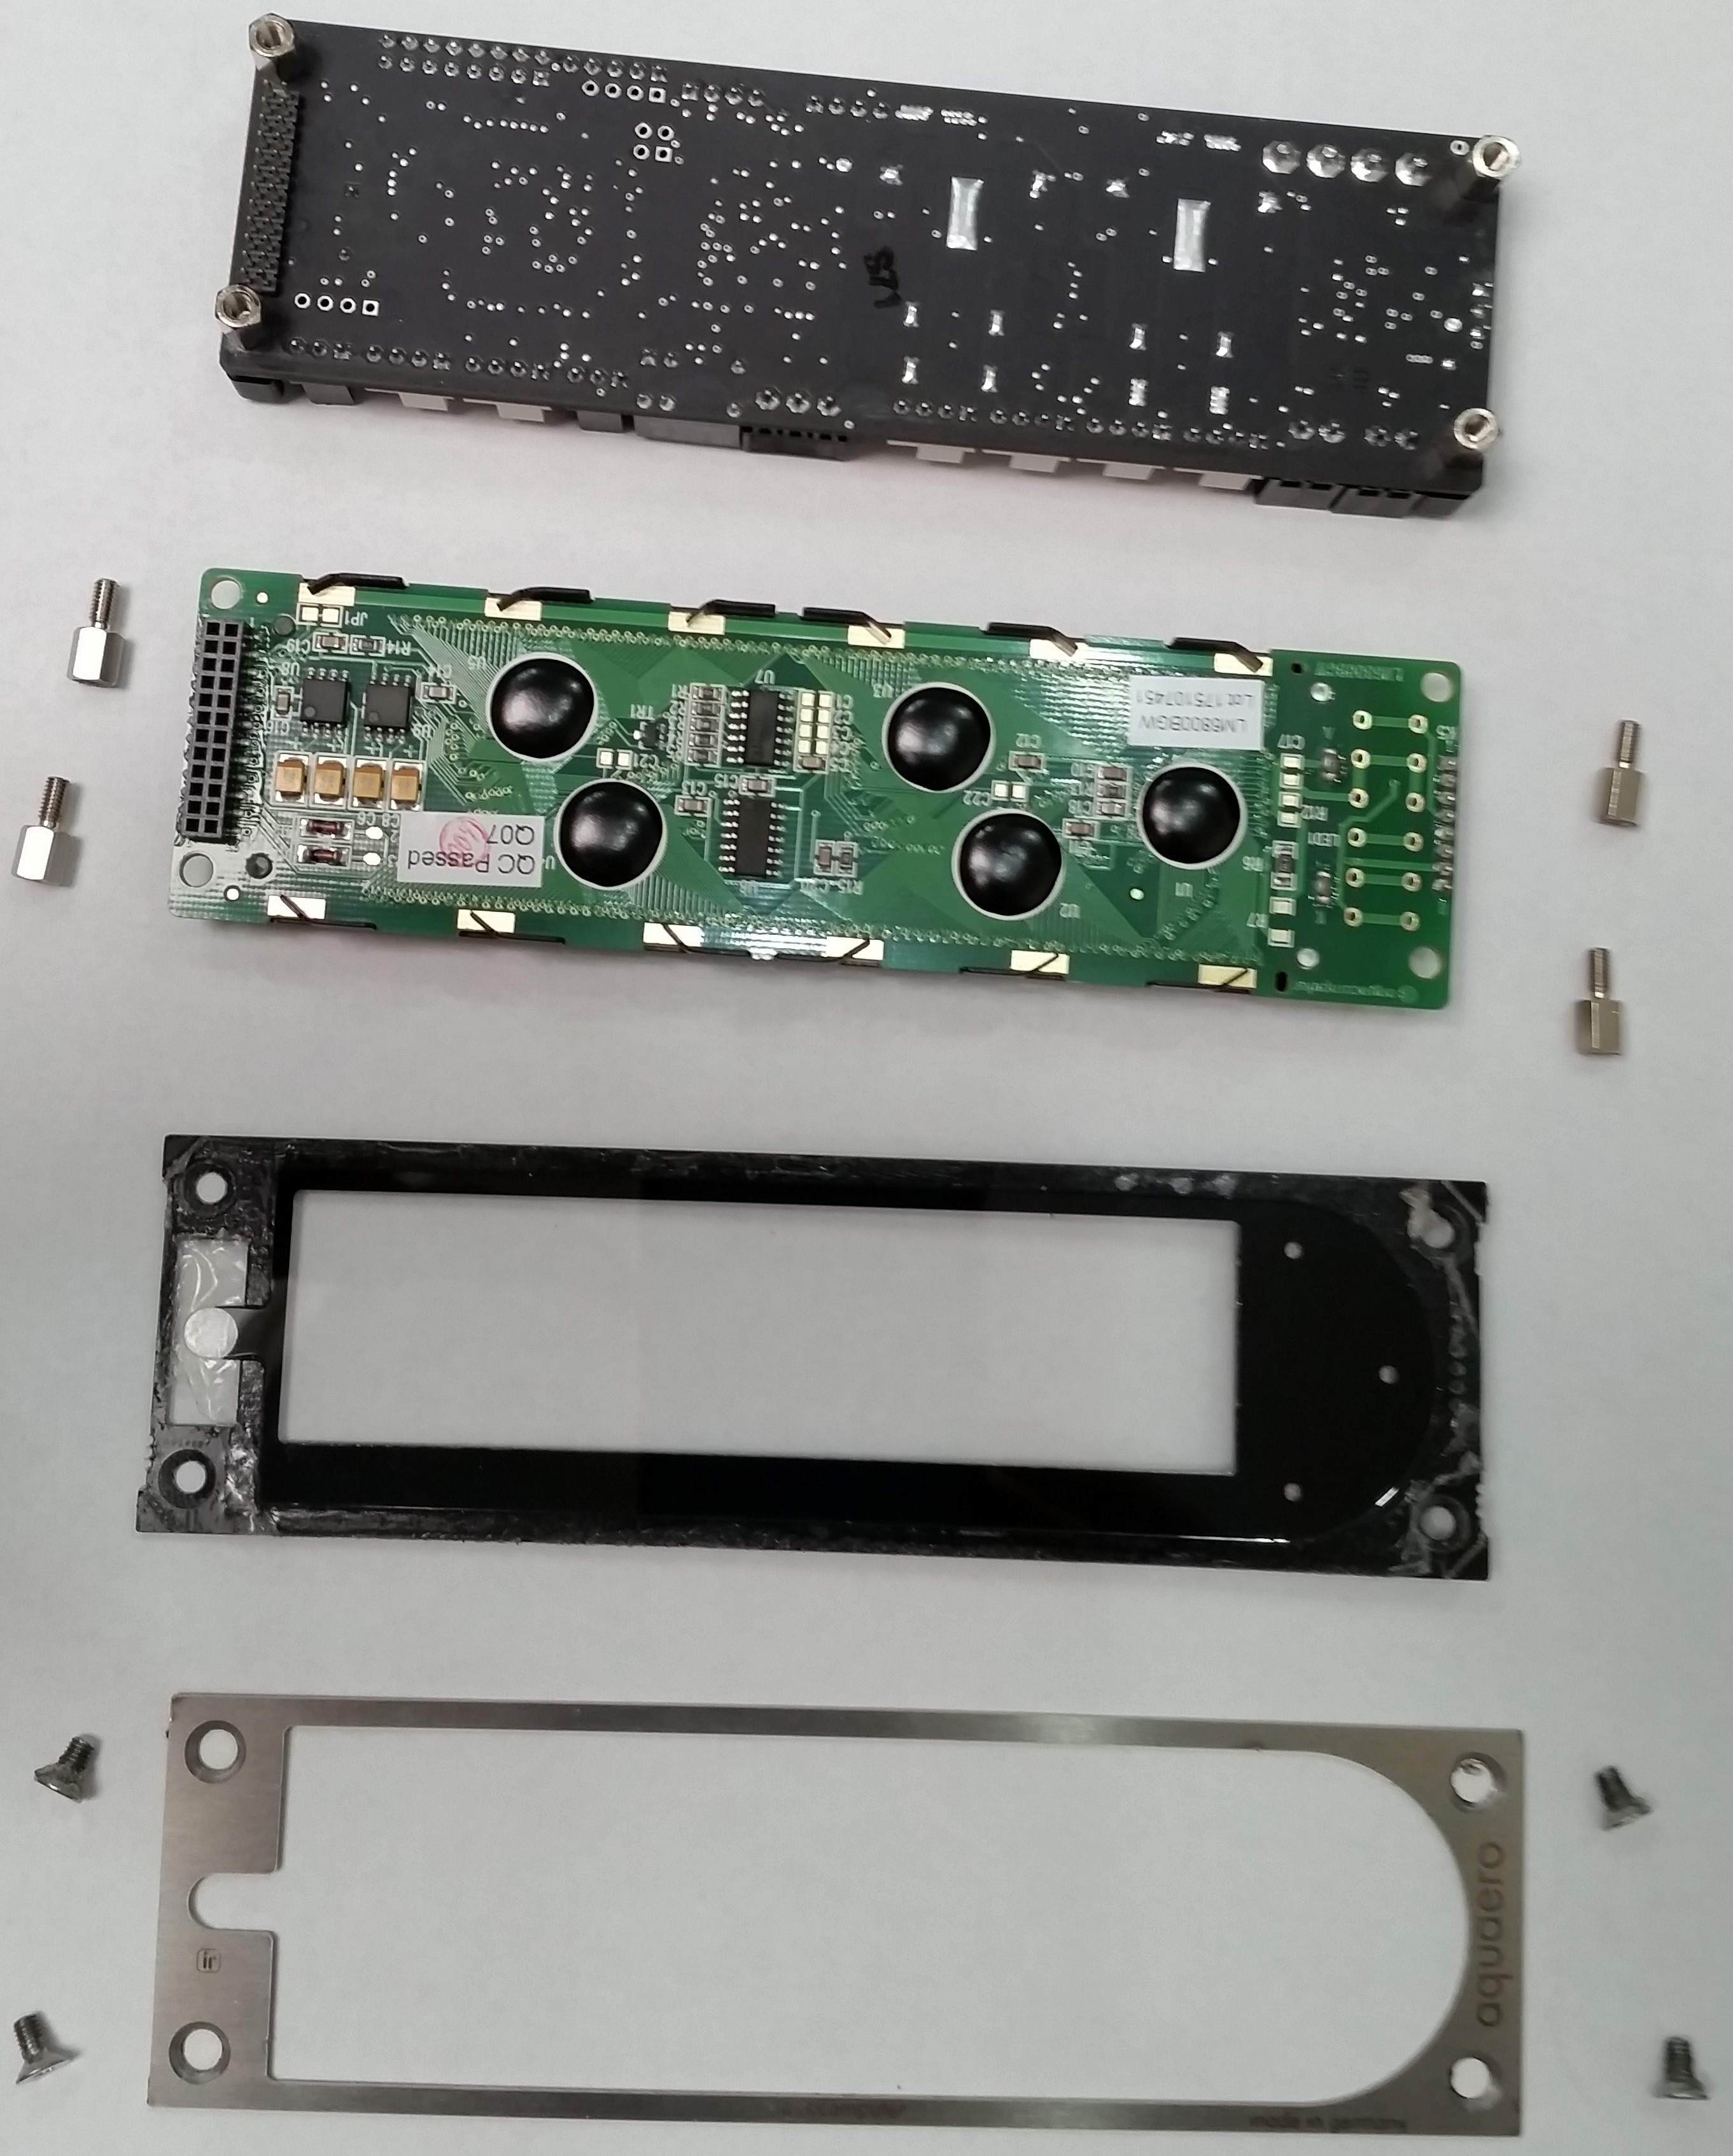
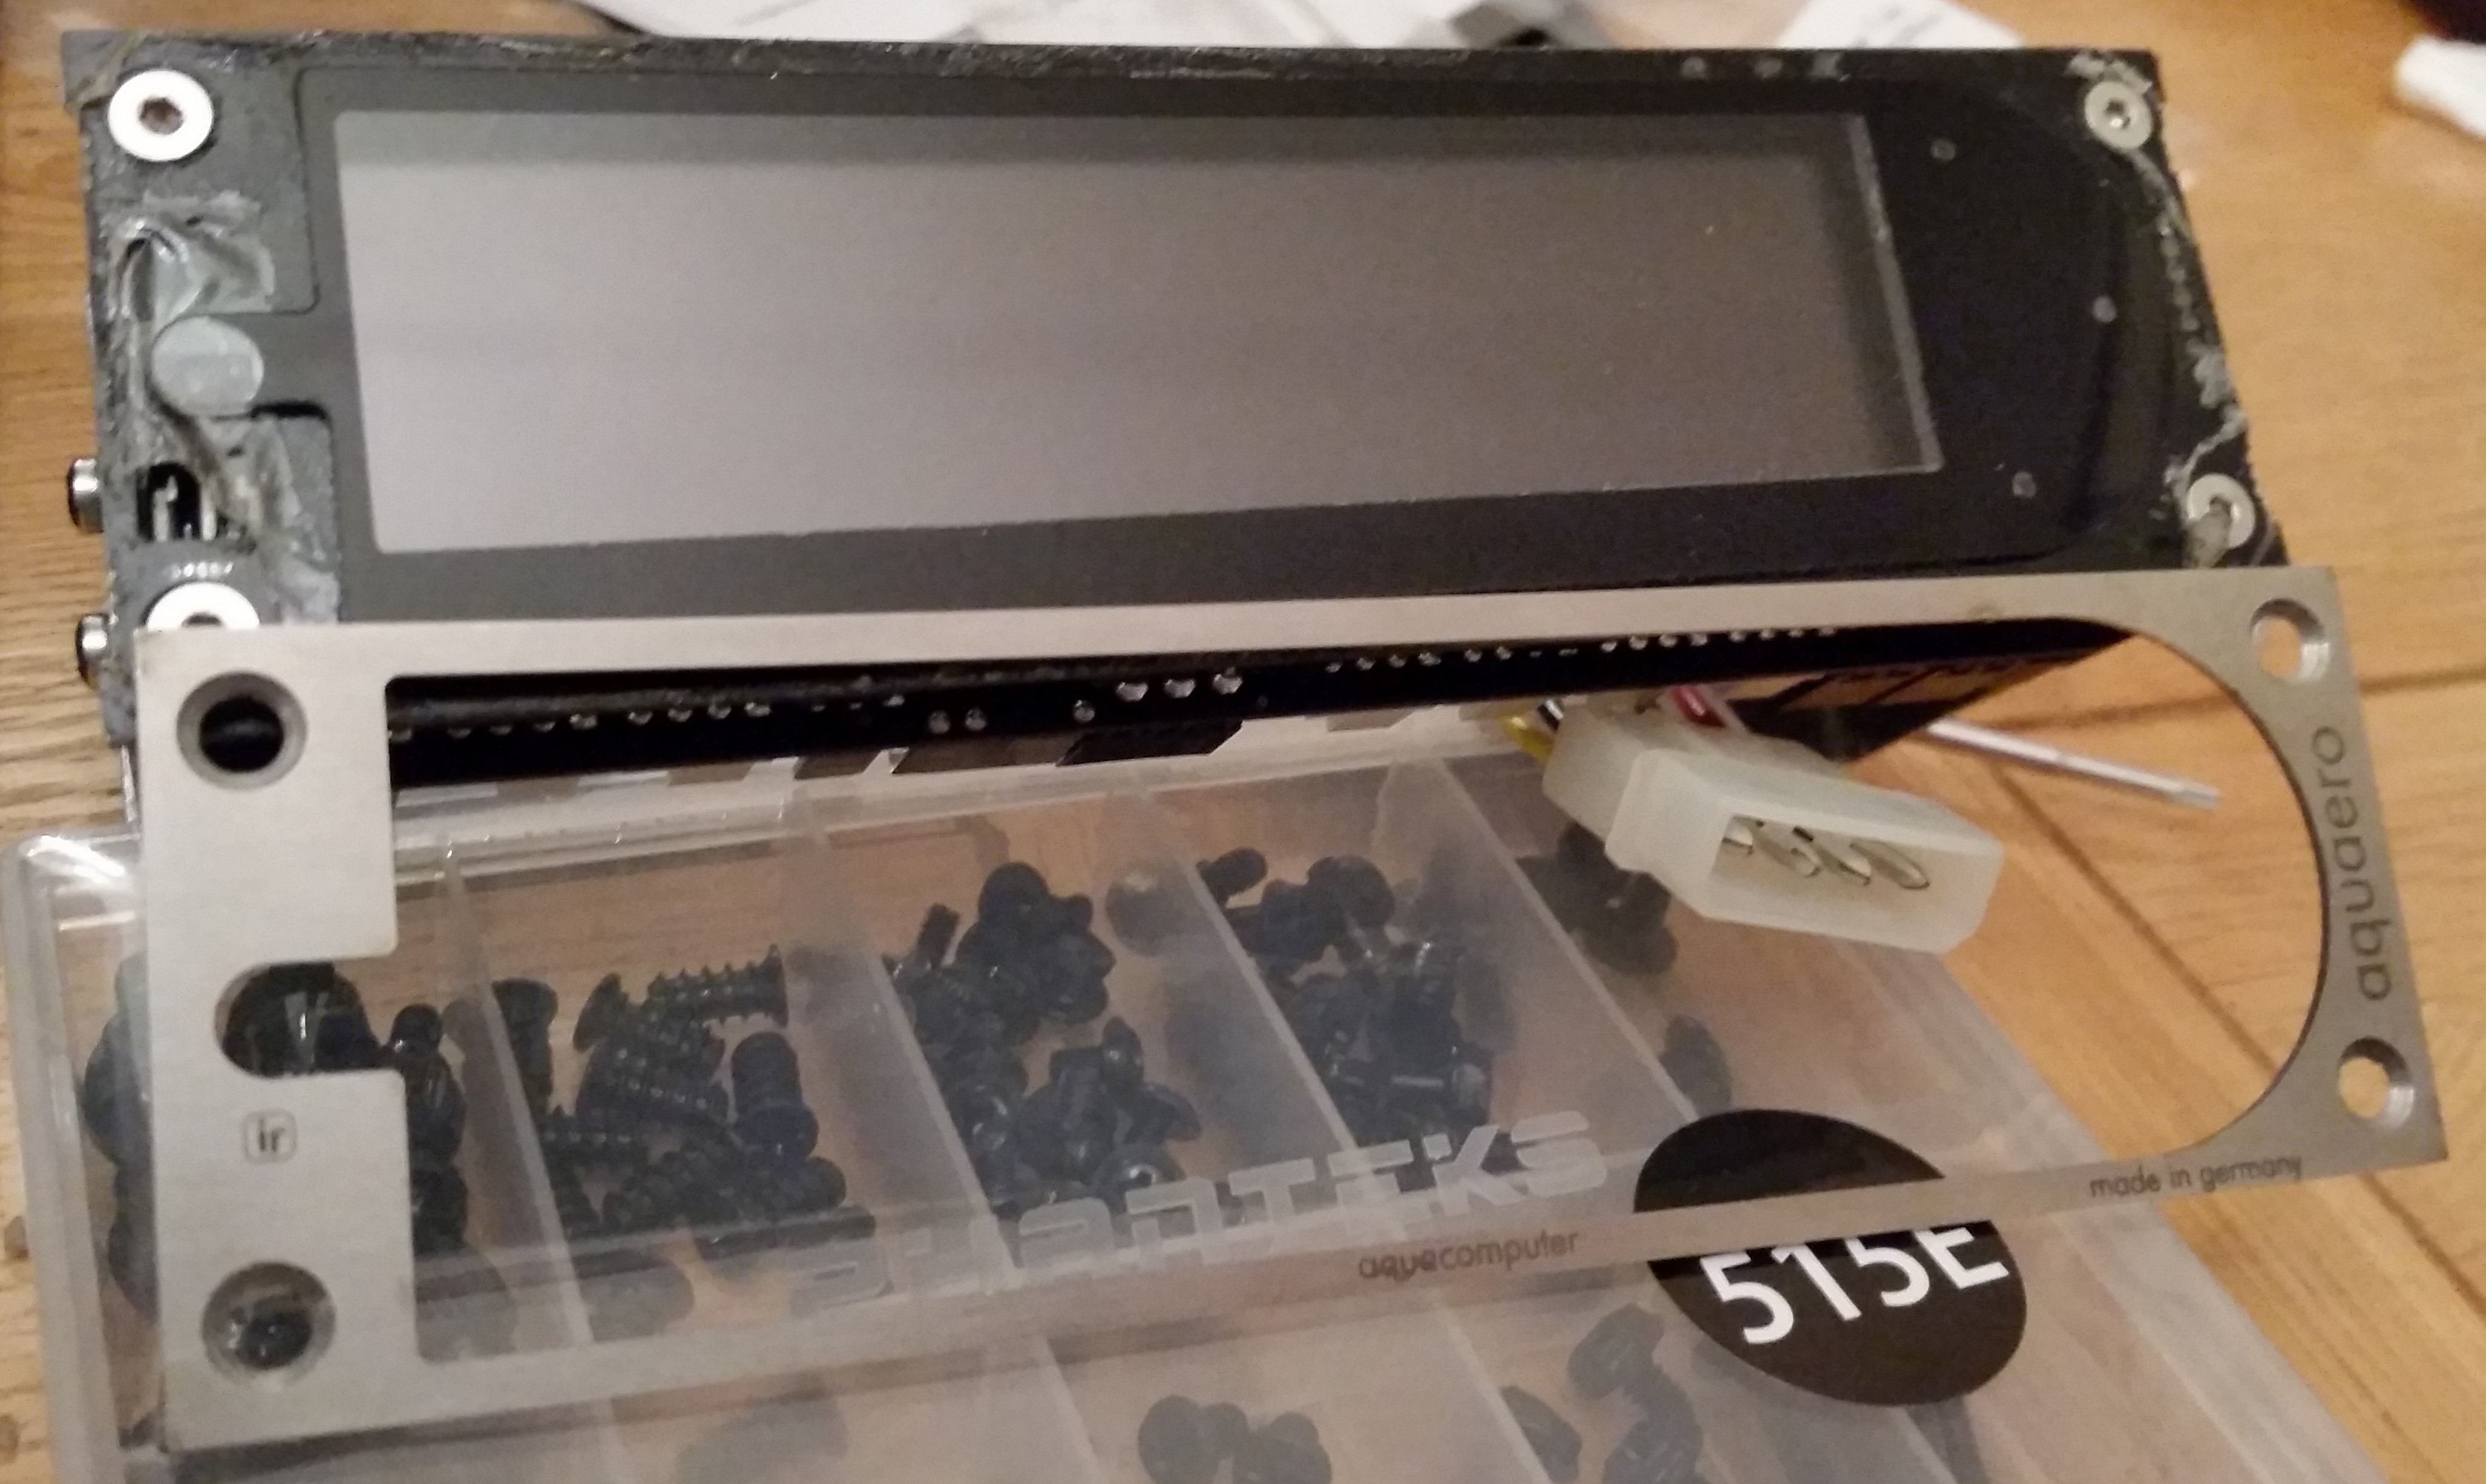
- Aquaero 6 XT with redheatsink (black wasn't available at the time)
- Aquacomputer Flow Sensor
- Aqua Computer Aqualis XT 150ml with RGB LED fitted.
- Pump is a DDC with heatsink and XSPC top... but I think it may have to be uprated to a dual DDC with twin heatsinks!
These are pics of the current rig back and front. I'm not sure why it won't embed the smaller image but it is clickable to a full-size pic. If someone can tell me why it won't let me display the image I'll sort it out - it could just be referencing an http image on an https page.

Well, hope this is of some interest. It's rather wordy at the moment but I'll try to get it more picture-oriented once actual stuff starts to turn up! (and I work out how to get it embedded properly).
Gareth
Last edited:

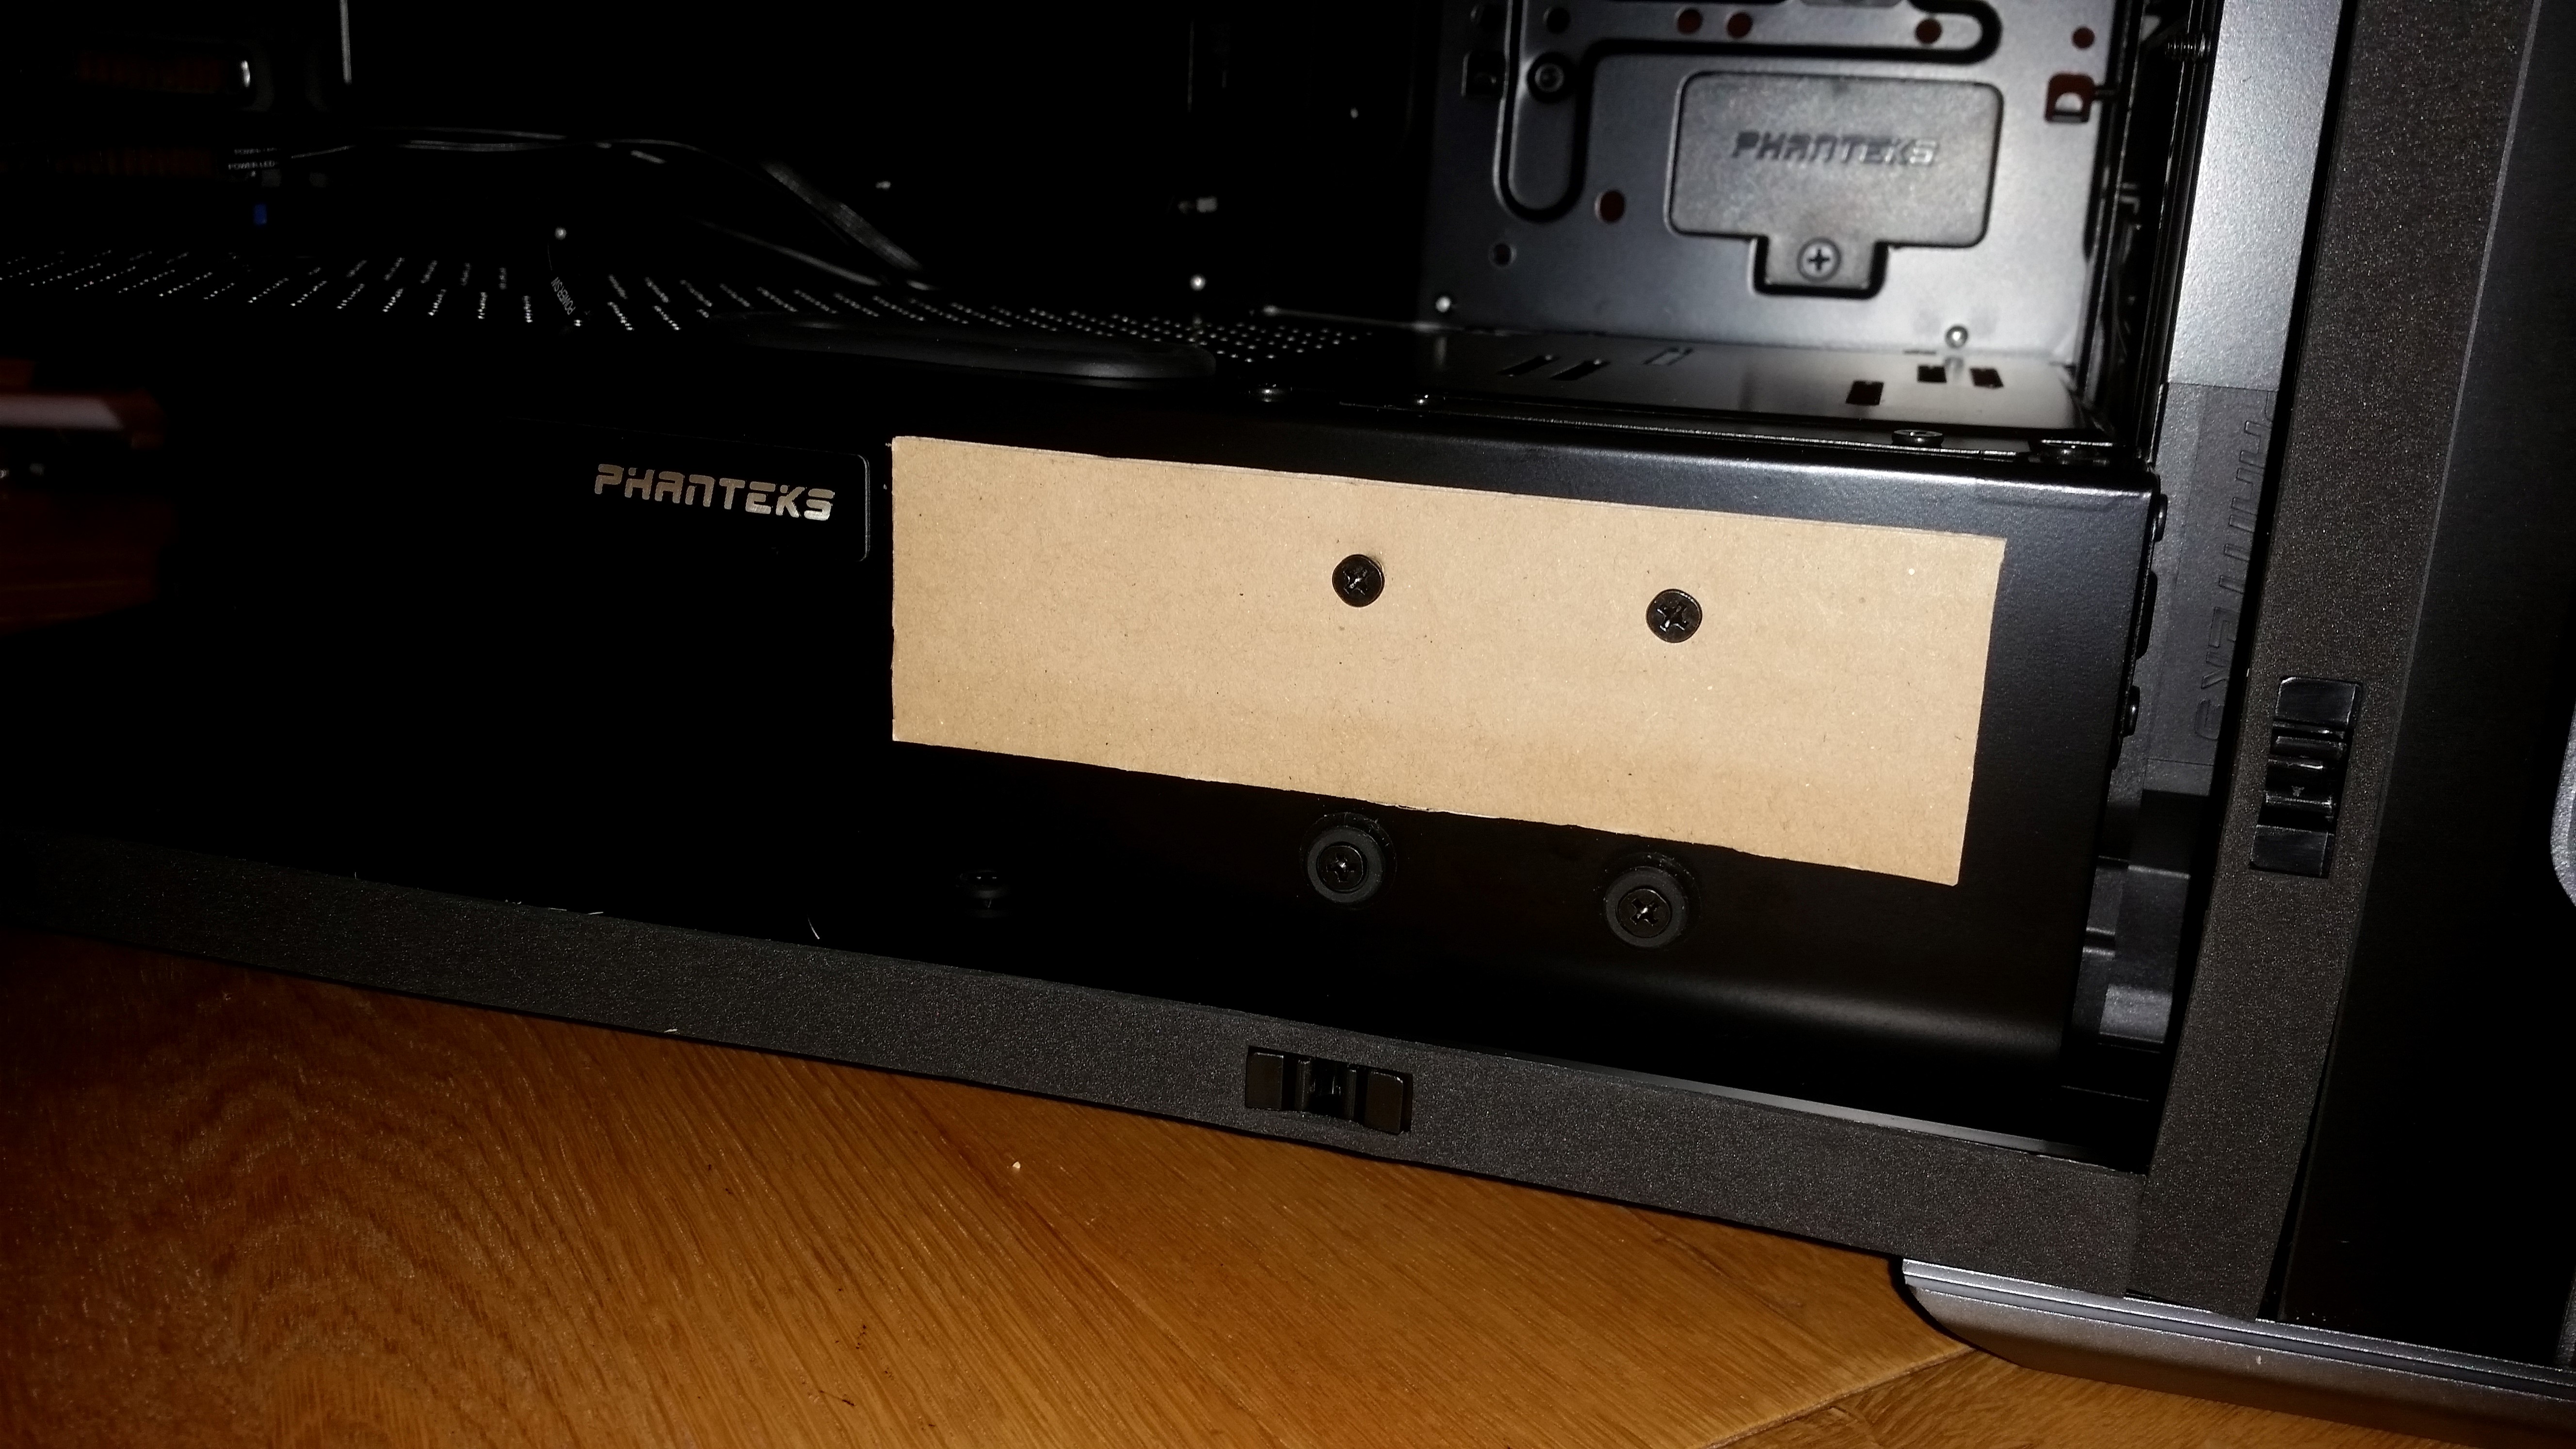


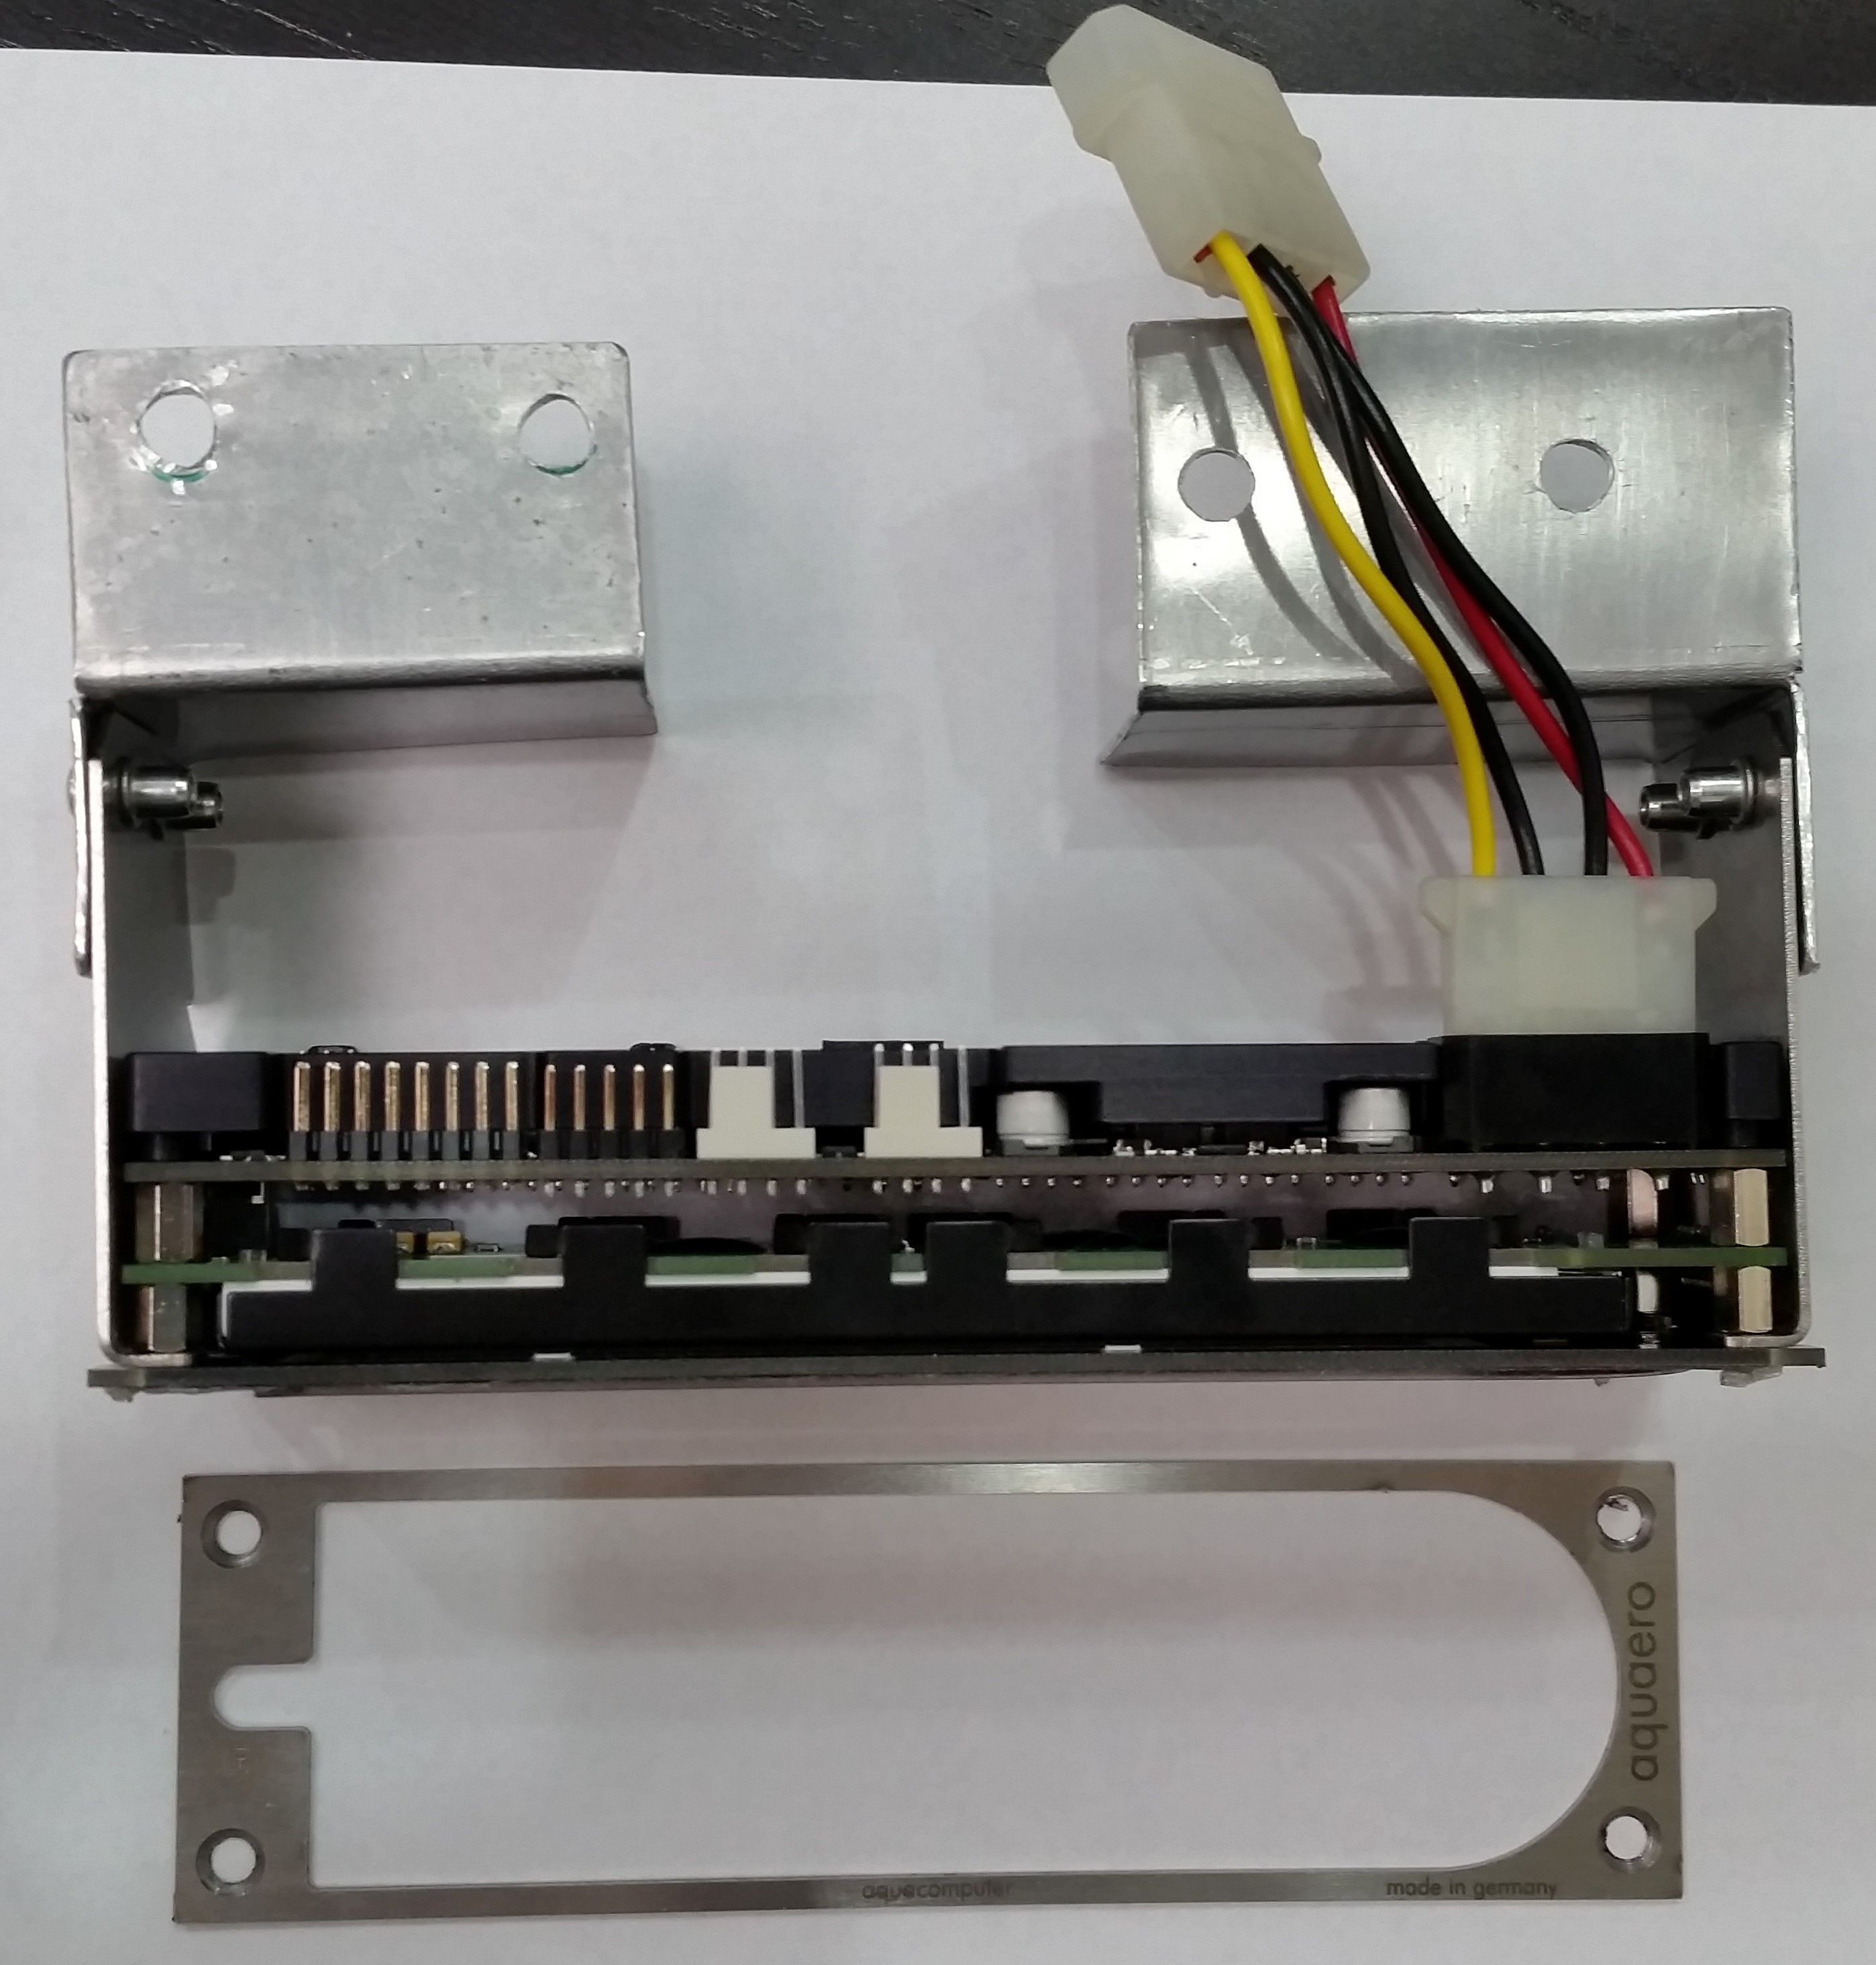
 Looks like M4x0.7 for these then and the shortest I can find are 4mm long...which is a little overkill for two 0.7mm sheets. I've ordered some screws so next is to find out whether the metal is deep enough to take a thread