

Soldato
- Joined
- 9 Jul 2008
- Posts
- 3,891
- Location
- Bristol
looking nice man ")
That is a frightening amount of work you've done on your pc there. I'm stunned for words.
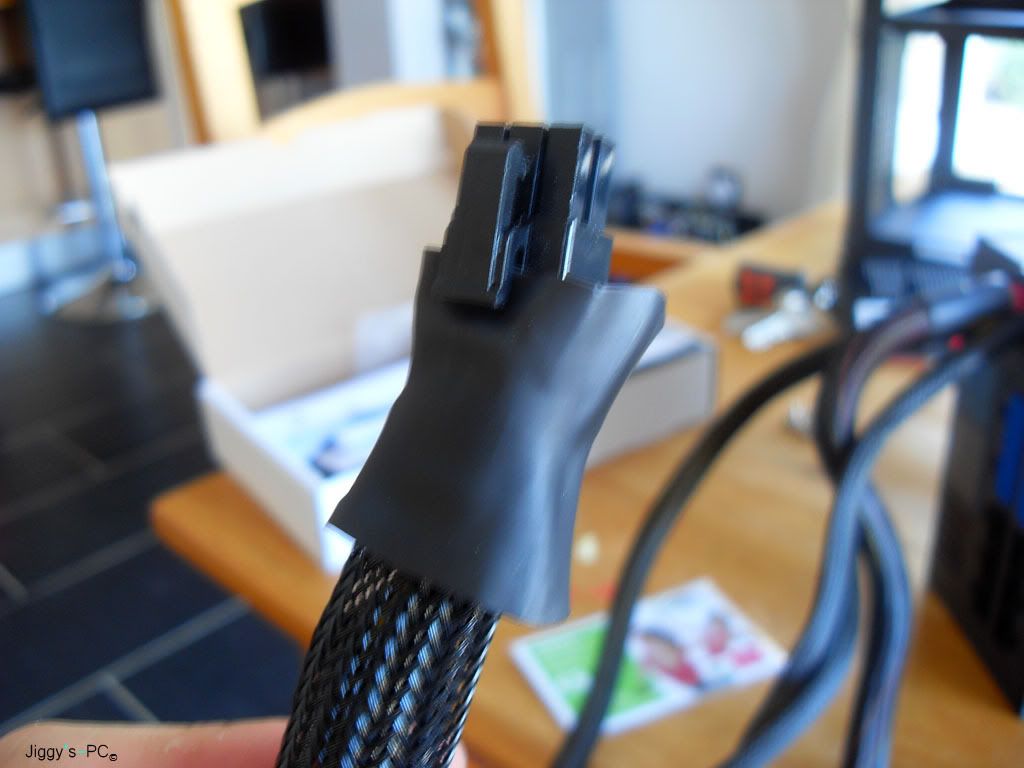
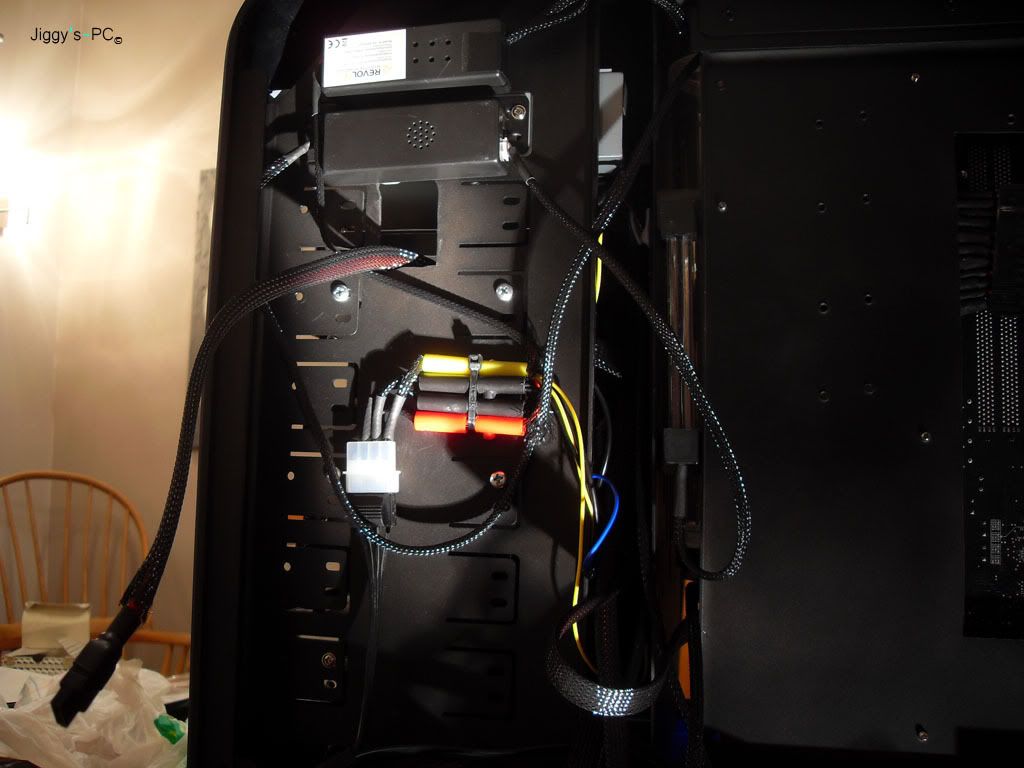
Its surprising how long little things take like sleeving a fan or routing tubing just right ")
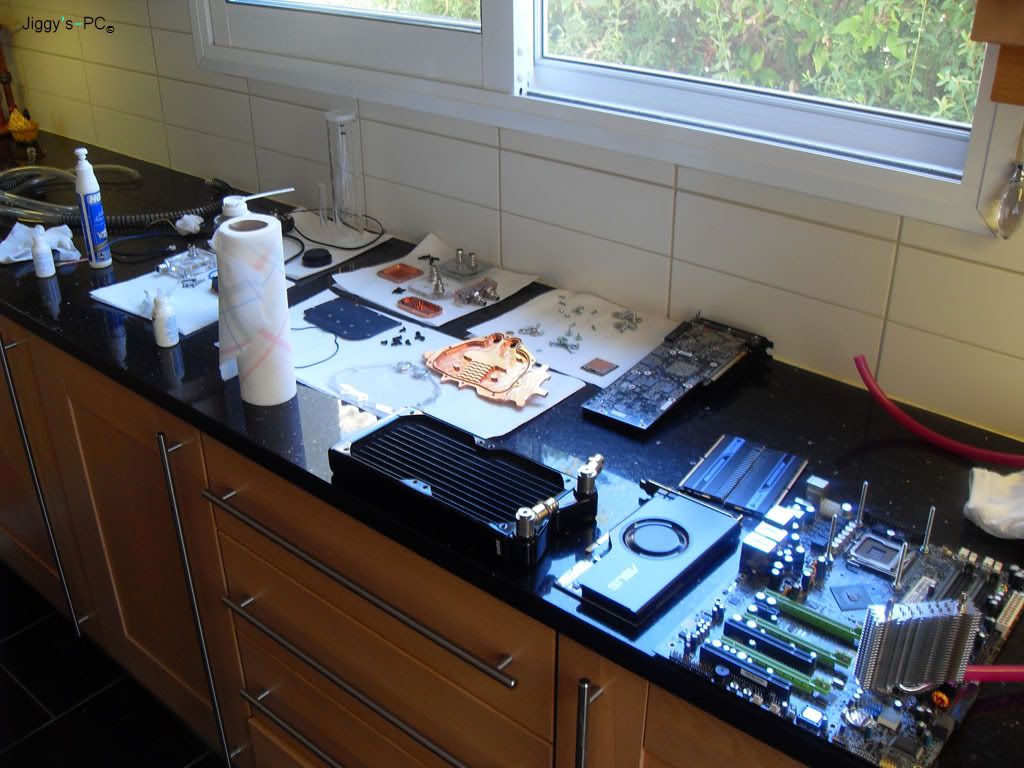
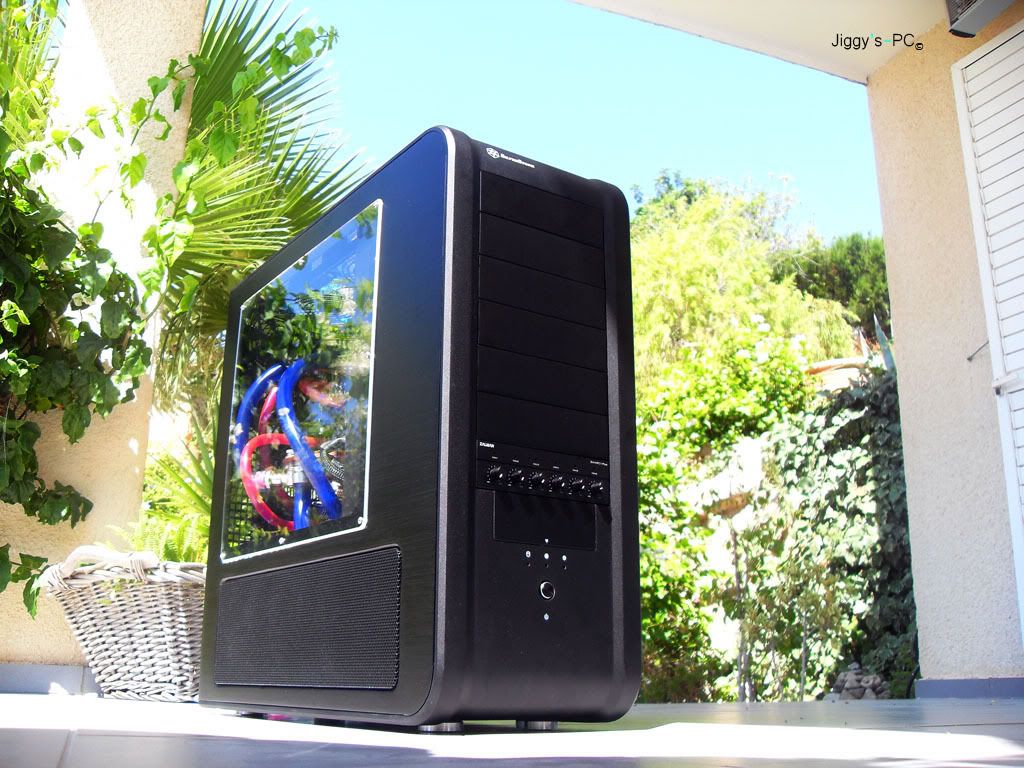
Well for a cheap family cam it gets some good photos!!
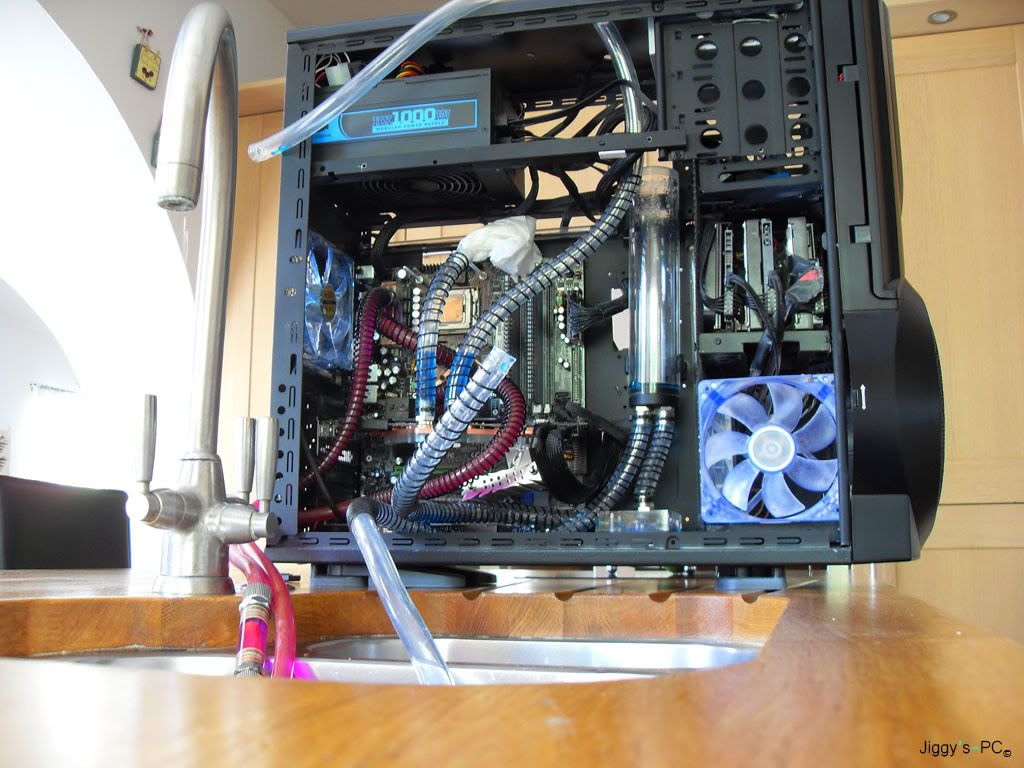
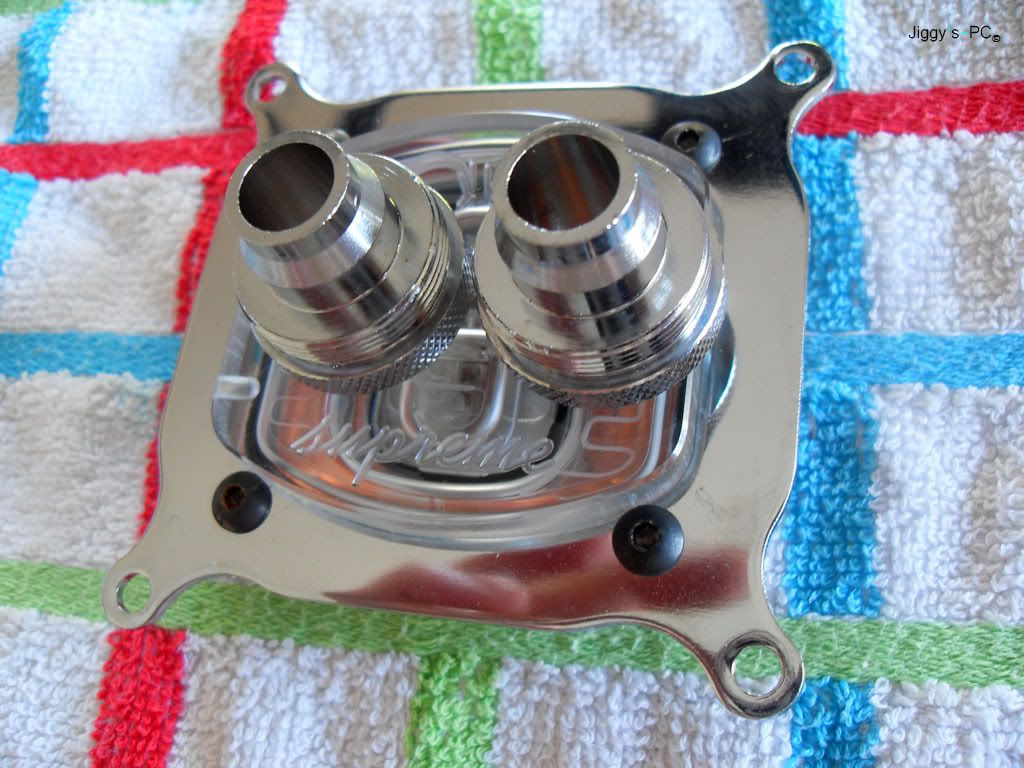
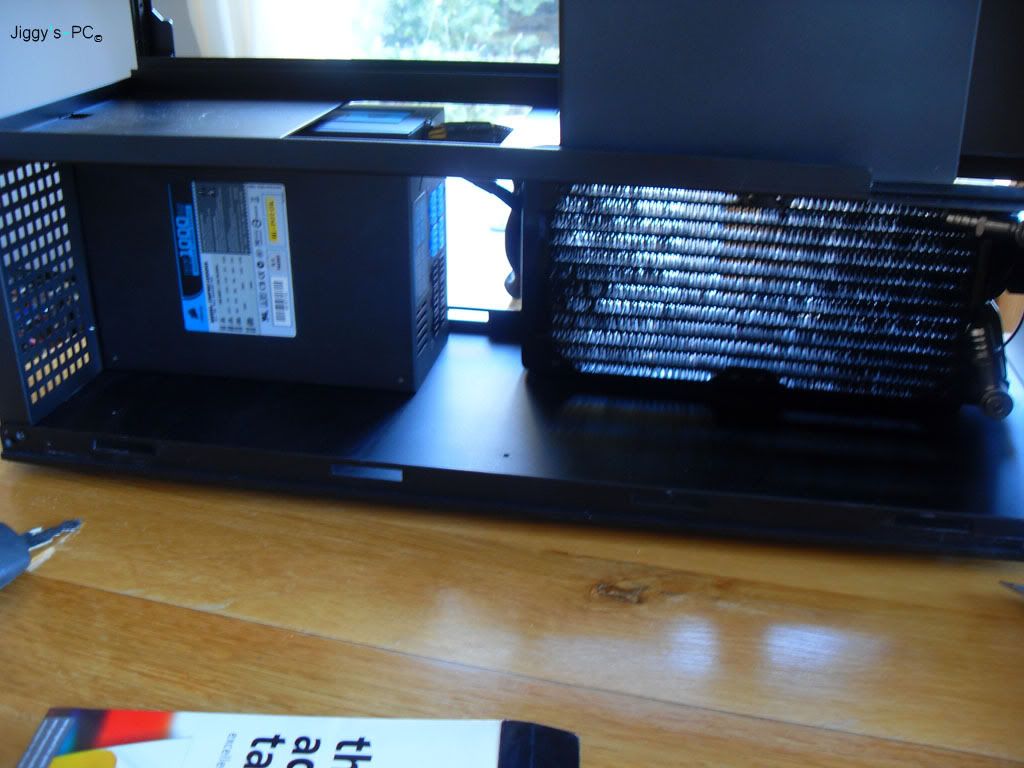
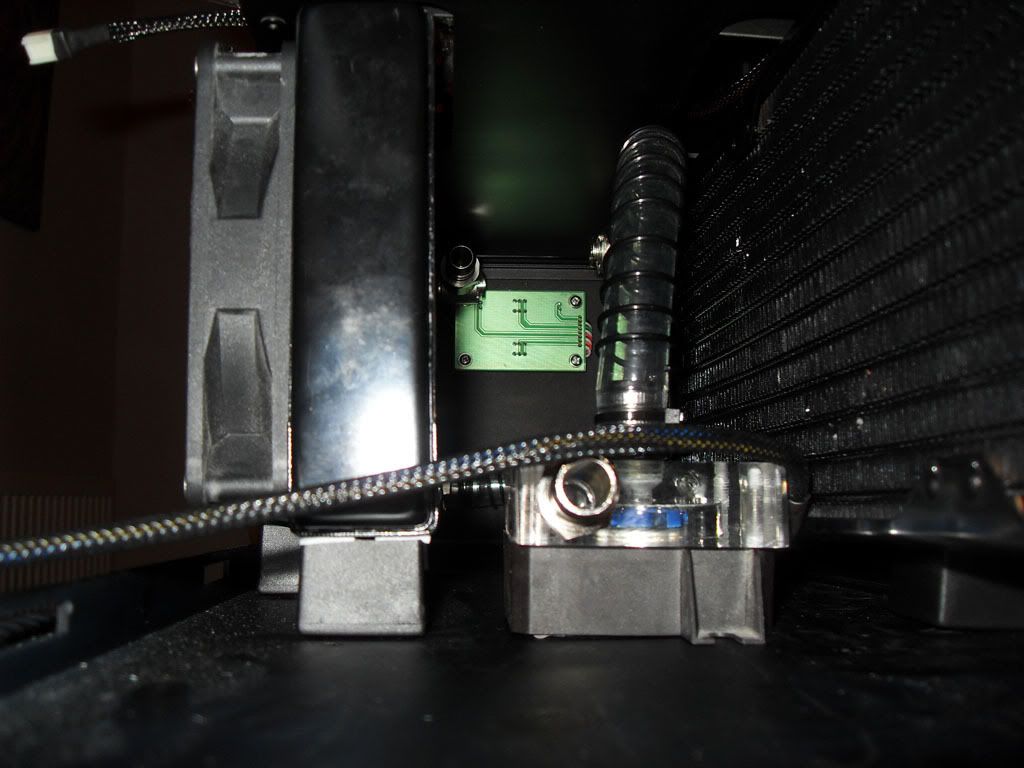
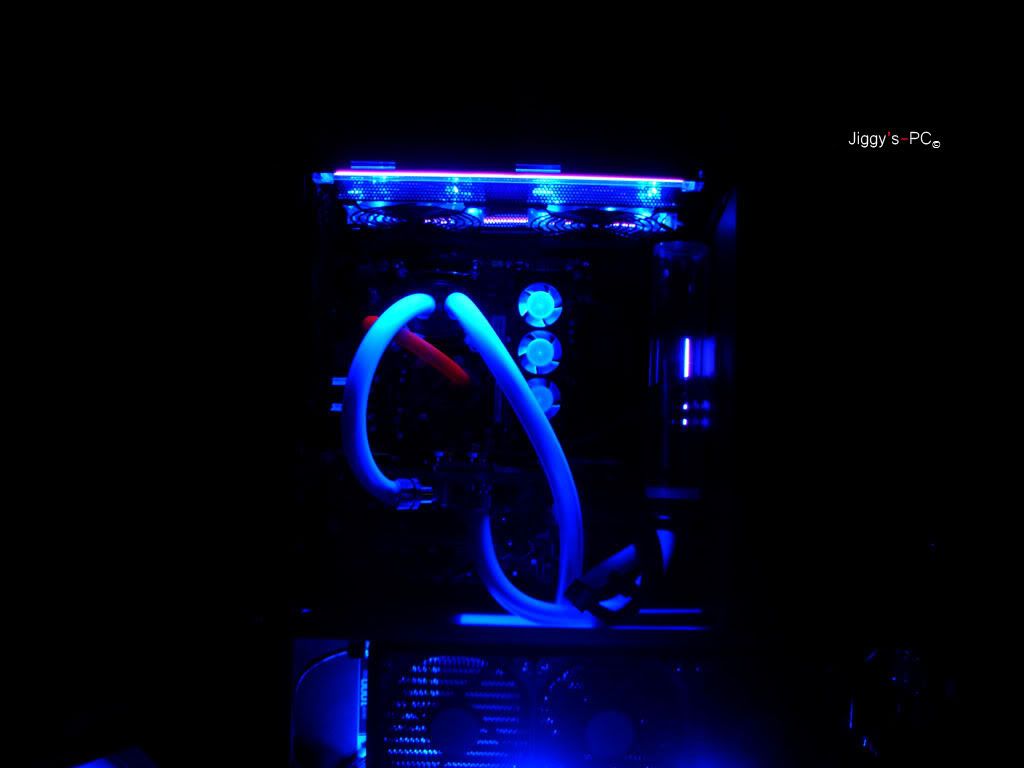
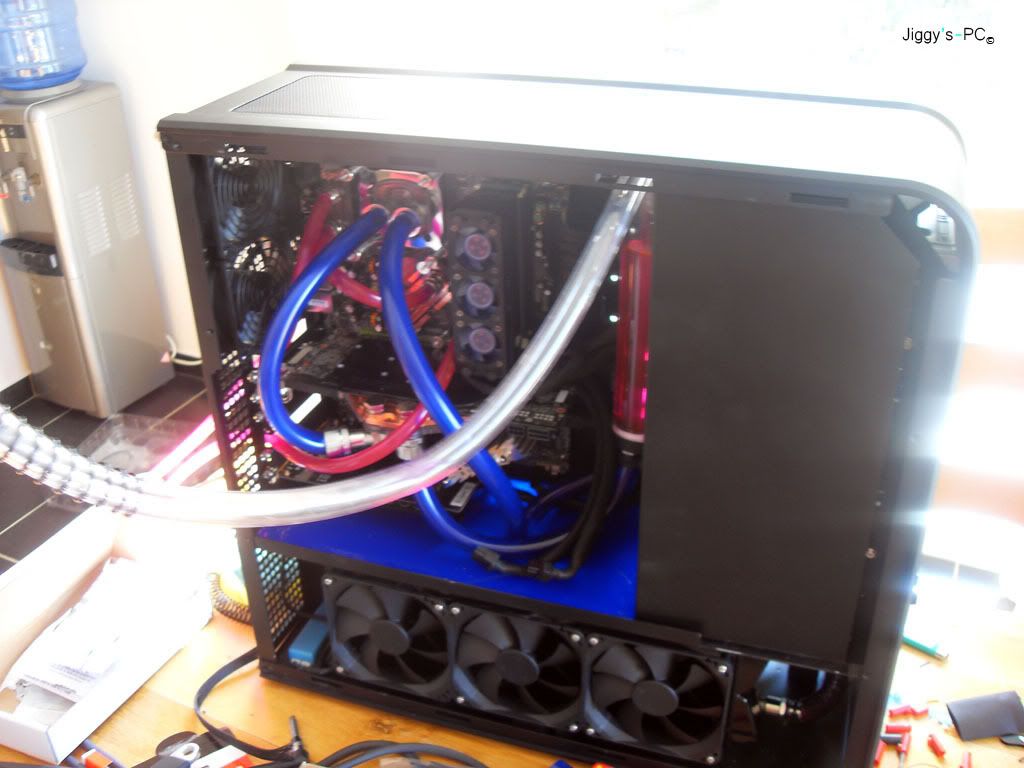
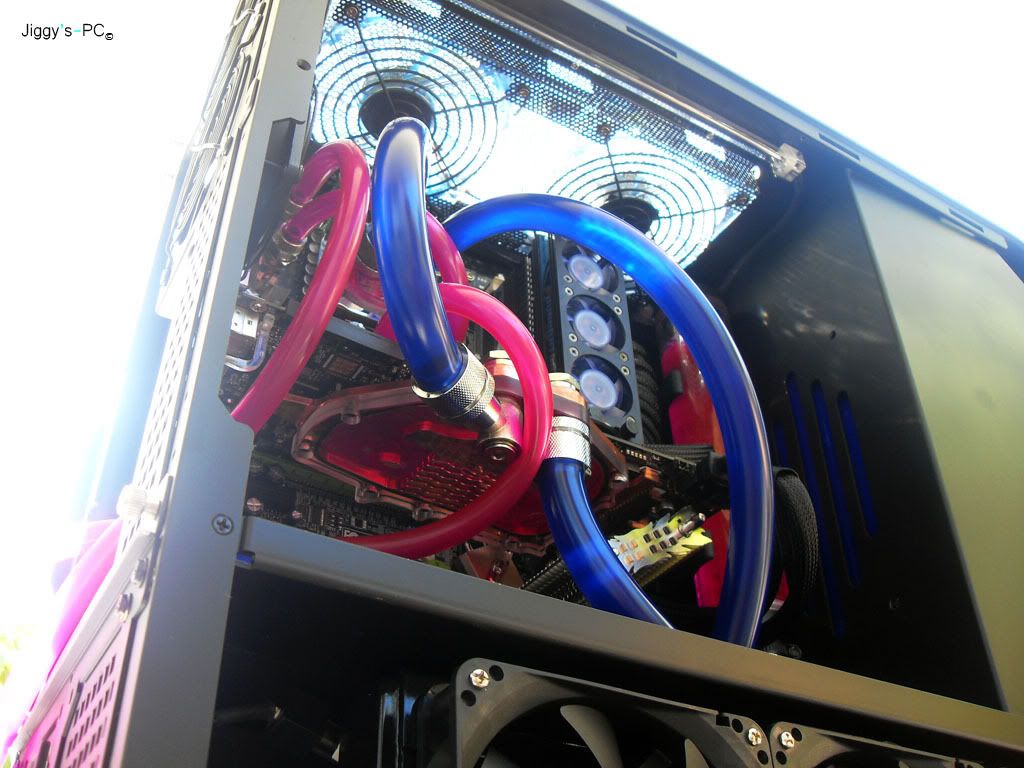
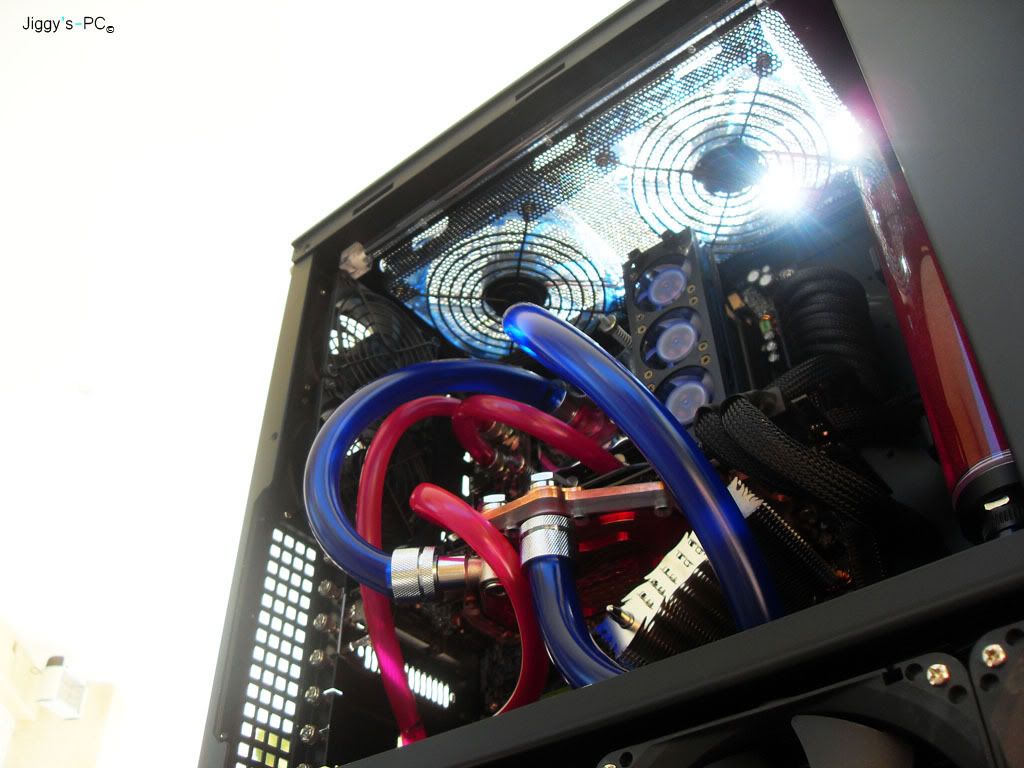
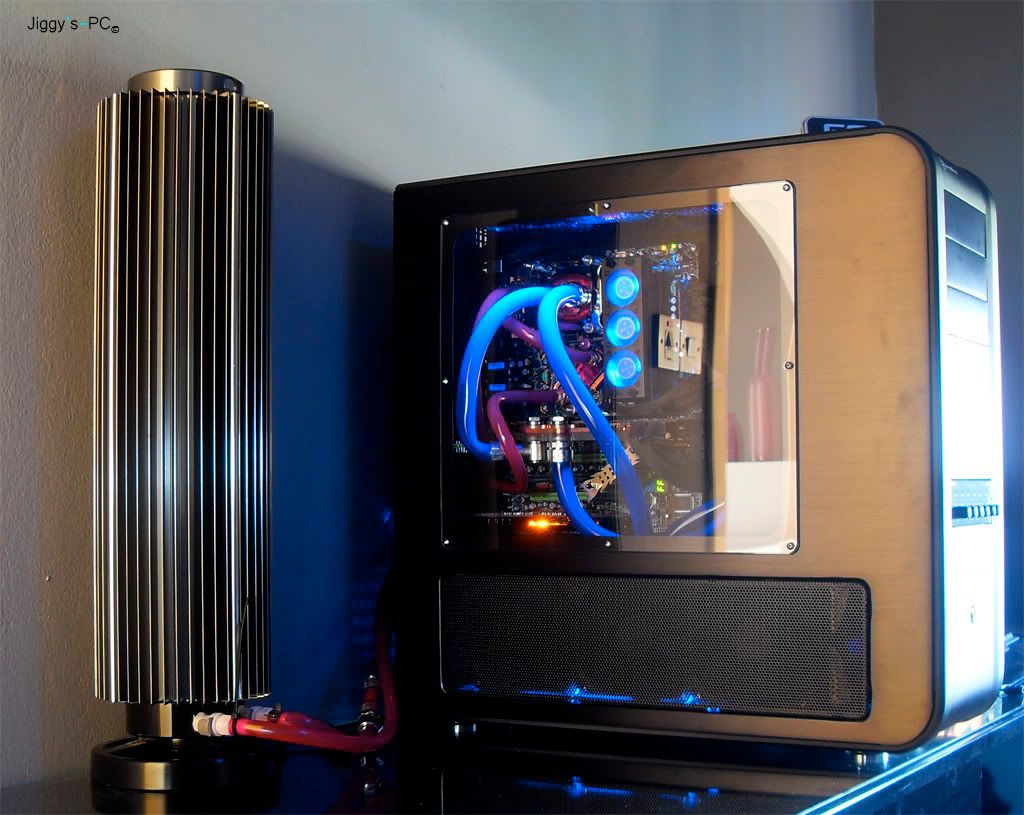
What are you doing cooling wise? 2 separate loops or just the one? Just asking as it looks like the tubing you have is different sizes?

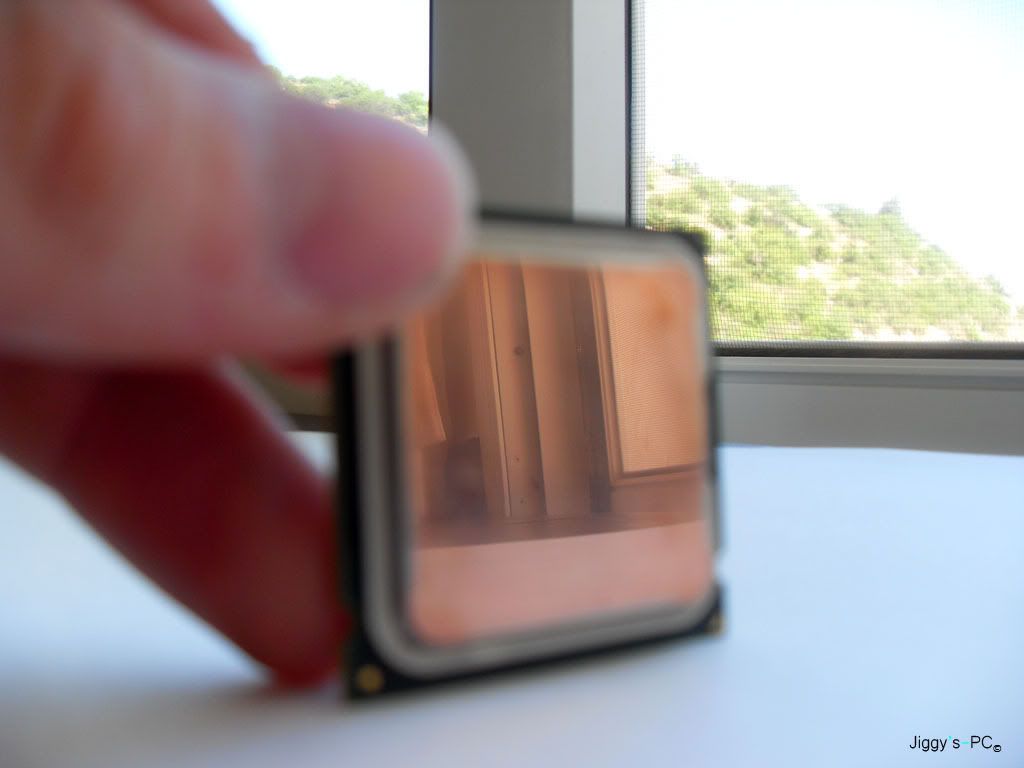
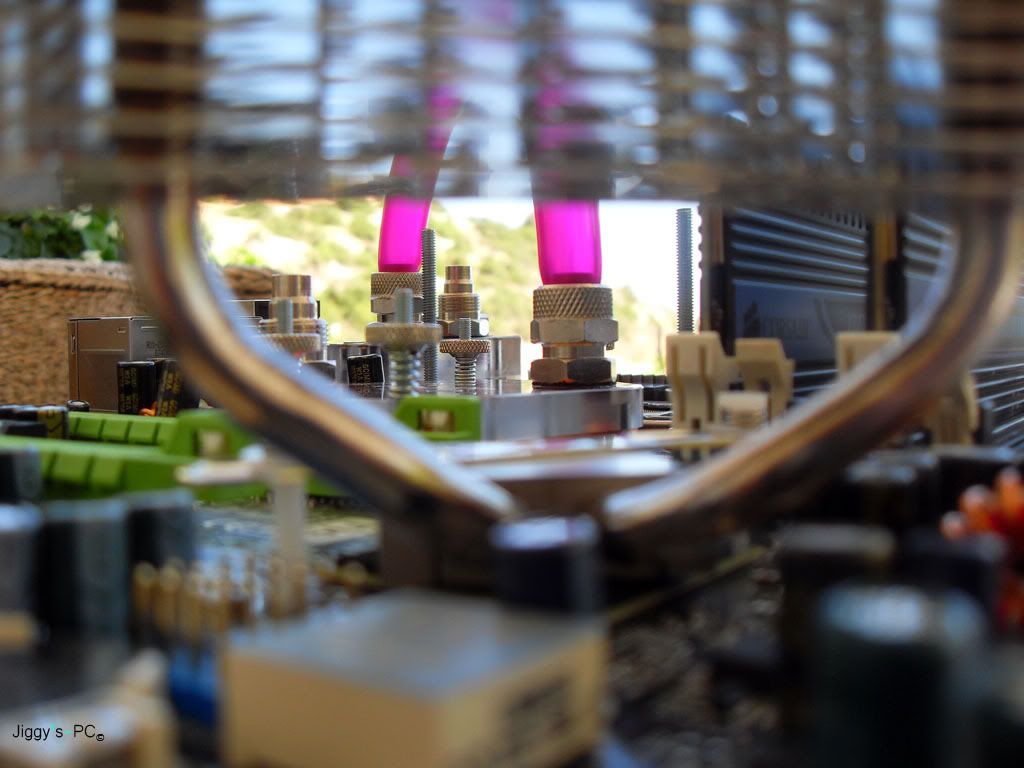
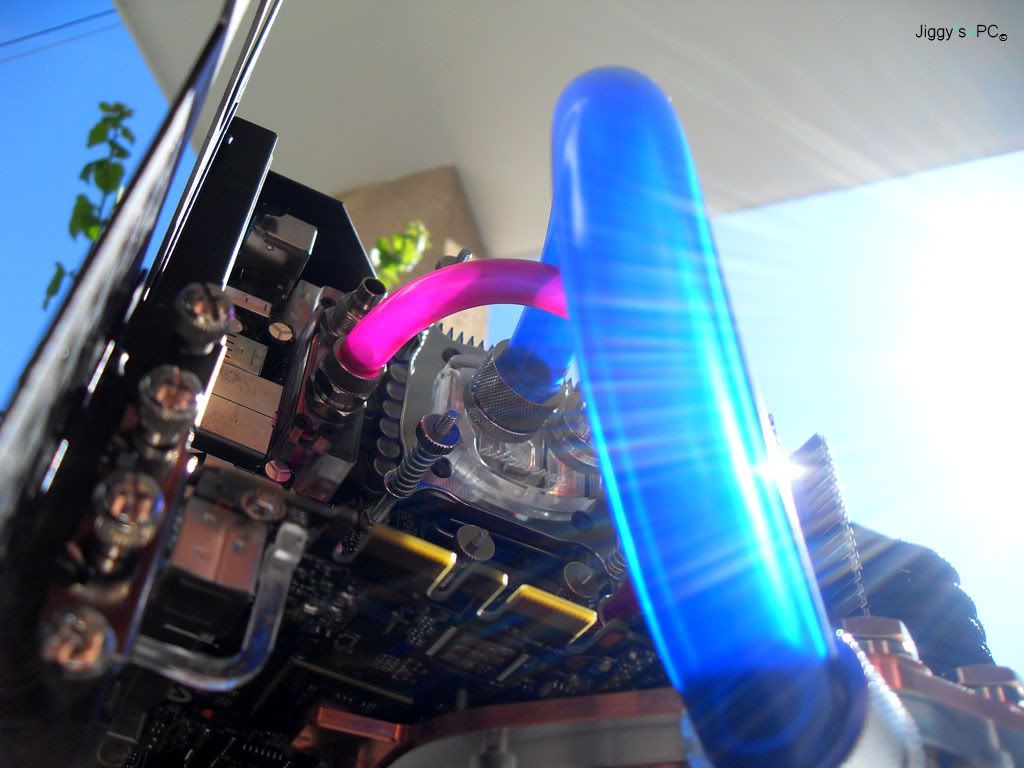
Whoa, that's more soft focus than a star trek love scene!
. i dont have any software only Piccasa from google so the best i could do 
quality work there and i praise your enthusiasm for trying something new.
p.s. weather looks ace. shame we just have rain at the moment
looking nice man
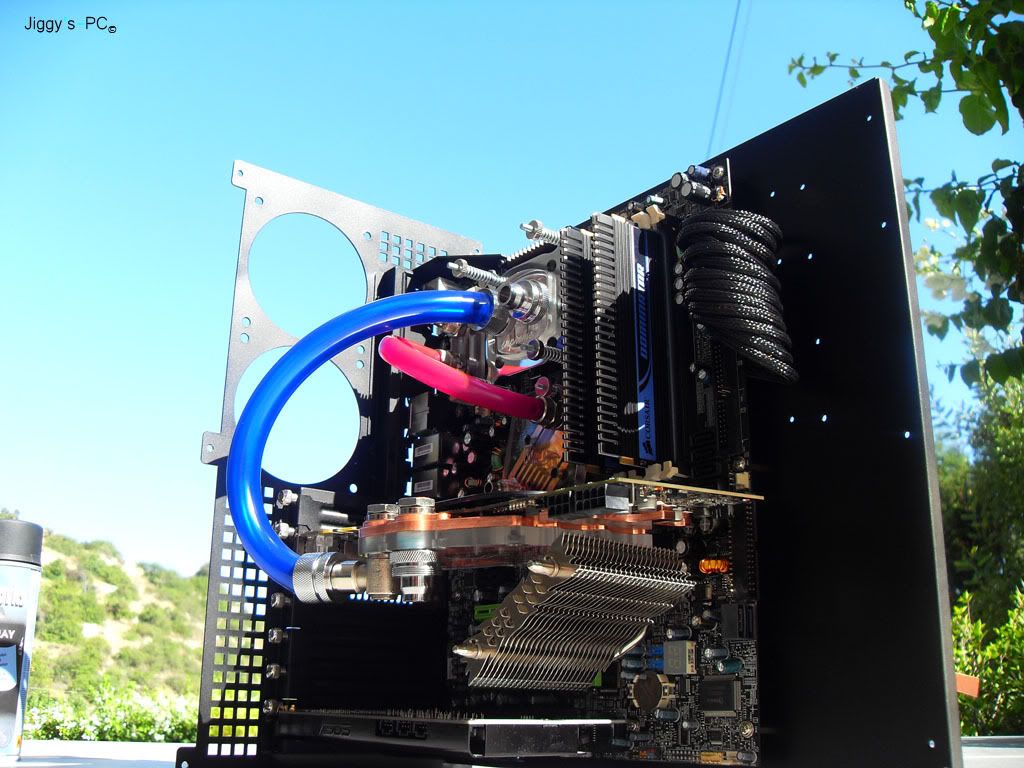
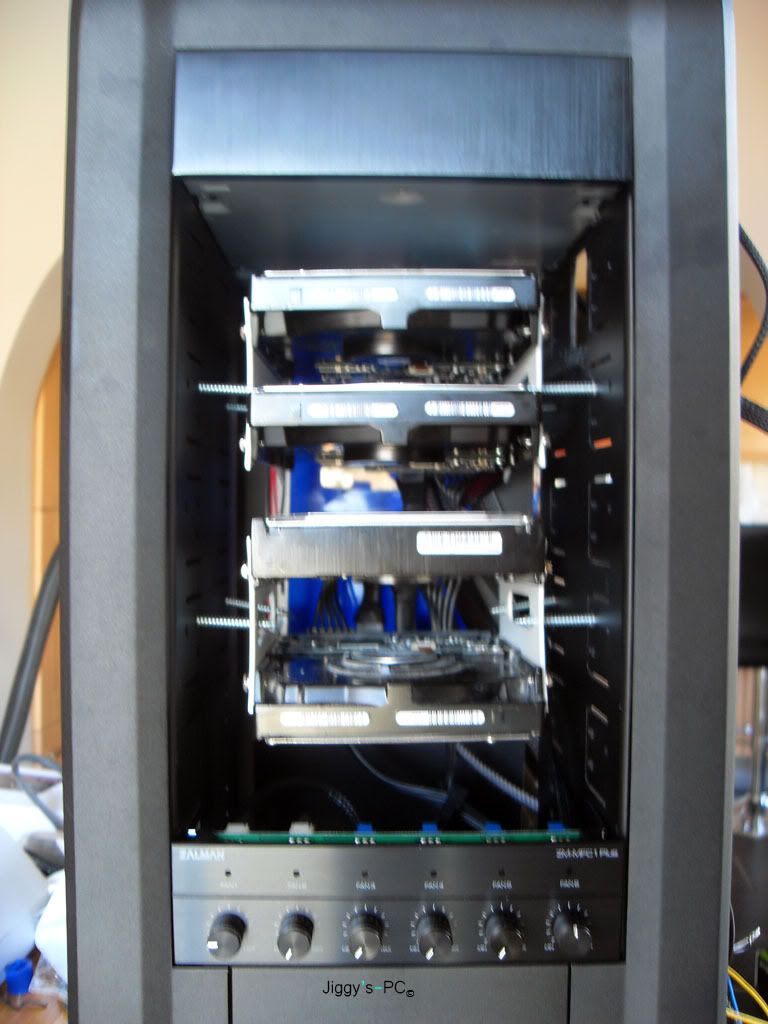
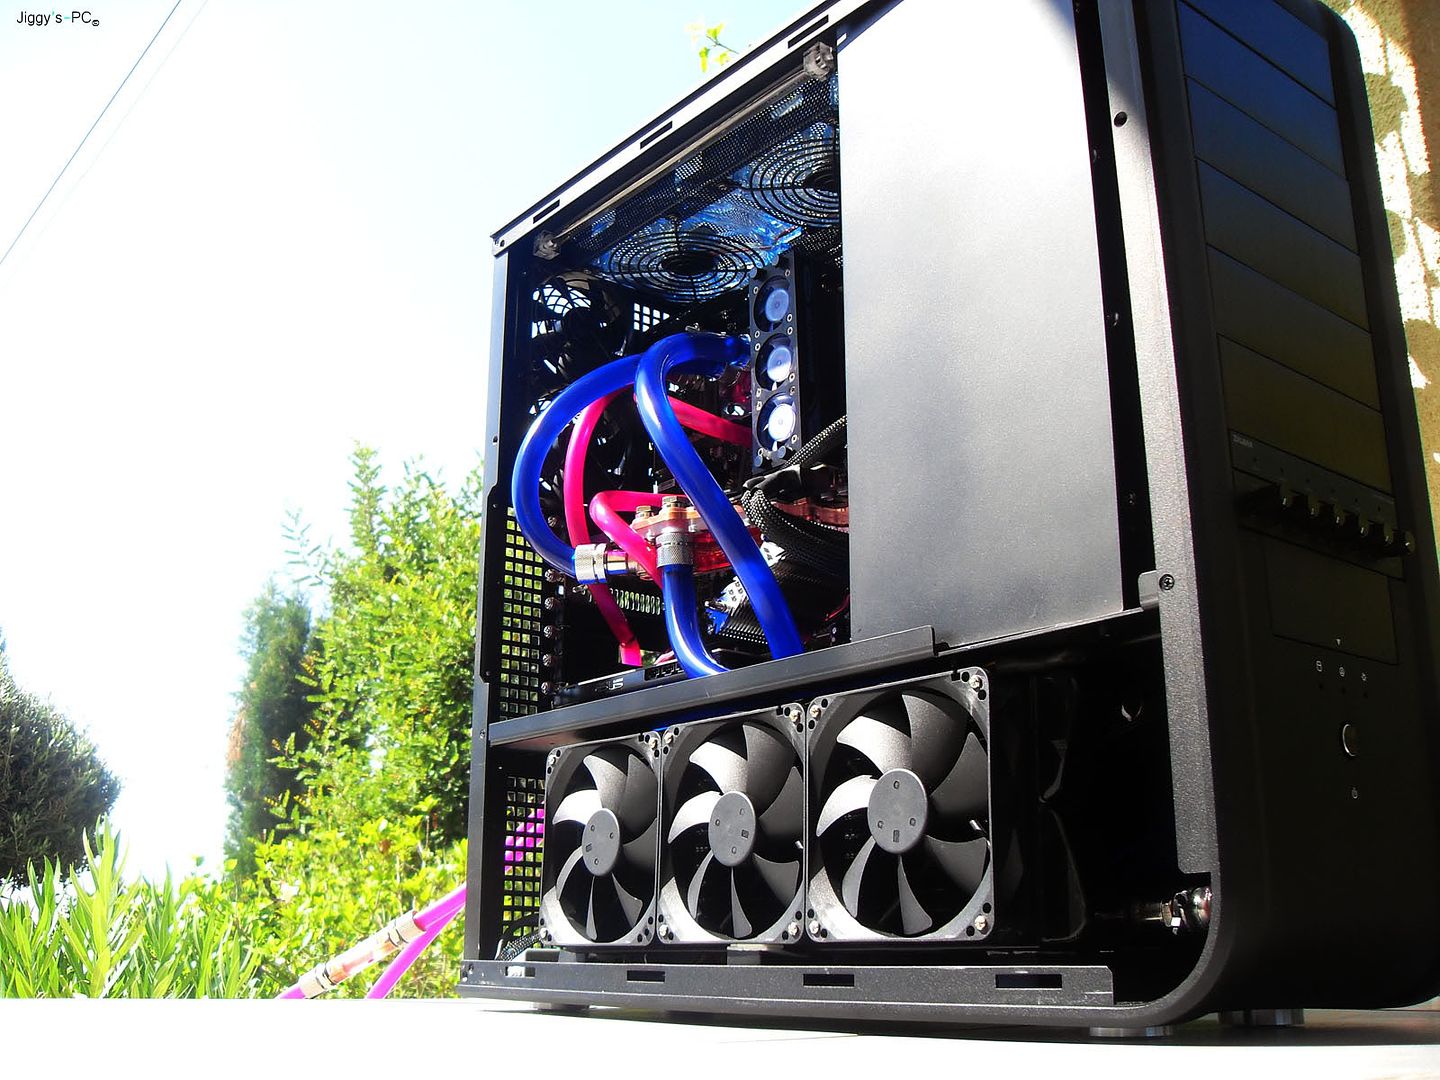
Are you not planning on inverting the mobo?
This is what i did but you dont need to remove the facia. Just stick the double sided tape onto the cd drawer and the bottom corner of the bezel will rest against the button. Well thats how it worked out on my NEC drive.


 , so got the hoover on it
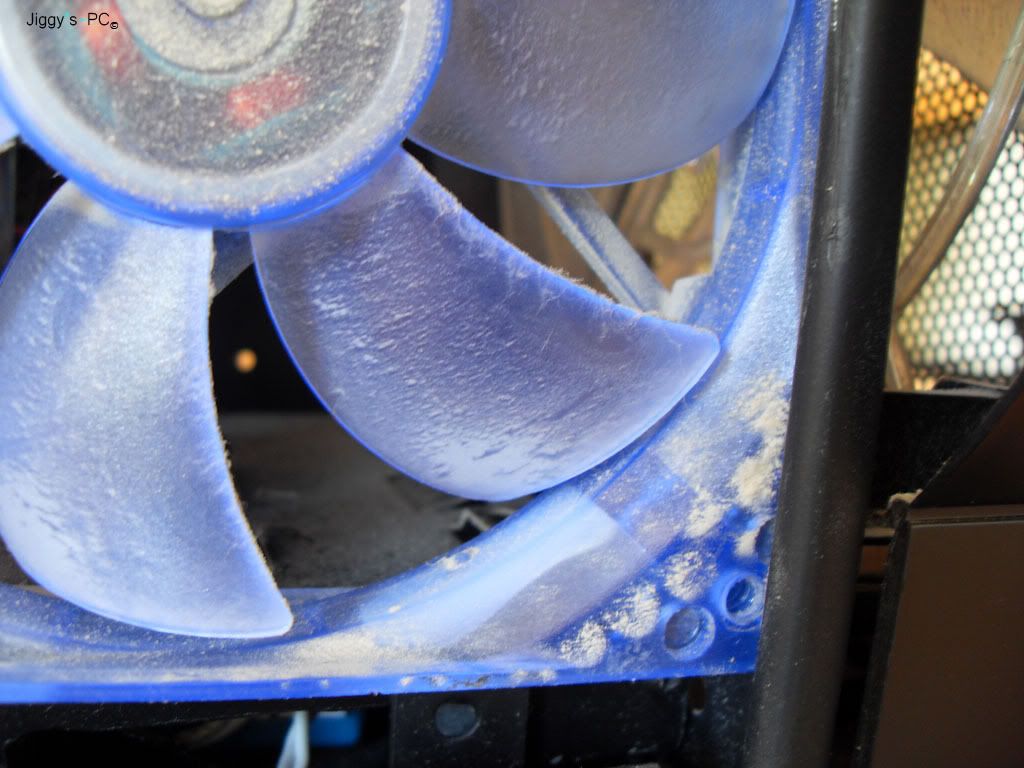

 )
)

 (well at 12.30 at night )
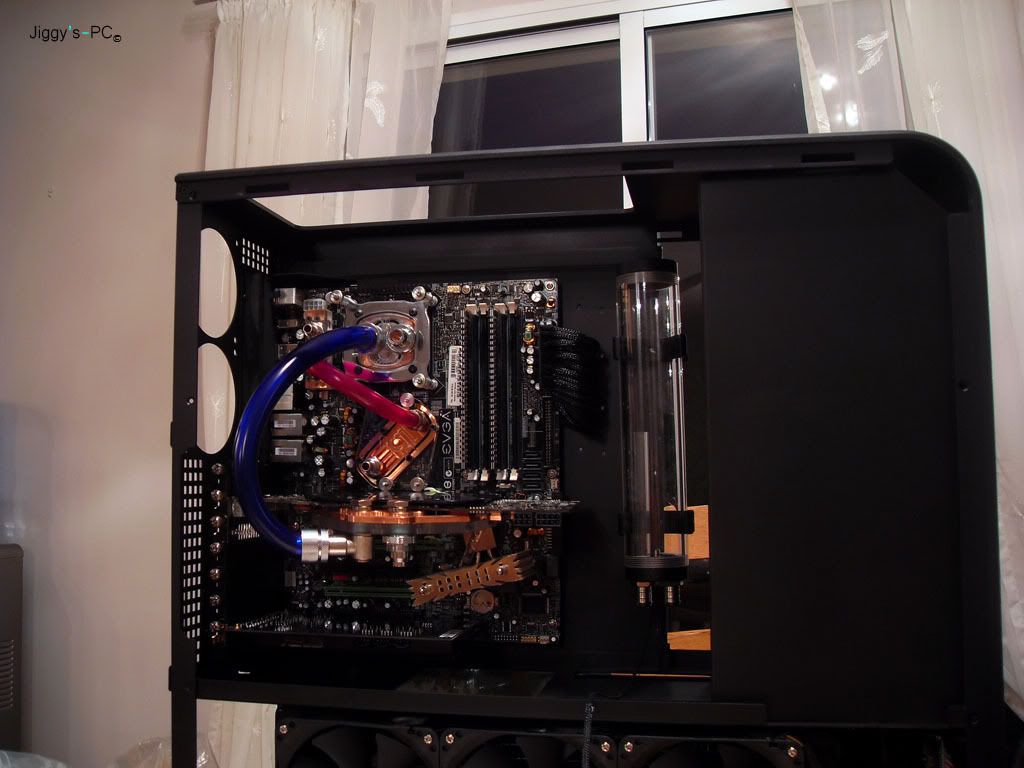
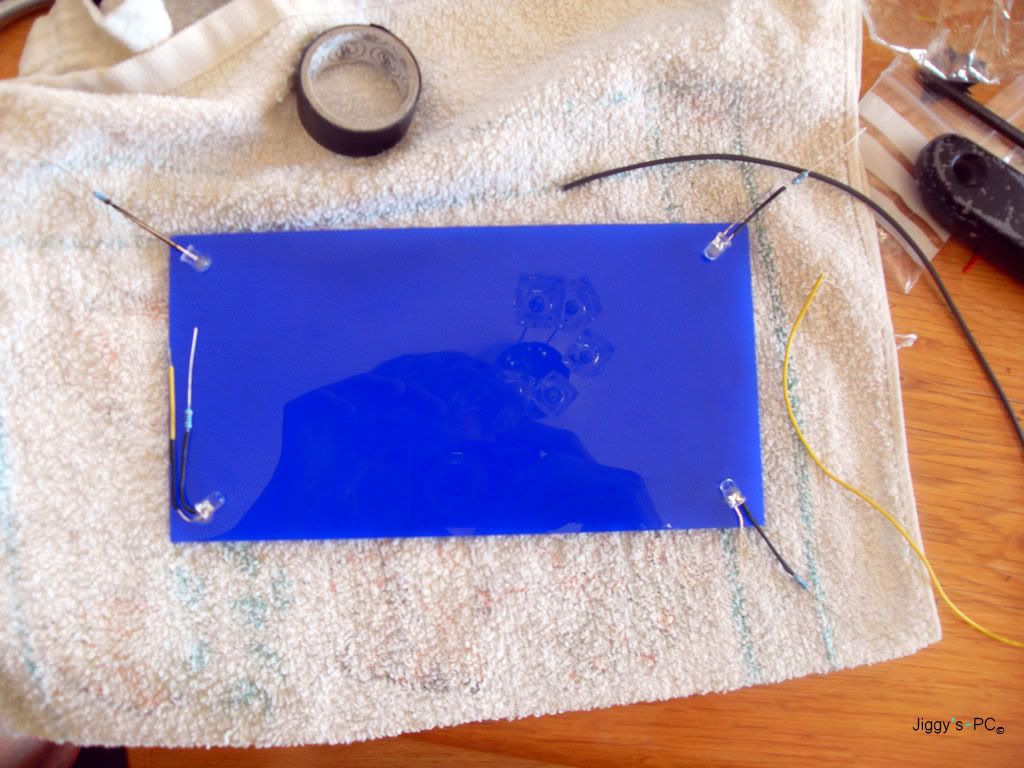
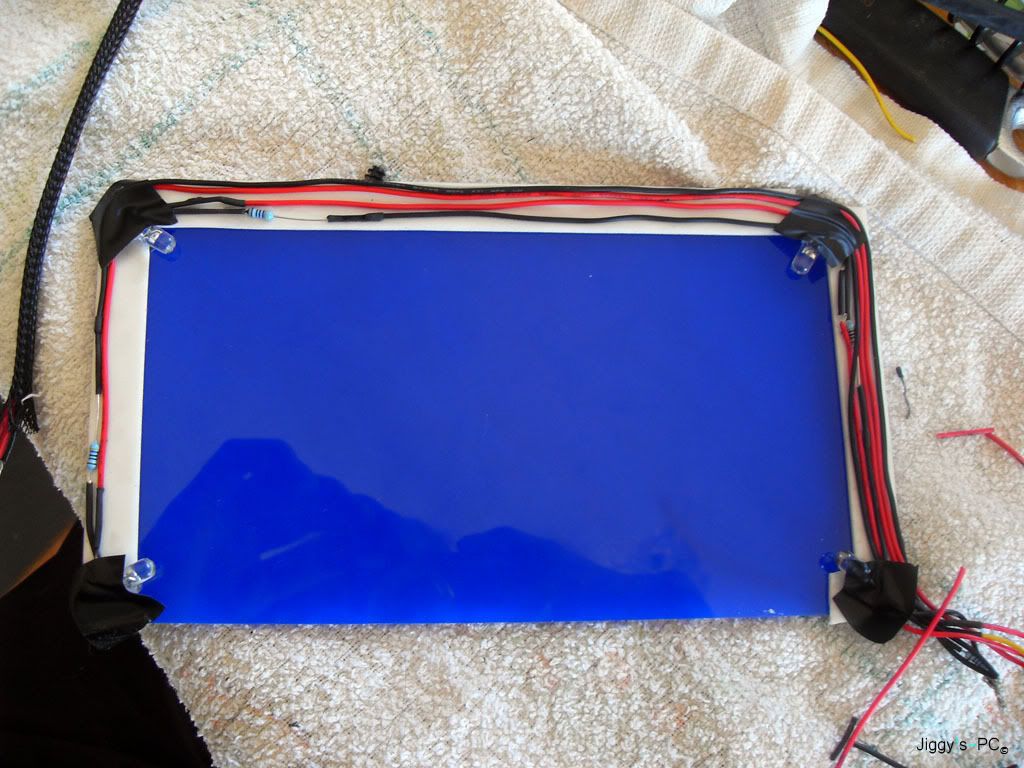
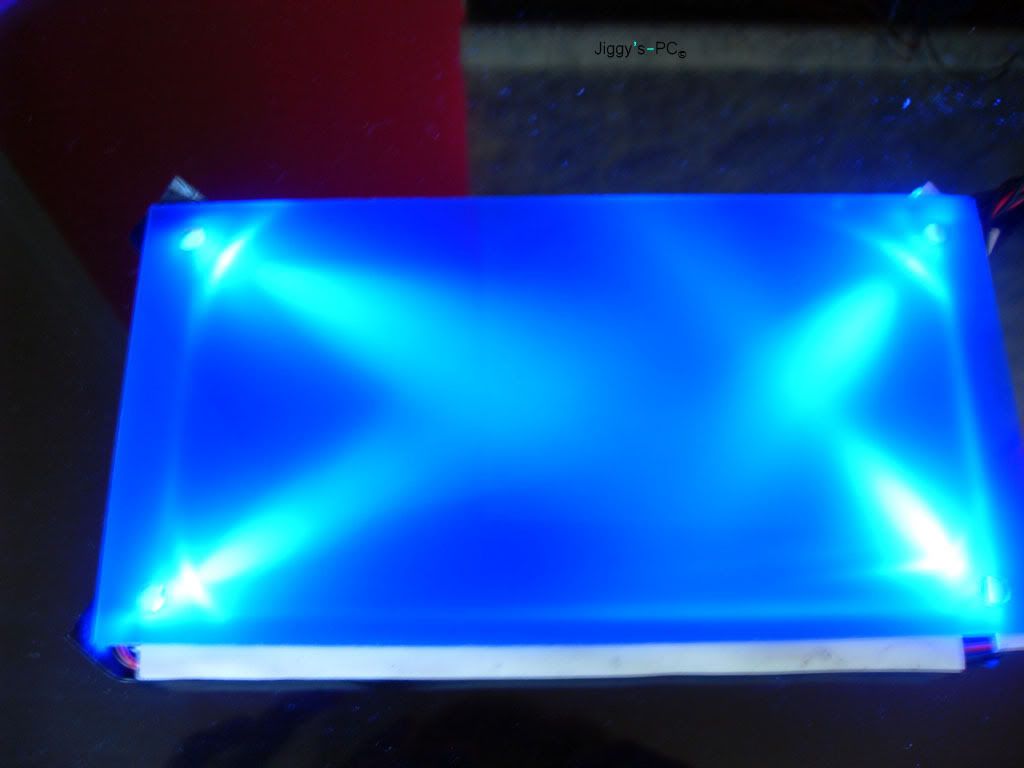
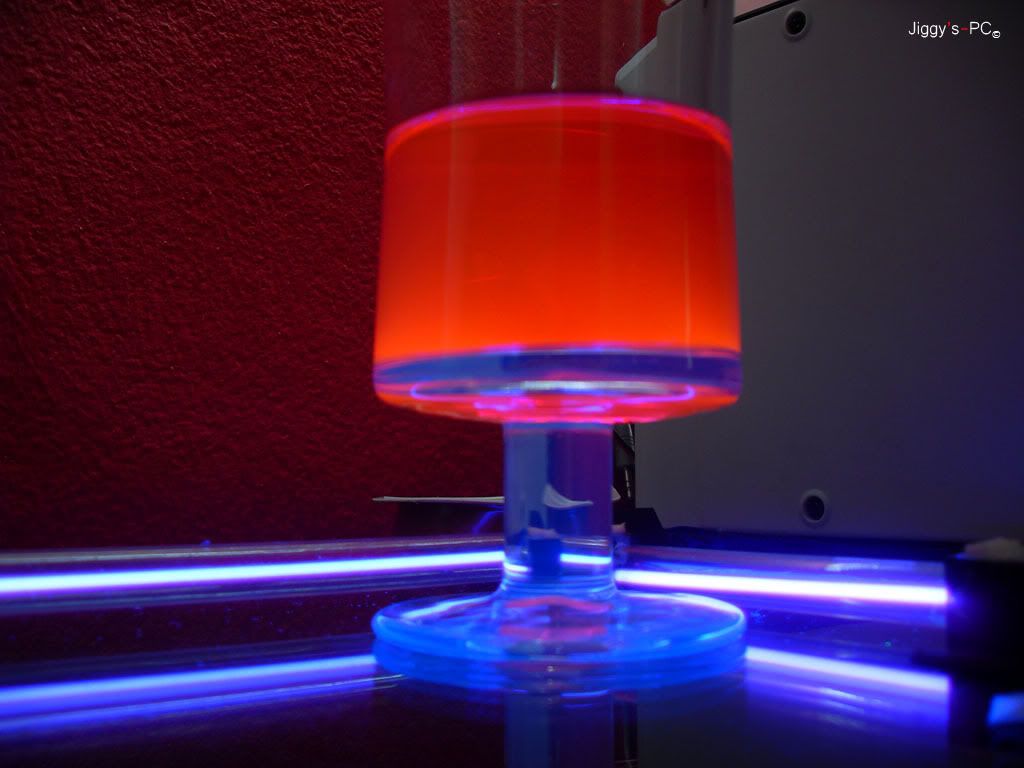
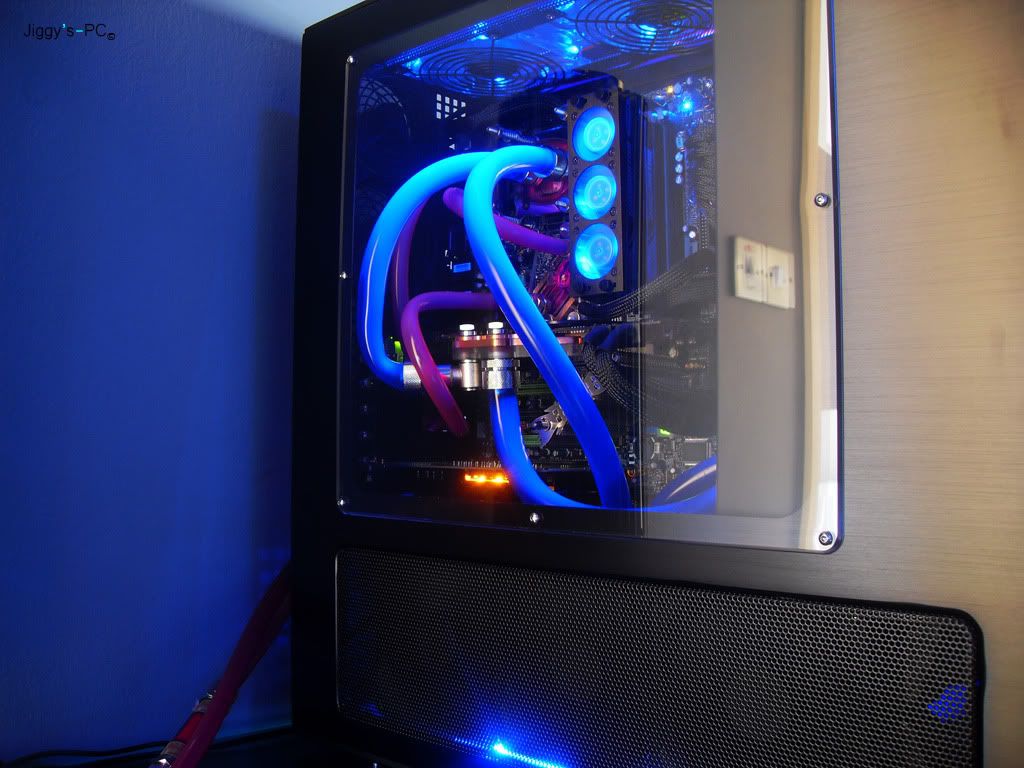
 so i used acrylic and some spare blue LED's
 )
)That is one great build!
I take my hat off to you.
Excellent build
lookin great man!! One thing... wheres the res for the blue loop? You not got one in there?
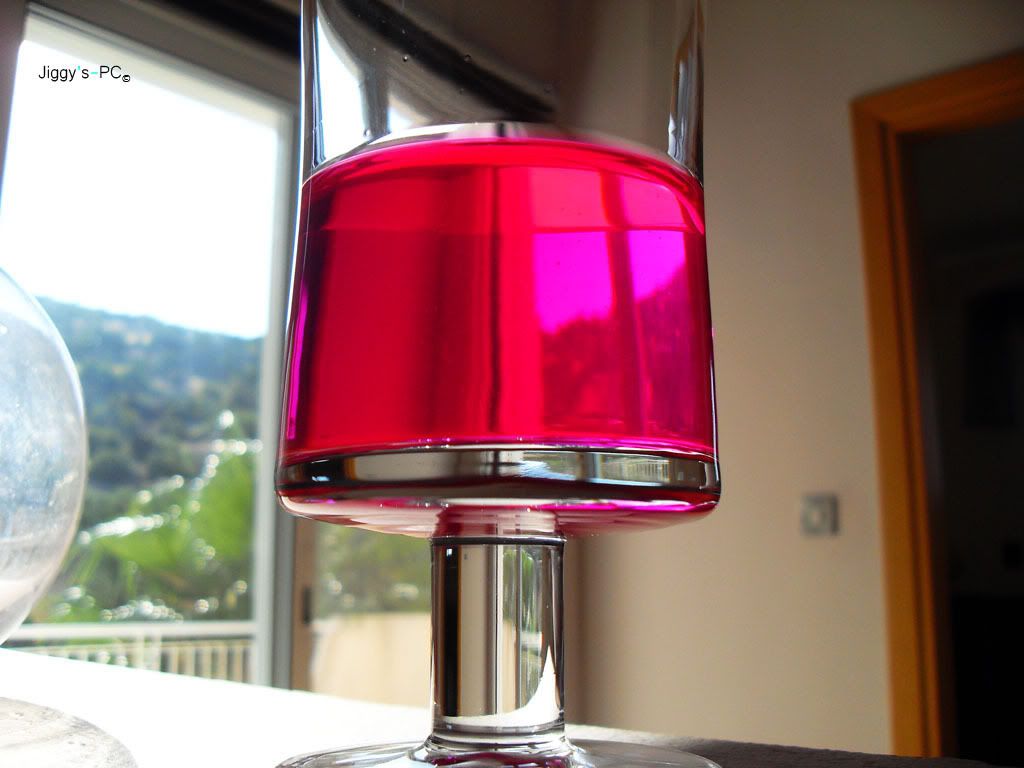
i did it like that for effect the pink tube res is the Zalaman resorator The res with the pink is for the blue loop
looks superb
great build....looks like im going back to the drawing board for stage 2 of my build
Wow that is one great build
Good job man
wow that looks awesome!
nice work
very nice of you may I just say mate, that is one serious achievement you have done there. I am speechless. well done my friend. keep going. this should be an entry for MDPC
thank you man, very nice comment well you know what to do to enter me 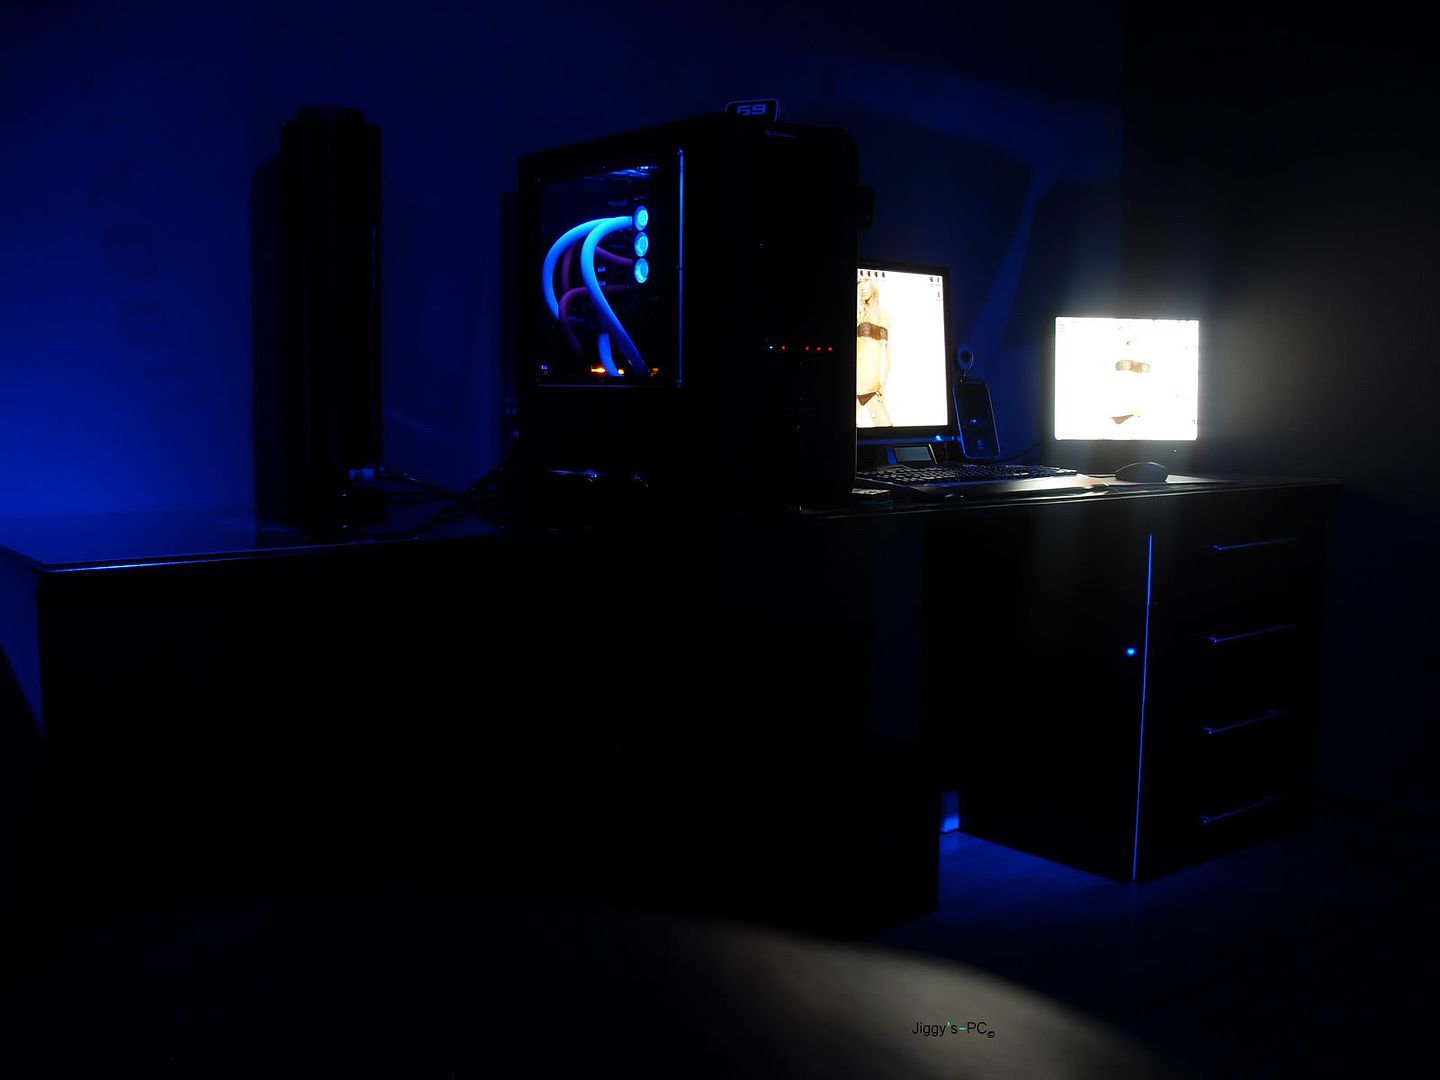
Your camera takes some nice photo's.