I took some advice from this thread and put a little more effort into my photos this time. The light sucked, but this was the absolute best I could come up with. I think I need to get a DSLR with a huge aperture lens - I'm guessing this would allow me to keep the ISO low and grain down?
Anyway, copied and pasted from DW to at least add some context to the pictures;
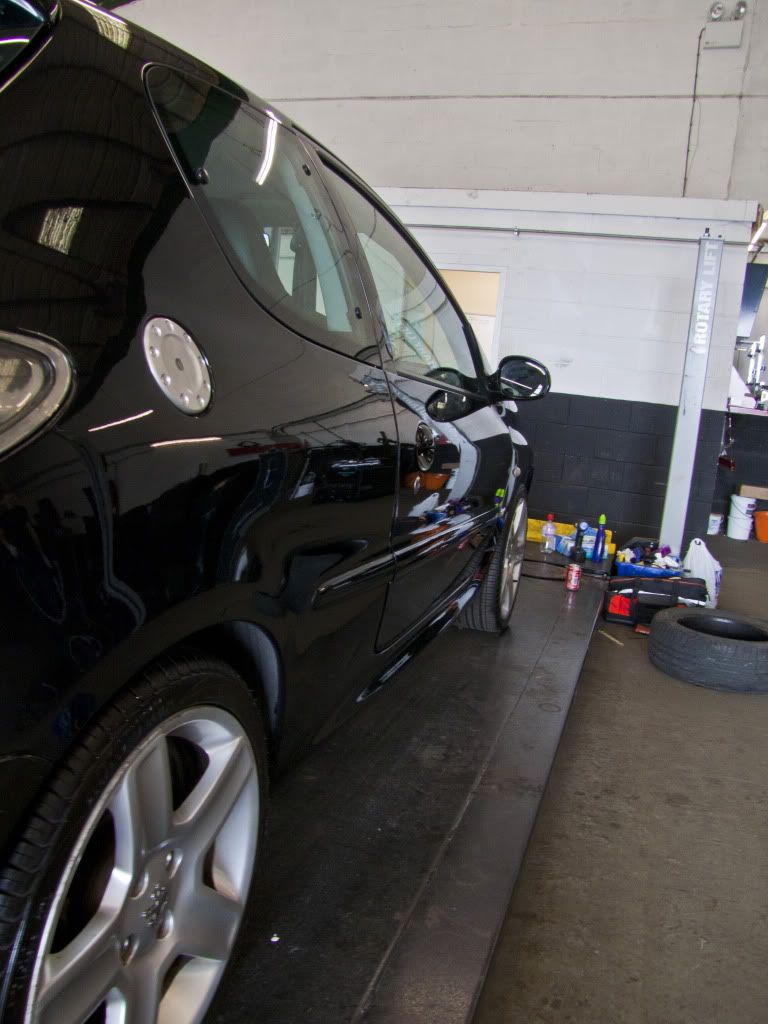
Here is a 206 for a paint only correction, Sorry, no real before shots - I forgot my memory card on the first day :wall:
Car was washed, clayed, re-washed, dried and brought inside for inspection. Wheels were only done quickly as they are being refurbed next week.
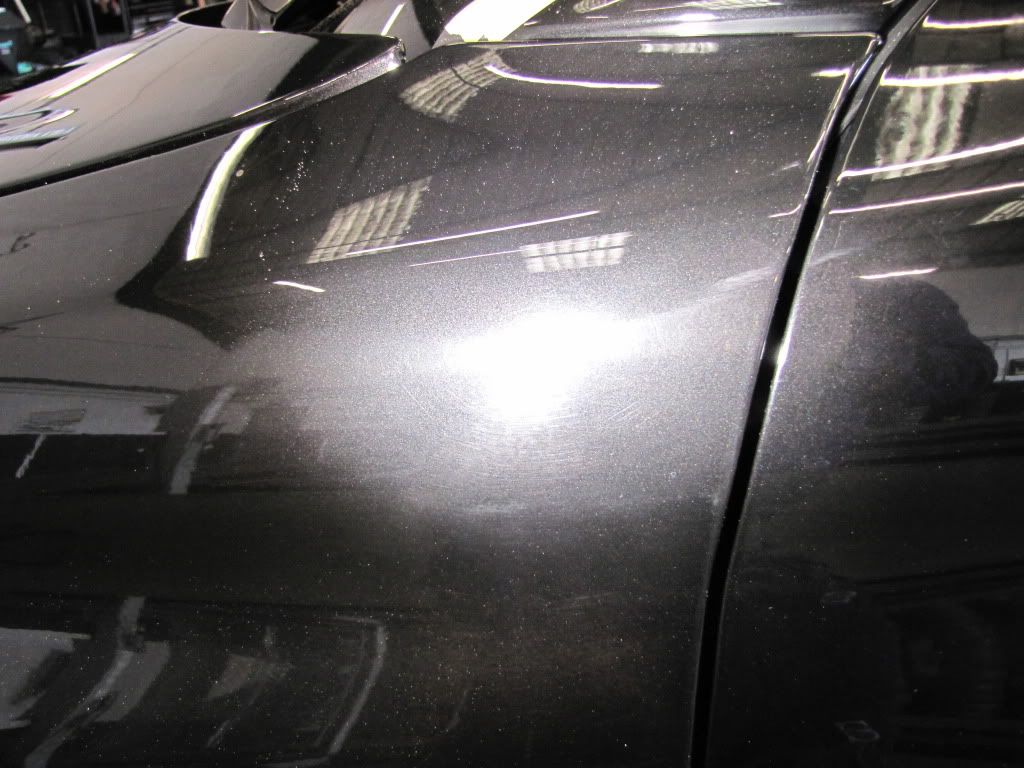
A quick idea of what the paint was like before
Next up was finding a pad/polish combination - contrary to my expectations, the paint was actually rather had - I had nothing that would take it to a defect free state without spending far too long on the cutting stage. A quick call to Rob at Gtechniq and that P System Pro Kit I've been meaning to try for a long time was on it's way for tomorrow.
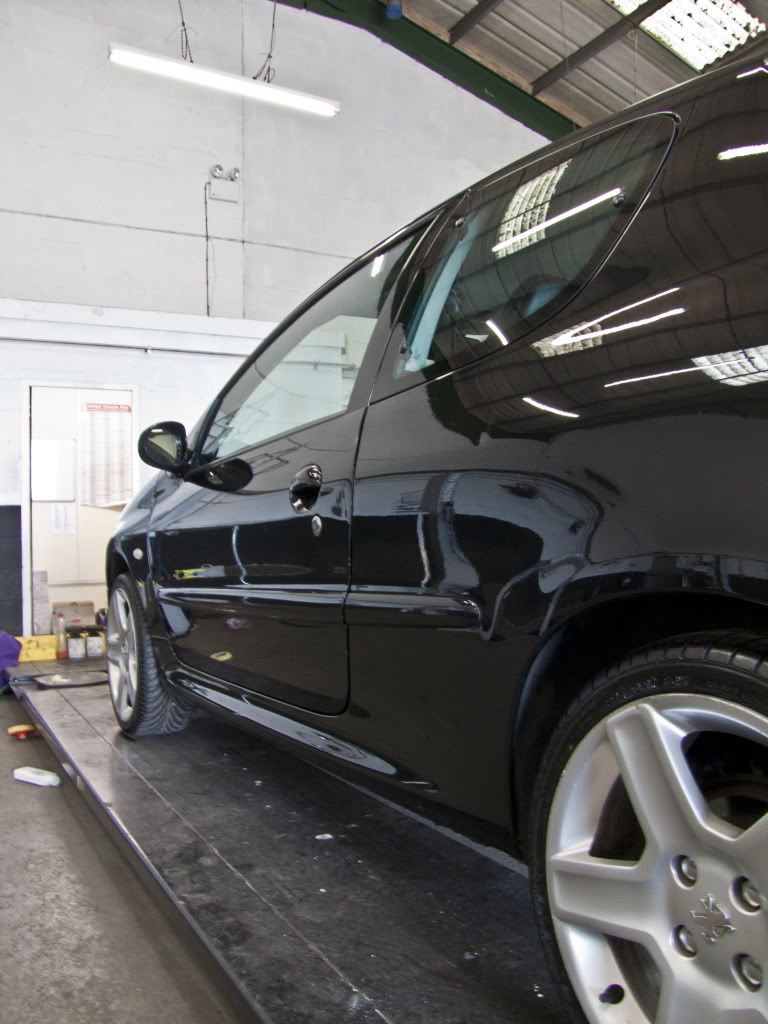
Even P1 and the wool pad struggled, but with a few passes the paint was 95% corrected, leaving quite an impressive finish behind for a wool pad.
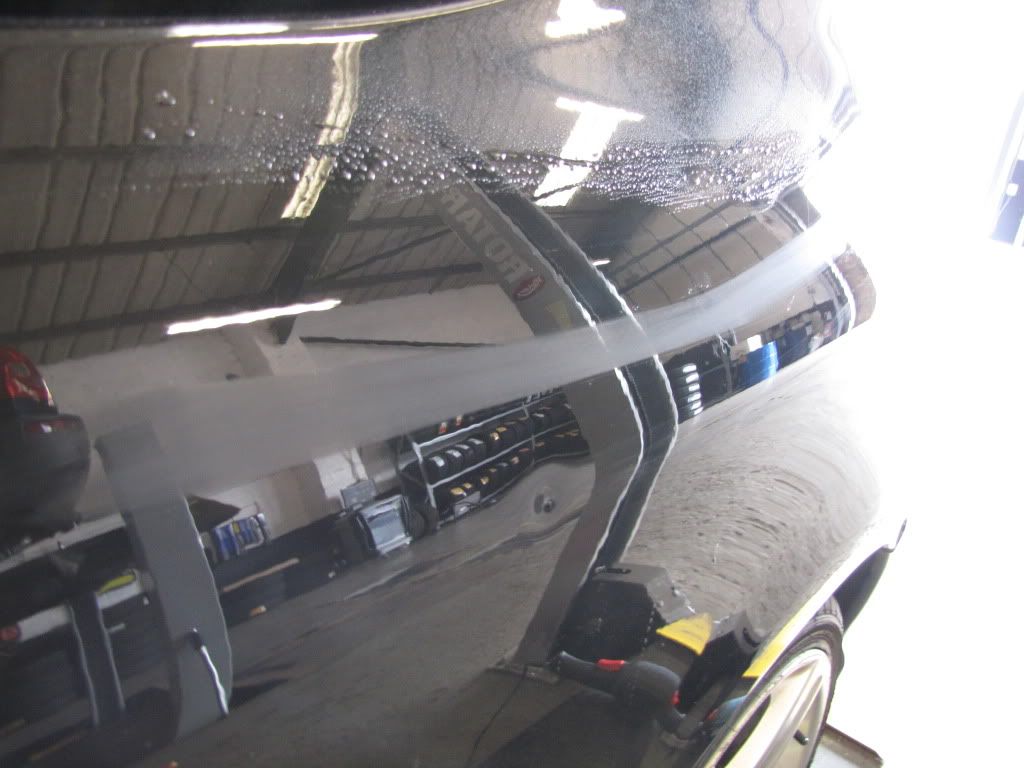
Wet sanding a nasty scratch from someone running chalk up the side of the car. No pictures of the scratch though, as I couldn't seem to focus on it.
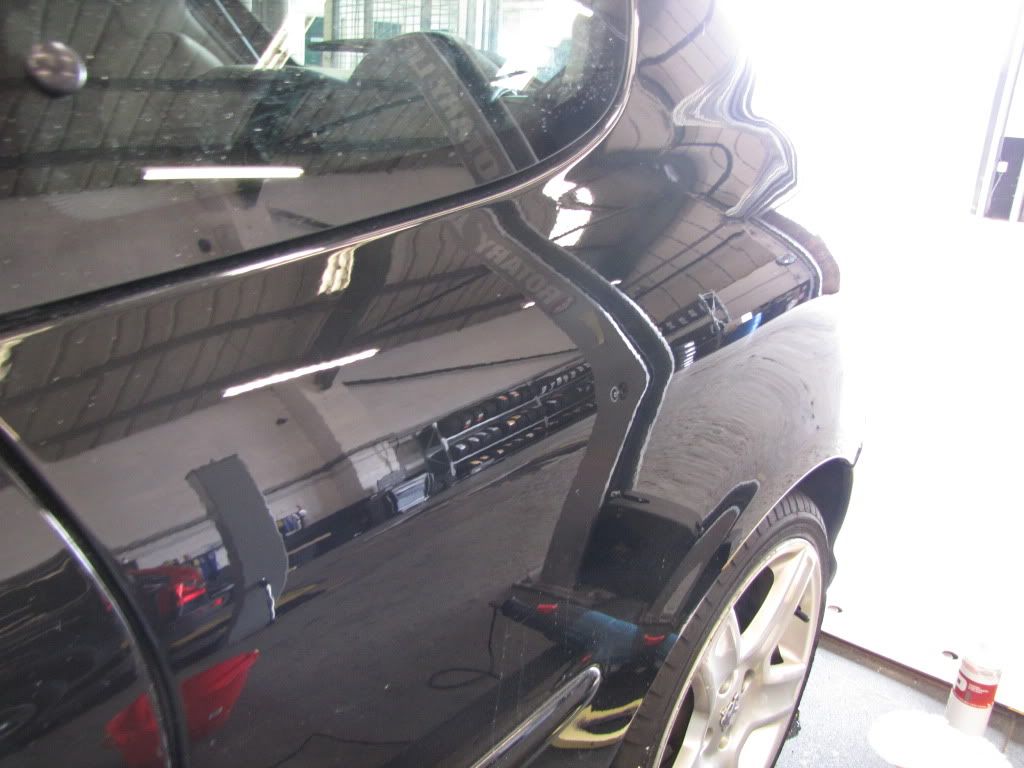
All gone. This finish is just one pass with a Gtechniq wool pad and P1.
Quick 50/50
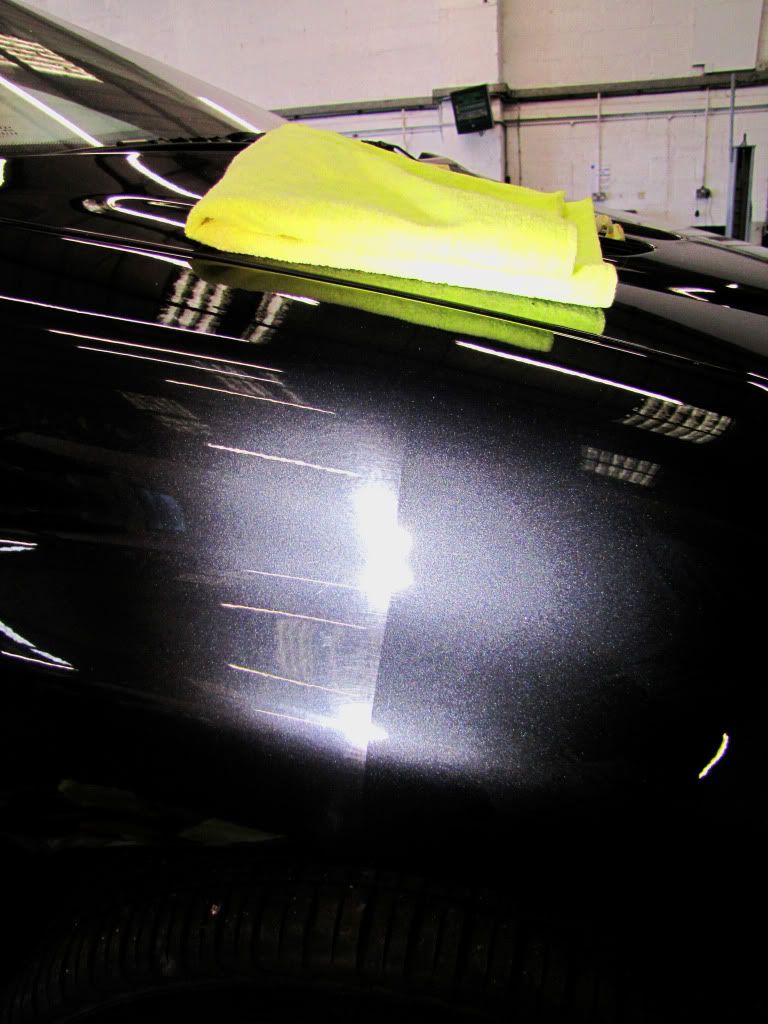
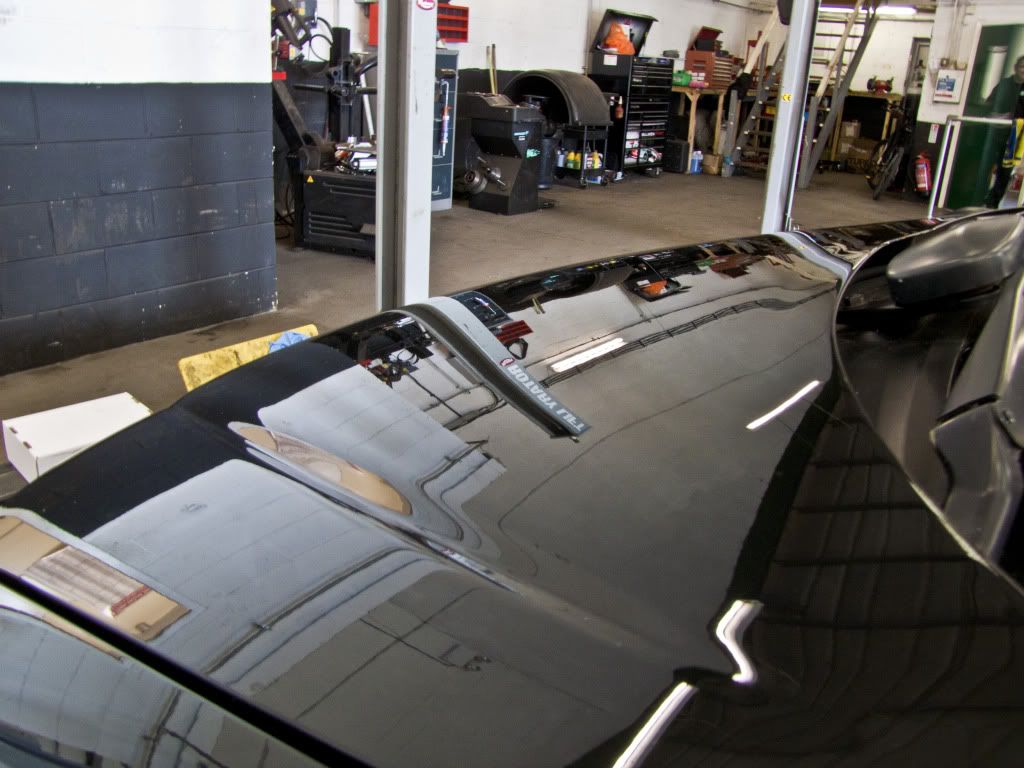
The following stages consisted of P1 on Gtechniq's orange cutting pad, finishing up with P2 on their white finishing pad to squeeze every last bit of gloss out of the paint
")
This was all topped off with Z2P.
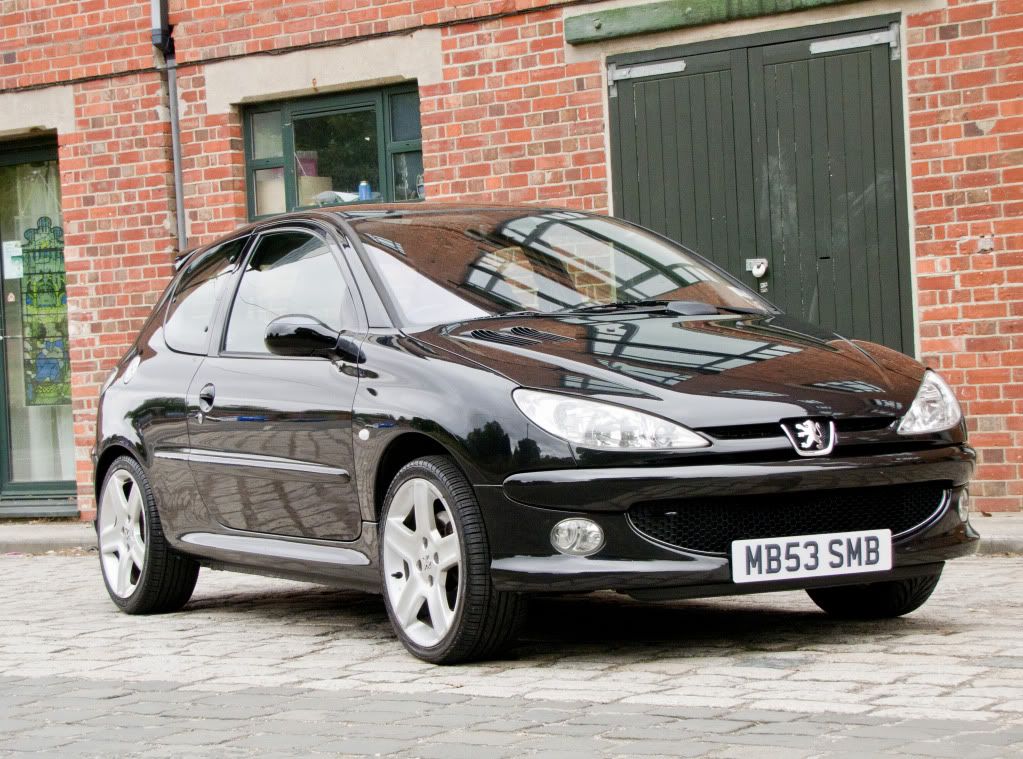
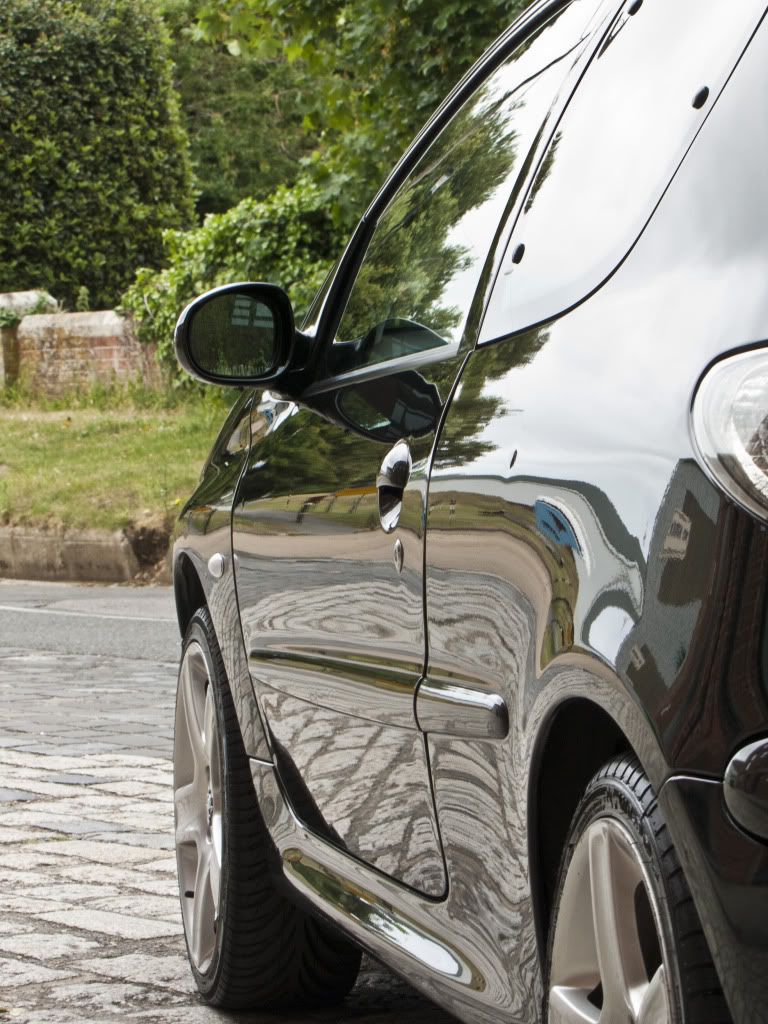
And the results - the light (or lack there-of) was against me here

Thanks for reading