Design
Wanted a low power good capacity HTPC & looked at the range of available ones at retail that could hold what I want it to but thought I want something worthy enough to replace Stealthlow with so wanted to make it a dual system to use a lot less electric when I don't need the extra power of a normal system which is most of the time, I didn't think I'd manage making an ok looking dual system where they can still be used as completely separate rigs but I think I got there in the end & went much further, it does look top heavy but I have it figured out nicely & it will be very Heavy Bottom not the other way around & I still haven't designed the case feet, want to have a good idea of it's weight before I do those.
I added a porthole window where the psu cables come out from for giggles in an otherwise super neat system internally with interesting exterior from any angle & this dual system is also highly functional, everything is easily removable & the gaming rig can be removed & placed on alternative feet & the top of the HTPC can be replaced with a plain top or test bench rig very quickly, I know this design rocks for my PC wants with it being very modular but as always with my designs if anything lets it down it will be the style not appealing to many but it will brighten up my eyes each day if I manage to make it as good as I hope to
  .
.
I took another good final examination of the design before marking the materials & tweaked it a little more to perfect it & so it will support slightly higher mobo standoffs & give it a little more strength & a little extra on the looks.


Name
Lean & Green - Yes I would have chosen a better name for it but my mind goes nicely blank caught up in the detail when I look at the concept & only random words find their way out so I'm quite happy it has that effect on me where it leaves me kind of speechless, I considered the name of Heavy Bottom because of people saying it looks top heavy but gave it a miss lol .
.
Why
Needed another reason to do a good personal build & the how much does your rig cost to run blog on bit-tech caught my curiosity to go find out & it came to about £210 for the rig alone each year, I figured I could trim that down to about £60 per year with a better use of electric separating low performance needs to high performance wants & still be able to have a performance rig to enjoy when I want so totally managed to convince myself this was a good idea so got on with it .
.
System components
HTPC
ATX PSU, mini-ITX on board CPU/GPU 18w motherboard with hdmi & DVI, good low profile sound card, 4 HDD, 1 SSD, 1 full size optical, full size 140mm custom fan.
Gaming rig
ATX PSU, Full ATX motherboard, moderately overclocked quad core, 8GB RAM, high performance & quiet air cooler, 3 custom fans, good GPU, good sound card, full size optical, 1 ssd, 1 hdd.
Control of the systems, good quality cable splitters.
Materials
Aluminium 0.5, 1, 2, 3, 4, 5, 8, 10mm sheet/plate & some bars round ones, square ones & angled ones. Screws & precision DIY fittings .
.


Acrylic 3 & 5mm sheets, Black, Opal frosted, Brown tint. tensol 12 adhesive.
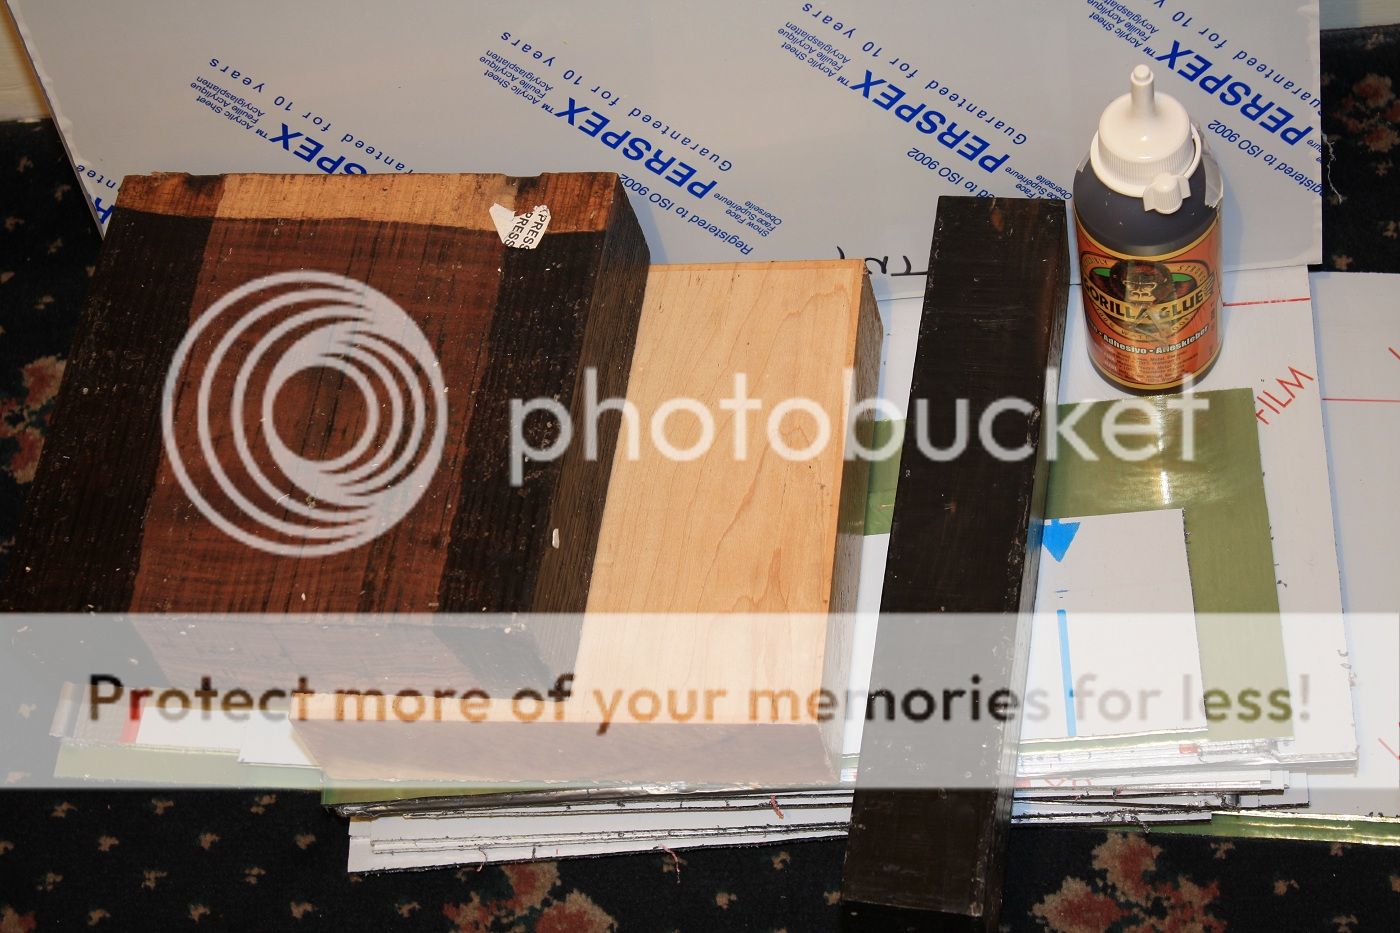
Wood 3 types, Cocobolo, Ebony & Maple. gorilla glue bought the wood as turning blanks & they come coated in wax.
Manual modding is my approach of choice still & no plans on changing after grinding through the difficult barely skilled wondering if I can make anything phase up to feeling pretty confident about my increasing skills phase but I'm always learning & know I always will be which is probably a big part of why I enjoy it so much & feeding the difficulty a few notches higher each time in some way is making me get pretty good at this .
.
Reason I am a week late on starting the thread is I've been waiting for deliveries & the last of them came today nearly 2 weeks after ordering them scroll saw blades, drill bits & a quality dormer tapping set so as long as I don't screw up anything I should be able to go at it until it's done but what are the chances of me getting through all this without screwing up, place your bets now
  .
.
First slice of progress, minimal but it's enough progress to warrant for the new thread .
.
Tackled the 3mm sheets first with them being the hardest to manage being so massive, really should have ordered smaller easier to manage sheets, d'oh, the small work bench is waaaaaay too small for the 1650x1000 sheet & the kitchen work top I used to use I found my dad made it into a fixed side table for the garage so had to improvise, quick look around & seen a bunch of beer packs used 5 or 6 12 packs of beer
  they made for an awesome make shift cutting table in fact they worked better than the work bench because of the even load of the packs spread out in the right places
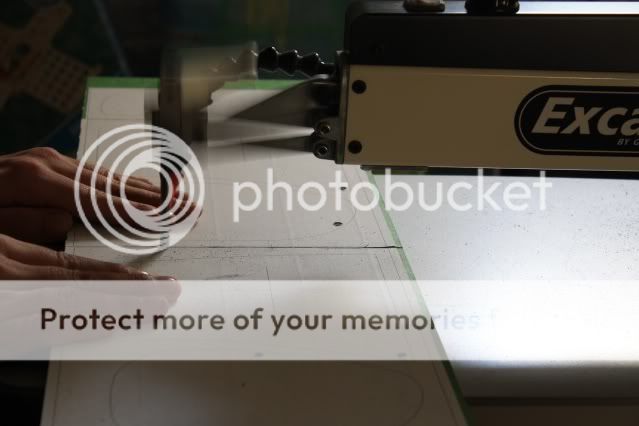
  but it put a good bit of strain on the back from leaning over a lot & about an hour later of a jigsaw frenzy session they are to rough size within a 3mm safety measure ready for detailing, but when I marked the cut lines I forgot to make notes of which pieces are which so need to work that one out lol, should be easy enough & I'll cut up all the other sheets next, it's interesting how much I can do in a short time when going at it with a solid determined plan, I think the days of standing around for hours thinking what next? might be behind me
  .
.
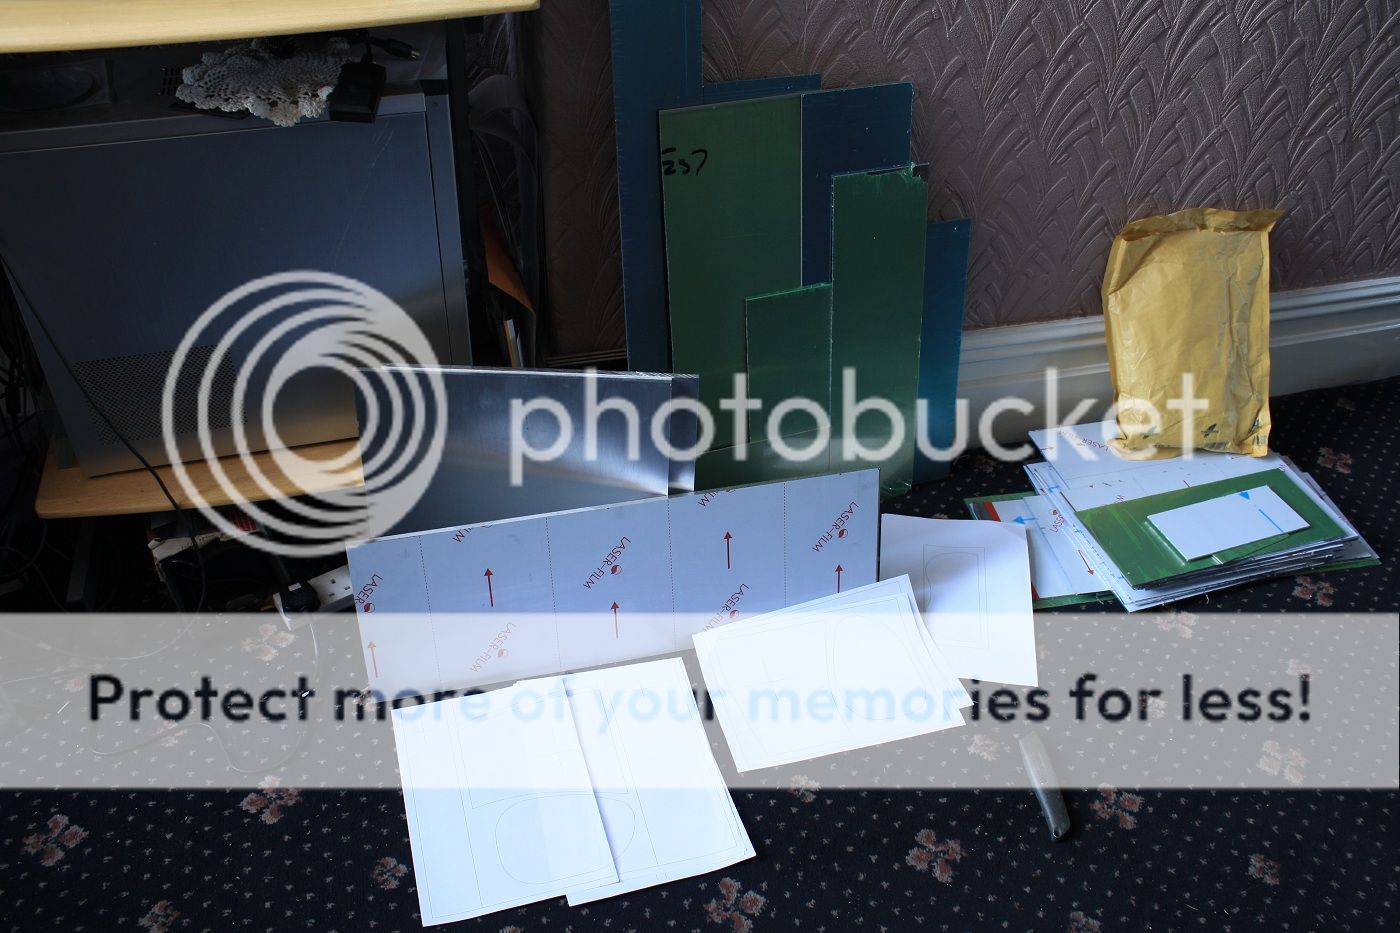
Needed a map to get good use of the material cutting layout.

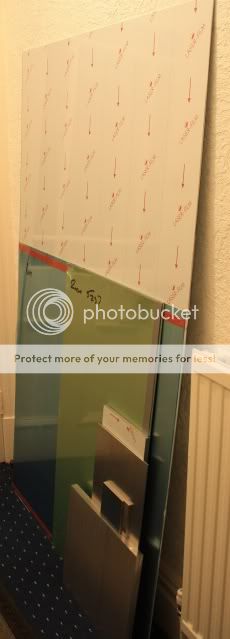
Nearly as tall as me.

After the 1 hour jigsaw frenzy, all the 3mm alu cut to rough size within a 3mm safety gap.

Shot of the wood ready & waiting to be worked.
I didn't take my ok camera to the garage though, it's too cold & would be bad for it & it was a quick get in there & get it done type task not faff about with a camera in the cold
  & was only me using a beer table lol which yeah I suppose would have made a good fun opening work shot really now I think of it sat in the warmth
  .
.
More tomorrow I hope .
.
-------------
23rd May 2012
Changes
The design has been a work in progress all along but I thought the first update would have been the final look of this, it's a big relatively complex design so it needed quite a bit more effort going into it so it would turn out as I want it to look & to function, I also chickened out of the wood work for fear of it being a big hassle with my tools & lack of experience of working wood & as you can see they are square 2 inch thick blocks of wood which I'd have to make slithers of to form panels so not exactly something for a wood work newb.
Here is how the design looks now with a side by side comparison.


Wanted a low power good capacity HTPC & looked at the range of available ones at retail that could hold what I want it to but thought I want something worthy enough to replace Stealthlow with so wanted to make it a dual system to use a lot less electric when I don't need the extra power of a normal system which is most of the time, I didn't think I'd manage making an ok looking dual system where they can still be used as completely separate rigs but I think I got there in the end & went much further, it does look top heavy but I have it figured out nicely & it will be very Heavy Bottom not the other way around
 & I still haven't designed the case feet, want to have a good idea of it's weight before I do those.
I added a porthole window where the psu cables come out from for giggles in an otherwise super neat system internally with interesting exterior from any angle & this dual system is also highly functional, everything is easily removable & the gaming rig can be removed & placed on alternative feet & the top of the HTPC can be replaced with a plain top or test bench rig very quickly, I know this design rocks for my PC wants with it being very modular
 but as always with my designs if anything lets it down it will be the style not appealing to many but it will brighten up my eyes each day if I manage to make it as good as I hope to
  .
.I took another good final examination of the design before marking the materials & tweaked it a little more to perfect it & so it will support slightly higher mobo standoffs & give it a little more strength & a little extra on the looks.


Name
Lean & Green - Yes I would have chosen a better name for it but my mind goes nicely blank caught up in the detail when I look at the concept & only random words find their way out so I'm quite happy it has that effect on me where it leaves me kind of speechless, I considered the name of Heavy Bottom because of people saying it looks top heavy but gave it a miss lol
 .
.Why
Needed another reason to do a good personal build & the how much does your rig cost to run blog on bit-tech caught my curiosity to go find out & it came to about £210 for the rig alone each year, I figured I could trim that down to about £60 per year with a better use of electric separating low performance needs to high performance wants & still be able to have a performance rig to enjoy when I want so totally managed to convince myself this was a good idea so got on with it
 .
.System components
HTPC
ATX PSU, mini-ITX on board CPU/GPU 18w motherboard with hdmi & DVI, good low profile sound card, 4 HDD, 1 SSD, 1 full size optical, full size 140mm custom fan.
Gaming rig
ATX PSU, Full ATX motherboard, moderately overclocked quad core, 8GB RAM, high performance & quiet air cooler, 3 custom fans, good GPU, good sound card, full size optical, 1 ssd, 1 hdd.
Control of the systems, good quality cable splitters.
Materials
Aluminium 0.5, 1, 2, 3, 4, 5, 8, 10mm sheet/plate & some bars round ones, square ones & angled ones. Screws & precision DIY fittings
 .
.


Acrylic 3 & 5mm sheets, Black, Opal frosted, Brown tint. tensol 12 adhesive.
Wood 3 types, Cocobolo, Ebony & Maple. gorilla glue bought the wood as turning blanks & they come coated in wax.
Manual modding is my approach of choice still & no plans on changing after grinding through the difficult barely skilled wondering if I can make anything phase up to feeling pretty confident about my increasing skills phase but I'm always learning & know I always will be which is probably a big part of why I enjoy it so much & feeding the difficulty a few notches higher each time in some way is making me get pretty good at this
 .
.Reason I am a week late on starting the thread is I've been waiting for deliveries & the last of them came today nearly 2 weeks after ordering them
 scroll saw blades, drill bits & a quality dormer tapping set so as long as I don't screw up anything I should be able to go at it until it's done but what are the chances of me getting through all this without screwing up, place your bets now
  .
.First slice of progress, minimal but it's enough progress to warrant for the new thread
 .
.Tackled the 3mm sheets first with them being the hardest to manage being so massive, really should have ordered smaller easier to manage sheets, d'oh, the small work bench is waaaaaay too small for the 1650x1000 sheet & the kitchen work top I used to use I found my dad made it into a fixed side table for the garage so had to improvise, quick look around & seen a bunch of beer packs
 used 5 or 6 12 packs of beer
  they made for an awesome make shift cutting table in fact they worked better than the work bench because of the even load of the packs spread out in the right places
  but it put a good bit of strain on the back from leaning over a lot & about an hour later of a jigsaw frenzy session they are to rough size within a 3mm safety measure ready for detailing, but when I marked the cut lines I forgot to make notes of which pieces are which so need to work that one out lol, should be easy enough & I'll cut up all the other sheets next, it's interesting how much I can do in a short time when going at it with a solid determined plan, I think the days of standing around for hours thinking what next? might be behind me
  .
.Needed a map to get good use of the material cutting layout.

Nearly as tall as me.

After the 1 hour jigsaw frenzy, all the 3mm alu cut to rough size within a 3mm safety gap.

Shot of the wood ready & waiting to be worked.

I didn't take my ok camera to the garage though, it's too cold & would be bad for it & it was a quick get in there & get it done type task
 not faff about with a camera in the cold
  & was only me using a beer table lol which yeah I suppose would have made a good fun opening work shot really now I think of it sat in the warmth
  .
.More tomorrow I hope
 .
.-------------
23rd May 2012
Changes

The design has been a work in progress all along but I thought the first update would have been the final look of this, it's a big relatively complex design so it needed quite a bit more effort going into it so it would turn out as I want it to look & to function, I also chickened out of the wood work for fear of it being a big hassle with my tools & lack of experience of working wood & as you can see they are square 2 inch thick blocks of wood which I'd have to make slithers of to form panels so not exactly something for a wood work newb.

Here is how the design looks now with a side by side comparison.


Last edited:


 .
. are you building a space station? xD
 , it was my quattro, had it for a good 3 years, sold it a couple of years back though, now got an Evo VI,







 .
.


