

You are using an out of date browser. It may not display this or other websites correctly.
You should upgrade or use an alternative browser.
You should upgrade or use an alternative browser.
1930s Semi Refurb - Part 4 of ... (Edition: Loft Insulation)
- Thread starter dlockers
- Start date
More options
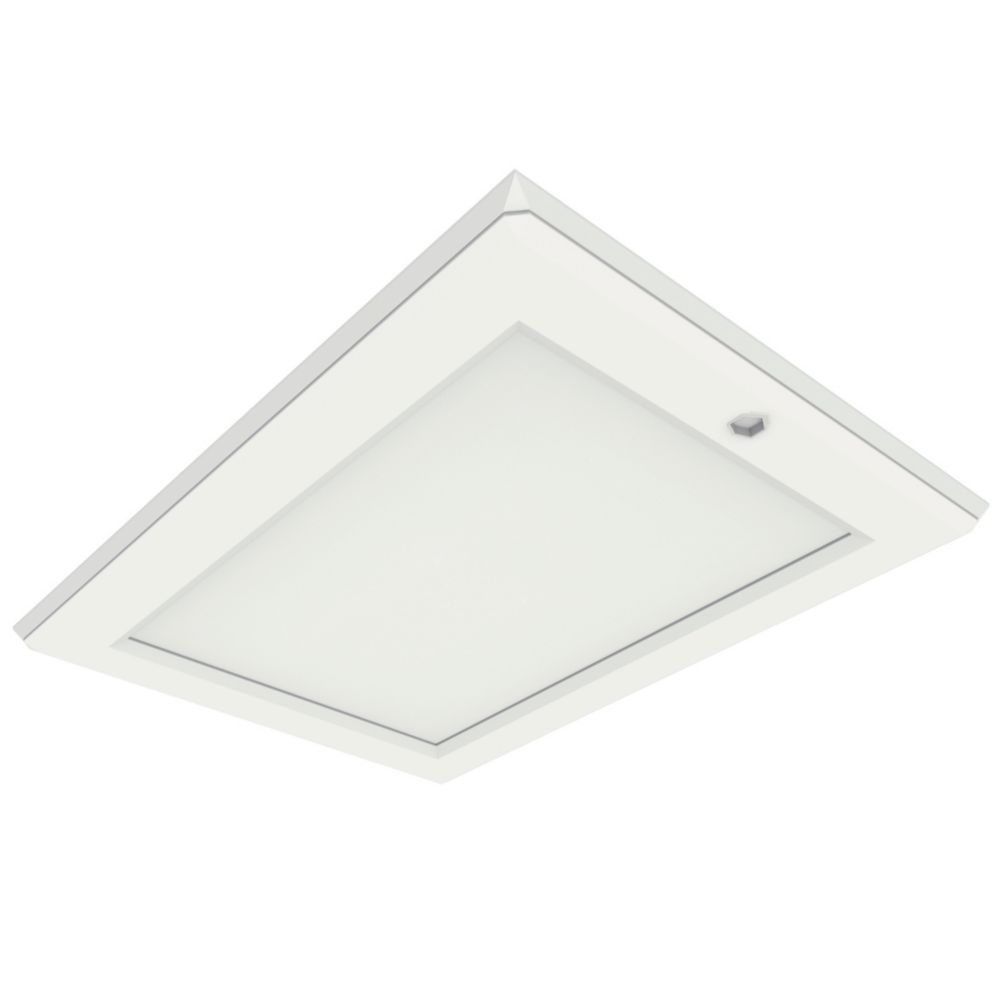
View all postsThis is the hatch I was considering:
 www.screwfix.com
I will glue some more insulation onto though I think.
Manthorpe GL250 Insulated Drop-Down Loft Access Door White 686mm x 856mm - Screwfix
Order online at Screwfix.com. Sleek, clean design with multiple catch locks for an excellent seal. FREE next day delivery available, free collection in 1 minute.
I will glue some more insulation onto though I think.
Right chaps - "big" order just gone into B&Q for:

n.b. I've only ordered 6 boards to get me going. I'll order the other 15 once I suss out the space I actually need/want.
I've also done a big Screwfix order including the new loft hatch.
Plan for the weekend is to get the loft "serviceable" but not insulated - as the plumber is theoretically arriving on Monday to start the big boiler and water tank installation.
That means...
1. New hatch
2. Rubbish bagged up
3. Boards up/laid to give them a place to work
fin
I also need to prep the Dining room (other thread) by chopping the boards. Unfortunately I couldn't find my brothers track saw so I'll be struggling with a regular circ (should be fine).
Wish me luck!
OMGGGGGGGGGGGGGGGGGGGGGGGGGGGGGGGGGGG370mm insulation?
Are you going to use xl loft legs then?
I have a mask - and have ordered dust sheets and some masking tape. I shall get the Dexter murder suit for when I tackle the insulation though!You're going to be busy then @dLockers! Not sure if you said about getting a mask or disposable overalls? It's going to be a dirty job for sure.
God, B&Q are crap. Despite the delivery being executed from the local store, they are unable to change or even cancel the order (as the CS had to phone the store and the store didn't pick up...). He told me to just refuse it when it arrives and it'll get refunded. What an utter waste of resources. I've re-ordered the same thing for Saturday but with 100mm + 170mm.
Had a decent go today, half as much as I'd have liked but there we go...
Firstly I cleared off the old 20mm insulation layer and bits of old carpet. Found this poor chap:

I then bagged up downstairs with some super inexpensive dust sheets. Life saver:

I drilled a pilot hole to identify where in the bedroom the hatch would fall. Luckily it gave me enough clearance from the rear wall to accommodate a wardrobe. Annoyingly not quite enough if I ever decide to do a wardrobe on the left hand wall as pictured above. C'est la vie.
I then whacked two supporting beams in, and put 2x 2x4's the long side of the opening.

Joining up the four pilot holes gave me my outline. I tried to use the multitool but it was ungodly messy and didn't cut deep enough at all.

In spite of having several 000's of pounds of tools, the 40 quid Bosch jigsaw came into its own.

Now I had my aperture width sorted I went about removing the ceiling joist. I left 45mm for the 2x4.

Great success... some decent damage to the ceiling but nothing that the frame won't cover.

N.b. I closed the gap by 20mm with a bit of old floorboard.

Reasonably clean cut.

Frame up. Now annoyingly I didn't realise how much of a PITA these insulated doors are. You need basically a perfect ceiling for them to close succesfully first time. Unfortunately my frame is not quite spot on, so that is a job for another day... not sure how I level it off tbh.

Fin 1

Fin 2

I'm pretty sure I should have doubled up the new opening, so without the doubling up I put some spare 2x4 pictured at the bottom in the image above. It doesn't quite span 3 joists so I think I'll grab another length of 2x4 and frame the entire thing.
As you can see the insulated door fits pretty well. We'll see how cold it gets this evening as there is now zero insulation and a loft hatch in the (current) bedroom.
Plan is to get some decent ladders if I can't recover the ones I already have, so that the loft is a truly usable (storage) space.
Questions for the audience!
I have a whole bunch of twisted ceiling joists. It certainly isn't new twisting. What's the guidance for fitting loft legs?
Firstly I cleared off the old 20mm insulation layer and bits of old carpet. Found this poor chap:
I then bagged up downstairs with some super inexpensive dust sheets. Life saver:
I drilled a pilot hole to identify where in the bedroom the hatch would fall. Luckily it gave me enough clearance from the rear wall to accommodate a wardrobe. Annoyingly not quite enough if I ever decide to do a wardrobe on the left hand wall as pictured above. C'est la vie.
I then whacked two supporting beams in, and put 2x 2x4's the long side of the opening.
Joining up the four pilot holes gave me my outline. I tried to use the multitool but it was ungodly messy and didn't cut deep enough at all.
In spite of having several 000's of pounds of tools, the 40 quid Bosch jigsaw came into its own.
Now I had my aperture width sorted I went about removing the ceiling joist. I left 45mm for the 2x4.
Great success... some decent damage to the ceiling but nothing that the frame won't cover.
N.b. I closed the gap by 20mm with a bit of old floorboard.
Reasonably clean cut.
Frame up. Now annoyingly I didn't realise how much of a PITA these insulated doors are. You need basically a perfect ceiling for them to close succesfully first time. Unfortunately my frame is not quite spot on, so that is a job for another day... not sure how I level it off tbh.
Fin 1
Fin 2
I'm pretty sure I should have doubled up the new opening, so without the doubling up I put some spare 2x4 pictured at the bottom in the image above. It doesn't quite span 3 joists so I think I'll grab another length of 2x4 and frame the entire thing.
As you can see the insulated door fits pretty well. We'll see how cold it gets this evening as there is now zero insulation and a loft hatch in the (current) bedroom.
Plan is to get some decent ladders if I can't recover the ones I already have, so that the loft is a truly usable (storage) space.
Questions for the audience!
I have a whole bunch of twisted ceiling joists. It certainly isn't new twisting. What's the guidance for fitting loft legs?
Top man, good shout. Those packers look like a decent solution.Well done good job. For levelling the hatch you can get some shims like these:
Broadfix Assorted U Packers - Pack of 150 | Wickes.co.uk
Broadfix Assorted U Packers - Pack of 150www.wickes.co.uk
Come in various sizes I used these for levelling my suspended floor in my downstairs bathrooms, very handy.
Giving me heebee jeebees with you standing on that board in the last photo
For the legs on twisted joists I’d just crack on unless they’re massively out, it’s a loft floor, unless you plan to store some bowling balls it’ll be fine. Or again you could use the shims on the top of the legs when you put the boards on top of them.

I can stand on the board even though it isn't across a joint because I am so dainty


Another bonus question - the water cylinder will be living up there. Should I bother insulating beneath that? Obviously don't want that sitting on loft legs!
Cheers chaps. I have been pleasantly surprised with the lathe ceiling. The surveyor was convinced it had come lose in places, but it is solid as a rock. The stuff is very, very well fitted.
Anyway, another back breaking day (I am seriously broken now). Managed to get a bit done.
100mm down:

Sick of moving this board:

Put some 170mm down on the back and then sorted out my loft legs:

Partially finished and the first board on. Loft legs weren't as much of a pain as I thought but probably because I can do 600 centres with the larger boards. I was going to reinforce every other centre but TBH with the low ceiling height, there isn't going to be much weight here at all.

I then thought "well this hasn't helped the plumbers who are fitting the boiler/tank up here at all as this is the opposite side of the loft. Lols. So I quickly switched gear to the other side. I then remembered why I started where I did, I was avoiding messing around with the PIR.
I ended up getting 50mm for £25/sheet plus 25 for delivery (£125 total). To get it wedged up beautifully I had to cut the first one in 3 places and slot it all in, each of the others will be cut in half. It wedges in really well, and is tight to the ceiling.
It isn't quite 50mm air gap but it is close.
Not sure where I learnt the trick but I used the tape measure to score the cut line. Worked perfectly.

Got another board up and called it a day:
Overall, really pleased with the loft legs although they aren't really "in use" atm. Great call on using the larger boards despite having to kill myself to get them up there (working entirely solo).
Insulation wasn't as bad as I thought. Once I'd cracked the approach it was a piece of cake. Using the tenon saw was an amazing trick to trimming it easily.
Fingers crossed it makes a difference... about 50% of the floor area remaining but the main thing is, the plumber can work happily!
Anyway, another back breaking day (I am seriously broken now). Managed to get a bit done.
100mm down:
Sick of moving this board:
Put some 170mm down on the back and then sorted out my loft legs:
Partially finished and the first board on. Loft legs weren't as much of a pain as I thought but probably because I can do 600 centres with the larger boards. I was going to reinforce every other centre but TBH with the low ceiling height, there isn't going to be much weight here at all.
I then thought "well this hasn't helped the plumbers who are fitting the boiler/tank up here at all as this is the opposite side of the loft. Lols. So I quickly switched gear to the other side. I then remembered why I started where I did, I was avoiding messing around with the PIR.
I ended up getting 50mm for £25/sheet plus 25 for delivery (£125 total). To get it wedged up beautifully I had to cut the first one in 3 places and slot it all in, each of the others will be cut in half. It wedges in really well, and is tight to the ceiling.
It isn't quite 50mm air gap but it is close.
Not sure where I learnt the trick but I used the tape measure to score the cut line. Worked perfectly.
Got another board up and called it a day:
Overall, really pleased with the loft legs although they aren't really "in use" atm. Great call on using the larger boards despite having to kill myself to get them up there (working entirely solo).
Insulation wasn't as bad as I thought. Once I'd cracked the approach it was a piece of cake. Using the tenon saw was an amazing trick to trimming it easily.
Fingers crossed it makes a difference... about 50% of the floor area remaining but the main thing is, the plumber can work happily!
Last edited:
Yeah that's exactly how I found myself working too. Super sturdy. Definitely OTT with how many I have under those boards, may try and space them a bit more when I do the other side. I need to tott up how many I have as well. Think I may have way too many or not enoughGood job. Legs tougher than you thought they'd be? I'm a big chap and after I got my first board down I laid down on it and was surprised by how sturdy it is. Also when screwing them down I'd often put my one free arm on top of one putting a lot of weight on it, and drive it with the other.
I didn't do any more legs than needed except around the loft hatch, I figured that part is probably going to get abused the most, people tricep dipping in and out.

I haven't screwed the boards down yet.
Cost, simplicity and to be honest there won't be all that much weight up there.How come you went for loft legs instead of cross battening with timber? I'd imagine that would spread the load more than legs do.
It's Rosemary's on wood, so could be 90 years old. It's due tbh but I'll consider a loft conversion before that.What’s your roof made from?
So much cleaner than my loft.
Mine is slate with horsehair mortar on the underside of the slates where they are nailed. It’s all crumbling to dust and drops into the insulation/onto everything below. Sweep/hoover it up every time I go up but can’t win.
My loft is already boarded in the centre and has stuff up there so would be a monumental job to lift all the boards and redo itI did the eaves with 170mm top up when we moved in.


It's ok - it was super inexpensive (not sure how much I thought a loft hatch would cost lol), but it is VERY modern - like a big chunk of plastic on your roof. It fits perfectly though and seals really well, so given it is in a potential bedroom, I think it is good.Great work you have done...
Looking for a loft hatch as i got to reposition the loft entrance.
You impressed with the one you installed?
I will be doing the same work in my attic. Not looking forward to it. Especially with my bad back!
I will need to choose a loft ladder too.
Haven't thought about a ladder yet but I need something that can do the 2.4m vertical height + the 270mm height of the floor. Not sure the old one has enough reach on it and the spring loaded mechanism has failed.
Let me know if you get educated on loft ladders!
Not yet but I am booked in for the weekend (y)Did you get this finished? I’m going to do a little bit of the boarded bit of my loft. The boards aren’t T&G but they have all been cut to size nicely.
I’m only doing the section on the landing adjacent to the loft hatch, as all the warm air from downstairs just buggers off upstairs and out the gap here. It’s 2.5m by about 1.2, the full loft width being about 5-6m so 20% ish of the total left “uninsulated”. The eaves have all been at least topped up with wool over the existing insulation of totalling 100mm original wool & vermiculite to top of joists.
I’m going to use loft legs as this bit is just used for storage but in the remainder of the centre where I walk I think kingspan is my only option.
I don’t want to lose 200mm off the headroom with legs and wouldn’t work with the loft ladder anyway I don’t believe.
Out of interest what plastic boxes did you get? I need to relocate all the stuff out of the workshop/out building/garage into the attic to make good space so need to get rid of the moisture retaining cardboard I think...Ah! I just went to get the Xmas decorations down and noticed condensation between a gap in the boards in mine which has prompted me to do something more hasty. It’s also been dropping at least a few degrees at night upstairs and I’d rather it held heat a bit better. With the cold weather coming this week I was going to try and press on and get it done tomorrow/Tuesday.
Whoever boarded used flat blade screws to fix things down so getting them up could be a challenge. Already broke one screwdriver bit even with the torque turned down getting the first board up.
I have to shift everything around a bit at a time, but at least it gives me a chance to clear things out, a lot of what is up there is all good stuff and organised into plastic storage boxes and covered with a tarp. An old TV aerial, a 15kg heavy L bracket, and some old empty packaging boxes gone today though!
Ah spot on. Yeah I spotted those at Homebase earlier today but they are outrageously priced. I did get a MASSIVE recycled plastic set of boxes from B&Q that were super cheap comparatively but not see-through (and too big for a loft hatch tbh).The “Really Useful” boxes I find are the best. Plastic is of a high quality, not brittle, lids overlap/come down the side a bit to stop dust/dirt getting in and they stack well. I think they are made in GB. The 35L size is a good one for home, fit through the hatch, can’t fill them too heavy and easy to handle.
Hobby craft sell them but not the cheapest place. Think most of mine came from B&Q but they moved onto selling cheap imported stuff now.
Will give them a go, thanks
Mine were between 300 and 430@dLockers I'm about to do my loft with the Knauf stuff from B&Q & it's not dissimilar from your loft by the looks of it, though my house was built in 1906. Out of interest, is the gap between your joists 400mm as per how the roll is pre-cut? I measured mine earlier & annoyingly, the gap is 320mm
I originally cut the Knauf stuff down with a large wood saw whilst it was still in the bag, but tbh I found you can get away with cramming the 400mm into a 320mm hole as long as it isn't "squashed" down, it was kinda resilient to being squeezed sideways.
Last edited: