You are using an out of date browser. It may not display this or other websites correctly.
You should upgrade or use an alternative browser.
You should upgrade or use an alternative browser.
A Window To Wales
- Thread starter OJ46
- Start date
More options
Thread starter's postsIt's actually worse than that, it came with an instructional DVD... No chance that's going on!! 
Hoping if it all goes to plan I'll be able to put a black vinyl design onto the frosted floor and light it up from behind with an EL panel, then for any area that needs to be coloured I could put a film between the EL panel and the acrylic sheet. Bound to go wrong somewhere along the line but that's the current plan anyway lol
If you hear some welsh accent swearing drifting into Watford it has been plugged in

If you did run the DVD, you'd probably find you have to plot your own instructions onto vinyl!
It's like back in the day when I asked Demon Internet where I could get the software to make the dial-up connection to the internet (I told you it was 'back in the day'!) they helpfully told me that I could simply download it
If I spot that the colourful language is red, white and green, I'll know it's you!
It's like back in the day when I asked Demon Internet where I could get the software to make the dial-up connection to the internet (I told you it was 'back in the day'!) they helpfully told me that I could simply download it

If I spot that the colourful language is red, white and green, I'll know it's you!
Haha that really is the kind of stupidity only an ISP could be capable of. Had similar with BT: "I can't get on line, the phoneline is down" "can you please go to bt.com and run a quick speed test..." 

Think today is going to be spent playing with Inkscape and swearing at inanimate objects


Think today is going to be spent playing with Inkscape and swearing at inanimate objects

Another small delivery, but the important thing about this one? It contained a component! No, not a fan. Not something for the loop. Not a tool. It's an actual, needed for the PC to actually work bloody component! 
Also got a chamfer tool and some red LED's after XSPC were rather idiot with their choice of lights in the block...
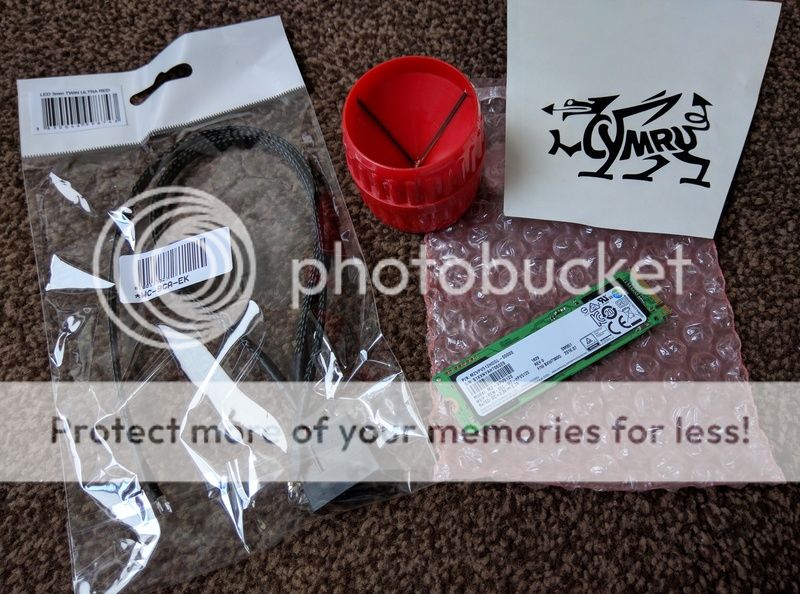
Hopefully the PETG should arrive in the next day or 2 (OcUK somehow messed it up again though so it's coming in 2 separate orders. Was corrected quickly mind so all good cheers guys ).
).
Then I can actually try bending it, play with this device that looks like it was designed to kill small rodents and check the Barrow fittings are nice and tight.

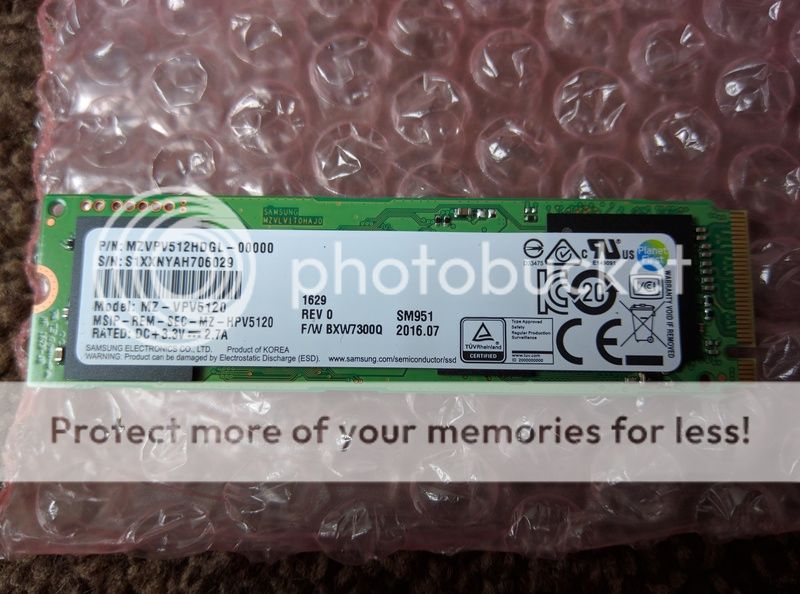
Right, the ACTUAL COMPONENT: Samsung SM951 512GB M.2 PCI-e 3.0 x 4 NVMe. Should make the system nice and 'snappy', with room for the OS and a couple of my most played games
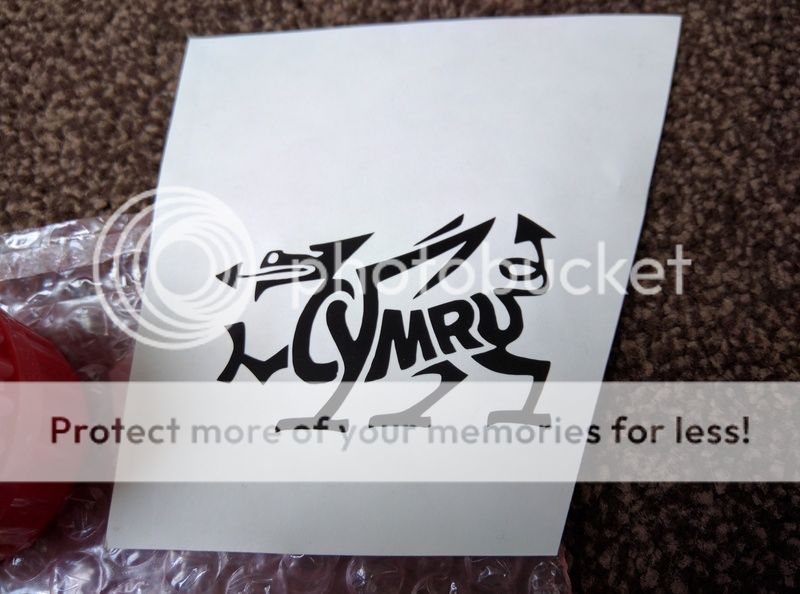
Also fired up the plotter just for a quick play and to make sure it worked. Pretty happy with how simple it was. Forgot to cut out the nose, middle of the R and middle of the tail on the first attempt but second time lucky...
This should make any future mods one hell of a lot simpler, especially once I figure out how to use it properly!

Also got a chamfer tool and some red LED's after XSPC were rather idiot with their choice of lights in the block...

Hopefully the PETG should arrive in the next day or 2 (OcUK somehow messed it up again though so it's coming in 2 separate orders. Was corrected quickly mind so all good cheers guys
 ).
).Then I can actually try bending it, play with this device that looks like it was designed to kill small rodents and check the Barrow fittings are nice and tight.

Right, the ACTUAL COMPONENT: Samsung SM951 512GB M.2 PCI-e 3.0 x 4 NVMe. Should make the system nice and 'snappy', with room for the OS and a couple of my most played games


Also fired up the plotter just for a quick play and to make sure it worked. Pretty happy with how simple it was. Forgot to cut out the nose, middle of the R and middle of the tail on the first attempt but second time lucky...

This should make any future mods one hell of a lot simpler, especially once I figure out how to use it properly!

For most people, the green PCB of the 951 is an irritation but for you it conveniently goes with your colour scheme!  Will you be de-stickering it (once tested) is the question!
RGB LEDs for the win*!
*Caution: Wiring these may cause temporary or permanent sanity loss as well as varying degrees of profanity.
 Will you be de-stickering it (once tested) is the question!
RGB LEDs for the win*!

*Caution: Wiring these may cause temporary or permanent sanity loss as well as varying degrees of profanity.
Haha think I might just be the first person in the history of ****** green PCB's to add a heatsink with the sole intention of making it MORE green!
As much as I love RGB LED's (actually have a spare one for the Aquaero ) after seeing your build there's no way I'll be attempting to wire em up like you have, far too fiddly and far too much swearing would be involved! Bet you're proper happy with it now it's done though
As much as I love RGB LED's (actually have a spare one for the Aquaero
 ) after seeing your build there's no way I'll be attempting to wire em up like you have, far too fiddly and far too much swearing would be involved! Bet you're proper happy with it now it's done though
Very happy with how it's part-done  Still want to do the GPU and the res.
The res looks like it'll involve working out how to etch my own PCB because of the need for so many resistors and there's no point in doing that until I get the acrylic block designed and built - which I think will wait until I've got everything else done
I think the RGB LED from the Aquaero directly is destined to be a substitute power light for the case.
 Still want to do the GPU and the res.
 The res looks like it'll involve working out how to etch my own PCB because of the need for so many resistors and there's no point in doing that until I get the acrylic block designed and built - which I think will wait until I've got everything else done
I think the RGB LED from the Aquaero directly is destined to be a substitute power light for the case.
Oi, stop copying my power button ideas *shakes fist* Damn, that does sound like one heck of a lot of work just to light up a tube of water... just buy a load of Aquaero's and RGB modules 
Would be rude to do all that work for the CPU block and then ignore the GPU, so guess you're kind of committed now...!
A Silhouette Portrait, nice early birthday present off the missus. Impressed with how easy everything is to figure out using the supplied software, always expect it to be crap and lead to an hour on Google trying out better alternatives but happy to stick with this one for now

Would be rude to do all that work for the CPU block and then ignore the GPU, so guess you're kind of committed now...!

A Silhouette Portrait, nice early birthday present off the missus. Impressed with how easy everything is to figure out using the supplied software, always expect it to be crap and lead to an hour on Google trying out better alternatives but happy to stick with this one for now

Well, once I'd changed the Phanteks one for the supplied blue LED and then run the Aquaero LED past it to light up the pump top (which should eventually disappear into a combined block) it started to bug me.
You'd have to have loads of Aquaeros to do that as you say. One header is only spec'd to power one LED and on the Aquaero it's Common Cathode (+R, +G, +B, Gnd) as that's the common type of single RGB LED. The Farbwerk which is rated to power more LEDs is set up for Common Anode (-R,-G,-B, +V) since all the RGB strips are wired that way. So the pre-wired Aqua Computer RGB LEDs wouldn't work. I had to import common anode single RGB LEDs from China - couldn't find them locally at all. It does mean I've currently got 90-odd spare if you start feeling the need to wire some up!
You'd have to have loads of Aquaeros to do that as you say. One header is only spec'd to power one LED and on the Aquaero it's Common Cathode (+R, +G, +B, Gnd) as that's the common type of single RGB LED. The Farbwerk which is rated to power more LEDs is set up for Common Anode (-R,-G,-B, +V) since all the RGB strips are wired that way. So the pre-wired Aqua Computer RGB LEDs wouldn't work. I had to import common anode single RGB LEDs from China - couldn't find them locally at all. It does mean I've currently got 90-odd spare if you start feeling the need to wire some up!

I would imagine it uses the same software as mine, so fire away if you have any questions dude.
Awesome, cheers mate. Will try not to bombard you with a million things as soon as I start ballsing it up in a couple months time

Well, once I'd changed the Phanteks one for the supplied blue LED and then run the Aquaero LED past it to light up the pump top (which should eventually disappear into a combined block) it started to bug me.
You'd have to have loads of Aquaeros to do that as you say. One header is only spec'd to power one LED and on the Aquaero it's Common Cathode (+R, +G, +B, Gnd) as that's the common type of single RGB LED. The Farbwerk which is rated to power more LEDs is set up for Common Anode (-R,-G,-B, +V) since all the RGB strips are wired that way. So the pre-wired Aqua Computer RGB LEDs wouldn't work. I had to import common anode single RGB LEDs from China - couldn't find them locally at all. It does mean I've currently got 90-odd spare if you start feeling the need to wire some up!
It's just so much more useful there isn't it, especially with the nice long bar on the Evolv. A quick glance and you know to within a couple of °C what the temps are

That sounds brain fryingly complicated for a plug and play general like myself, so think I'll leave that kind of messing to you and Andy cheers mate

Happy with that, glows a lot brighter / more evenly IRL and definitely hides the difference in colour 
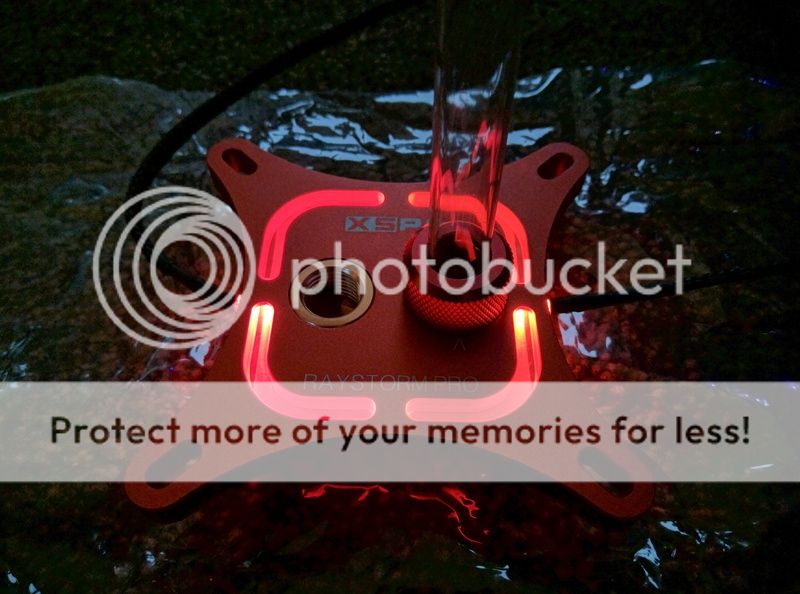
Reckon with some Ice White in the tubes she'll be good to go
Can also confirm that the EK PETG is a very good fit in the Barrow fittings, no way she's gonna leak


Reckon with some Ice White in the tubes she'll be good to go

Can also confirm that the EK PETG is a very good fit in the Barrow fittings, no way she's gonna leak

Yes  Well, to be honest there's enough people here claiming OCD that you're probably not alone. It probably depends what angle it's pointing - the rear of mine are all pointing in innocuous directions. The CPU block has one (rear) pointing into the IO shroud and one at the roof so I hadn't noticed them to be honest. When I do the graphics card, the rears will be pointing at the motherboard. Also, all mine are solid acrylic blocks so it doesn't notice as much. Yours sort of need to be channelled through the edge to light up just the inner ring so it probably shows up more.
 Well, to be honest there's enough people here claiming OCD that you're probably not alone. It probably depends what angle it's pointing - the rear of mine are all pointing in innocuous directions. The CPU block has one (rear) pointing into the IO shroud and one at the roof so I hadn't noticed them to be honest. When I do the graphics card, the rears will be pointing at the motherboard. Also, all mine are solid acrylic blocks so it doesn't notice as much. Yours sort of need to be channelled through the edge to light up just the inner ring so it probably shows up more.
The photo's companies like XSPC use to advertise these blocks though are bloody awful, the RAM and IO shield end up glowing more than the CPU block... Surely they can afford the 30 seconds it takes to cover the arse end of the LED to make it look 20x better?! Even a bit of vinyl over the end would improve it massively. *Gets off the box for the evening...* 


 ;p
;p