You are using an out of date browser. It may not display this or other websites correctly.
You should upgrade or use an alternative browser.
You should upgrade or use an alternative browser.
A Window To Wales
- Thread starter OJ46
- Start date
More options
Thread starter's postsSo I ordered a couple of ML 120's to see if they could be made green and erm... Stupid question: How the hell do I get them apart?!
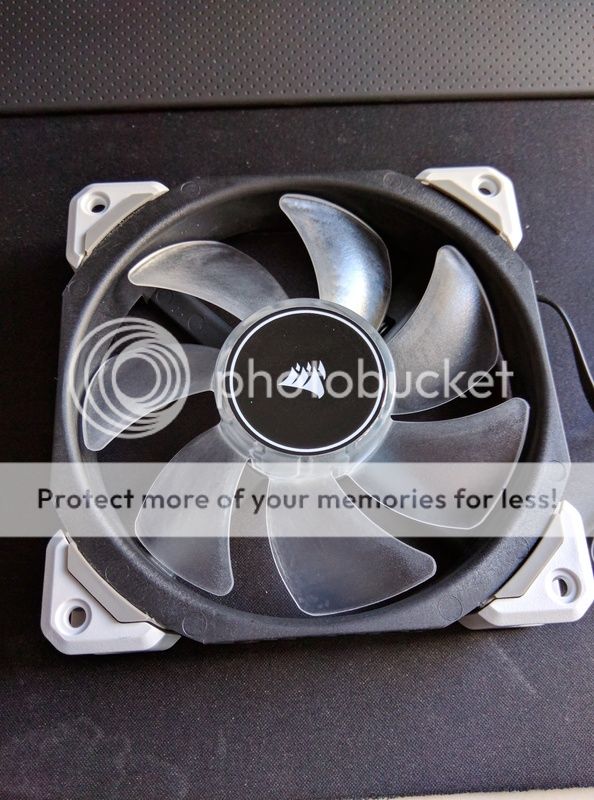
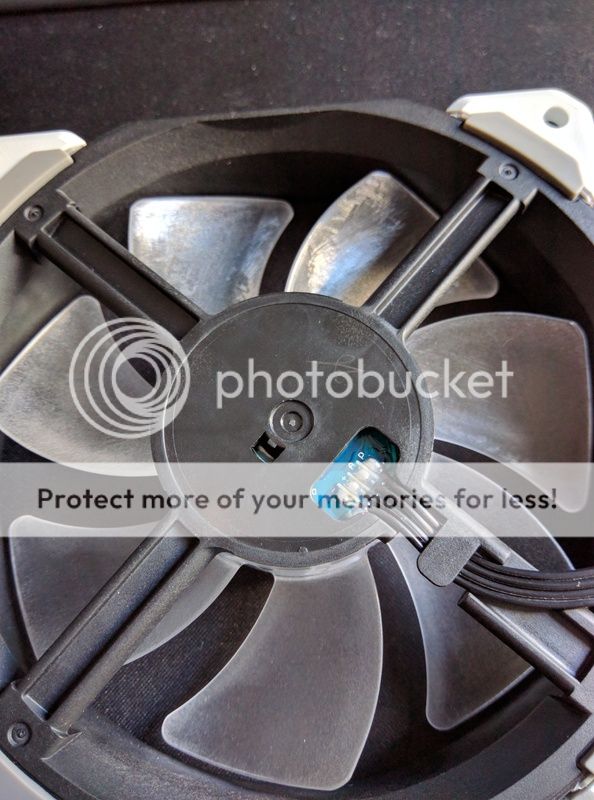
I know I'm probably being a complete tool and missing something incredibly obvious / simple, but after a birthday weekend of alcohol abuse even simple fans are confusing today! Someone please save me from myself before I break the damn thing


I know I'm probably being a complete tool and missing something incredibly obvious / simple, but after a birthday weekend of alcohol abuse even simple fans are confusing today! Someone please save me from myself before I break the damn thing

It's usually either friction holding in the shaft or some sort of circlip holding the shaft in from the side with the wiring. Could be different with mag-lev bearing though.
Found this though:
Found this though:
Two different Corsair contacts said that disassemly of the rotor is not recommended at all. The reason is that the rotor has to be perfectly balanced in order to get the magnetic levitation working perfectly and not giving any noise artifacts, and removing and putting the rotor back again by hand will almost always create issues.
Damn, trust me to buy the one fan that can't / shouldn't be taken apart!! Guess it's plan B and have some non LED fans in the front instead, won't look as good but never mind, will keep these to go on the roof mounted rad instead. :/
You could try wrapping the hub with some filter but it depends whether the light comes out through the sides of the hub or through the blades. If it comes out through the blades and you can't get to the LEDs, the only thing you could do is coat the whole blade with filter and the only thing I'm aware of that would cover that shape nicely is liquid-based - ie paint. You'd have to find the right paint though. Had a quick Google and it doesn't look like this is a stupid idea: http://nofilmschool.com/2014/12/no-gels-use-spray-paint-cheap-diy-lighting-tricks
It's a right pain, can see the LED's but can't get good enough access to do anything with them. Was going to stick some green window tint film over them as that sounded like the simplest solution but never mind, that looks like a definite no go now! Only thing that would worry me painting them is how much it cuts the brightness down, as they aren't all that bright to start with. Still, looks like it's the only option left so will give it a go! Cheers 

If you filter them, you're definitely going to reduce the brightness to probably about a third. You start off with an approximately even mix of red, green and blue to get white light. Filter out everything but the green and it's going to be dimmer. May not be as much as 2/3 though, not sure whether perception of brightness works on a linear scale, logarithmic or something else. If you've already got the filter, hold some up in front of the whole fan and see what happens. Or as LePhuronn said, some [dubious-]Quality Street - your local garage might do 'The Big Green One' and you get to eat the by-product too 

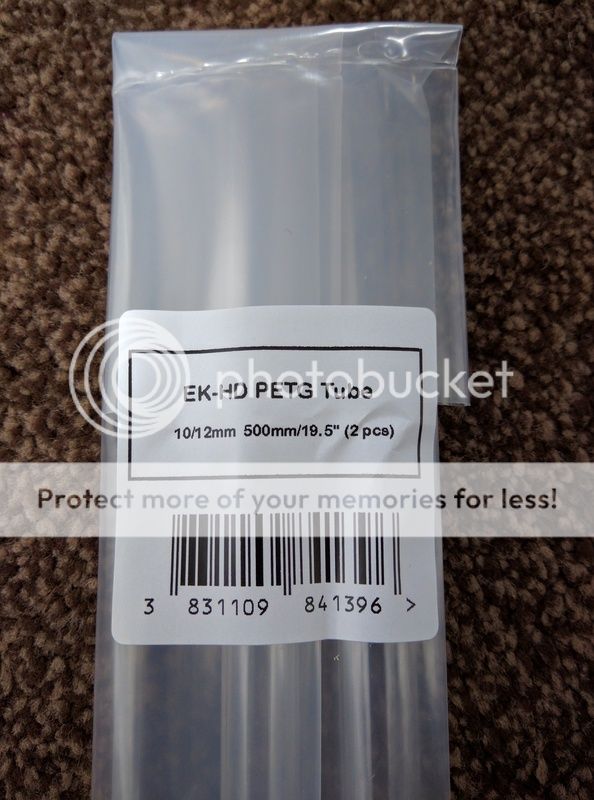
Woohoo, more parcels! Was expecting a delivery from OcUK but for some reason unknown to myself I actually received two... Yep, first up was another pack of (not ordered and unpaid for) PETG! Gave them a quick shout on Twitter to ask if I could send the money via Paypal instead of bothering to post it back, was told to just keep it, so cheers guys 
Then today the other pair of radiators arrived
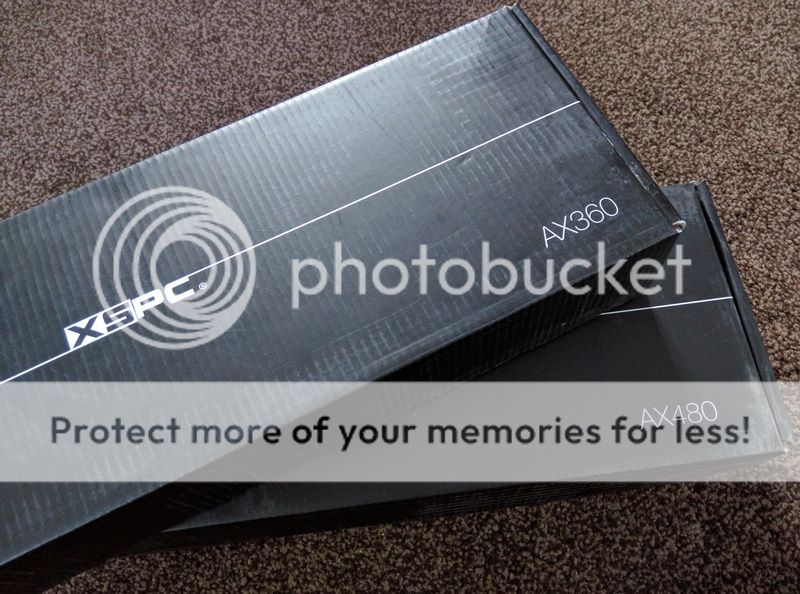
An XSPC AX360 in white and a black AX480. Liking the look of these, bit of class about them
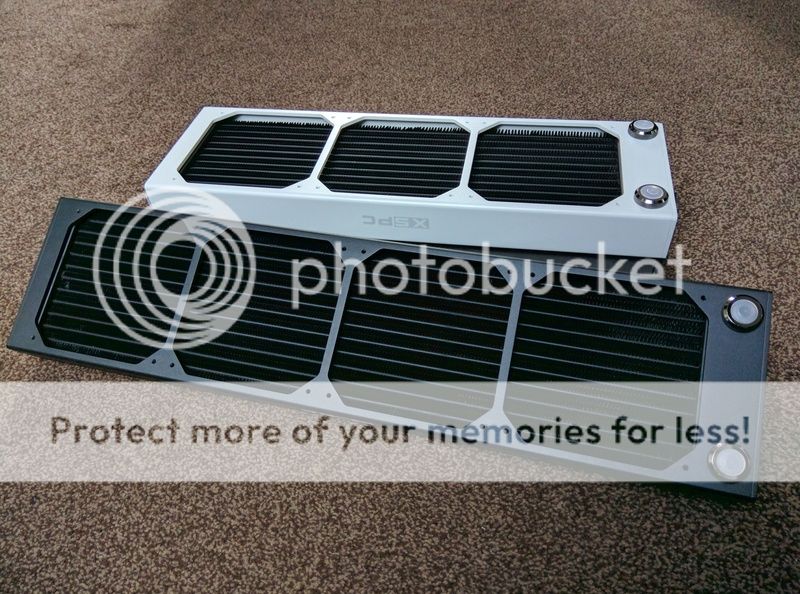
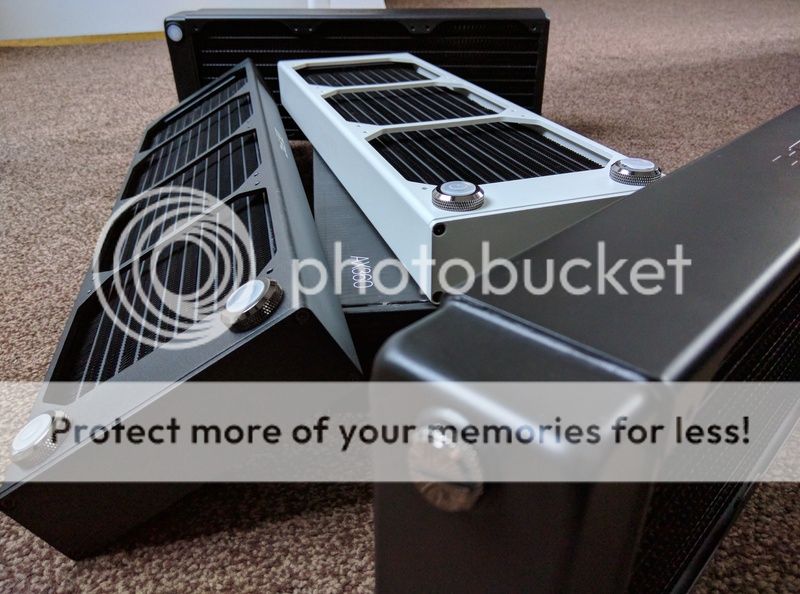
Together with the pair of XSPC RX360 V3's I already had. Ooh yes, reckon that's more than enough cooling capacity for now
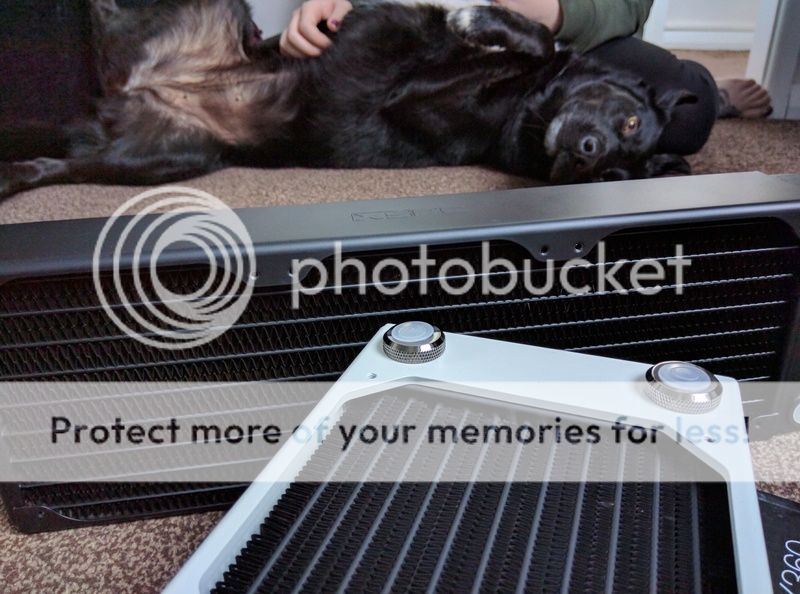
The dog, admiring the awesomeness of the radiators and generally dossing around like she owns the place
The white AX360 will be for the roof with the black AX480 in the front. Thinking behind it was to keep the front part of the case darker and to put more emphasis onto the actual components... Will soon see whether it works or not
The fatter but fuglier RX360 V3's are to go in the hidden bottom part of the case to cool the GPU. Yes, the plan is starting to come together... And the case should hopefully arrive next week


Then today the other pair of radiators arrived


An XSPC AX360 in white and a black AX480. Liking the look of these, bit of class about them


Together with the pair of XSPC RX360 V3's I already had. Ooh yes, reckon that's more than enough cooling capacity for now


The dog, admiring the awesomeness of the radiators and generally dossing around like she owns the place


The white AX360 will be for the roof with the black AX480 in the front. Thinking behind it was to keep the front part of the case darker and to put more emphasis onto the actual components... Will soon see whether it works or not

The fatter but fuglier RX360 V3's are to go in the hidden bottom part of the case to cool the GPU. Yes, the plan is starting to come together... And the case should hopefully arrive next week

Yeah I'm definitely gonna have sore arms after that marathon, think I might do the 2 for the GPU loop first then leave it a few days for the muscles to recover!
Was surprised by how much thinner the actual core is compared to the RX360 V3's (core of RX is 6mm fatter than total thickness of AX) but not sure that's going to be an issue with a 360 + 480 just for the CPU. They do look far neater though so definitely worth the trade off on the ones that are actually on show
They might feel a tad inadequate next to yours, but I reckon 1560mm of radiator space should be more than enough for a modest overclock
Was surprised by how much thinner the actual core is compared to the RX360 V3's (core of RX is 6mm fatter than total thickness of AX) but not sure that's going to be an issue with a 360 + 480 just for the CPU. They do look far neater though so definitely worth the trade off on the ones that are actually on show

They might feel a tad inadequate next to yours, but I reckon 1560mm of radiator space should be more than enough for a modest overclock

Should be more than plenty however you distribute them. You might find the graphics card dumps more heat than the CPU though. Seems to be difficult to get good data on how much real-world difference thickness makes for real-world situations - some people have results that seem to suggest it's not a lot.
On paper, your 1560 is more rad than mine...just not in one big lump. For normal work - desktop stuff (Outlook, RDP, web pages etc) my rad fans are stopped for more time than they're running. Kick in at 31° and stop when it gets down to 30°C. Might have to see if I can run totally passive on the rad with higher temps allowed - my rad fans are, er, not as good as I'd like. Suspect you could run passive with that amount of rad too - depends on whether more rad space compensates for the rads being within the case.
On paper, your 1560 is more rad than mine...just not in one big lump. For normal work - desktop stuff (Outlook, RDP, web pages etc) my rad fans are stopped for more time than they're running. Kick in at 31° and stop when it gets down to 30°C. Might have to see if I can run totally passive on the rad with higher temps allowed - my rad fans are, er, not as good as I'd like. Suspect you could run passive with that amount of rad too - depends on whether more rad space compensates for the rads being within the case.
Believe it or not I actually run the current setup (1 x 360mm + 1 x 240 X-Flow) completely passive most of the time. Will run Netflix etc and some light gaming no problem at all in this weather with the fans only spooling up occasionally during games like Metal Gear. They run constant and fairly high on games that hammer the GPU though, so that was one aim for this build: Make Project Cars on this quieter than Metal Gear on the old one 
Did go with the fatter but fuglier rads for the GPU as I know they're good, and they would be more than capable of future SLI configurations without sounding like a jet. But putting them on display? Not too keen when XSPC also make far better looking radiators! Do wish the better looking ones were the same thickness though...
Can't remember the exact water temp the fans kick in at on the current build (one rad kicks in slow, then the other does a few degrees higher) but think it was around the mid to high 30's, so still well within any safety margins. That's if I'm right in thinking anything under 50°C is all good...?!
I'd have said 50 was the max you'd ever want it to go to. DDC pumps are rated to 60°C coolant temp. Hosing is trickier as most don't seem to quote. XSPC say 60°C Tygon E3603 is rated to 73°C. Hot hose can get softer and start slipping over barbs (compression fittings should be ok though). I suspect you wouldn't want water that hot splashing about though.
The other issue you get when your coolant is that sort of temperature results from the delta - difference between cold (when it's off all night) and hot (when you game). The larger the delta, the more expansion you get as the coolant heats up. If you don't allow for this either with a largeish air gap at the top of the res or a pressure relief membrane (Aqua Computer do them on the top of their Aqualis XTs but Bitspower also seem to do one as do Barrow I think), you can get quite high pressures and that's when you find out what the weakest part is. Guess how I learned this!
Externally mounted flow indicator cracked first, followed by its replacement. Once that was removed, the o-ring in the Danger Den graphics card block started to leak, followed by its replacement. Yeah, turns out I learn slowly sometimes!
Personally, I'm happy up to and including 40°C but if I'm honest, it's a fairly arbitrary number - just with a reasonable safety margin.
The other issue you get when your coolant is that sort of temperature results from the delta - difference between cold (when it's off all night) and hot (when you game). The larger the delta, the more expansion you get as the coolant heats up. If you don't allow for this either with a largeish air gap at the top of the res or a pressure relief membrane (Aqua Computer do them on the top of their Aqualis XTs but Bitspower also seem to do one as do Barrow I think), you can get quite high pressures and that's when you find out what the weakest part is. Guess how I learned this!

Externally mounted flow indicator cracked first, followed by its replacement. Once that was removed, the o-ring in the Danger Den graphics card block started to leak, followed by its replacement. Yeah, turns out I learn slowly sometimes!

Personally, I'm happy up to and including 40°C but if I'm honest, it's a fairly arbitrary number - just with a reasonable safety margin.
Yeah I wouldn't want to push it too high tbh, that was the reason for changing rads in the last one (was running mid 40's). Now I'm happy to keep it running mid - high 30's most of the time with GPU stressful games pushing just into the low 40's. Should leave plenty of headroom 
That sounds like a rather expensive way of finding the weakest component, hope the coolant just dribbled out and didn't flood anything major!
Did look at the membranes and was planning on using them on this build, will probably order a couple of Barrow ones off the Bay.

That sounds like a rather expensive way of finding the weakest component, hope the coolant just dribbled out and didn't flood anything major!
Did look at the membranes and was planning on using them on this build, will probably order a couple of Barrow ones off the Bay.
The flow indicator was one of the reasons I still stick with clear, colourless coolant. The resultant clear, colourless stain on my carpet wasn't an issue 
Graphics was more of a seep that turned the copper green. I think I found it when it started filling up the PCI-E ports and caused, er, stability issues

Graphics was more of a seep that turned the copper green. I think I found it when it started filling up the PCI-E ports and caused, er, stability issues

Haha oh dear, hope the motherboard and card both survived their swim 
That's the one thing that worries me with coloured coolant, could cause one hell of a mess if it does ever make an escape from the loop... Does look good while it's in there though!

That's the one thing that worries me with coloured coolant, could cause one hell of a mess if it does ever make an escape from the loop... Does look good while it's in there though!


