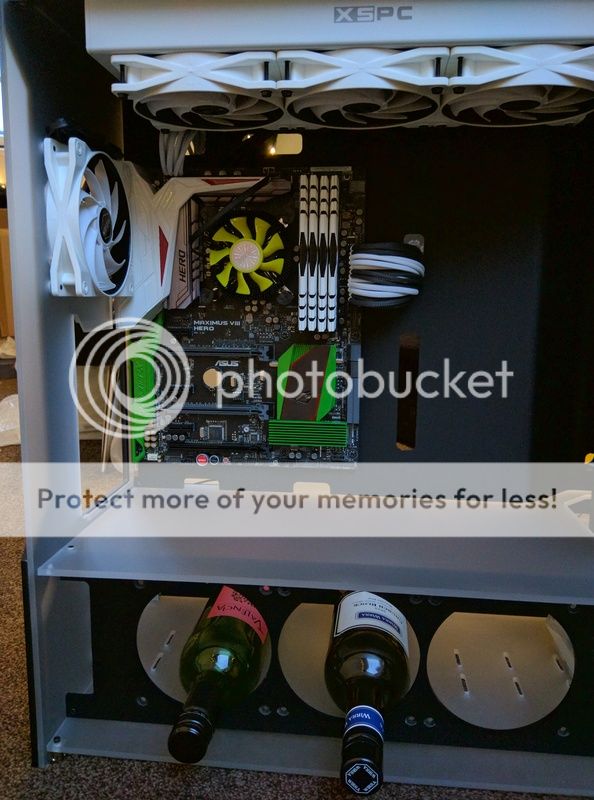
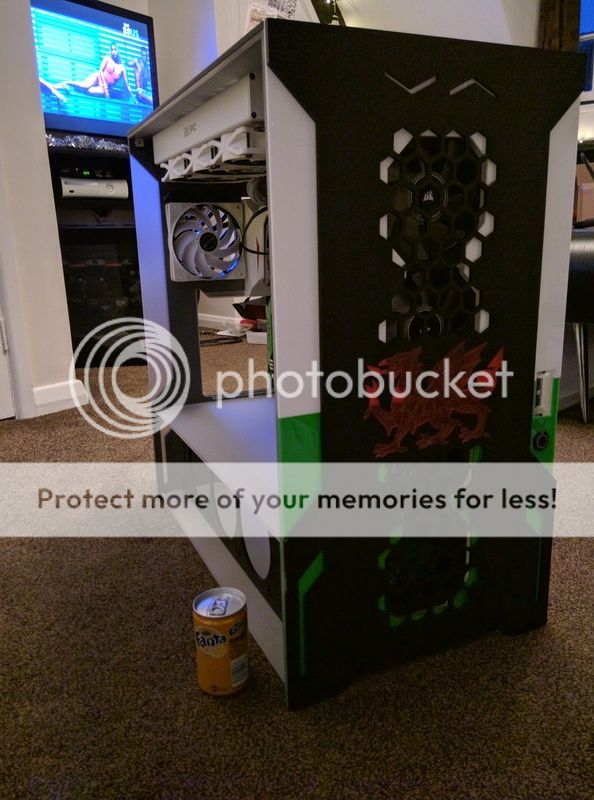
A Window To Wales

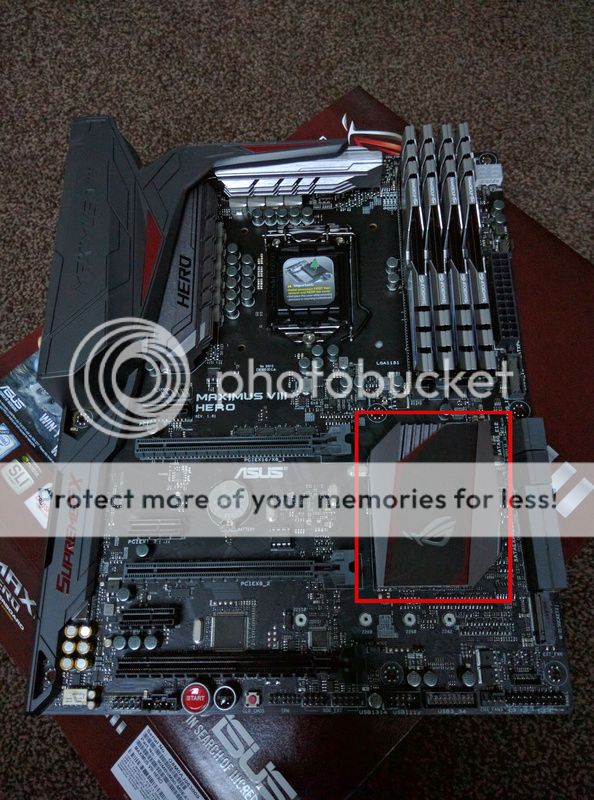
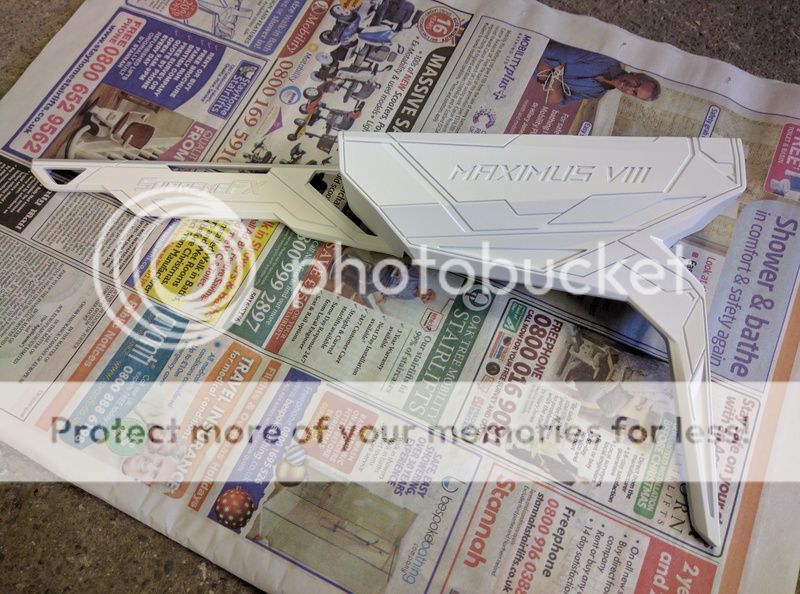
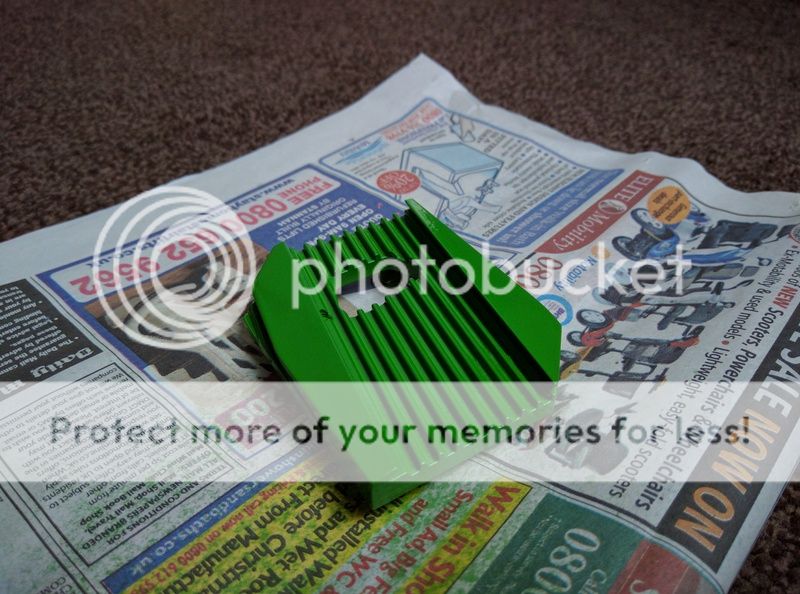
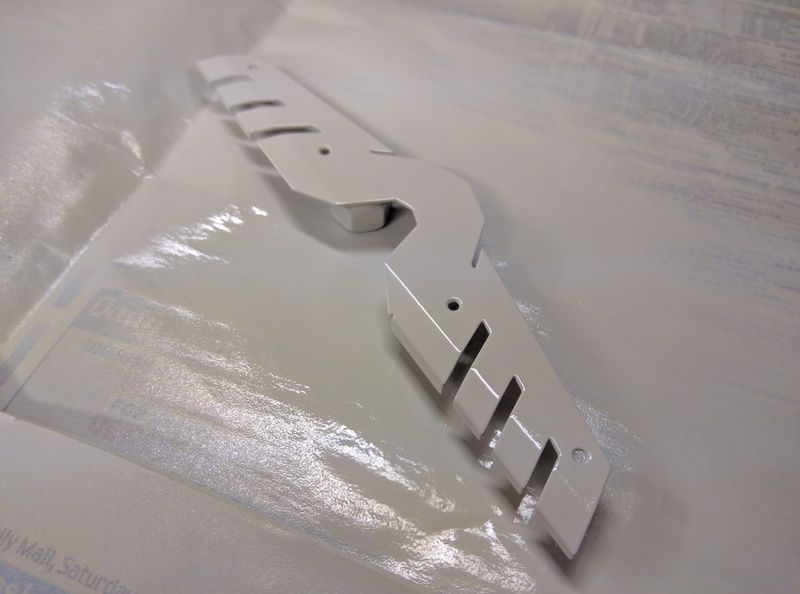
Not had time to paint the motherboard parts yet, but did find just about enough spare time to get the RAM finished...

Shiny paint is shiny :cool:
IMG_20161211_160833.jpg


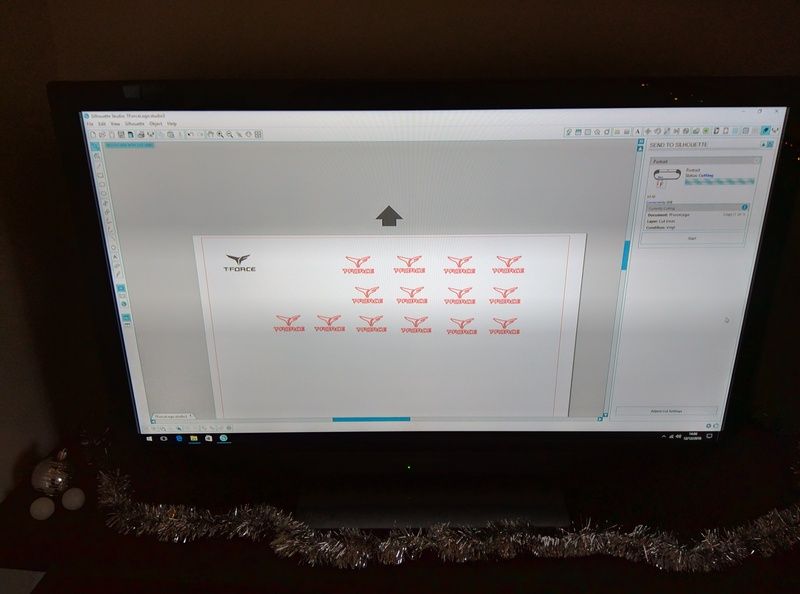
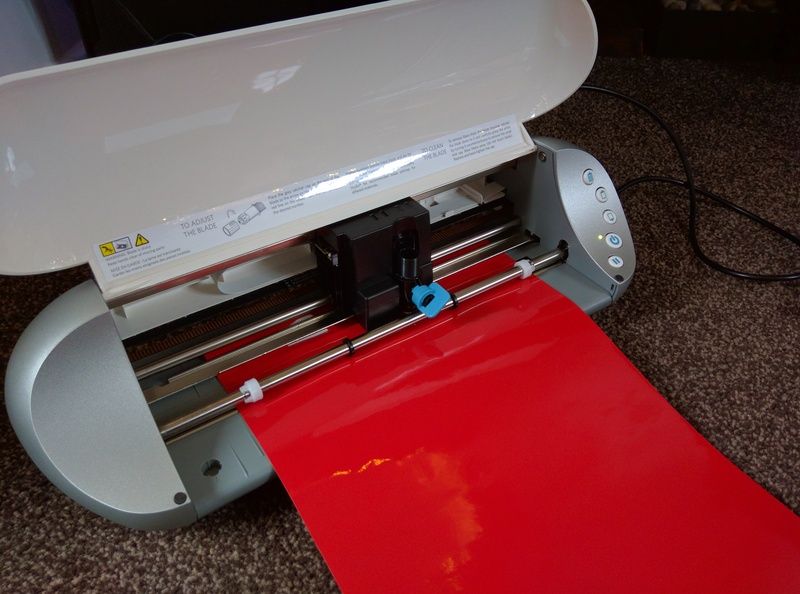
Now for the 'fun' part, cutting and fixing some extremely small stickers. Only needed 8 but you just know a few are going to get broken, so cut some spares!
IMG_20161212_140818.jpg


IMG_20161212_140830.jpg


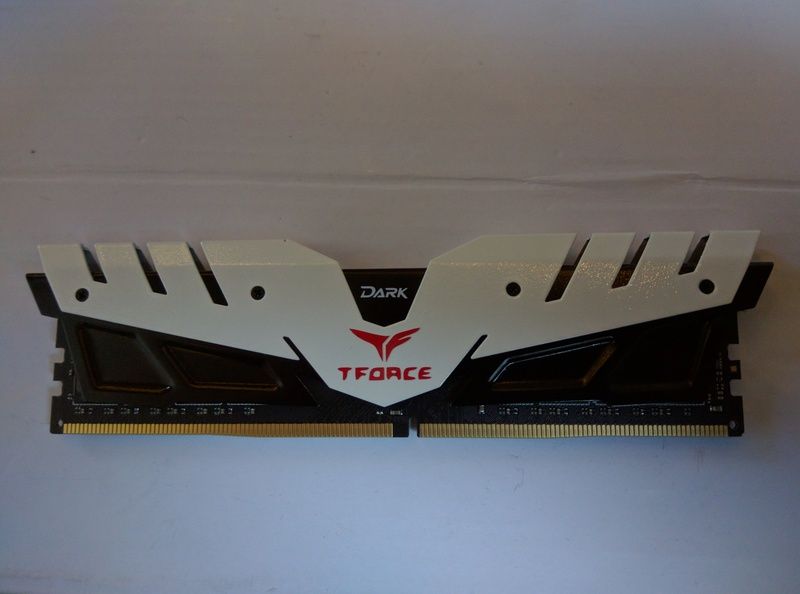
Not perfect, but both the plotter and my eyes really start to struggle once things get this small.
IMG_20161212_151507.jpg


A few on the wonk so it's lucky that only 2 of them will be visible, wonky ones will be placed out of sight in the middle slots :D
IMG_20161212_152235.jpg


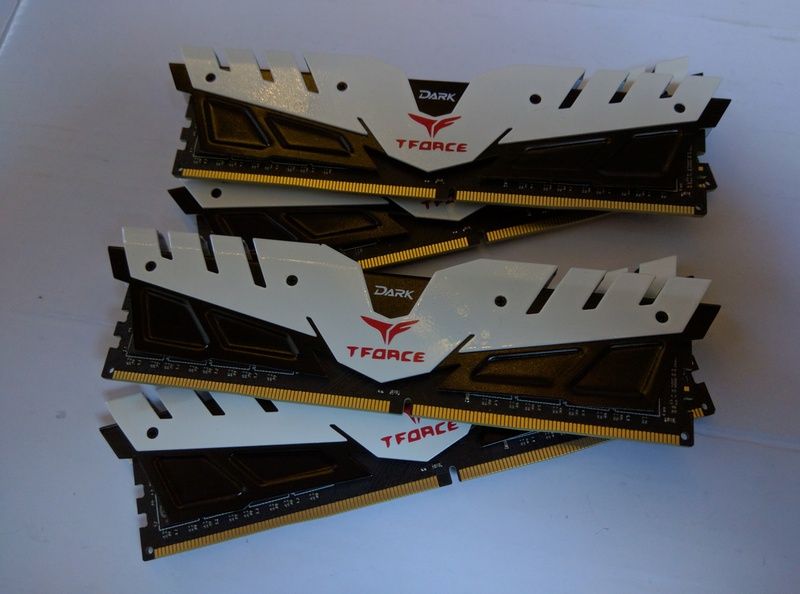
Yep, overall I'm quite happy with how these turned out. Once the motherboard cover is painted the same and the proper CPU cooler is used it should look pretty decent :)
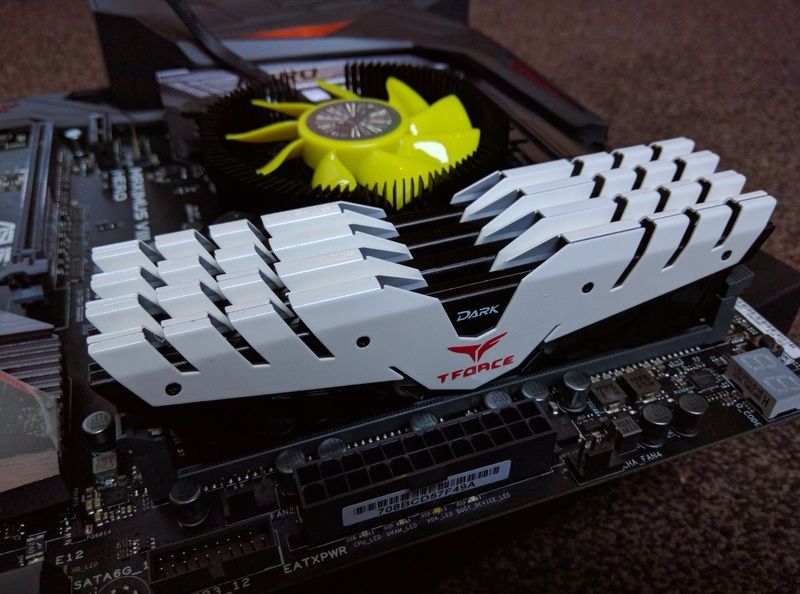
IMG_20161212_152658.jpg
 
Haha cheers mate, not sure what struggled most between the plotter and my eyes but happy with how it came out in the end. Was a nightmare to get the vinyl on straight as there isn't a single straight edge that can be used to centre / level it up, so was a few 'chuck it on and hope' moments :D

Surprised you're not in a padded room hugging yourself by now after all the times you've had to strip and rebuild, must have the patience of a Saint!
 
Some news I'm sure none of you were expecting: I've done something a bit stupid! :D

TP.jpg


Does anyone know what thickness of thermal pad Asus use for that heatsink? Took the heatsink of to paint and kind of lost the thermal pad... And no, I have no idea how that happened either!!
 
Nice explanation cheers mate :)

Was definitely a pad on there rather than paste, just have no idea where it has gone! :D

Will order a ½mm Thermal Grizzly pad for the M.2 drive and see if that fits, but I'm pretty sure the one on there was quite thick so was wondering if it was maybe 1mm or even 1½mm thick, but as the surface is flat and it's only for 1 chip I'm guessing that rules out 1½mm?

Really have got to start being more careful with things, spent have the time reassembling the RAM looking for those tiny black screws on the floor!
 
It's screwed on so definitely no need for adhesive. I've got to go chuck another coat of paint on it soon so will check out if the screws bottom out on anything. If it will screw tight I guess it's good to go with the half mil, if not I'll order some 1mm to be safe. Cheers once again for your help and sorry for all the stupid questions :D
 
Very true that. Now if I manage to ask, find out all the relevant info and STILL mess it up, then I'll know I'm stupid :D
 
Ouch, that's a lot of expense for one tiny capacitor :(

Can you remove the screen from the broken one and use it as a slave, or would it still kick up issues?

Thank God there'll always be us modders to test their idiot proofing skills to the limit :D
 
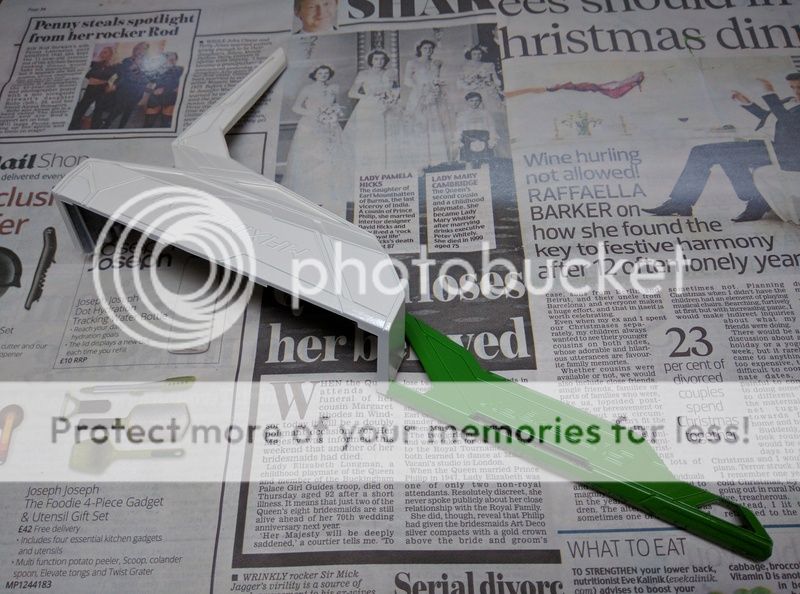
Another small update: Bit of painting done.

Unfortunately when the 'paint room' is a freezing cold and extremely dusty / dirty garage it can be quite challenging, but think these came out fairly well considering... :)

Bit of primer thrown down. Almost wishing I'd bought a matt white paint now instead of gloss as I really liked the finish on the primer!

IMG_20161213_140844.jpg


Never mind, shiny thing make it all better :D

IMG_20161214_144838.jpg


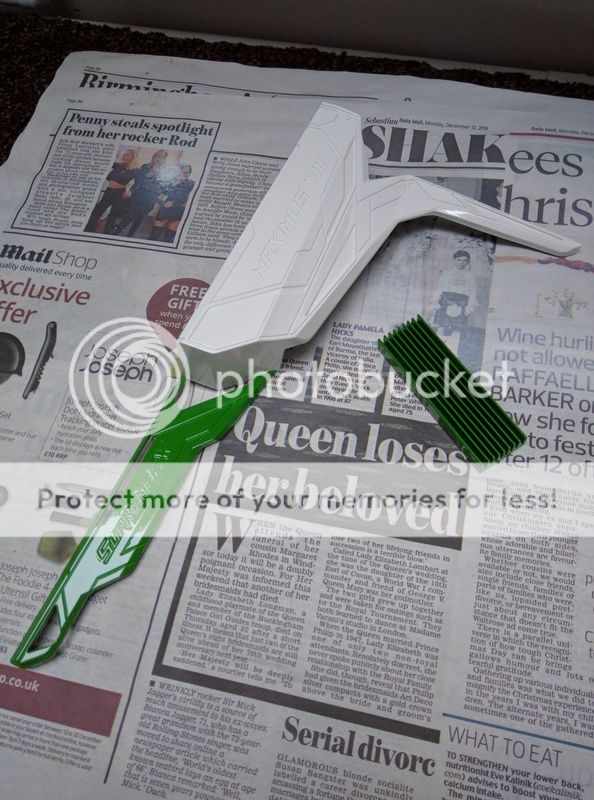
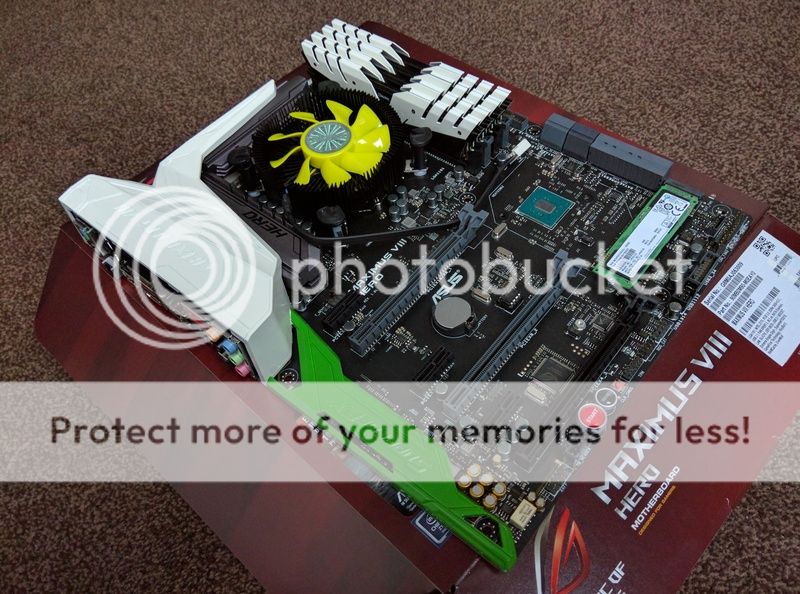
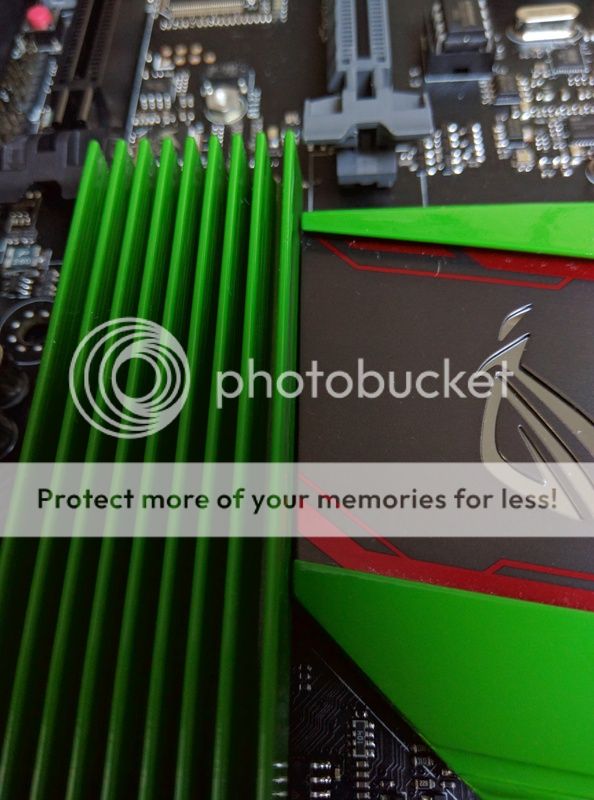
M.2 heatsink done green to match...

IMG_20161214_144745.jpg


...And the southbridge heatsink the same.

IMG_20161214_150816.jpg


Be rude not to at least balance it on there to see what it looks like...

IMG_20161214_145249.jpg


The 2 heatsinks were still a bit damp and I also need thermal pads, so will hopefully have those by the end of the week so they can be attached :)

Only decision I've got to make now is whether to paint the 2 red triangles back onto the white part or leave it pure white. Got a nice metallic red paint here but will see what it all looks like with the proper CPU cooler before making a decision on that one :)
 
Camera angles are a wonderful thing lol

Yeah was leaning that way myself, could always add the red at a later date so long as it's done before the loop is filled :)

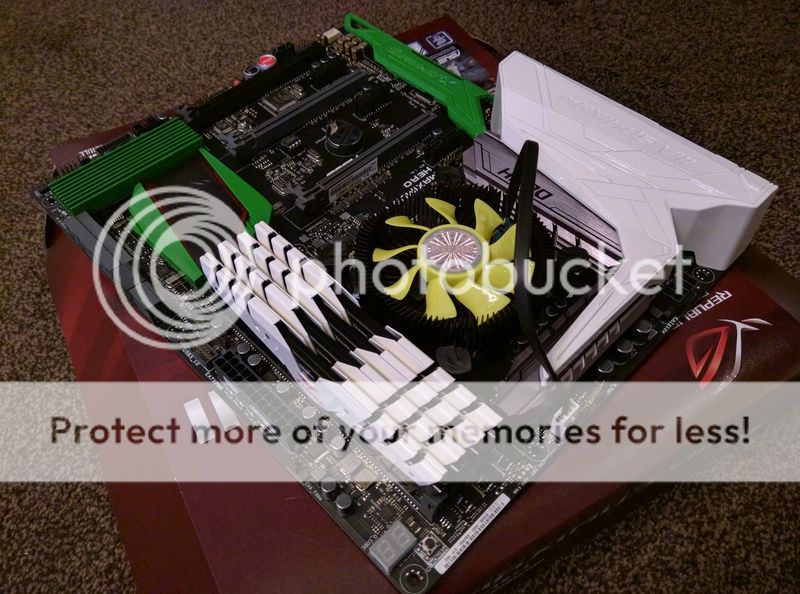
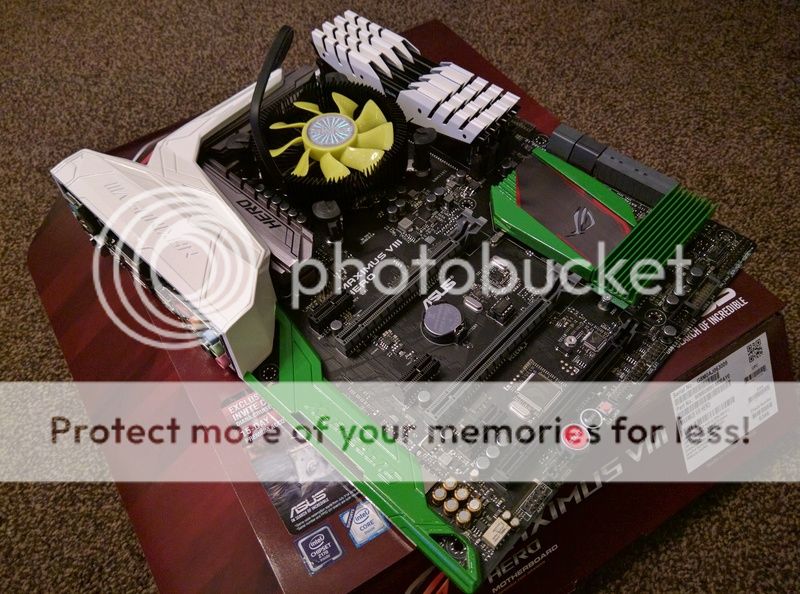
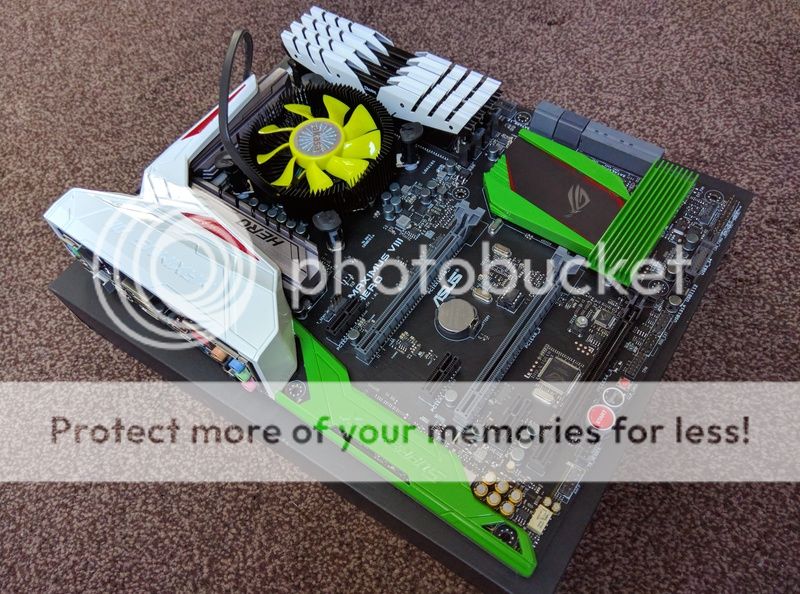
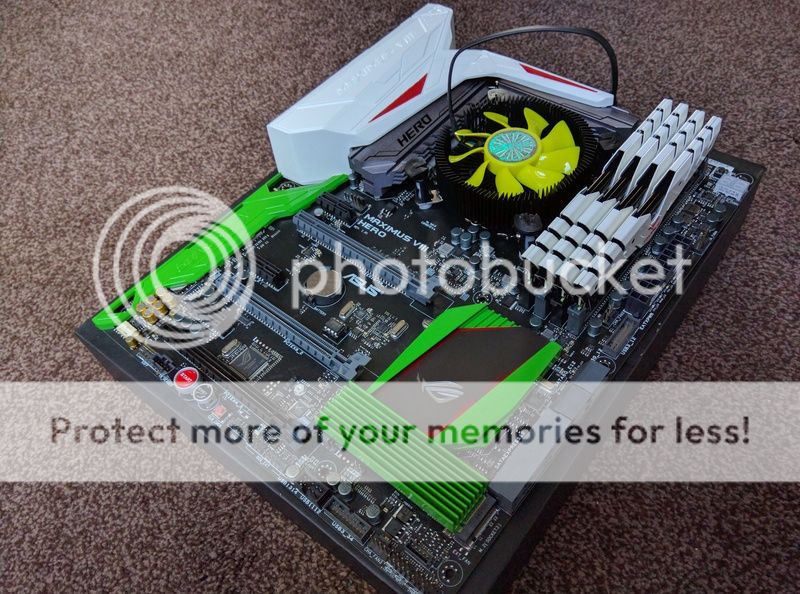
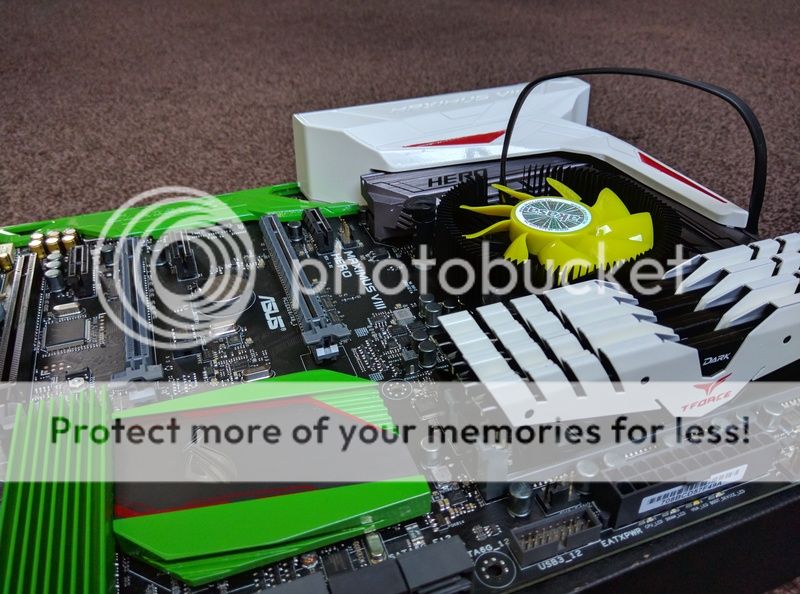
By now I'm sure most of you have noticed how impatient I can get... Green paint is still a tiny bit tacky and the light in here is awful, but I couldn't resist! :D

IMG_20161214_175544.jpg


IMG_20161214_175445.jpg


Will add some better photo's with decent light once the heatsinks are mounted properly, the green looks soooo much better in a decent light :D
 
Santa (Jeff) came again today and brought me some thermal pads, so time to fix these things down :)

I wanted to use the ½mm Thermal Grizzly pads on both the M.2 and the southbridge, but unfortunately it was too thin for the motherboard chip, so had to use some 1mm EK rubbish instead.

That made a nice little indent though so at least I know it's touching now! And don't worry, I did clean the chip and wipe the rubbish off the pad before mounting it properly :)

IMG_20161216_115134.jpg


Both mounted and it's a perfect fit, almost as if ASUS meant for there to be a heatsink on the M.2...

IMG_20161216_120050.jpg


Also had a change of heart on the painting. After thinking about it yesterday I decided that once the white radiator, white fans, white liquid filled reservoir and tubing etc is in then a tiny bit more red might break things up a bit.

IMG_20161216_132017.jpg


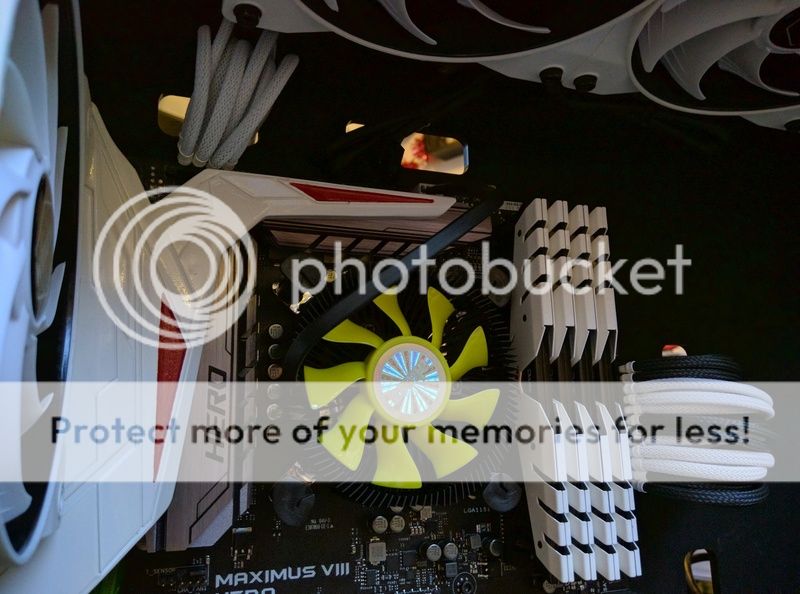
Sooooo, out came the metallic red spray can. Think it works quite well with the stickers on the RAM and the flashes on the southbridge :)

IMG_20161216_132029.jpg


Yeah, think I made the right call in the end...

IMG_20161216_132300.jpg


It's also fair to say that painting can be added onto the list alongside cable sleeving as jobs that I'm exceptionally bad at. Just hoping 'bending PETG' doesn't join em :D

Hope you like it so far. Apart from playing around with a few ideas there might be a bit of a break now until I can get my hands on a GPU :(
 
Haha yes mate, I did remember to remove the sticker first :D

Hoping with a decent quality pad and a chunky heatsink it shouldn't get too hot even when using it with zero airflow, but guess we'll see in a month or 2 if it makes any real world difference to the temps.

Not sure why but the green paint is really hard to photograph. In darker photo's it looks completely washed out, then in the ones with good light it looks almost luminescent. It's actually a bit darker than it looks in those photo's above so don't worry, it's not going to glow in the dark! :D
 
That's good news, would be happy with even a couple of degrees considering how cheap and easy it is to do :)

I just used a normal thermal pad, did the same on the last build and it hasn't fallen off even with all the loop refills & case shaking its had. If I remember correctly it only really held it properly after it had been used enough to get it warm, so might try a hairdryer on this one if it doesn't hold well :)

Edit: Just checked and the Thermal Grizzly pad seems to hold it pretty well, can't see it moving.
 
Another quick (and stupid!) question: Are the screws to fix the motherboard to the case supposed to be supplied with the case or with the board? Built dozens of PC's but having a brain fart and can't for the life of me remember!
 
Was hoping that would be the answer, cheers mate!

Motherboard box wasn't sealed and couldn't remember if my last ASUS one was, but if the screws were missing then it was definitely a returned board.
 
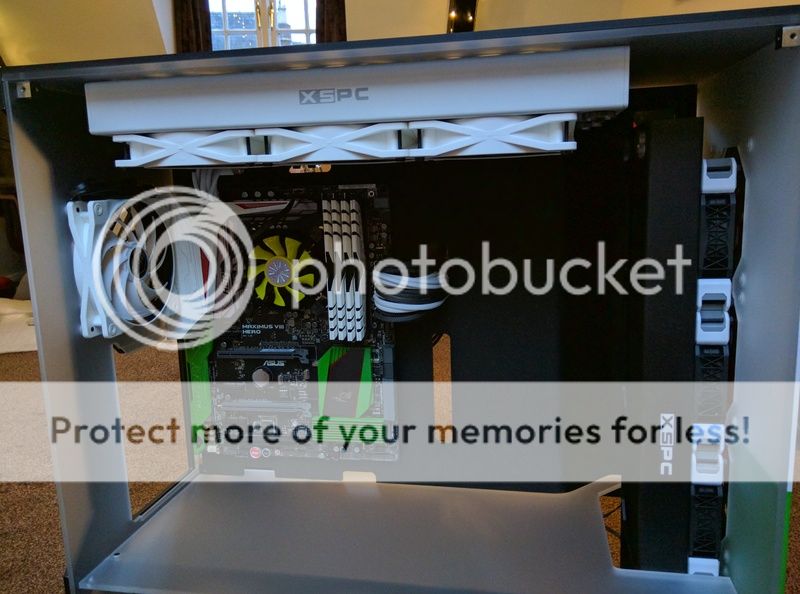
Quickly built it up so I could get some measurements and also get more of an idea of how I was going to position things. Struck a problem...

IMG_20161217_153819.jpg


...The bolts that came with the radiator aren't long enough. Anyone want to save the day and tell me what size / thread I need for an XSPC rad and / or where I can get some longer ones? Cheers guys!

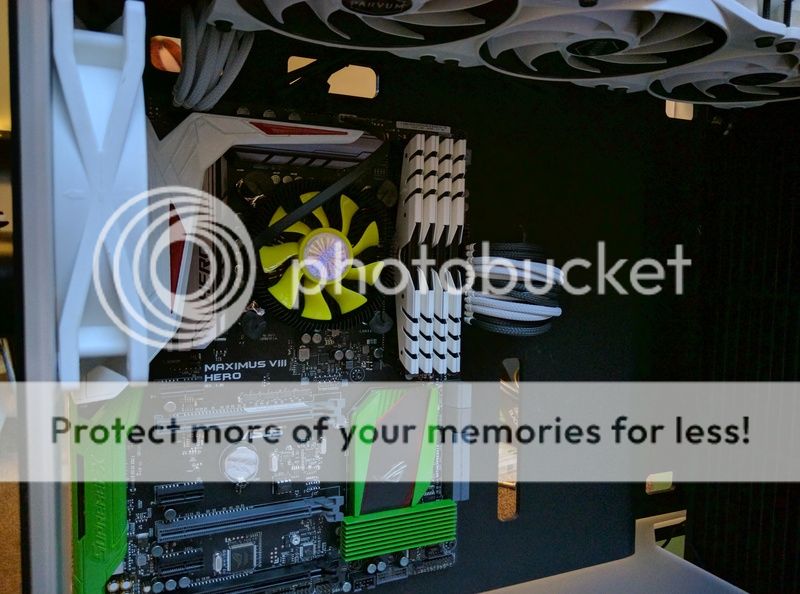
Not got any cable combs here yet but cables are done :)

Also really liking the Parvum fans, black on the inside edge looks gooood. Cheers guys!

IMG_20161217_153835.jpg


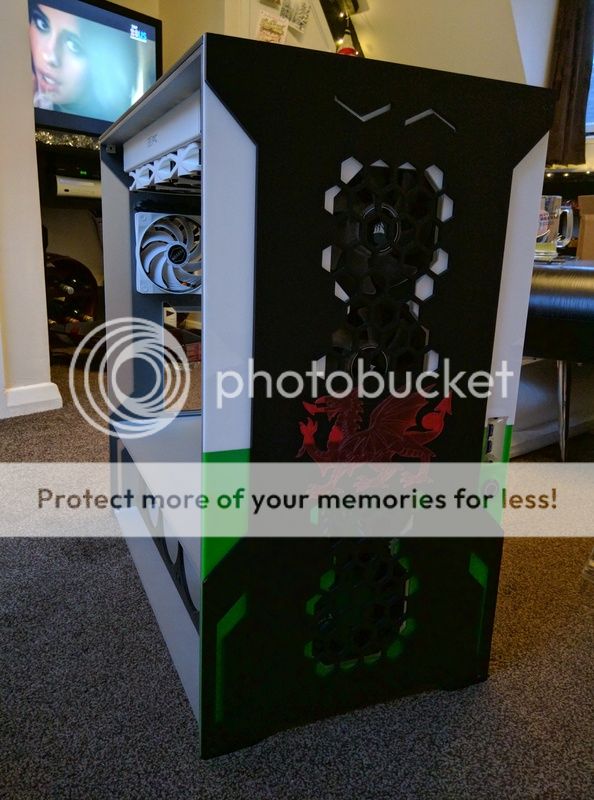
Reminder to self: Remove stickers from white fans! Going to look a beast with the fans & dragon lit up :D

IMG_20161217_154135.jpg


Zoomy zoom.

IMG_20161217_154207.jpg


Missus found a cracking use for the bottom of the case... :D

IMG_20161217_154250.jpg


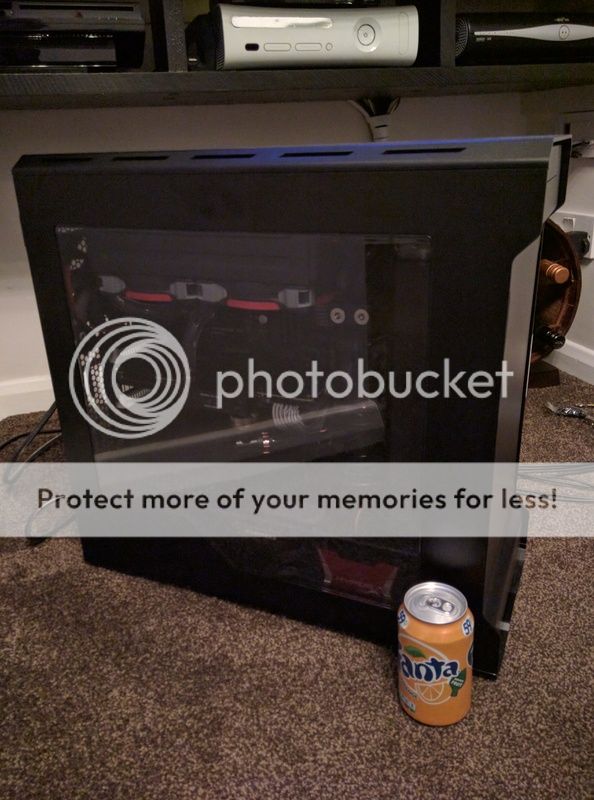
Quick size comparison with the old ATX case

IMG_20161217_162620.jpg


IMG_20161217_162643.jpg


Fanta added for scale :D
 
Another thing I learned from the trial build: Once you've screwed this block down, you WILL try and pick it up at least a dozen times before you've finished... :D

IMG_20161217_142249.jpg
 
Nice try i do no there are two size of cans :P great build any way giving me idears for mine

Haha yeah, didn't help I had the second can the wrong way around... D'OH!

I've kind of gone out of my way to do things differently on this build, especially when it comes to the loops, so just hope it works now. If I come up with anything worth stealing then I'd be honoured! :)

Missing a bunch of thread reply notifications for some reason.
Motherboard screws: yep, what the RevBillyG said. Usually they're something like M3 I believe - I can check if you need. The same as floppy drive screws anyway.

XSPC rads seem (from what I can Google) to use UNC 6-32 thread. Same as hard disk screws so you can confirm that way. Other rads I've seen use M3 or M4 (I forget which but you can measure them and they'll be slightly smaller than 3mm or 4mm).

Parvum give you loooooads of extra screws mate so it isn't a problem as in I haven't got any, was just a bit unsure about the motherboard as the box never had a seal on it. After stress testing the CPU and RAM it threw up no issues but if things were missing from the box then I'd know it was a dodgy board that had been returned... Seems all good though just need a GPU to test now!

Brilliant, will see if I can get some 5mm longer. Going to be quite a problem if I have 3 radiators I can't mount :D
 
The main problem I have is for the front rad the screws go through the frosted panel (countersunk obviously), then the green / white panels cover the heads, so they need to be pretty much bang on. The screws that came with the rad are 30mm and aren't long enough so was hoping to get some 35mm replacements, but only ones I can find are Phobya and they're ridiculous money for a pack of 4 :/

Was thinking if I did manage to find some cheaper and they were a mm or 2 longer than needed I could add a gasket between the fans and the rad. Would solve the length issues without causing problems with the heads sticking out too far. Hell, it might even give another zero point something degree cooling performance :D

Liking the idea of the anodised washers for the roof radiator though, might have to 'borrow' that idea from you mate ;)
 
Think there's a load of dies in the garage somewhere mate so could strike lucky on that one, although knowing how it usually goes that'll probably be the one that's missing!

Will try a few local places tomorrow to see if I can get some 35mm's for a decent price. Found some on the Rainforest site and they want £7.53 for a pack of 4... Screw that!*

*Awful pun intended :D
 
My EK rads are UNC. My Watercool is M3. I would check to see which one it uses. If it is UNC I can link you to some I got on Fleabay that are nice and long. I used them on my build (Dianoga).

That would be awesome if you could mate, thanks :D
 
Back
Top Bottom