Alienware Area 51 ALX #3 - The Silver Server Saga.

As always your work looks very nice, I love the design on the covers as it just makes the build look much neater and cleaner when the cables are covered. It looks like it was meant for the rig in the original design with the Alienware logo but the date and little description is a nice touch :)

I can't wait to see it all fitted :D
 
Excellent work, does the "alien writing" mean anything? ;)

It does yes :) It says ALX Andy.

Recently when I rebuilt the 2009 ALX I noticed funny glyphs around the case. My wife and I ended up descrambling the messages using the font. I just printed out the font type face and we sat and decoded all of the writing hehe.

I thought they were nonsense at first and just for show, but they actually decoded into things like "Hard drive bay 1" and so on.
 
:D!
KKzjH0u.png

I think it's also a selectable (FN Function) language on the Alienware keyboards / laptops

EDIT : I really hate to say this but according to alienwares official language conversion the last two characters are slightly wrong :(
 
Last edited:
EDIT : I really hate to say this but according to alienwares official language conversion the last two characters are slightly wrong :(

I know. The plotter mis-cut the last few tiny details so I have to add them in later. Basically they got left behind on the backing paper. It's a ten second job :)

OK so here is what I got up to today. Apologies for the awful photo quality but when it's dark there really isn't much I can do about it.

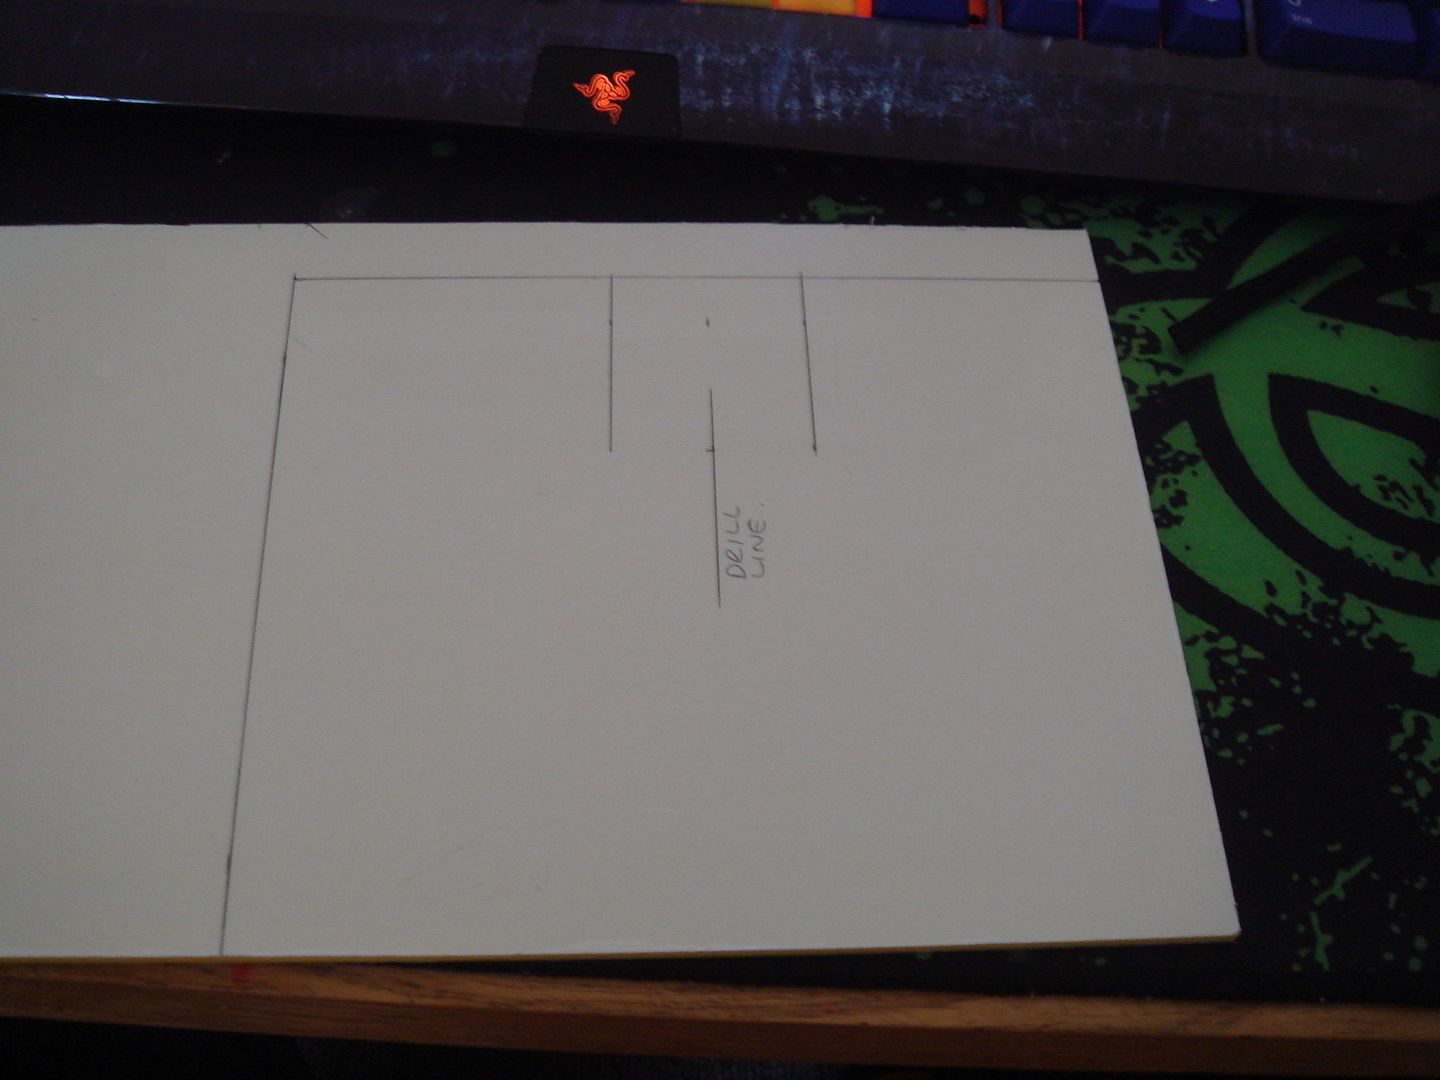
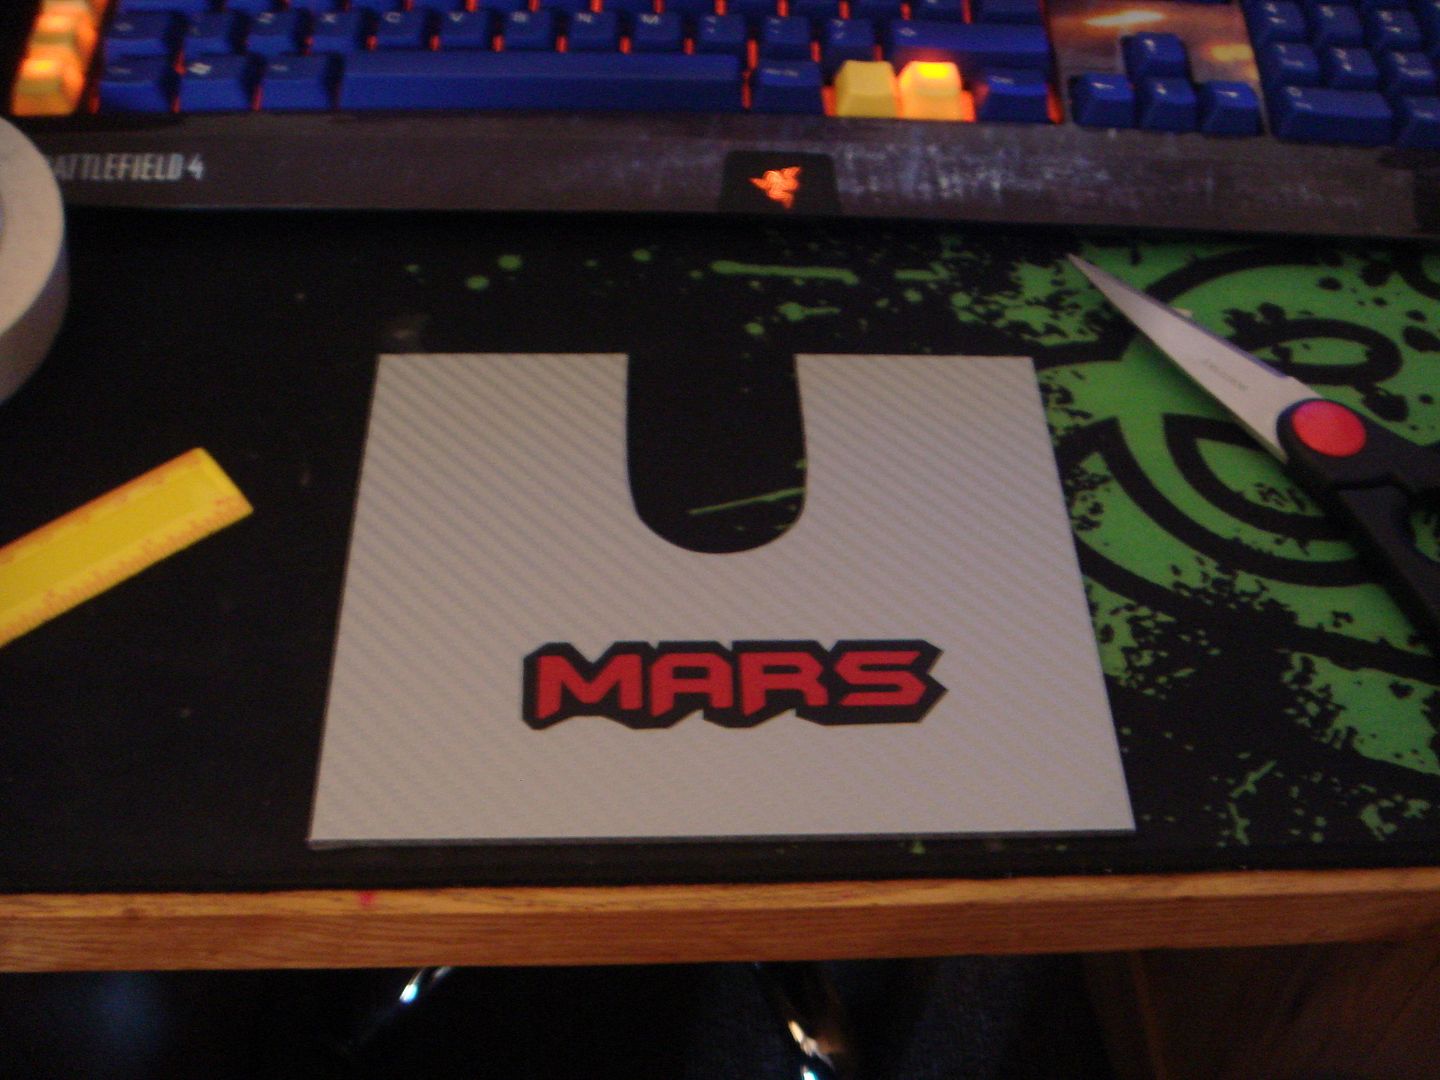
So I marked up the second and final cover panel. It needs a relief for SATA/Power cables to run through it.


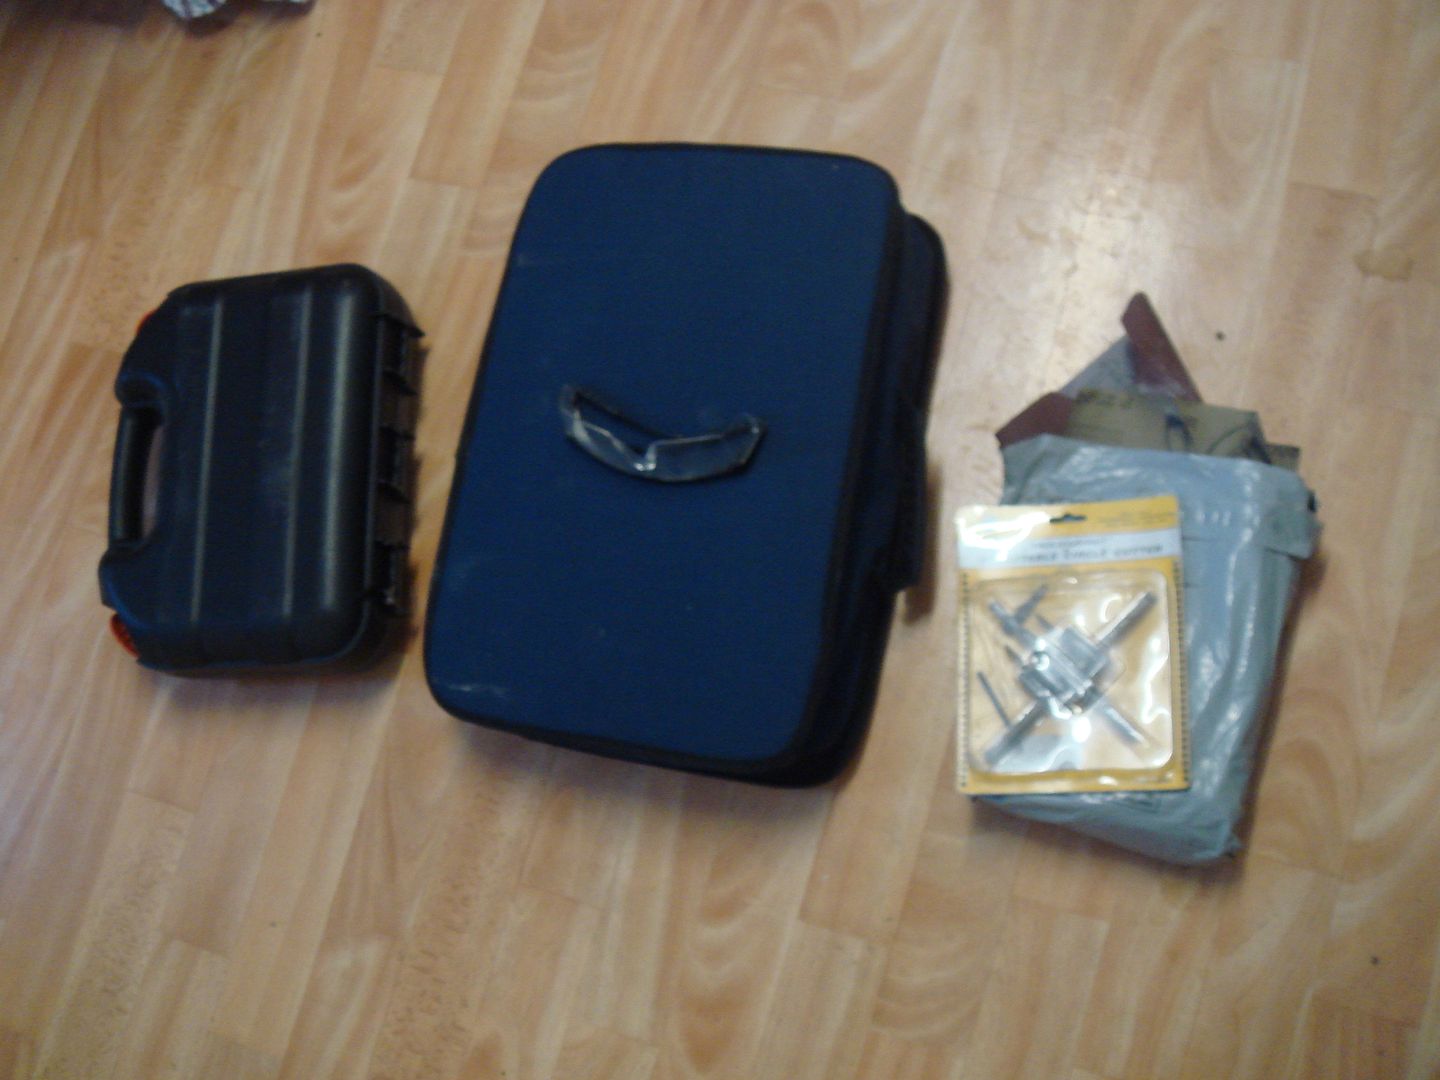
Tools out.


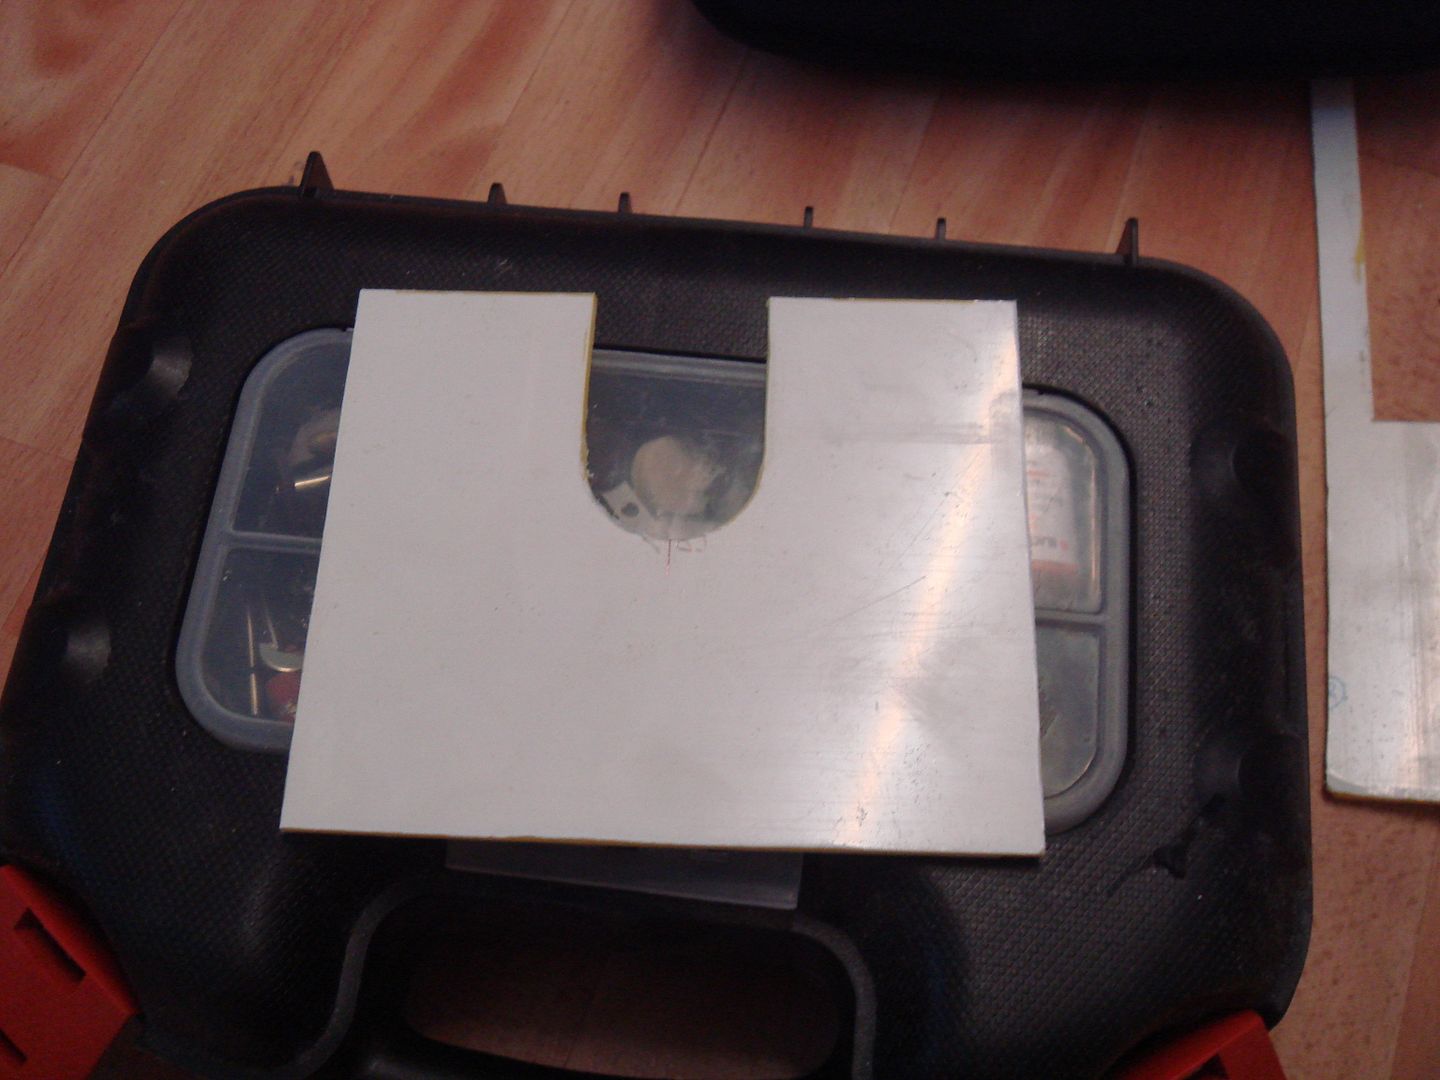
And cut.


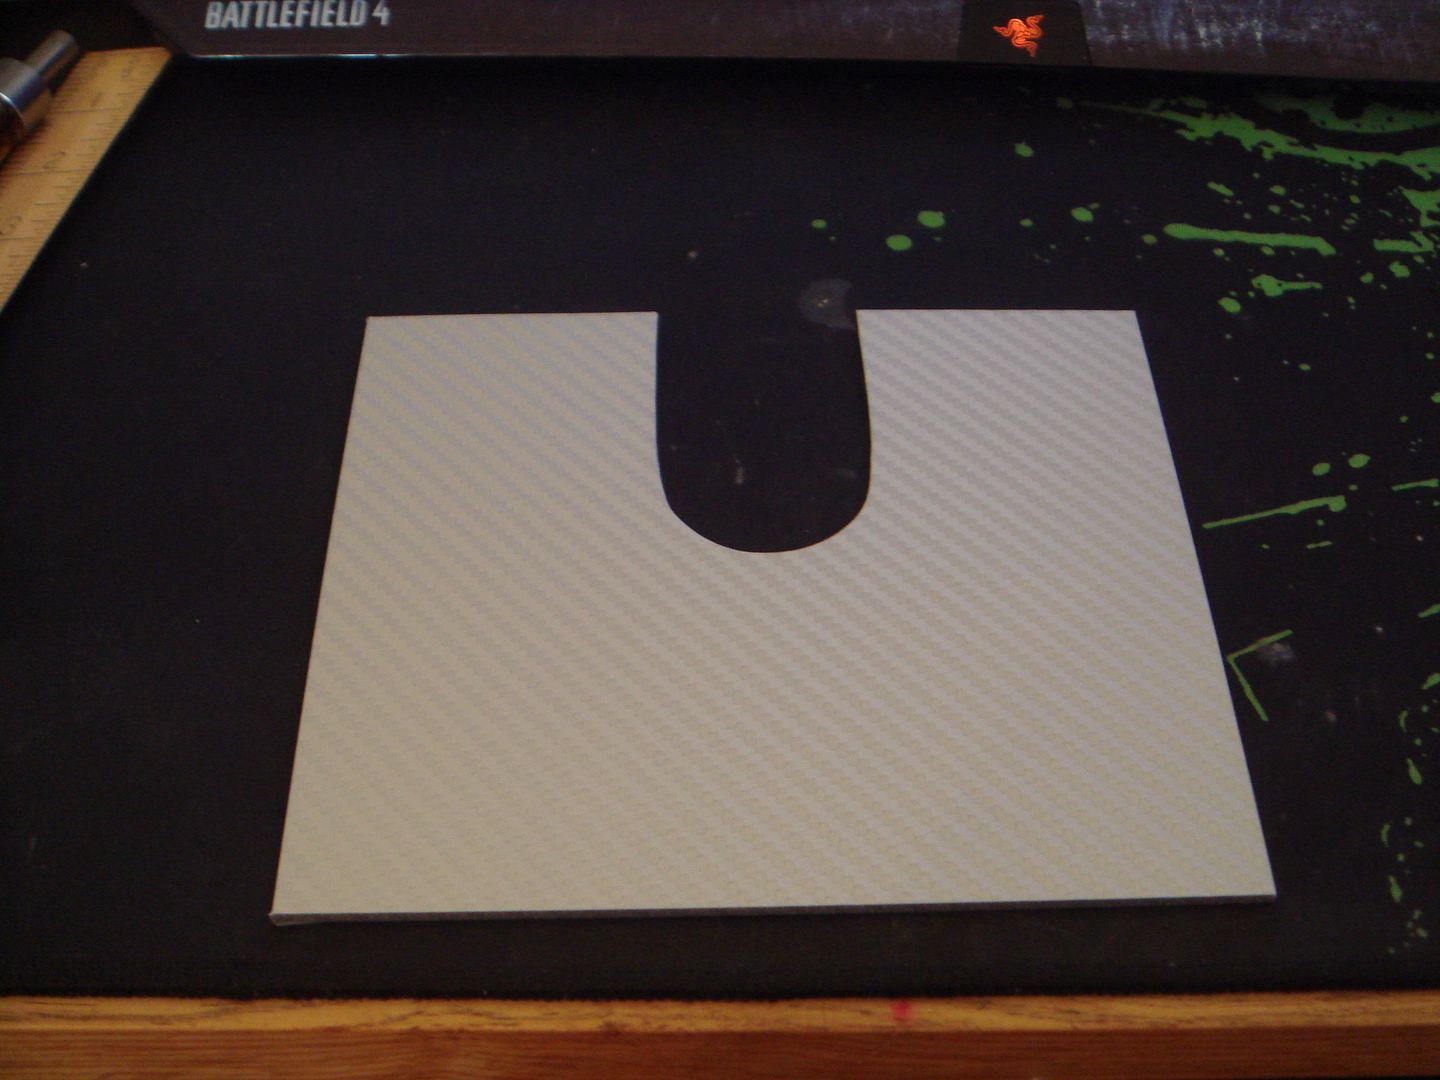
Then cover.


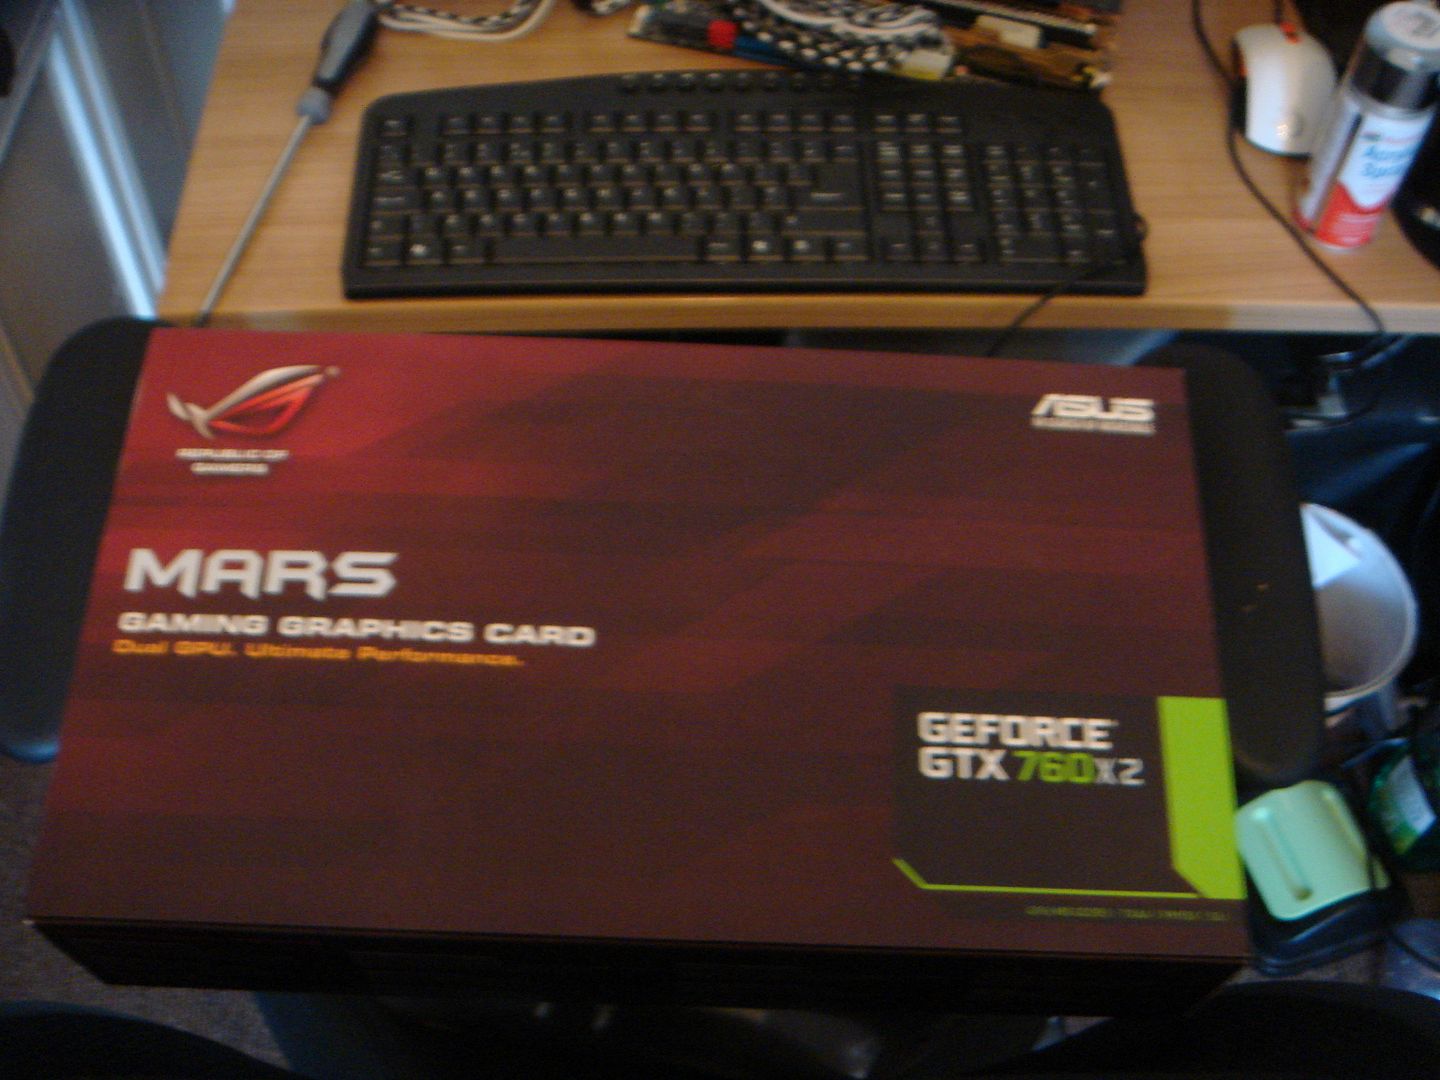
So the Mars came today.


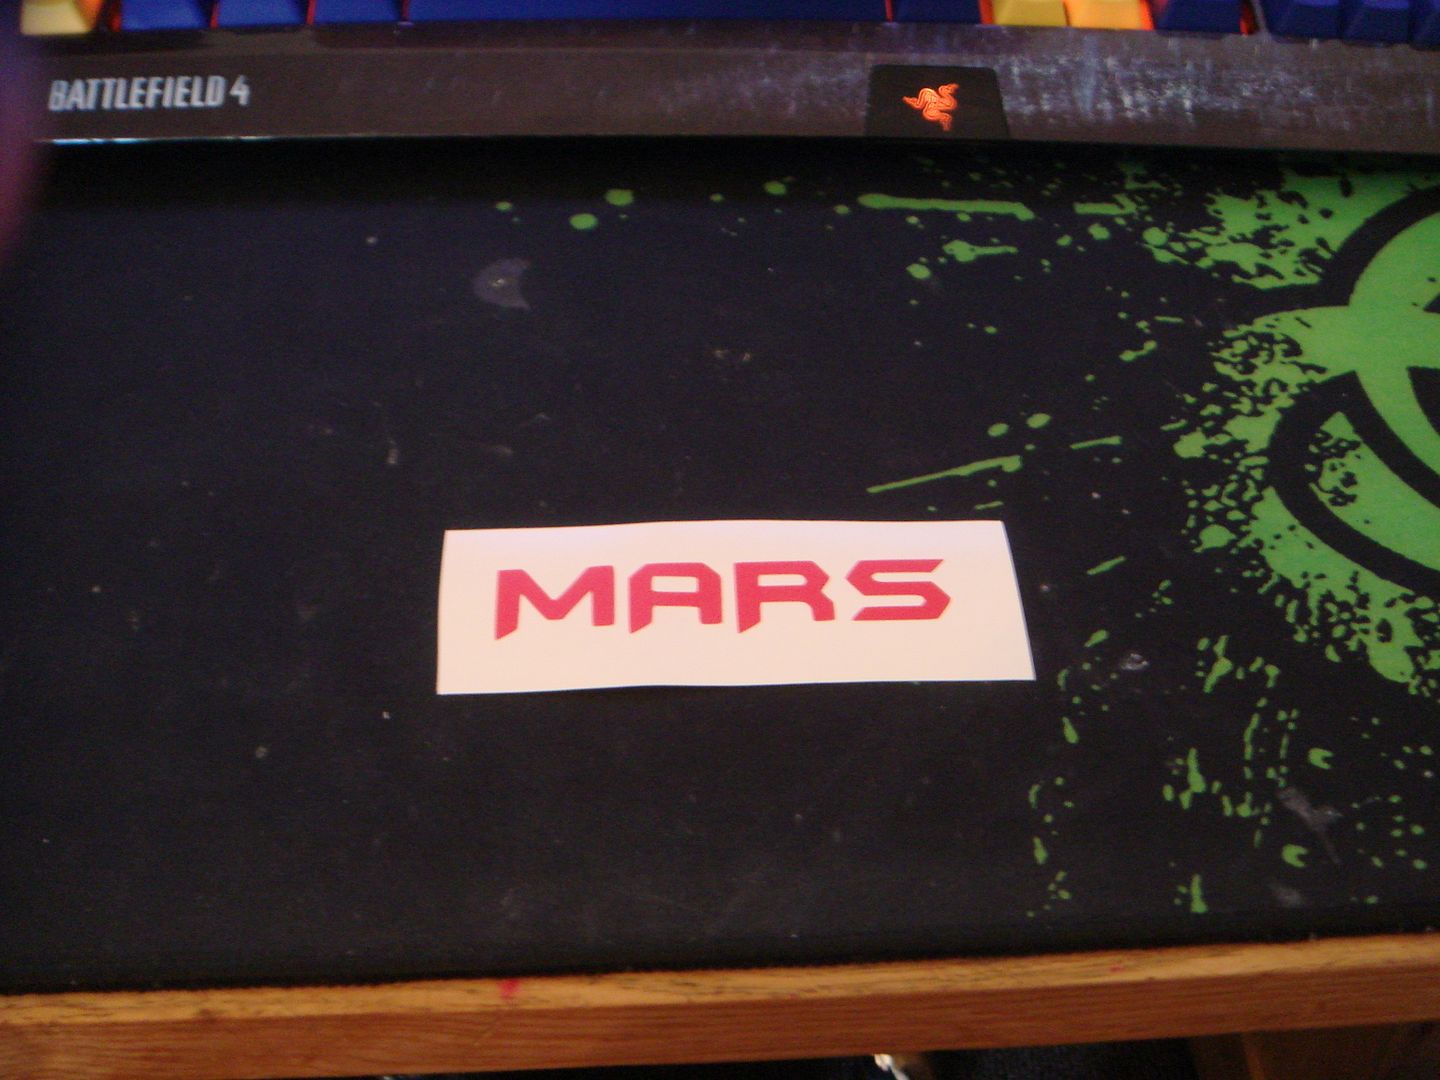
So I figured I would create a graphic.


And done.


That can go in later..
 
I know. The plotter mis-cut the last few tiny details so I have to add them in later. Basically they got left behind on the backing paper. It's a ten second job :)

Really glad to hear that :D! enjoying this project a lot! Also oh mars cards! Mars and ares are just... drool such a great " collectors " item :D
 
Really glad to hear that :D! enjoying this project a lot! Also oh mars cards! Mars and ares are just... drool such a great " collectors " item :D

Yeah the 760 isn't quite as prestigious as the others but it's still an enormous slab of plastic and metal :D

I only needed it for 1080p so the VRAM should be fine at least for now. Was cheap, too, really.
 
Yeah the 760 isn't quite as prestigious as the others but it's still an enormous slab of plastic and metal :D

I only needed it for 1080p so the VRAM should be fine at least for now. Was cheap, too, really.

:D I don't think the GPU matters with those cards personally! They are just simply amazing :D!

Are you planning to do anything on case exterior :D? Sorry if you have already mentioned this i have missed it if you have :D!
 
:D I don't think the GPU matters with those cards personally! They are just simply amazing :D!

Are you planning to do anything on case exterior :D? Sorry if you have already mentioned this i have missed it if you have :D!

No I intend to keep the exterior/lighting completely mod free.

Not sure if you noticed but the Predator 2.1 ALX chassis does not come with any cable management holes near the board as stock. I cut those in years ago to help with the GPU and 24 pin power cables.

However, that's about as far as I really want to go with it. There are plenty of destroyed/altered/hacked up examples out there if you look hard enough, I want mine to all be as close to factory as possible just with a couple of cover panels etc.

So think of it more of a restoration than a mod.

I did the same thing with the 2009 model (the black one in the OP) however I do have a cut side panel for it. When I got it in 2012 I fitted two 670s on dual fan coolers and the top card (670 Jetstream) was hitting 103c and shutting the rig down. So I initially did a cut and bodge job on it to get more air in.

Now that it runs a Titan Black under an AIO that's not an issue any more, so I first made it look a bit more presentable then ordered a complete new replacement panel from the USA.

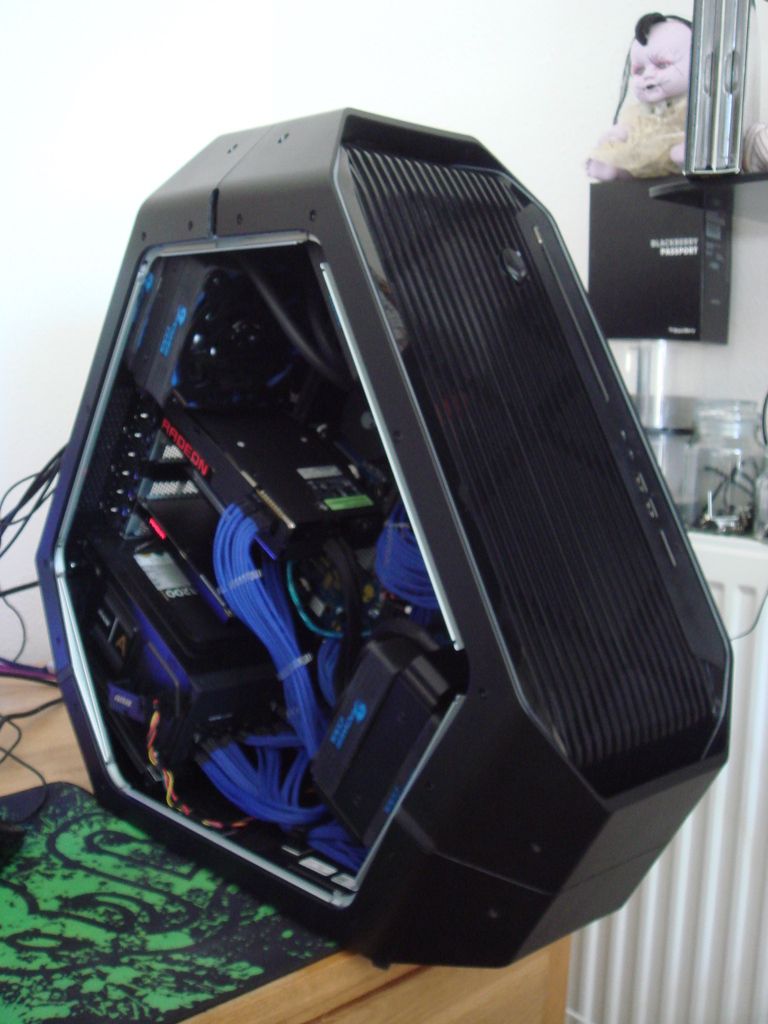
So right now the 2009 model looks like this.


And there is a mod to the 5.25 bays (removable of course)


But as soon as I put the solid side panel on it looks completely bone stock :)

Same goes for the 2014 model too, the only work done was a new PSU/braiding and so on and better fans.

 
Never really been a fan of the Alienware stuff but credit where it's due the work done here is top notch. Love the restoration theme too. :)
 
Never really been a fan of the Alienware stuff but credit where it's due the work done here is top notch. Love the restoration theme too. :)

I'm completely obsessed with them tbh. If I had my way my entire flat would be full of them. Mind you having said that three in here is a lot..

Once the rig is finished I am going to hide it behind an arm chair. Then get a Xbone PC receiver so I can use my pad wireless.

Two of the three Area 51s I have are extremely rare. The two ALX Area 51s (where I get my username from) cost around £2700 starting price and quickly went north. The 2009 Dellienware one cost the original owner six grand.

When I bought the chassis (from an auction after Dell found a fault with it) it still had the original service code on it so I ran it for a laugh. Two 5970s, two 256gb SSD in RAID 0, Intel 980... Whoever bought it had serious dough !

Turns out it had a PSU fault (intermittent) and eventually the PSU failed.. That's probably why Dell took it back and sold it empty.
 
This is why I like your projects as they are quite different to others out there. I think it looks good when the stock feel is preserved but the internals of the system are revamped to look as good as they should. It's as if you're completing the manufacturers job of making the system look great all round and not just on the exterior :D
 
Yay I haves a 1055T ! Many thanks to Will for sending it to me :)

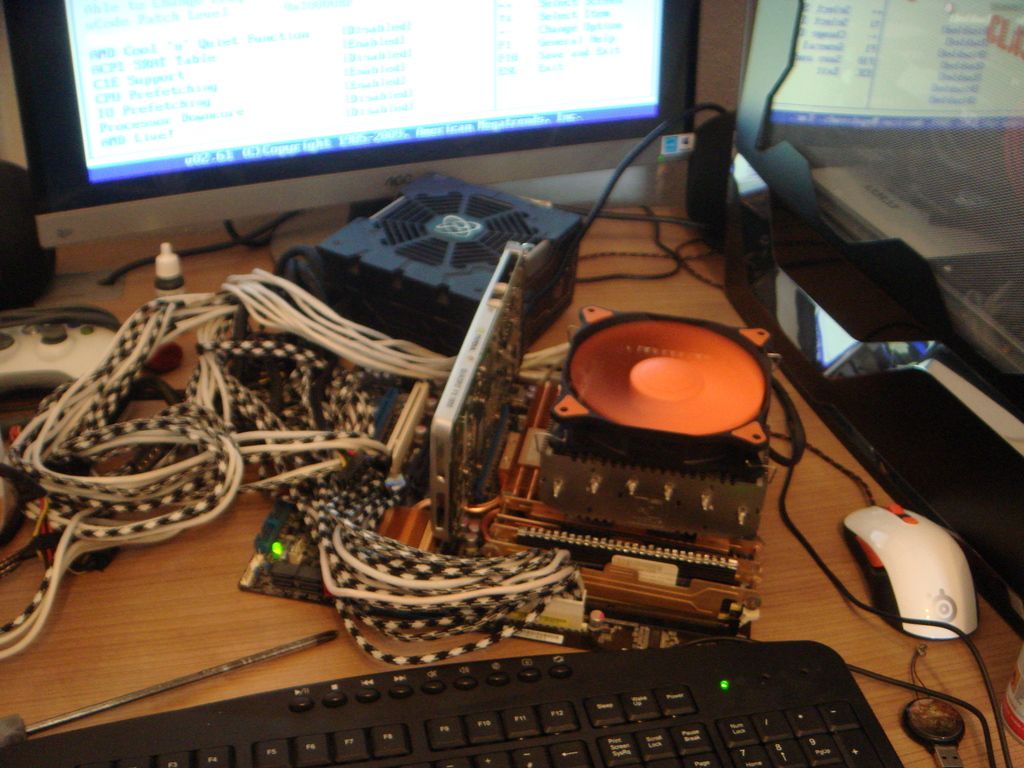
So I set everything up ghetto style.


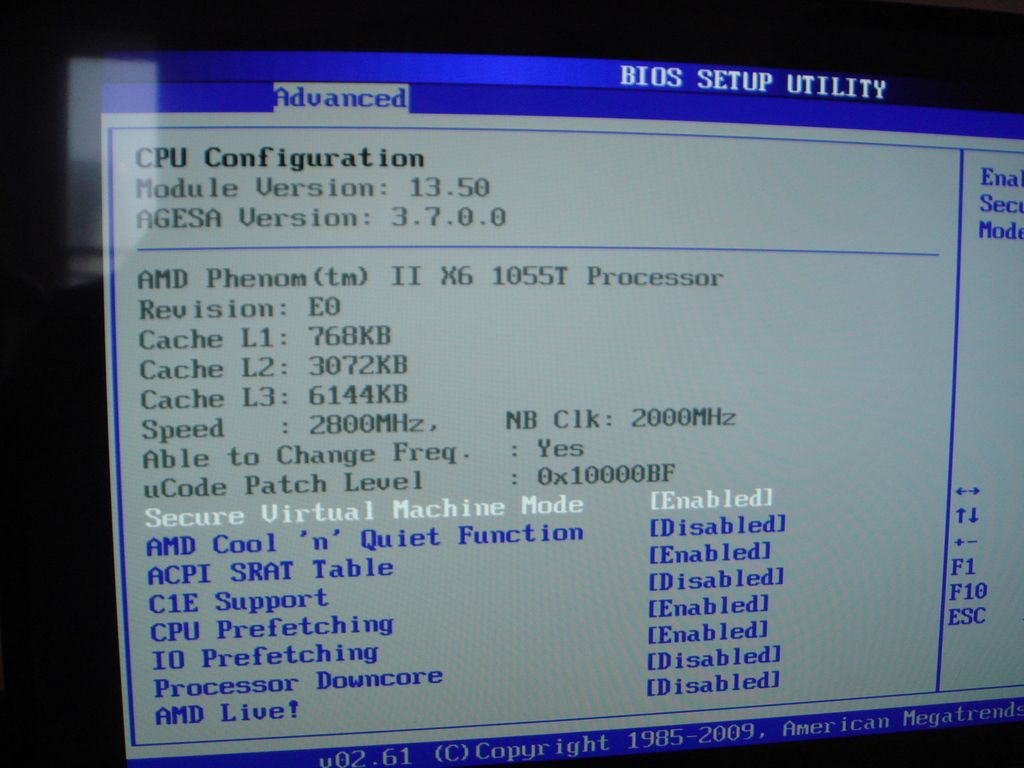
And had a look.


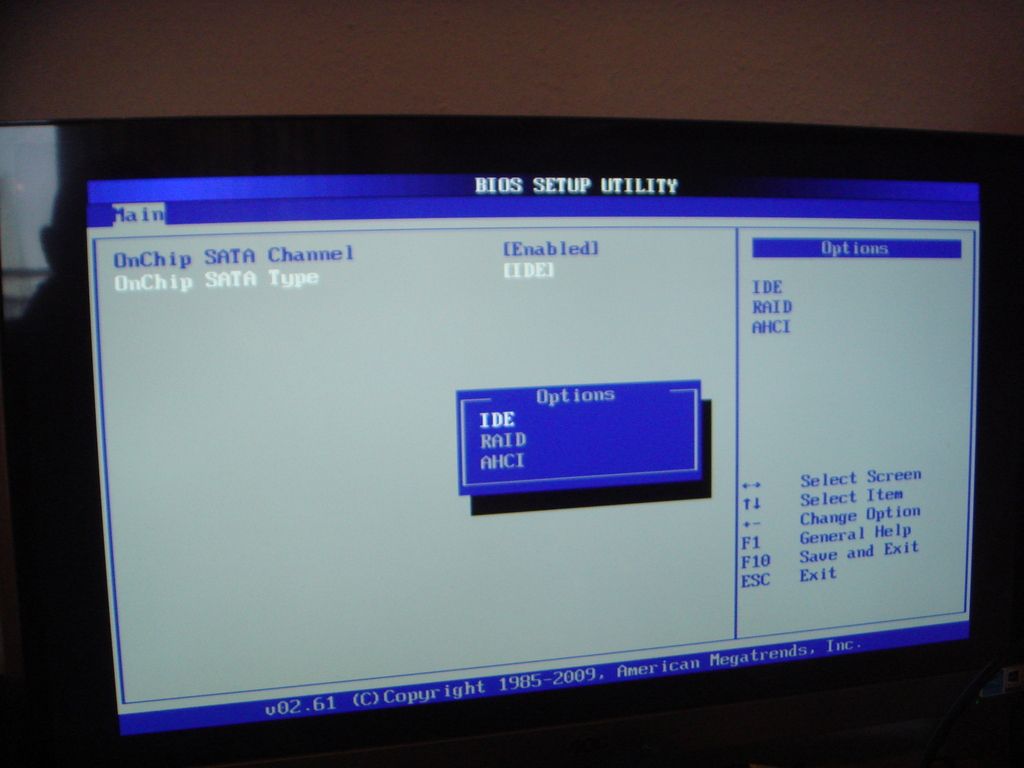
Whilst checking for RAID I noticed this board also did AHCI which I was quite surprised about given its age !


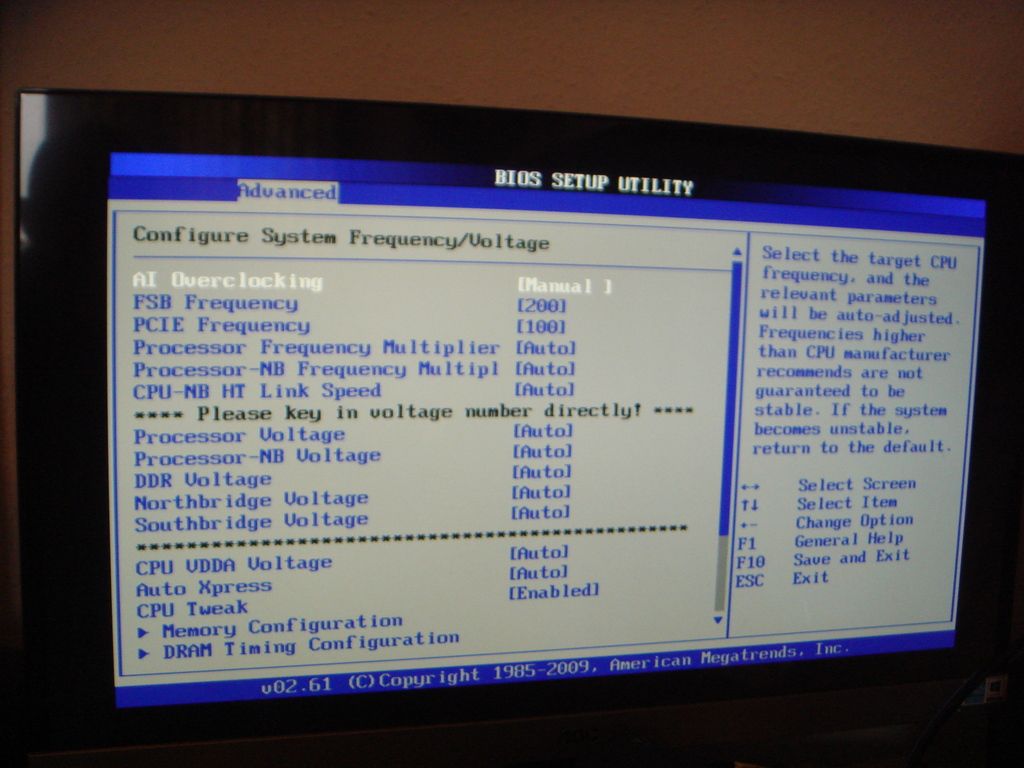
OK so let's see what overclocking options I have..


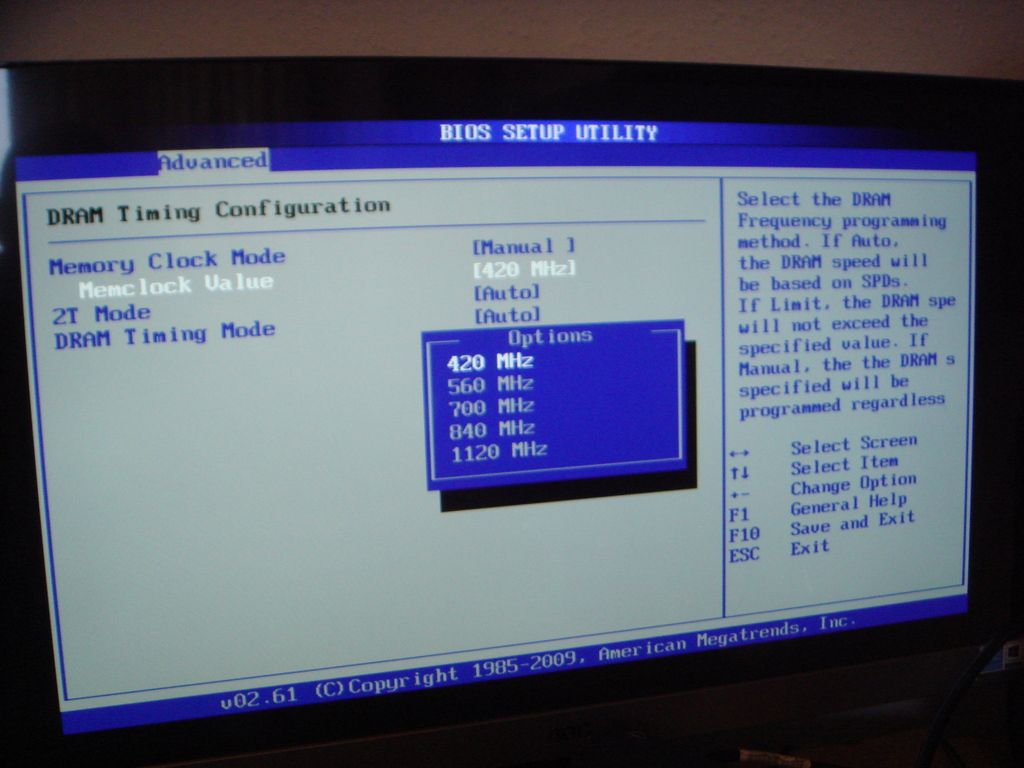
Everything you need is there. I am a little confused about the memory right now though. I stuck in 210mhz from the standard 200 FSB and I was then greeted with this.


Not good. I need that to be 400mhz or lower but no matter what I did it just continued to rise. Now usually the memory divider is on the same page as the FSB and NB etc so you just adjust it all there, but I found an old article showing it on a different page. Bit of a PITA, but I'm sure now I know what to look for that I'll find it :)
 
Good to see it's all working, It's nice to see the old BIOS layout instead of UEFI as I haven't used one in about a year :D

Loving the ghetto style setup though as it should allow you to get those high overclocks thanks to the "super airflow" :)

Looking forward to more updates :)
 
/forehead slap.

It took me about an hour before it finally sunk in.. Those speeds being offered in the memory divider are the actual full speeds of the ram after the bus increase.

I was looking at it thinking DDR so dual data rate means 400 in the bios means 800 in the OS. That's how it used to work on my old EVGA 680 board.

It actually makes it easier as it gives you the exact full DD rate of the ram.

Needless to say I've started overclocking already and have already managed 3.4ghz using 1.4v.

The voltage is high but I like to get stable then work backwards.. I've also bought a set of 4x2gb DDR2 dimms from the UK so I'm not going to do anything else until they go in now.

Overall I'm very happy though, she should make a cracking 1080p gaming rig :)
 
/forehead slap.

It took me about an hour before it finally sunk in.. Those speeds being offered in the memory divider are the actual full speeds of the ram after the bus increase.

I was looking at it thinking DDR so dual data rate means 400 in the bios means 800 in the OS. That's how it used to work on my old EVGA 680 board.

:D I remember trying to explain this to a friend who was livid at kingston because he thought they had sold him some 800mhz ram because that's what it was showing in the os :D Could be displayed a little more user friendly as i expect a lot of people do this :D
 
:D I remember trying to explain this to a friend who was livid at kingston because he thought they had sold him some 800mhz ram because that's what it was showing in the os :D Could be displayed a little more user friendly as i expect a lot of people do this :D

It's really odd tbh. Usually the motherboard shows you the single data rate speed and you have to double it. I guess being such an old board Asus decided to do it differently lol.

I do have an update.. In the end I found a guy selling four sticks of Hynix DDR2. Four 2gb 667mhz sticks. However, he promised me that they would do 800 easily. So, I ended up settling on £20 which I thought was very reasonable..

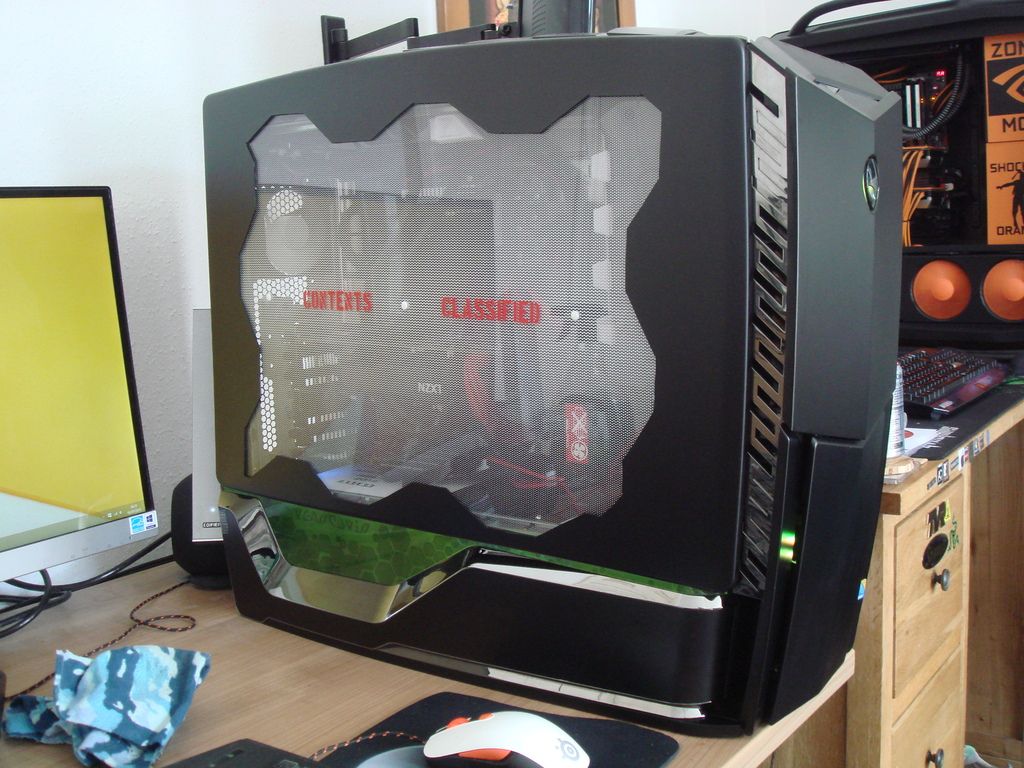
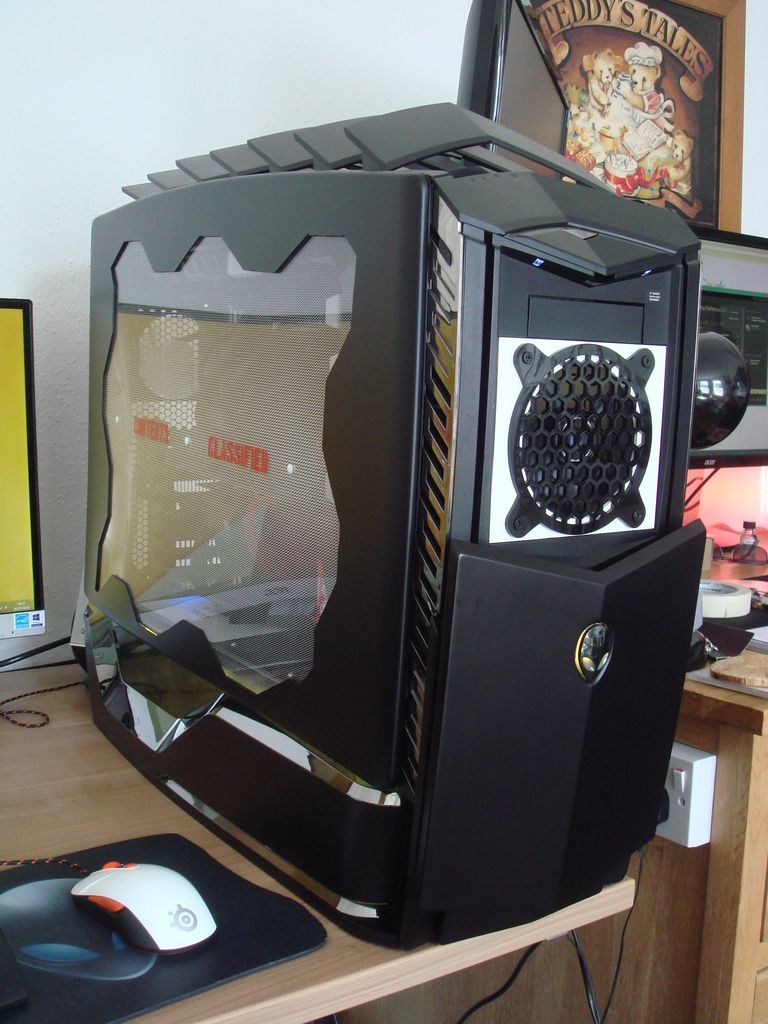
And yesterday I managed to build the rig, though right now I am finding it close to impossible to take any sort of photograph. But, just for now here is a shot of the rig fully built.
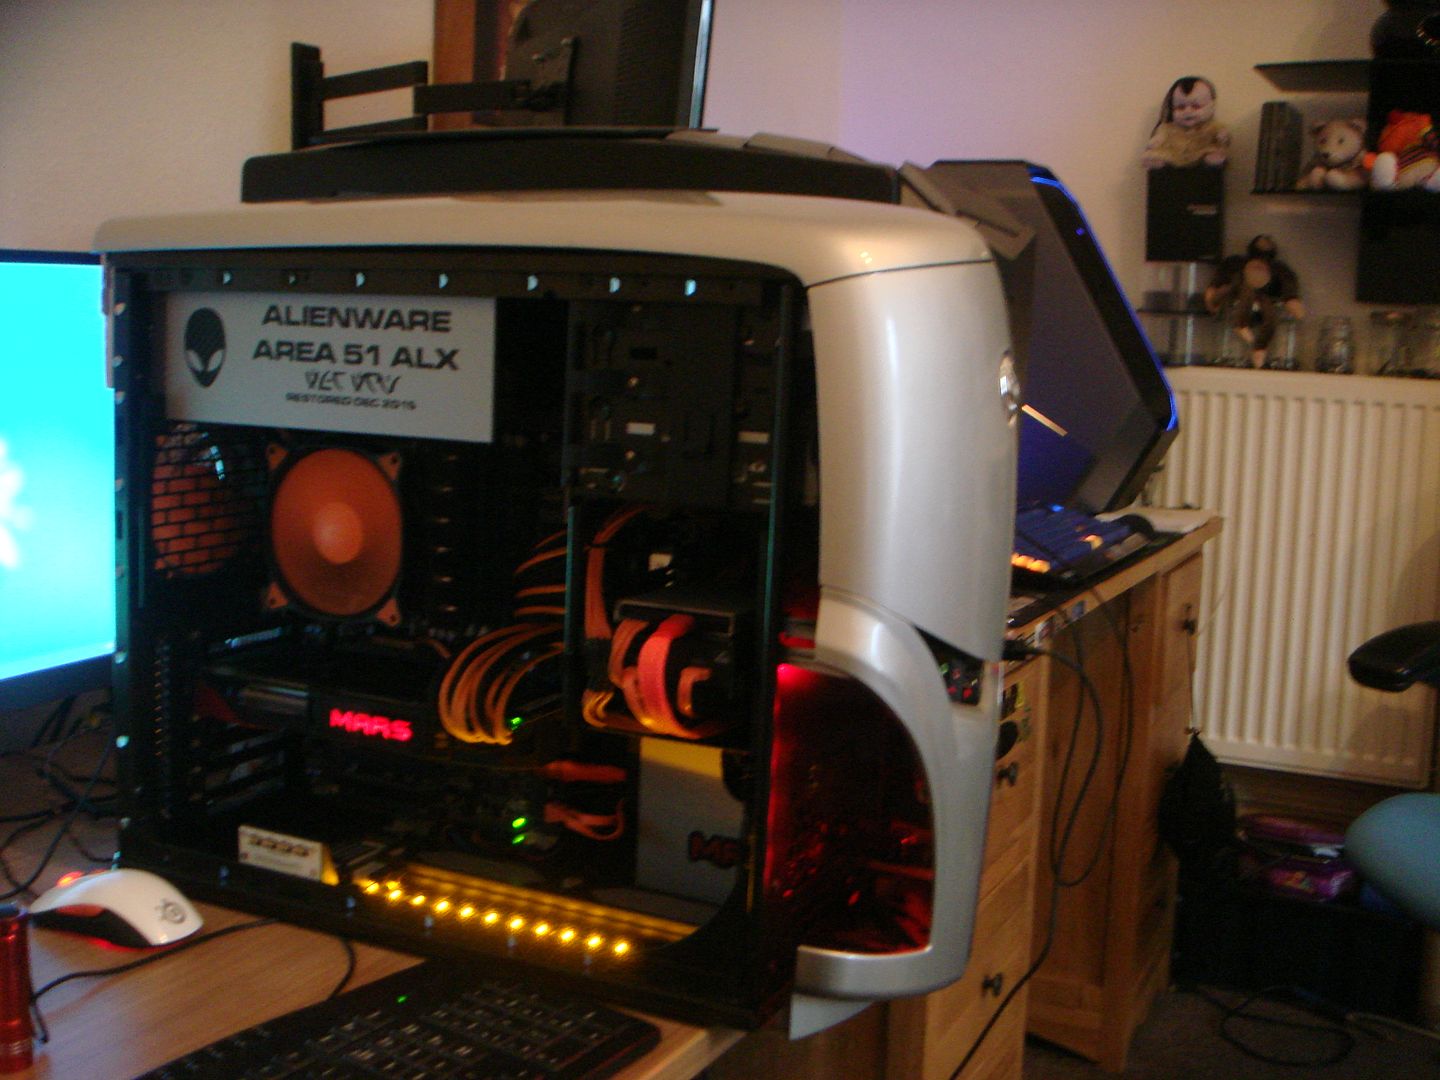


As you can see I fitted a Phobya bricky grill to the back exhaust fan because I usually always catch my knuckles on those sods !

I've currently got the CPU @ 3.4ghz. I had it much higher (3.8) but as soon as I fitted the Mars it all became unstable. I'm not quite sure why, maybe it's because the Mars pulls far more power from the PCIE slot and this was causing fluctuations? god only knows.

I also had a strange issue fitting the 8gb ram. I booted fine from one stick but as soon as I added the second it would lock down and I got no display.. Reset cmos and yay, 4gb. However, adding all 8gb would again cause it to go weird and I would have to reset cmos.. In the end I discovered that if you started with 2gb and added 2gb more per cmos reset it would pick it up OK..

So yeah, basically all 8gb is now usable and everything works as it should.

I still have a few small things to do (like pretty much buff the whole case with Tcut metallic to remove all of the small scratches it's picked up over the years) and RAID the two drives (right now they are running separately) but other than that it's all pretty much done as I did all of the spade work long before anything went in :)

I've found that I can run Fallout 4 on ultra with FXAA so long as I reduce the shadows to low and reduce Godrays to low. TBH after playing it at 4k it looks like doodoo any way at 1080p but I will be sitting about 18 feet back from the TV once it's all hooked up.

FPS go from 24-solid 60 depending on the area, but it all seems to run along fine :)
 
TE9AONU.jpg

That thing is absolutely terrifying,

The system looks gorgeous btw! Cant help but think that some very small orange accents on the case would look great!
 
That's one of my Living Dead dolls :D Well actually they aren't mine they're my lady's, but they're so cool I have a couple of them in my desk area haha.

I thought about adding some accents to the outside, but seriously, every time I have ever seen some one "get creative" with an Alienware they have usually always failed. The only two mods I have ever seen that got my approval was Bill's (MNPCTECH) original Mk1 ALX and Kier's Aurora. And both probably cost hundreds to do (airbrushing, changing the whole shape and layout of the case).

The trick really is to keep the outside of the cases bone stock. As they get older they increase in rarity..

Sadly since I got up today there has been pretty much 0 sunlight so I can't take any more pics. I have ordered some nice long cables so I can hook it into the TV though after testing it with Fallout 4 yesterday :)
 
Back
Top Bottom