Arcade console cabinet build - build log.

The display is ordered and should arrive next Monday .....

More progress on the marquee.

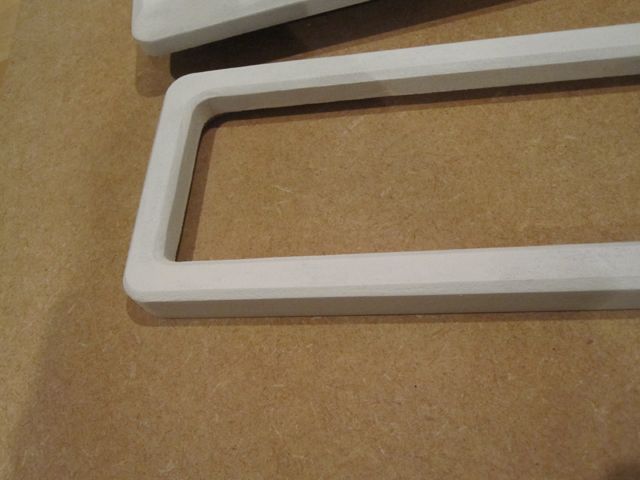
Rectified the mistake with some car body filler and applied some to the rough, routed edges:
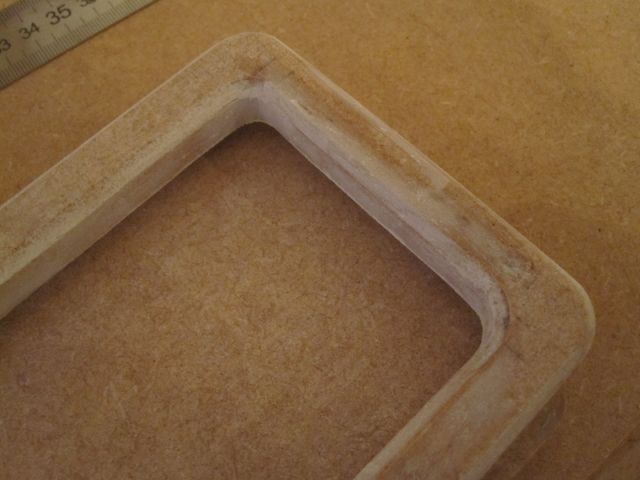
XBOXArcade104_zps19e06c0a.jpg


2 coats of primer on the front and back pieces:
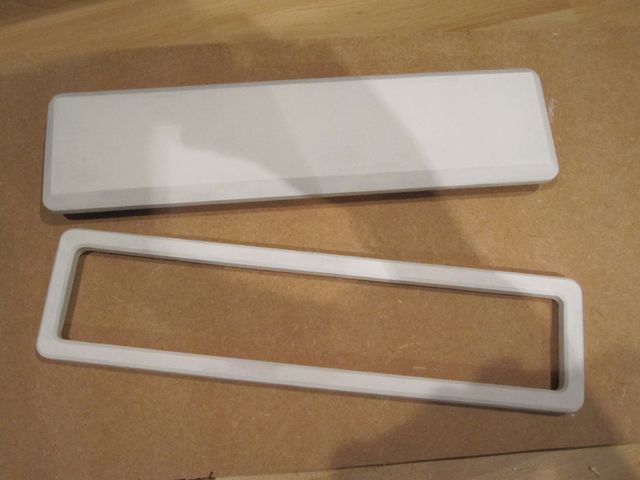
XBOXArcade105_zps326c2bfc.jpg


XBOXArcade106_zpsc95bf575.jpg


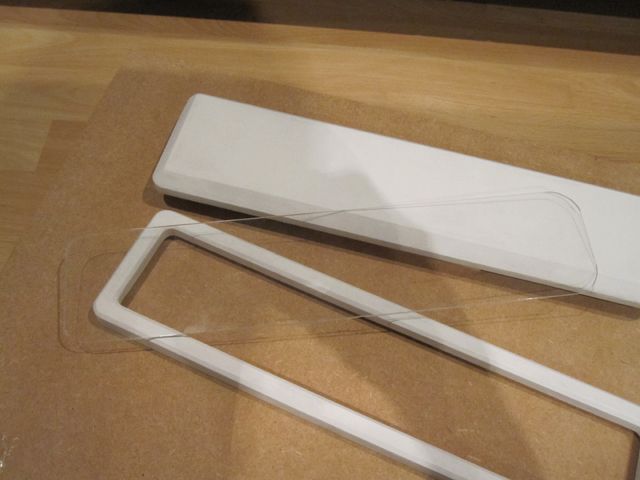
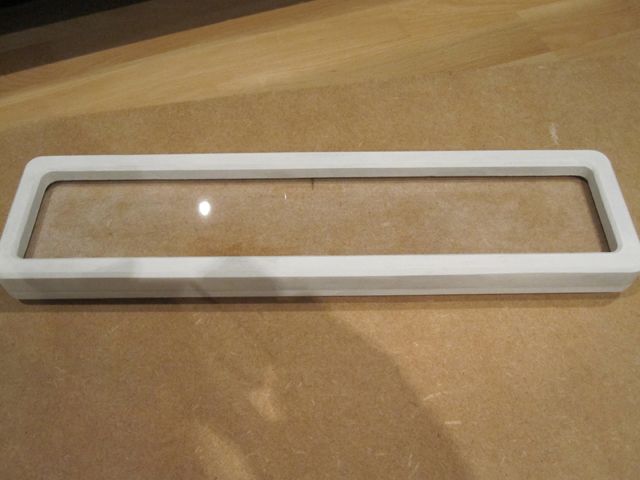
Cut the acrylic:

XBOXArcade107_zpse0c98245.jpg


XBOXArcade108_zps3c52388b.jpg


And designed the artwork (may tweak this a little):

RaptorMarqueeSmall_zpsd14a82e0.jpg


I will be spraying the front piece white and the back black.
 
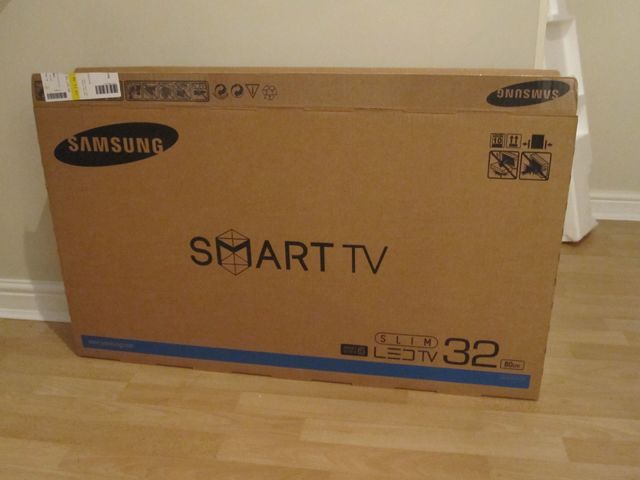
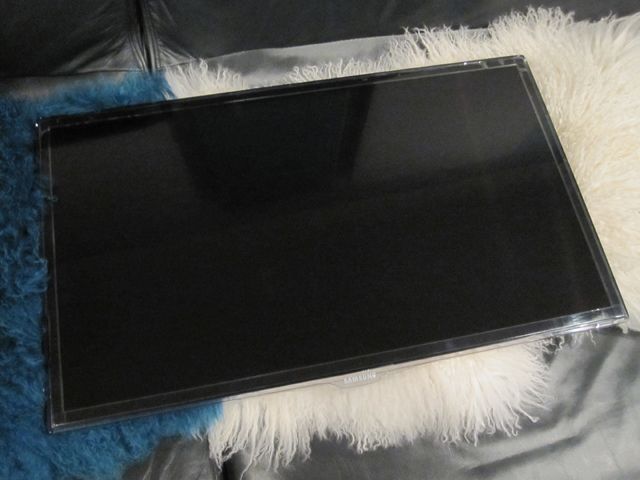
New display has arrived :)

XBOXArcade110_zps443e4fa5.jpg


Light and very slim with a nice thin bezel:

XBOXArcade111_zpscd725ac5.jpg


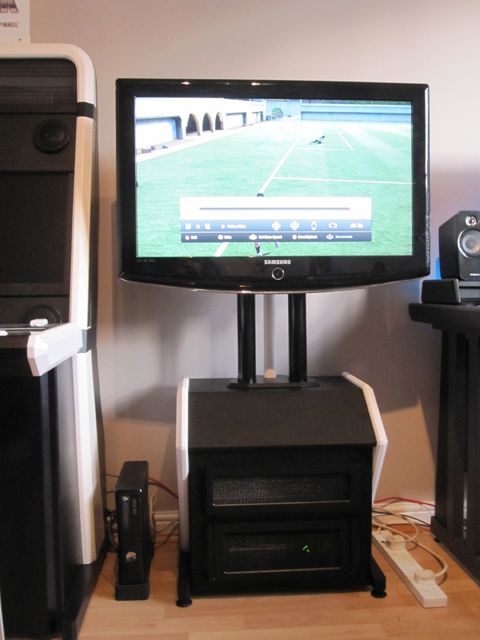
... compared to the current one:

XBOXArcade109_zps44fa7764.jpg


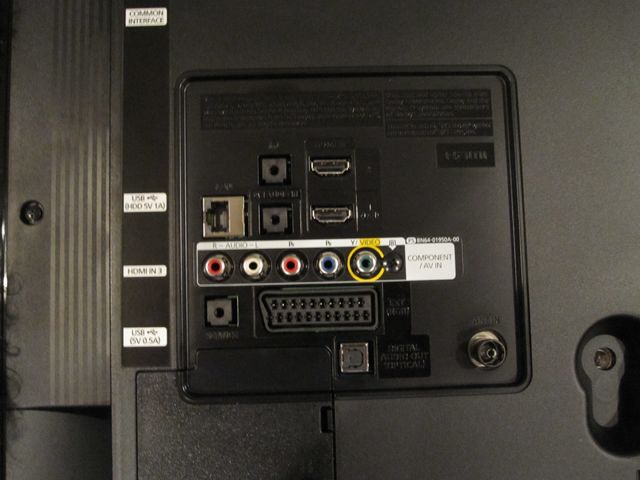
Connections on the back:

XBOXArcade112_zps20357201.jpg


Just have to wait until everyone's awake before I get the router out and start to make a mount for the thing.
 
Thanks mrbell1984. For the finish, time and patience mainly.

Thought about posting it in the project section but that seems to be for PC builds. I did post my modified gaming desk in there though.

Basic display mount has been made but still needs to be adjusted. Cables need to be fed through the white tube ....

XBOXArcade114_zps2334c606.jpg
 
Sorry for the question bud, can you explain what your plan is exactly for this? I can see the 360 on the floor but dont understand what you indend to use this "cabinet" for? Is it going to house multiple consoles? Or is it a Mame setup?
By the way it looks very slick :) Good job!
 
Sorry for the question bud, can you explain what your plan is exactly for this? I can see the 360 on the floor but dont understand what you indend to use this "cabinet" for? Is it going to house multiple consoles? Or is it a Mame setup?
By the way it looks very slick :) Good job!

... and my son wanted me to build him a machine too. It will be modular in the sense that it will have a base unit and interchangeable control panels. The control panel section can be un-docked and moved out of the way when not in use.
 
Thanks for the feedback, much appreciated.

I can understand why it's a little confusing! I've build a few cabs before and wanted to do something different and original this time. The idea behind this is to build a modular cab and have it in keeping with the general style of the rest of builds. Effectively, it will be a sit down version of one of these ...

images.jpg


... where I can move the control panel section out of the way when needed. I also want to build multiple control panels for different types of games.

The cabinet will also house a PC in the top section.

The XBOX to the left of the unit (shown in the previous post) is actually dedicated to fighting games for the Viewlix cabinet - I'll be building a small, slim separate stand for this at some point soon. There's a second XBOX in the bottom of this cabinet.
 
Cool project, I've just ordered two new bits of acrylic for my pinball table, can't wait for it to turn up then I can finally wrap it in gloss black.
 
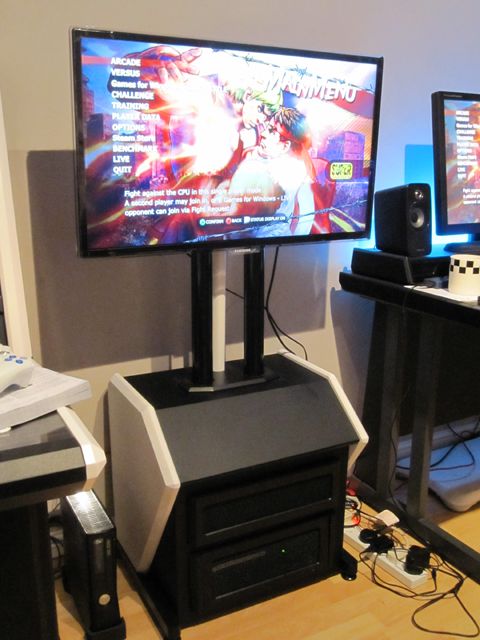
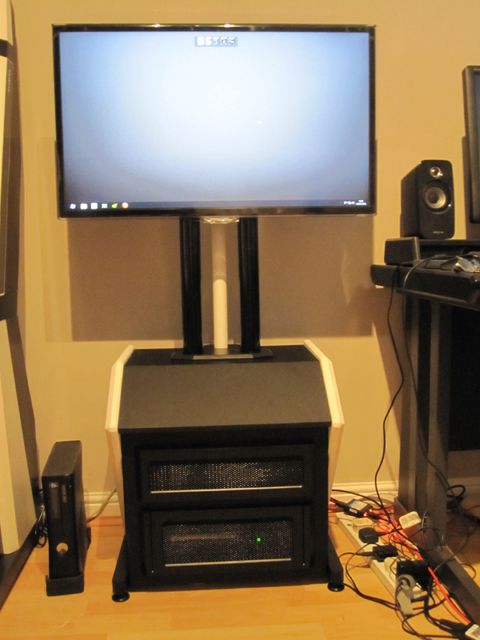
May not look like much but I now have the display oriented correctly (it was leaning to the left slightly and was not completely vertical - I made another retaining piece to sort this out). All the cabling is now fed through the maintenance tube.

I need to stark working on the shroud at the back of the display soon ... I'm running behind my self imposed schedule atm.

XBOXArcade115_zps2aba3bbf.jpg


Have also hooked this up to a PC now as well.
 
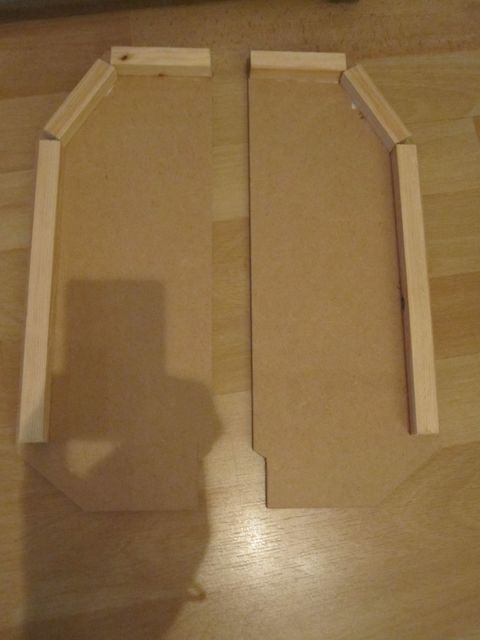
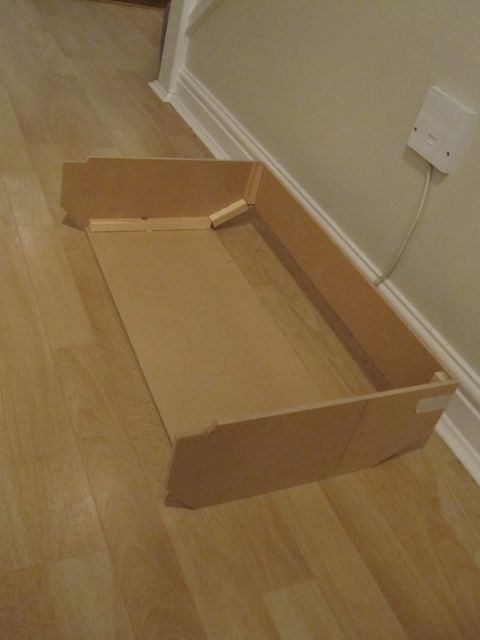
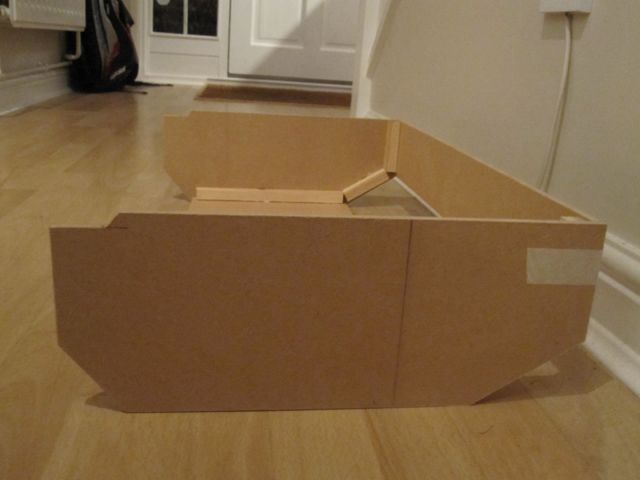
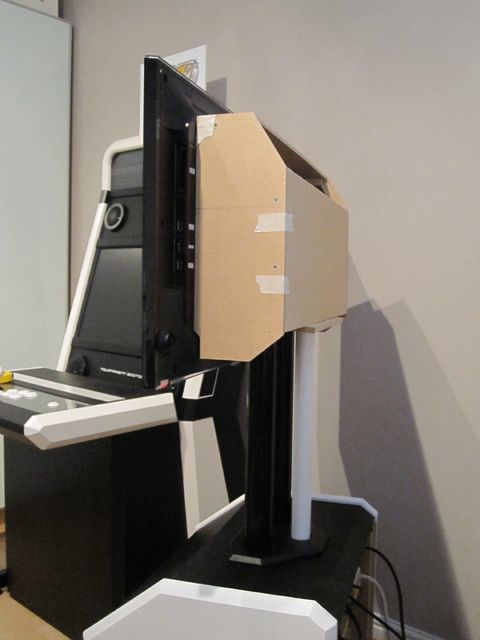
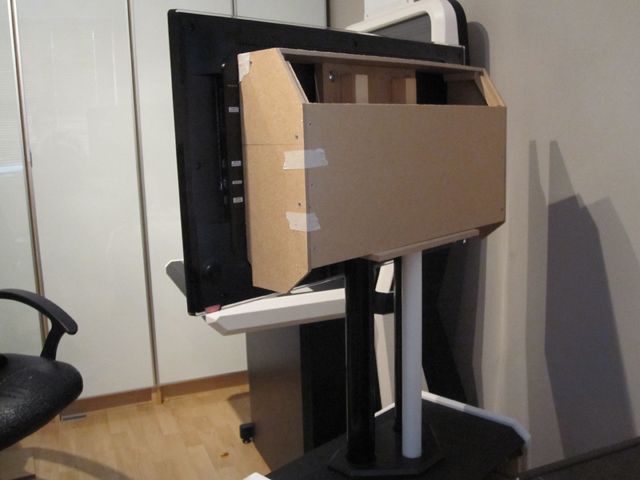
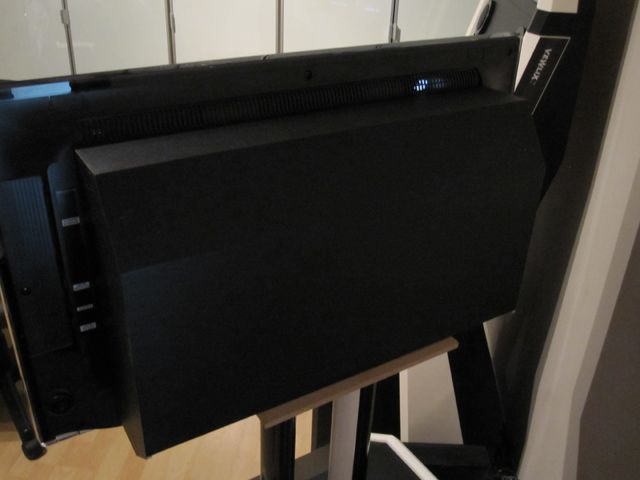
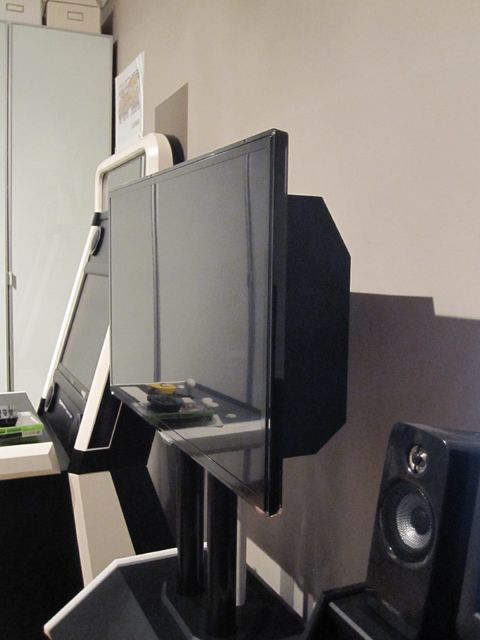
Started working on the cover/shroud for the rear of the display. Sides and 2 of the 3 panels cut and glued in place - these will need to be screwed together. This will hide all the tubes and cables. Hope to get the last panel completed tomorrow.

XBOXArcade116_zps806397d3.jpg


XBOXArcade117_zps1d5bd548.jpg


XBOXArcade118_zps3b8db091.jpg


I didn't want a boxy shape due to where this will eventually be located - the profile will be visible through a door.
 
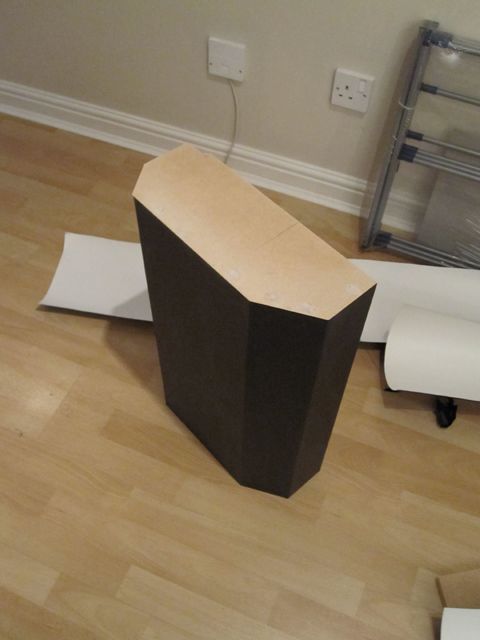
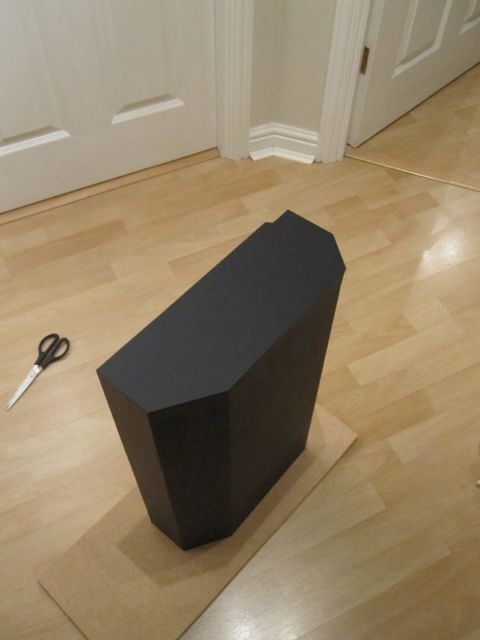
A mini disaster this morning .... when I started drilling the pilot holes, the main back panel fell off! Goes to show that the 6mm MDF and wood glue don't mix particularly well. The quality of this board is different to the regular 12mm and 18mm boards. Managed to rectify the situation though and get the holes drilled and the screws in. I still have a lot to do getting this shaped up, fitting snugly (the cuts are good though) and covered in vinyl. I have been sure to leave the cooling vents on the display unobstructed.

XBOXArcade119_zps404f58f6.jpg


XBOXArcade120_zps7fbe2c93.jpg
 
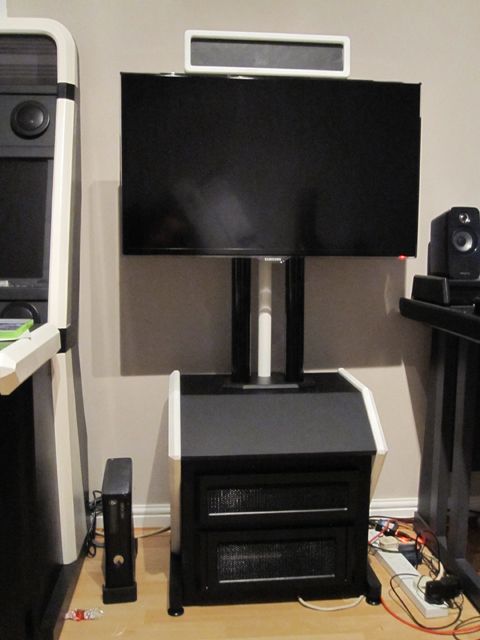
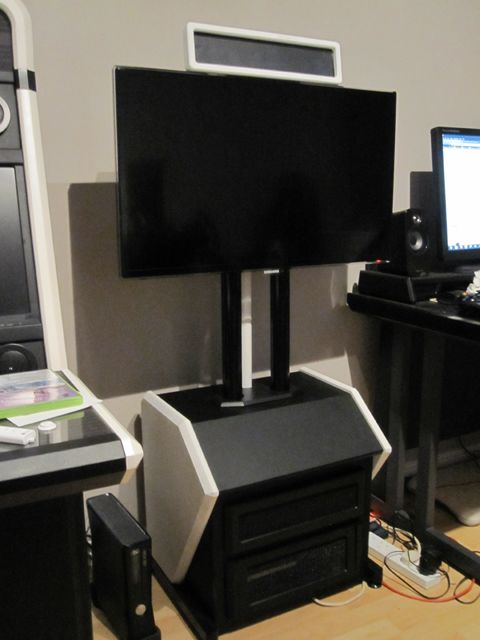
A couple of pics to show what the marquee will look like - just balanced (off-centre!) on the display at the moment. When properly mounted, it will 'hover' above the display slightly. Rubbish picture quality again unfortunately. Artwork not done at this point ....

XBOXArcade128_zpsc29d2c87.jpg


XBOXArcade127_zpsdbfdb1b3.jpg
 
Back
Top Bottom