Associate
- Joined
- 10 Mar 2013
- Posts
- 35
So let me start off by saying, howdy!!!
This is my first PC mod Thread, and i hope you enjoy it. Make sure to like it and show me pictures if you go ahead and try and install this.
Difficulty 6/10
since your viewing my post i gather your looking to mod your pc case with some lighting but don’t want to spend a lot of money... well this build will cost you less than £10 and a little DIY! The outcome is way better than the £40+ light panels you can buy, which in my opinion are a rip off. I have included a guide below showing you how i did it and what i used..
You will require a soldering iron, some shrink-wrap, wire cutters and a Molex connector
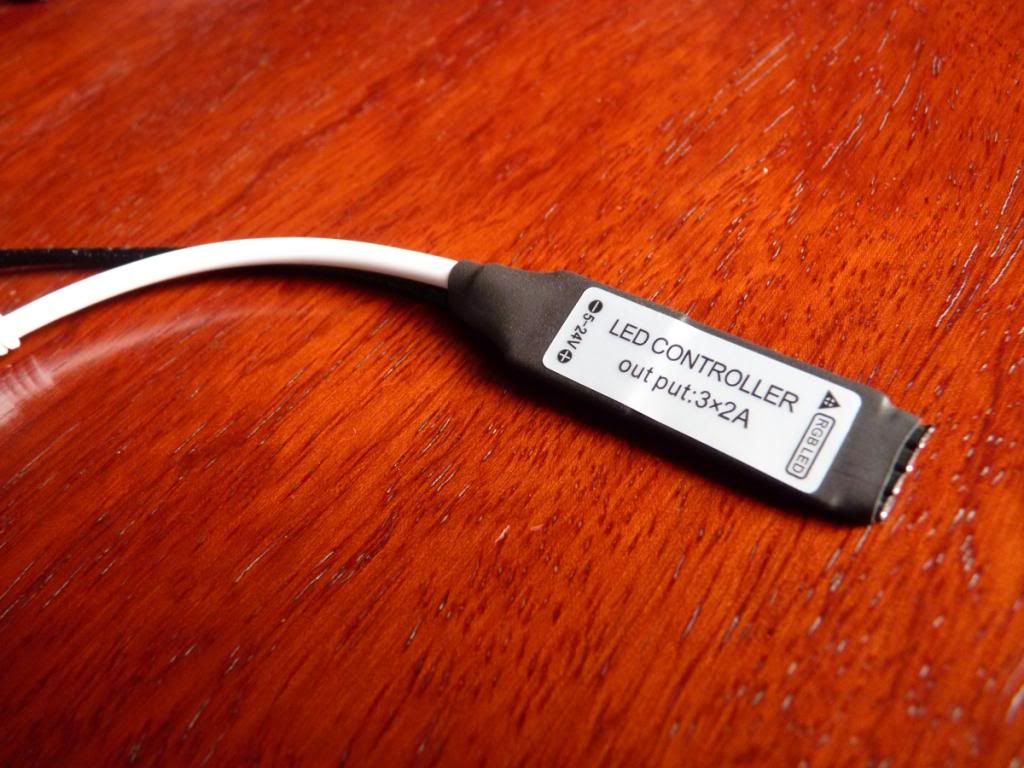
Step 1: Purchase this Light Kit! the 5050 LEDs are brill, they are super bright and the controller STORES colour settings....
Link: https://www.ebay.co.uk/itm/3528-505...hash=item2a88f778c9:m:mJf2Detgjax_ZohXqzlBsQw
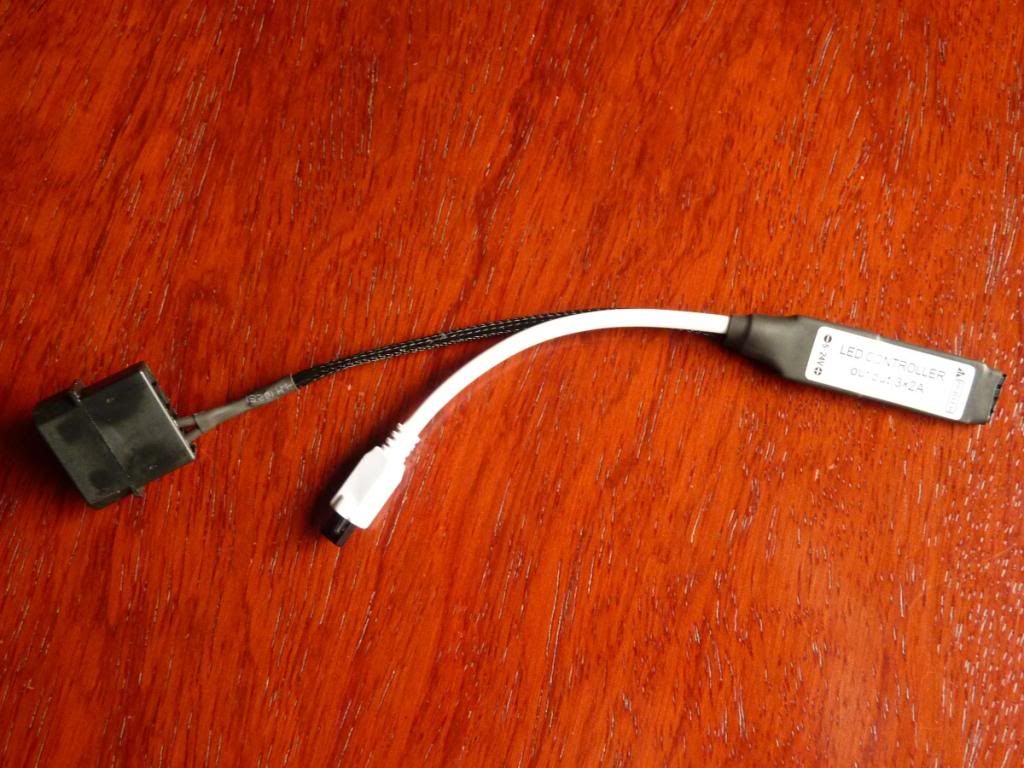
Step 2: you will need to remove the 12v cable, and solder the some new cable to the + and - pins on the light panel, this took me no less than 30 seconds and used a mutli meter to check the continuity i advice doing this just to make sure everything is working fine.


Step 3: make sure you use the 12V on the Molex connector and not the 5V, do some cable tidying, i brayed the cable to make it look nicer and added heat shrink wrap around the board to stop any electrical serge.


Step 4: Install inside your case, (if you have a spare power supply, you can hotwire it and test the light strip before installing in your computer) i did this to make sure it wasn’t going to blow my computer up i advice you do the same.
Step 5: Turn on and enjoy!!")


Thanks for looking guys!
UPDATED POST 10/11/2017
This is my first PC mod Thread, and i hope you enjoy it. Make sure to like it and show me pictures if you go ahead and try and install this.
Difficulty 6/10
since your viewing my post i gather your looking to mod your pc case with some lighting but don’t want to spend a lot of money... well this build will cost you less than £10 and a little DIY! The outcome is way better than the £40+ light panels you can buy, which in my opinion are a rip off. I have included a guide below showing you how i did it and what i used..
You will require a soldering iron, some shrink-wrap, wire cutters and a Molex connector
Step 1: Purchase this Light Kit! the 5050 LEDs are brill, they are super bright and the controller STORES colour settings....
Link: https://www.ebay.co.uk/itm/3528-505...hash=item2a88f778c9:m:mJf2Detgjax_ZohXqzlBsQw
Step 2: you will need to remove the 12v cable, and solder the some new cable to the + and - pins on the light panel, this took me no less than 30 seconds and used a mutli meter to check the continuity i advice doing this just to make sure everything is working fine.
Step 3: make sure you use the 12V on the Molex connector and not the 5V, do some cable tidying, i brayed the cable to make it look nicer and added heat shrink wrap around the board to stop any electrical serge.
Step 4: Install inside your case, (if you have a spare power supply, you can hotwire it and test the light strip before installing in your computer) i did this to make sure it wasn’t going to blow my computer up
i advice you do the same.Step 5: Turn on and enjoy!!
Thanks for looking guys!
UPDATED POST 10/11/2017
Last edited: