BitFenix Prodigy A

Associate
Joined
25 Feb 2007
Posts
878
Location
leicestershire


TSmPjRZ.jpg
hey everyone and thanks for taking the time to view this thread.

here is the system in its original state:

Really sorry about image quality, I will have some good pictures eventually once I find my battery charger!

Build will consist of:
Bitfenix Prodigy M "Yin" case
i5 2500k
MSI Z77 Mpower
Geil 8gb 2133mhz
GTX 760 (maybe SLI)
Cooler Master GX750
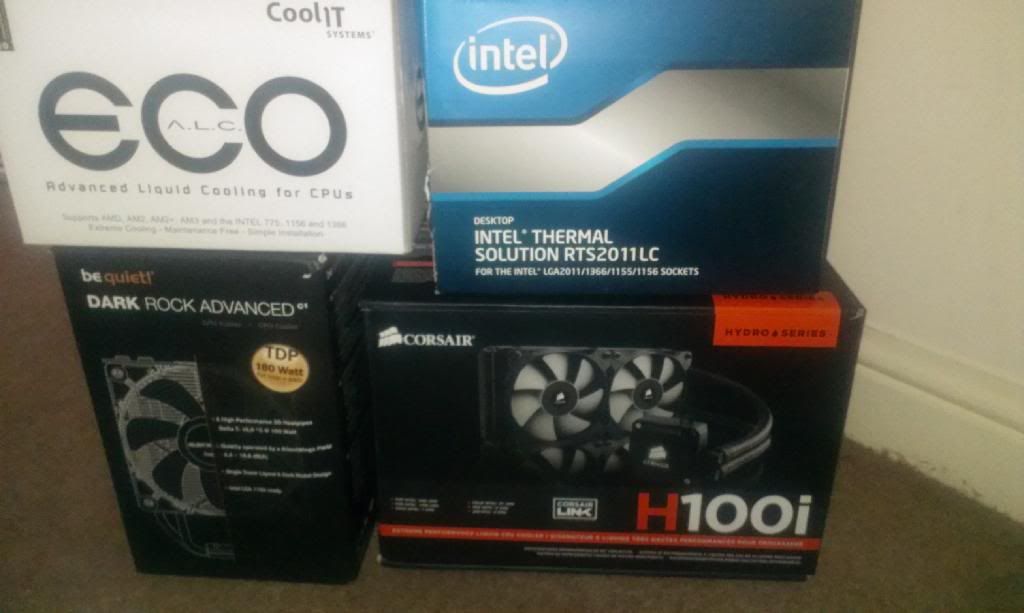
Corsair H100i

So going by this thread:
http://forums.overclockers.co.uk/showthread.php?t=18568328
I had the idea to try and squeeze an ATX board into my Prodigy M.
Well, it might just work so I bring you the start of.....Prodigy A

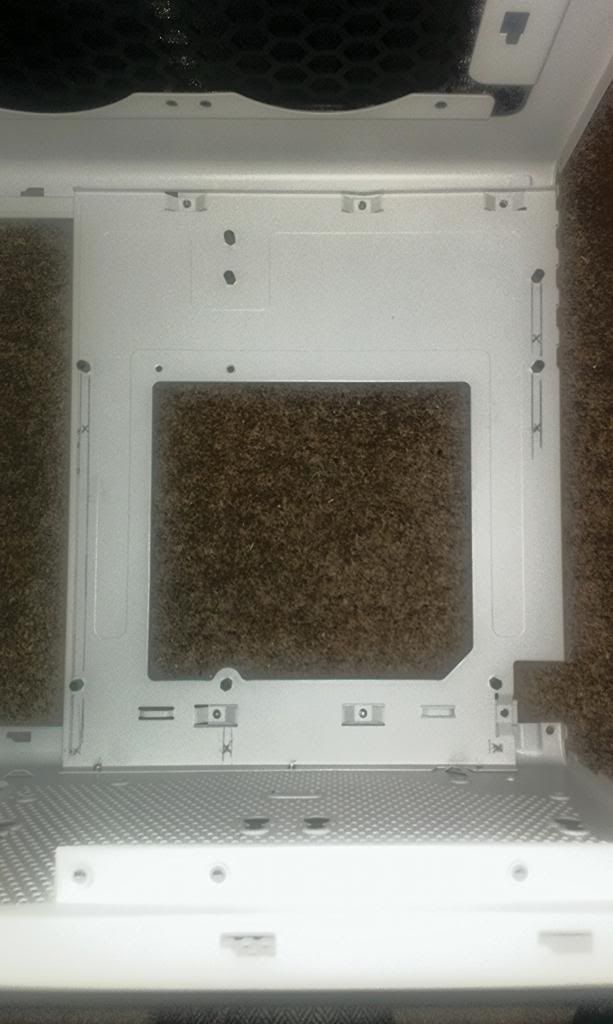
so the initial drop in showed an alignment problem at the back....naturally!

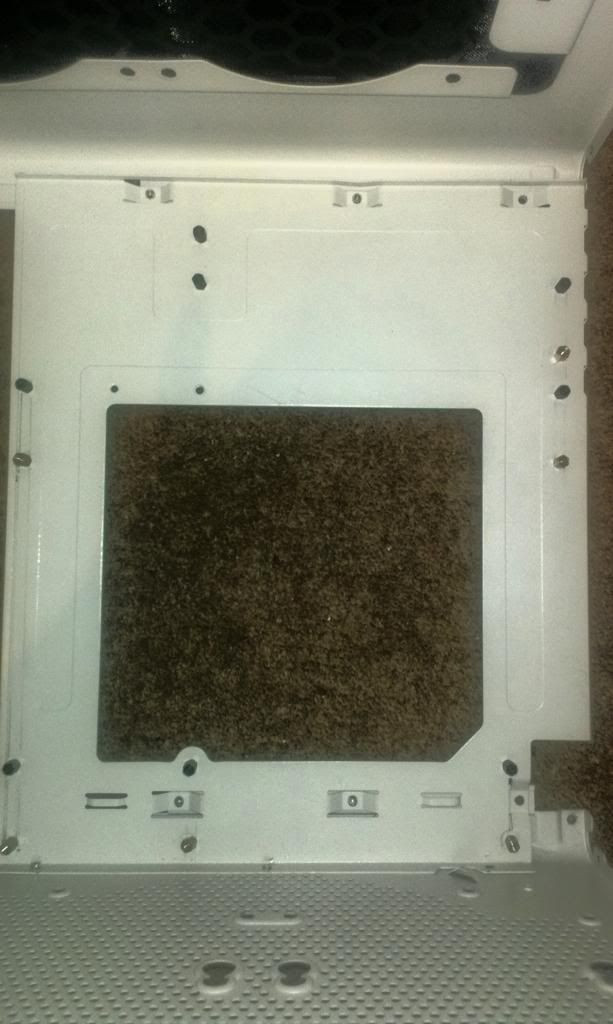
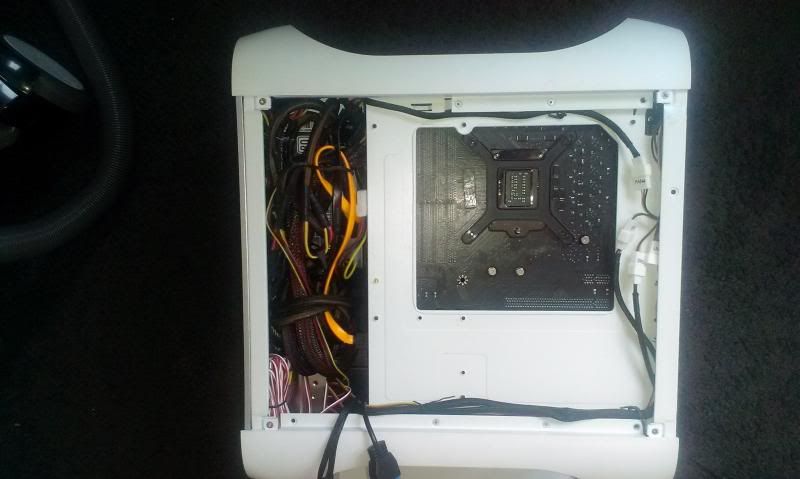
took the rivets out of the rear and pulled it away to allow a better measure up of the extra motherboard mounts that are needed.

threaded them in and BOOM! we have lift off!

and just like that the board was mounted, the back will need some work though.

and here is a quick test with the other parts.

and that's the last two days work, i have been quite busy today but will sort those pictures soon.
please let me know what you think and throw some advice my way too because i value this forum's input!
 
Last edited:
Have the back IO ports lined up OK on the rear of the case? Did you have the correct shiny IO "frame" to go in around it? Any pics?

Looks good, would love to be able to cram my ATX board and everything into a case like that. I really want an mATX/mITX setup but having to buy a new motherboard and subsequently new RAM (as I have 4x4GB and they only have 2 slots!) is putting me off a bit!

Guess I could recoup some of the cost my selling my current case, motherboard and RAM.......hmmmm.
 
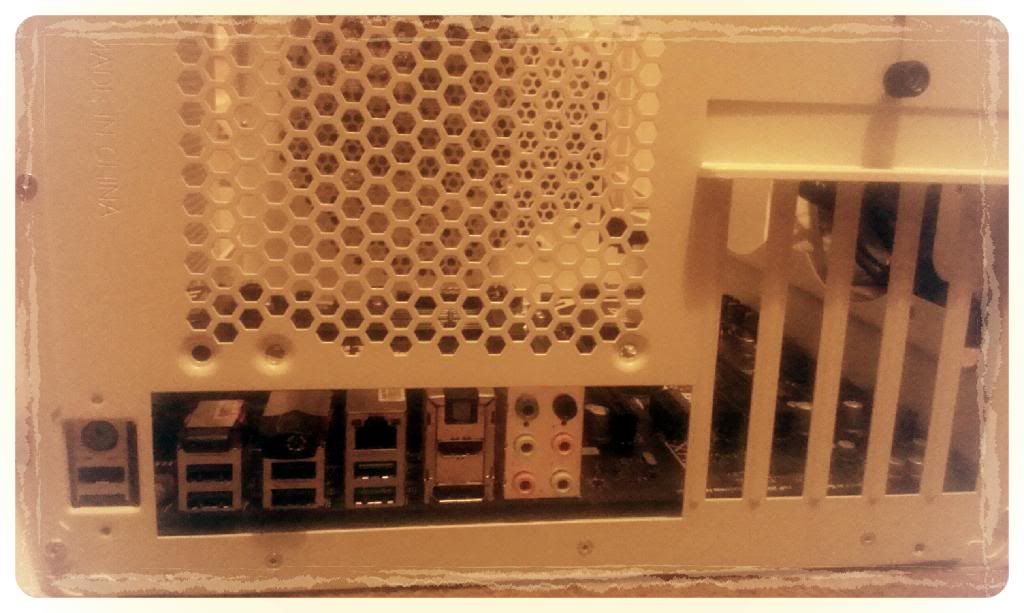
well R.O.S.S.I, the back ports are the main issue. i mean the graphics port is really.
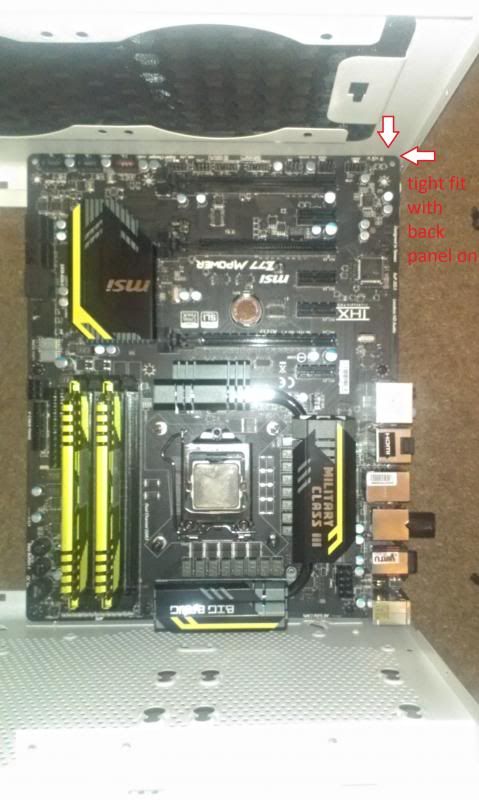
all seemed good until i put the back on, highlighted is the tight spot.

two layers of metal is a bit too much and since i had never seen anyone trim a board, i trimmed the metal.

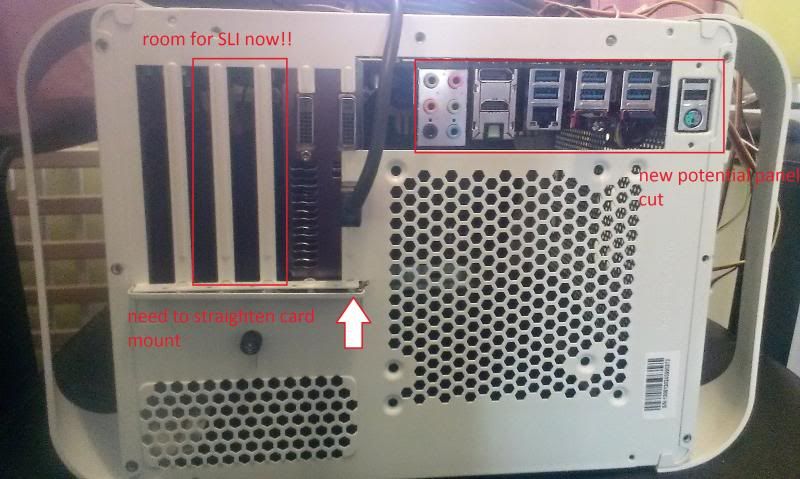
so after a few cuts round the back i had a case that could be eased back together...for now.


the 2 inch or so drop in board layout gives me SLI options and makes the H100i easier to mount at the top. it does need work round the back now though. i might favour a black overlay to tidy up the back. if you know what i mean?

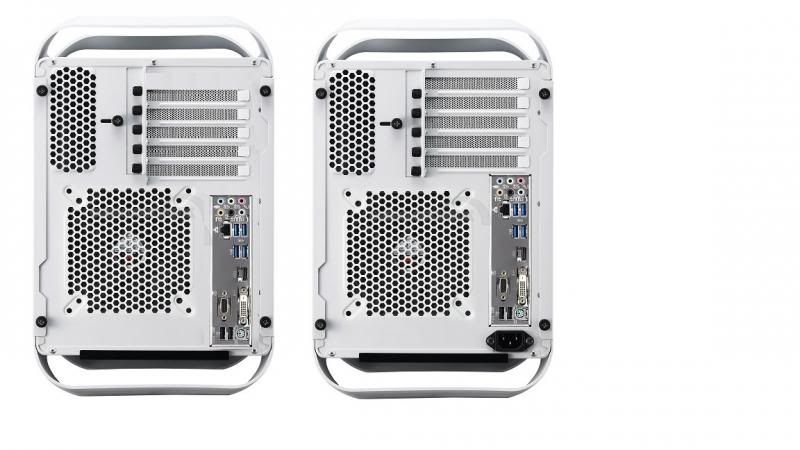
IMAGINE if it could be as neat as this...
 
Last edited:
so a little cable management today, really think Bitfenix should have moved the motherboard tray a little more into the centre (depth wise, not toward the front). could have fitted larger drives and cables behind the motherboard tray then.

need to spend some more time on the hard drive power connectors and that bottom left is annoying me near the PSU where the sata and power cables show.
maybe a new PSU would work better?

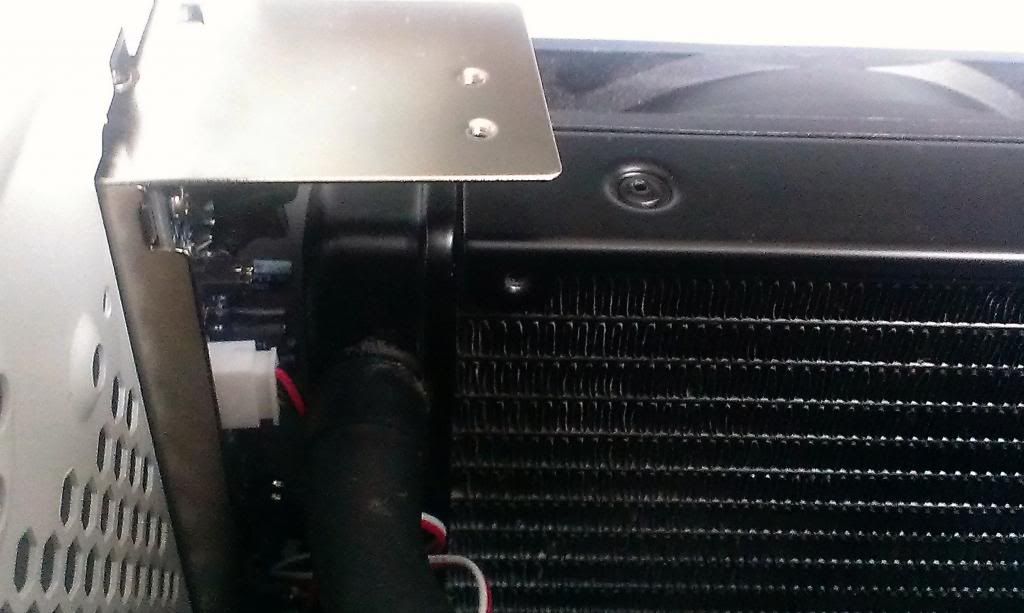
proof that H100i's can fit, you just have to unscrew the cage that holds the drive in place, its a bit tight for a fan controller though!

so internally is shaping up a little more, considering removing the bottom stand and fitting legs instead and the dreaded rear tidying job!
 
Last edited:
spent some good time tidying cables, spinning the hard drives round the other way allows them to be channelled along the side.
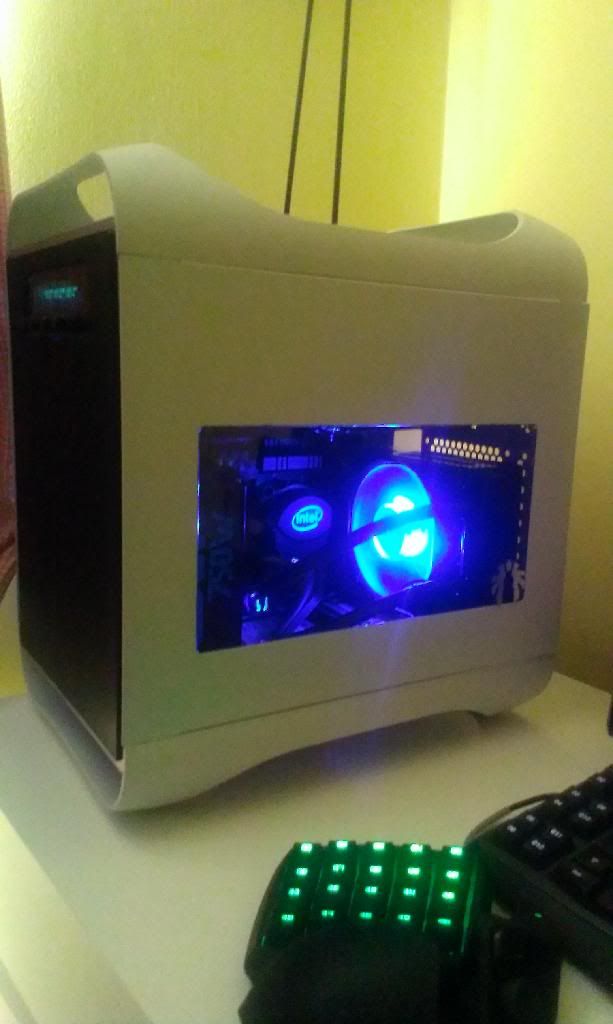
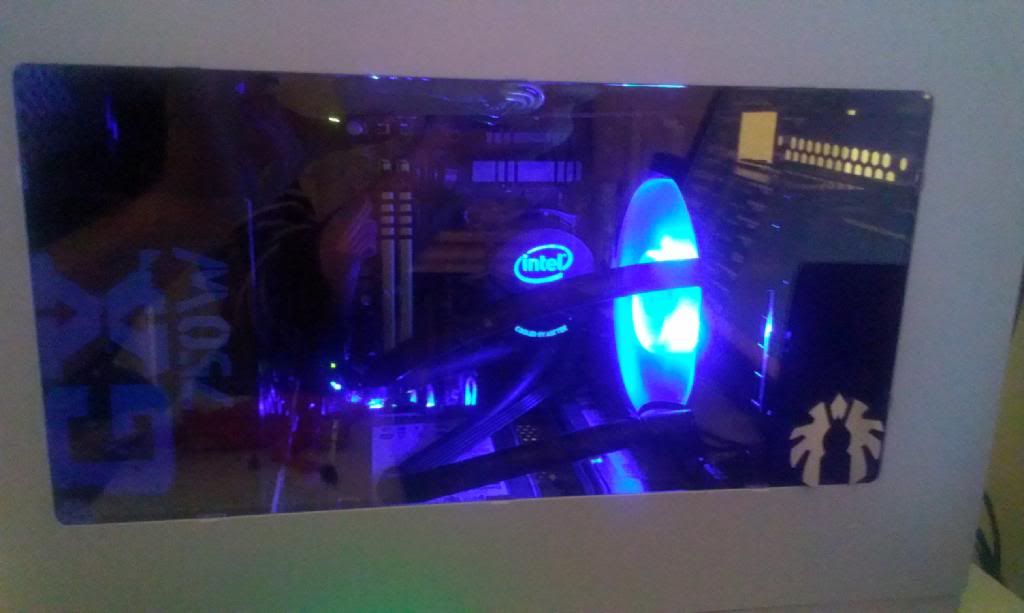
swapped out the corsair h100i for the intel and have gained some good airflow. anyone know about the gain of push pull on it instead of the push they seem to recommend? either way is working well and have not gone higher than [email protected].
this next one is a bit glary but i promise i am going to buy a new charger for my slr!
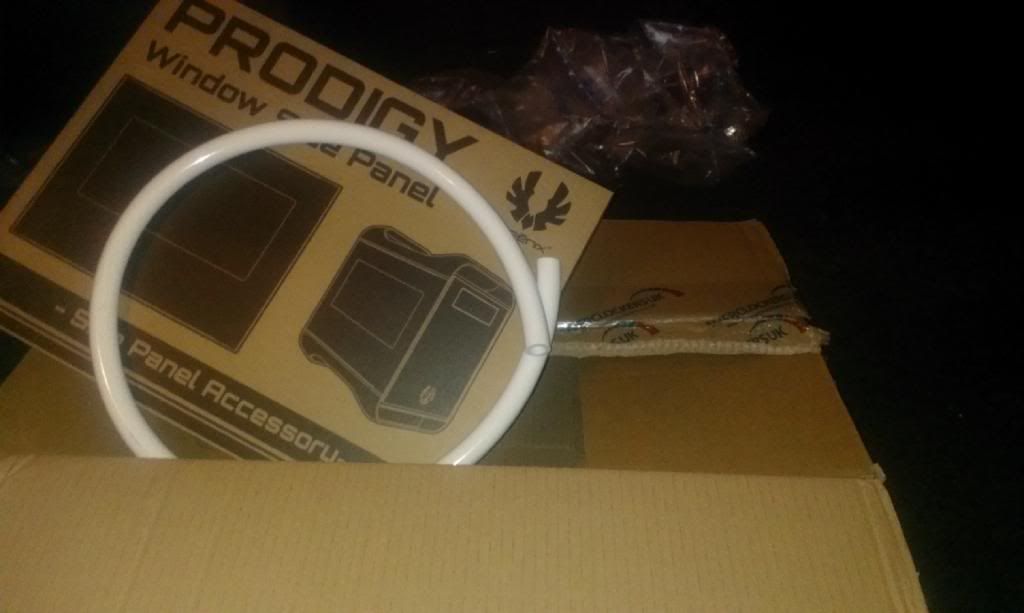
so i had my doubts about the window panel but it provides a bit of a feature for the cooler i guess.
 
Last edited:
Very cool. I did a prodigy build for a friend, I was cursing a lot as its not the easiest space to work in LOL.
You have definitely made the most of it :) Very cool.
 
Back
Top Bottom