Black Suppressor

Associate
Joined
7 Mar 2016
Posts
121
ok this is my first project on here so sorry if i make any mistakes. Basically i am going to water cool my current rig while going for a mechanical look. Nothing fancy or shiny just functional. Here are my parts….

Components

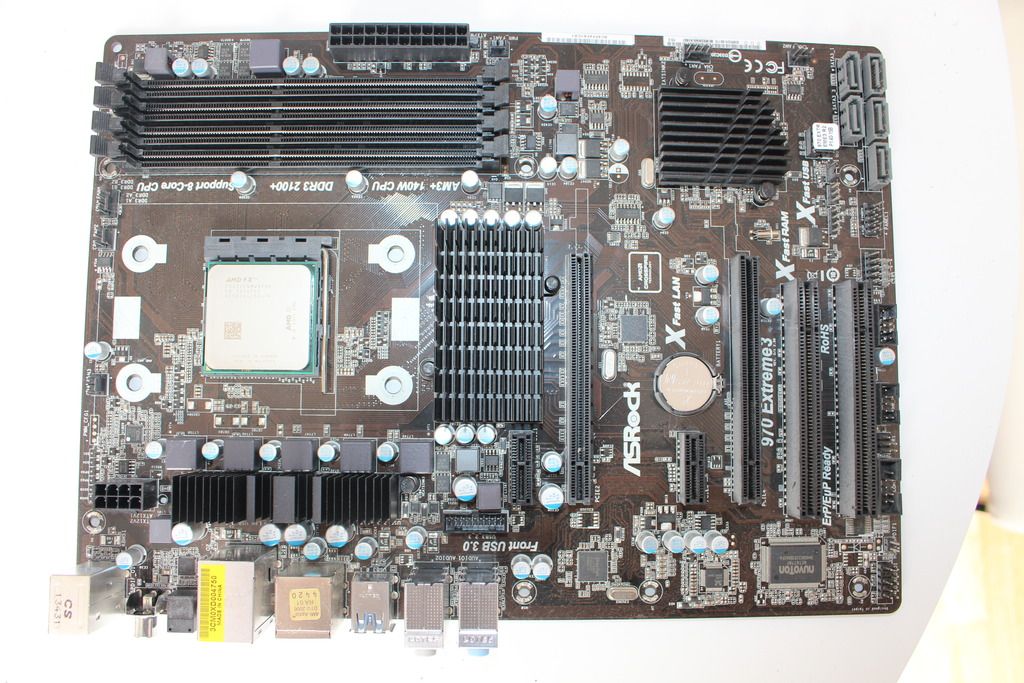
Motherboard : asrock 970 extreme 3 r2.0
CPU : AMD FX 8320e
GPU : R9 290X
RAM : 16GB of kingston hyper x beast
Fans : 6x Noctua NF F12
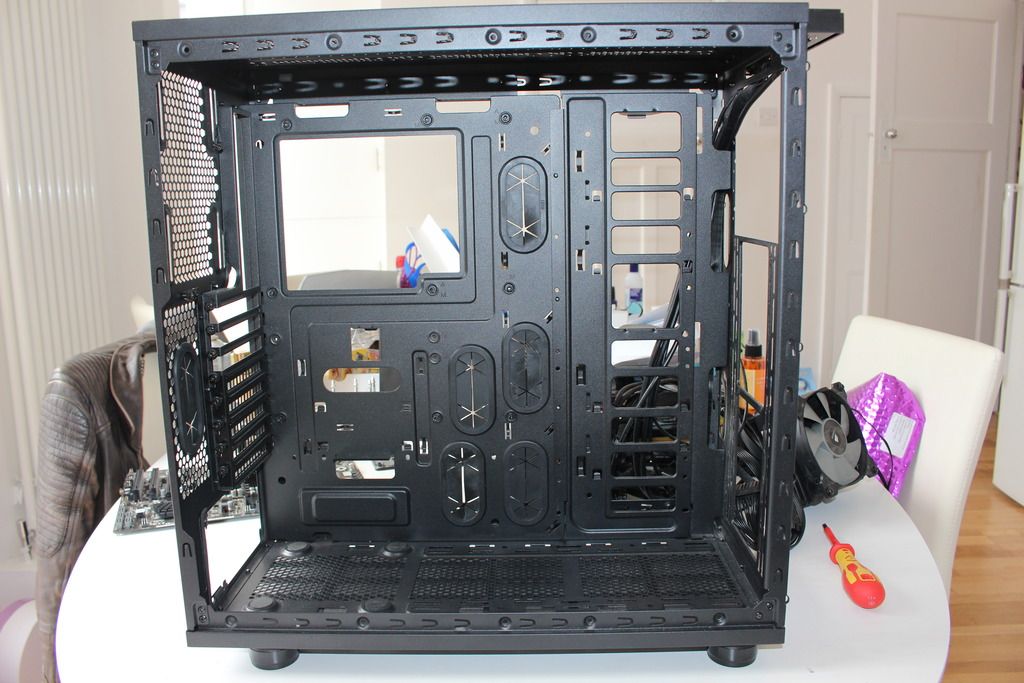
Case: Thermaltake Suppressor f31

Water Cooling Parts

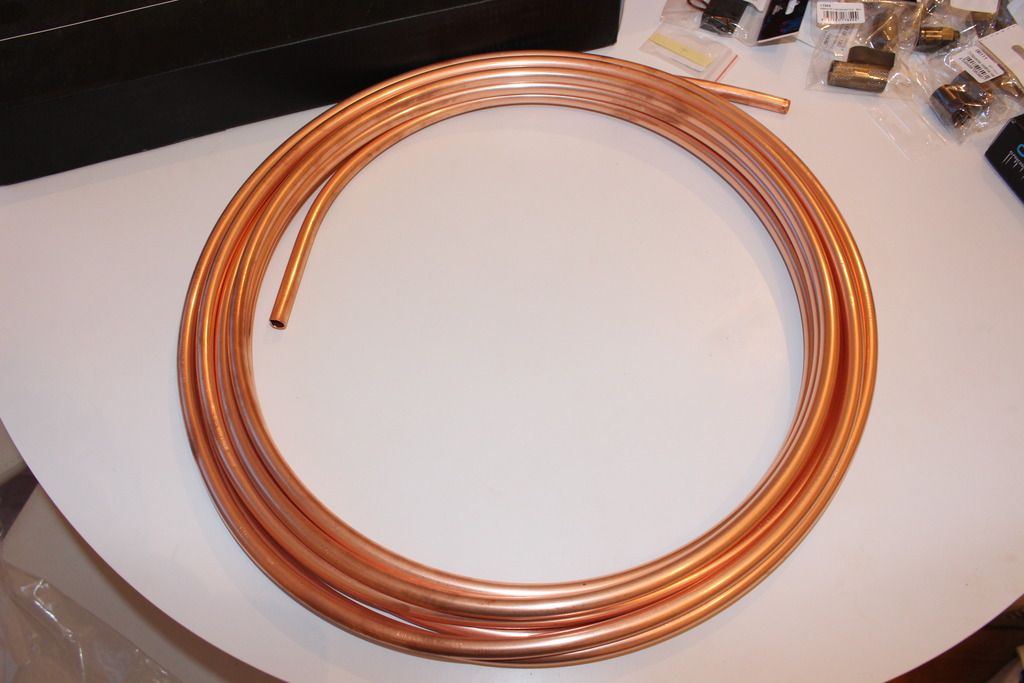
10mm copper pipe
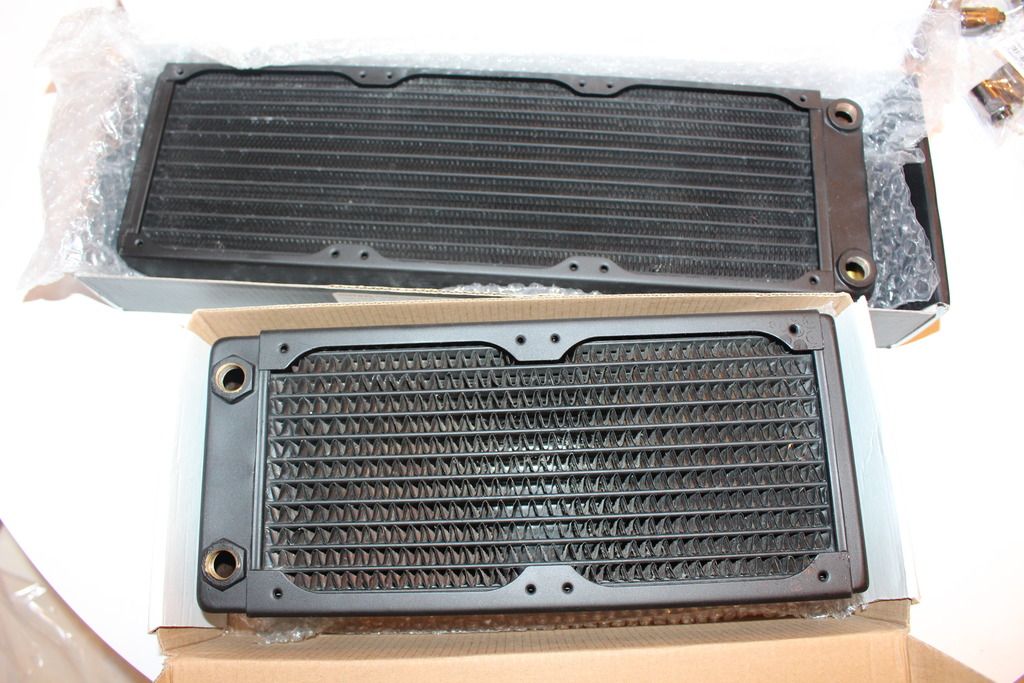
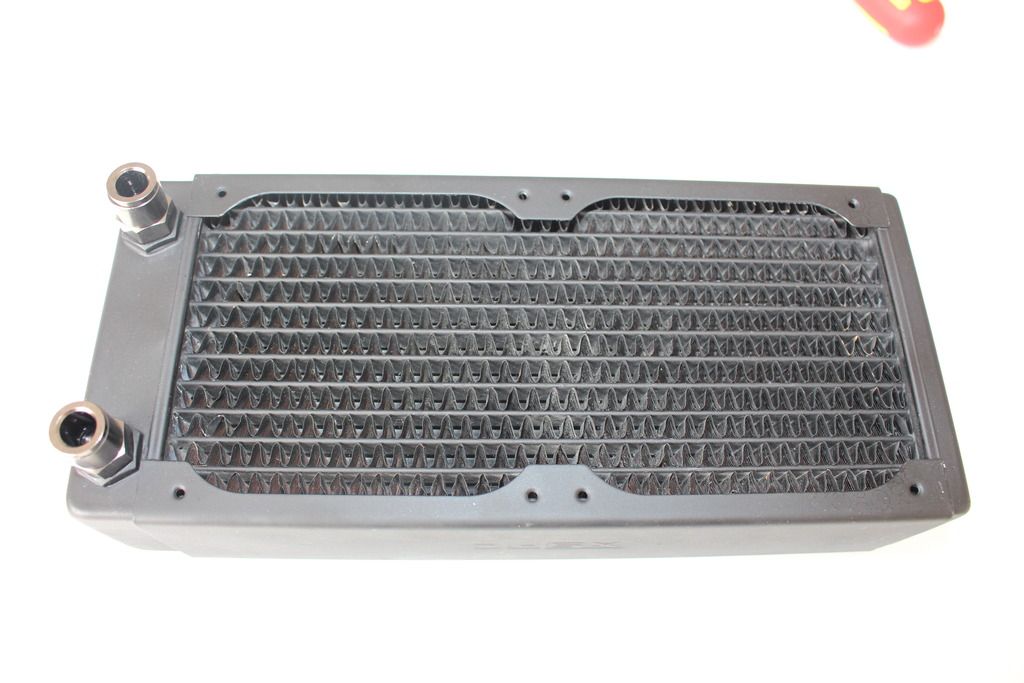
XSPC RX240 and EX 360
Aquacomputer Aqualis ddc reservoir and ddc pump
EK FC plexi r9 290x gpu block and black backplate
Alphacool nexxos xp3 cpu waterblock black acrylic
10 mm black nickle push fit fittings

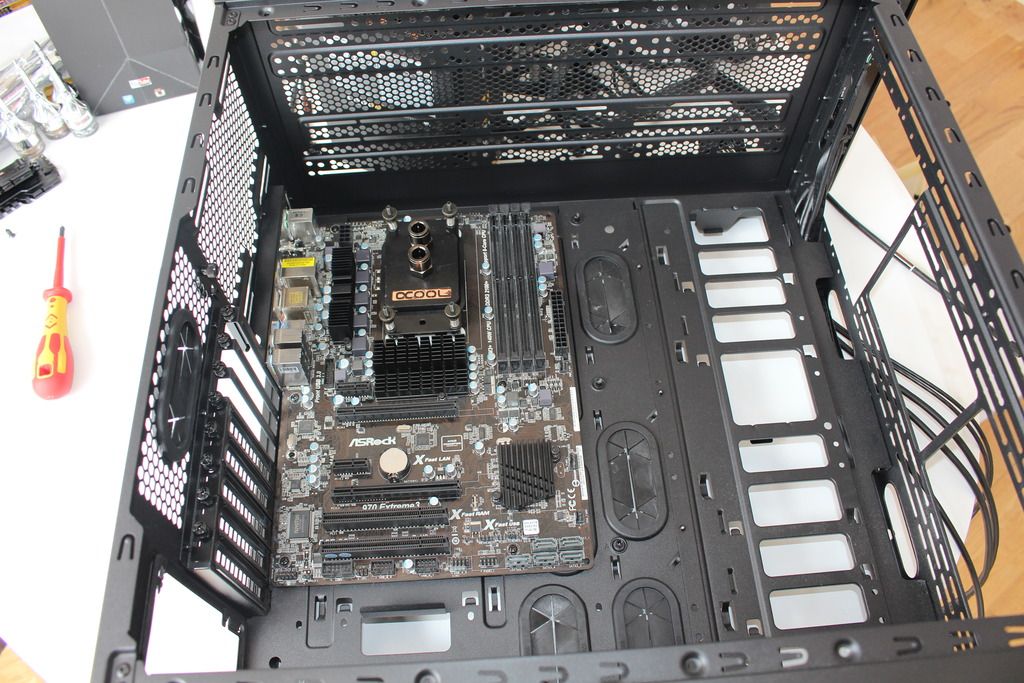
this is a picture of the rig before i start
sorry if the photo is bad quality, hopefully one day i will get better
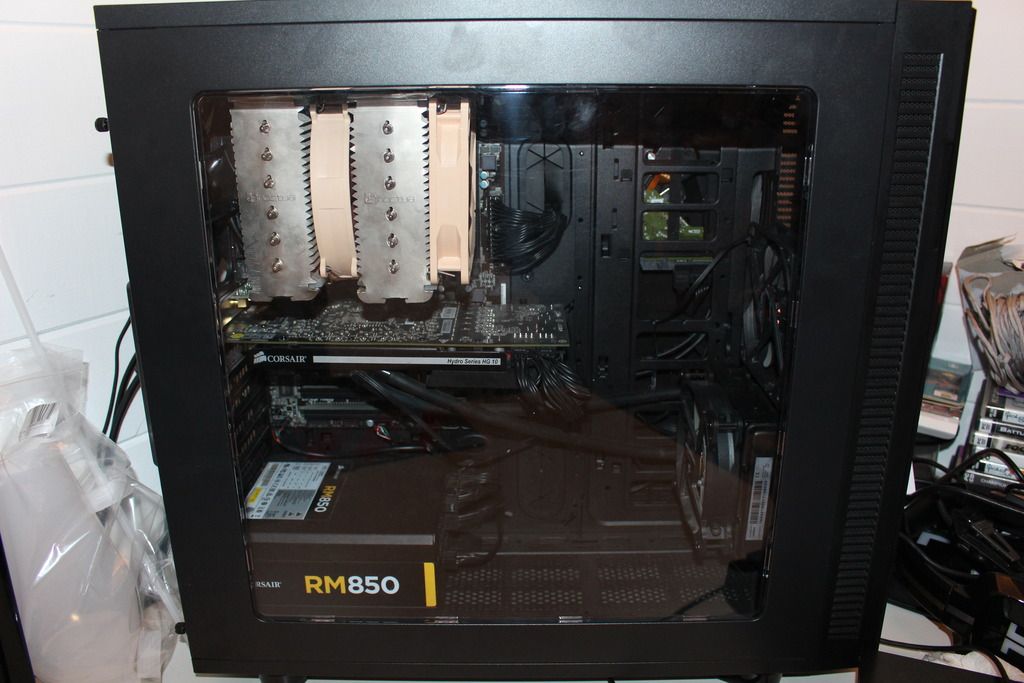
IMG_8509_zpssh26vklv.jpg

now its time to strip everything out and get started!!
 
Last edited:
So lets start out with all my water cooling components
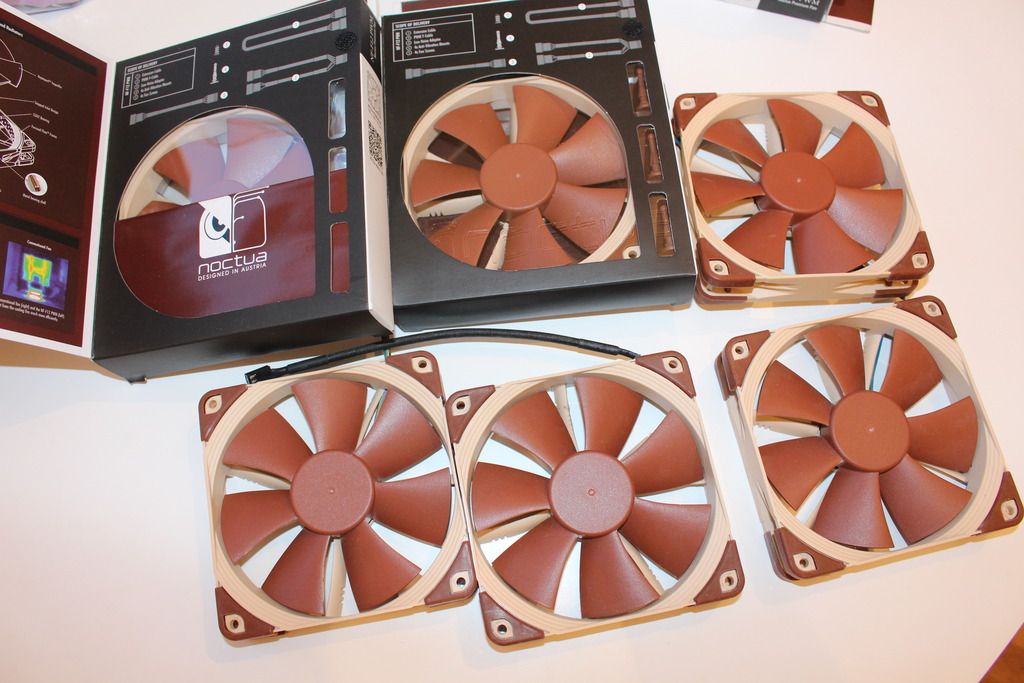
first of im going to show you my noctua nf f12 fans
managed to get them quite cheap with 2 for £12 each which i couldn't turn down as it matches the look i'm going for
IMG_8496_zpsexpgp4lj.jpg
 
Last edited:
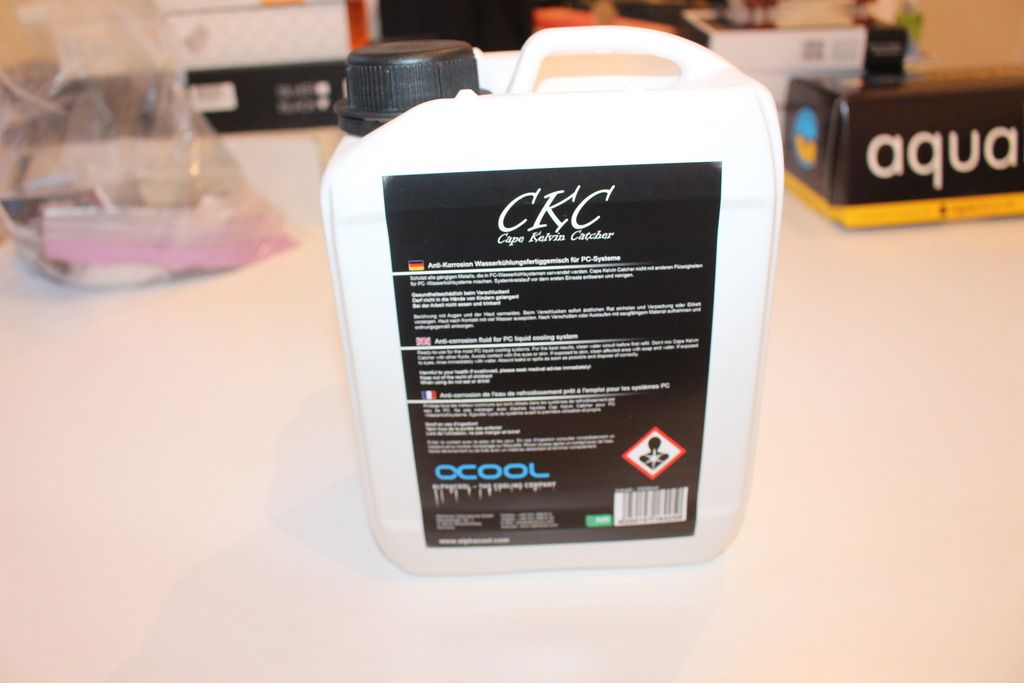
now ill show you my reservoir, ddc pump and the fluid that i,m going to use

the first picture is of the cape kelvin liquid
IMG_8498_zpsj1zo5hk9.jpg


really boring but i thought i would add it in.

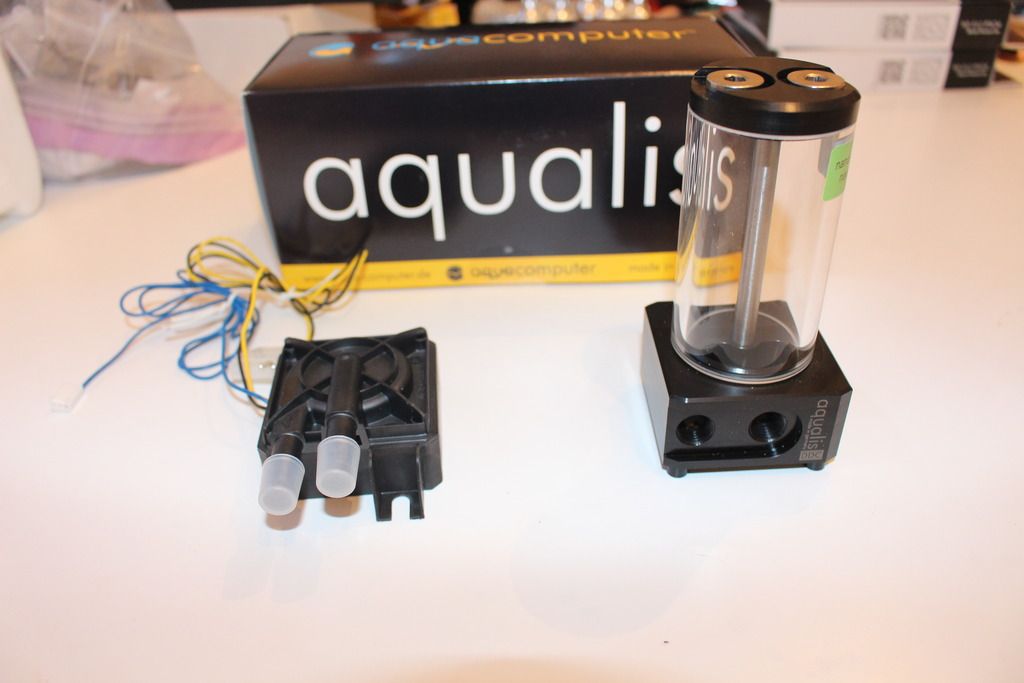
next is my aqualis reservoir with ddc pump.
i was actually very impressed with this although wished that i would have bought a bigger one now but that's a future project

IMG_8497_zpsnajgd4gu.jpg
 
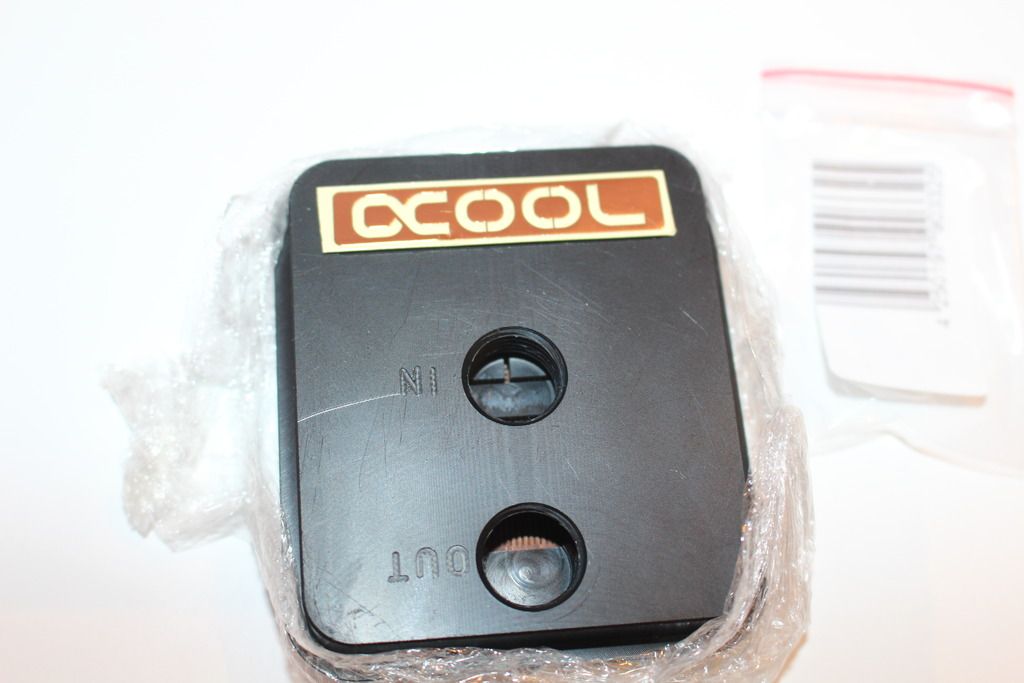
next up are my blocks both bought second hand

my alphacool nexxxos xp had lost its sticker so i had to purchase a new one to make it look better
IMG_8505_zps3vjfbxxm.jpg


the sticker isnt applied yet but will be before its installed

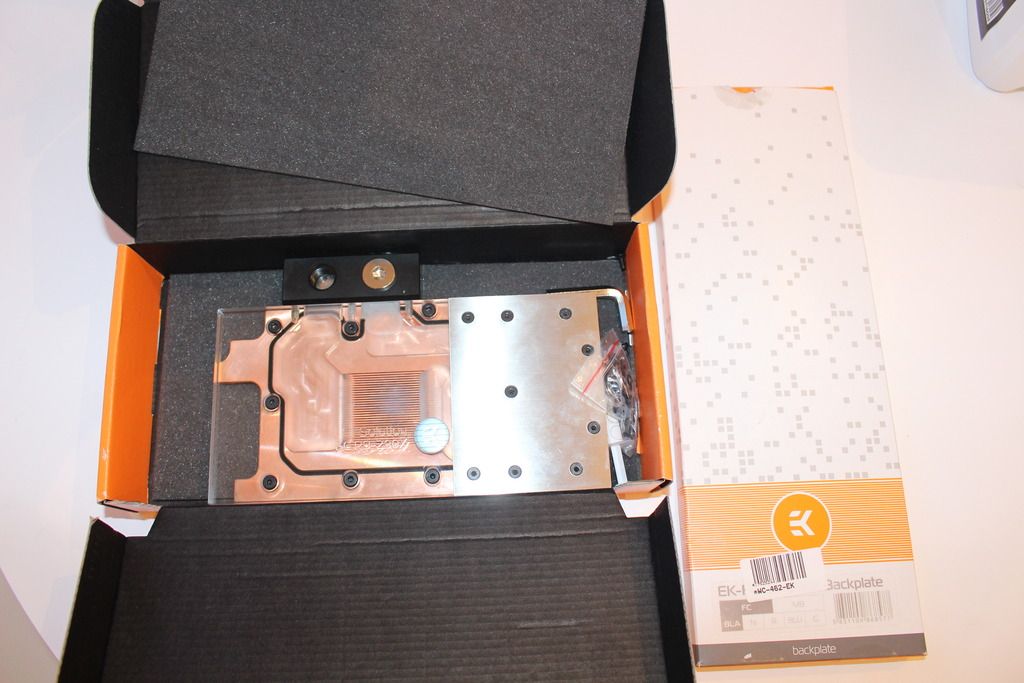
next its my gpu block the EK FC plexi block

IMG_8499_zpsinbbebej.jpg
 
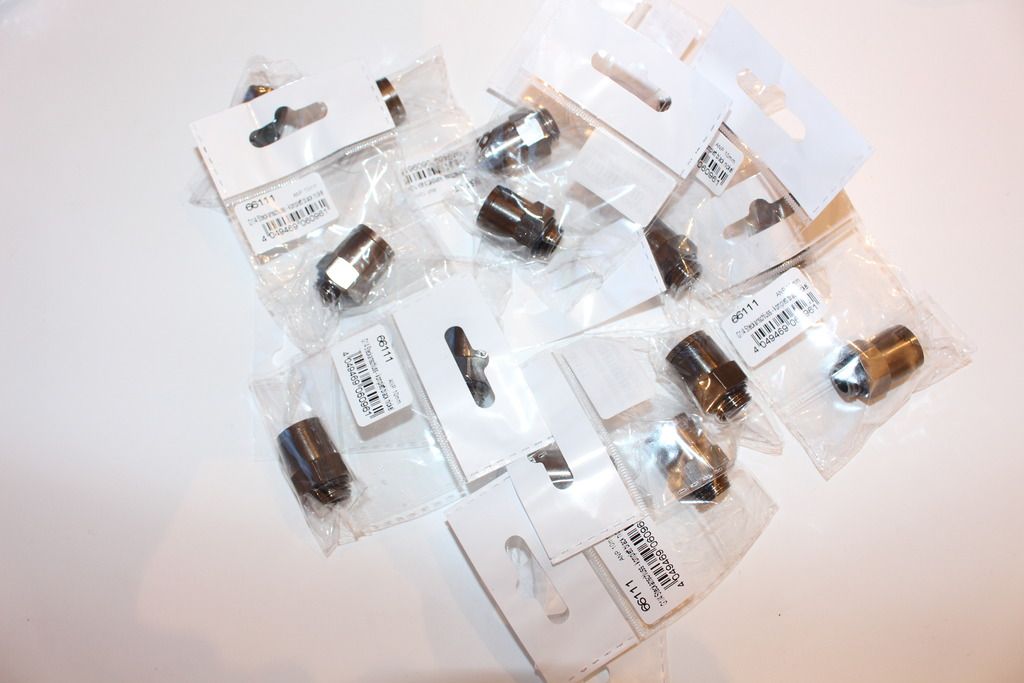
now its time for my fittings, ball valve and flow meter

first is the fittings. i chose these for their mechanical look but also because they fitted copper pipe that i could buy. These are 10mm push fit fittings in black nickle

IMG_8500_zpsowfbbzni.jpg


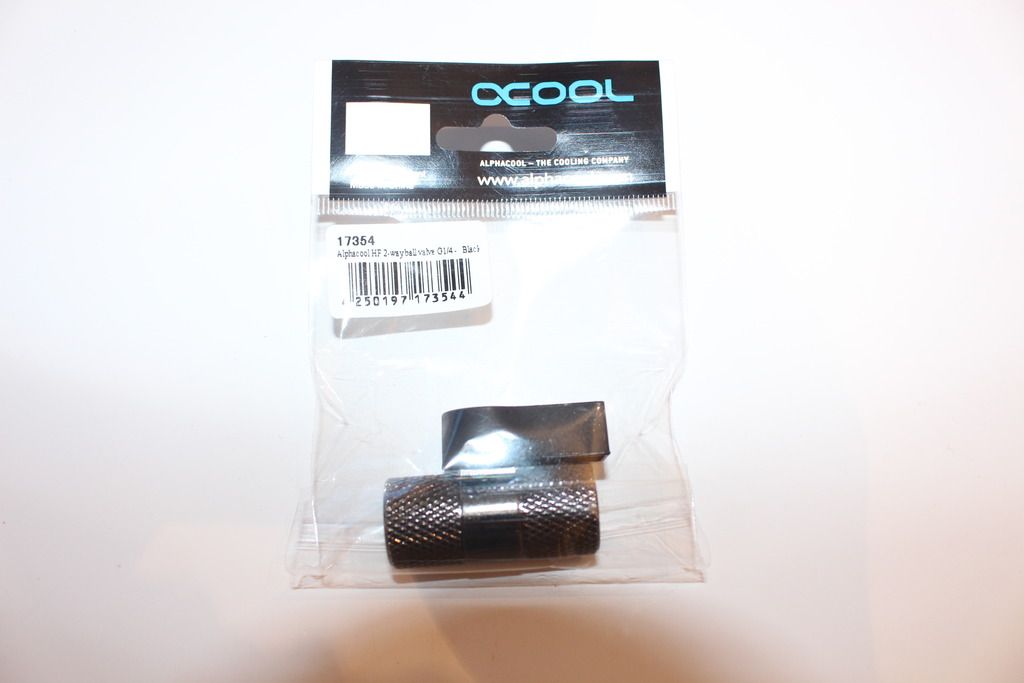
next is the ball valve which i will use for my drain port

IMG_8501_zpssvv3vjrt.jpg


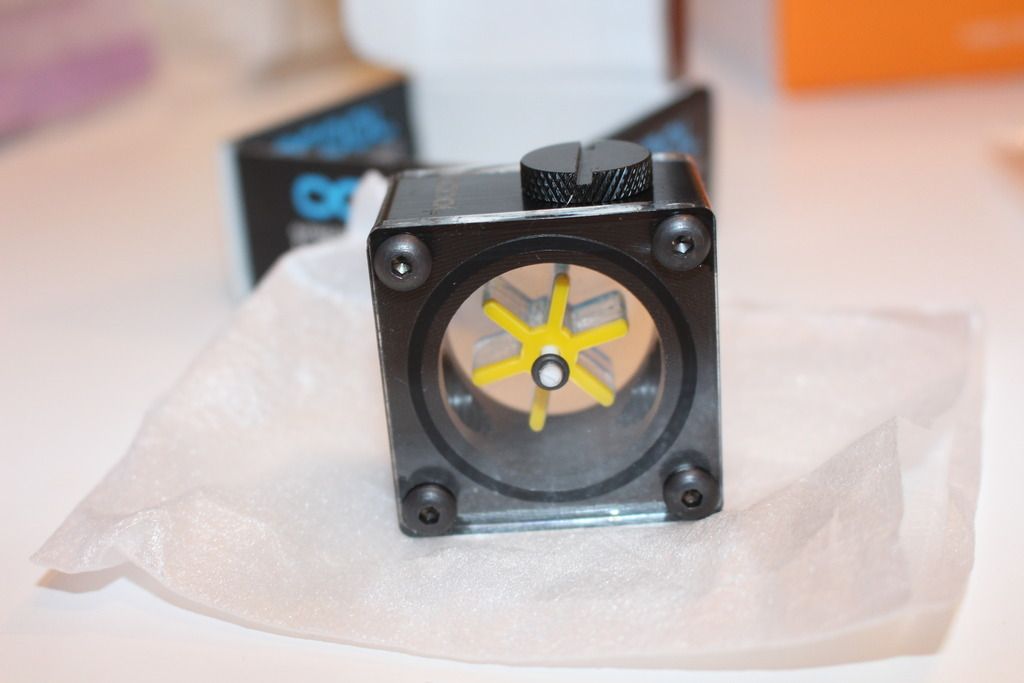
and then here we have my alphacool flow meter. This was only purchased out of fear to make sure i could see the flow because its not visible anywhere else in the loop. probably just a bit of paranoia but you can never be too paranoid in this i game!!

IMG_8504_zpsdgjrflhr.jpg
 
last but not least is the copper pipe i'm going to use.
its 10mm microbore copper which is quite cheap and can be picked up from nearly major diy stores in the plumbing section.

IMG_8508_zpsd9ghsz8d.jpg
 
one thing i forgot to mention about the copper pipe is that i am going to leave it once installed to go brown. I have seen great copper pipe builds polished but that is not the look i am going for.
 
You'd need a longer central pole but I think you can get them. Not sure they do anything larger than 150ml though. The larger sizes are 450 and 880 but they are a larger diameter. 100 ml works ok but if your pump is an 18W DDC, depending on your loop restriction, you may find that it churns up the res when the coolant returns. You could turn the pump down though and it wold be quieter.
Have you looked at the EK DDC heat sink? Good for the decoupling rubber mounts as well as cooling the pump.
Also the other Aquacomputer stuff is worth looking at Aquaero 5 LT, Aquaero 6, Hi-flow sensor, PowerAdjust. Have a skim through the end of the Aquaero thread.

Yeah I think I would have to have a measure up of everything size wise and see what I could get away with once installed. I do like the look of big tube reservoirs . Oh also yes I am planning on getting a pump heatsink at some point but with sticking to my budget I'm going to get one with for the next time I do a drain and refill. I do like the ek one or the alpha cool one is nice as well. I have a few more things planned for this build that will be posted a few weeks after I have this loop assembled just budget and time restraints but will get more work posted later
 
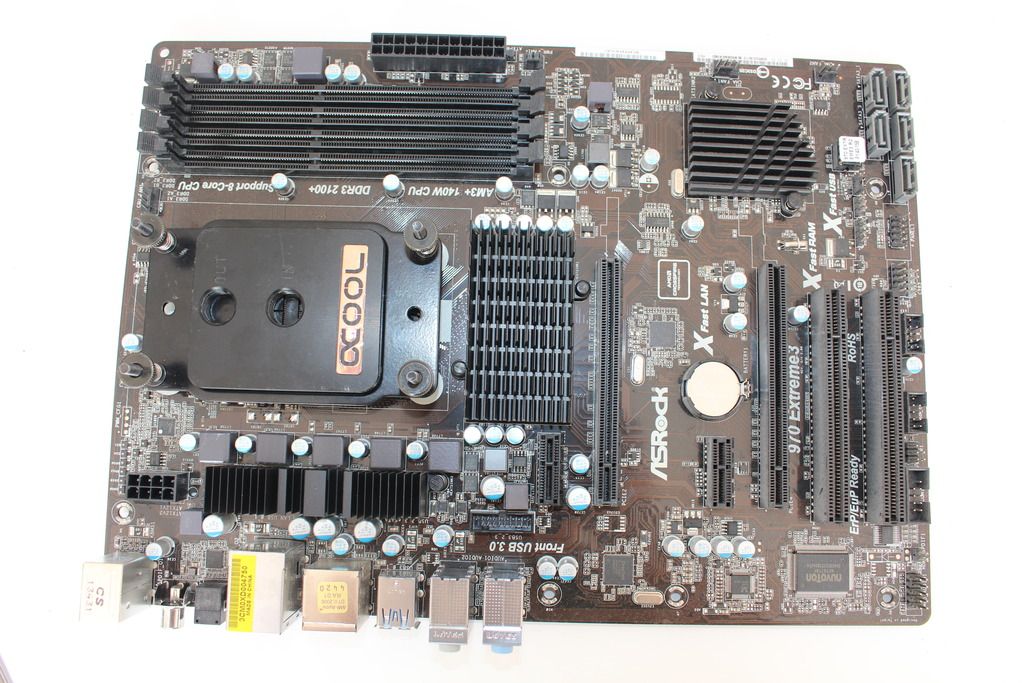
now its time to install the cpu waterblock on the motherboard

firstly here is the motherboard with just the cpu installed

IMG_8569_zpstkghn1ir.jpg


next this is the motherboard with the cpu block installed. I have also stuck the sticker onto the waterblock. Word of advise is take your time because i nearly ruined the sticker because its so fragile.

IMG_8570_zpscx79zyla.jpg


when installing this block i realised i had screwed to tightly and started to bend the motherboard so i had to just release the tension on the screws
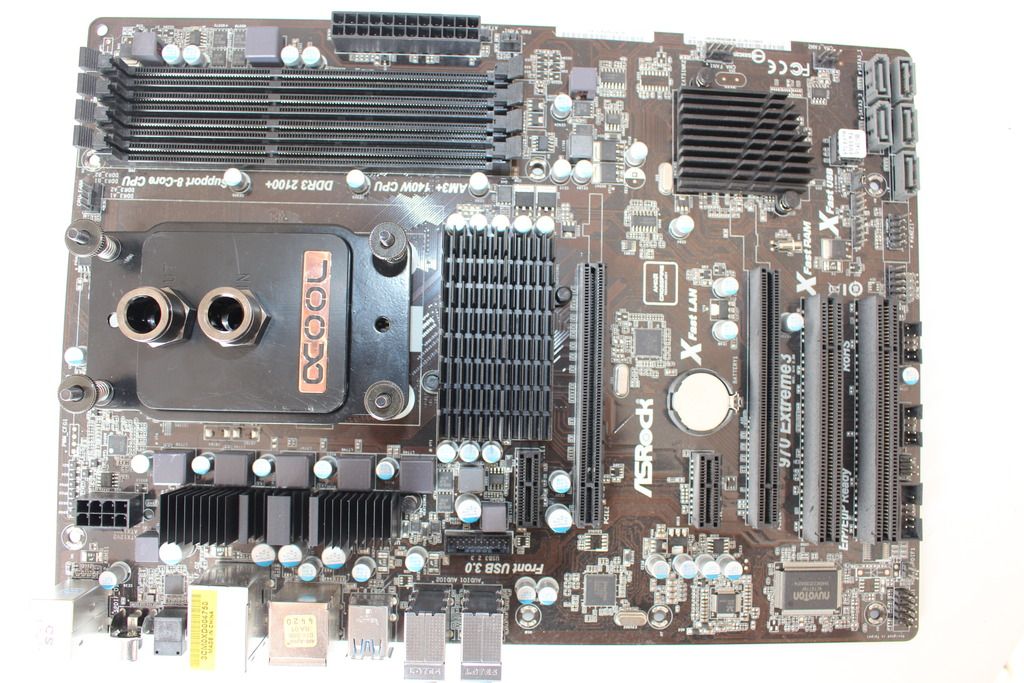
and now this is a picture with the fittings installed onto the water block

IMG_8571_zpsb7tna0m0.jpg
 
now its time to put the water block on the gpu

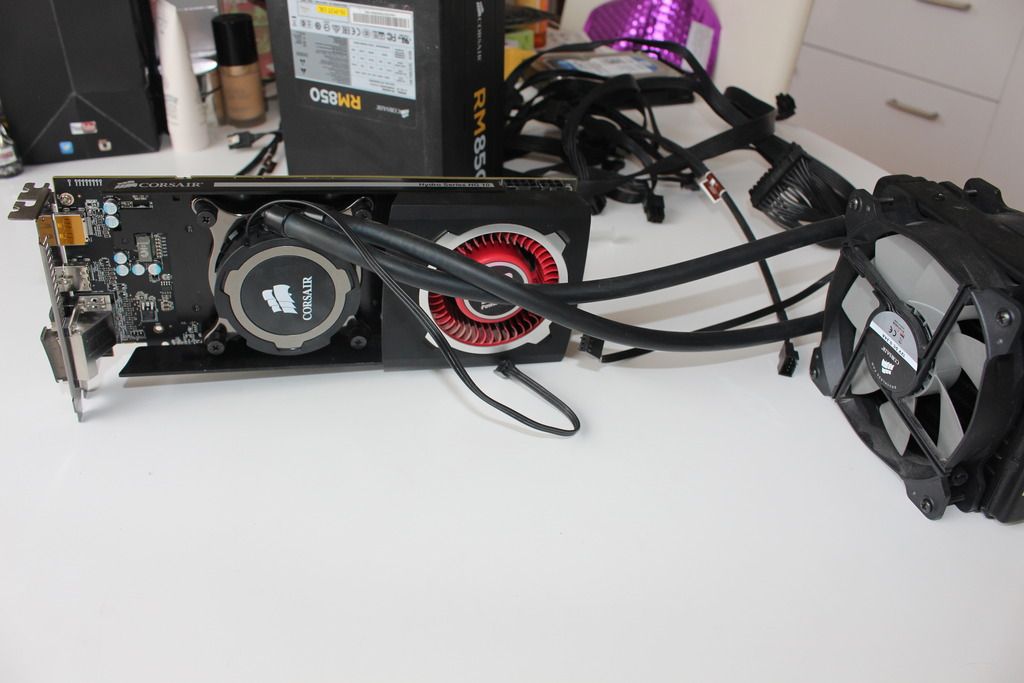
this is what my gpu looked like origionally

IMG_8573_zpsgqadxrip.jpg


this is my r9 290x with the corsair hg10 bracket and a h70 installed.
in all honesty it was rock solid and i would definately reccomend a hybrid gpu to anyone not wanting full cooling

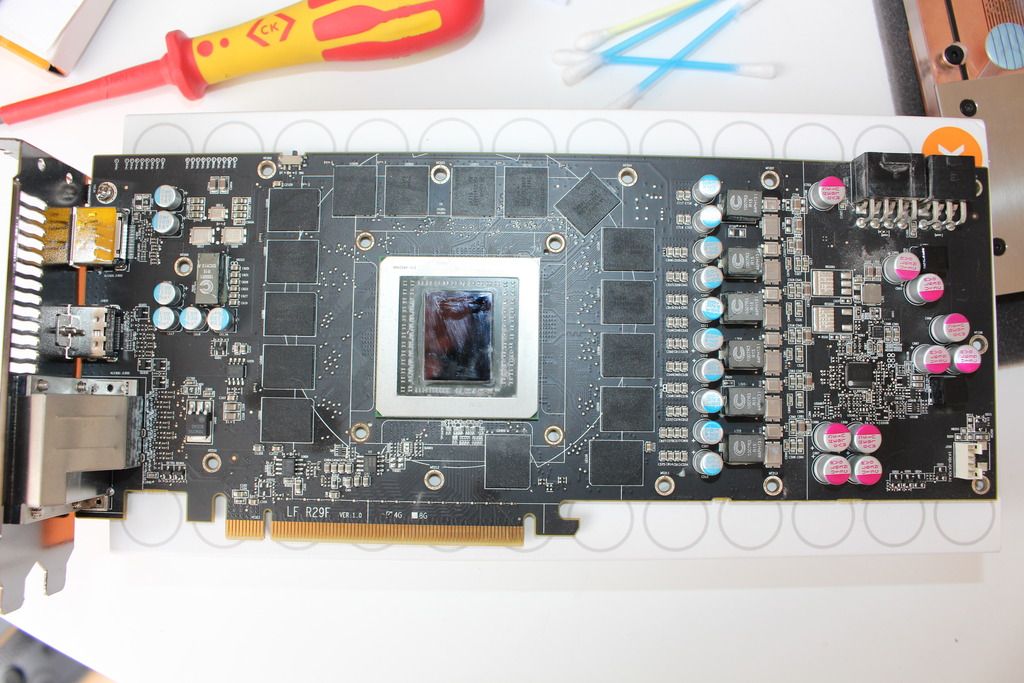
now i removed the bracket and cleaned the gpu up

IMG_8574_zpsm89yapi7.jpg


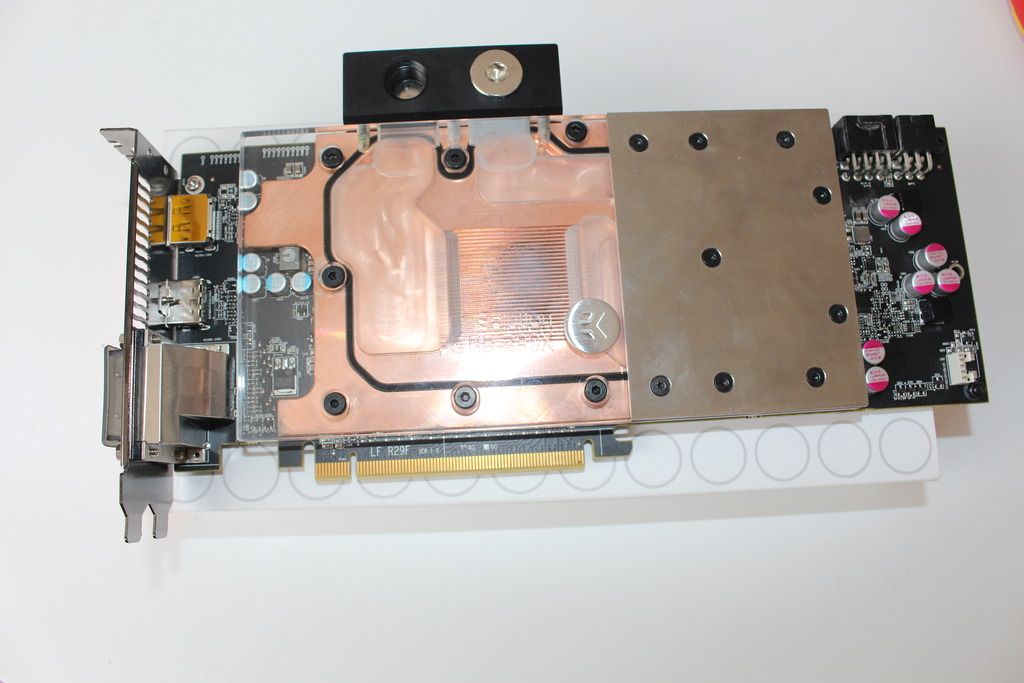
now this is a picture of the waterblock installed on the gpu

IMG_8575_zpsbrgoyzza.jpg


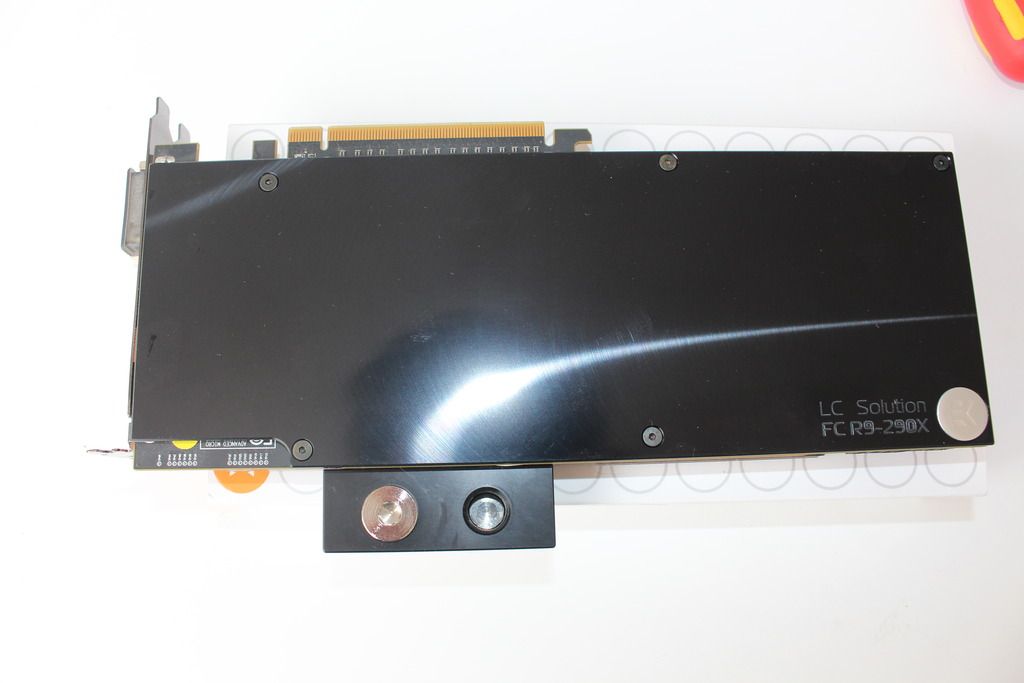
and this is a picture of the backplate

IMG_8576_zps0bcoduet.jpg
 
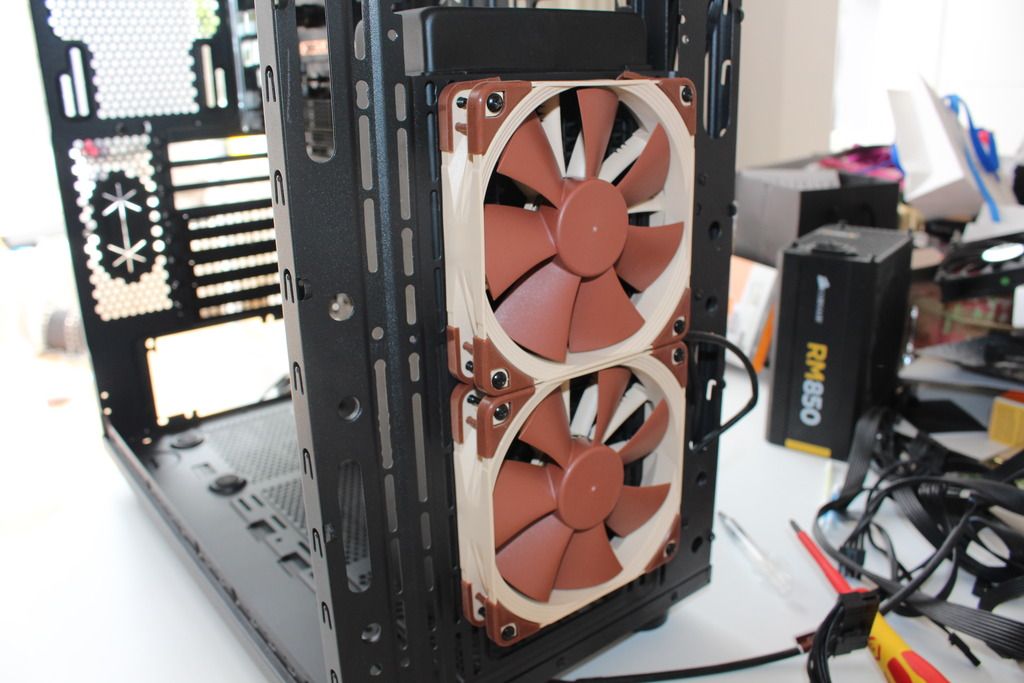
now its time for the 360 rad.
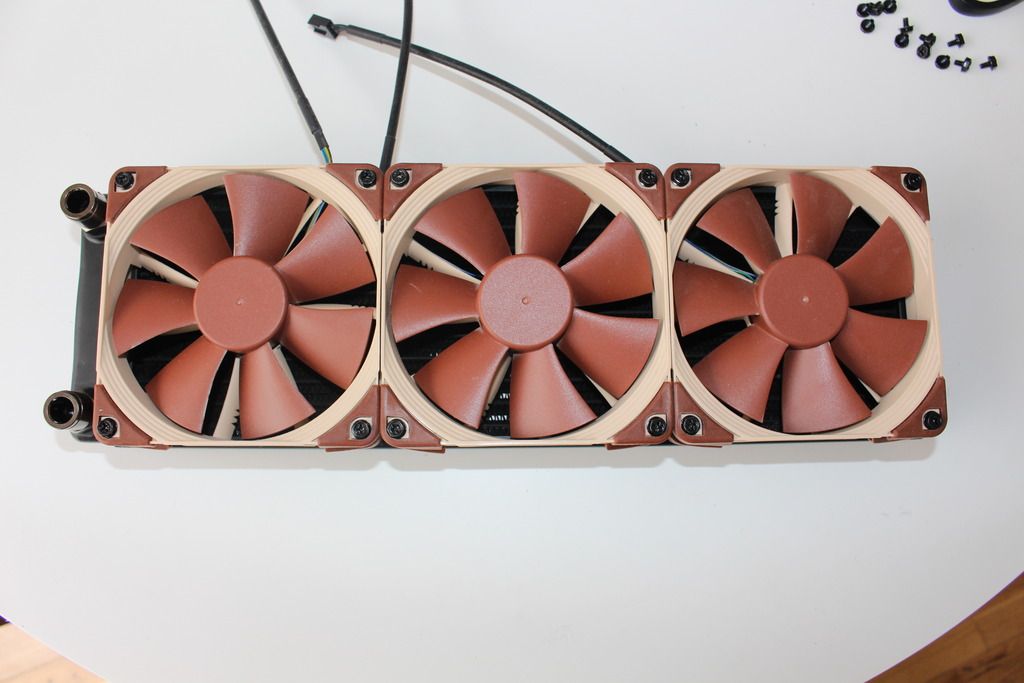
this is a picture with the fans installed. I realised after i had taken this picture when trying to install the radiator that i had the installed the fan cables on the wrong side. stupid mistake but rectified this before installing it.

IMG_8580_zpsdyyz6uqq.jpg


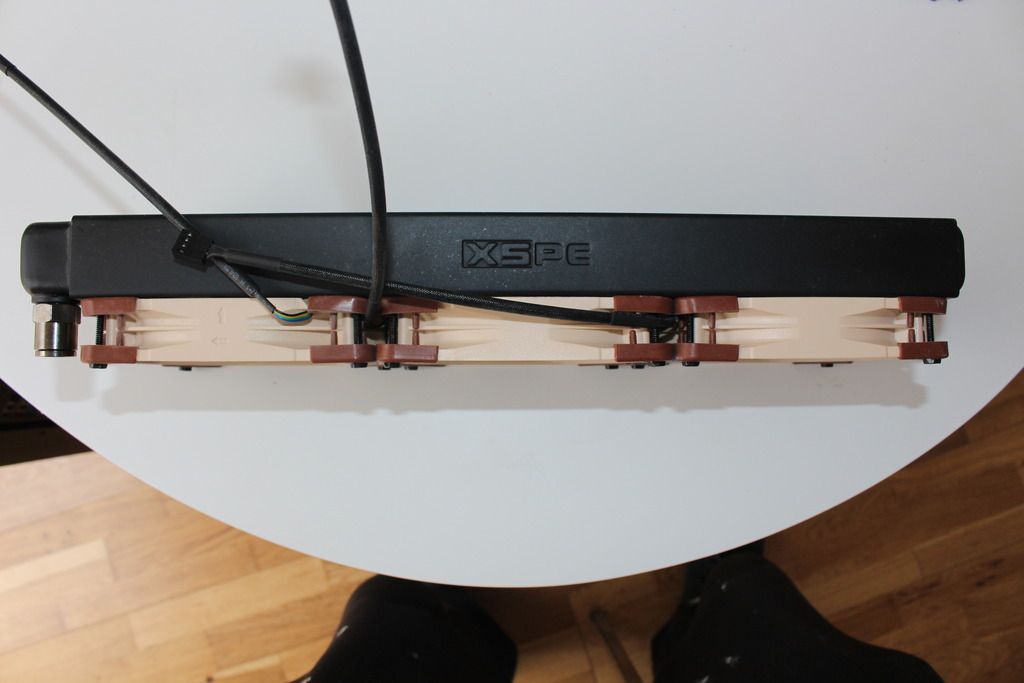
this is a view from the side. i love the way noctua fans look

IMG_8581_zpsv6xcvlz4.jpg


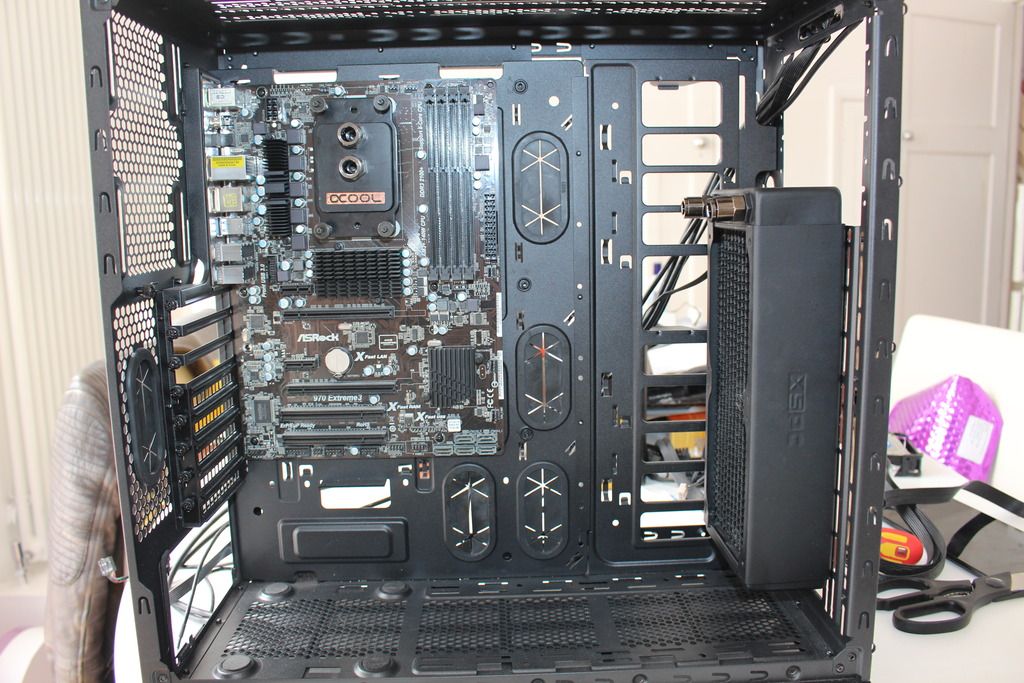
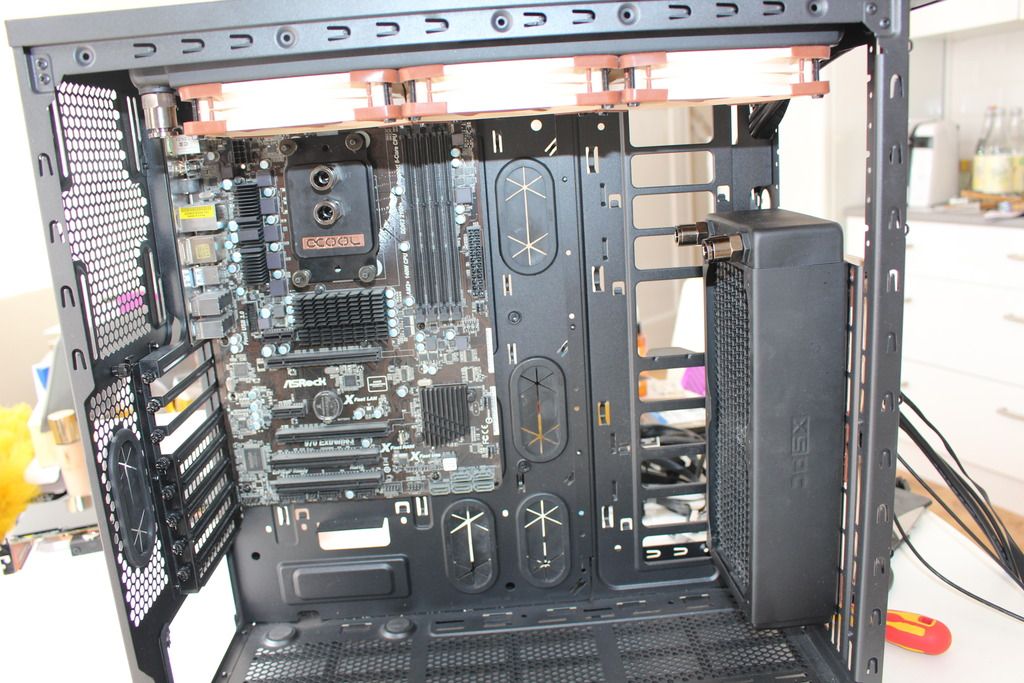
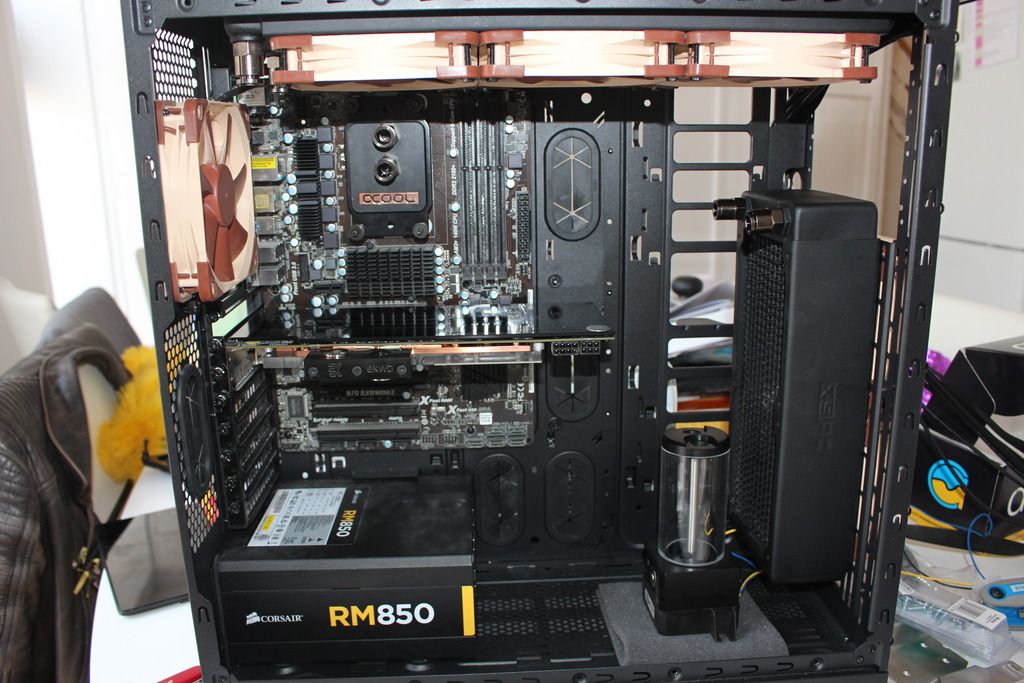
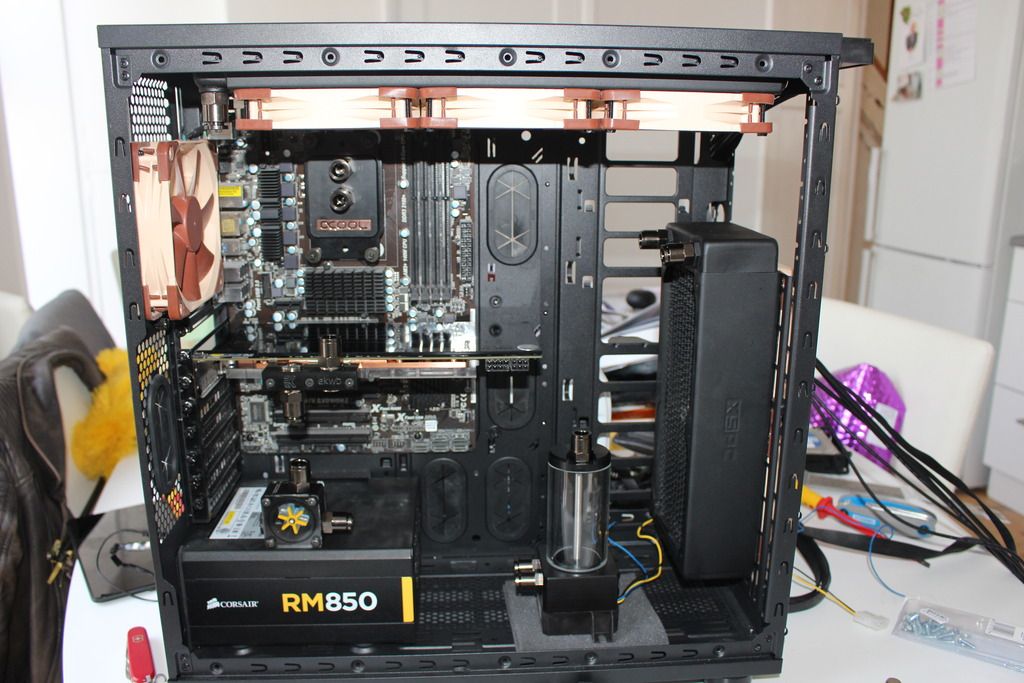
and this is a picture of the radiator installed in the case

IMG_8582_zpsbihqr7mx.jpg
 
Back
Top Bottom