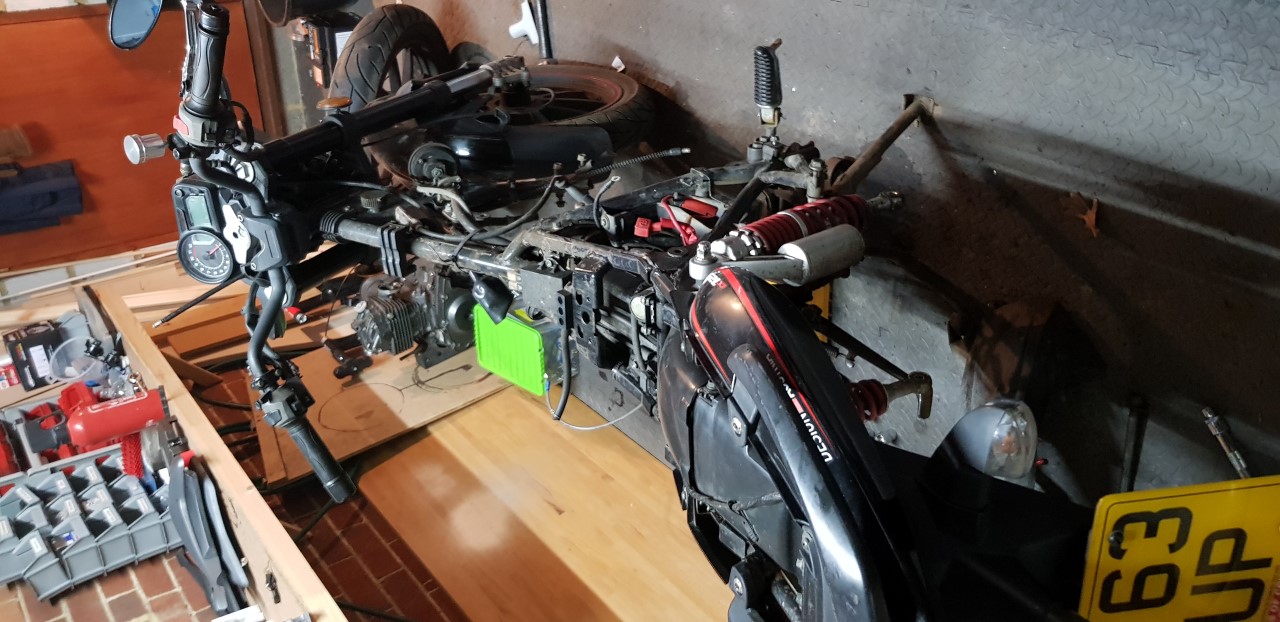
Bought a Chinese 125cc :D

It may come to that!

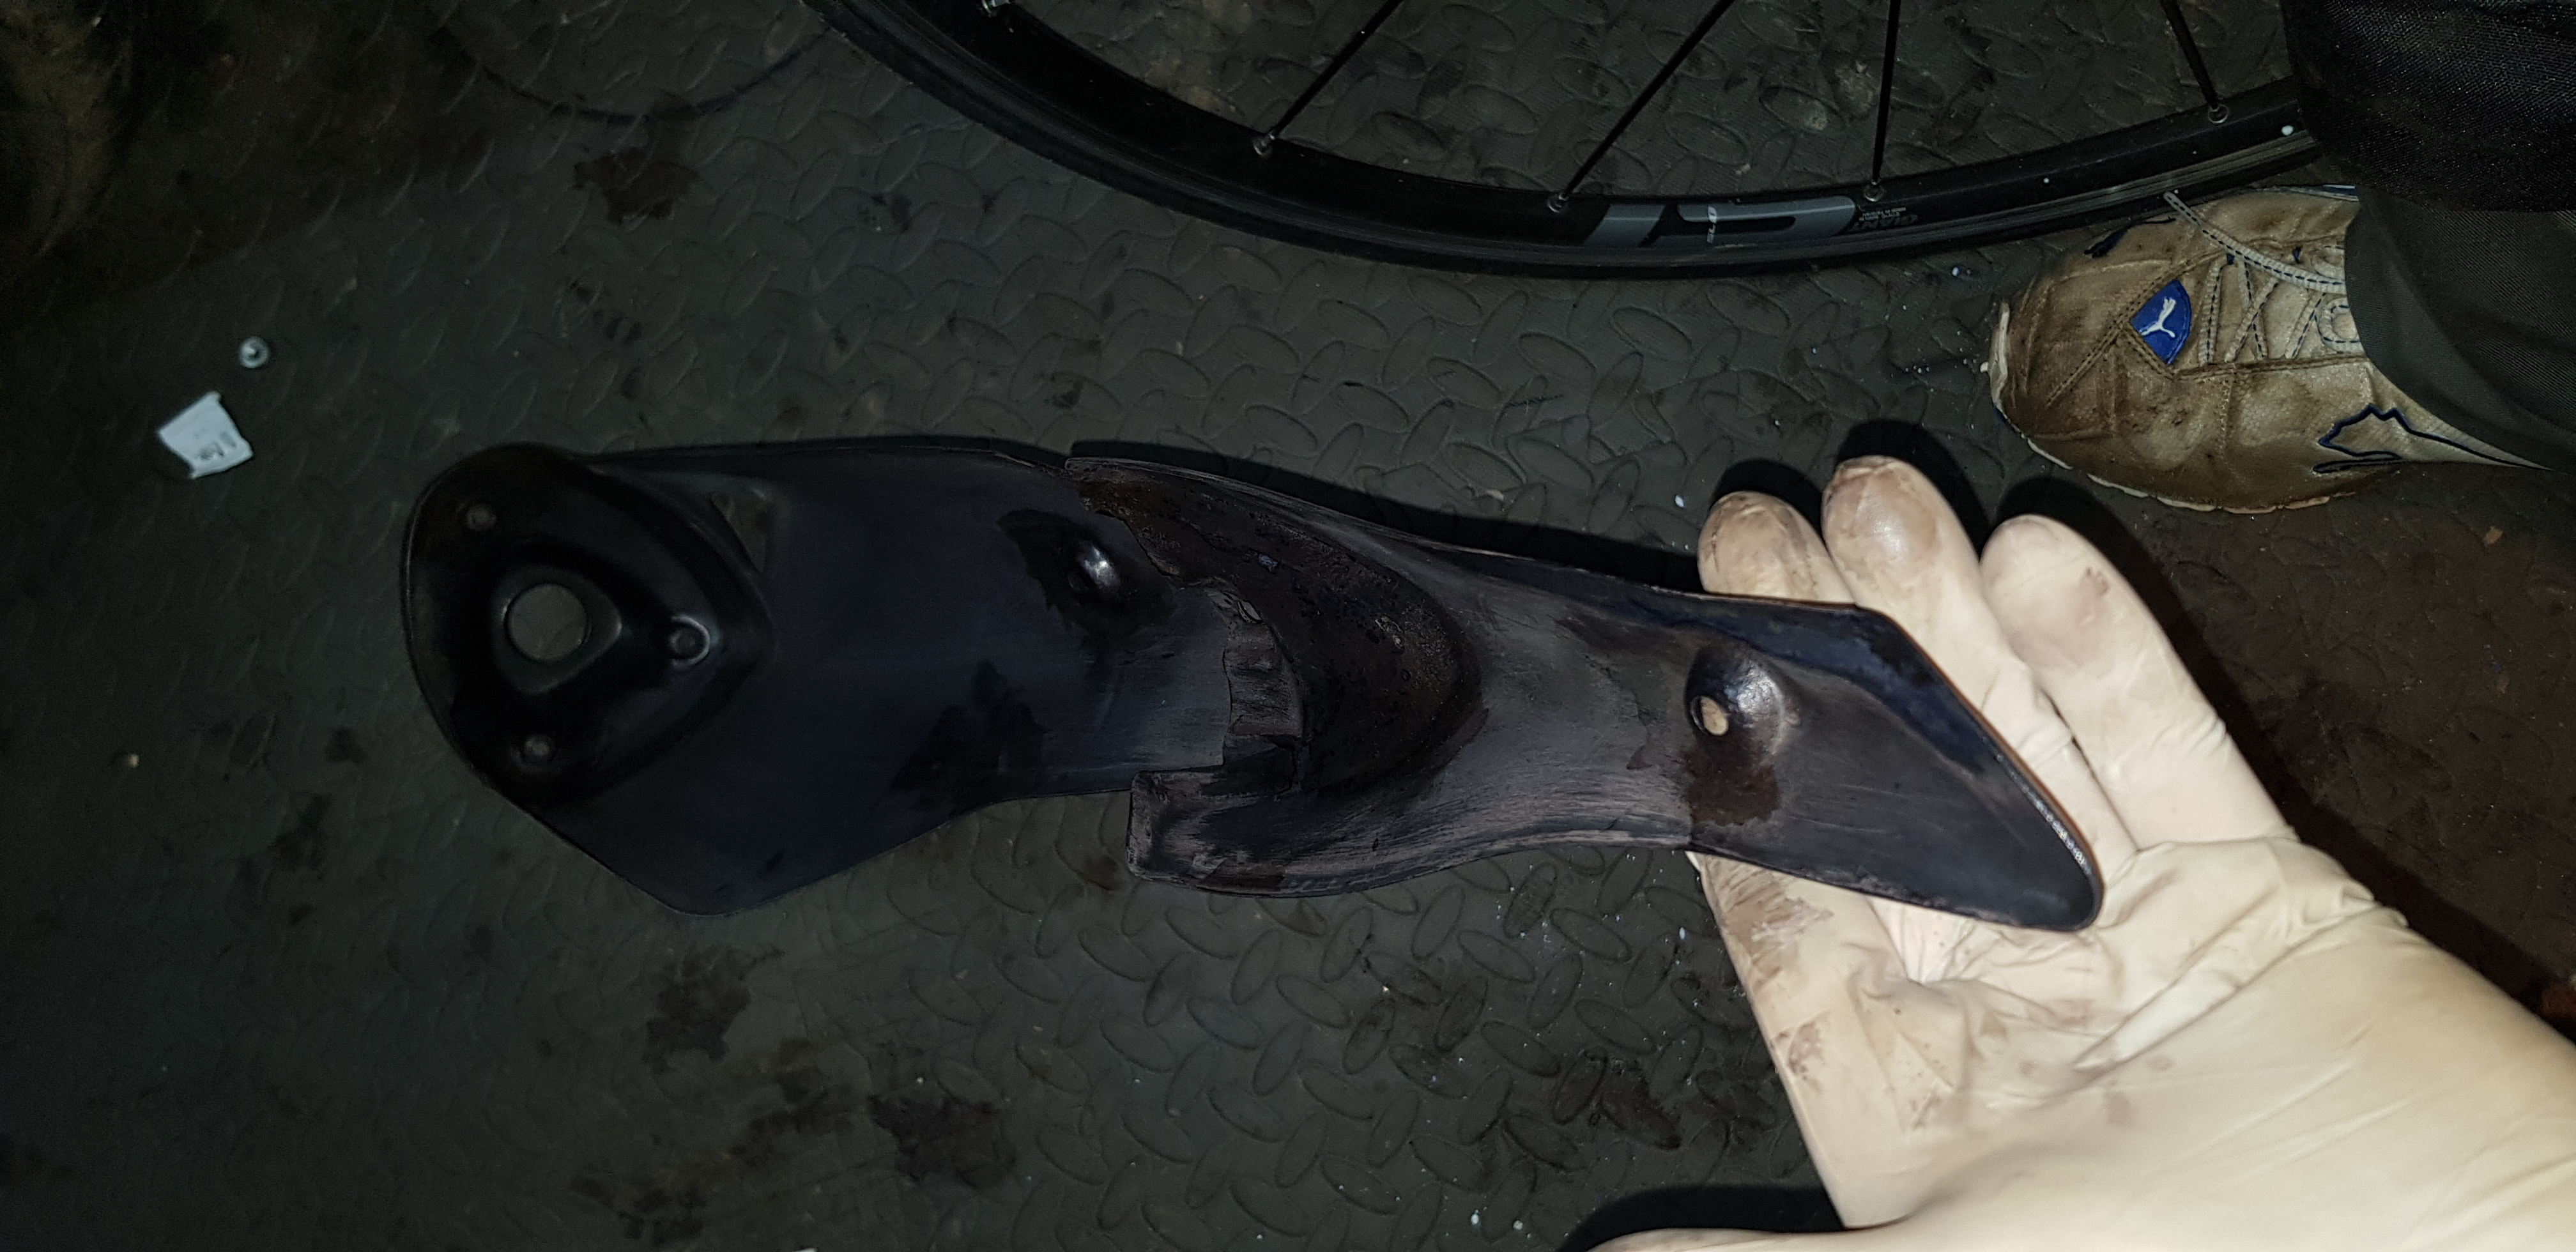
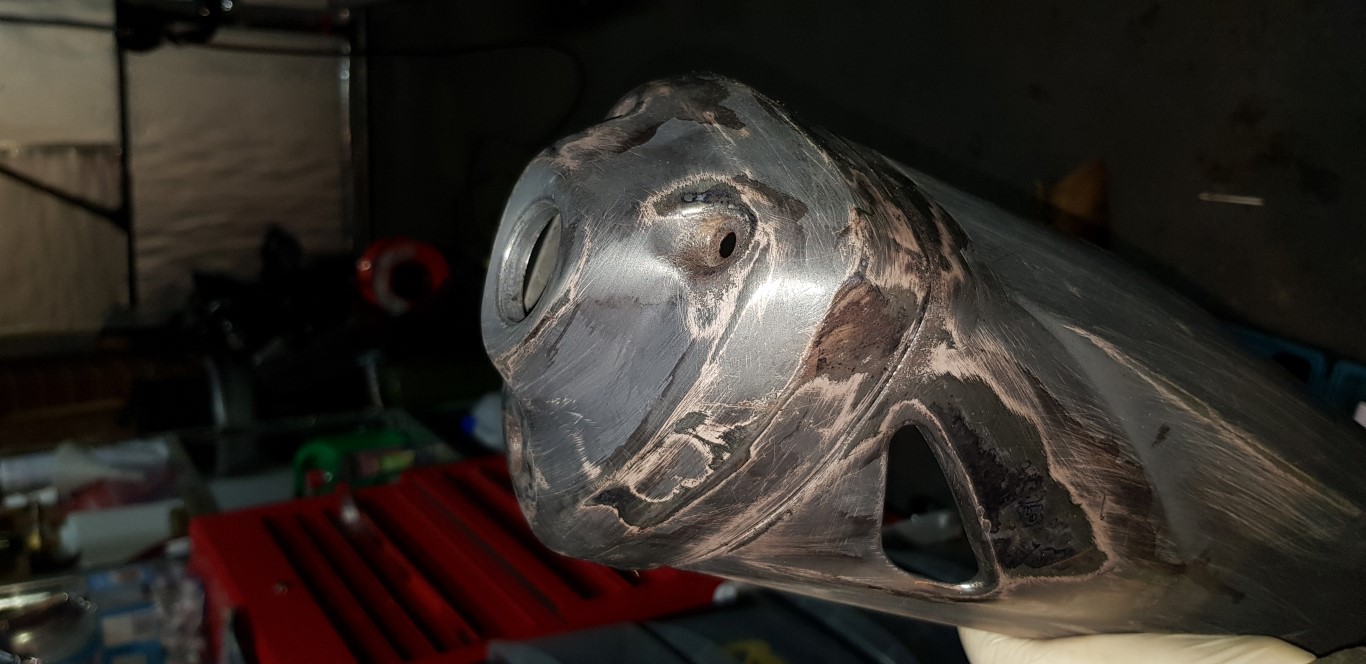
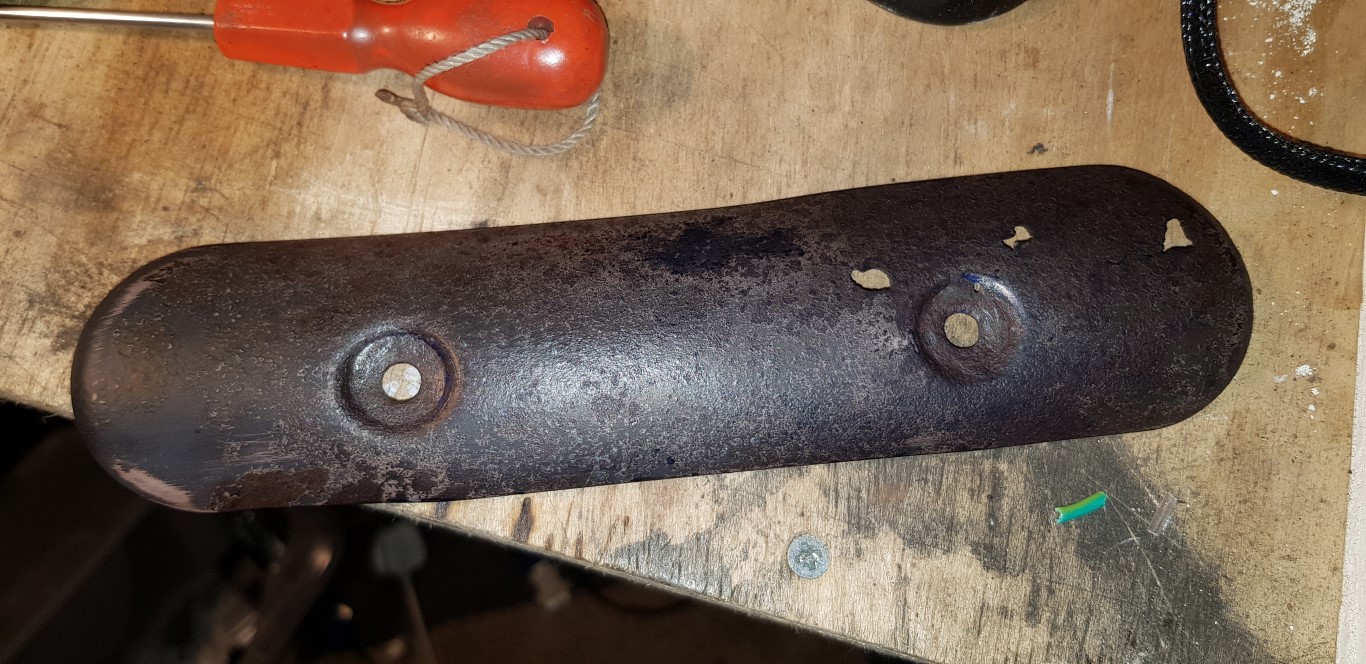
Exhaust covers off.. Looking a bit worse for wear, need some sanding back, wirebrush and Kurrust treatment:
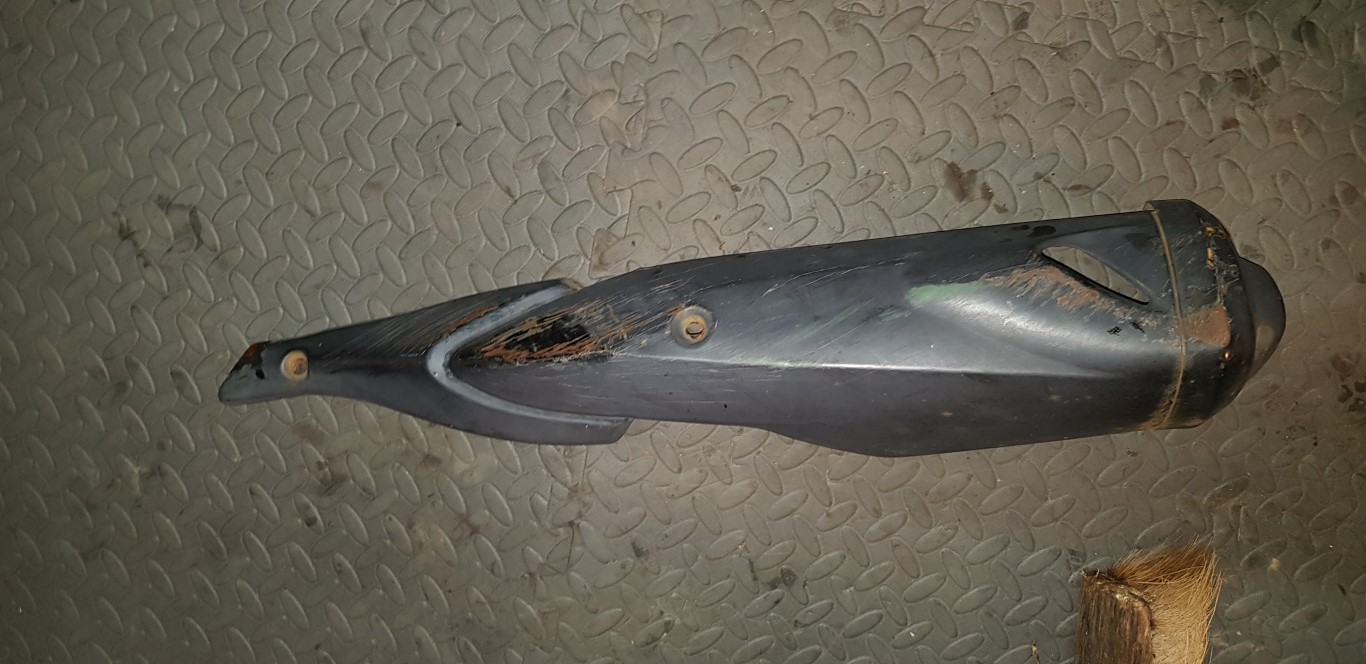
Code125rebuild17.jpg


Same on the inside, at least with the wire brush and Kurrust.
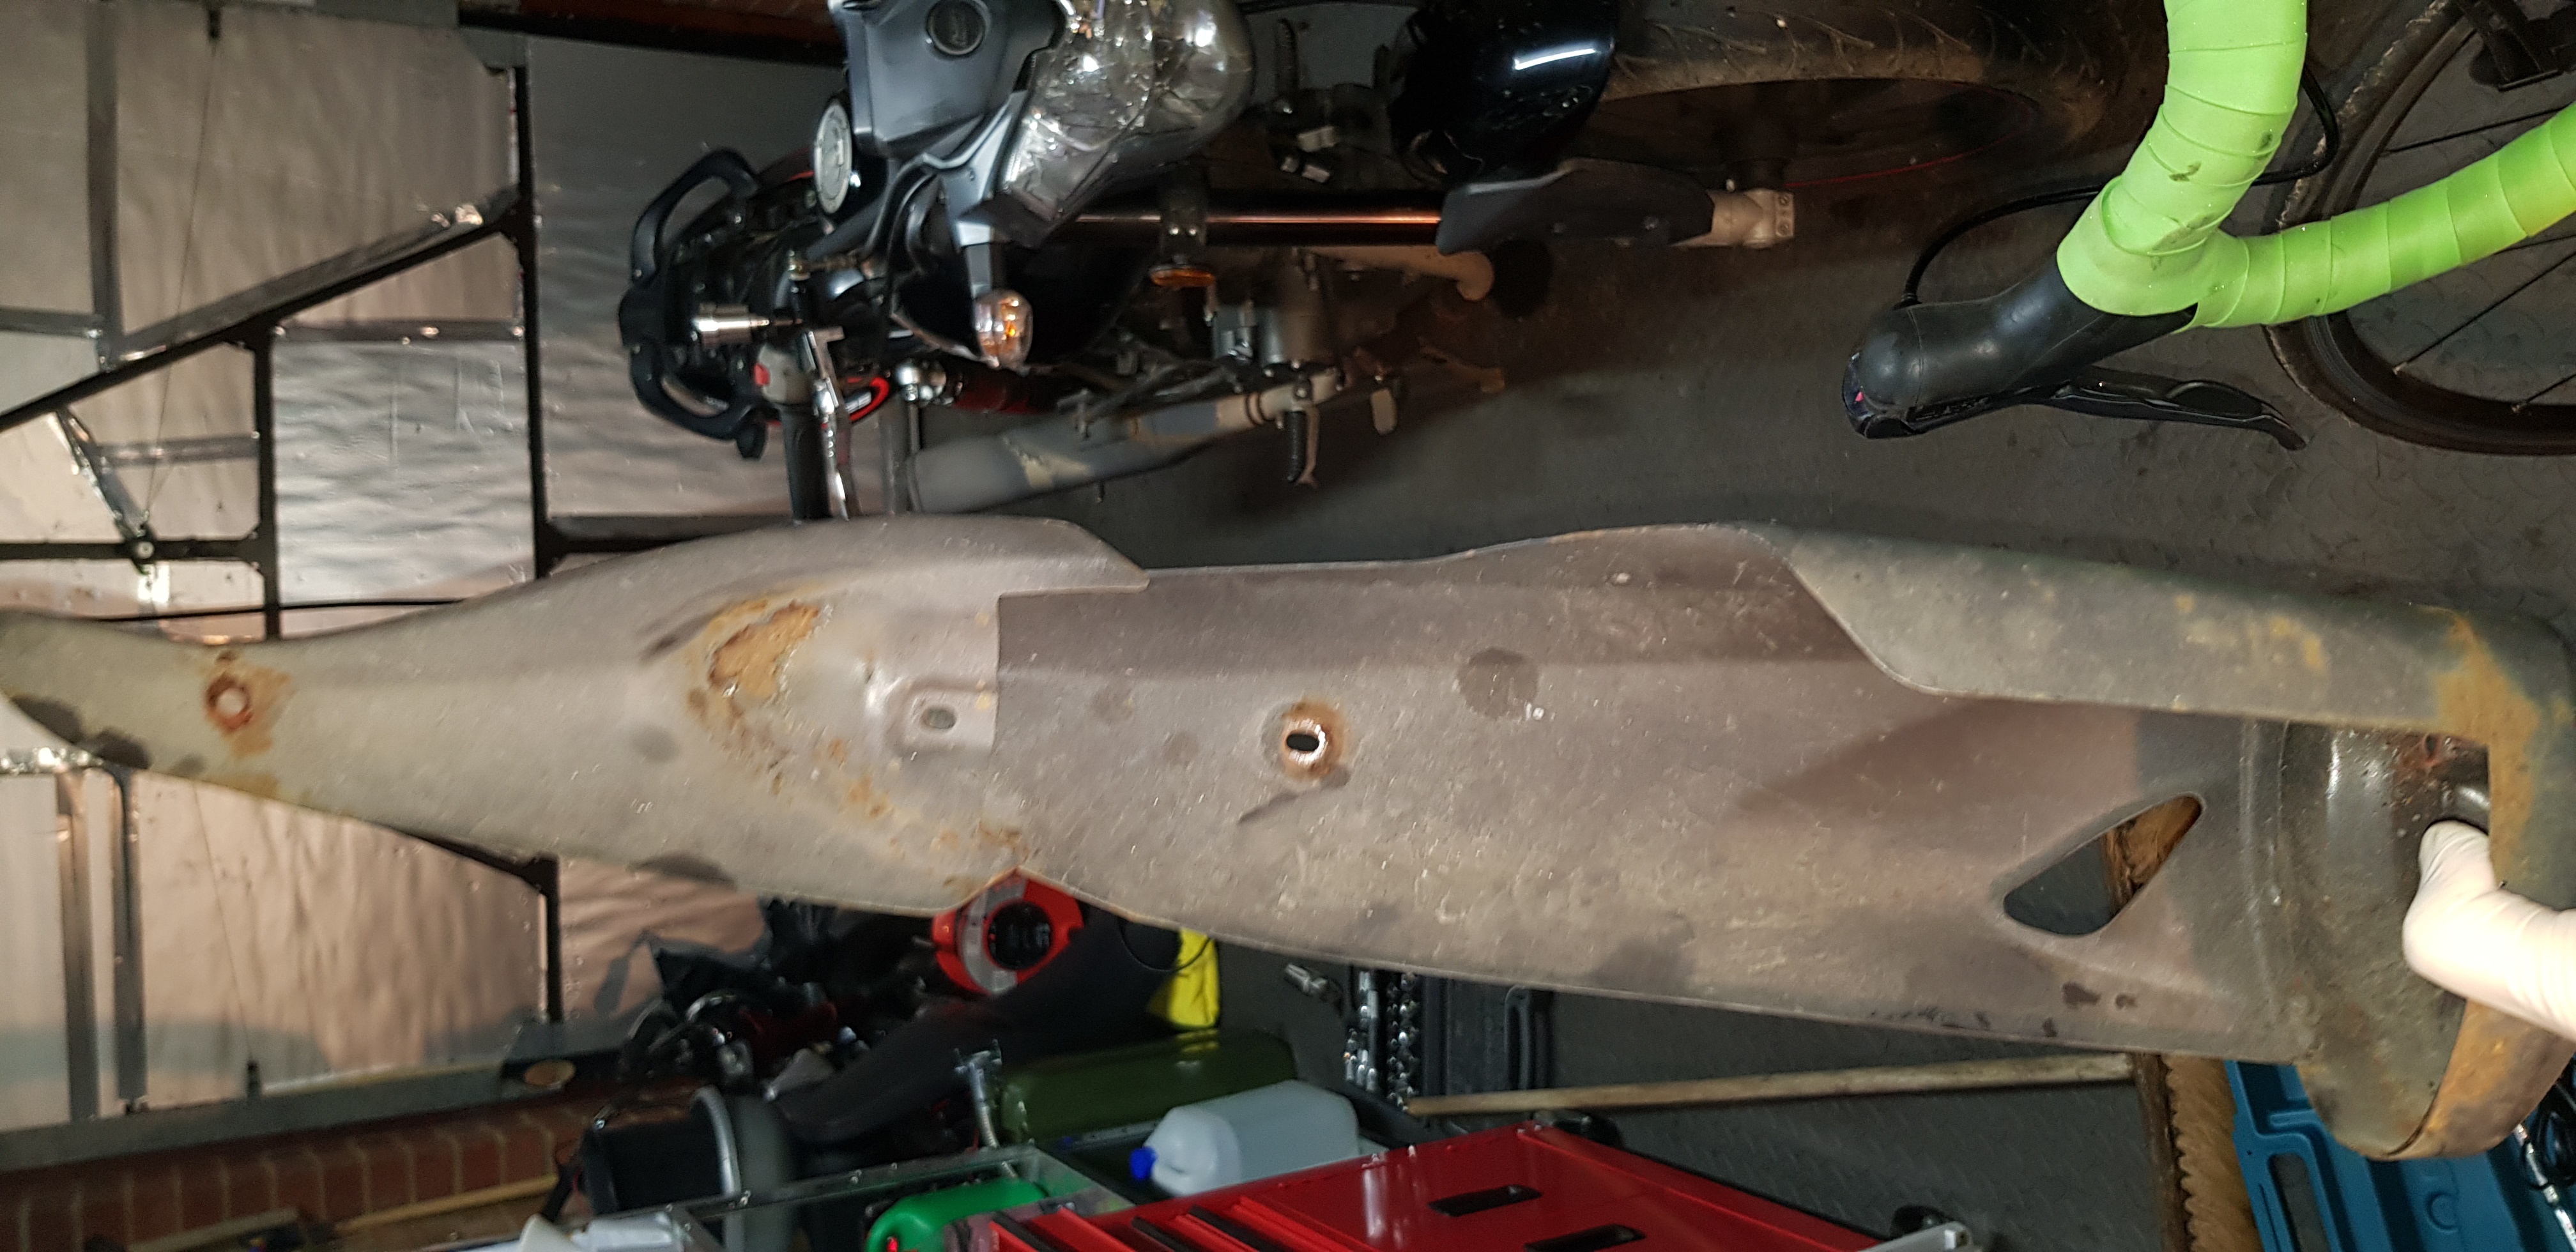
Code125rebuild18.jpg


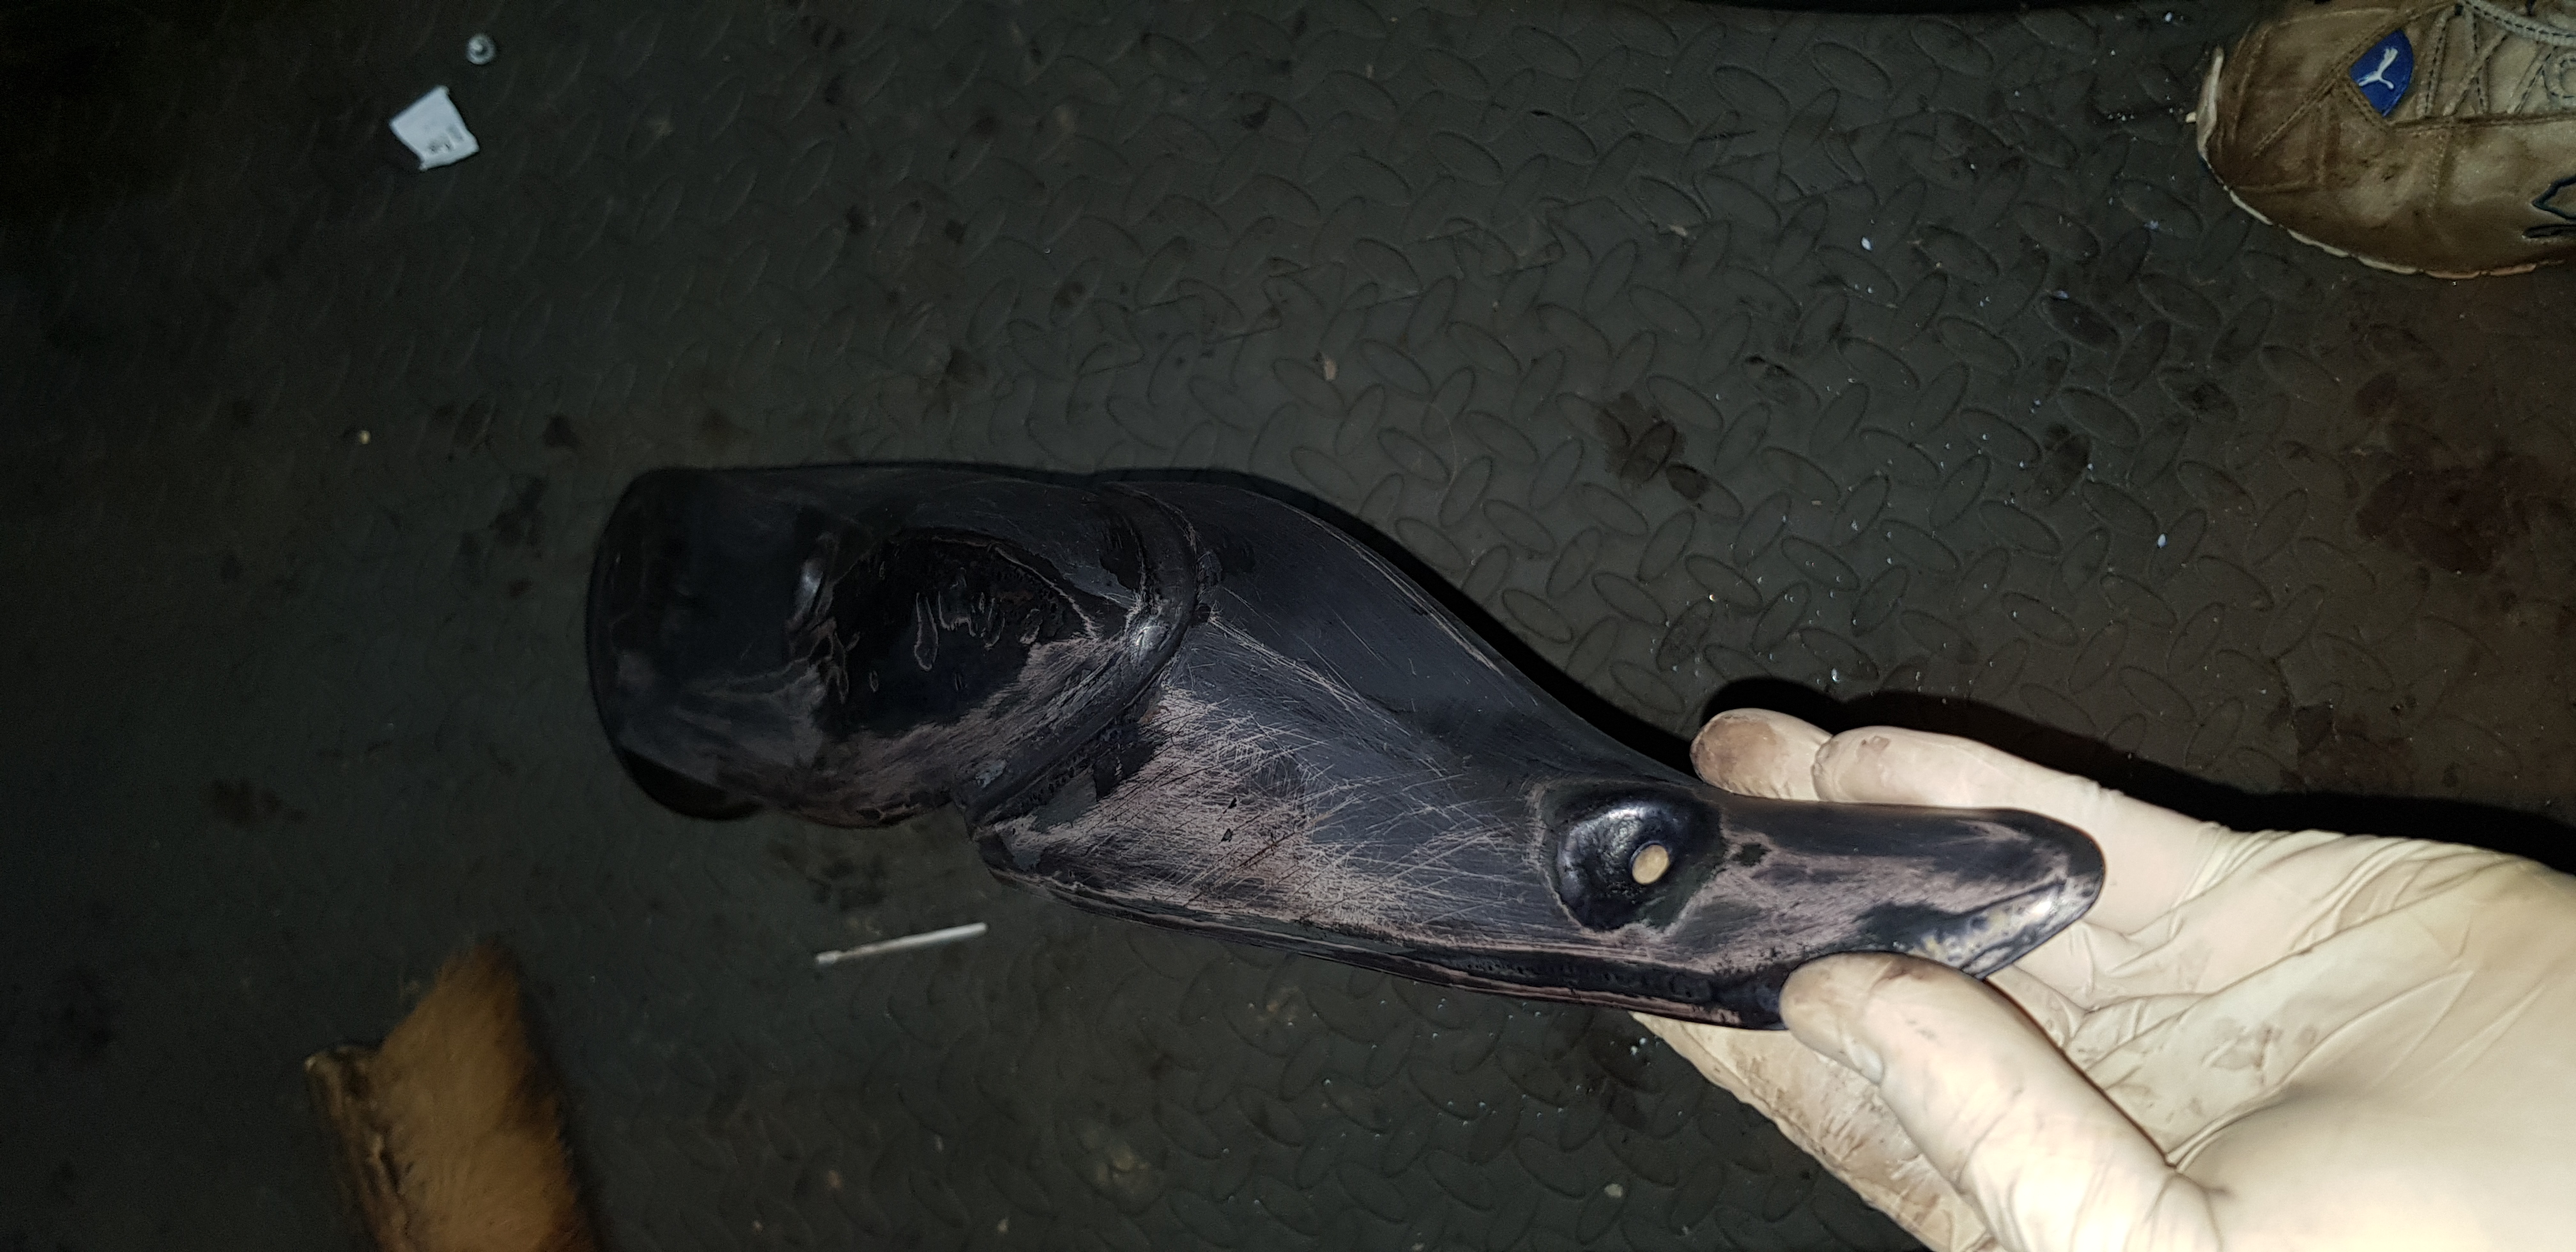
All done, and ready for VHT paint, at least for now, till i find a better way to protect them.
Code125rebuild19.jpg

Code125rebuild20.jpg

Code125rebuild21.jpg

Code125rebuild22.jpg


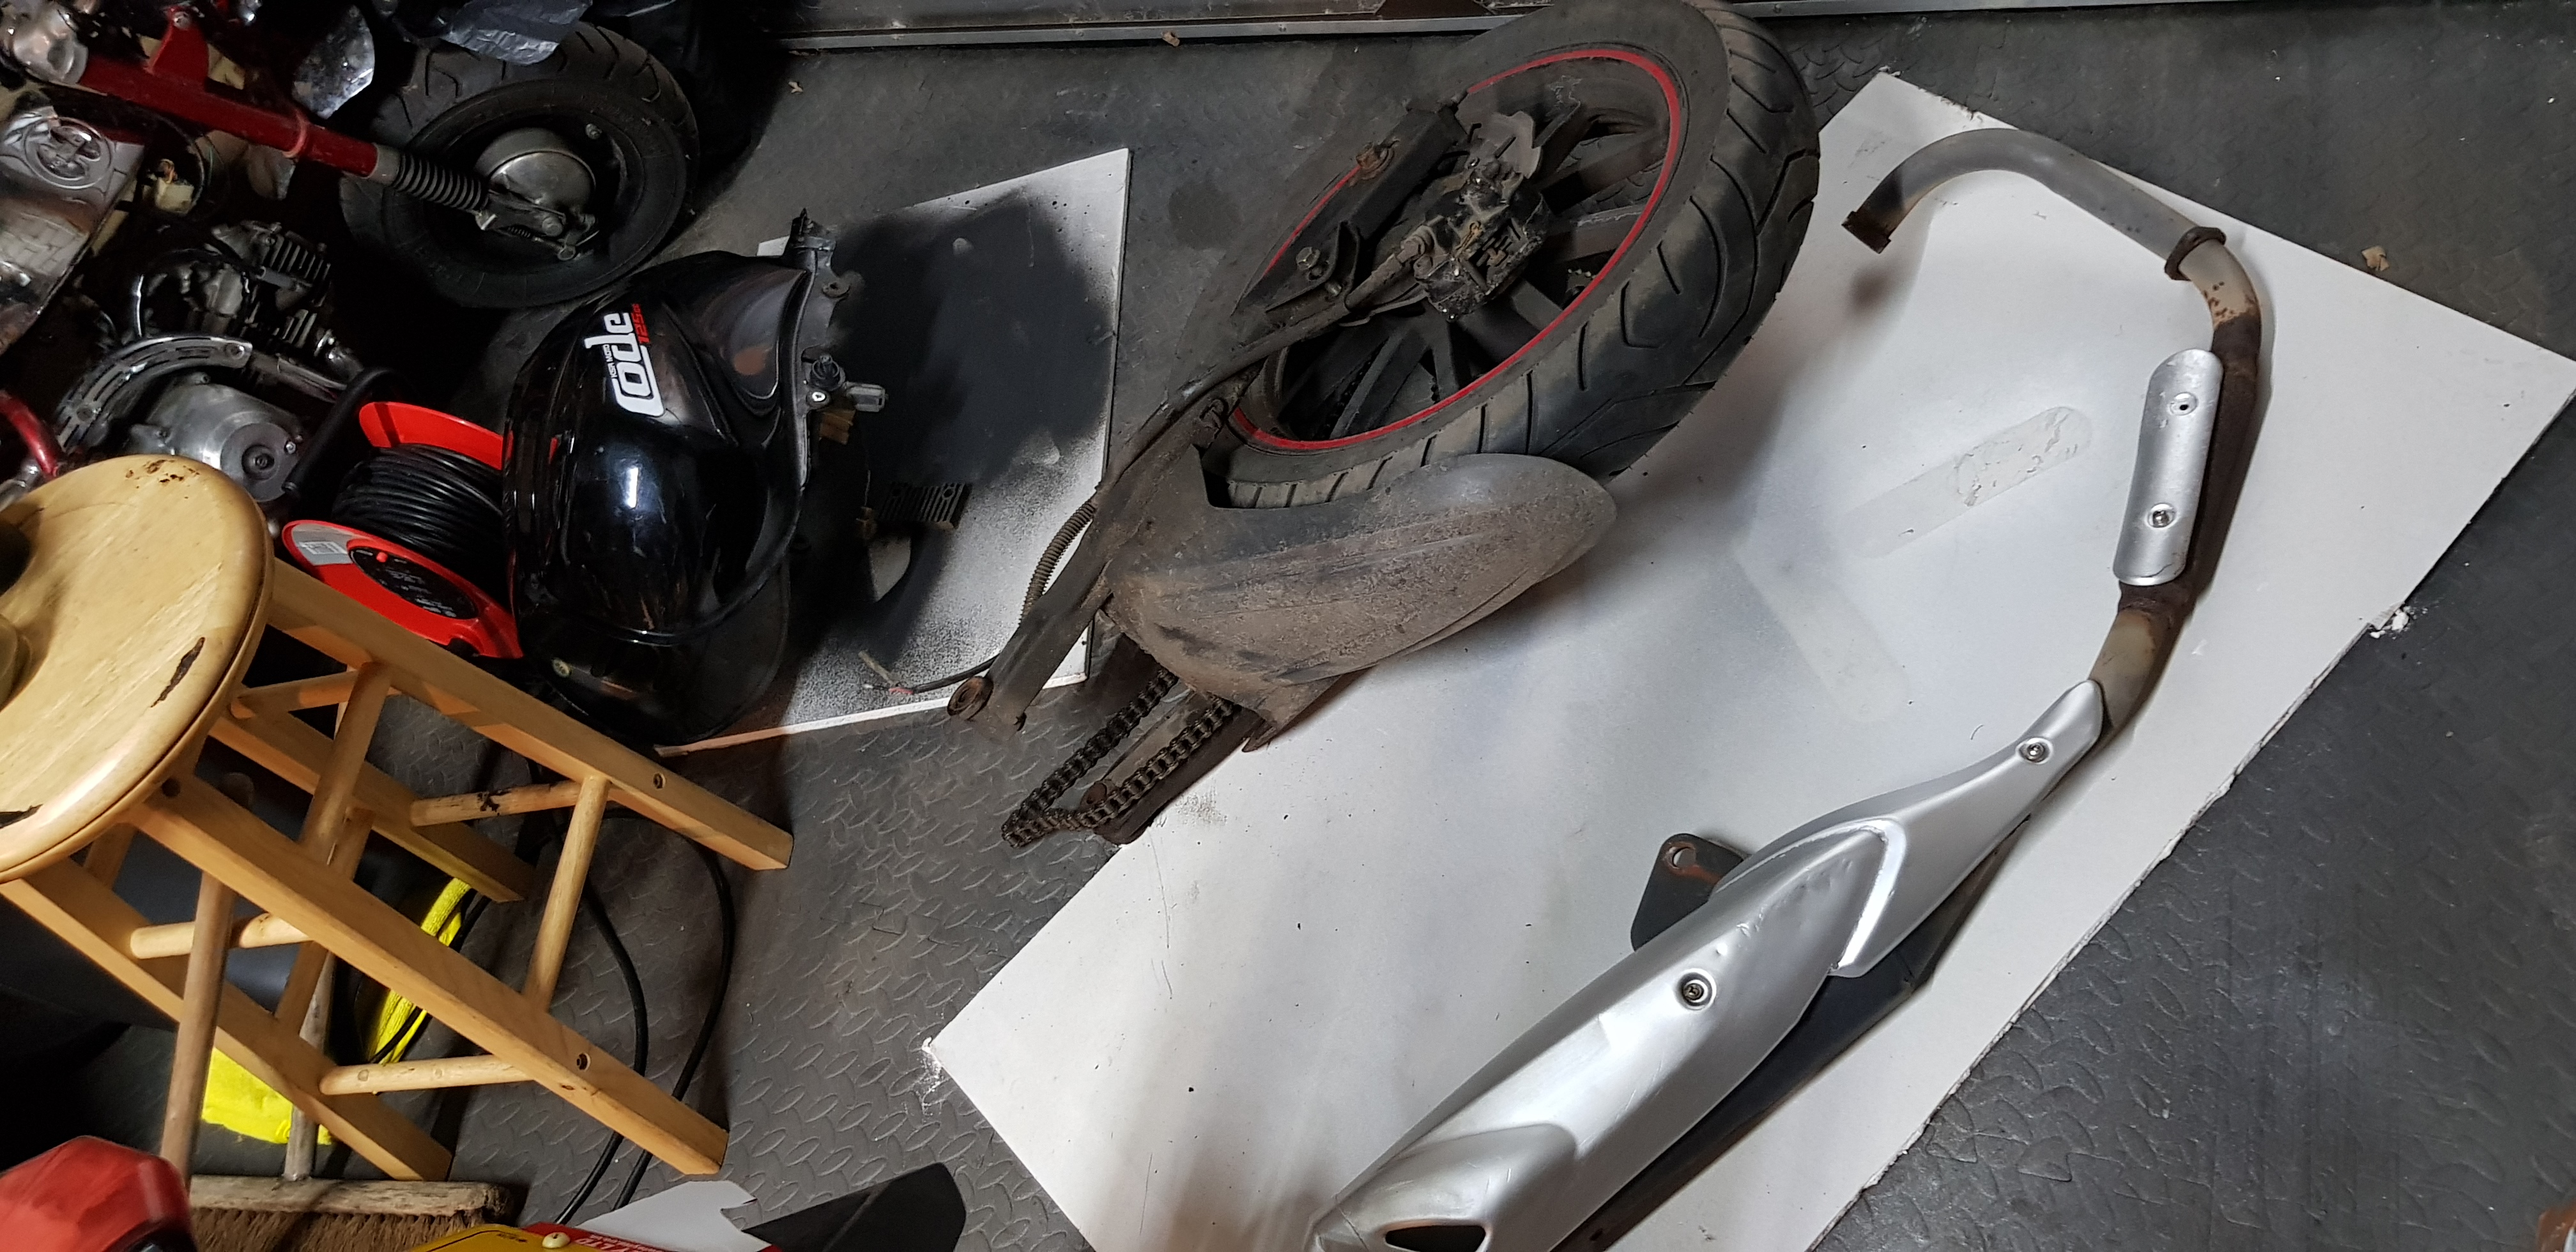
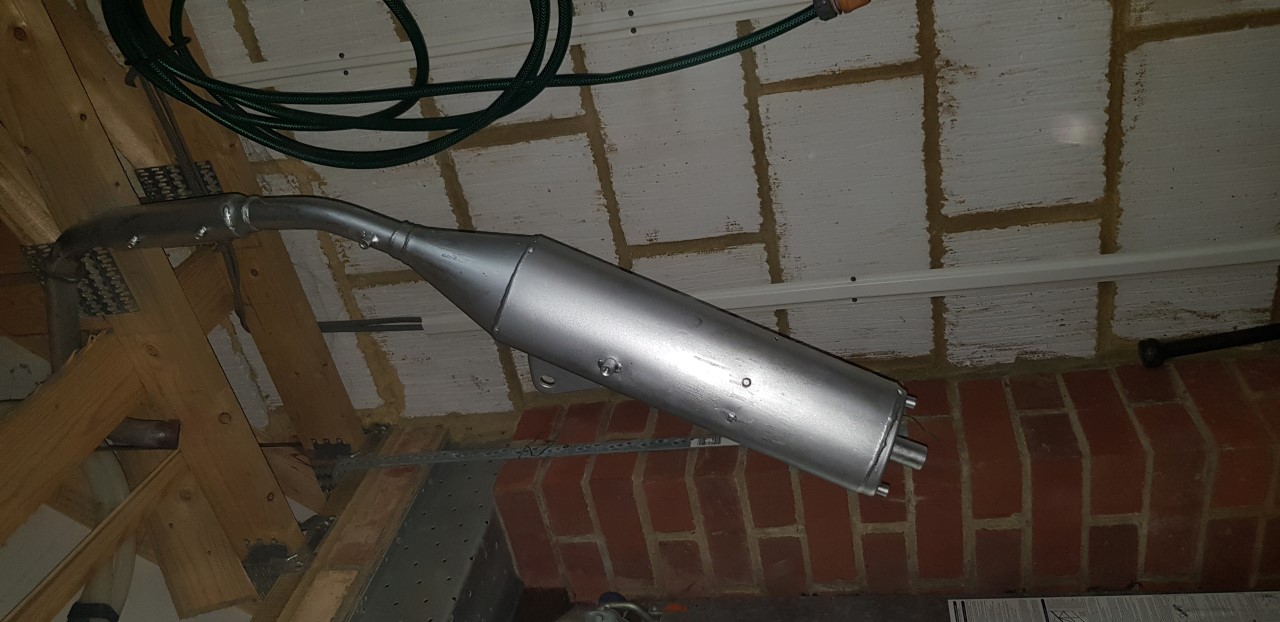
First coats of VHT silver. Not sure on the colour, may go black, but it will keep them fromt rusting for a few minutes at the very least :D
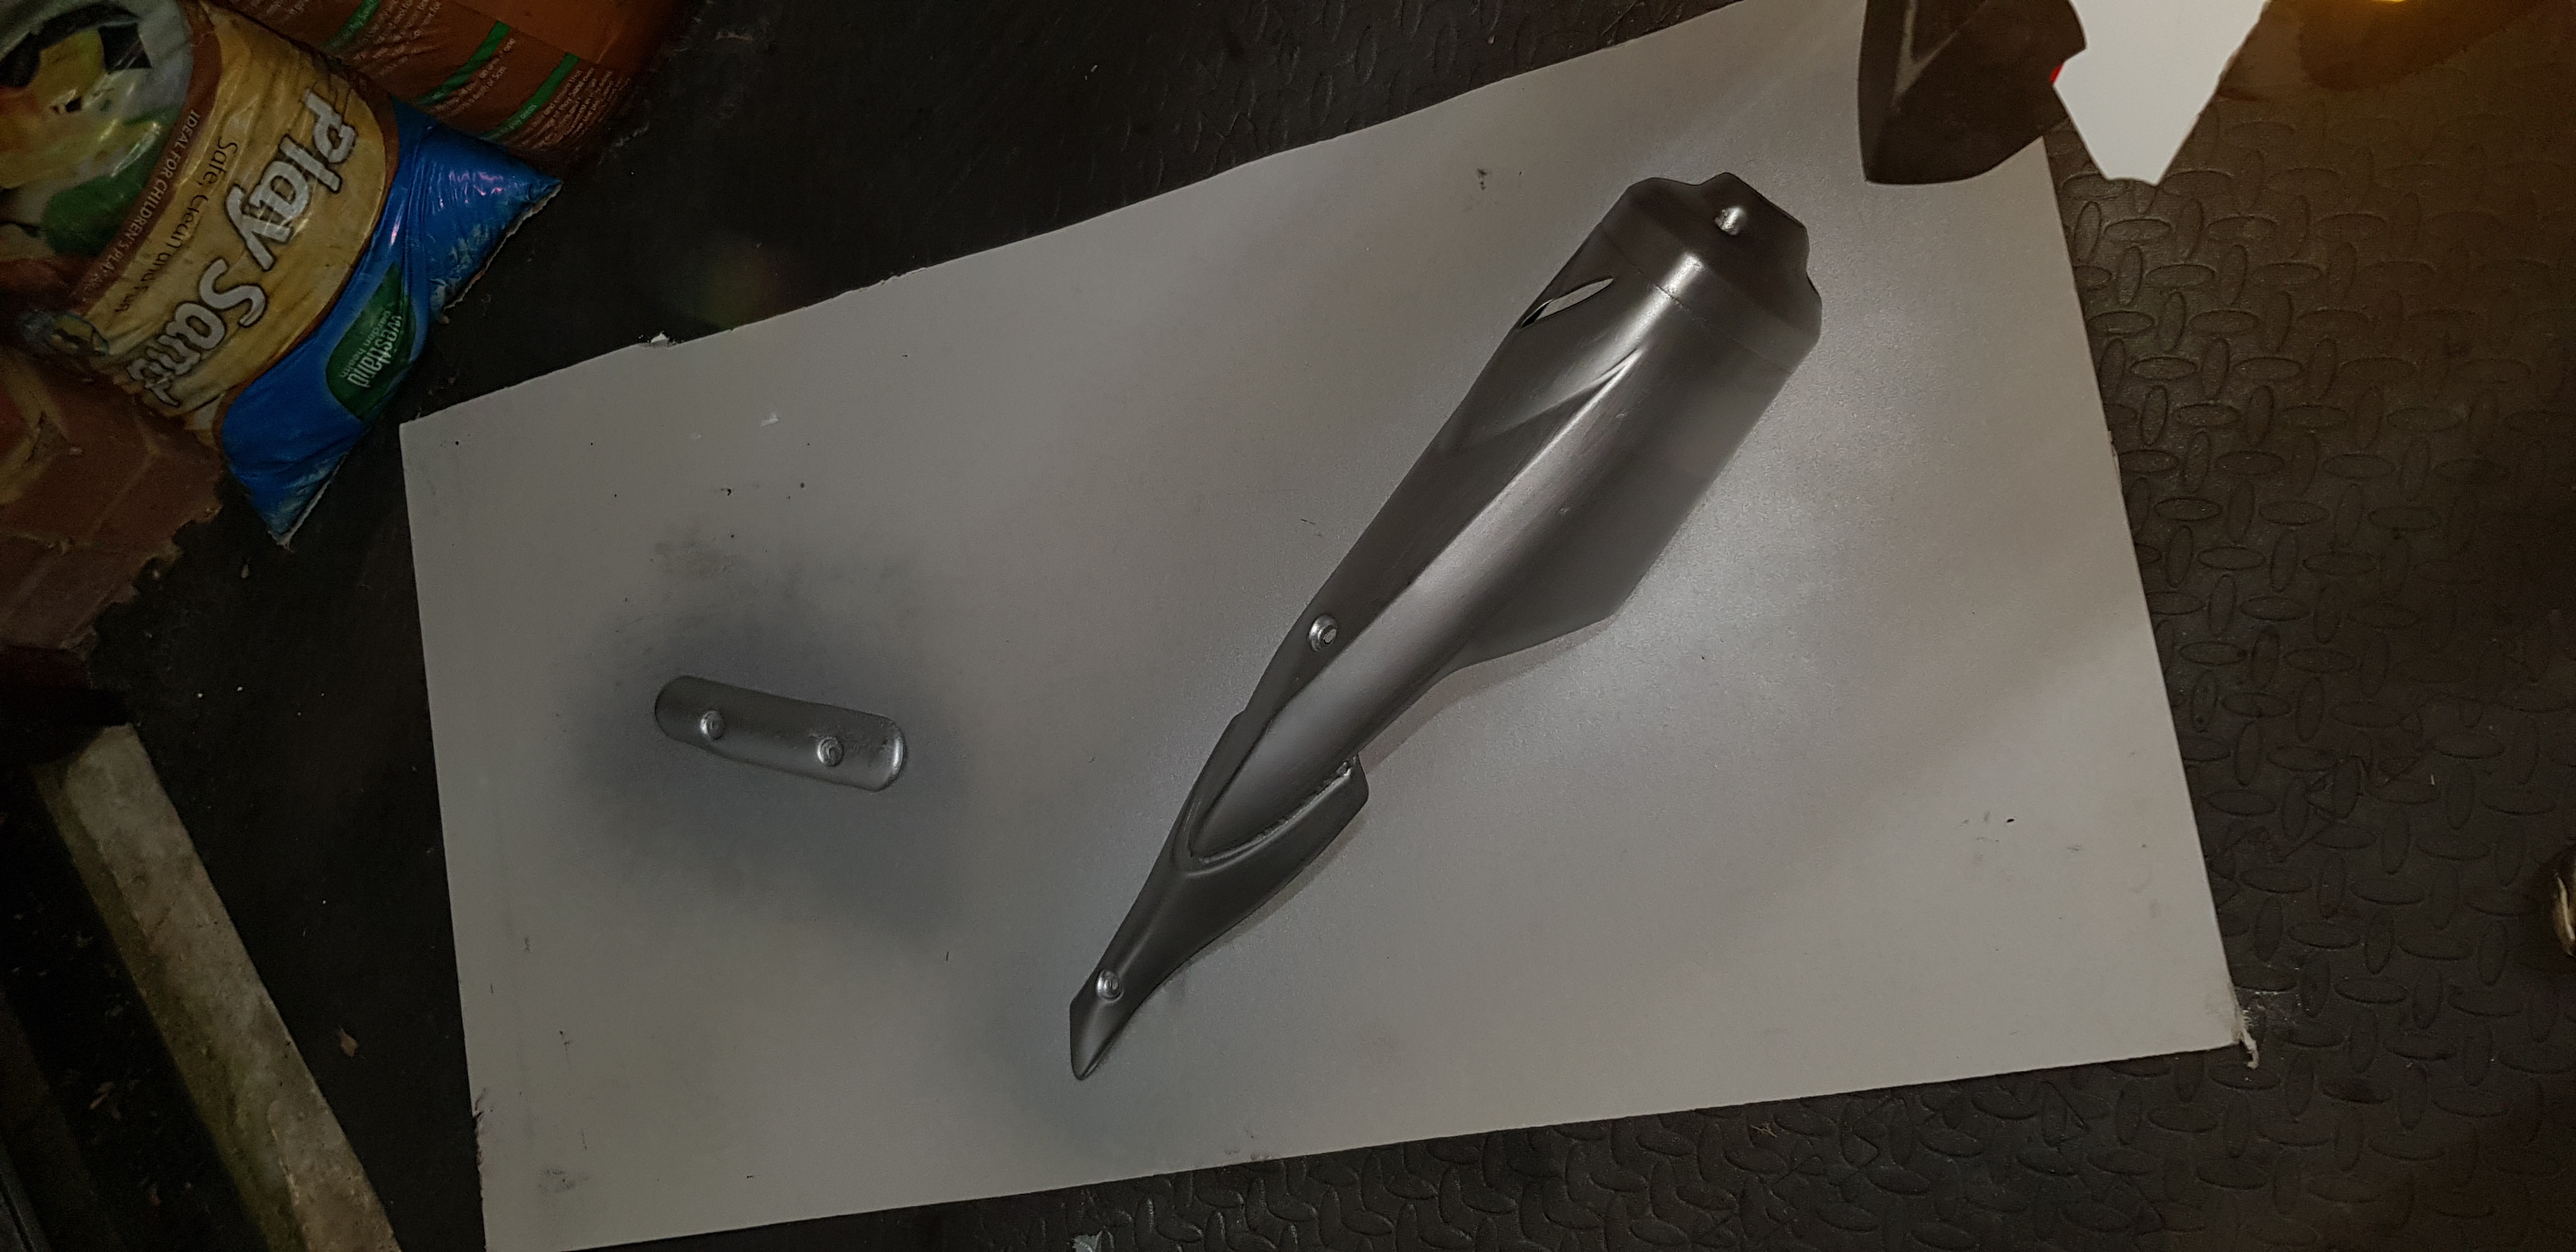
Code125rebuild23.jpg
 
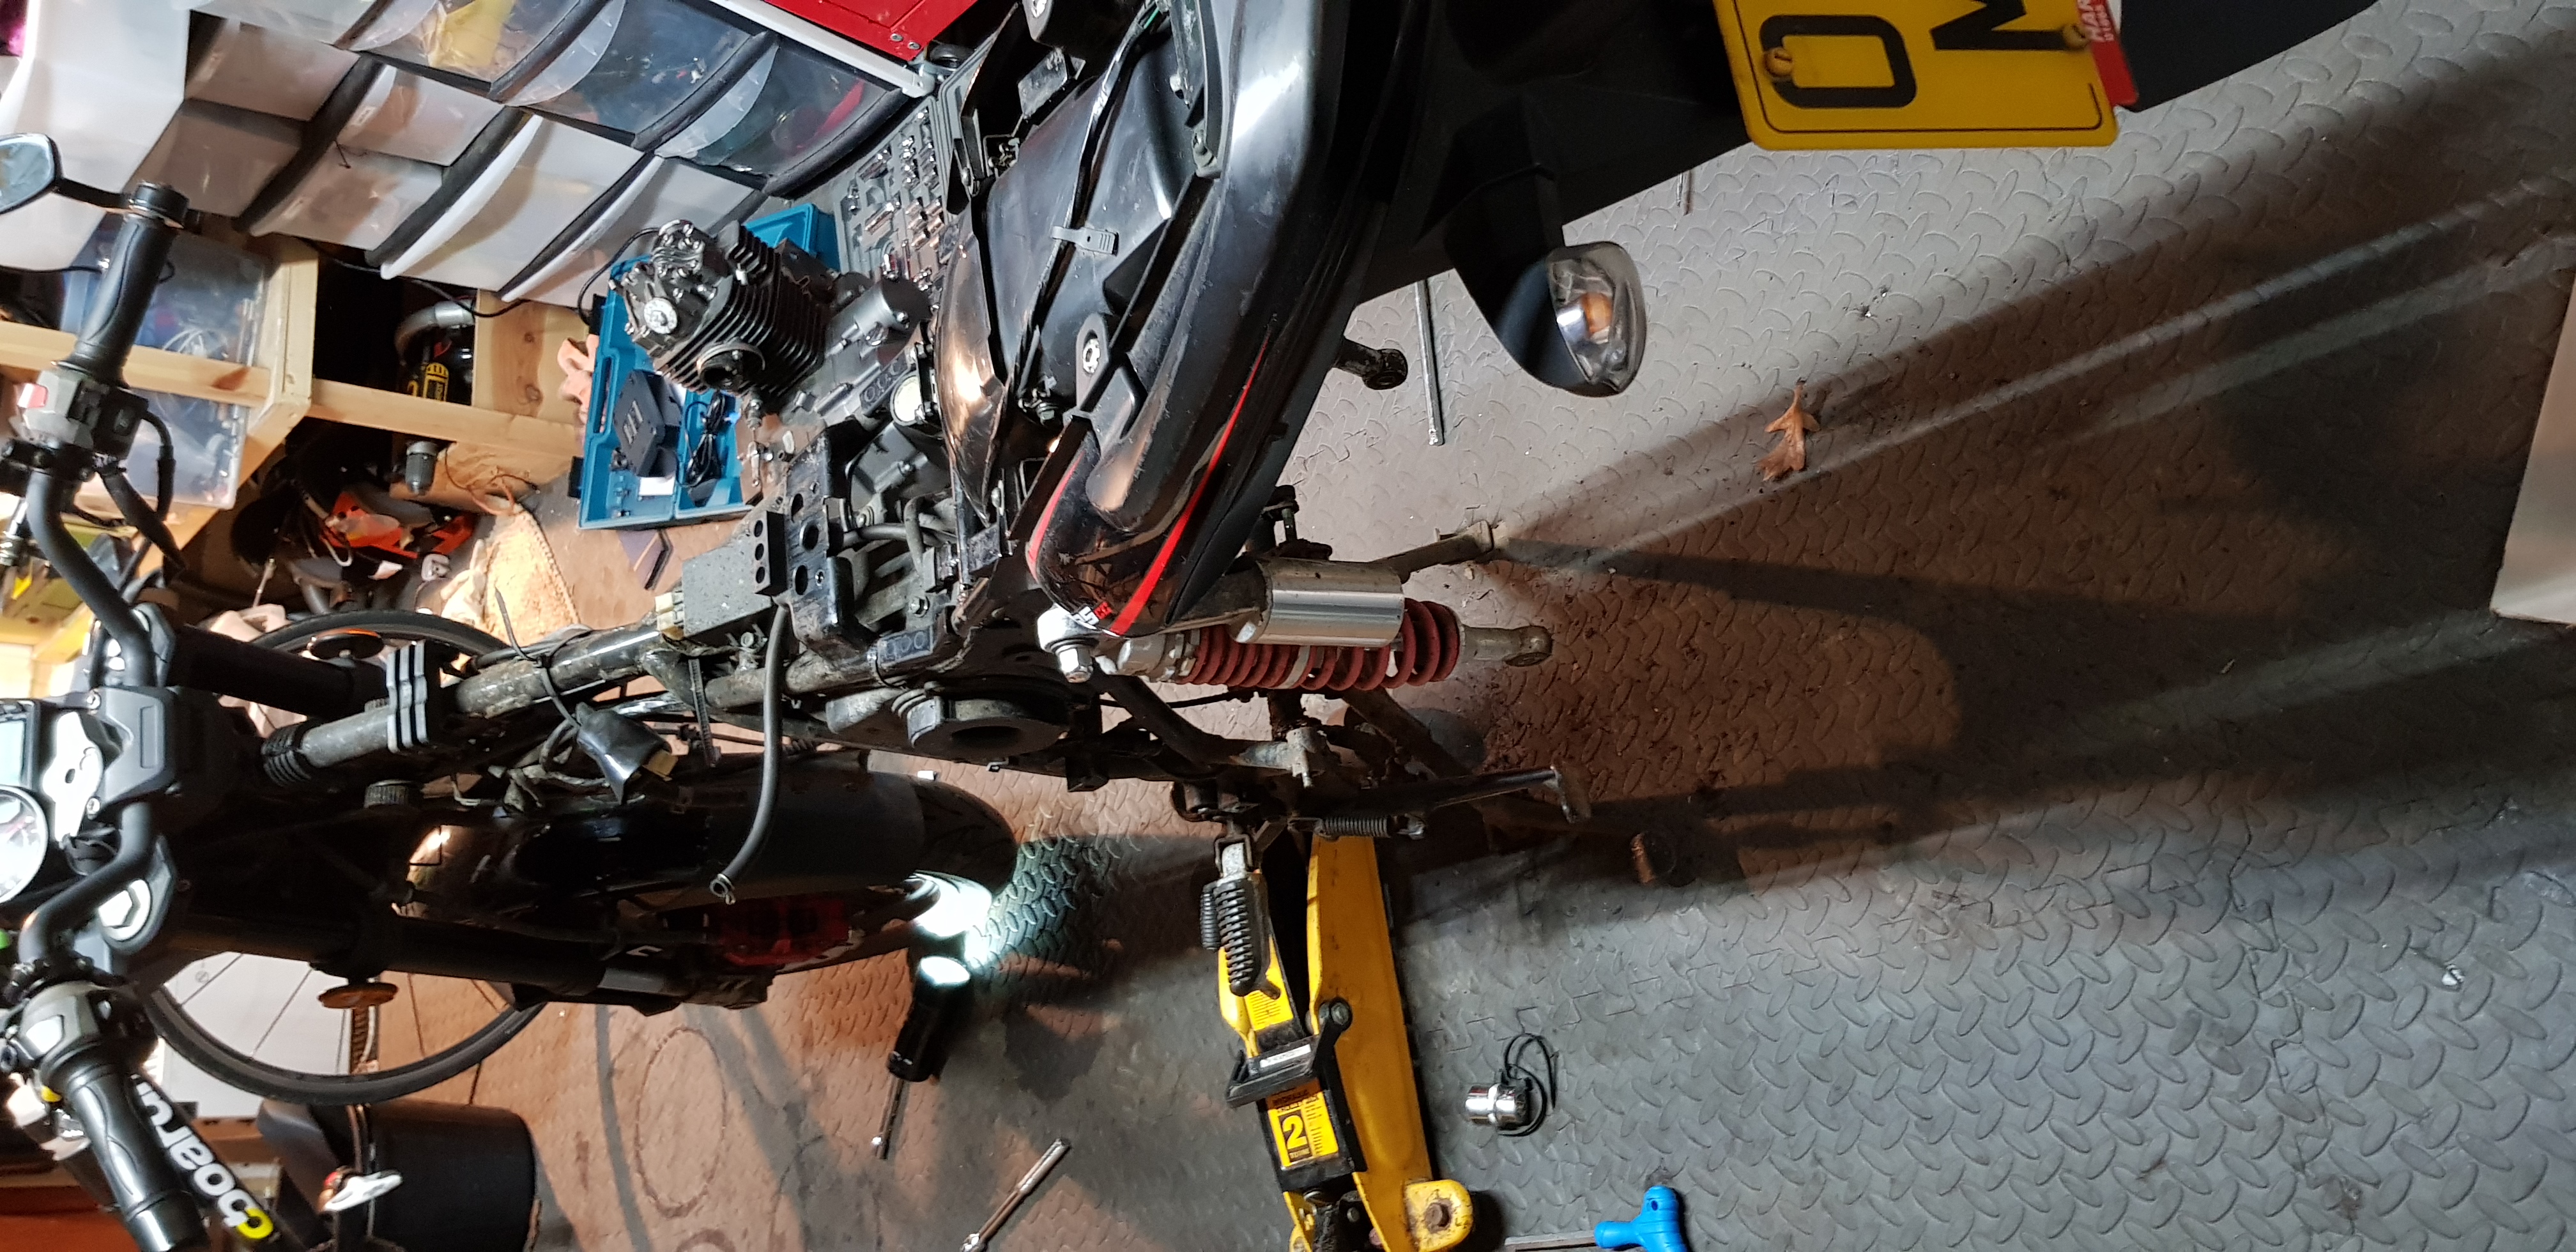
Oh, then I went for it :D

Rear Swingarm off, and you can see the exhaust starting to look a bit more together, also got a wrap to cover up the actual exhaust, once its been brushed, kurrusted, and painted.
Code125rebuild24.jpg


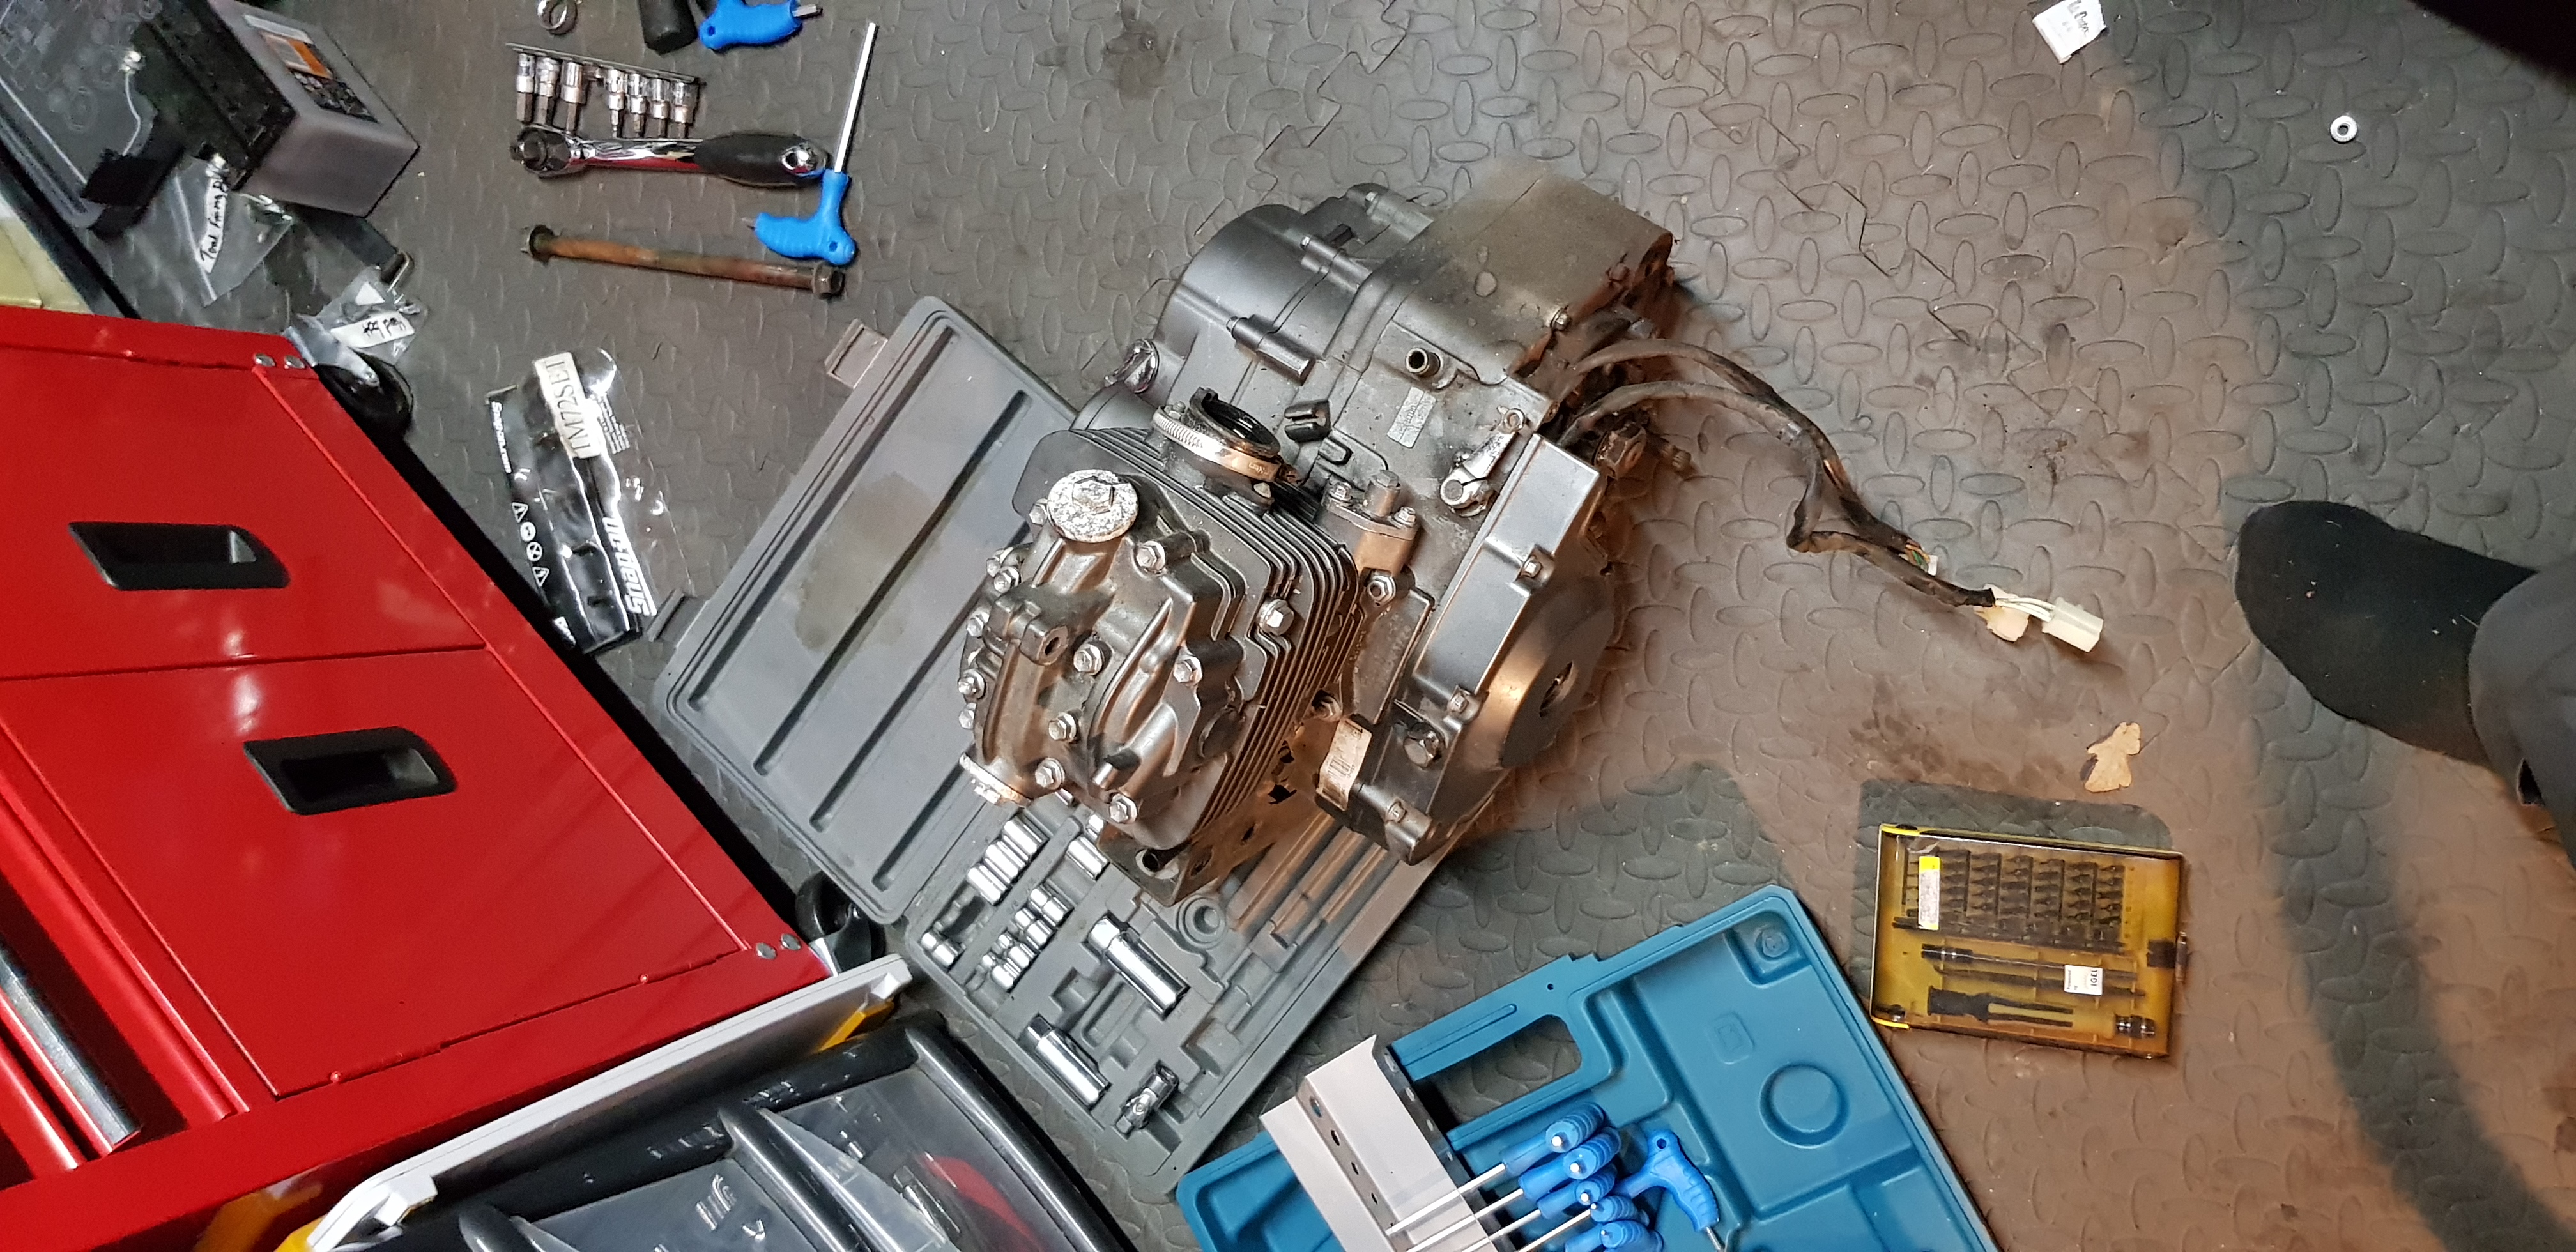
With that lot out of the way, there was nothing keeping this in place :D
Code125rebuild25.jpg


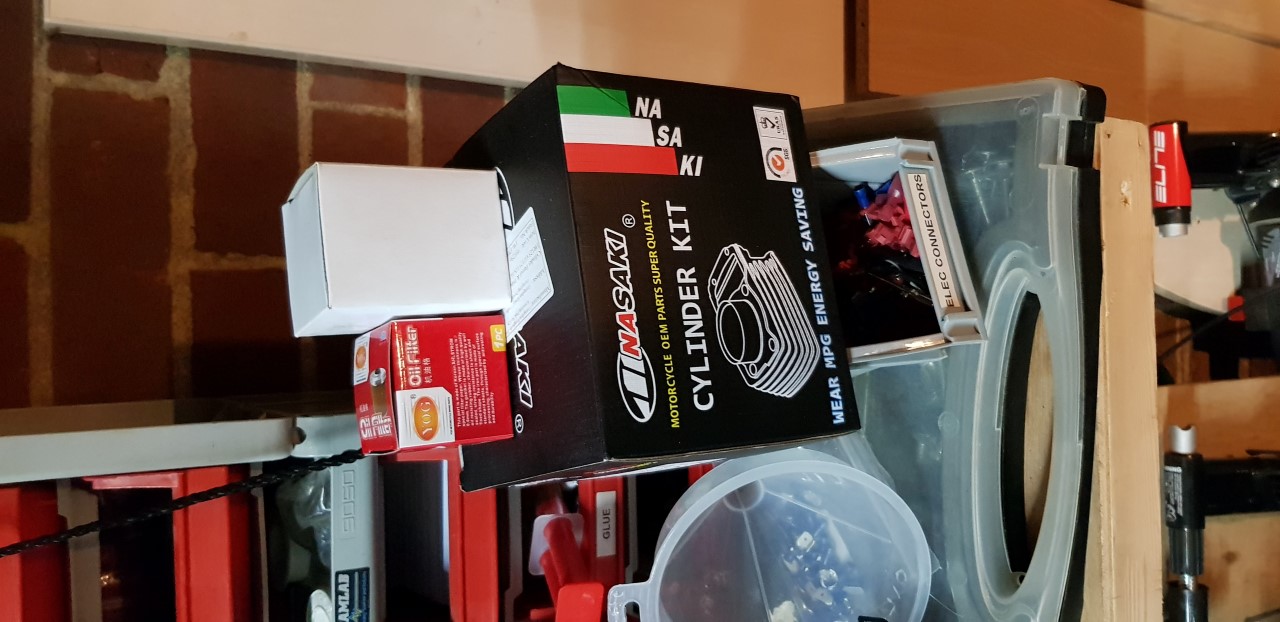
Waiting on a cylinder and piston kit for the original Suzuki GS125 engine this was copied from. I figured it might be a better quality going forward, provided it fits... Should be fun, seems to be the same principle as the monkey bike motor (4 stoke 49cc).

Looking a bit lightweight!
Code125rebuild26.jpg

Code125rebuild27.jpg


Only casualty so far is a rear brake hose, which is easily replaced, and seeing how easily it broke, it would have gone sooner rather than later anyway!

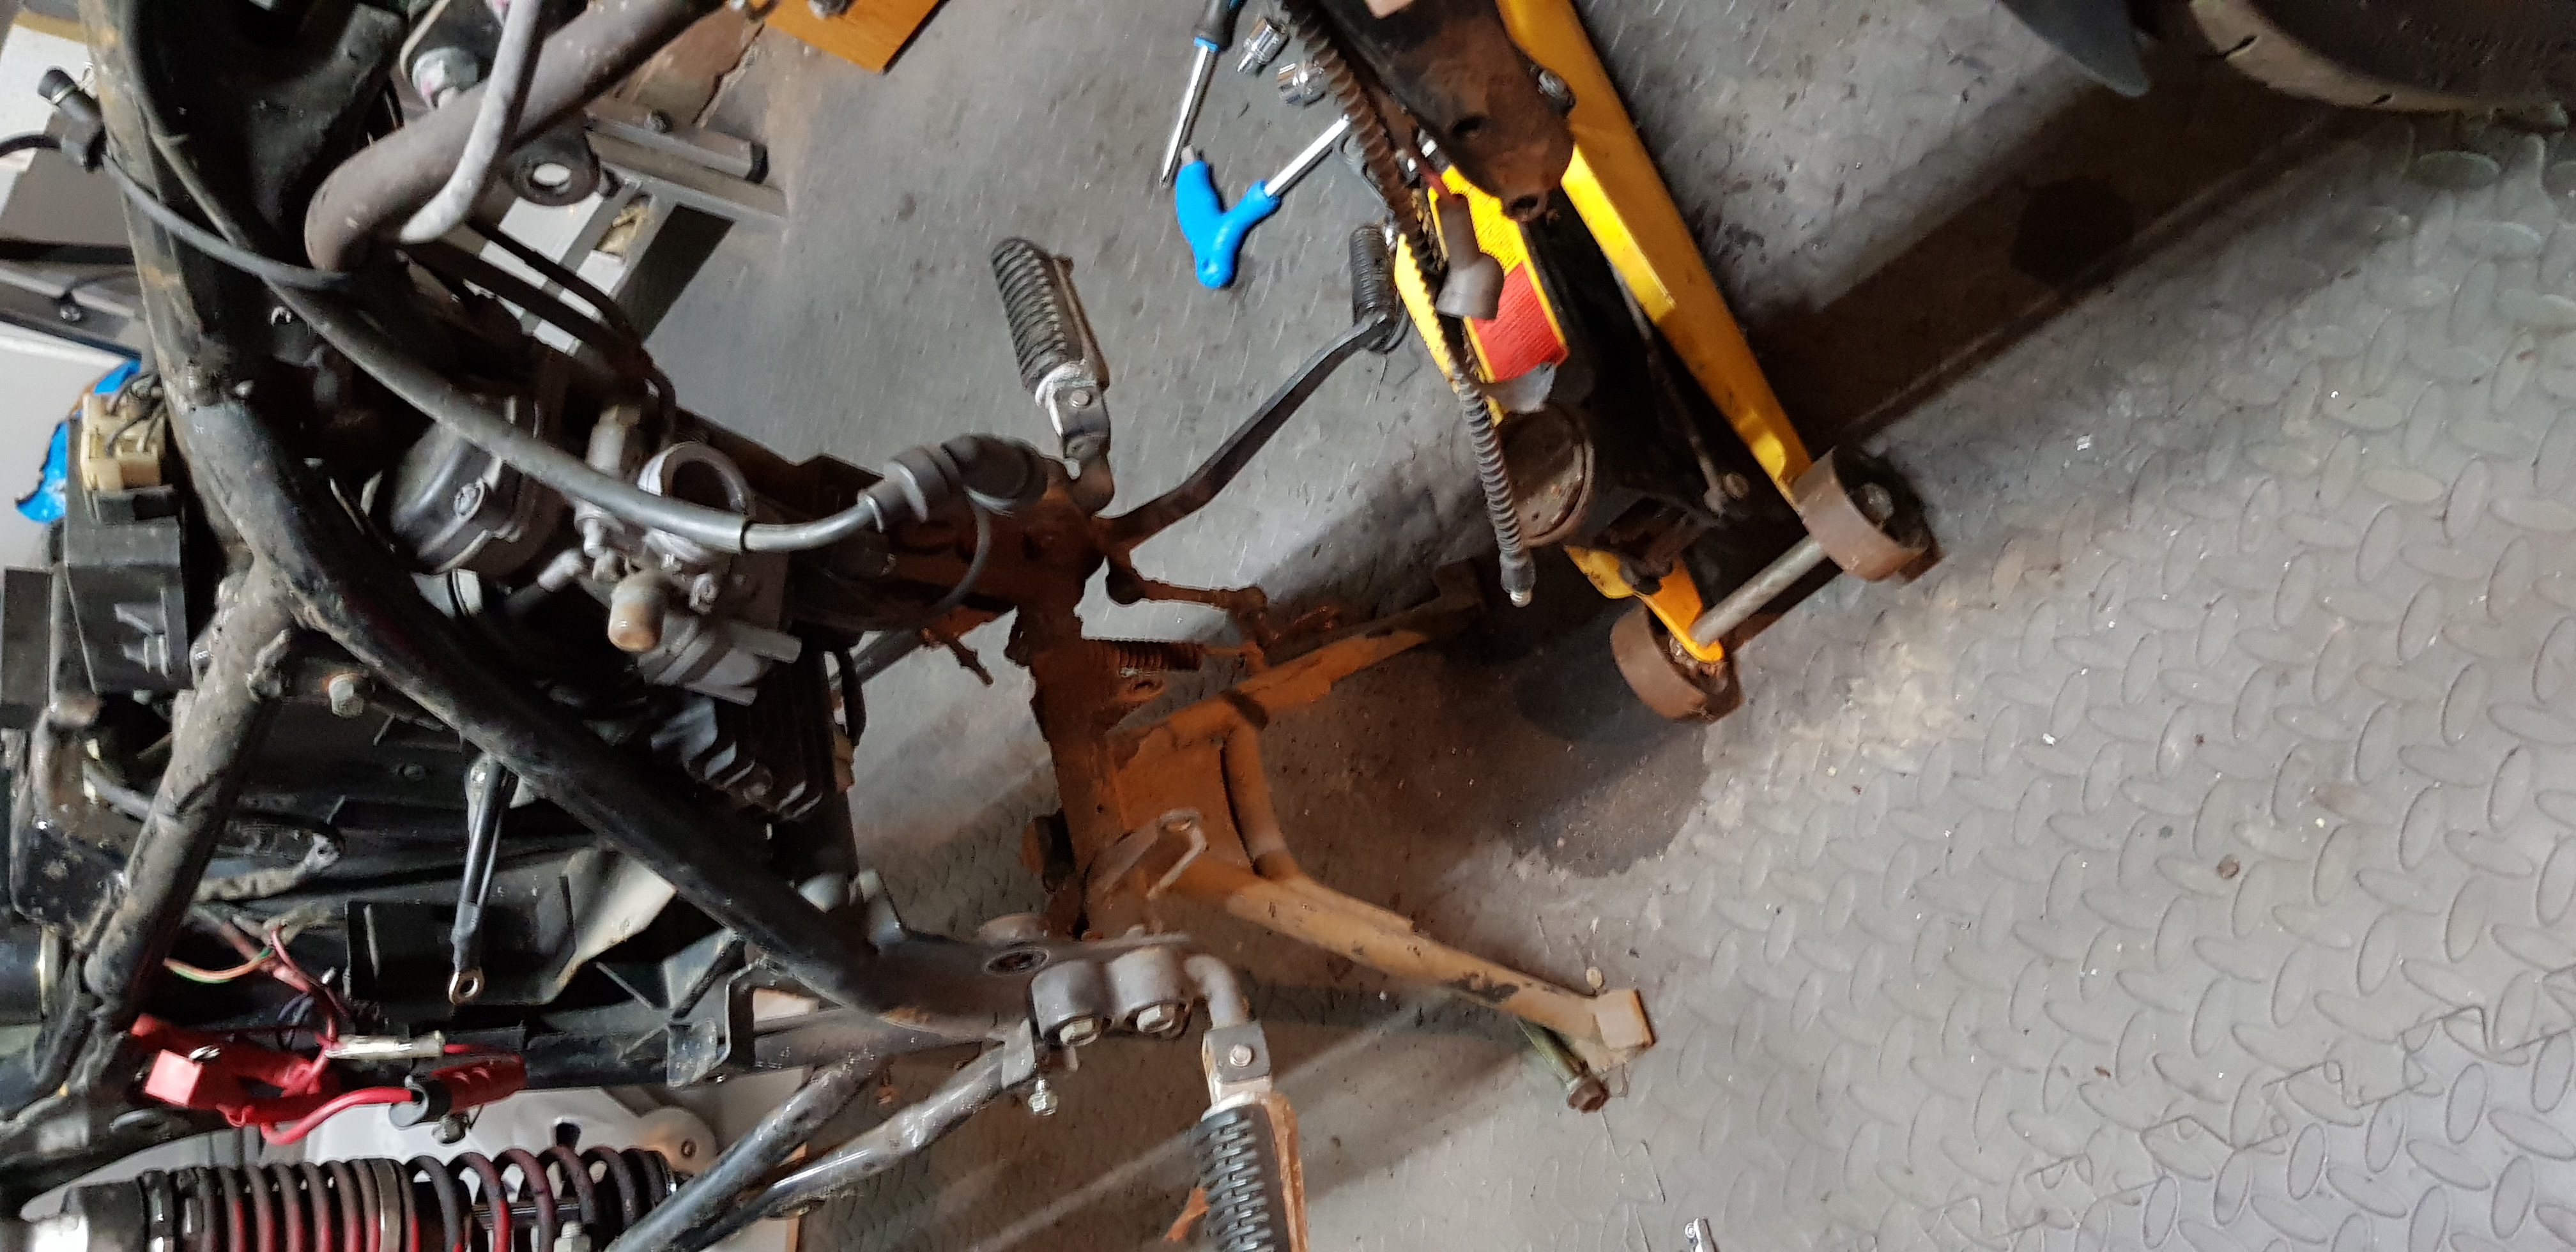
Quite a few little rust spots all over the frame, some areas might just be dirty. I will have to get everything off the frame, and give it a proper clean, and see what we have.

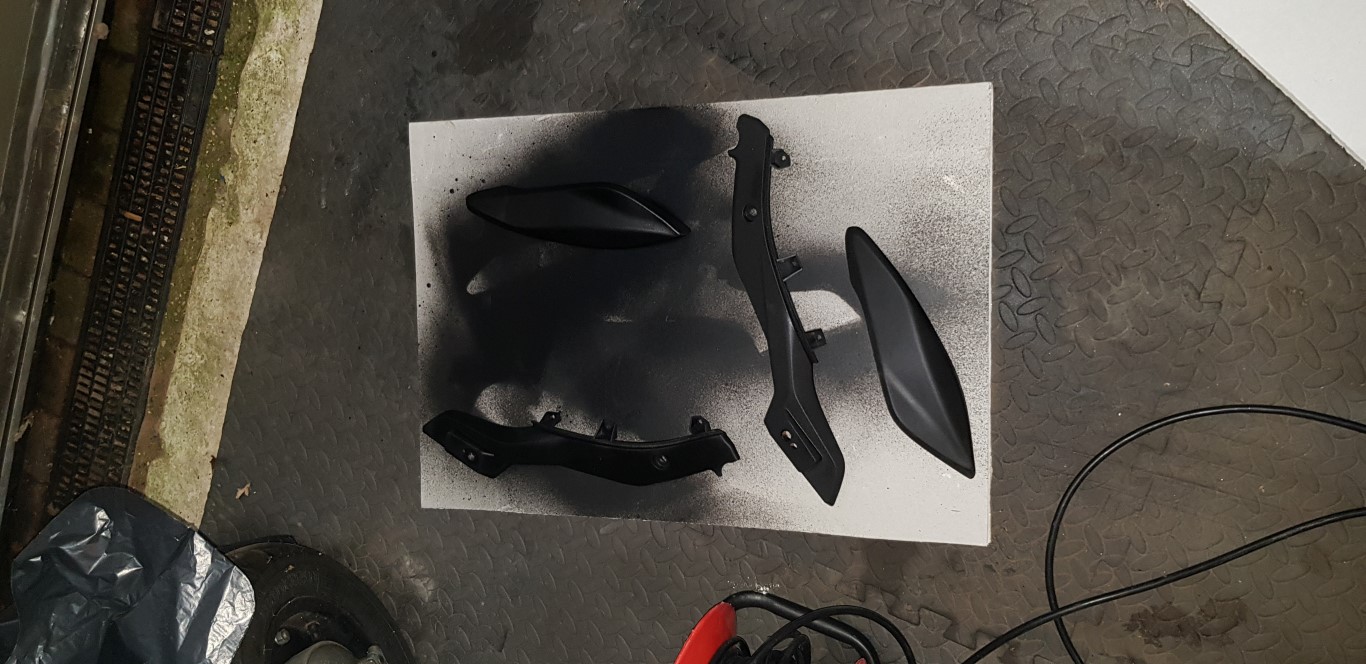
Plasti-dipped a few of the plastics, not sure on this yet, but I had some lying around, so gave it a shot.
Code125rebuild28.jpg


The new clutch cable arrived, along with the exhaust wrap i mentioned earlier.
 
You make it look so easy, I'm very jealous, hopefully will have a garage soon and be able to do things like this!
Once you get over the initial fear bikes are generally very easy to work on but a garage would definitely make it easier, I'm stuck doing it in the back garden which is fine in the summer not so good when something needs doing at this time of year :o
 
You make it look so easy, I'm very jealous, hopefully will have a garage soon and be able to do things like this!

Thanks! In all honesty, I know very little about bikes. I have rebuilt a little vintage monkey bike over a number of years which may help a bit. However, in this case I am just working it out by doing and using the time in the evening when the family have gone to bed. I think you just have to be methodical, and take it one step at a time, and hope it all goes back together at the end:D

I do have to get a move on though, as my MG is sat on the driveway. Weather has been kind so far. I think I need a proper cover for it to give me some more time working on the bike.

Looks like you're having fun!

I'm currently working on a Chinese "Keeway superlight 125" that I bought in December for me and the mrs. I'm secretly enjoying it and it's so easy to work on!

What work are you doing on it? Is it the same K157FMI engine?
 
Last edited:
I’ve pretty much replaced all the wiring, but that was more due to the previous owner thinking he had more skill than he did. I’ve replaced all front and rear indicators, rear brake light switch and rest pads/pegs. I’ve also done a service on the engine, but noticed a sheared bolt in the cylinder head where the exhaust clamps on so will have to try and drill it out.

Then it’s just sorting some body work in terms of painting. This is on a 2015 model which has about 10k on it. Got it as a Christmas present for the mrs as we both passed our CBT in December of last year for £800.

Been out on it tonight in fact as Mrs HB managed to lock her keys in the car at work! Thought I’d give it a run as it hasn’t been out the garage for 2 weeks due to bad weather!

Not sure if it’s the same engine or not...
 
I guess the front wheel does have red rim tape so that adds a couple BHP.

Ha ha! My Japanese bike has blue rim tape, it's started coming off after an ACF50 treatment, so it's coming off tomorrow morning. Next job is to sort the fork dust seals.

In respect of Chinese bikes, they don't tend to resell very well but for the price of 3 tanks of fuel in a car, it's worth a punt, plus it will probably be nice and easy to work on when it sneezes in the bitter cold of a British winter (it will probably be fine to be honest).

If it behaves reliably though, I'd say you've got a great bargain.
 
My ex Mrs had a Chinese bike similar looking to that. The main issue with it was that all the metalwork was of such low quality that bolts would just strip when doing any kind of maintenance. I always hated having to do anything to it.
 
So far so good, only problem I have had other than the rear brake hose is one of the exhaust bolts, got my hex bit stuck in it after it was removed.
Heated and cooled them and they gave way in the end.
Brake hose was ordered, should be here by Sunday, hopefully the cylinder and piston parts too.
Got to pull all the other parts off the frame and clean/decrease it all ready for kurrust/hammerite treatment.
 
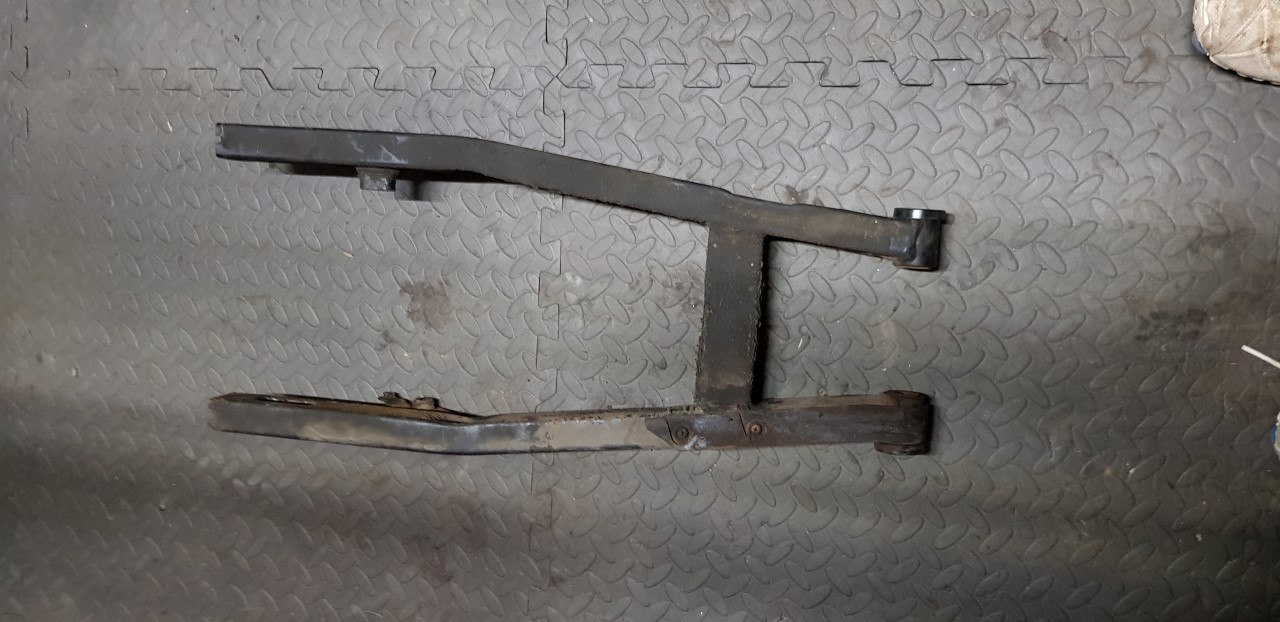
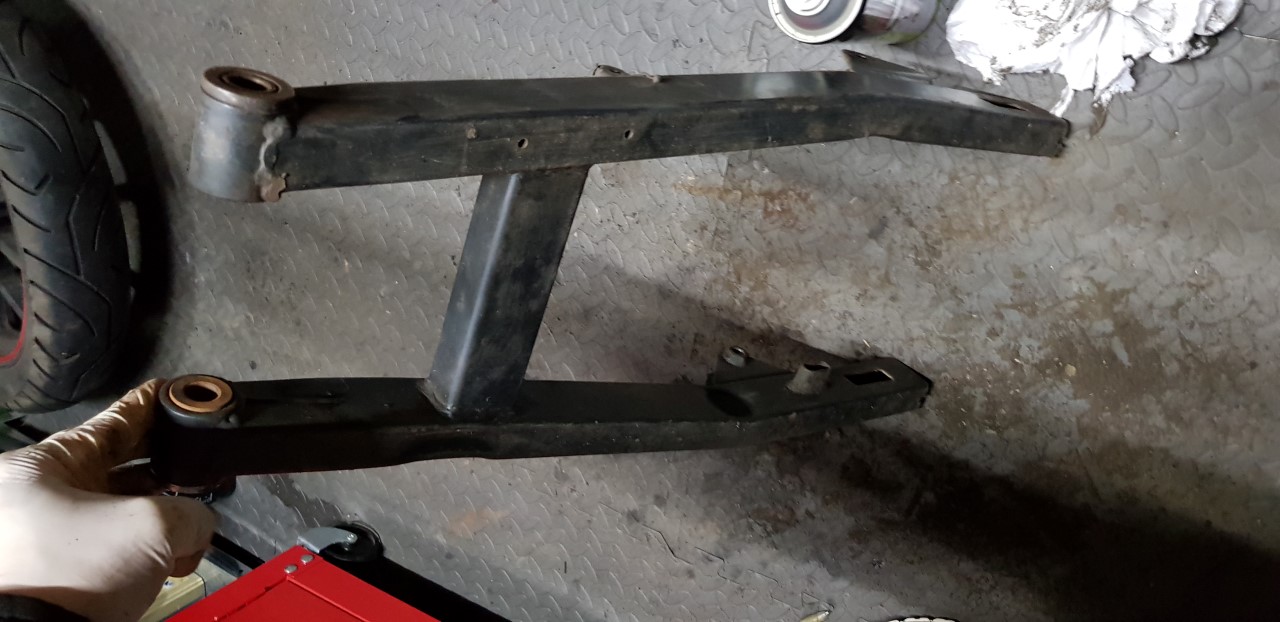
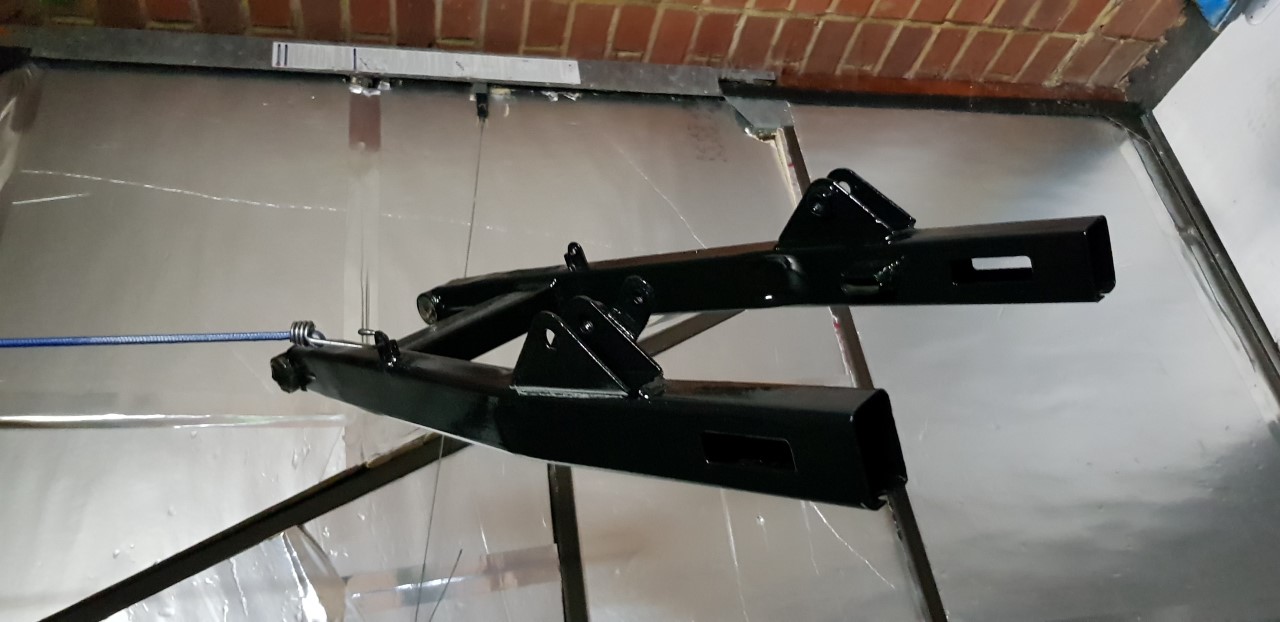
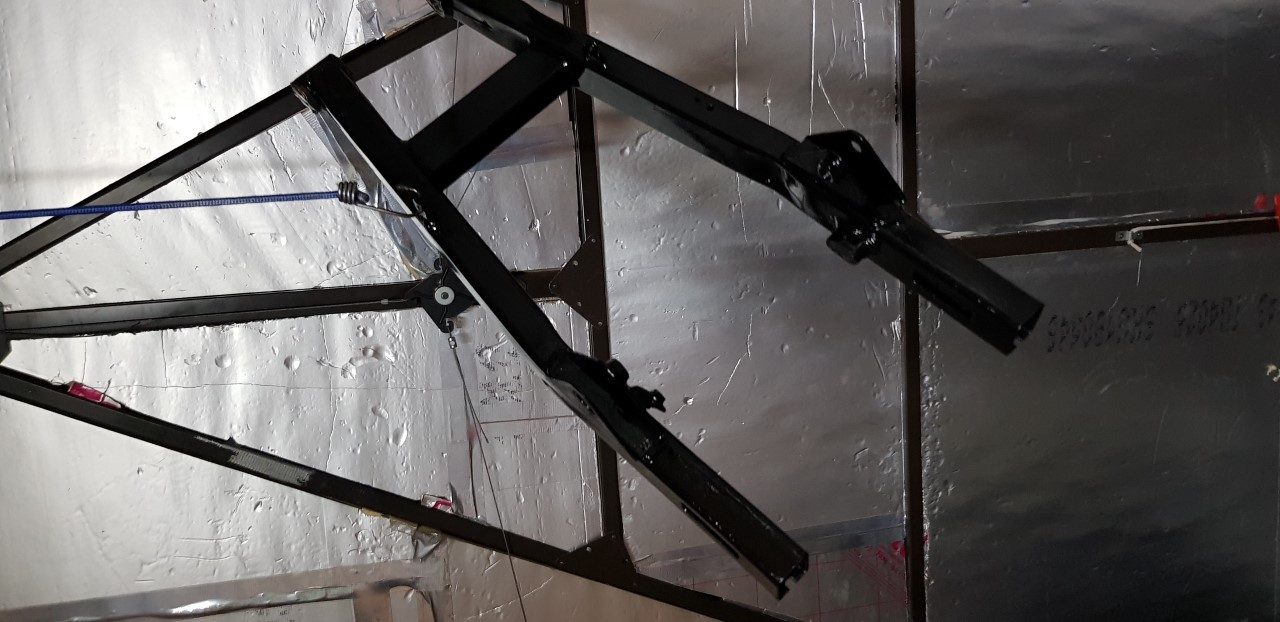
Been a bit chilly in the garage so not been in there much recently. However, last night I stripped and cleaned the swing-arm, before giving it the kurrust treatment.
Then did most of the exhaust too. Should be able to give the swing-arm a few coats of paint today if it gets warm enough in the garage. Just a couple of places that need a second application of kurrust.

There is a lot of surface rust and bubbled paint on the swing-arm. Removed as much of it it as I could. I also knocked off a few of the little welding droplets that were a bit untidy.

All my top end rebuild stuff is here. Got some Suzuki and Chinese parts to see what's going to work best
 
Attacked the swingarm!

Code125rebuild29.jpg


Code125rebuild29.jpg


Looking a bit dirty - Gave it a de-grease, and brushed it down.

Code125rebuild31.jpg


Some Kurrust and sanding where needed.

Code125rebuild32.jpg


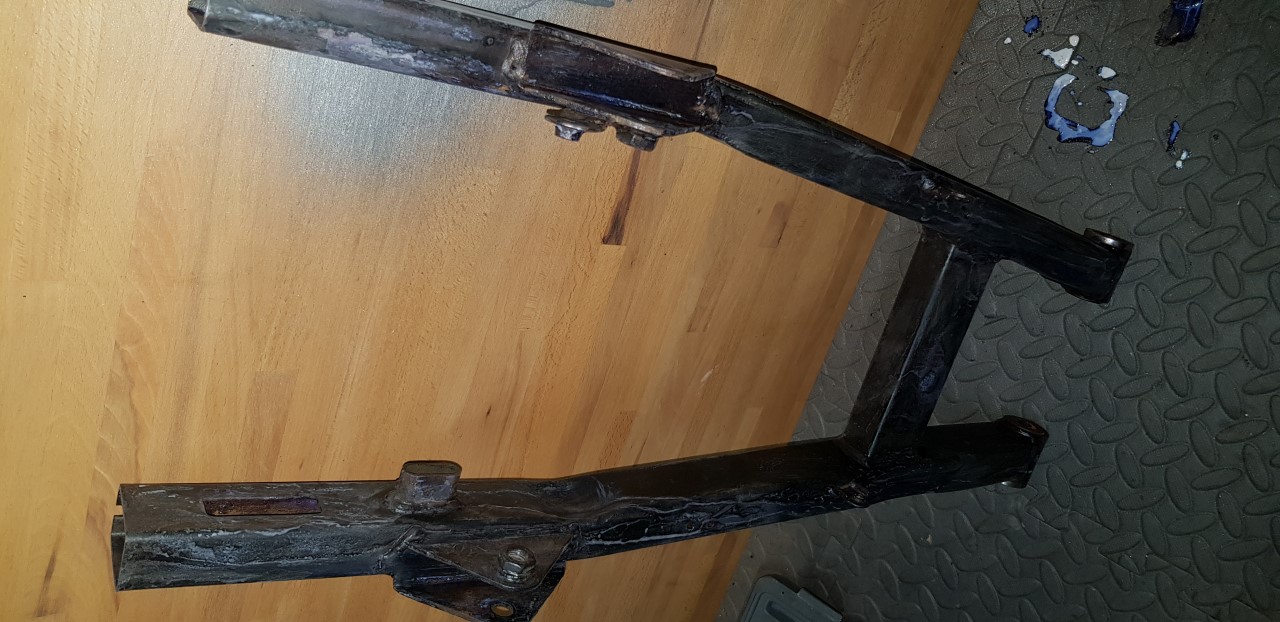
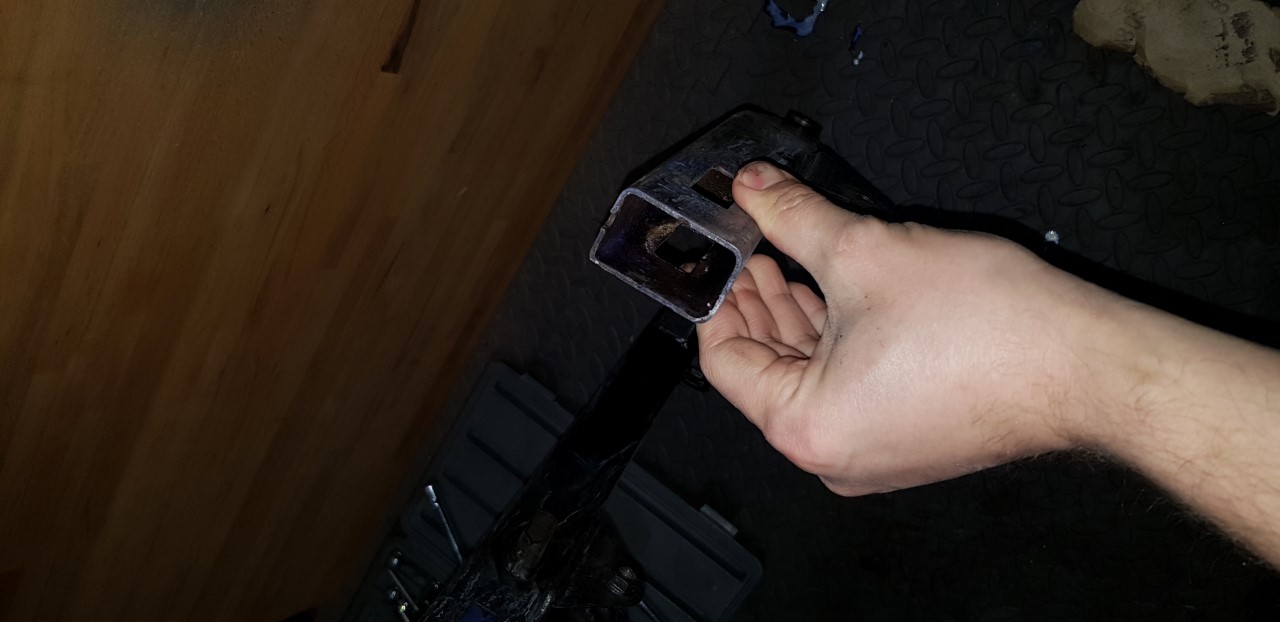
Quite a lot of surface rust inside the swingam!

Code125rebuild33.jpg


Code125rebuild34.jpg


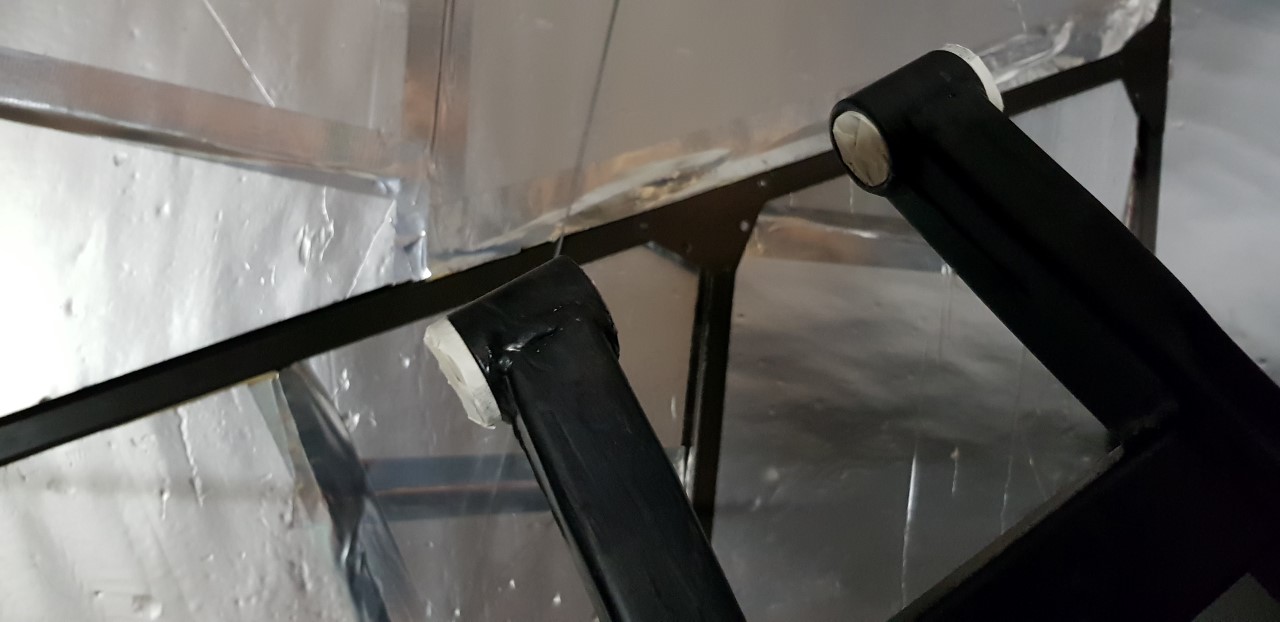
2 coats of kurrust in there (shown after first coat) where I could brush and let it flow inside, and shook it about too hit as much as possible.

Code125rebuild35.jpg


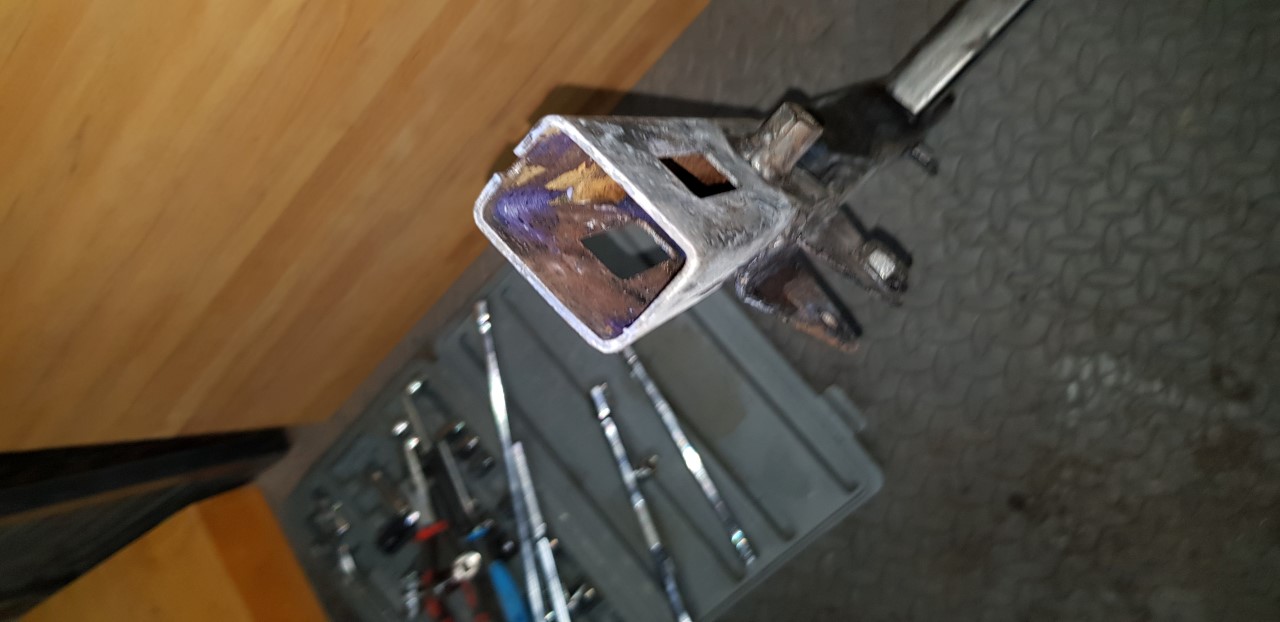
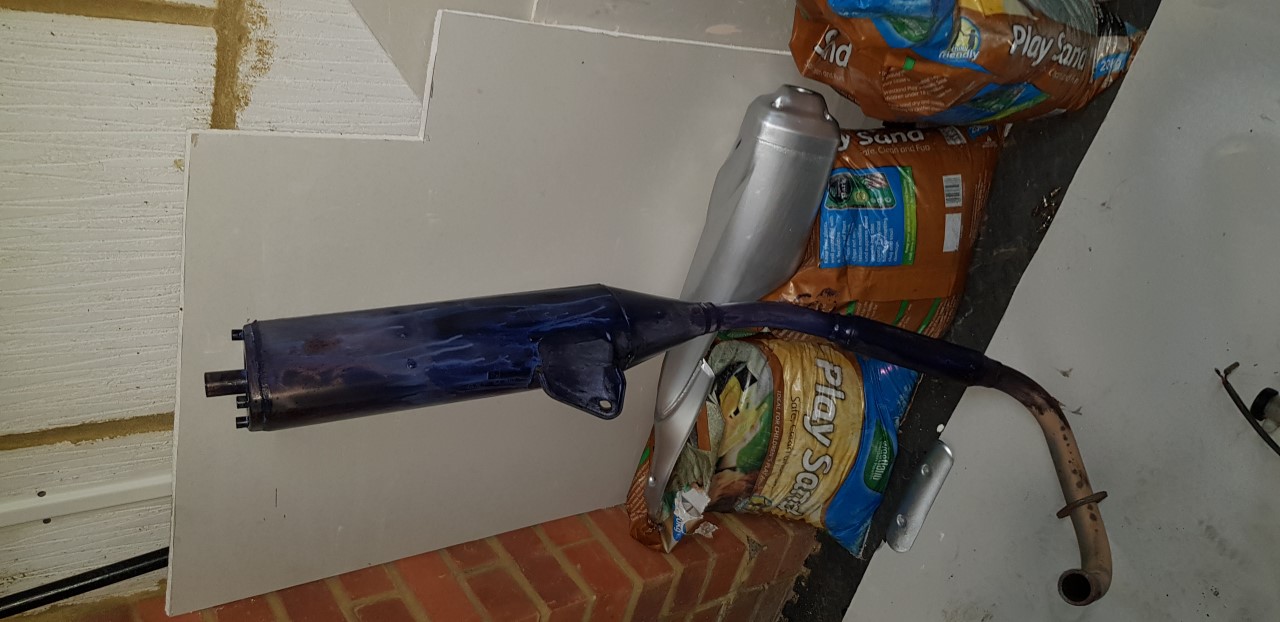
Kurrusted the exhaust after wire brushing with the drill. Only done one half so I could move it about. Will get the other half done shortly. Plan then is to VHT it, and maybe wrap it, as this will be a fairweather bike. So it "should" only be used in the dry, to stop it corroding into oblivion. If not, new exhaust time :D

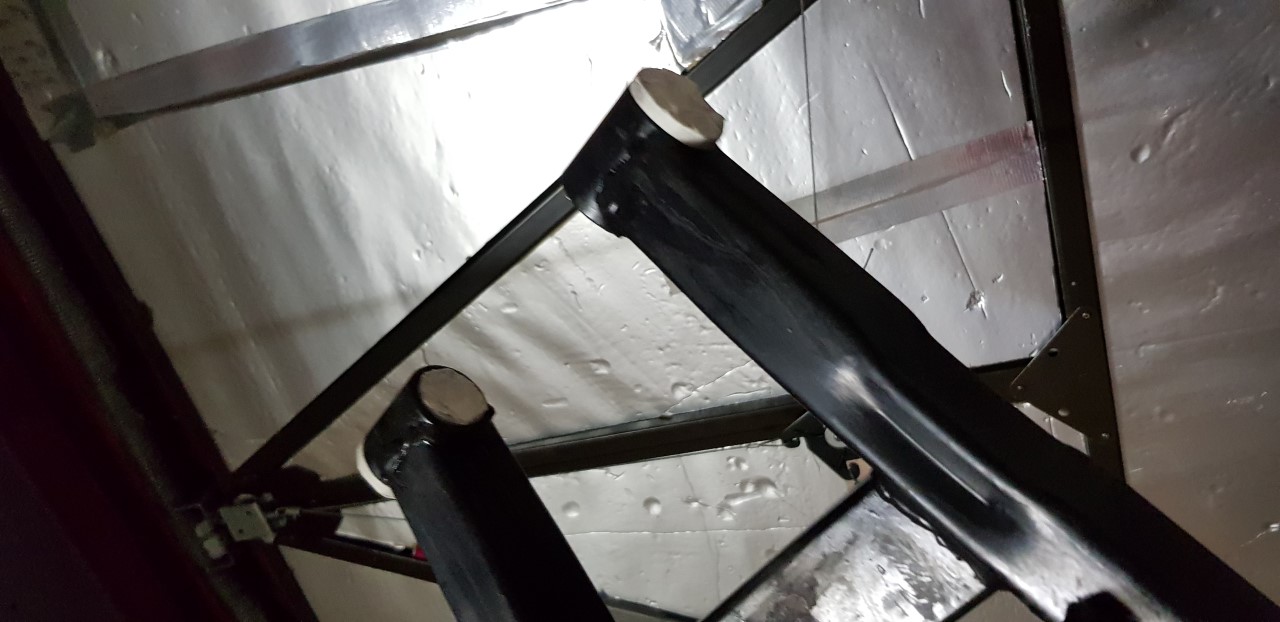
Swingarm, swinging with its masking on bearings

Code125rebuild36.jpg

Code125rebuild37.jpg


Add a light hammerite coat. Only got one small run in the first coat where I was a tad over-zealous with spraying down the open end. Should be easy to sort

Code125rebuild38.jpg


Code125rebuild39.jpg


Currently drying, so will check it out later, see if it needs a final coat, or just sanding and re-covering the run I made :D
 
Cracked onto a few niggly little bits earlier:

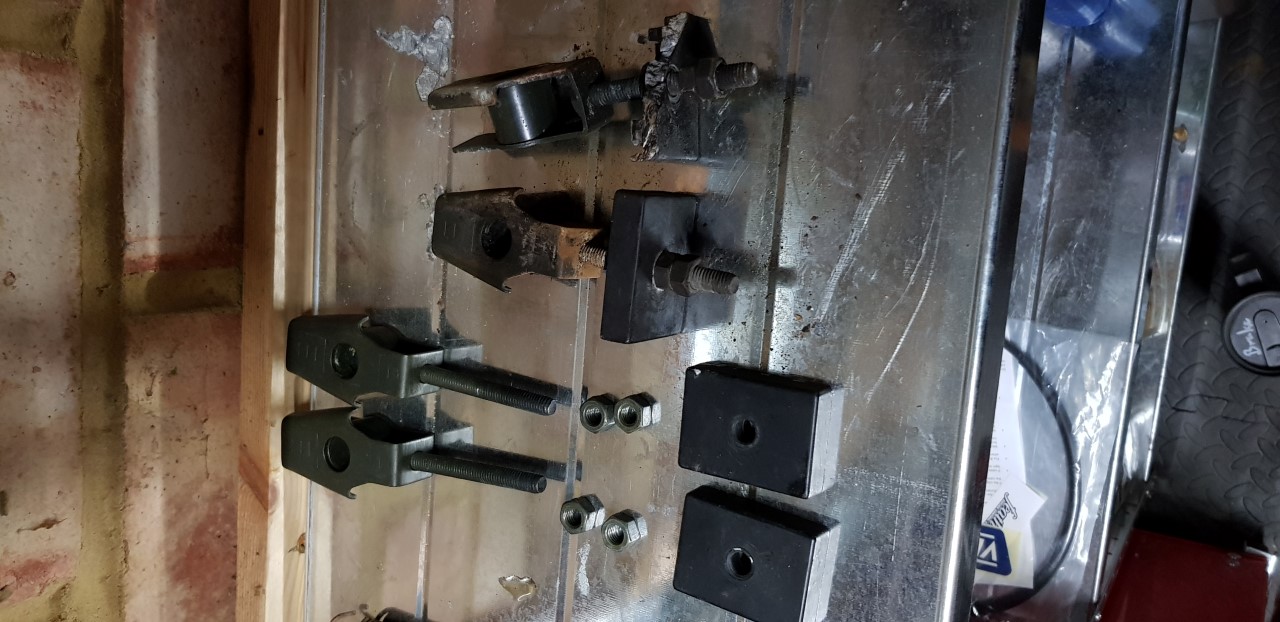
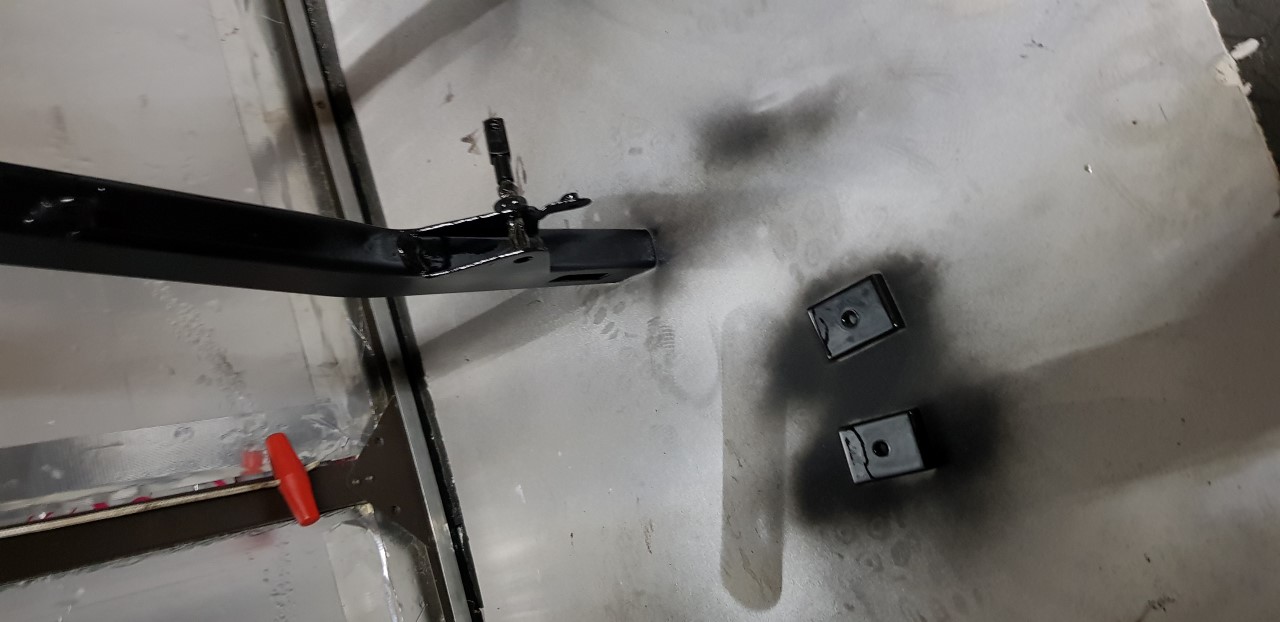
My new chain adjusters were in much better nick (and also in the correct number of pieces!) compared to the old ones, but still looked a bit crinkly, and tatty. Decided to give them some treatment whilst sorting out the stand, as they would both need painting.

Code125rebuild40.jpg


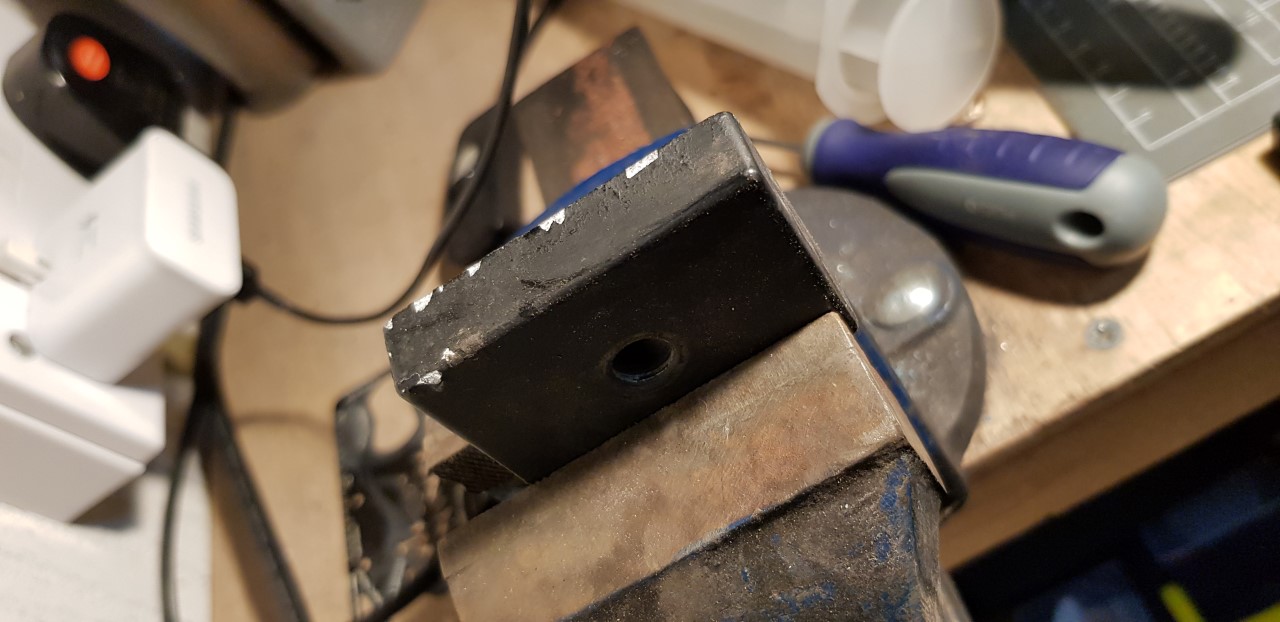
Ground them down a bit, wire brushed then, sanded them back to get a decent surface
Code125rebuild41.jpg


Laid out ready for paint
Code125rebuild42.jpg


Side stand was looking very messy. Same again, lots of crinkly paint with rust underneath. As it came off the bike below
Code125rebuild43.jpg

Code125rebuild44.jpg


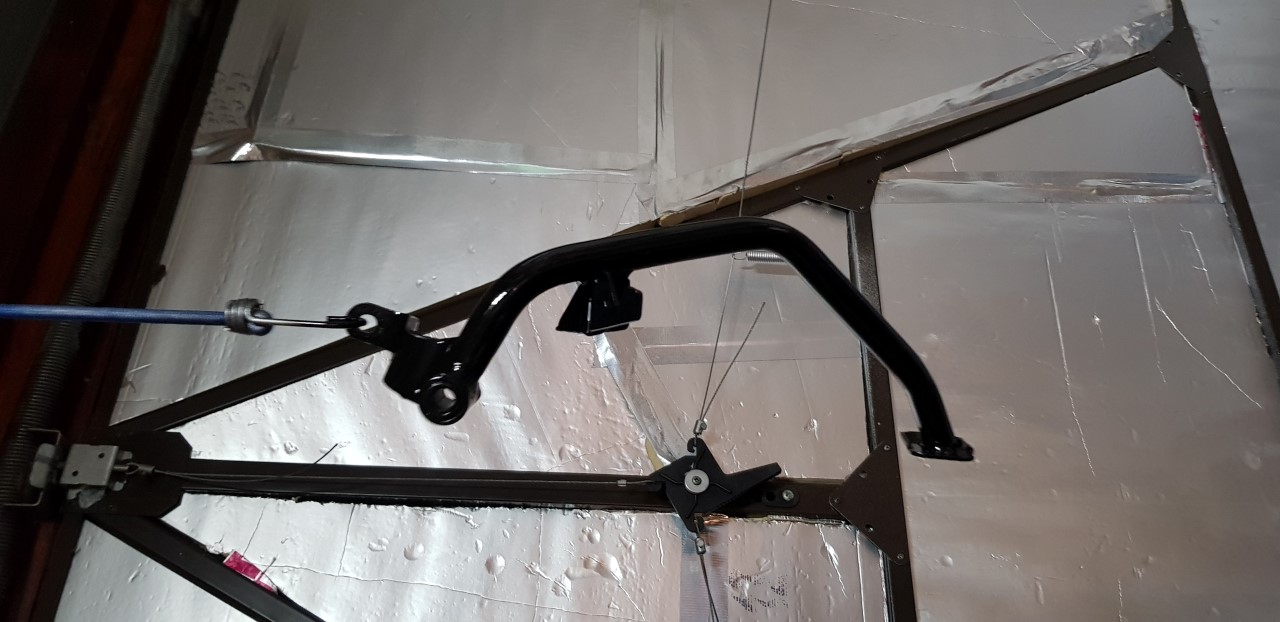
After cleaning, and hung up for paint
Code125rebuild45.jpg


Then I painted all the bits in the usual hammerite matt black. Touched up the swingarm in a couple of places at the same time, along with the side-stand switch arm (masked bit stuck into swinarm hole to keep it up for drying in this pic)
Code125rebuild46.jpg

Code125rebuild47.jpg


First coat on first half of the exhaust.
Code125rebuild48.jpg


Some parts building up, not shown is the new clutch cable, and rear brake line.
Code125rebuild49.jpg


Bike as it looks now! Errk, what have I done!
Code125rebuild50.jpg


Next up is to finish the exhaust, and then get to work on removing more from the frame to give it a hammerite coat.

Then its rebuild the motor, and start putting it all back together with new bits where needed :)
 
Back
Top Bottom