Bought a Chinese 125cc :D

Transmission breaker
Don
OP
Joined
20 Oct 2002
Posts
16,813
Location
In a house
Yup, found the cause of compression issues!

Piston was fine but then the issue became apparent..

CookedValve.jpg


New valves on order
 
Transmission breaker
Don
OP
Joined
20 Oct 2002
Posts
16,813
Location
In a house
Oh, and yes, I realise that the "side stand" i painted is the rear brake. Not sure what I was thinking.

Just got some new dowels coming for the cylinder, and decided to get a different piston as the one in the kit was slightly domed, not flat like the existing one.

More pics incoming once I get my flipping ftp sorted.
 
Transmission breaker
Don
OP
Joined
20 Oct 2002
Posts
16,813
Location
In a house
Ok, so I did some more work.

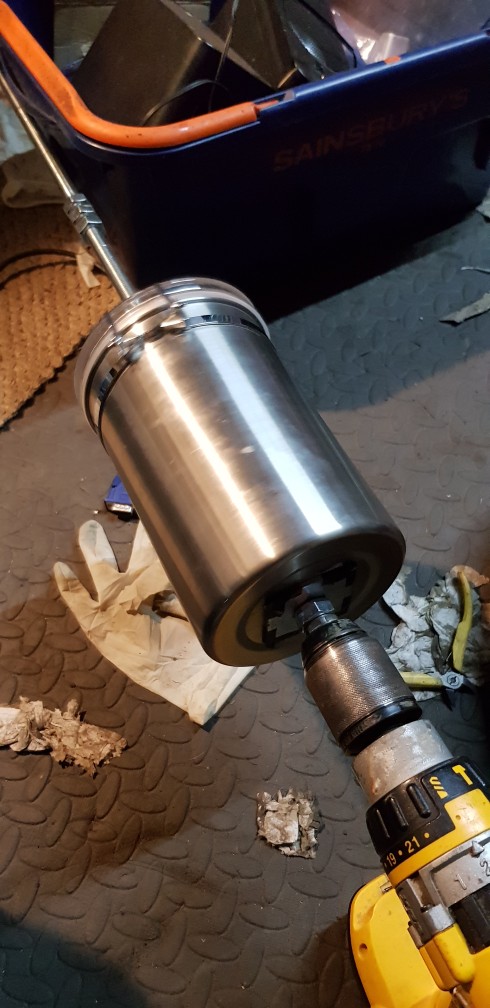
Knocked up a prototype parts tumbler to try and clean up some of the small parts more easily:
Code125rebuild51.jpg

Only used some sharp sand I had lying about, and did it for 30 mins.

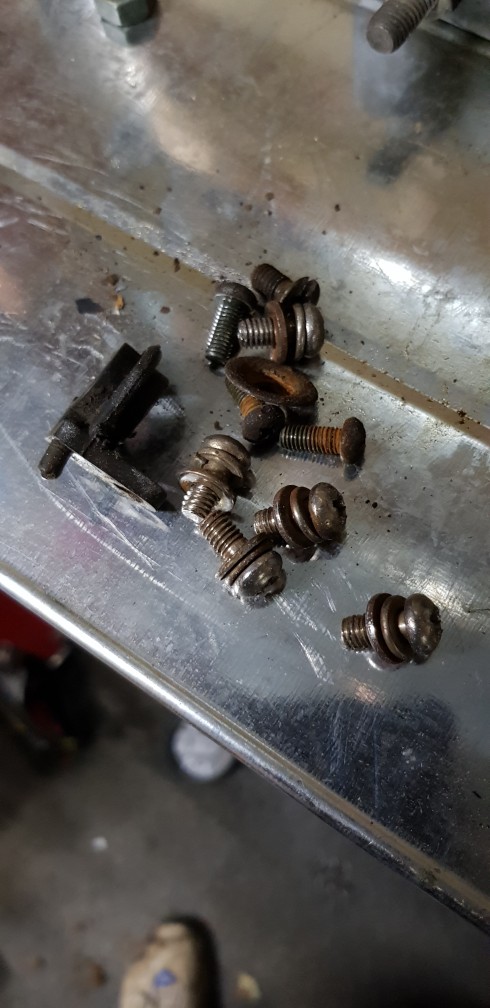
Parts before they went in:
Code125rebuild52.jpg


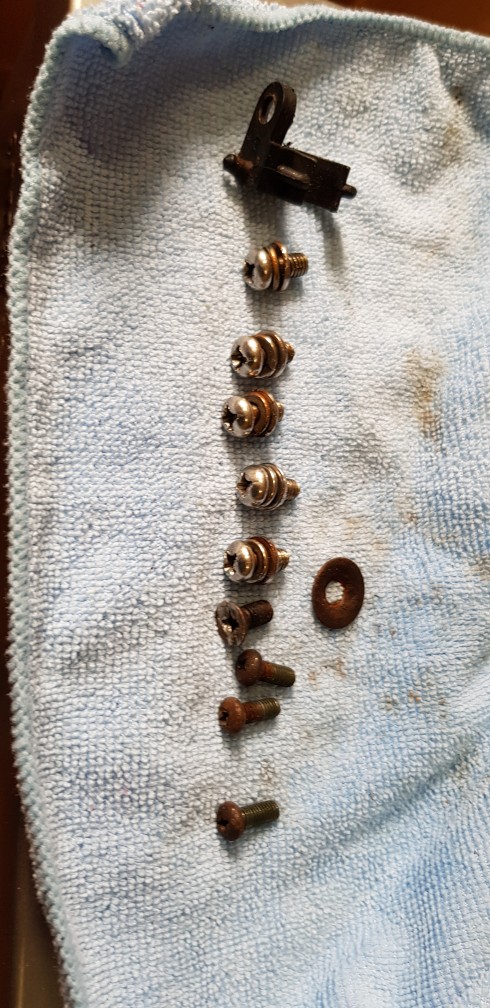
And, as they came out:
Code125rebuild53.jpg


Some parts came out great! The plastic part, and the exhaust bolts were greatly improved. Could do with a little longer, but I think I need to get the sand drier, or wetter and use it for longer to get the best results. I will also look to get some proper media to help with the heavy deposit removal.

Now I know it works, I will make it a little more portable and less cumbersome!

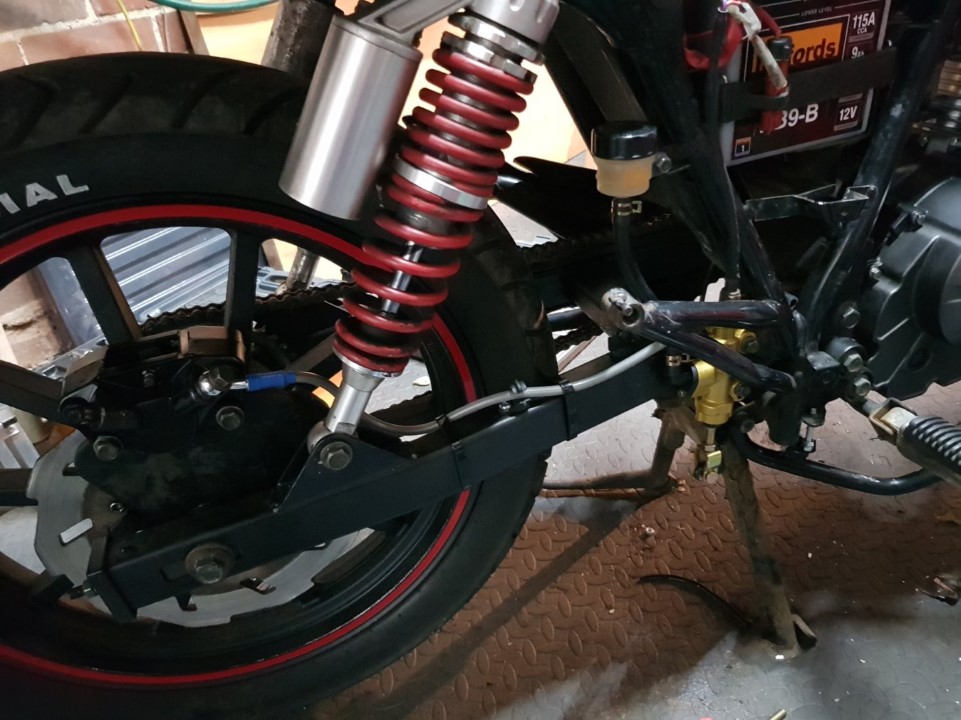
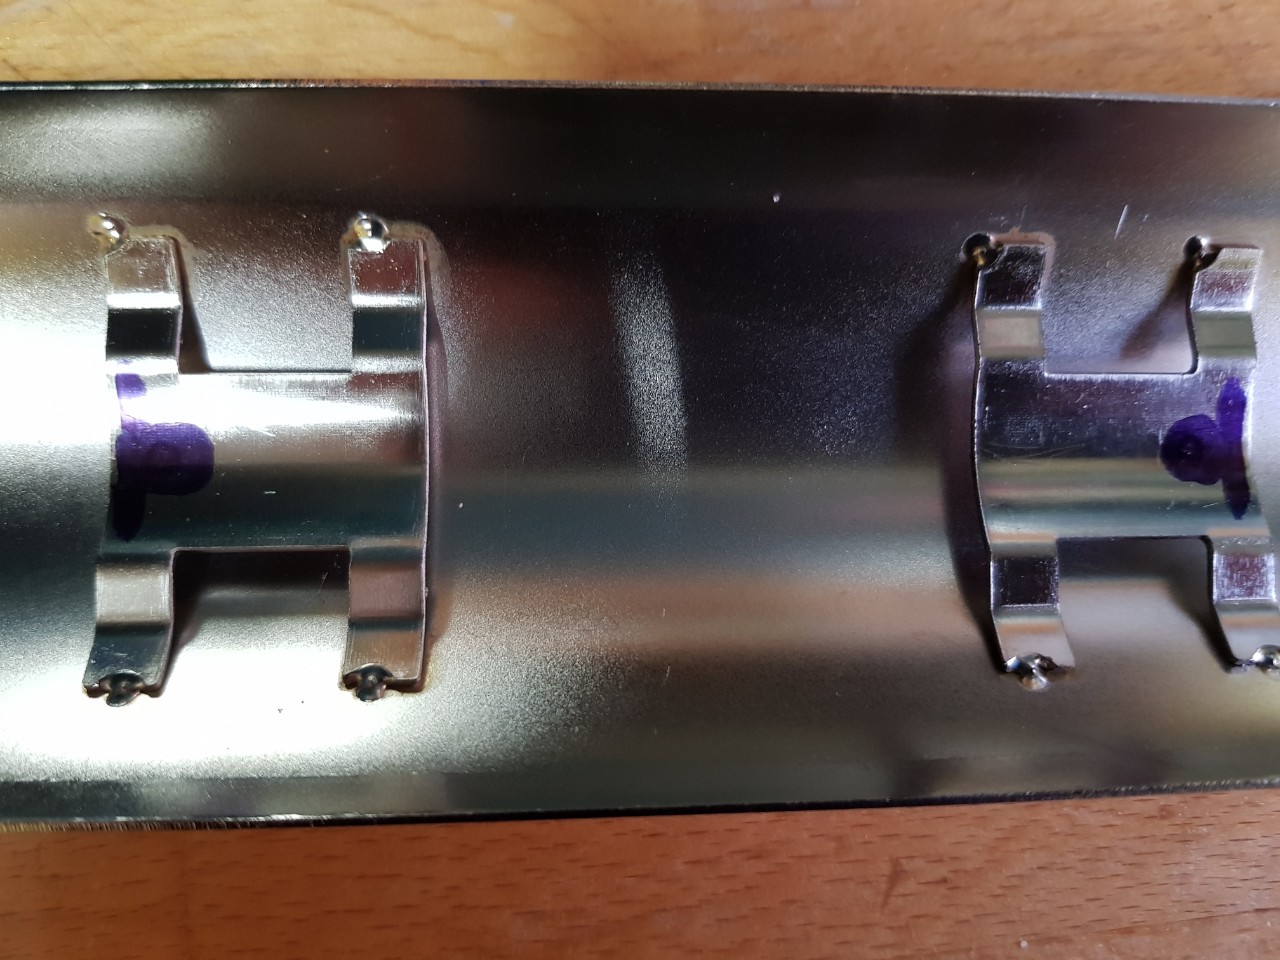
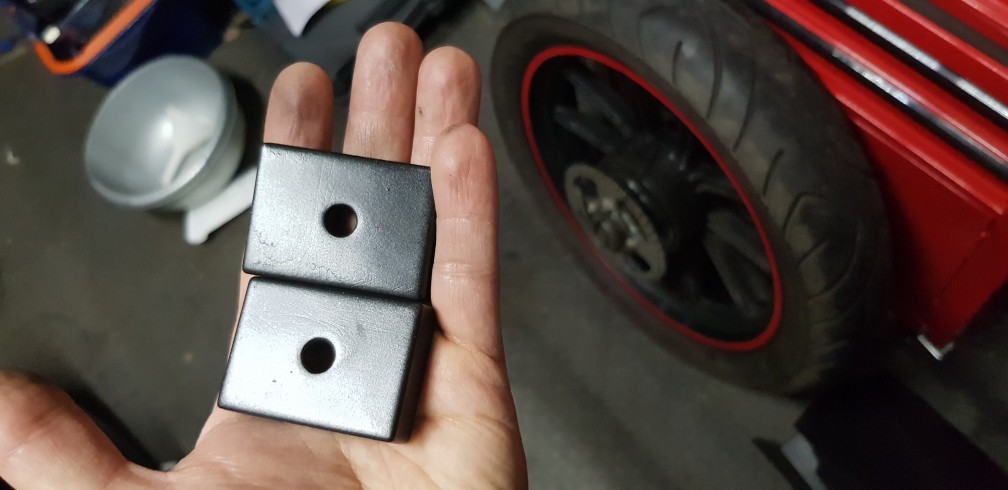
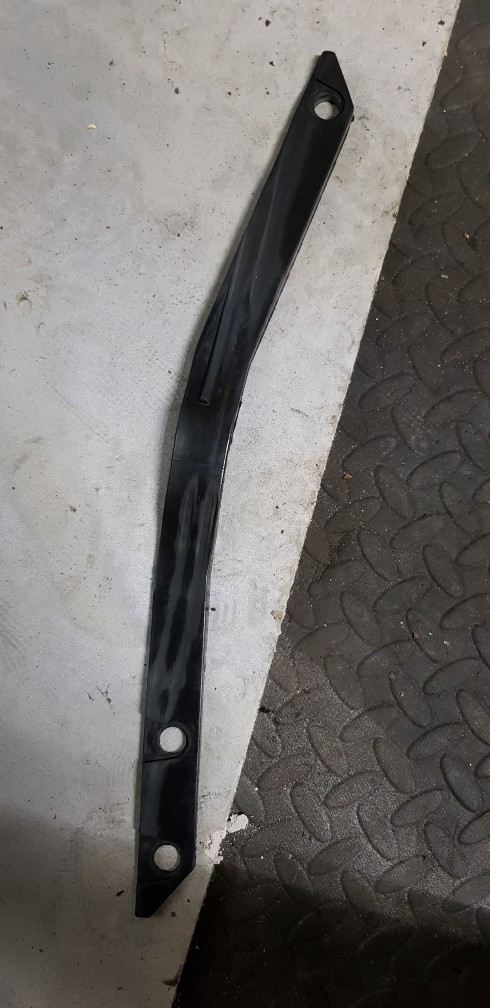
Chain adjuster plates looking a little nicer after their final coat.
Code125rebuild54.jpg


Quite happy with that.

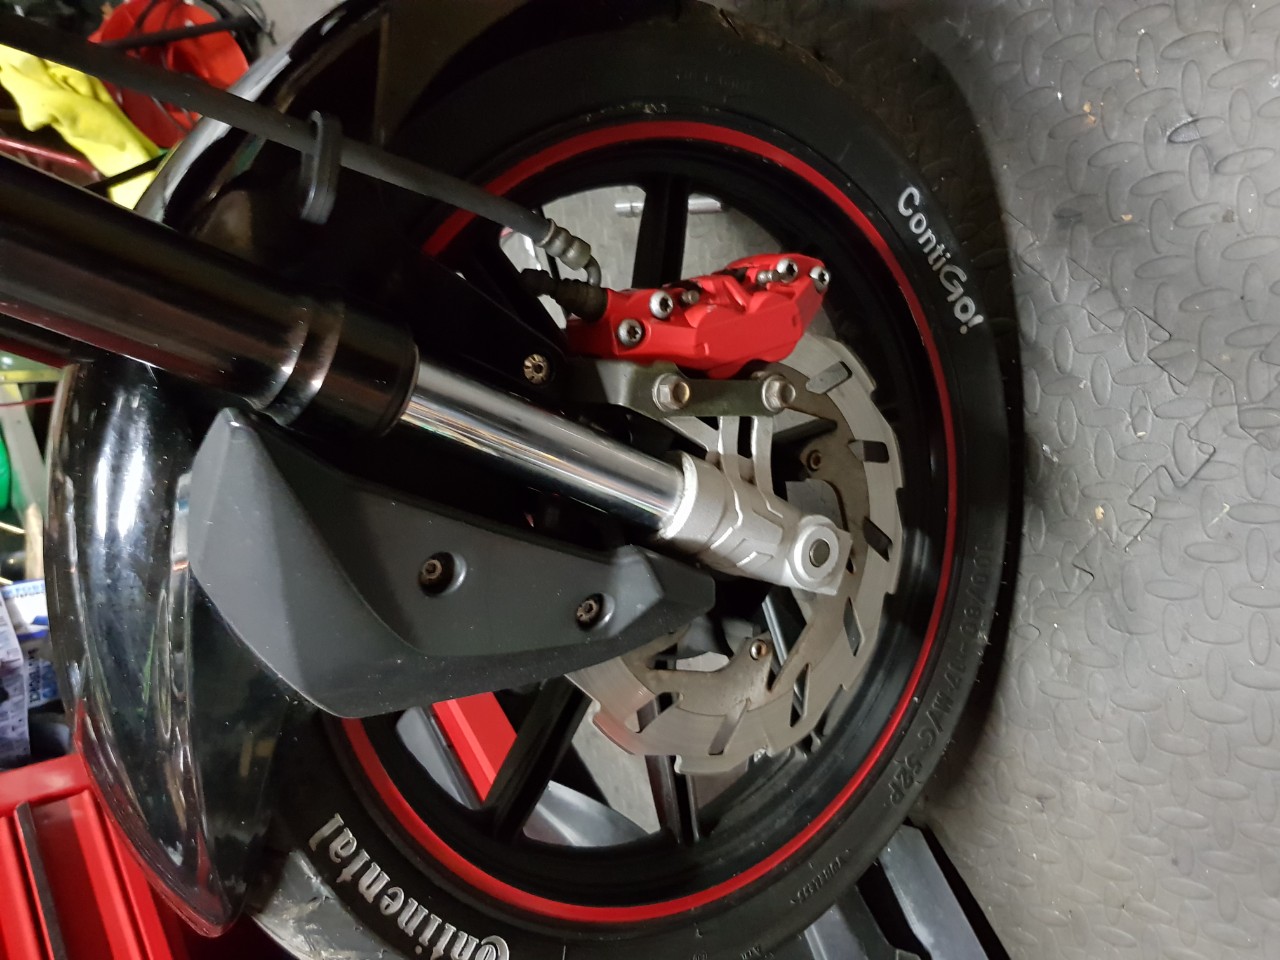
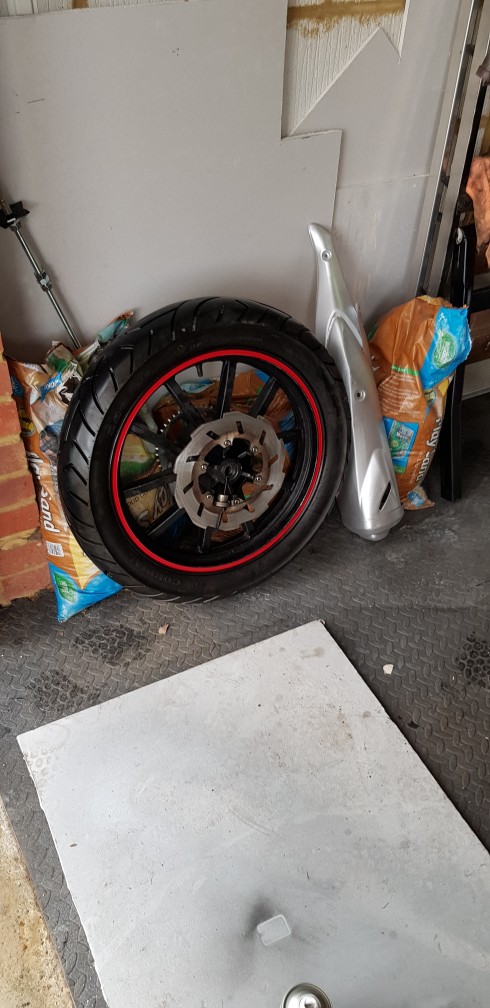
Rear wheel is looking a little cleaner, and ready to go back on the bike. Debating masking up the disk, and treating/painting the centre black to make it look bit neater if I get around to it.
Code125rebuild55.jpg


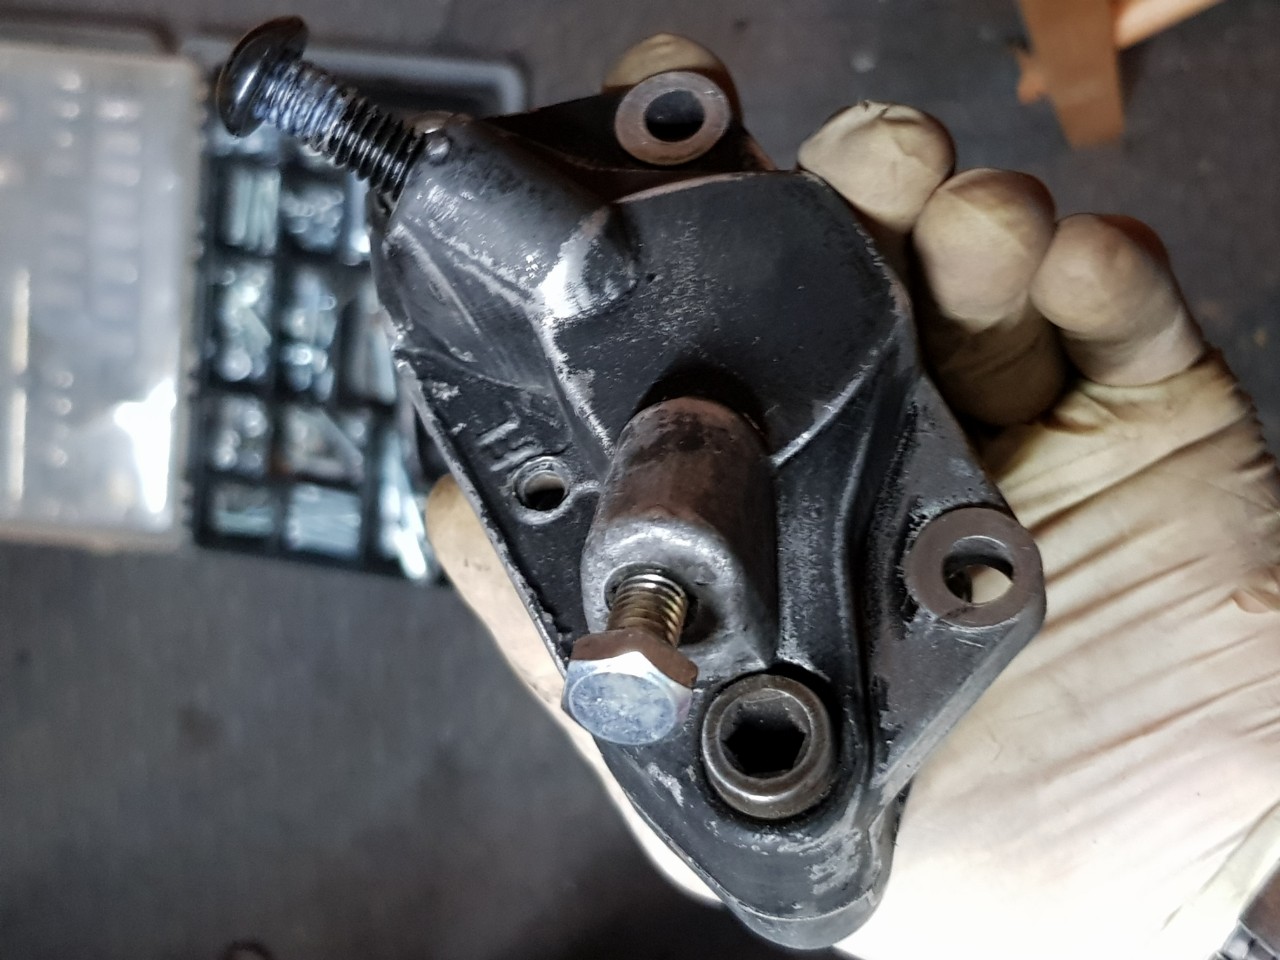
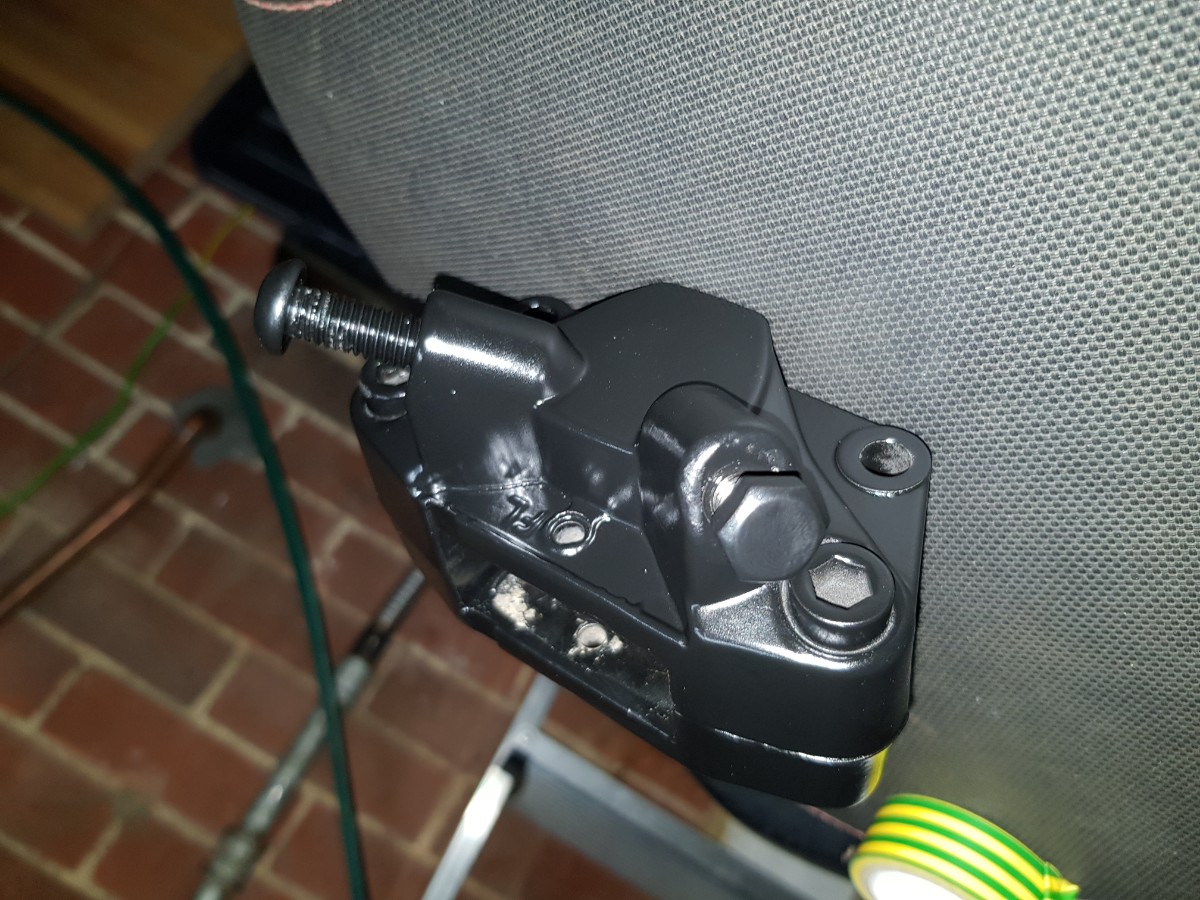
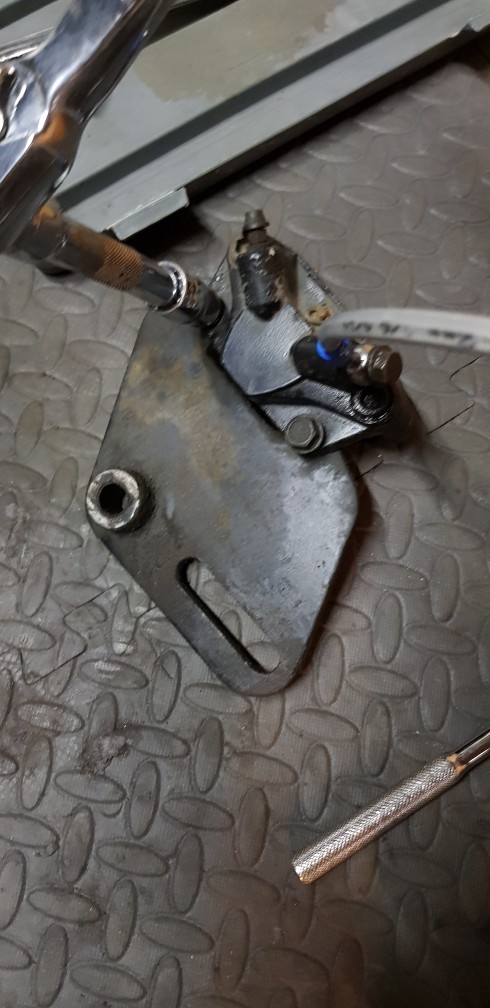
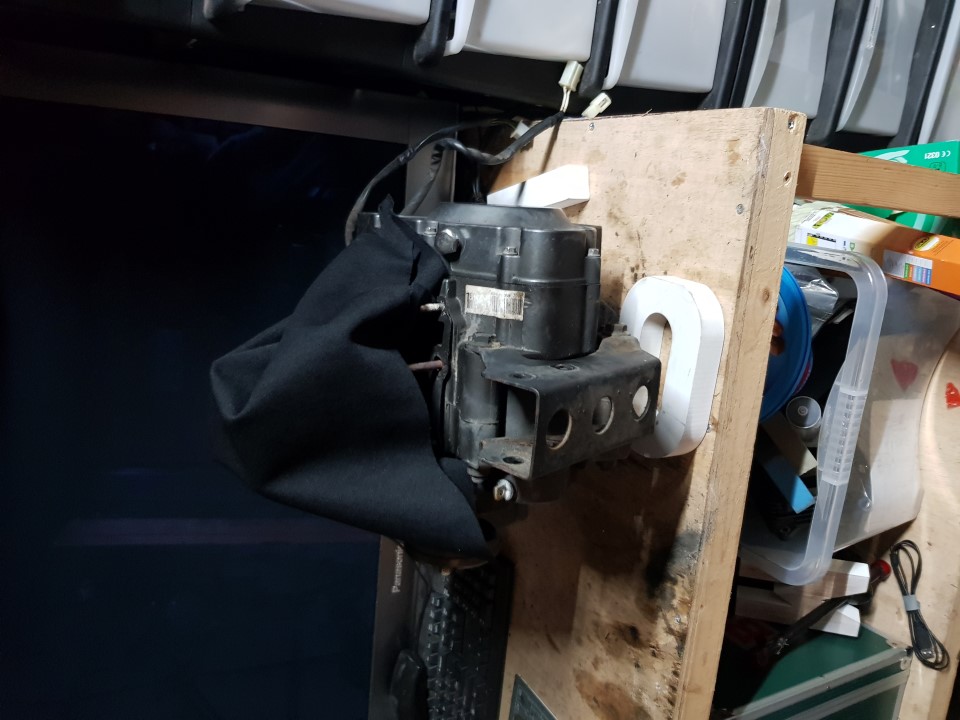
Needed to pull the caliper off the mount to tidy it up. Mount first, will get around to the caliper later.
Code125rebuild56.jpg


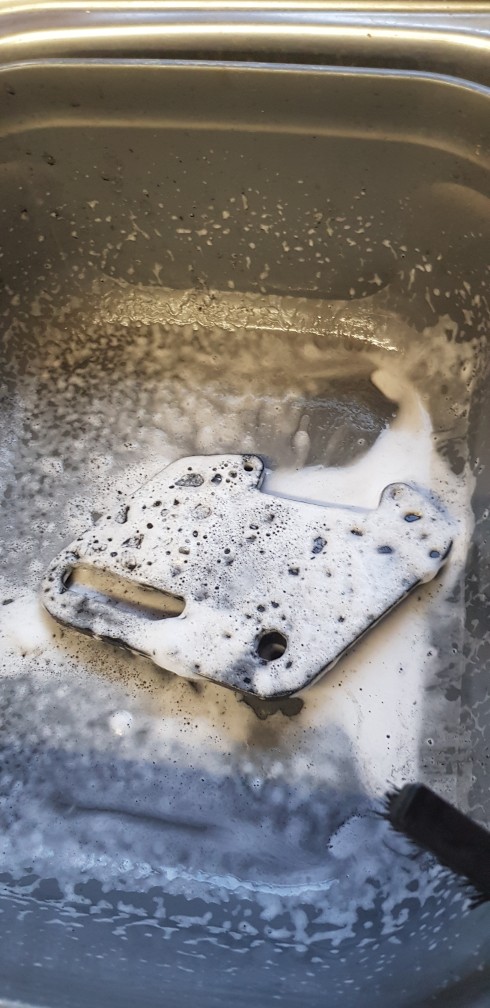
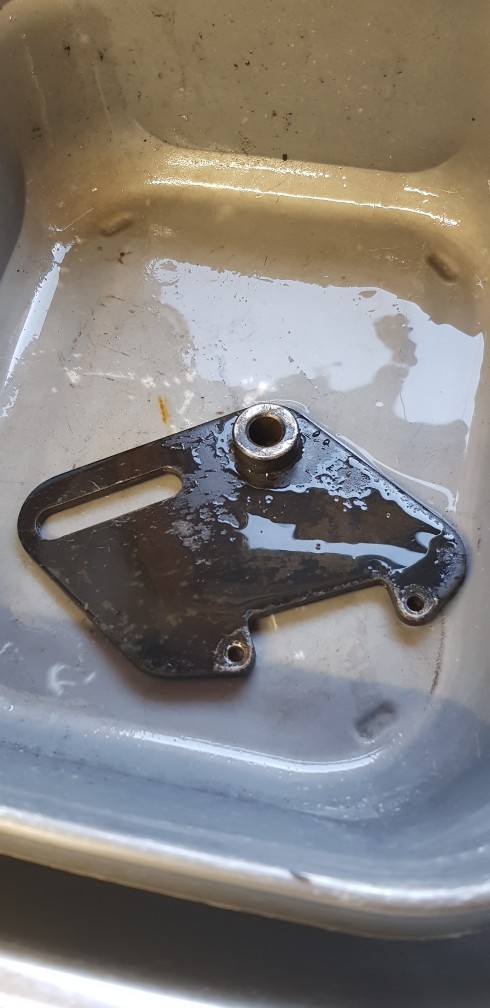
Cleaning up the mount.
Code125rebuild57.jpg

Code125rebuild58.jpg


Will paint it shortly.

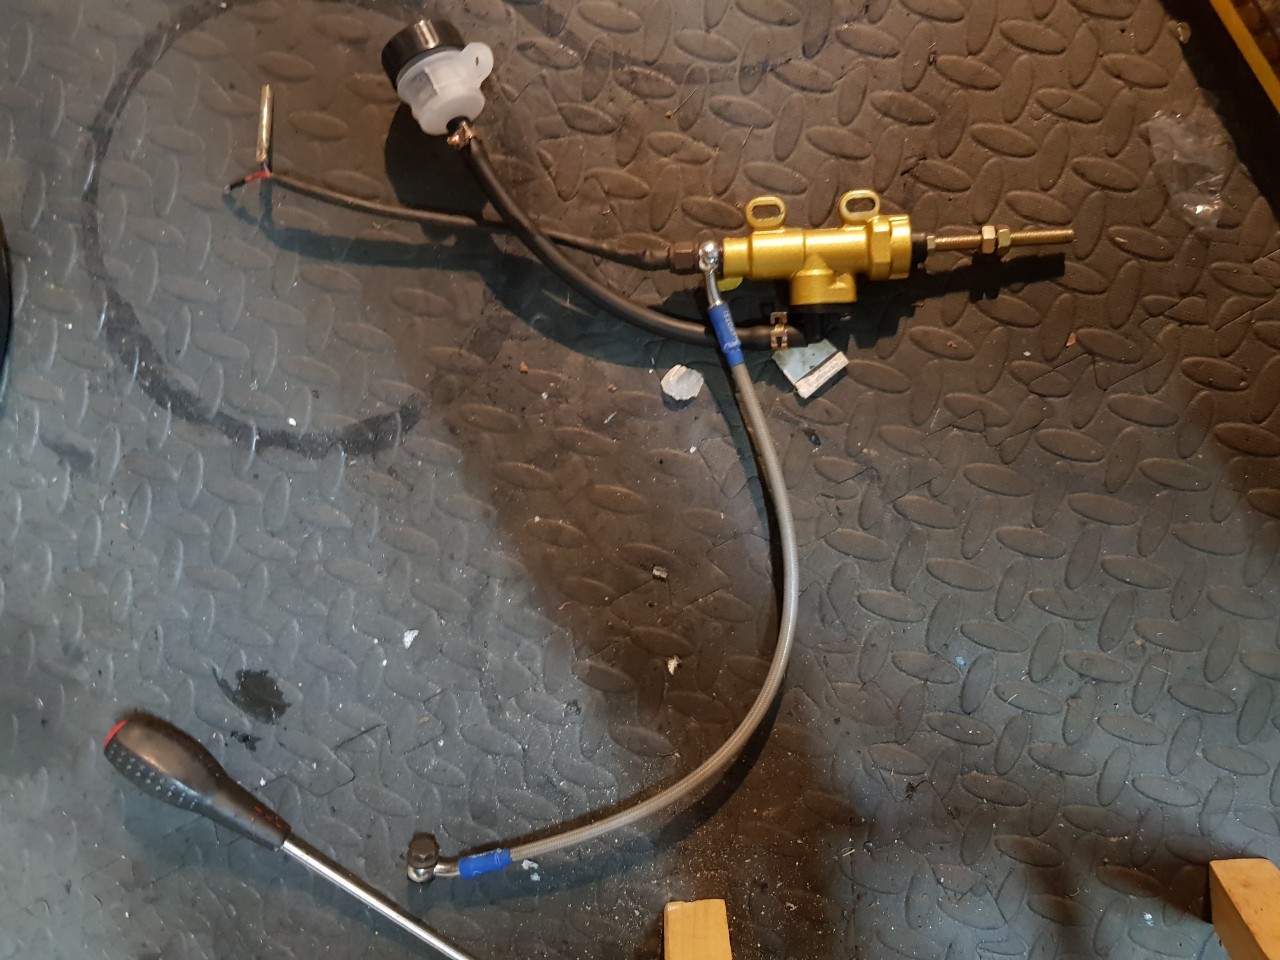
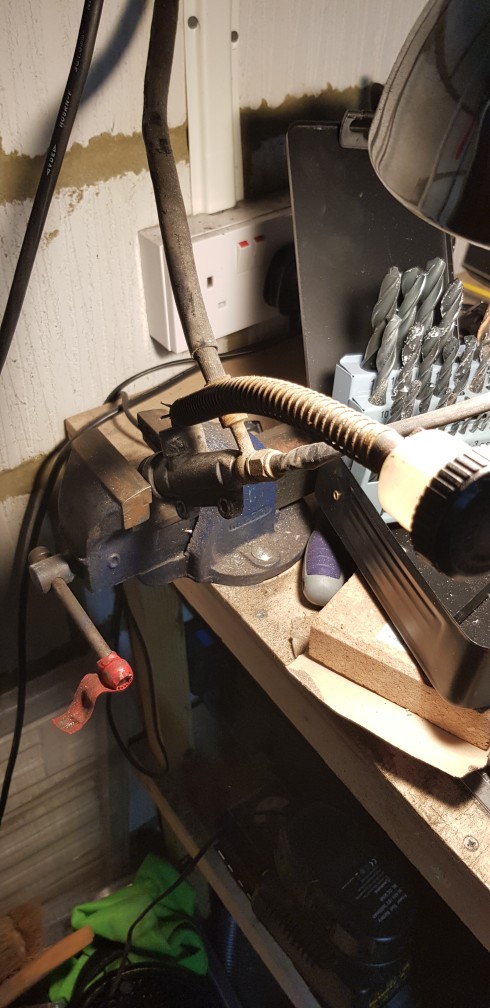
Got to tidy up this lot next:
Code125rebuild59.jpg


Any tips on cleaners for brake hoses?

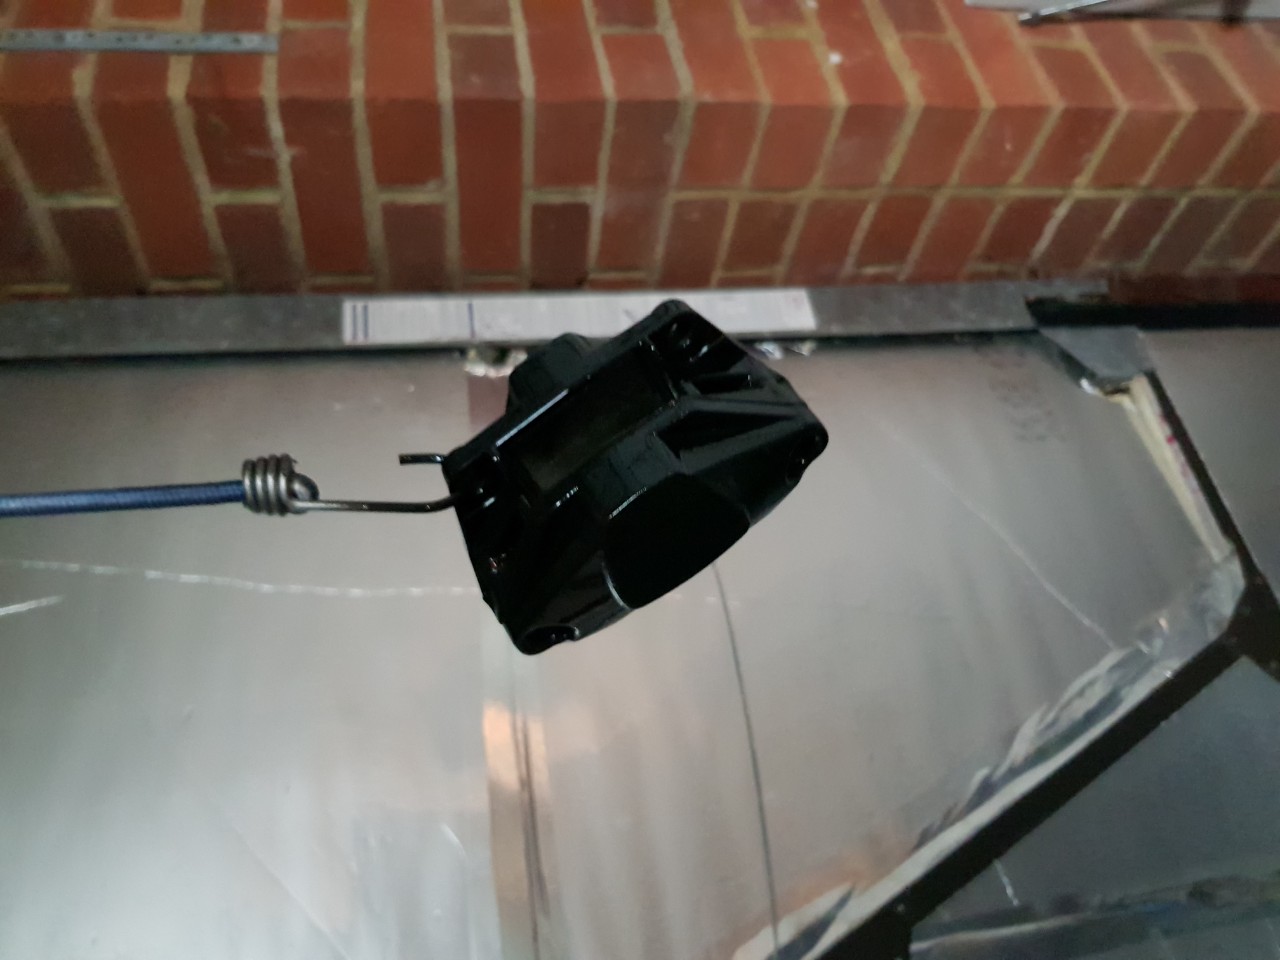
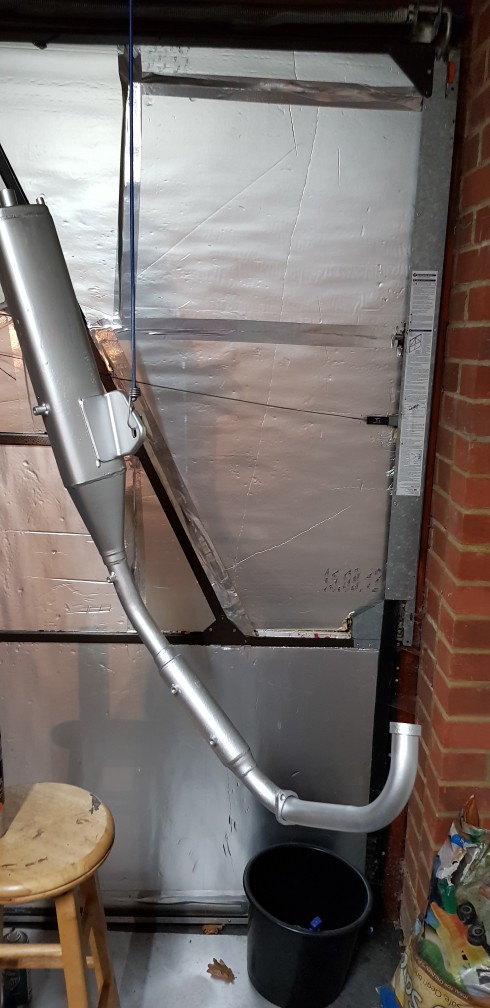
Exhaust is all done. Not sure I am going to keep it this colour, but it should protect it at least!
Code125rebuild60.jpg


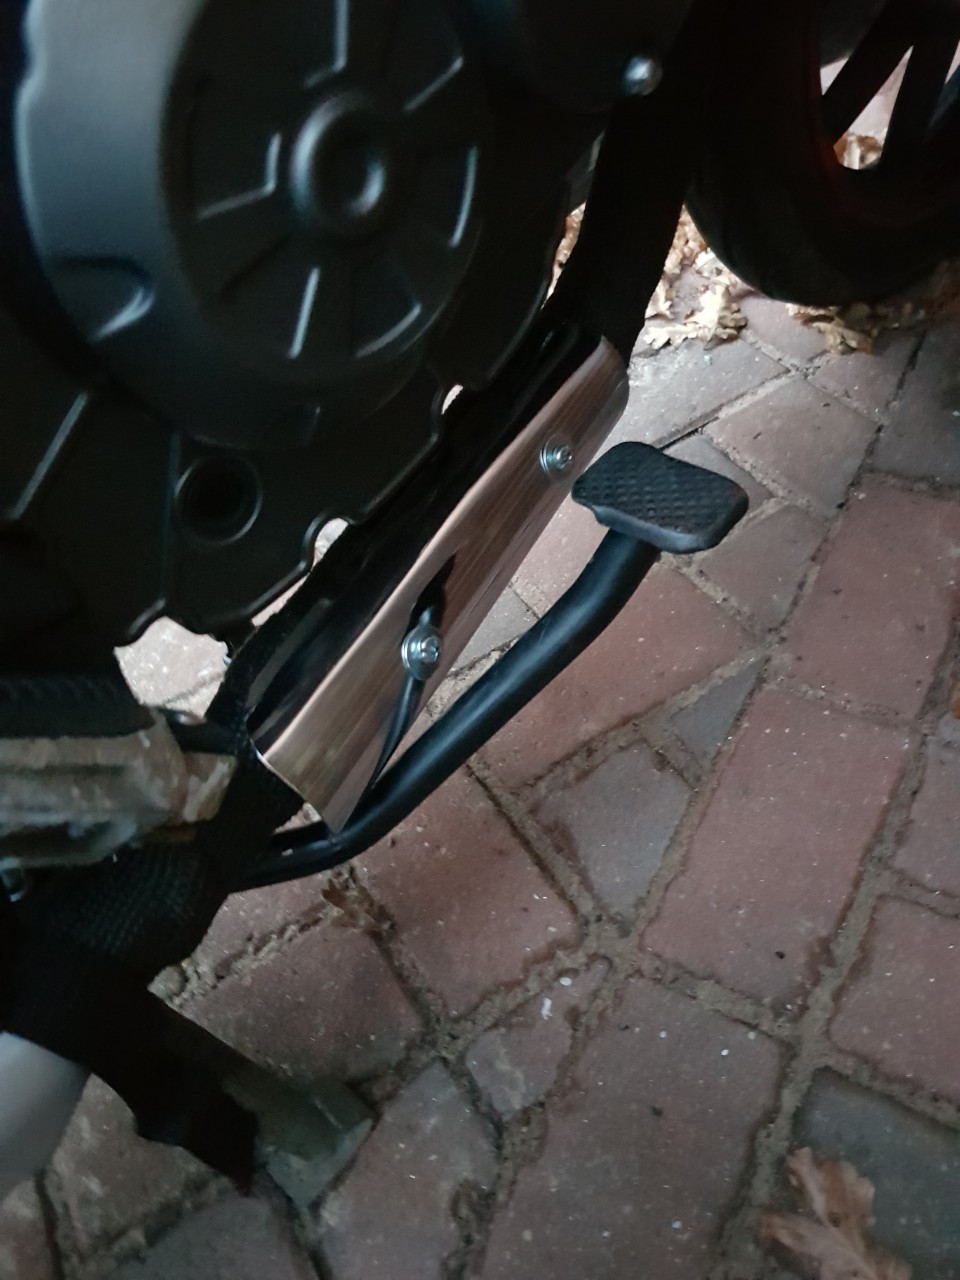
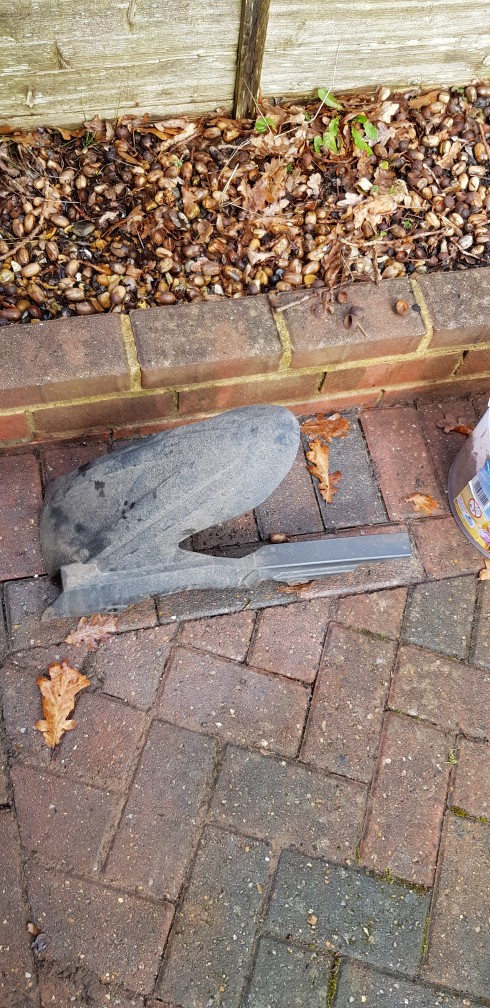
Did the same cleaning treatment to the chainstay protector. I also got a bunch of new stainless washers to replace the rusted ones shown in the tumbling parts, as they were way too far gone to be saved.
Code125rebuild61.jpg


Got to clean up the under arch plastics too:
Code125rebuild62.jpg


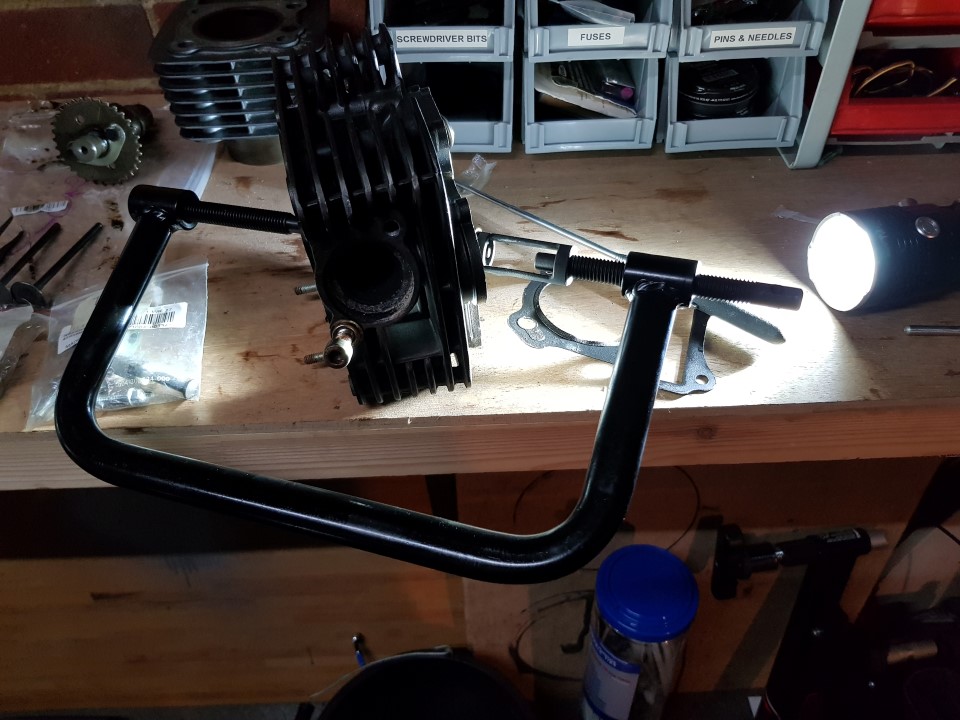
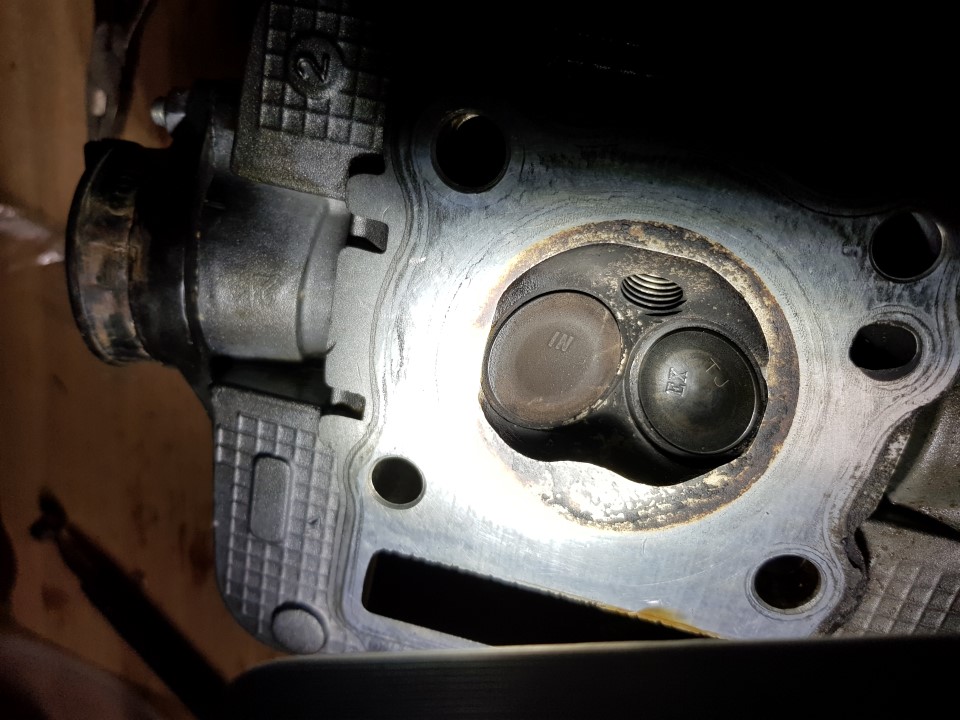
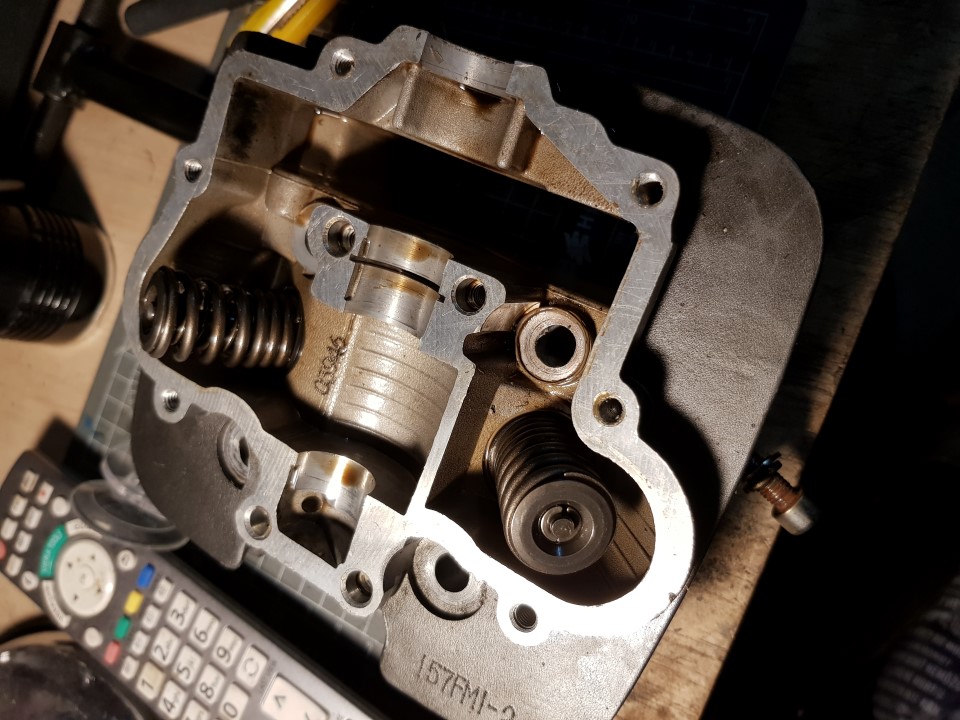
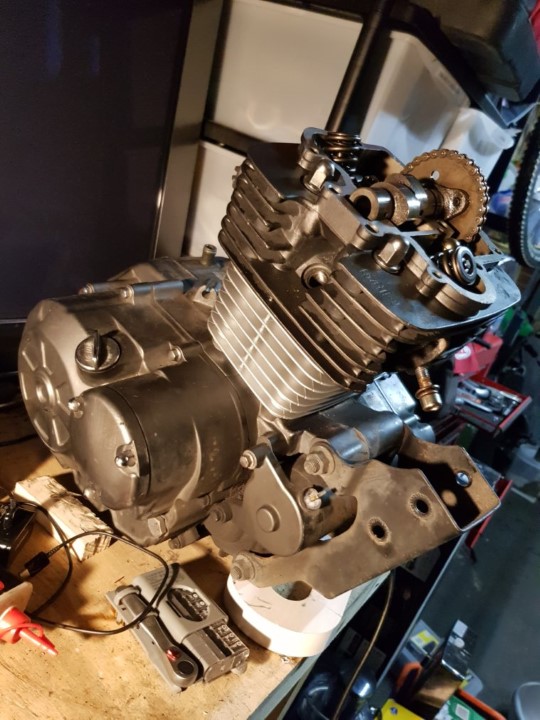
I have the new valves, grinding paste, waiting for the grinding dowel to turn up also.
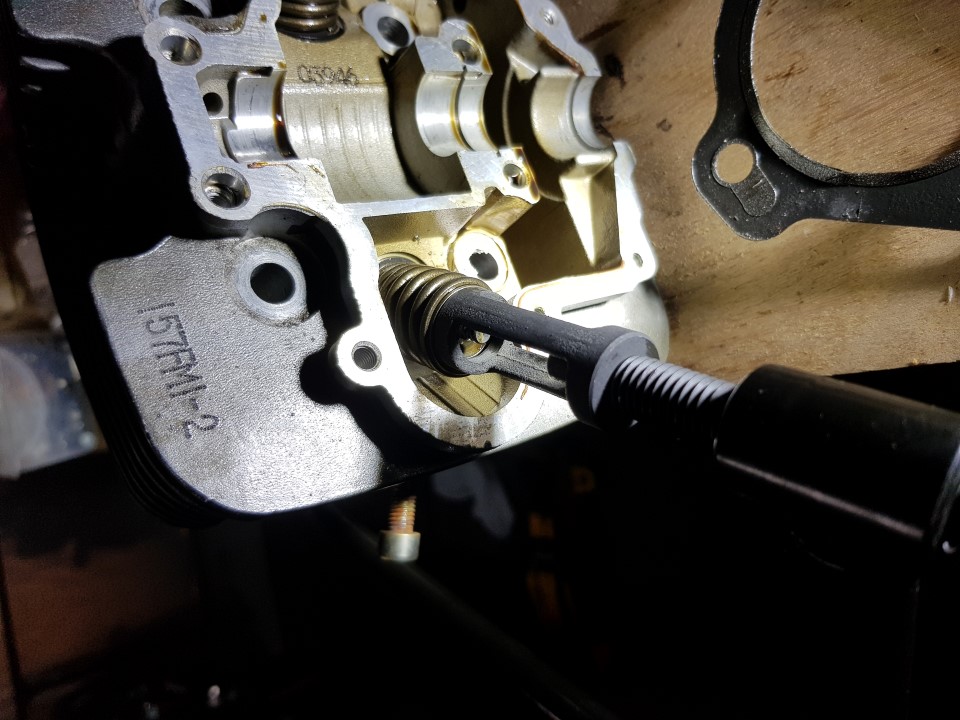
I also have had to order a valve tool, as it was not working too well with my G-clamp method!

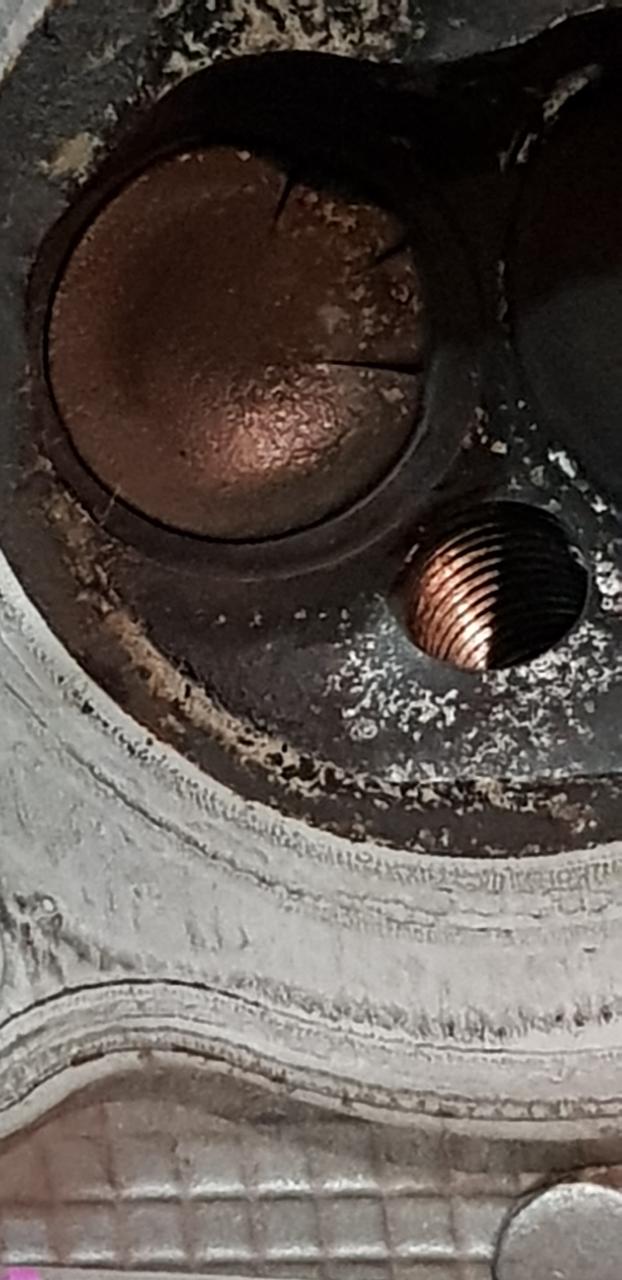
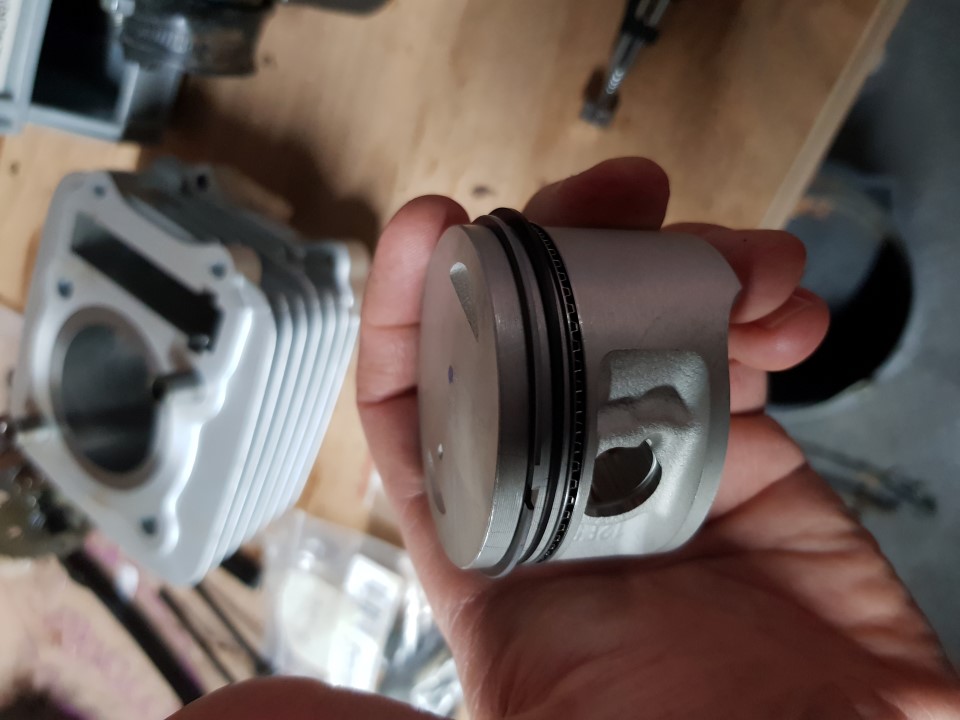
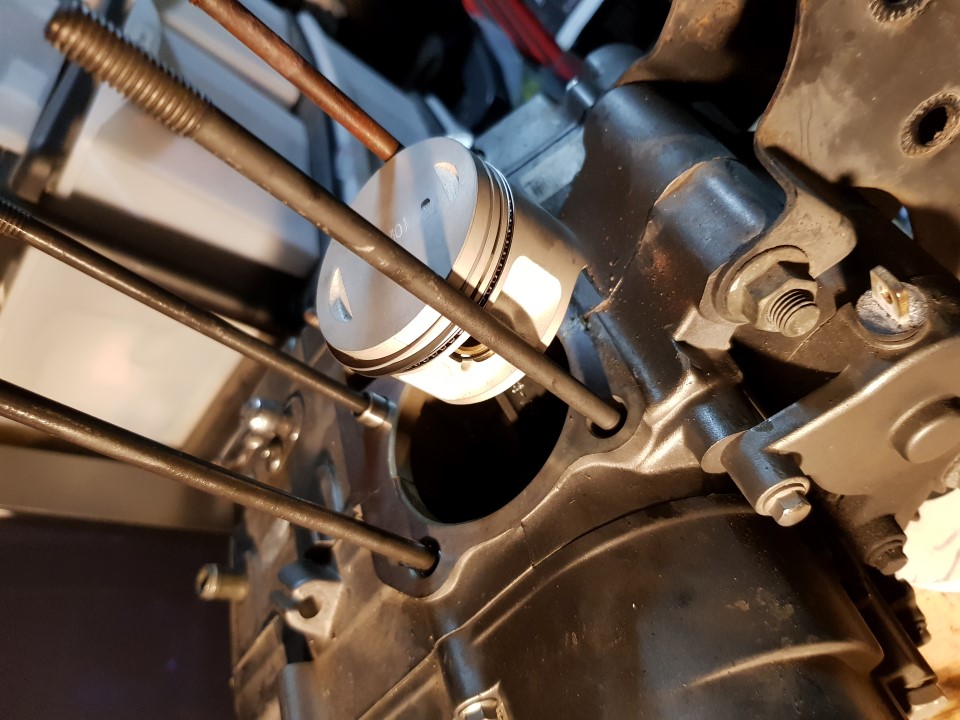
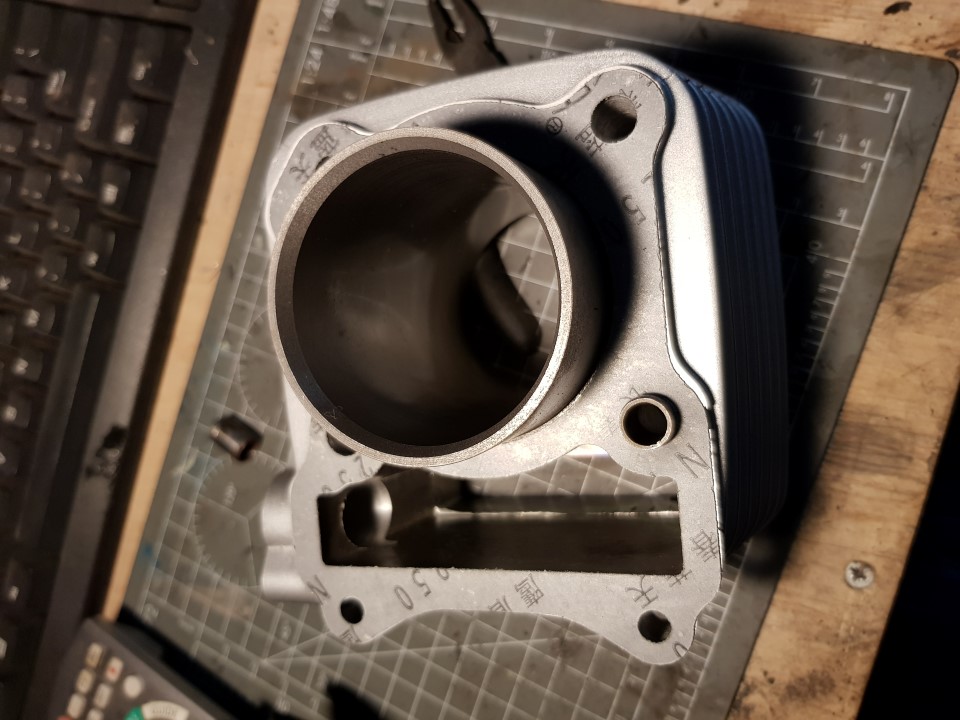
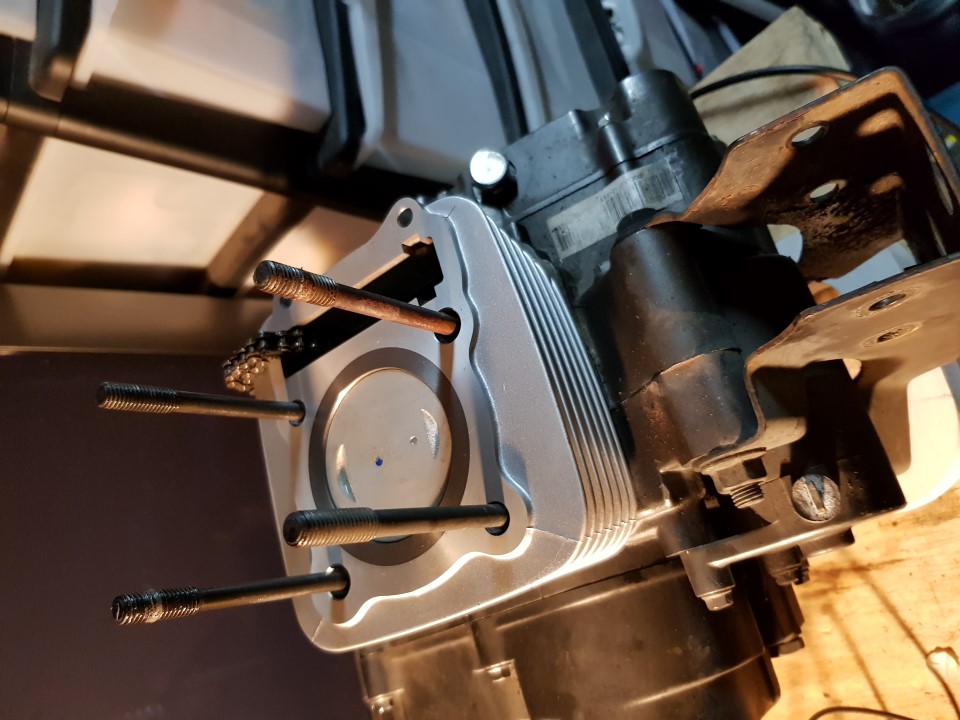
I had a problem with getting the right piston, I stupidly ordered the older suzuki spec piston with a domed top. Had to change this for the flat top modern one, which means the piston rings don't fit! So ordered new piston rings specific to the new piston. Lesson learned there. Only actual physical problem I have had with the engine so far is the removal/replacement of a location dowel. Cant get it out of the old cylinder, and can I cannot find the specific replacement. The two I ordered supposedly for this engine are too small and flop about :(

I am told I can rebuild without the problem one if needed, but I would like to get one to be sure all is ok.

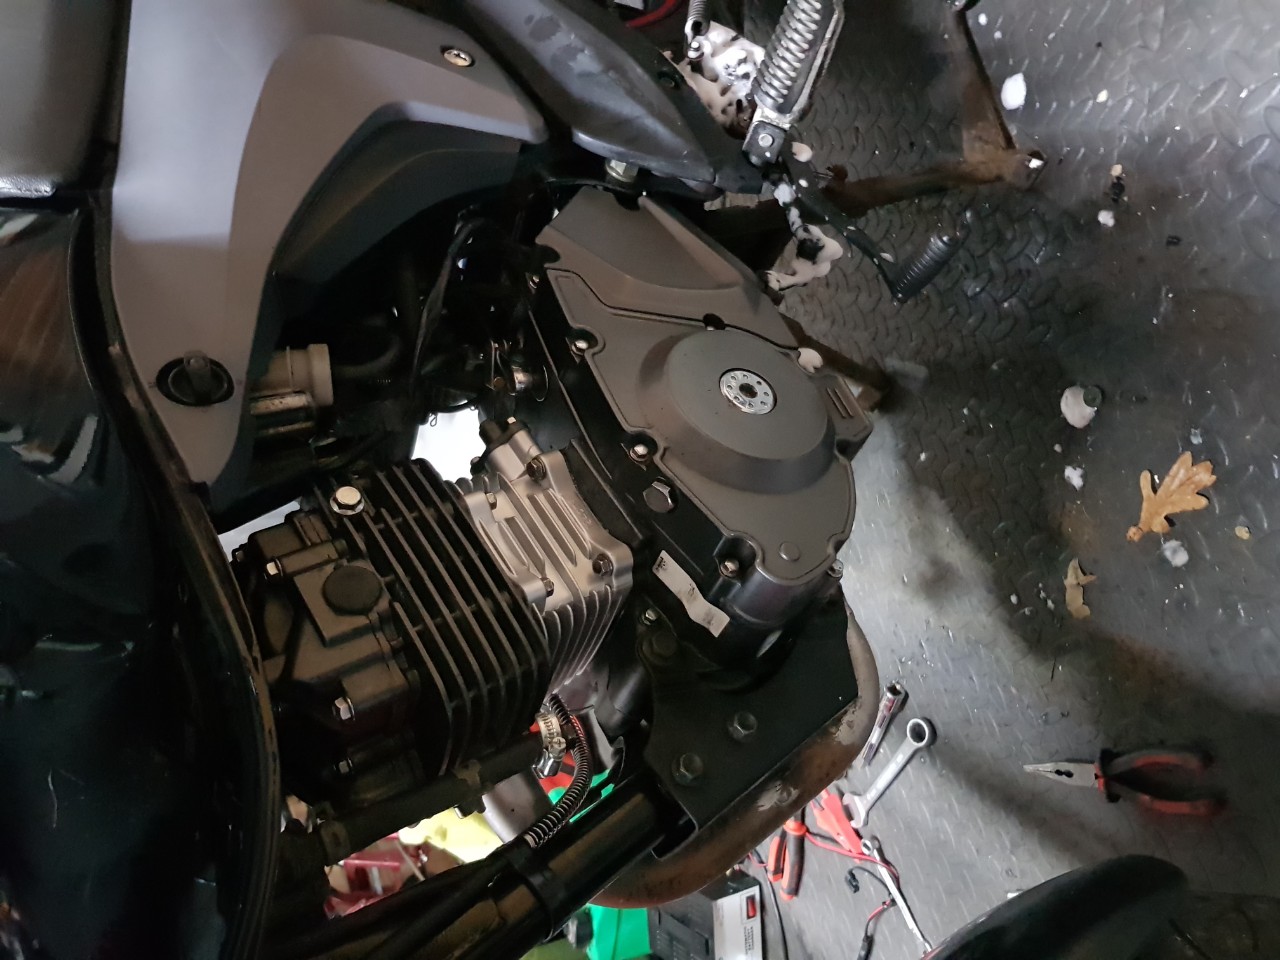
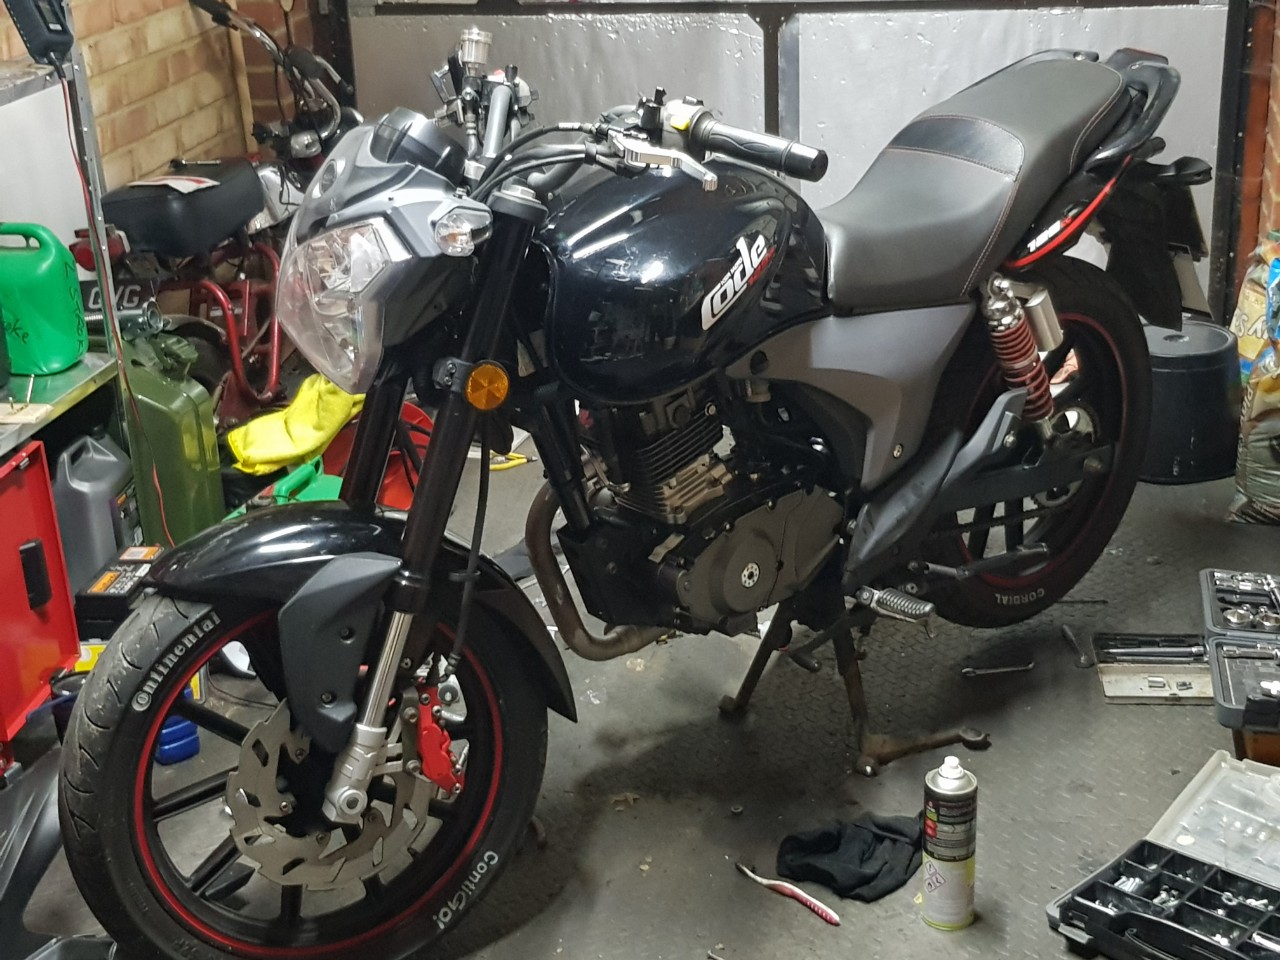
Hopefully by the weekend the engine will be able to go back in, and I can do a quick tidy-up on the rest of the frame/parts and test ride it.
 
Transmission breaker
Don
OP
Joined
20 Oct 2002
Posts
16,813
Location
In a house
Block ready to be fettled:
Code125rebuild63.jpg


New piston with rings fitted:
Code125rebuild64.jpg


Installed
Code125rebuild65.jpg


New cylinder
Code125rebuild66.jpg


Installed
Code125rebuild67.jpg


Replacing valve
Code125rebuild68.jpg

Code125rebuild69.jpg


New valve in - lapped with coarse, then fine grinding paste to get a seal.
Code125rebuild70.jpg


from the top
Code125rebuild71.jpg


Block is now all back together:
Code125rebuild72.jpg


Compression shows PSI is up at over 125, however the valves were well out.
So quite happy with that for now.

Put it back into the bike, along with the other cleaned up parts, then fitted the new clutch cable and rear brake hose and started it up

It would only run on full throttle, at about 2k revs, and was very noisy. Adjusted the exhaust valve a couple of turns, tried again, 4k revs, again another couple of turns, 5.5k revs, almost idling. I have given up with the feeler gauges, and will just do it by trial and error, as no matter what I do, i don't seem to get a meaningful feel from them. Should just be a matter iof adjusting both, and see how it runs. Getting better each time I adjust at the moment.
 
Last edited:
Transmission breaker
Don
OP
Joined
20 Oct 2002
Posts
16,813
Location
In a house
Rode it today for the first time down the street!
Adjusted the intake valve as close as possible to the supposed 0.08mm and it did indeed work, turns on, idles and drives.
It's quite slow, so I guess further adjustments are needed, but I will call it a success so far :)
Not ridden since the summer so was feeling a bit odd being back on a bike, stalled 3 times pulling away :D
It's also clear the rear brake needs bleeding properly. Tried it myself and it's just not easy to do, and my easy bleed will not fit it. Going to have to rope the Mrs in to pump the pedal for me.
Once that's done, it's time to get down the local car park and remember how to ride properly.
 
Transmission breaker
Don
OP
Joined
20 Oct 2002
Posts
16,813
Location
In a house
Cleaned up the front a bit

Code125rebuild73.jpg


Removed all the crud, and prepared the rear caliper for paint whilst it was off the bike:

Code125rebuild74.jpg


Stuck some bolts in when I was cleaning to stop stuff getting inside:

Code125rebuild75.jpg


Couple of coats of Hammerite :)

Code125rebuild76.jpg


Putting the rest of the rear brake stuff together. Generic Master cylinder was a near perfect fit, and looks great! Just had to chop down the threaded bolt, and transfer over the brake light switch from the old one.

Code125rebuild77.jpg


Caliper mostly done, not bad for a quick job! Was not going to take the caliper fully to bit, so the bolts got a coating too!

Code125rebuild78.jpg


Got it all back together and bled properly. Took a while, but I got there in the end.

Code125rebuild83.jpg


De-greasing a lot of the engine to make it look as new as possible.You can see where the VHT paint on the exhaust refused to set on in the really cold weather. I think that part was nearest the door, and got very cold when the rest was drying, Had to sand it all back, and re-sort it before it got wrapped.

Code125rebuild79.jpg


Starting to look ok! Oh, and it can actually stop properly now too :D

Code125rebuild80.jpg


Also fitted LED sidelights, Osram Nightbreaker Laser H4 Bulbs, and a new NGK plug. I even whited out the tyre writing whilst I was waiting for the caliper to dry.
Code125rebuild82.jpg


Exhaust, front end wrapped, and fully painted again. if it rusts away to nothing, good excuse to buy a new pipe :)

Code125rebuild81.jpg


I am going to order a generic heat shield for to replace the original one that was bolted to the location points in the mid-pipe, Should be able to drill some holes, and bolt it in with the original bolts.

I actually managed to snap the other cover off by accident, i guess the rust holes were indicative of further rot throughout the whole part :D


Bike is riding a lot better now, and now seems to be viable method of transport at current speeds. I need to adjust the exhaust valve a bit further I think, and then it should be as fast as it can be, until the new top end loosens up a bit.
 
Last edited:
Transmission breaker
Don
OP
Joined
20 Oct 2002
Posts
16,813
Location
In a house
Brilliant work, tyre lettering and red caliper made me laugh! But looks like you're having a lot of fun!

Thanks :)

Indeed, the red caliper on the front was standard! Just needed tidying up a bit. Along with all the alu parts which were oxidized.

The tyre writing, what can I say.. Watching paint dry is boring..

I just ordered some hammerite red to repaint the springs. I am told from various forums it's well up to the task. We shall see! I also decided I will try and neaten up the rear shocks as some of the alu parts are also well oxidized.

Everyone has been fun so far, except the exhaust wrap, that stuff is NASTY! Even with double latex gloves (oo-err) it still gets to the skin :(
 
Transmission breaker
Don
OP
Joined
20 Oct 2002
Posts
16,813
Location
In a house
New plug went in, no issue there (not that I expected it to), started second time, first time I had lights on, and it seems the battery is not quite up to delivering the cranking volts, with the higher Wattage bulb. Not a big deal.
I think I need to slightly adjust the idle speed for the cold, and remember to use the choke!

I got some spring compressors delivered yesterday, so going to see if I can get the springs off a shock to clean it them up a bit. I have researched, and apparently Hammerite "straight to rust" is good on springs too. So I will give them the treatment and see how it looks. Also got to try and clean up the alu bits, as they appear to have quite a bit of surface corrosion.
 
Transmission breaker
Don
OP
Joined
20 Oct 2002
Posts
16,813
Location
In a house
:D

Been working on the other bike today, so not looked at the springs yet.

Debating if I should sell it when I finish and ridden it about a bit, and see if I can get a spares/repairs Japanese 125 and rebuild that too. Using what I have learned from this bike.
 
Transmission breaker
Don
OP
Joined
20 Oct 2002
Posts
16,813
Location
In a house
So, I rode the bike to work today.

Got 2 mins from my house, and it cut out... Could I get it re-started?? NOPE... It does help to turn on the fuel tap! Started, and away I went. 50mph was fairly easy to get to, and there is more to come for sure, with some adjustments.

Exhaust wrap was a bit smokey after the first run, and when I parked up, someone asked me if it was ok, but otherwise seemed fine.

Rear brake needs a bit of adjustment on the slack bolt, but otherwise, it held up very well to the 9 miles of country lanes and a river crossing :)

Not much left to do on the bike to do now. Got to fit the generic exhaust shield (next to right foot) when that turns up, then remove and re-paint the springs, which i have all the materials for, just delayed as I wanted to ride it today.

Code125rebuild84.jpg


Code125rebuild85.jpg
 
Last edited:
Transmission breaker
Don
OP
Joined
20 Oct 2002
Posts
16,813
Location
In a house
Is this a mid life crisis

If it is, it started it at 16. Always building or rebuilding something!


You can see the plasti-dip failed on the lower panels, so will need to look at a harder wearing plastic type paint. I heard good things about truck bed liner!

Oh, and those pics reminded me of the foot-pegs and main stand, both need work :D
 
Associate
Joined
28 Jul 2009
Posts
812
Location
Norton
Looks great cleaned up really nice keep it up

Ps I've done the fuel tap thing a million times to the point I've nearly phoned me mate to pick me up always forget about it
 
Transmission breaker
Don
OP
Joined
20 Oct 2002
Posts
16,813
Location
In a house
Looks great cleaned up really nice keep it up

Ps I've done the fuel tap thing a million times to the point I've nearly phoned me mate to pick me up always forget about it


Glad it's not just me :D


My generic Ebay chrome heatshield came in the post.

Code125rebuild88.jpg


The mounts JUST lined up!!

Code125rebuild89.jpg


So I drilled some holes, and bent a couple of washers in a vice to fit :)

Code125rebuild90.jpg


Looks a little bit better than the original rusty thing, and only cost me £7 and 10 minutes of faffing :)


The footbrake just needed a few mm adjustment to stop it fouling (which it did on the original shield anyway!)

Oh, and my spring compressors will not fit between the springs, so may need to make my own with some threaded rod and some metal bits! So not painting the springs for a little while yet.
 
Last edited:
Soldato
Joined
6 Mar 2008
Posts
10,078
Location
Stoke area
For £150 it wouldv'e been fine until the MOT ran out but you obviously know what you're doing and have some fun tinkering with it so regardless of it being chinese, I'd say it was worth the money :D

I'm half tempted to look and pick something cheap up myself to learn/tinker with :D
 
Last edited:
Back
Top Bottom