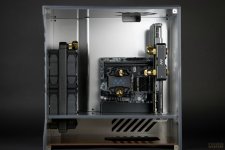
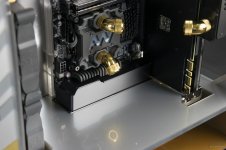
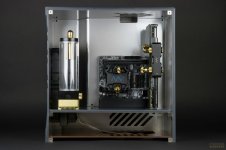
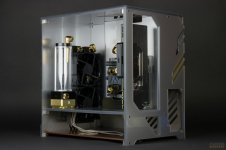
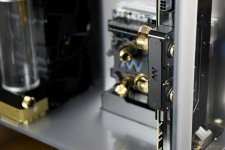
[Build Log] <<<<<<<< "Parvum Warfare" >>>>>>>>

Thanks guys!


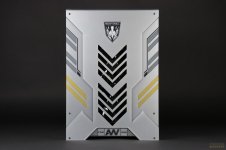
wow, I have to say that case is looking superb, and that GPU waterblock, awesome choice, it looks like it came straight out of Advanced Warfare. I actually can't wait to see this come together.
What do you do with all these builds when you actually finish them, are they for clients of yours, or do you keep them yourself?

This one I will either keep or sell. I didn't keep the Titanfall build and I miss having it, so this one I may keep - it's just too spectacular in person (so far).

----------------

Currently waiting on some more fans so I can mount the fans and rads, then I'll mount the motherboard and gpu and start planning the pump position, and of course the loop.

How I usually plan and measure acrylic loops, as well as get a feel for the looks of the loop is by using tons of various crystal link tubes combined with female/female adapters with c47's to make quick long tubes, as well as female/female 90's or 45's to create mock up tube runs between components.

This allows me to get an idea for how the runs look, and a lot of the time gives me exact measurements also for the actual bent or straight tube. The most important part is to get an idea of the visual.

The fans should arrive tomorrow, as well as some gold bitspower fillports for the loop pass throughs. 99% I will be ditching the ram cooler.

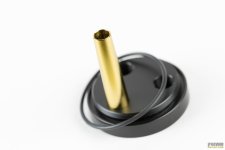
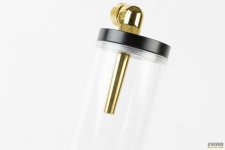
Oh I also snagged a gold Bitspower "aqua pipe I" for the reservoir return. I looked everywhere for that before previously settling for the black one, but now I got the gold :)
 
James how long did you spend in the planning process? It looks like a heck of a lot of thought went into this before you even started.
I mean just trying to get the concept down with the guys at Parvum must have been lengthy or maybe not. I'm just curious.

This is so good I'm sure it would make retail, I'd buy one for sure...stunning !

Pretty quick actually. As soon as a I saw the controller I was immediately inspired. I emailed Justin at Parvum and let him know I had a concept and that I would get him my design idea for the case asap. I drew the design on my Microsoft Surface that night and had the design to him the next day. From there I planned components and reached out to sponsors, some of which where already on board for a different Parvum build idea I had (and still want to do). Had pretty much everything locked up within a week.

Everything clicked for me pretty easy when I saw the controller. I had been dying to do something with gold fittings and this was perfect. The whole scheme just clicked right away with me.
 
Sorry for the lack of an update the last several days, been busy at work.

I have made progress though, just nothing to take pictures of...yet:

1. Loop is 100% planned out, ordered a couple more fittings I needed. Loop will consist of straight lines, a few 45 degree bends and 45 degree fittings. In general I'm just not a fan of 90 degree bends, or at least when a build has a plethora of them. The drain valve will be below the floor.

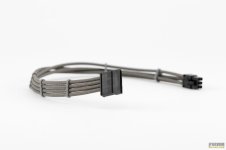
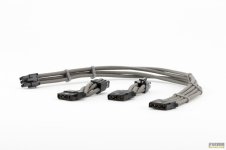
2. Cable management has been 100% planned out and the request has been placed with Joseph at sponsor Ensourced Custom Sleeved Cables. I did a mock up for measurement reasons using some other cables I had from an AX1200 and the routing is just genius on Parvum's part, it's going to look great. Cables will be solid graphite gray, no color pattern, with gray cable wraps that Ensourced makes. Minimalistic cable color aesthetics, but makes sense for the build after much deliberation. Sometimes less is more... write that down :)

3. New screws had to be ordered for the radiators and fans to compensate for the thick acrylic, so no pics of fans installed yet.

Still lots of other small things to do over the next few days like modifying the I/O shroud, sleeving fans and other misc cables, doing graphics on the fan centers, as well as other subtle graphics on the interior, and of course lighting.

In general the goal is to finish the build in time for the games release date on November 4th. It will be a harrowing 3 weeks, so expect an onslaught of photos :)
 
3igaUhuh.jpg


Here's the aforementioned Vengeance LP ram... The reality is that the front side of the graphic will be 80% covered up by the 24 pin and the backside graphic isn't visible at all, but hey, it's the little things right? :)


DdHPy4vh.jpg

TTyNbTrh.jpg

BegmUFEh.png.jpg

2OBaKrMh.jpg

yNdEc0ch.jpg

a8e4Nkfh.jpg

dfY07uOh.jpg

Ku6EkxCh.jpg

yW2gfy6h.jpg
 
3igaUhuh.jpg


Update!

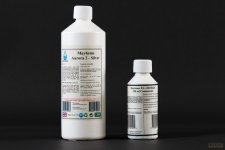
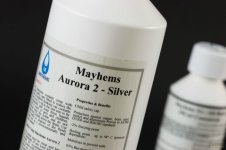
Looks like the fluid that was being made for me fell through so I'm concocting my own little recipe made up of Aurora 2 with a small amount of X1 Oil Black concentrate. This created a nice dark gray metallic Aurora. Should look amazing in the loop. I took pics of the standard Aurora 2 followed by my mixture.
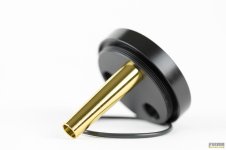
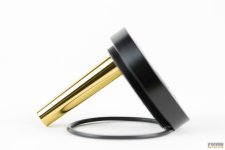
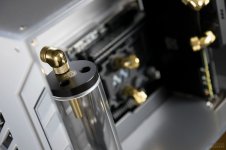
Also I received the gold C17 Aqua Pipe for the reservoir from :)


xhdi3cih.jpg

nvDFgU6h.jpg

29xMNAzh.jpg

Rz9JT06h.jpg

xeHYuQvh.jpg

llrKdMth.jpg

GVLG0dih.jpg

o9D9i8yh.jpg

H6Yry9wh.jpg

ZTWVrayh.jpg

Fj1dbwVh.jpg

hA6c1Wzh.jpg
 
AXt2wbTh.jpg


Update:

Here you can see how the fans and front rad look installed. You can also see I went for a simple approach to the fan centers - just black, no labeling.

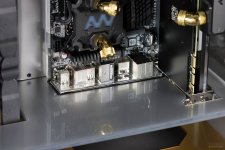
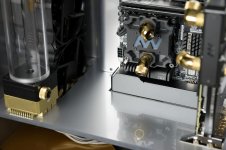
You can also see the I/O shroud that I modified and painted - I cut off the screw mounting tabs completely that utilize the motherboard screws so I could a) position it flush to the I/O plate (which I also painted the edges black) - and b) I can position it so it does not bump into the backplate of the GPU.

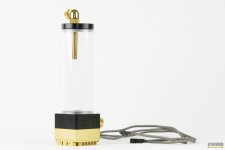
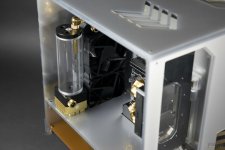
You can also see the reservoir position as well as get a clue to some of the tube routing.


Ab21CAlh.jpg

FbiNNlph.jpg

BqY9Syhh.jpg

3Zi8bZFh.jpg

X5Sq1wjh.jpg

Ca27fHTh.jpg

h1HdML5h.jpg

rB0tRD7h.jpg

EFgj1WPh.jpg

ljpMjp5h.jpg

mBt9lQjh.jpg

IA5QGjlh.jpg

ZZUvZEHh.jpg
 
Sorry for the lack of progress the last week, I've been swamped at work. Also very much mirroring the timeline of the Titanfall build I'm going to have to have surgery again towards the end here. On November 4th of all dates... I'm going to attempt to get the build finished within the next 10 days and finish the video and final photos while recovering from surgery
 
Thanks, I hope it goes well too :)

Meanwhile...


3igaUhuh.jpg


Update!

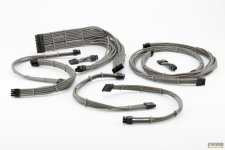
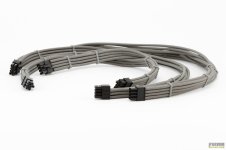
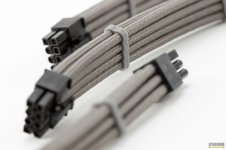
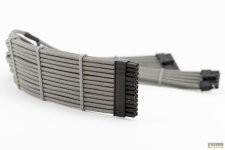
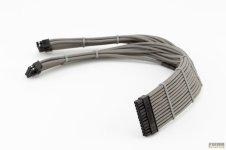
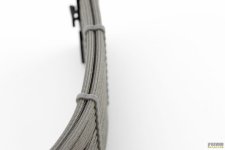
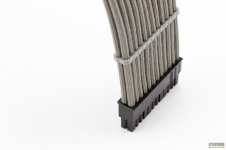
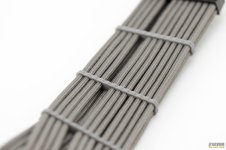
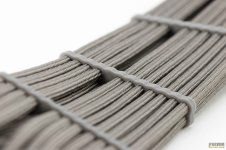
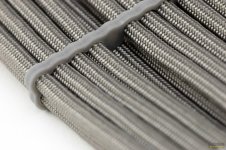
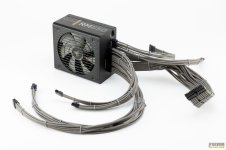
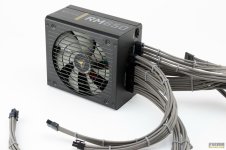
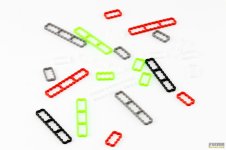
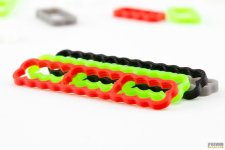
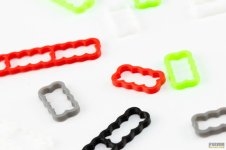
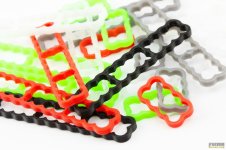
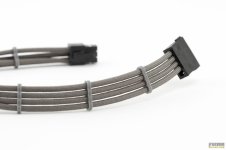
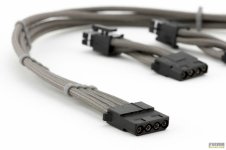
The cables arrived from sponsor Ensourced Custom Sleeved Cables. As previously mentioned I went for a very neutral cable color design consisting only of Graphite Paracord with Ensourced's own homemade 3d printed wire wraps in gray. He includes these installed when you order cables from him and you can specify any color combo. He tossed in a couple of random ones to give you guys an example that you can see at the end of this short photo-shoot.

He really does stellar work and I can't recommend enough. I mean, just look at the wire wrap on the 24pin where he designed the wraps to fill in the wire space - amazing work.

inRN5Cgh.jpg

QtJntcFh.jpg

wlLi4Cfh.jpg

6zwxkMCh.jpg

WLTD2G4h.jpg

iIj5oI8h.jpg

zi5q8FGh.jpg

pGvwfMnh.jpg

hi4M099h.jpg

IFvSQUWh.jpg

PPJD4esh.jpg

236xfaIh.jpg

NmaAH5Th.jpg

RHXa2V7h.jpg

l8iHYBnh.jpg

I63eRohh.jpg

pNc3kXJh.jpg

7mvkgzNh.jpg

gO6VAiGh.jpg

GOYch47h.jpg

eMa5SuVh.jpg

hR2ZGJih.jpg
 
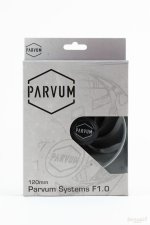
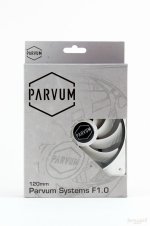
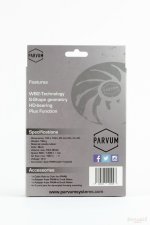
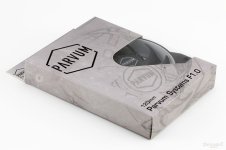
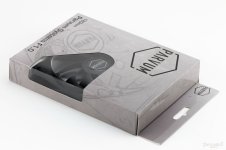
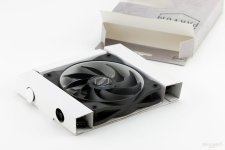
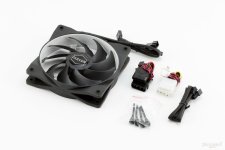
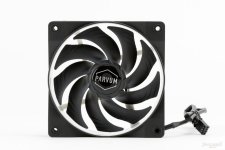
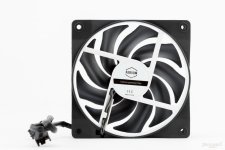
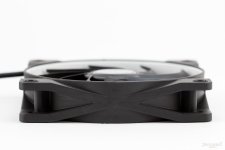
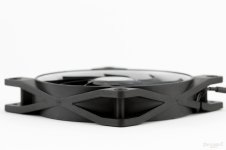
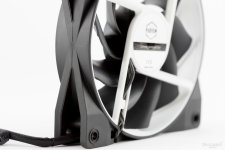
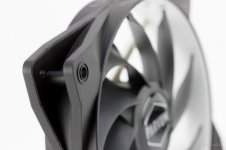
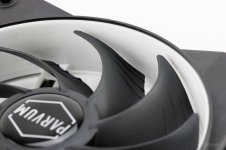
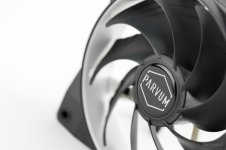
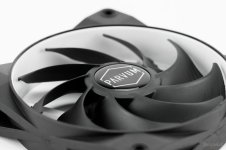
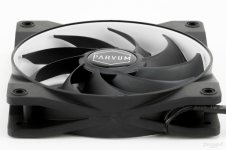
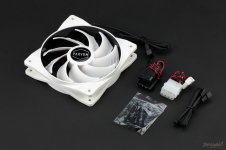
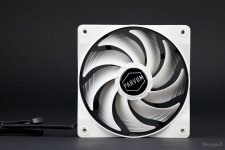
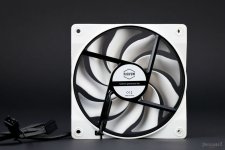
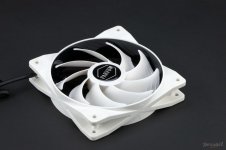
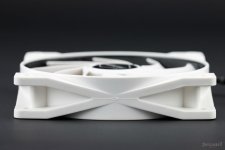
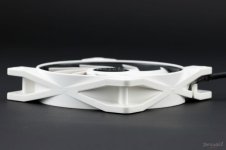
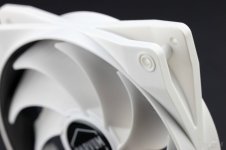
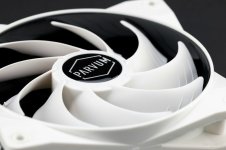
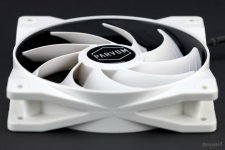
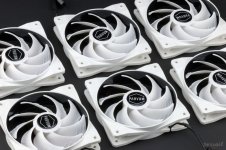
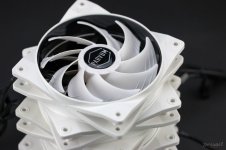
This post is off topic but I had to give a shout out to the new Parvum F1.0 fans. I'm sure most of you have seen them but here are the pics I took of them. They are seriously fantastic, the OEM is Alpenfohn. One thing that pictures don't show is that the frame is actually a stiff rubber, not hard plastic - the fit and feel is top grade.

Included in the box is: 1x Cable 4-pin to 3-pin (no PWM), 1x Adapter 4-pin PWM-to-7-volt Molex, 1x Adapter 4-pin PWM-to-5-volt Molex,4x Gummipins for decoupled housing mounting.

While I wont be using them in this build I will be using them in my next build.


eQ2vohHh.jpg
oiHVBeFh.jpg
3OIV9Vbh.jpg
7w69SS9h.jpg
mXviKuLh.jpg
AOEI5gTh.jpg
H6qSnmJh.jpg
amOuyuSh.jpg
Q1QxAhjh.jpg
3xsNFDPh.jpg
I4D4NpKh.jpg
jaxfvFJh.jpg
RTn2Bxjh.jpg
31Hy6QTh.jpg
zbEjyKHh.jpg
eAdoQixh.jpg
zMABIxNh.jpg
EH0fVRZh.jpg
Hgzn6eah.jpg
msY3MDah.jpg
pg09Tgbh.jpg
tb0dP75h.jpg
2UmTR7sh.jpg
CuKHZeBh.jpg
iS2HFSsh.jpg
dRYJIX3h.jpg
fMXM6rkh.jpg
kbyu42mh.jpg
zyhkDybh.jpg
Ra7MuNjh.jpg
 
I kinda went dark there for the day, been working on a major part of the build which is... the loop, and I got the loop totally planned today. I also got the pass-throughs drilled and I've started the case reassembly.

Next actual log updates will be pics of the cables installed (since they need to go in first), a feature on the Darkside lighting, and then the loop installed. After those 3 updates the following update will be the traditional video unveil of the build complete.... The finish line is near my friends...

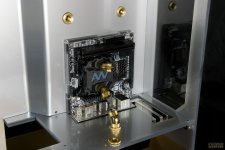
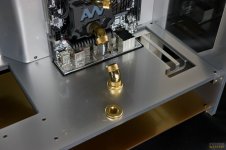
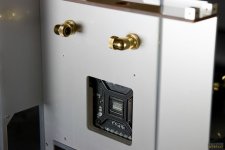
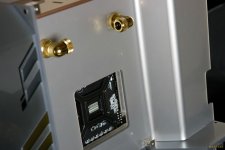
Here are some not-so-spectacular quick pics I took while reassembling the case that gives you a clear Idea of the pass-through locations...


LItILO3h.jpg

cwnaBe9h.jpg

8aiJ0ABh.jpg

528hgcFh.jpg
 
I'm gonna have to stop following your builds. After seeing this one materialize, my red and white Parvum looks drab in comparison and I dont have the money to start up another build. Hehehe, oh well, I'll just have to admire this one.

If I were a billionaire I'd pay you just to build PC's for me and give them away in gaming competitions.

Thanks for the kind words!

How did you fit those funky cable holding thingys? We're they fitted while braiding or are they a plastic/elastic?

They have to be installed before attaching connectors:

http://www.ensourced.net/wire-wraps/?sort=bestselling

nice pumpkin :D

Thanks!

Great shots of the fans, the build is coming along nicely. Can't wait to see it finished. You have another planned for after this? who do you make them all for? If it's for yourself, I tip my hat to you good sir, you should take some shots of them side by side.

J.

Not sure what I'll do with this one, but 99% I'm keeping it, it's honestly too nice in person to give up :)

I'd better give James a nudge and get him in here to answer you guys :D
Still can't wait to see more bud, great work.

:P

I'll be finishing the build this week, several updates inbound including the video reveal of the finished build - then final photos. Prior to that I'll have a photo update on lighting, the loop and cables.

Side note, I got Advanced Warfare last night and I'm really digging it, they did a great job with the game and I'm proud that this build is themed after it :)
 
Certainly looking forward to the finished build. The concept is really strong in how its been designed, all the componenets so far compliment each other well. The Grey plastic is really nice, the glossy effect picks up light and gives it warmth and I think the glossy effect is better than the matte used for the generic builds.

I'm interested to see how the cables going via the bottom and out the bottom will work out.

I toyed around with a few concepts, with the Video card mounted vertically and using 2 x 200mm fans to create a wind tunnel effect for cooling.

Yeah the gloss is amazing and adds so much depth to the case.


--------------------------------

Surgery was a success! Granted my face is still in pain and swollen so I'm still under voluntary house arrest :)

However that means... time to finish the build! I'm hoping that by Sunday night you will have received a lighting update, cable and loop update, and of course the unveiling video followed by final photos....
 
3igaUhuh.jpg


The loop is installed, only piece missing from the photos is the drain and connection under the floor. Next up, cabling and lighting, then filling... :)


LxFES1Xh.jpg

qiIpvvYh.jpg

67w3lw8h.jpg

GO7kN3gh.jpg

J4sYJ4rh.jpg

aoe1R7Jh.jpg

AkNPNZvh.jpg

pRtYq6Ah.jpg

MTHbm1Vh.jpg

UZwSUBAh.jpg
 
I can't compete with this, so James for my Midas II upgrade pop over to Scotland will ya and do my pipe run etc :D

This is my favourite Parvum build by a long way.

One thing James, it was suggested to me during my build to see if I could colour the edge of the gfx cards pcb gold also. I did do it and wondered if you had considered it? Might spoil your overall look though....

Thanks! Yeah someone suggested that to me also but I wanted to keep the fragmented color to a minimum :)


3igaUhuh.jpg


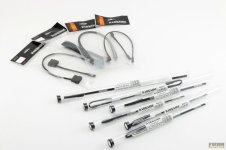
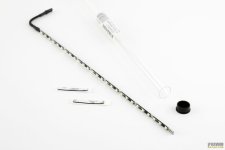
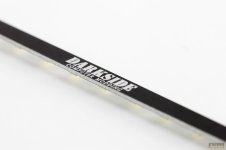
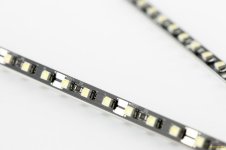
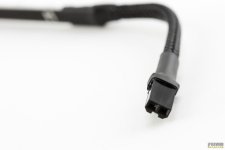
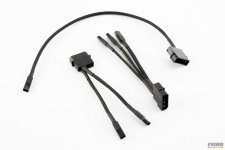
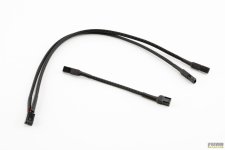
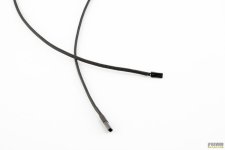
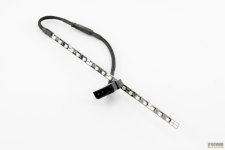
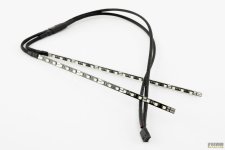
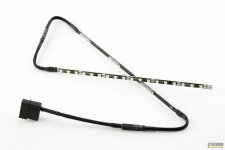
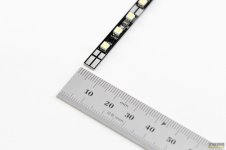
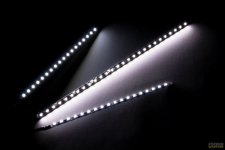
Ok guys, this is the last update/feature before the video unveiling of the finished build. This is regarding Darkside Connect LED light strips which I LOVE. In my personal opinion there isn't another choice out there as versatile or high quality - period. They are sturdy, bright and leave a very small footprint, so easy to conceal.

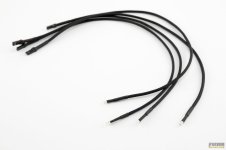
They come in plenty of different colors and lengths - 14cm, 20cm, and 30cm. They key feature is that they come available with dozens of modular connectivity options and extensions, of which you can see some examples of below. Darkside also produces stand-alone tailed LED's pictures towards the end.

For this build I will be using a 30mm strip in the top-front and a 20cm strip in the top back, both white, and connected to the Darkside modular 4pin molex > 2 x LED connectors.

I can't recommend enough. The U/V photo at the end is just for example purposes.


StbLVG3h.jpg

9IDk5ujh.jpg

tBGibzwh.jpg

FXJVlZOh.jpg

oml2mm9h.jpg

MIoqpy6h.jpg

5xyisbuh.jpg

KnGsTG6h.jpg

UEChj3Gh.jpg

grLEKZ1h.jpg

6cEyqjPh.jpg

wHMDxMHh.jpg

slps4veh.jpg

NE1NJZah.jpg

9HovciEh.jpg
 
1. How long did it take for the case to arrive after you sent the designs to the Parvum guys?

2. The tubing work is exemplary, when you've finished the build and fully recovered from surgery, would you be willing to provide a tutorial?

1. About 30 days

2. Thanks, possibly :)
 
Back
Top Bottom