Build Log - TJ07B - Initium Novum

Associate
Joined
10 Jun 2013
Posts
252
Location
Ipswich
Now that most of my parts have finally arrived I figured I'd start a build log!

This will be my first build that I have either modded or water cooled so should be interesting.

The name "Initium Novum" means New Beginning in Latin, I Thought it was fitting seems this build will be using my TJ07B that has been in use un-modded for 5 years or so.

Components:

i7 4770k (Haswell)
Gigabyte Z87X-OC
4x Samsung 840 Pro
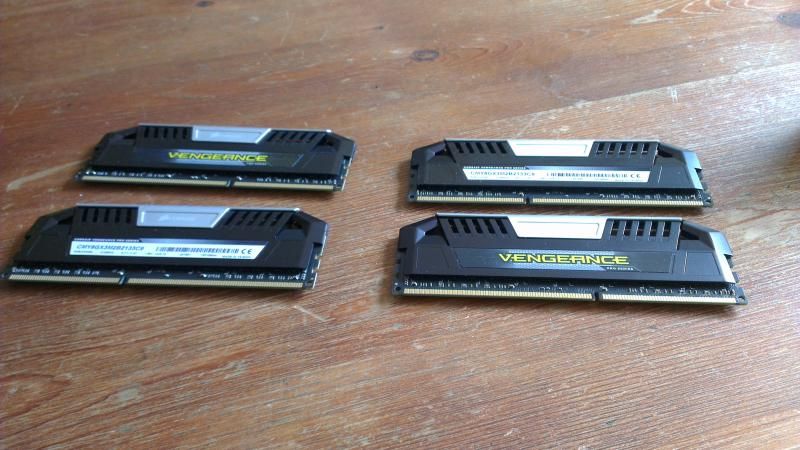
4x4GB Corsair Vengeance Pro series 2133
Asus Xonar D2X
Highpoint RocketRaid 2720SGL
Silverstone ST1000-G
Asus GTX 580 Direct CUII

Water Cooling:

Hardware Labs Black ICE GT Xtreme 480
EK Supremacy CSQ Nickel
Phobya Balancer 250 - Matt black
Alphacool VPP655 with Black D5 top
EK FC580 DCII Acetal+Nickel
Monsoon 16/10mm Matt black fittings
Aquacomputer Aquaero 5 LT with water block
Aquacomputer Ramplex black
Mayhems Pastel - Gigabyte Orange
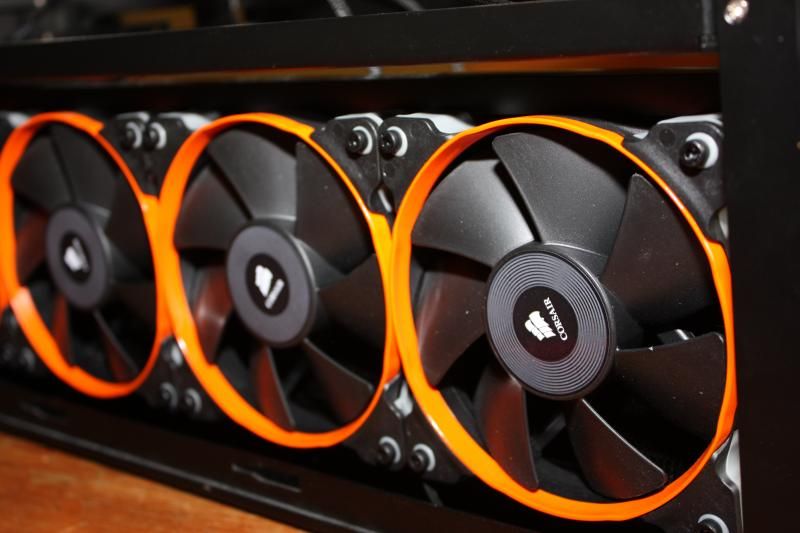
Corsair SP120 fans

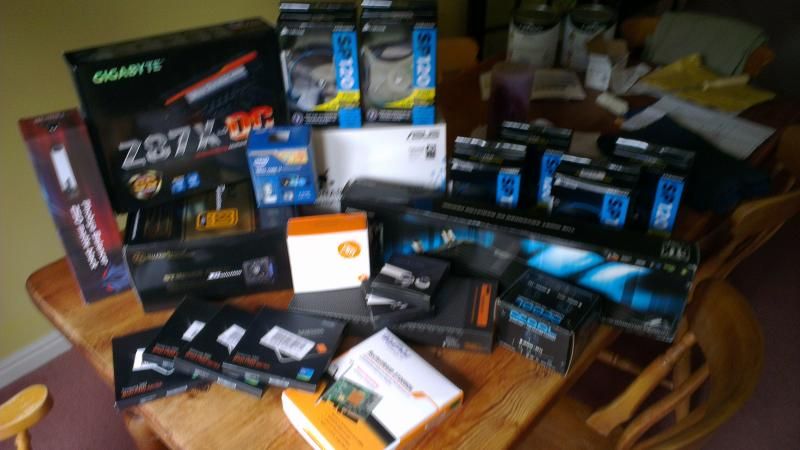
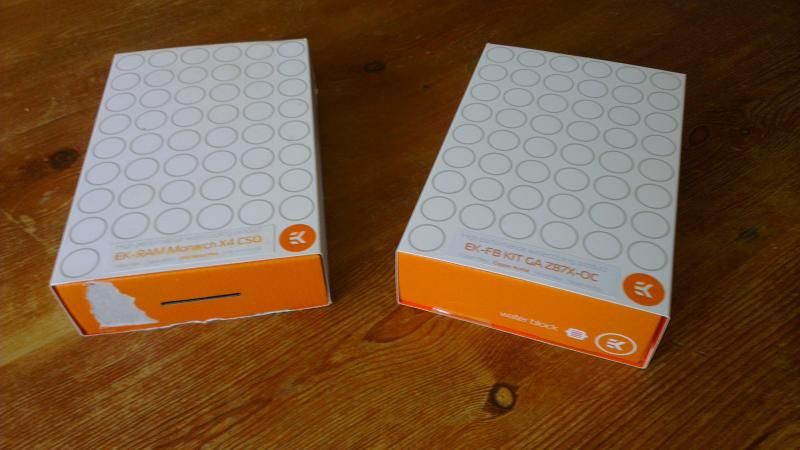
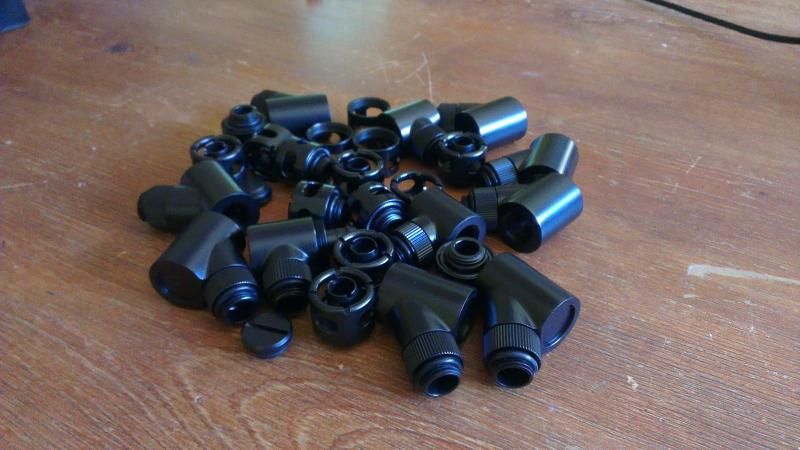
Inset terrible quality picture of pile of goodies. (will replace when I pile all the boxes up again, didnt realise it was this bad :()


Colour scheme is going to be black and orange, seems to make sense with the motherboard being those colours, So I've got the orange fluid, black fittings and ordered some black and orange acrylic which will be used for some custom parts using the laser cutter at work.

Before I started this thread the case had all ready gone to ChilledPC to be black powder-coated internally and be switched round to inverted ATX.
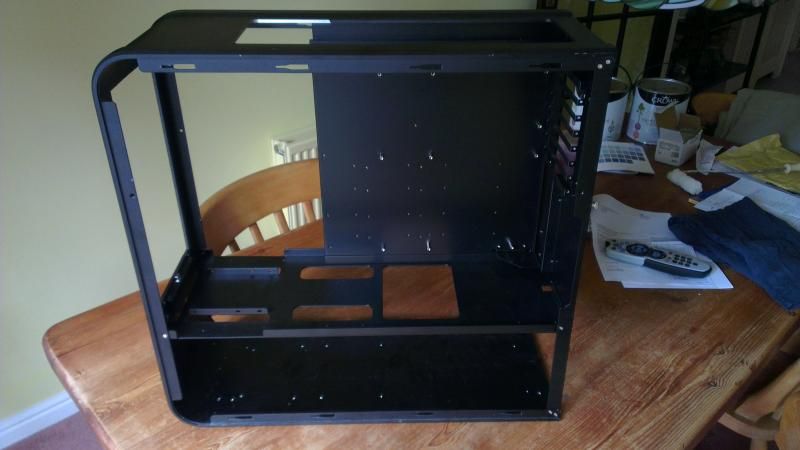


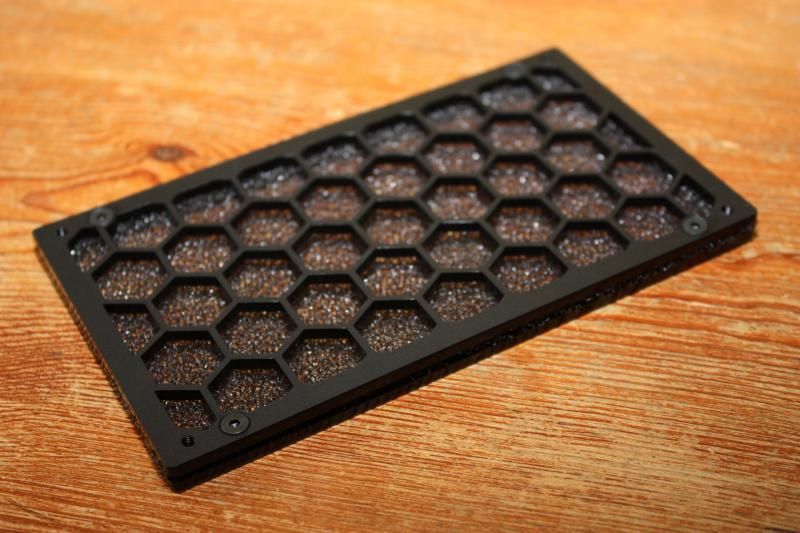
I also had the grill in the top enlarged to fit 3x120 fans and that will be receiving a new grill custom made from the acrylic.

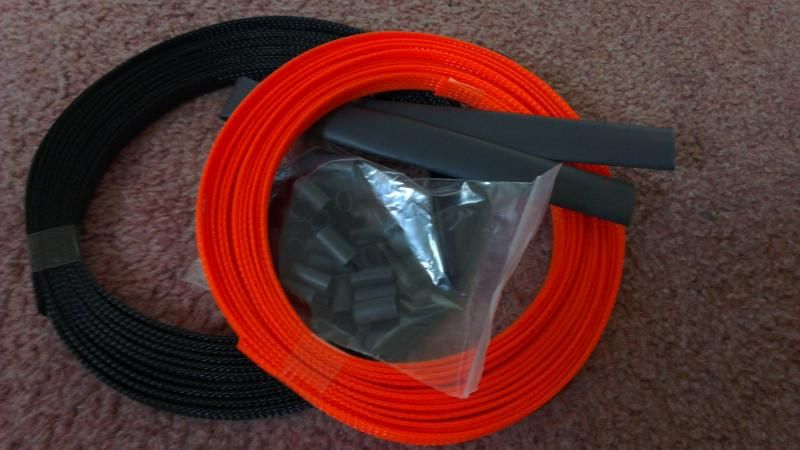
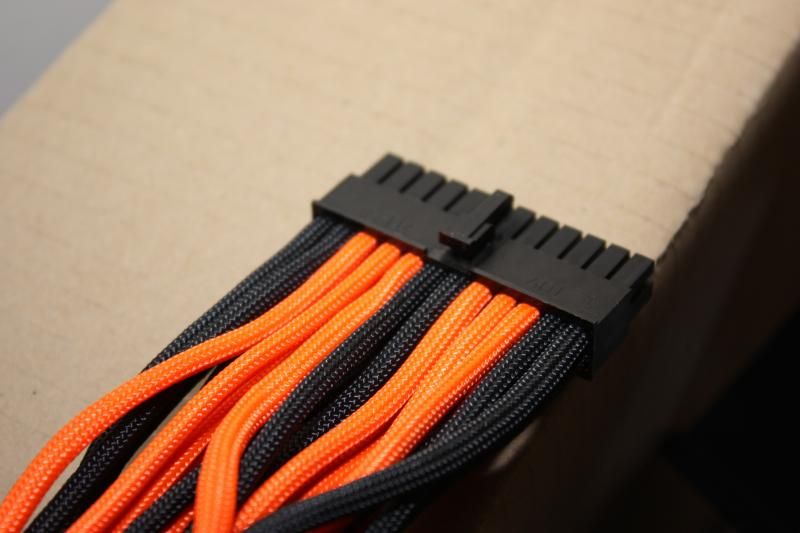
And have started sleeving the psu cables with paracord.
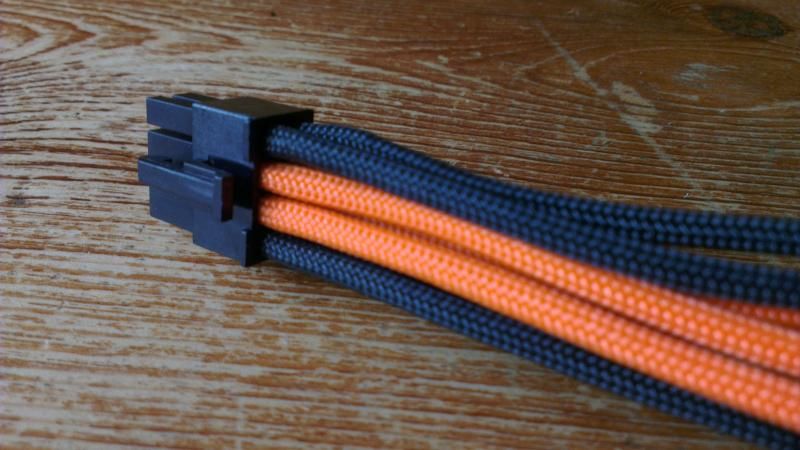


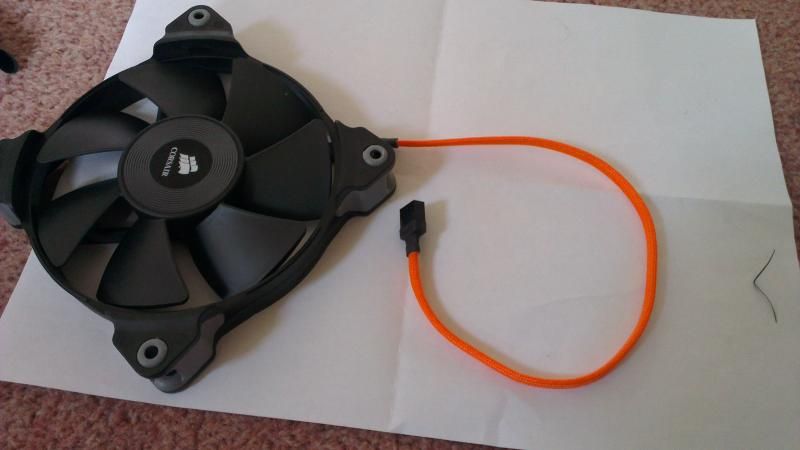
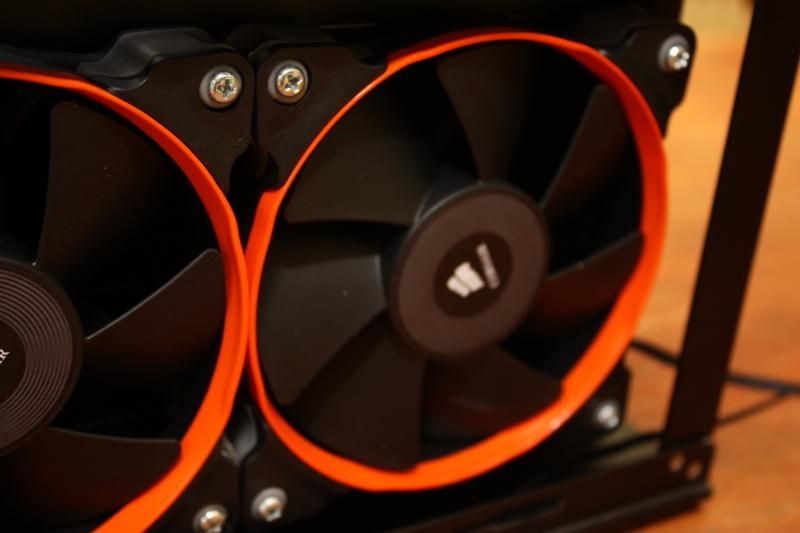
Painted some of the rings from the fans too.
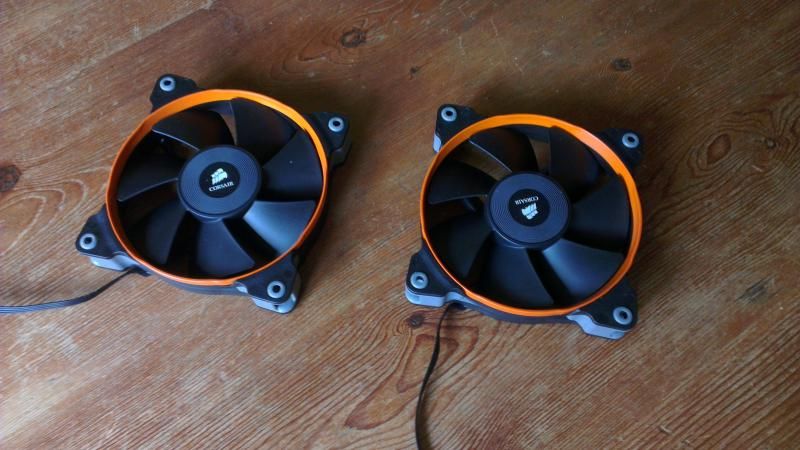
 
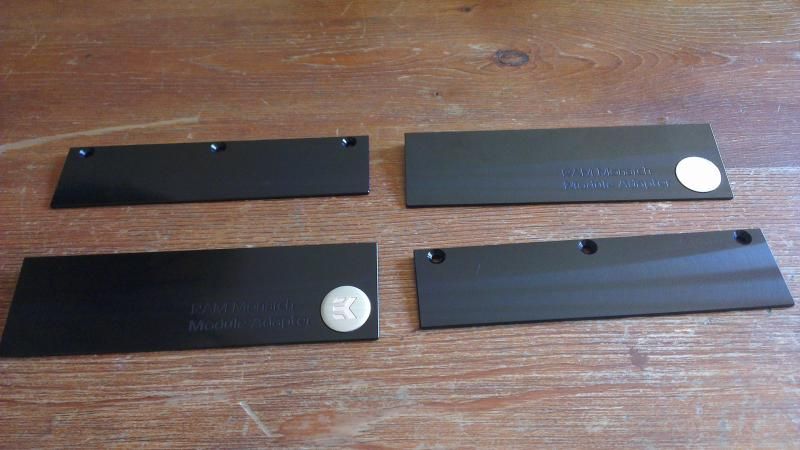
Small bit of progress, Ram blocks arrived but had the wrong fins with them, spoke to Overclockers managed to organise to send just the fins back and get the proper ones sent out. Rad arrived from another source but has been dented in the post, did look into sending it back and getting a replacement but no one has it in stock or has any idea when they will be getting more. So have leak tested it, and it doesn't leak and the dent wont show so I'm going to keep it.

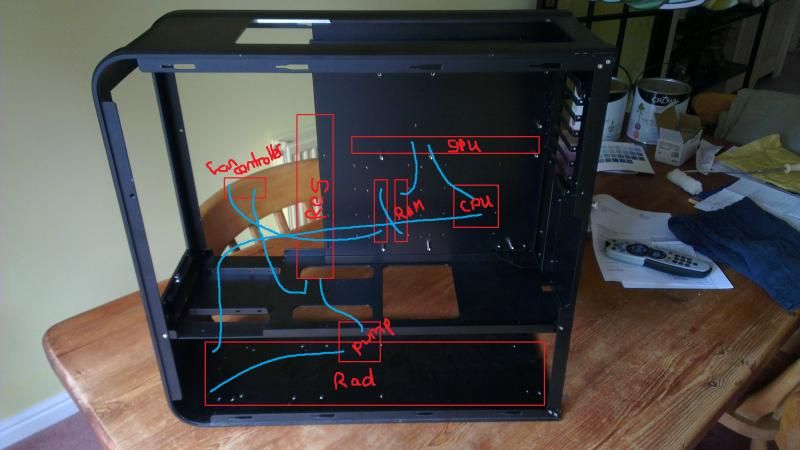
Here is my pro paint skills showing the proposed route for the loop.

wcplan.jpg


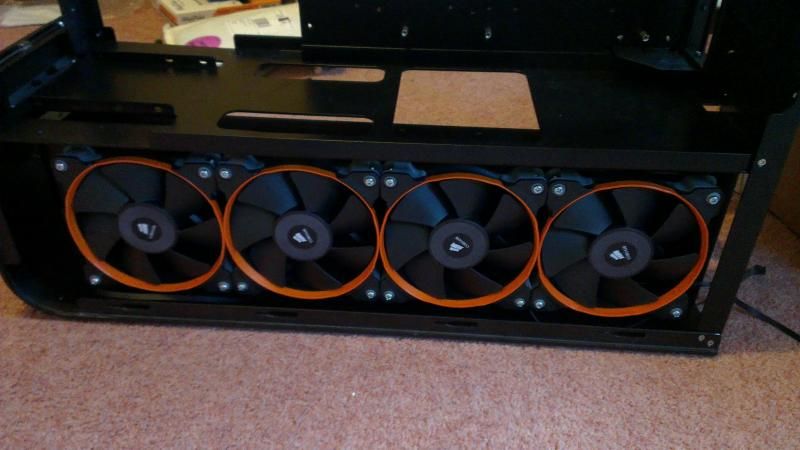
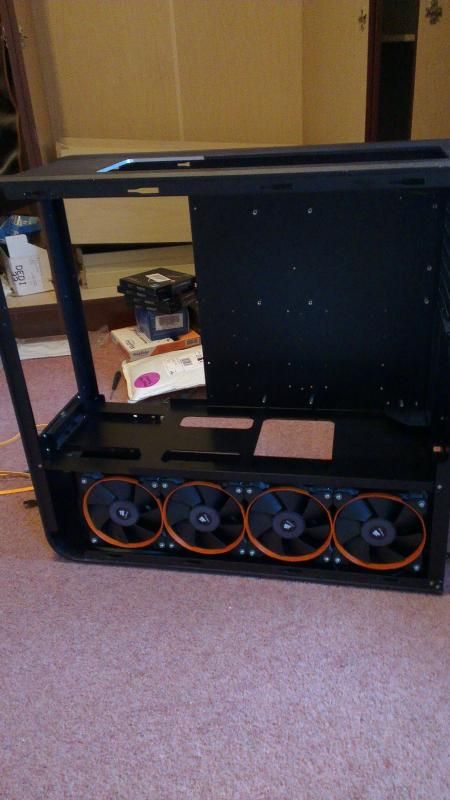
Rad is now in and mounted in the bottom, fans attached.

IMAG0192.jpg


I haven't bothered sleeving these fan cables as the ones I have done for the roof of the case so far makes the cables difficult to maneuver where I want them and seems they wont be seen down there I didn't see much point.

IMAG0193.jpg


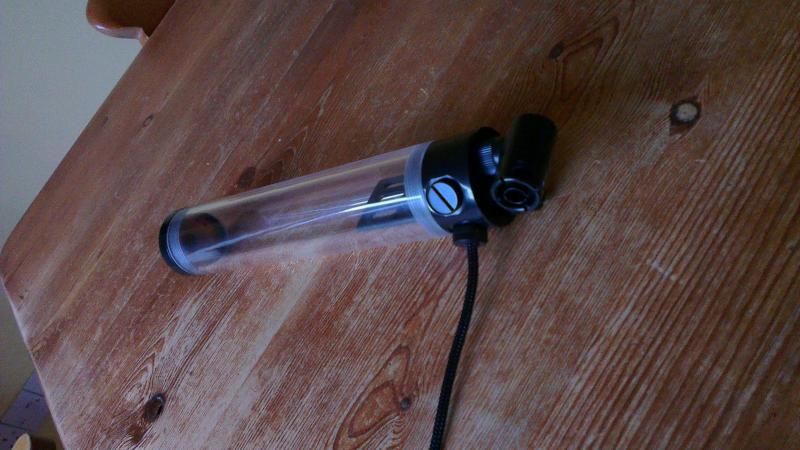
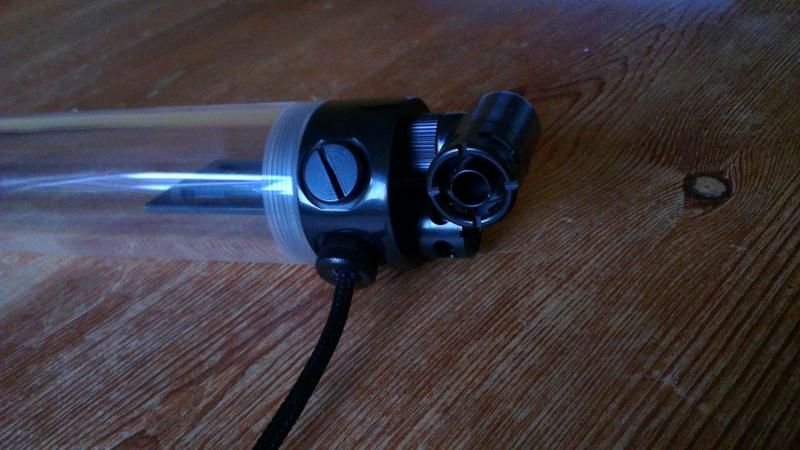
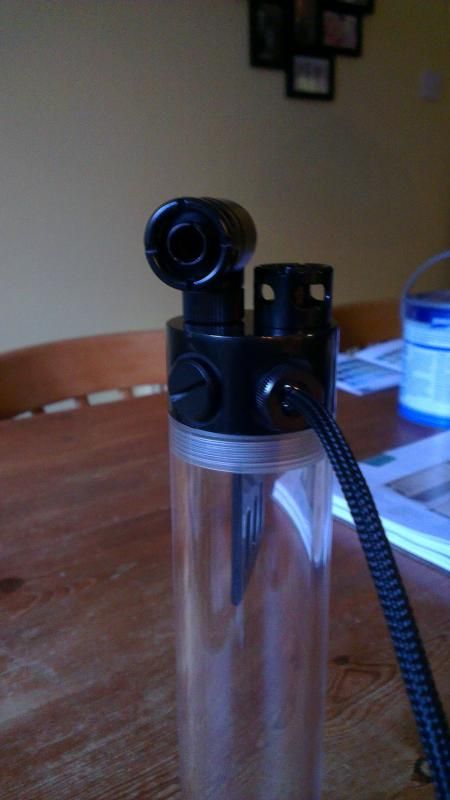
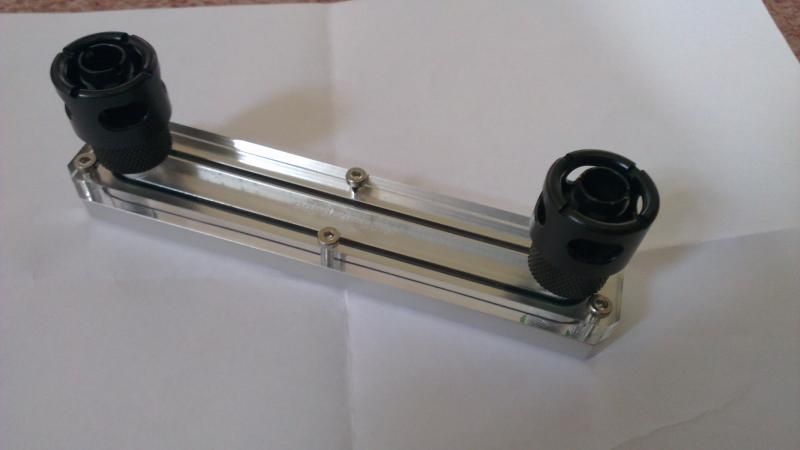
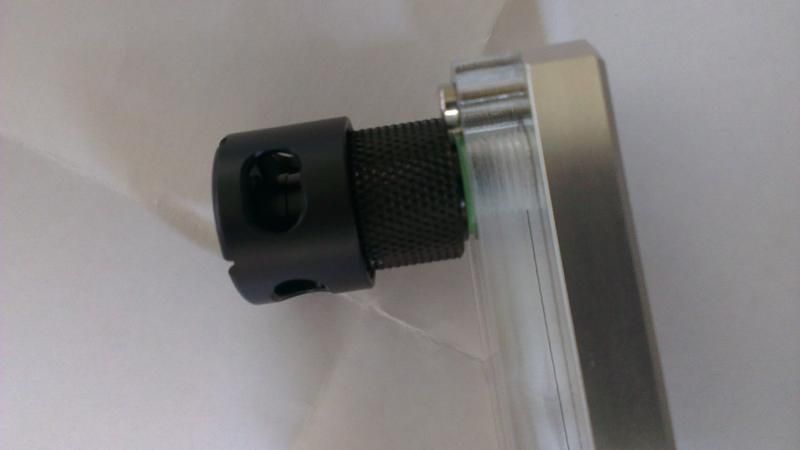
Phobya Res now has nice Matt black fittings and caps rather than the nickel ones it comes with.

IMAG0195.jpg

IMAG0194.jpg

IMAG0196.jpg


Have also been working on the design of my rad covers and 5.25 bay covers, have my ideas finalised just need to create them digitally to laser cut them.
Should hopefully have some progress I can show you on this in the next couple of days.
 
Yep, I've gone for Monsoon fittings throughout except for a couple of 1/8 to 1/4 adaptors which I had to get matt black Bit-Fenix ones because Monsoon don't do them :(
 
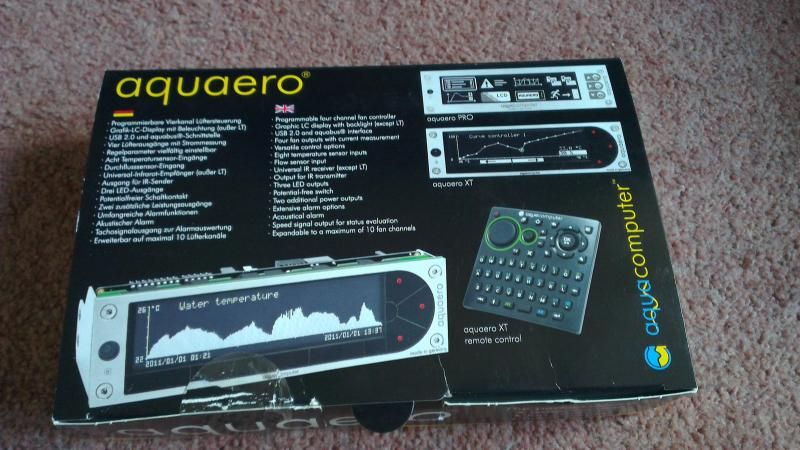
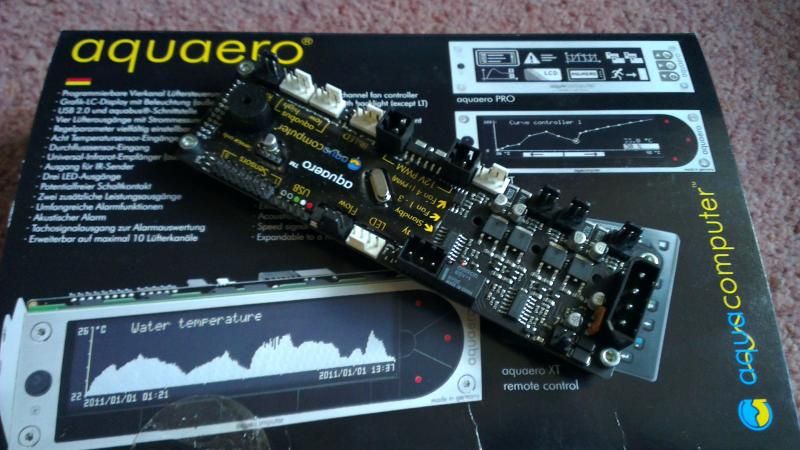
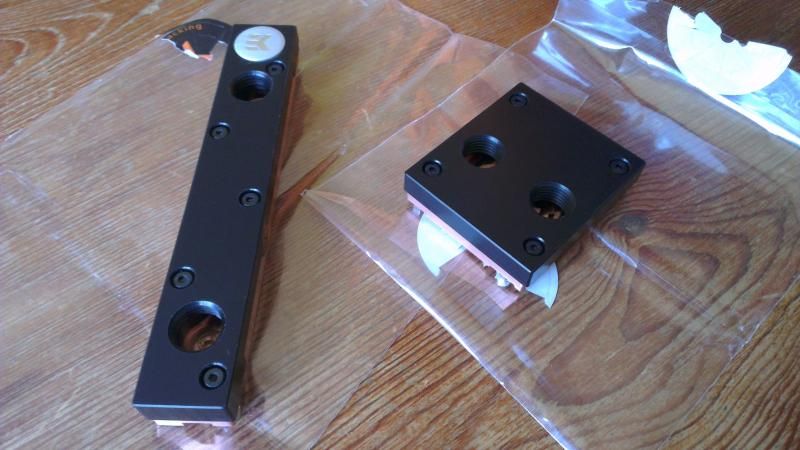
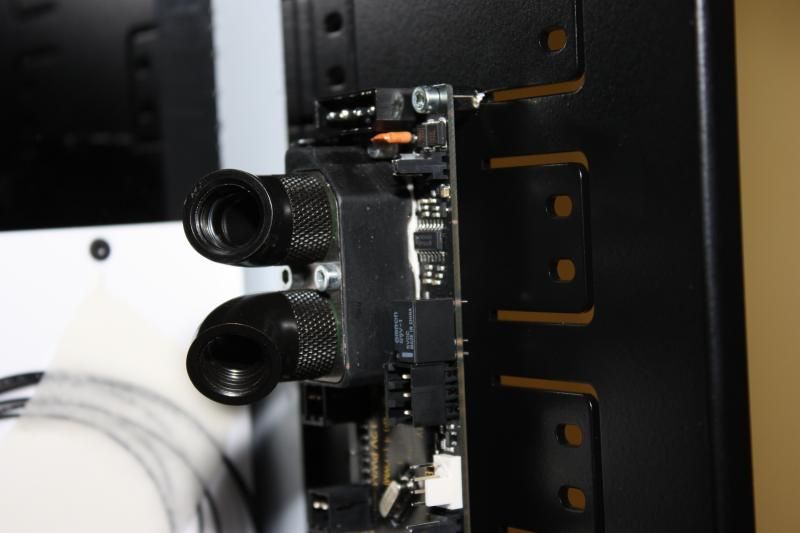
My Aquaero LT arrived with the water block.

IMAG0202.jpg


Went for the LT seems I plan to have it out of the way in the 5.25 bays so no point to pay the extra for a Pro or XT.

IMAG0203.jpg


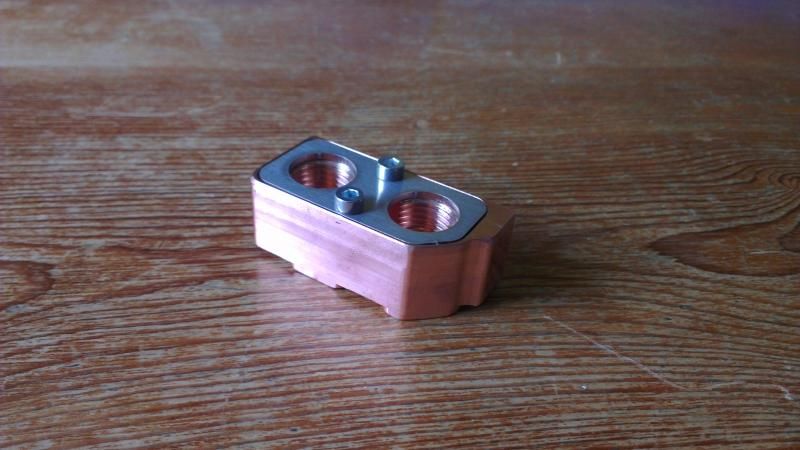
The water block is copper and silver, that's not good for my colour scheme!

IMAG0199.jpg


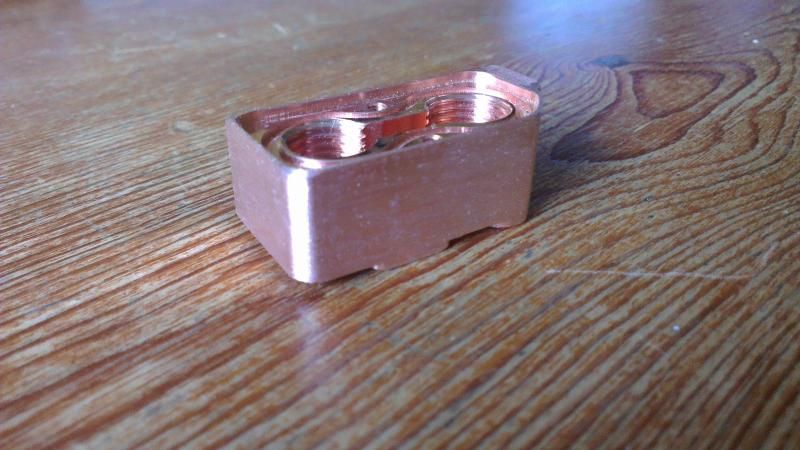
Dismantled and prepped.

IMAG0200.jpg


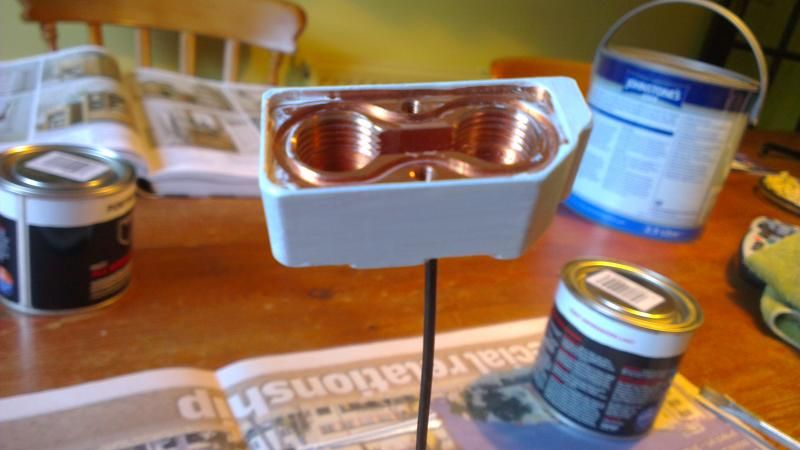
and primed ready for paint, now drying for a few hours before I can slap some black paint on it and clean up ready for reassembly.

IMAG0201.jpg
 
wont it be hidden from view anyway by the drive bay?

Hopefully if all of my plans for the 5.25 area come into reality yes, but if not, no it would still be slightly visible and the copper would stick out like a sore thumb.
It's not like it's that much effort to give it a couple of coats of paint anyhow :)
 
Had a few parcels waiting for me when I got home today!

6a05c902-539e-4510-ad6f-d11be960abc7.jpg


Which contained:

IMAG0205.jpg


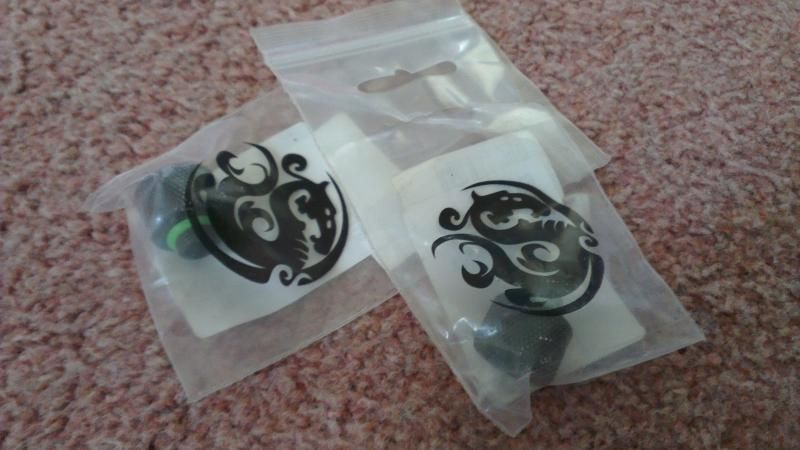
And then from Overclockers:

IMAG0206.jpg

IMAG0207.jpg


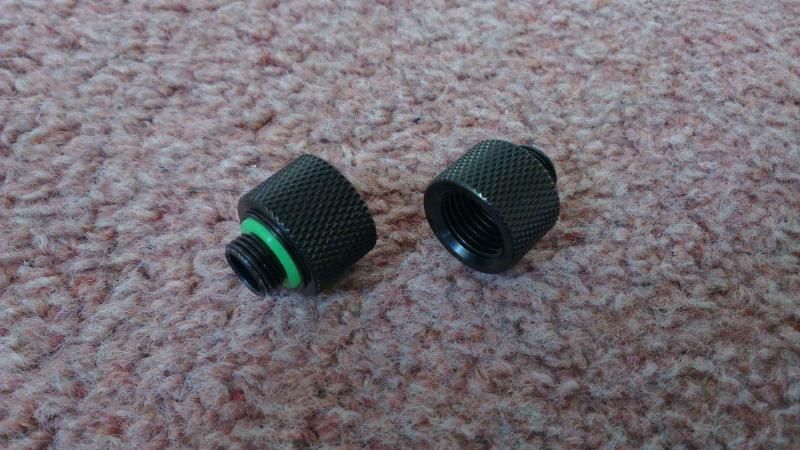
These are for the ram blocks because they have 1/8 thread and look like this on the blocks.

IMAG0209.jpg


I'm not really sure about them, I think they might stand too proud with the adaptor and then the fitting, what do you guys think?

They do also not tighten down fully against the block, the O ring is compressed so it should be water tight but just another little thing that irks me.

IMAG0210.jpg


Fortunately the MDPC-X heatshrink does work like a dream!

IMAG0211.jpg


O and here is an initial concept for the front panel design, the dark orange will be solid acrylic inlay'ed into a piece of acrylic that will fill all of the 5.25 blanking plate slots, the light orange text will be semi transparent orange acrylic backlit from behind , thoughts?

randomtest.jpg
 
Last edited:
Damn you EK and making me spend more money!

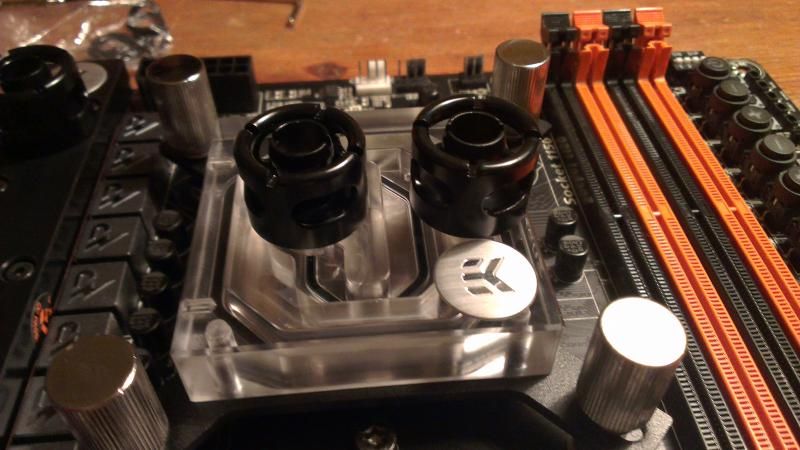
I've ordered the newly released EK GA-Z87X-OC Acatal Motherboard block.

Apparently it should be here on Friday, hopefully my new EK monarch ram block will arrive by then as well and I can finally get some decent progress going on this build!
 
Last edited:
An orange and black TJ07 build....now where have I seen this before? hmmmm :P

Looking good man. Good luck!

Yep, just after I had put together the machine and decided to water cool it with mayhems orange pastel, your build log popped up and I was like god dammit, no orange builds for ages and then yours, then a couple more since!

But I have been watching your build avidly looks amazing so far.
 
Those fans look awesome! Excited for this.

Thanks!


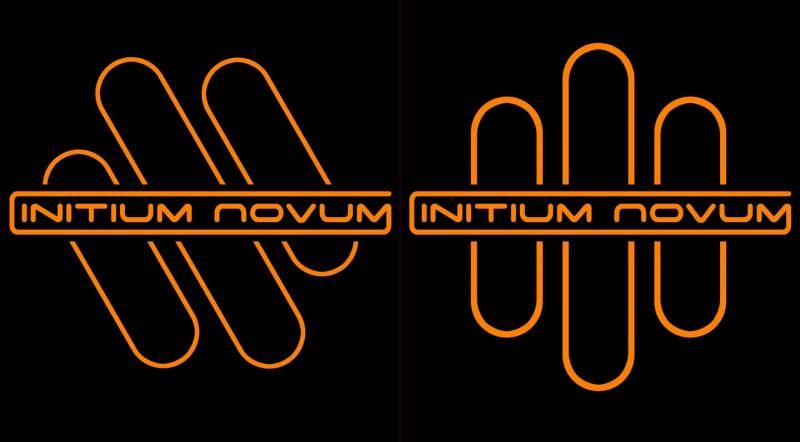
Now I'm after some opinions, I've had to redesign the logo for the panel which will cover all of my drive bays because the old text would have been to fine to inlay.
Here is a couple of options I've created but I cant make my mind up which background I prefer.

whichdesign.jpg


Any thoughts?
 
New Parcel arrived today from EK!

IMAG0216.jpg


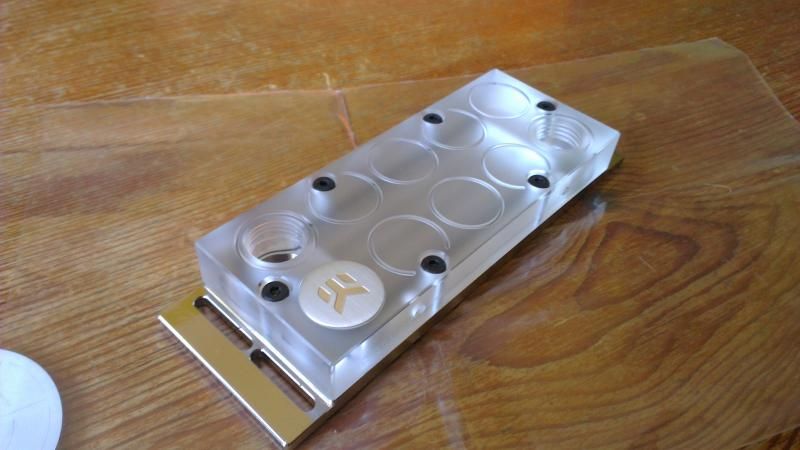
Why dont they make a clean ramblock?

IMAG0217.jpg


Didn't think anyone would release a set for my motherboard in time but here we are!

IMAG0218.jpg


Time to start making that ram block clear.

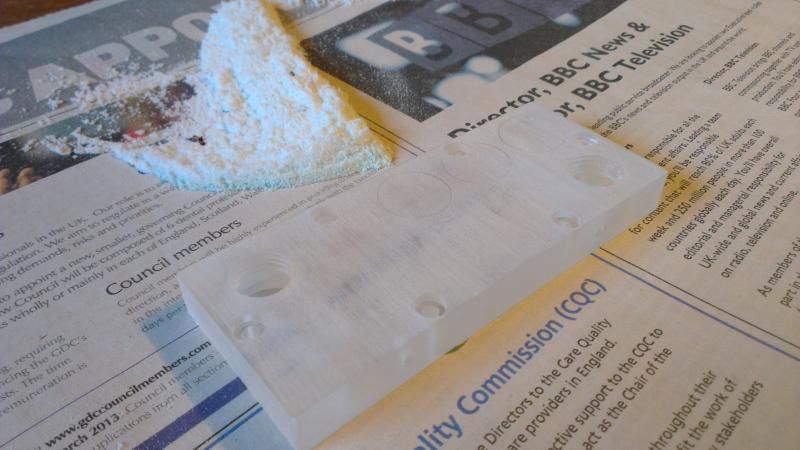
After 40 minutes of 80 grit.

IMAG0222.jpg


Another 15 minutes of 180 grit.

IMAG0224.jpg


About 5 minutes of 320 grit.

IMAG0225.jpg


And then I ran out of finer wet and dry, will pick up some 600, 800, 1000 and 1200 on the way home from work tomorrow, finish the sanding and then polish it up.

The block does seem a little smaller now :rolleyes:

IMAG0226.jpg


O and I finished the paint on the Aquaero water block a couple of nights back and decided to give it a quick polish to smooth out the brush strokes, seems I was a little aggressive and now I need to touch up some of the corners :(
 
Last edited:
Right, I picked up some 600, 800 and 1200 grit wet and dry on the way home and got to sanding.

After 10 minutes of the 600 and 800 grit.

IMAG0227.jpg


Testing it on the block, still a way to go.

IMAG0228.jpg


After 10 minutes of the 1200 grit, very smooth now.

IMAG0229.jpg


And finally thoroughly polished and reassembled.

IMAG0230.jpg


IMAG0231.jpg


I did find that I needed to polish the bottom of the block as well because stock that wasn't even as clear as my sanding and polishing!

Only part I am still waiting for is the monarch ram heat sinks, this should have arrived yesterday, still not here today so better be here early next week!
But I will start moving components into the case this weekend and cutting tubing to length.
So hopefully a big update soon!
 
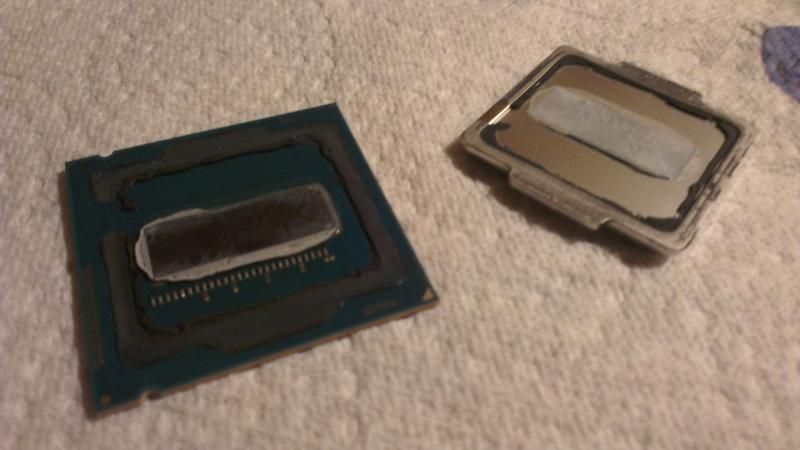
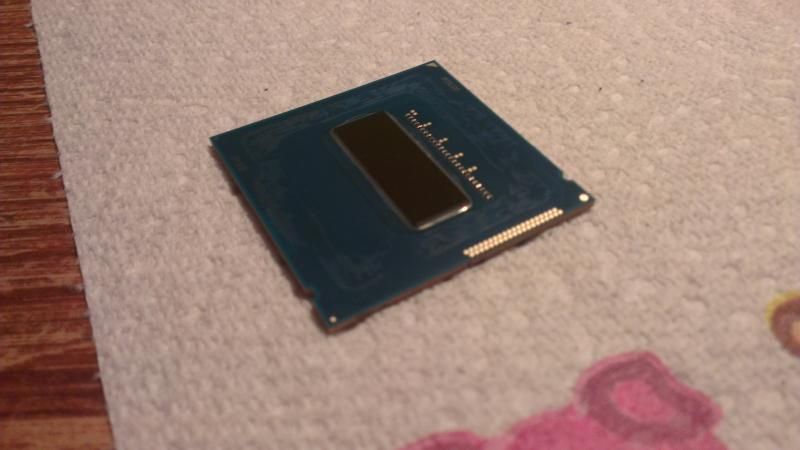
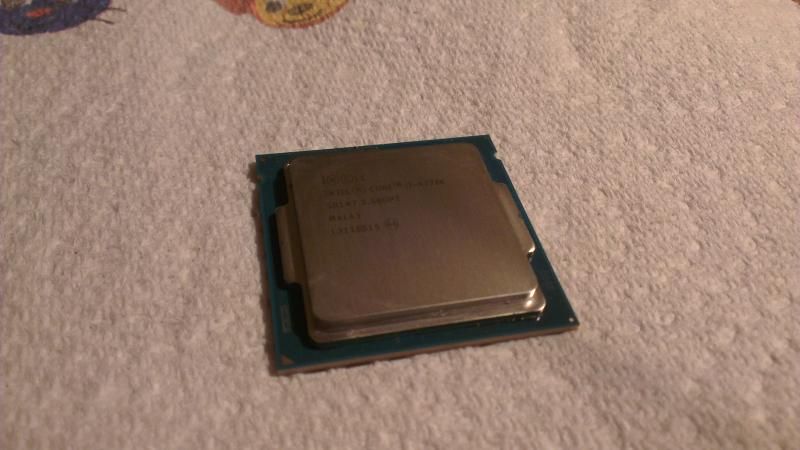
Ok I managed to get a load done tonight starting with the processor.

Before:

IMAG0232.jpg


After:

IMAG0233.jpg


And after a little clean up.

IMAG0236.jpg


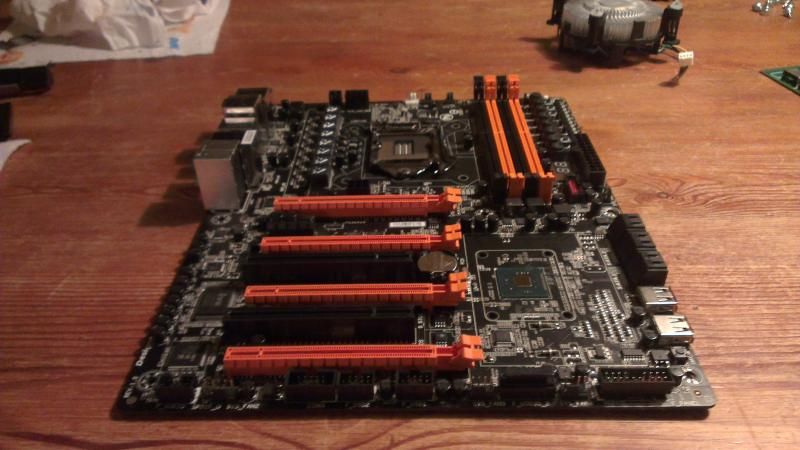
Then I moved on to the motherboard and stripped that naked too.
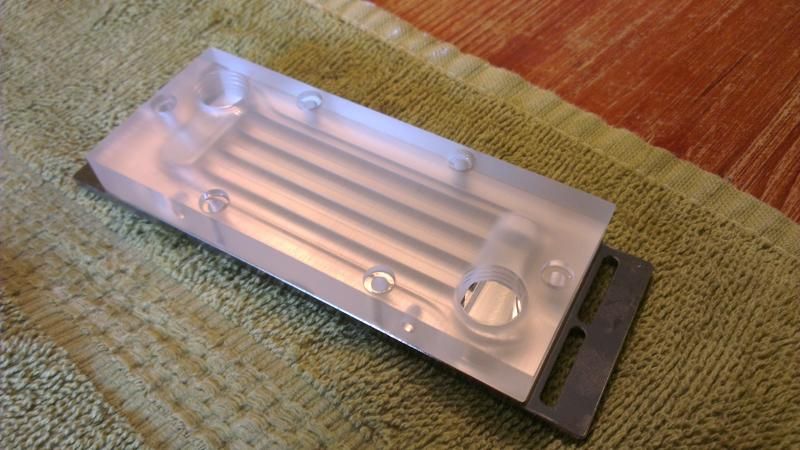
IMAG0239.jpg


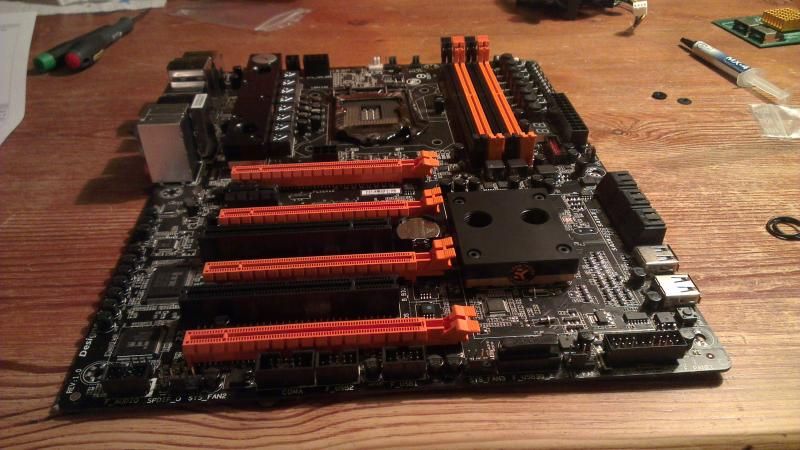
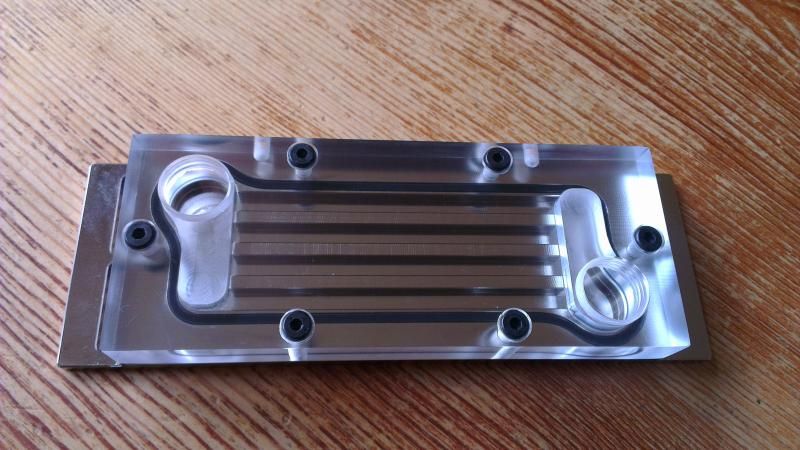
And shortly afterwards with blocks happily mounted.

IMAG0241.jpg


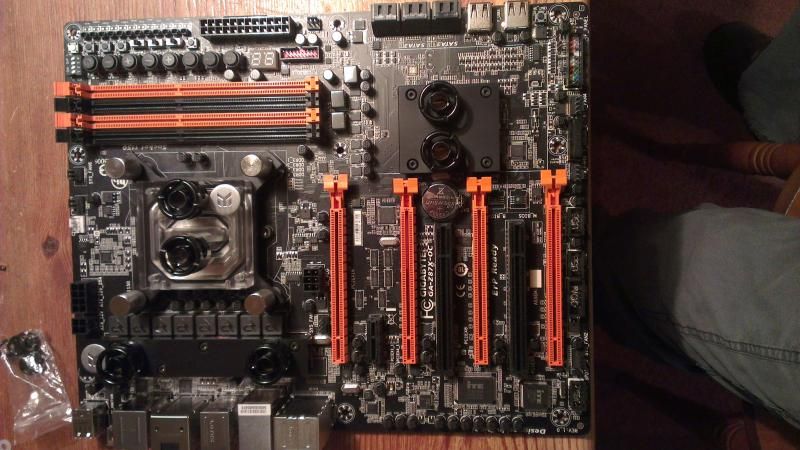
Then it was time to get the CPU on the board and covered up.

IMAG0249.jpg


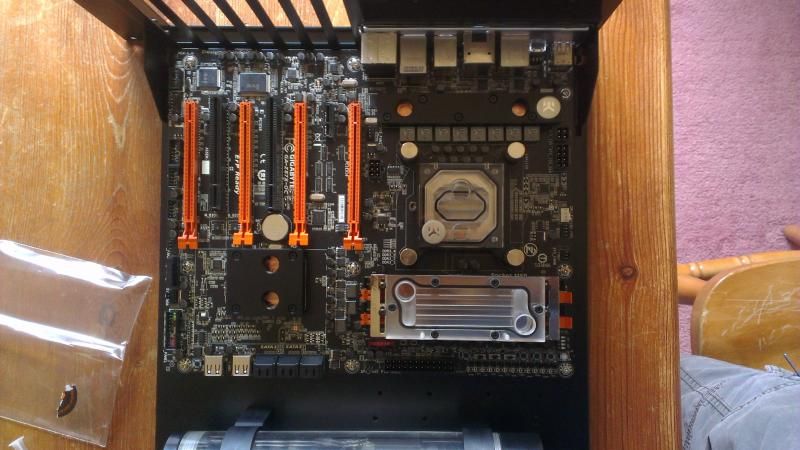
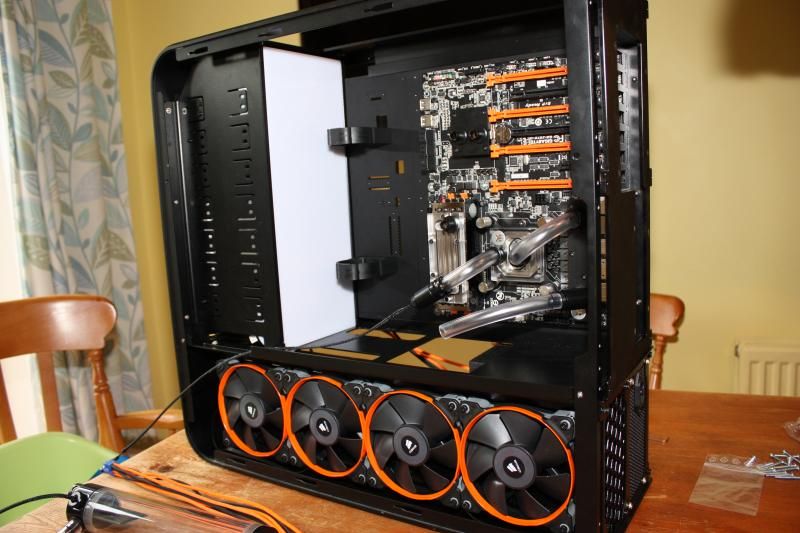
And the overall look so far.

IMAG0250.jpg


That's all for tonight, should hopefully get you another update tomorrow!
 
Very nice job on the block. Looks much better. I have the older style with the clear EK logo. This looks even better.
Looking forward to seeing the build.

Thanks, didn't take that long in the end probably one and a half to two hours, well worth the effort in my opinion.

Your attention to detail so far is awesome!!

Thanks, I appreciate the positive comments!

Did you put the IHS back on the CPU or did you use one of those EK 'Naked Ivy' mounting kits to put it straight onto the CPU?

I used an EK Precision mount 'Naked Ivy' Kit to go straight onto the die, Coollabratory Liquid Ultra on the die with a little bit of MX4 on the chips next to it.
 
I failed in my quest to bring another update to the thread yesterday but that was mostly because I didn't get much done.

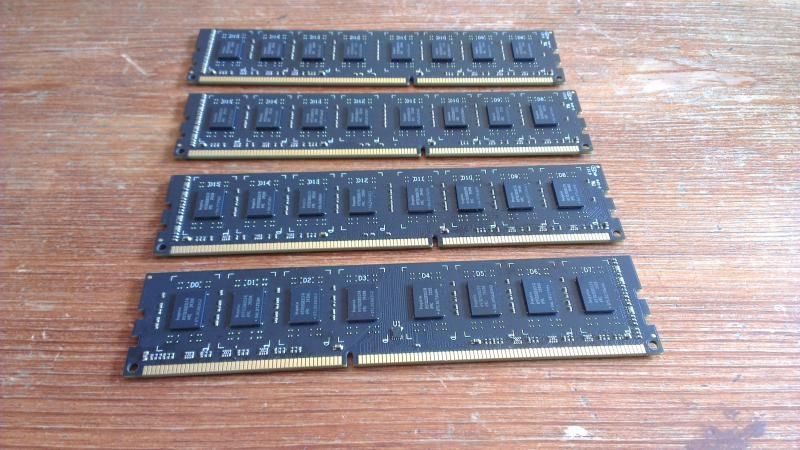
I did however have a go at the ram. Which went from this:

IMAG0251.jpg


To this:

IMAG0253.jpg


And today I finally got these, notice how there is only one pair, seems someone in the packing department failed at counting to two. Have contacted them but will proceed with only two sticks of RAM for now as I'm not sure this will be resolved that quickly. (I wish Overclockers had them in stock!)

IMAG0255.jpg


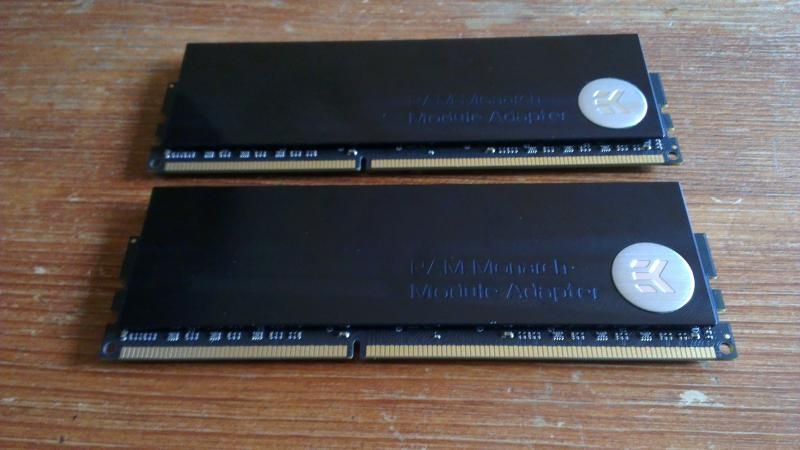
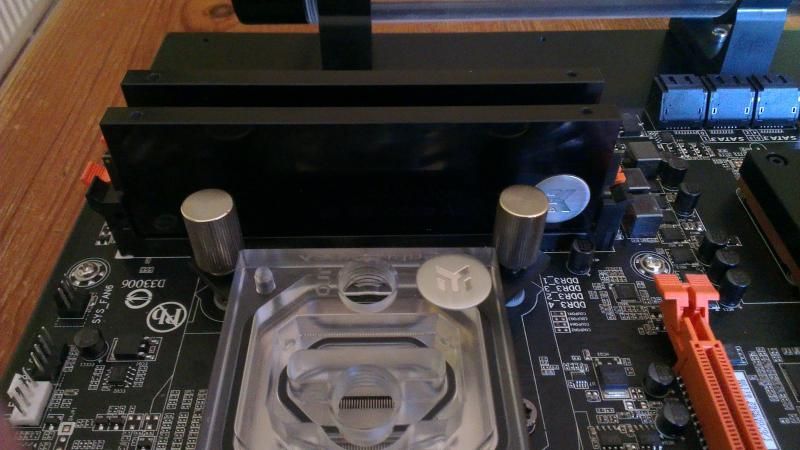
Then I fitted them to the RAM, damn they look nice, almost seems a shame to cover them up.

IMAG0256.jpg


IMAG0258.jpg


And with the nicely polished block on top!

IMAG0261.jpg


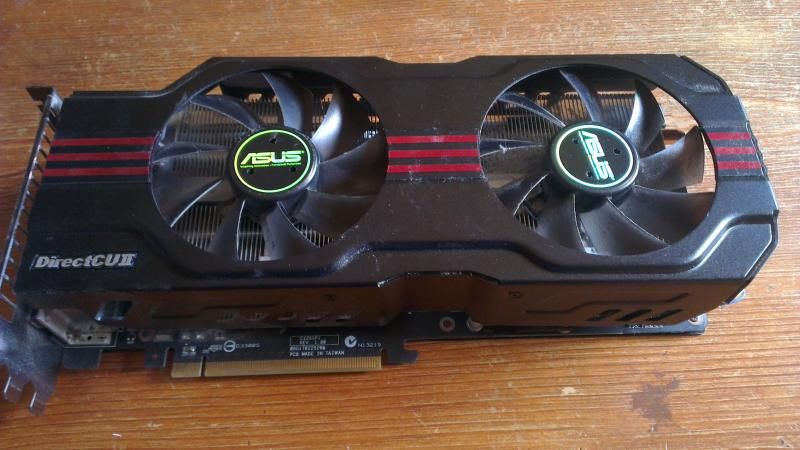
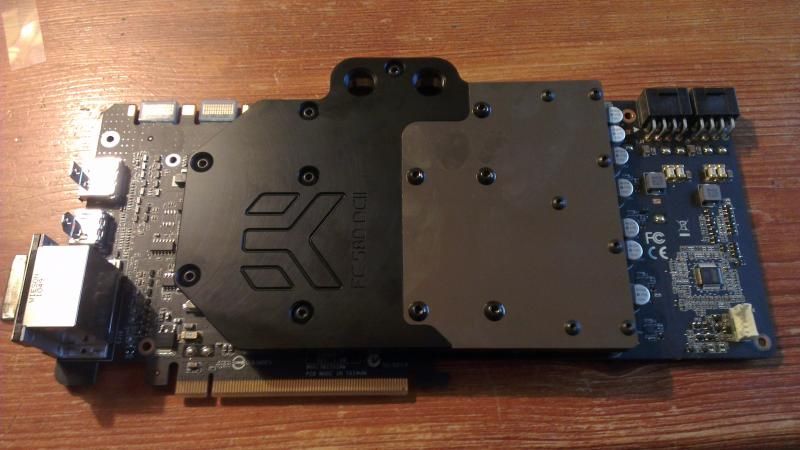
After that I took the plunge and set about preparing the old 580.
Before:

IMAG0265.jpg


After: (Should have taken a moment to clean off the fingerprints :()

IMAG0268.jpg


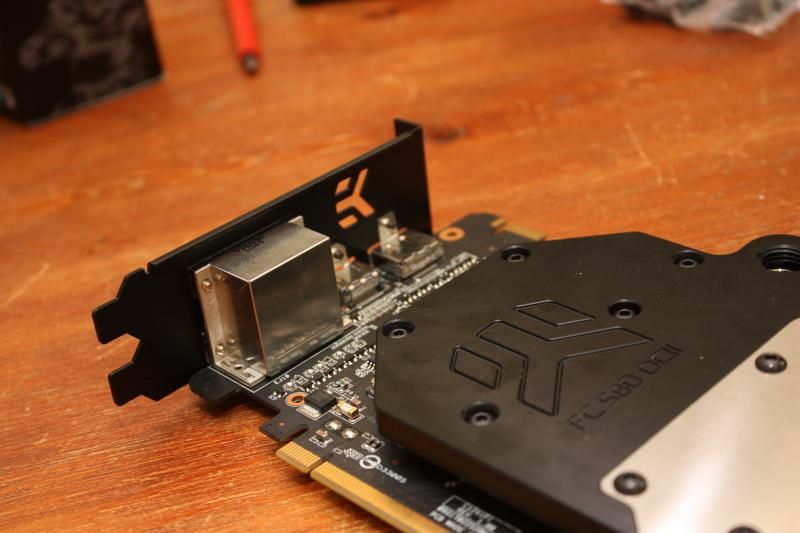
Spent about 20 minutes working the PCI backplate into the slot and removing little bits of powder coat until the Card seated nicely again.

Finally got that sorted and decided it was time to start fitting some fittings.

IMAG0254.jpg


First few connections:

IMAG0262.jpg


IMAG0264.jpg


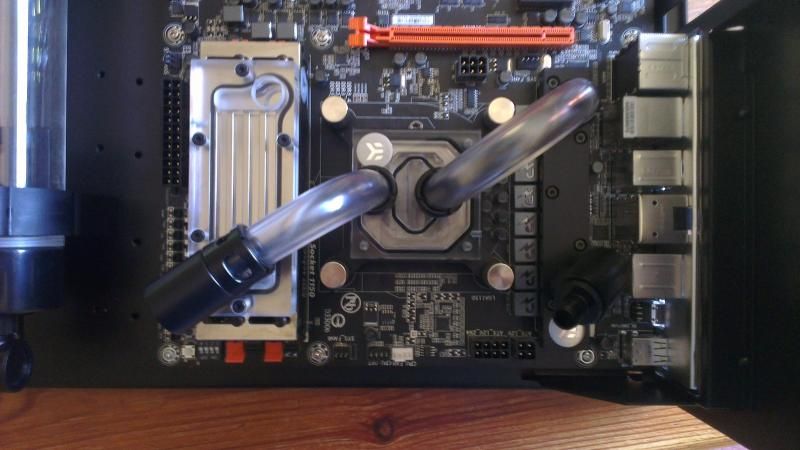
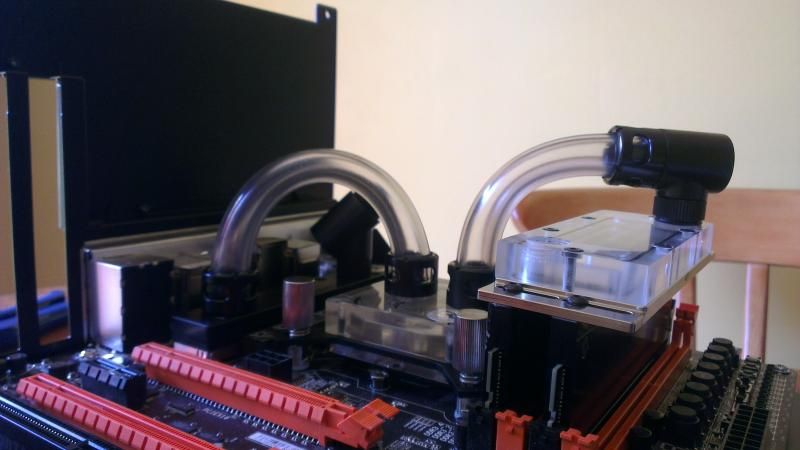
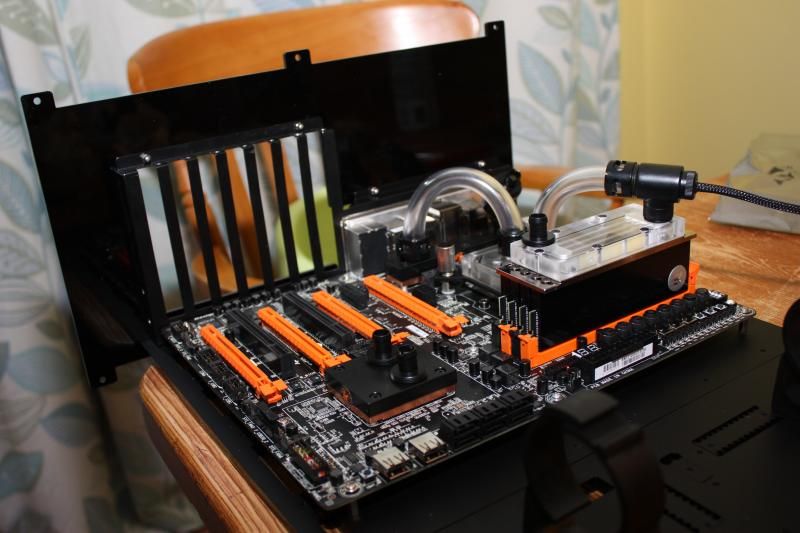
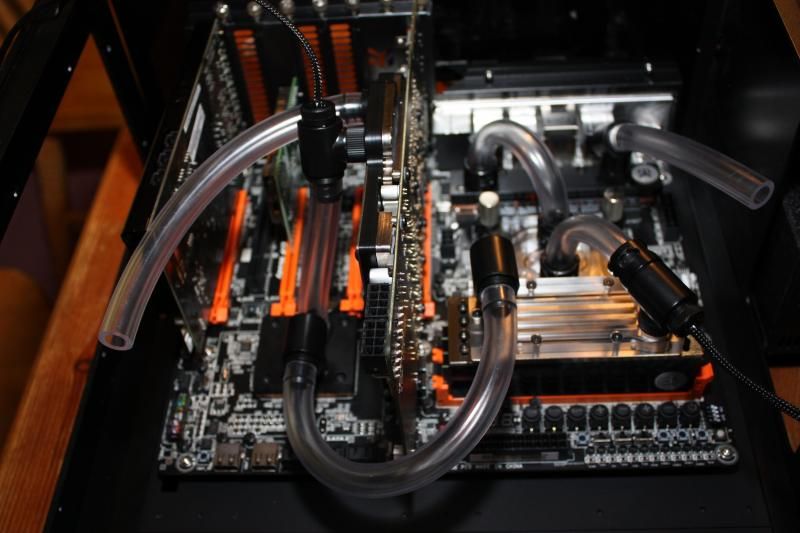
And the motherboard all tubed up.

IMAG0269.jpg


Took a break for dinner and will be continuing a bit more later and tomorrow!
 
It's been a bit slow recently, However the missing pair of RAM sinks have now arrived and been fitted, other that that I'm mostly waiting for some parts from Patuga at Coldzero.

I do plan to slowly continue to sleeve cables and I have finally got a new battery for my DSLR so I promise to start taking some far better looking photos of the build to date!
 
Massively overdue update!

Ok, I've been working on some part designs with Ricardo over at Coldzero, the man is a magician!
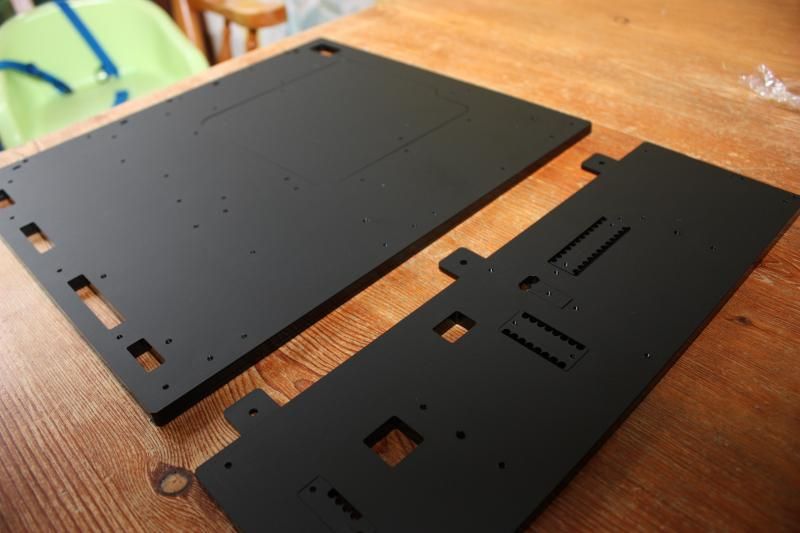
And yesterday I had this turn up on my doorstep.

IMG_3168.jpg


And inside there were lots of goodies.

One motherboard tray with extra long extension.

IMG_3179.jpg


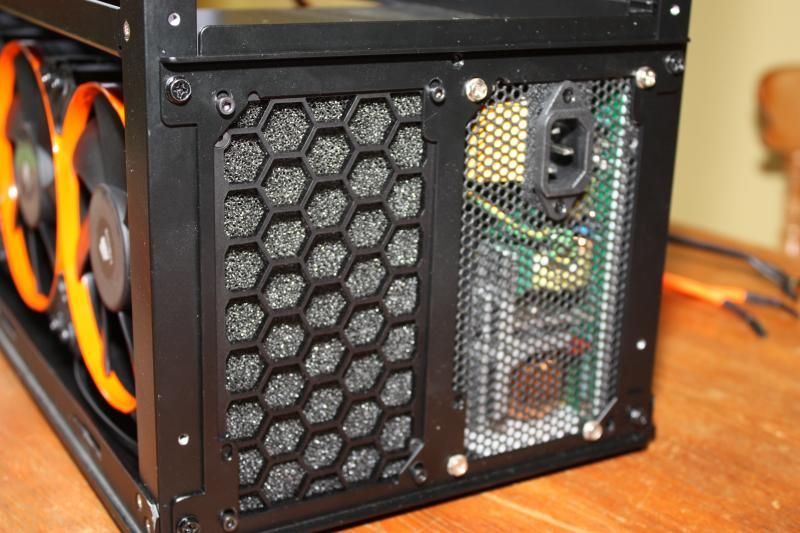
One PSU blanking plate.

IMG_3182.jpg


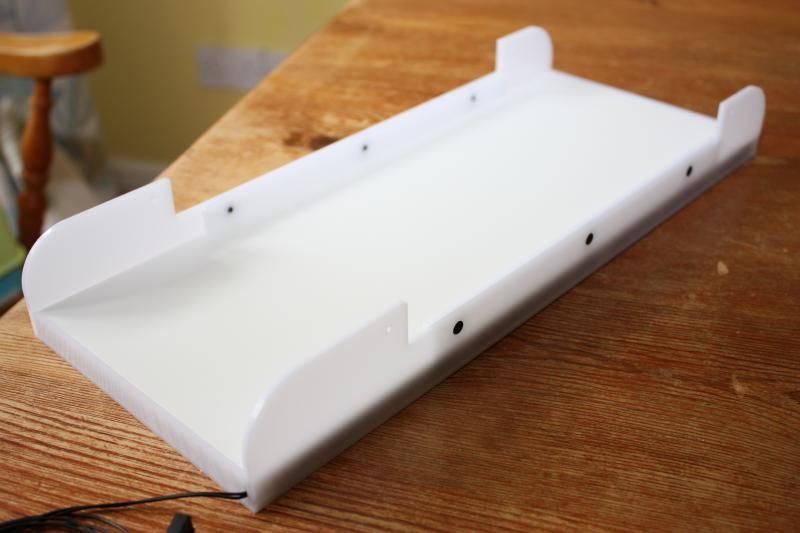
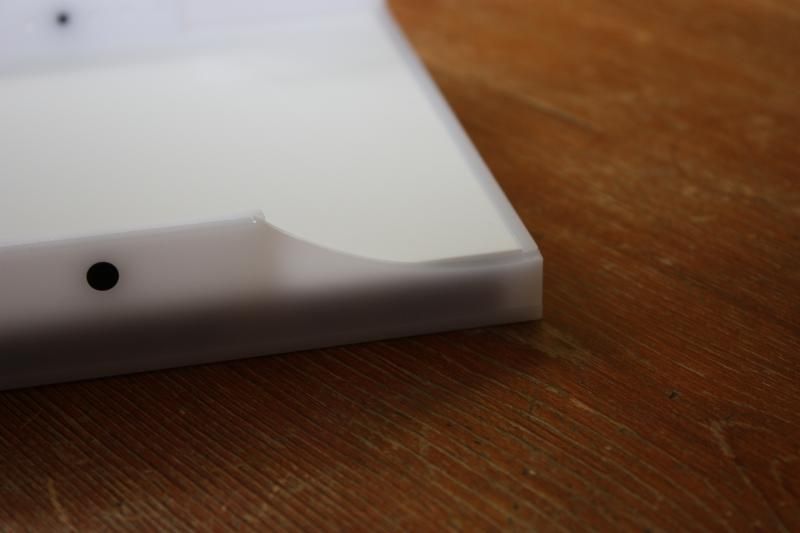
One Light-box to fit in the rear section of the 5.25 bays, should throw a nice wash over my components!

IMG_3174.jpg


Unfortunately delivery companies never fail to succeed in failing!

IMG_3176.jpg


Not to worry though Ricardo is all ready busy creating a new part for me to fix it.

O and then the 'Pièce de résistance'

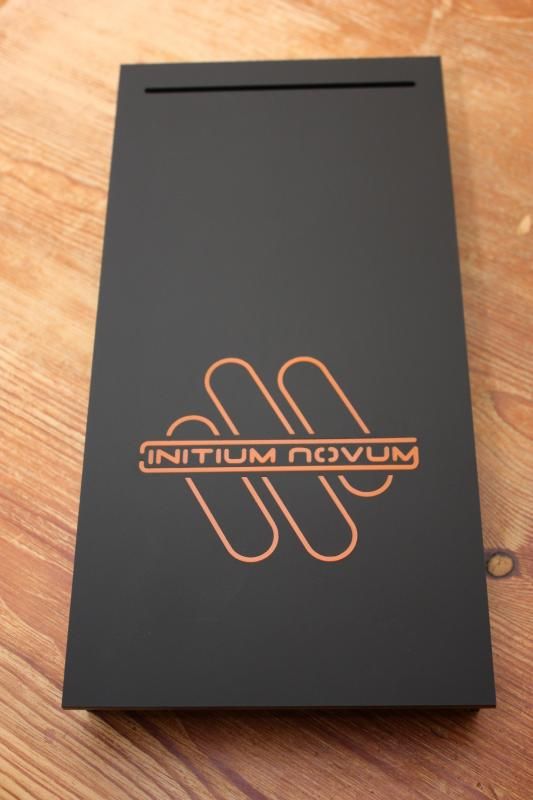
IMG_3173.jpg


Close up of my logo design.

IMG_3171.jpg


Now a few progress shots, should hopefully be many more over the next week as I progress a lot closer to completion!

Motherboard tray and backplate assembled and motherboard attached.

IMG_3208.jpg


Front plate fitted, I think it looks great, interesting yet clean. Still need to get rid of that damn 'Silverstone' logo, anyone know what is best to use?

IMG_3221.jpg


And then just an overview shot with the motherboard tray in the case. Finally feels like I'm getting somewhere.

IMG_3226.jpg


Some may notice that the photos are better quality, finally got the DSLR sorted so hopefully you can see far more detail.
 
Update time!

First I started with the simple task of replacing the screws mounting my fans to the rad.

From this:
IMG_3227.jpg


To this:
IMG_3230.jpg


Much better.

Then I finally got round to sorted the waterblock on the Aquaero 5.
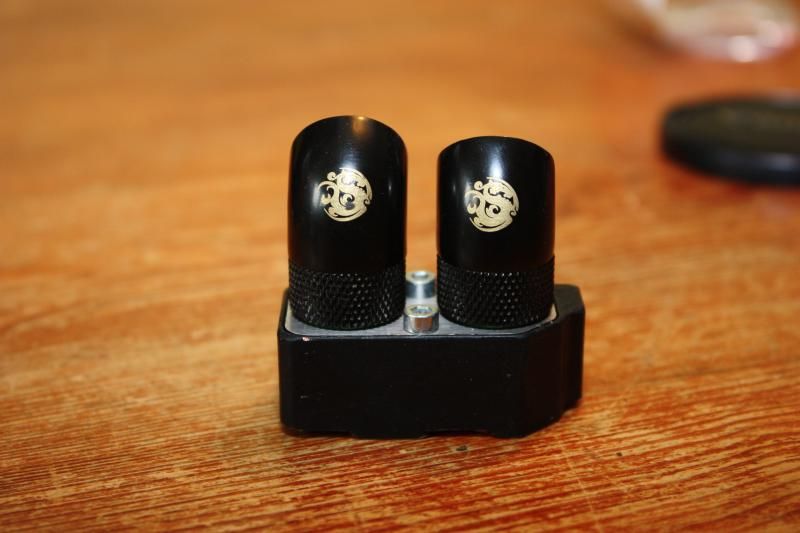
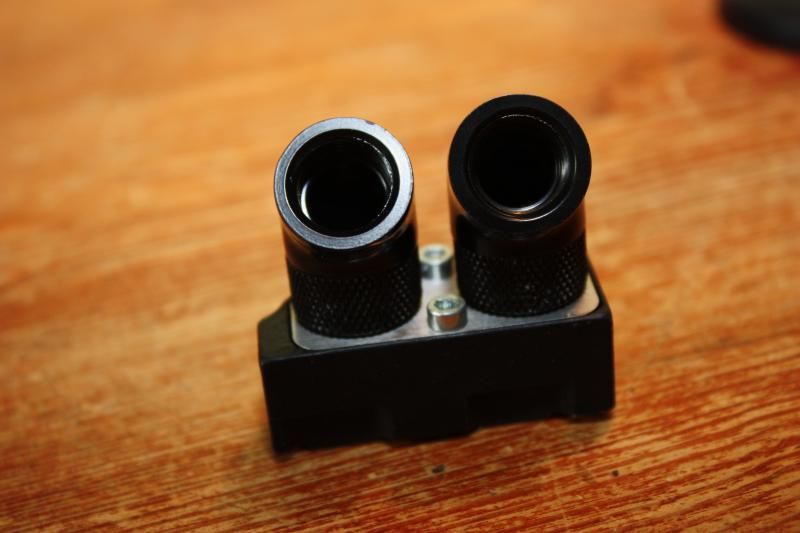
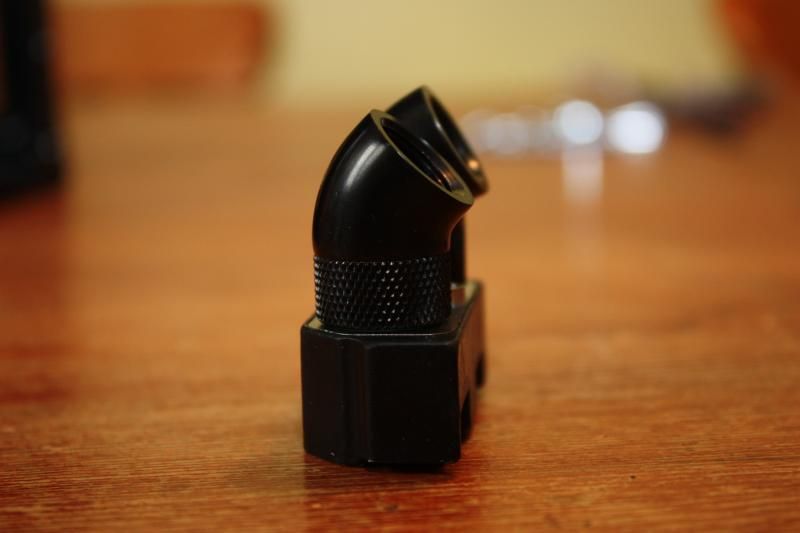
I found I had to use something to mount the Monsoon fittings up from the block as the outer part of the fitting would foul on the screws holding the block together, so step in some Bitspower rotaries as the Monsoon ones were too bulky for this block.

IMG_3241.jpg


IMG_3237.jpg


Although someone at Bitspower did manage to label these both up as 60 degree fittings, not that it matters to me.

IMG_3238.jpg


And mounted into the drive bays as planned.

IMG_3248.jpg

IMG_3247.jpg


Then I fitted the PSU and the nice new back cover I got from Coldzero.

IMG_3249.jpg


A quick test fit of the lightbox :)

IMG_3252.jpg


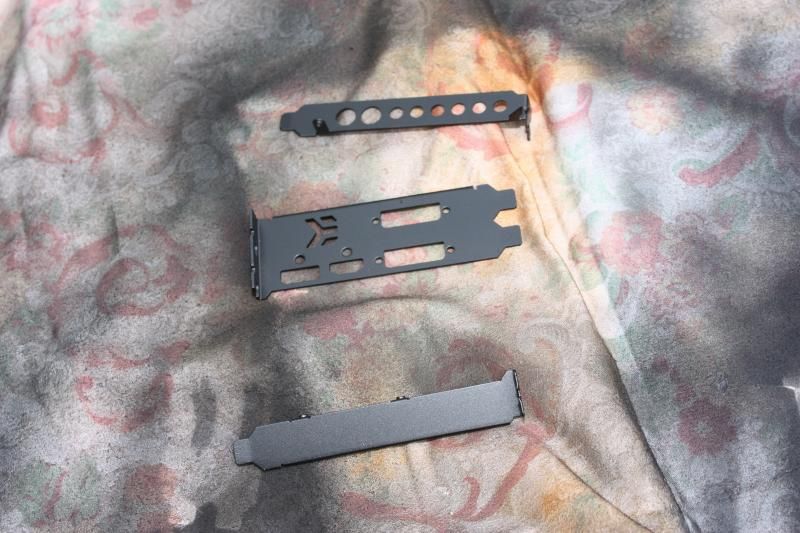
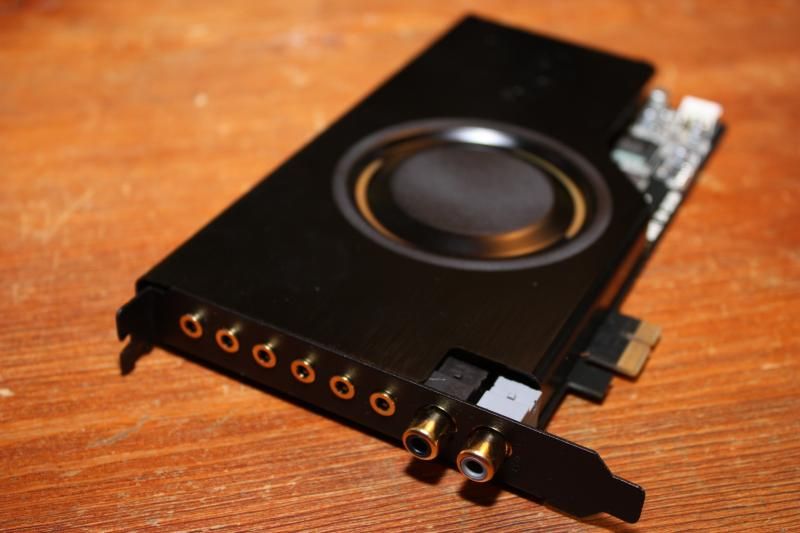
That's about where I finished Saturday night, Sunday morning I got the spray paint out and went at the PCI backplates.

IMG_3254.jpg


And all painted up and back on the cards.

IMG_3257.jpg

IMG_3263.jpg

IMG_3264.jpg


The Xonar looks so much smarter with the backplate in black rather than gold.

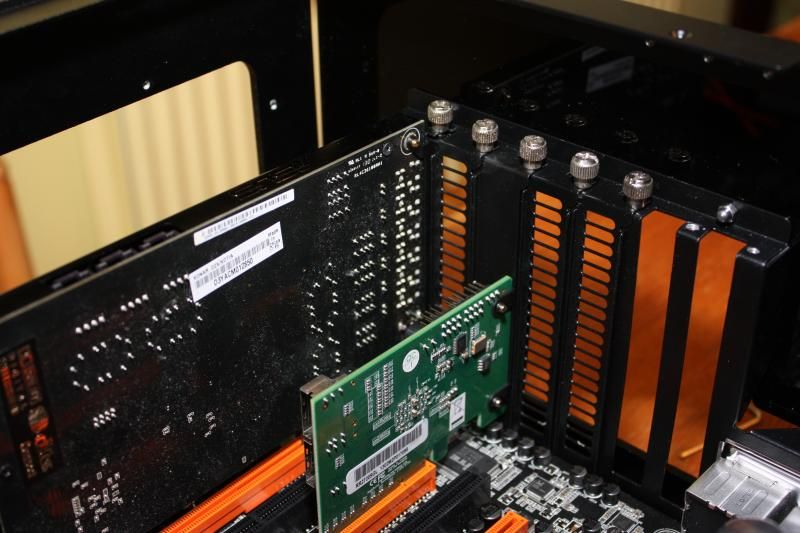
Then they all moved back into the case.

IMG_3265.jpg

IMG_3267.jpg


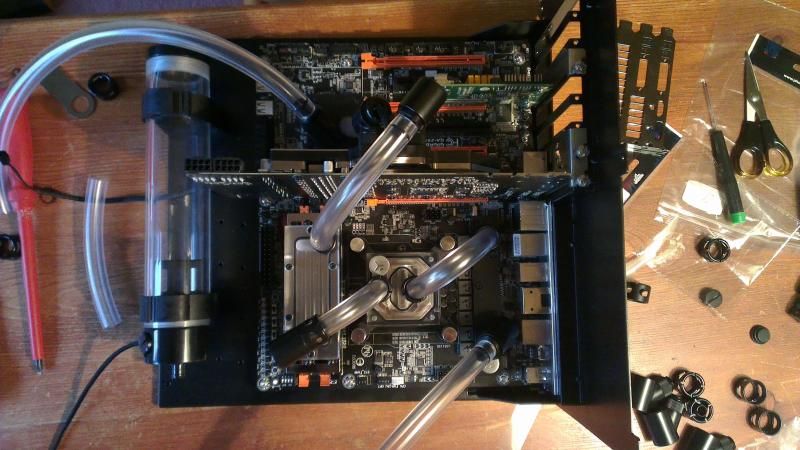
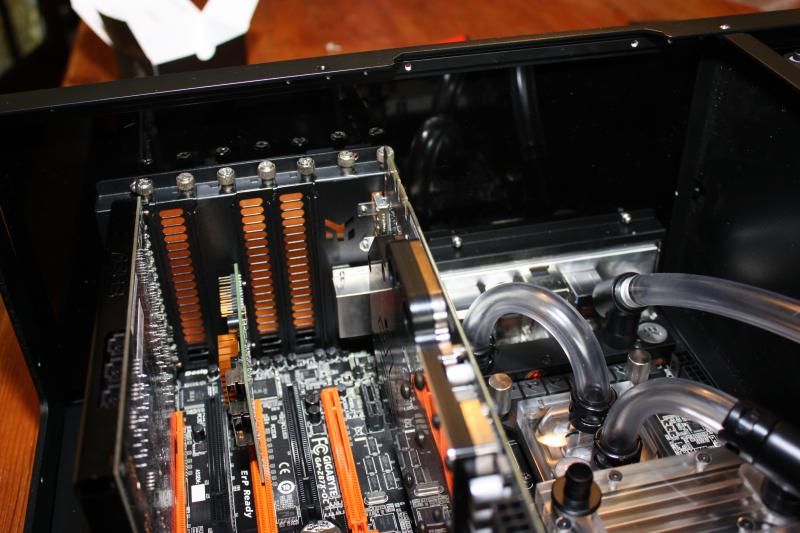
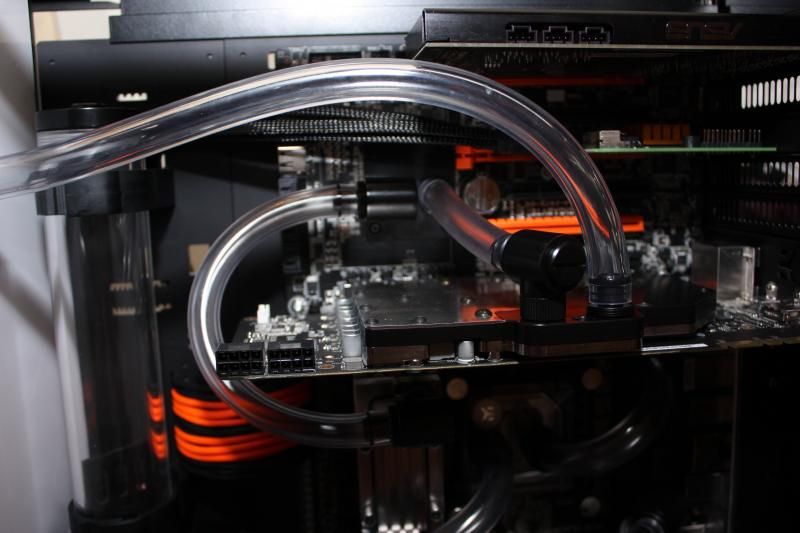
This is the point where I decided I really didn't like the fitting setup on the graphics card so I reconfigured the loop design. Instead of going from the RAM block up and over into the GPU, I decided to go around and into the second motherboard block first.

IMG_3268.jpg


Then it was time to sit and burn my fingers some more.

IMG_3276.jpg


I'm never sleeving a PSU again!
But I suppose it does look nice in the case.

IMG_3273.jpg


And that wrapped up Sunday.
Monday I took to drilling holes through the lightbox, after reading lots of horror stories about cracked acrylic on the internet I got prepared!
I purchased a 20mm hole saw, drilled a pilot hole through all 3 pieces at once very slowly with some water splashed in the hole to make sure it didn't heat up.
Once through I dismantled and carefully set to drilling each piece with the hole saw, thankfully it all went fine, unfortunately I didn't think to take any photos of the process so all you get is a few photos of the lightbox back together and back in the case.

IMG_3277.jpg

IMG_3280.jpg

IMG_3296.jpg


O and I did find that the Bitspower fill ports aren't long enough to go through the lightbox, then I was like "I'm sure Hukkel used these!" checked his thread to find he tried to and had the same issue!
So as per Hukkel's information I have some of the longer Alphacool ones on the way.

Anyway That's it for now, I've either got to get my stuff together and start making the 5.25 panel, midplate and all the fan covers or speak to Patuga at Coldzero again.

Here's one last parting photo for now.

IMG_3293.jpg
 
Thanks a lot for the positive responses guys, all ways nice.

That's looking like a really clean build - may I ask why you've gone for an inverted ATX setup? It seems to me like that's a desirable setup, since you'll actually be able to see the GPU, but are there other reasons beyond aesthetics?

Supposedly it should give better heat dissipation than a standard ATX layout, but my main reason was that I wanted to be able to see my handy work rather than have the window facing a wall :)
 
Is that paracord sleeving there Mole?

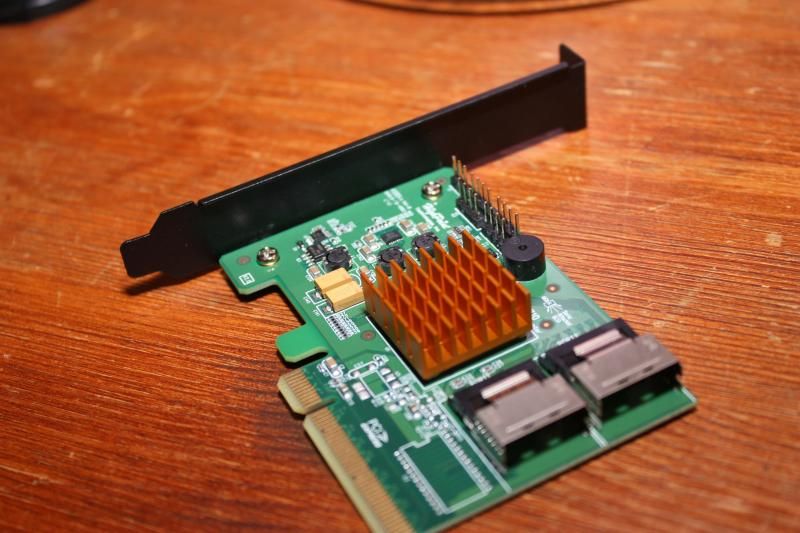
Yep, I've used paracord for the PSU wires, and the visible fan wiring, then MDPC-X sata sleeve for the raid card cable and sata cable for the DVD drive, unfortunatly I have to make all of those black as the orange from MDPC-X was miles brighter than the orange paracord I had.
 
OK quick update for now.

I have mostly been waiting for the last custom parts from Coldzero still, taking a fair bit of time due to his massive waiting list, But I got bored and ordered just the mid-plate so I could try to finish the loop and get to testing of that.

So I drilled the mid-plate ready to receive the two fittings for the tubing to run through, same process as the light-box just a lot quicker and easier seems it was a single sheet of black acrylic.
I then sat and fitted all the fitted and tightened them all down with the Primoflex tube rather than the XSPC tubing I was using as I think it looks a lot clearer and nicer.

IMG_3298.jpg


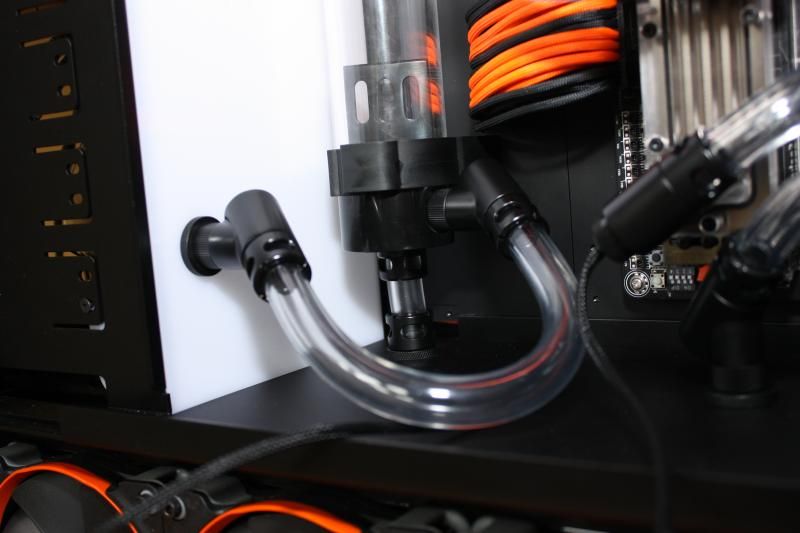
This was all going well until I got to this fitting below the reservoir, as I tightened it got crazy tight and wouldn't go any farther, I tried to undo it but no luck and the fitting just unscrewed from the bulkhead adaptor.
I then proceeded to try all sorts to undo it, the story ended fairly abruptly when I was using a large screwdriver across the top of the barb in the groves and unscrewing that way, all of a sudden it moved! turns out the barb split in half :(.

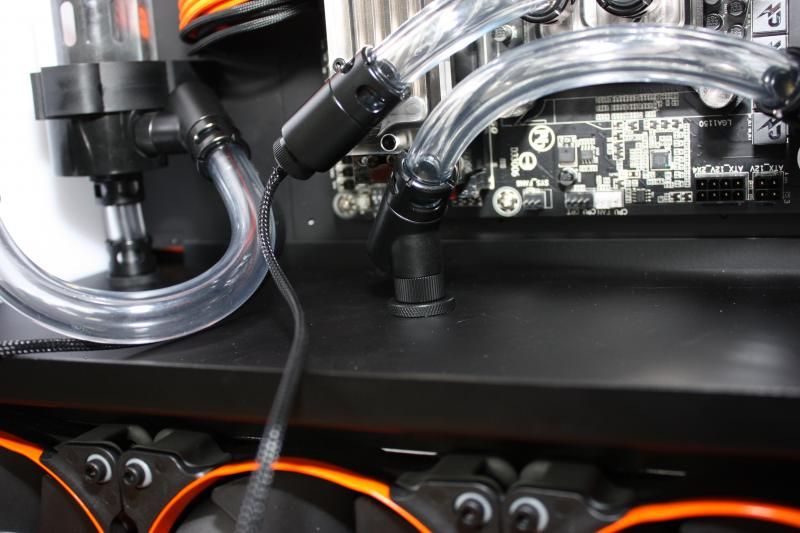
So now I've ordered another Monsoon matt Black fitting and I also picked up a few 90 degree EK fittings to make the radiator connections a lot neater down below.

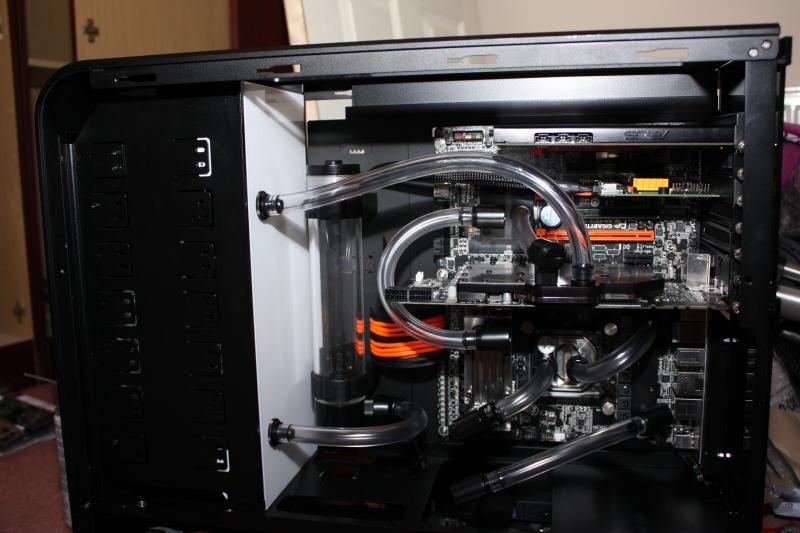
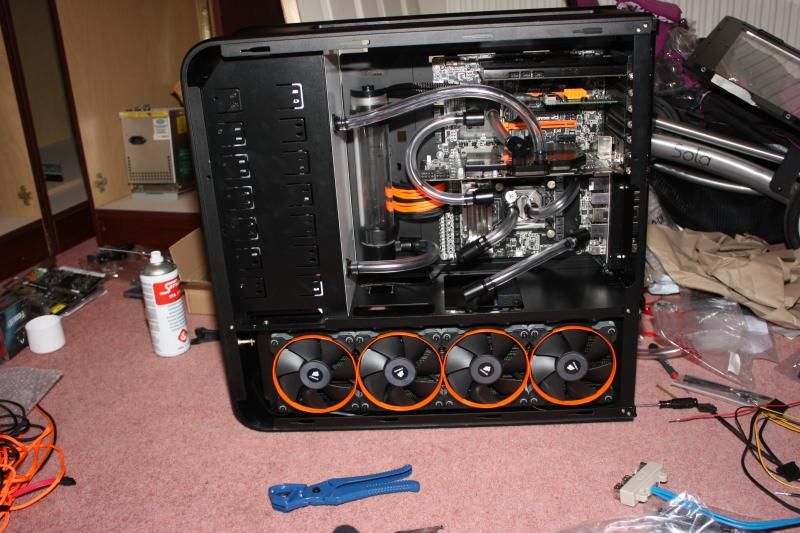
But for now I took a fitting from down below and sorted the reservoir fitting out so now the main compartment all looks good.

IMG_3300.jpg


IMG_3302.jpg


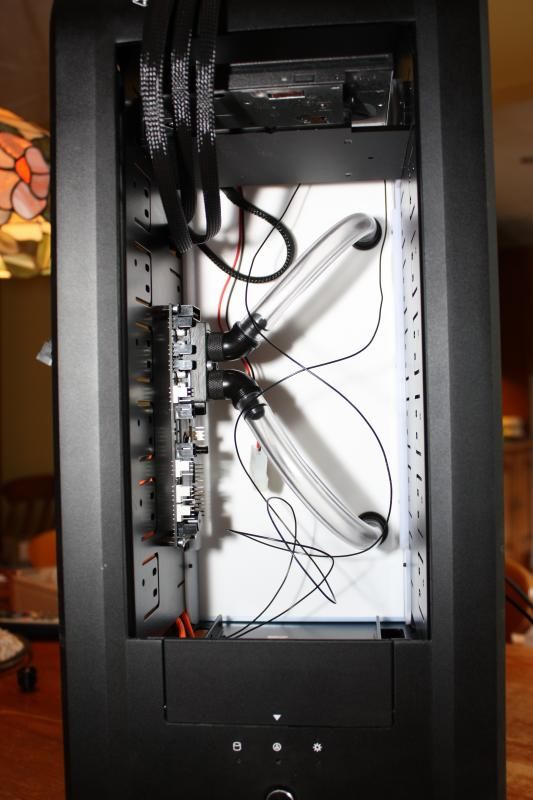
O and I sorted out the front compartment tubing as well!

IMG_3303.jpg


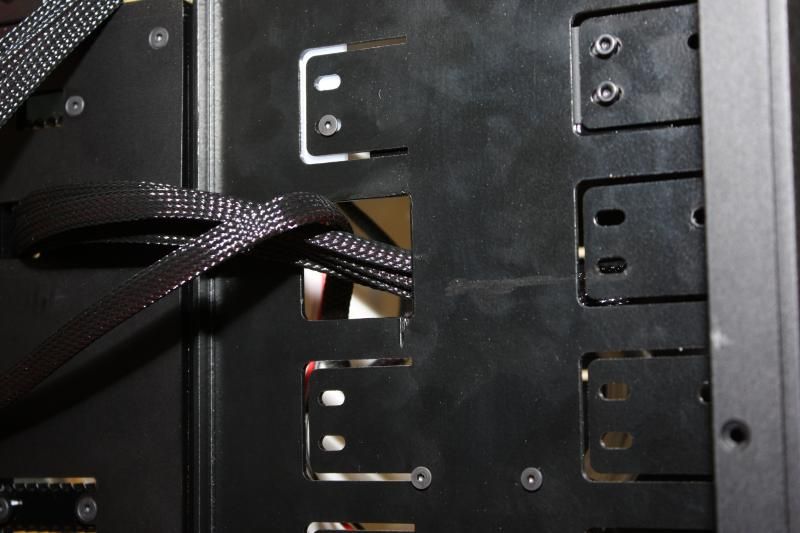
And here is a little picture of the hole I cut in the 5.25 panel before to route the SATA cables for the DVD drive and the SSDs.

IMG_3305.jpg


Unfortunately that is it for now, New fittings and such are due tomorrow so Hopefully I can follow this up with another update soon and finally get the liquid flowing!
 
Back
Top Bottom