Build Log - TJ07B - Initium Novum

OK here is the update as promised!

To start off I received the replacement fittings and the EK 90 degree fittings I ordered bang on time - woo for ocuk!

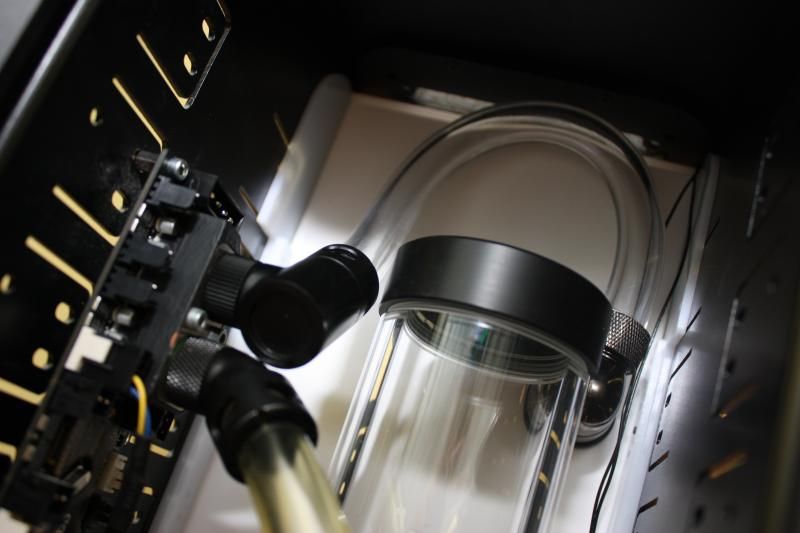
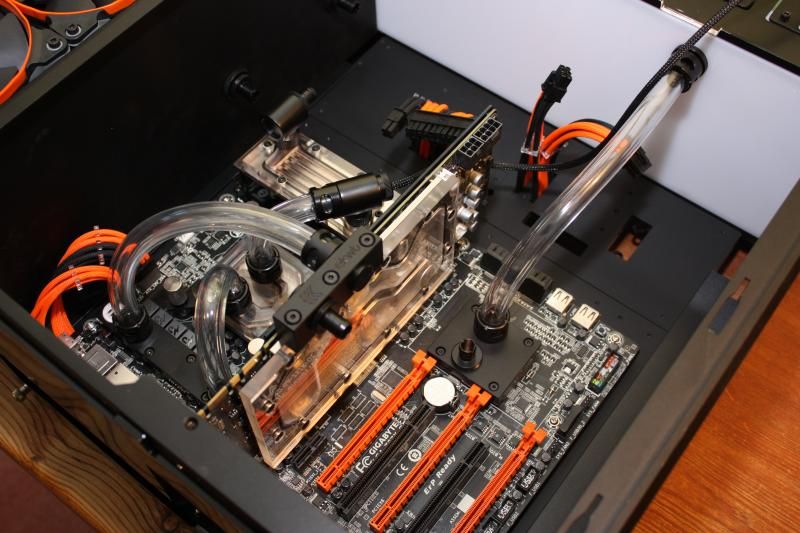
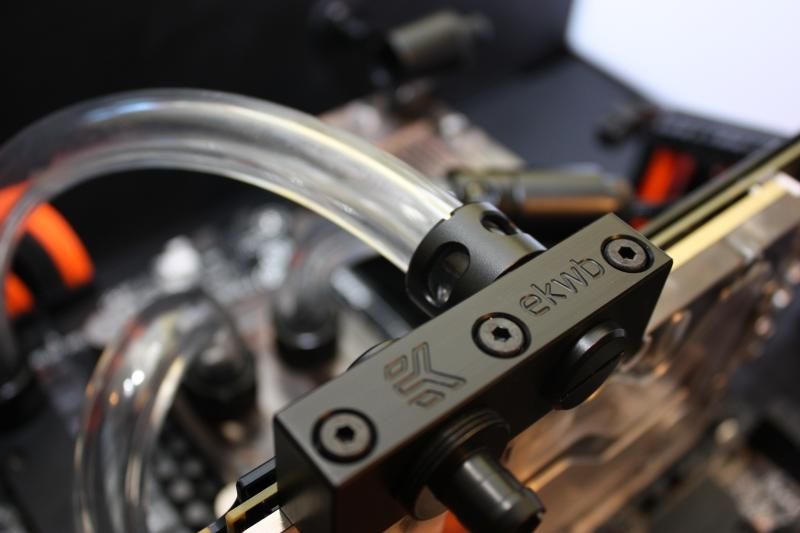
Here's a picture of the EK fittings with a monsoon fitting attached, actually looks really smart in my opinion, may be something I use more of next time I do a build.

IMG_3308.jpg


Then all the fittings installed into the rad compartment of the case.

IMG_3310.jpg


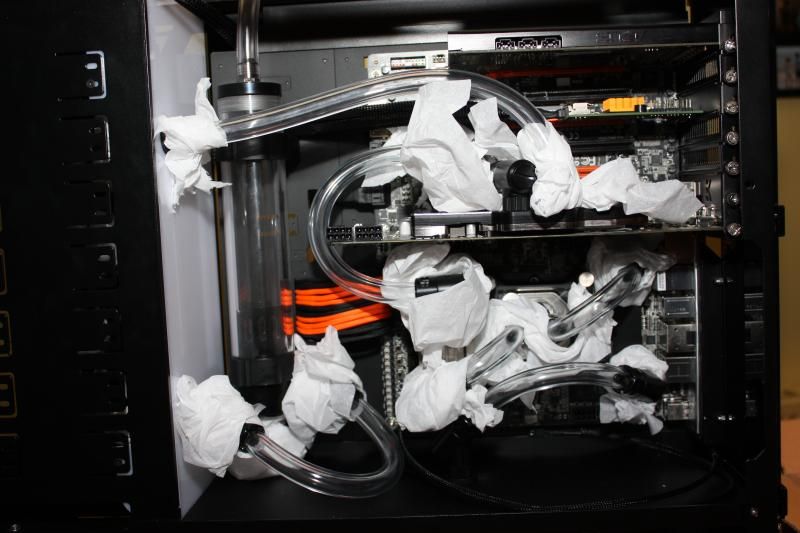
And this meant I finally had a complete loop! Time to leak test!

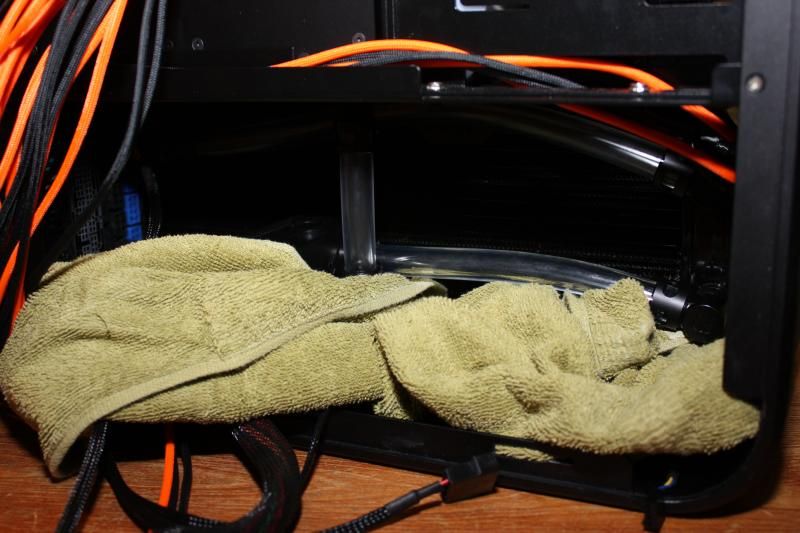
All wrapped up and ready to hopefully stay dry.
IMG_3312.jpg

IMG_3313.jpg


Unfortunately it turned out I had a leak from the temperature sensor that was installed into the back of the reservoir at the back, a complete ass to get to, but as it turned out it was leaking not from the thread but from where the temperature probe went through and then running down the cable, not very impressed so need to contact Monsoon about that one.

So swapped out that temperature sensor and rebuild that section of the loop, filled it back up with pure water and continued to leak test, this time we were all good so onto the fun stuff!

Drained the water and filled with Mayhems Pastel.

IMG_3315.jpg

IMG_3320.jpg

IMG_3321.jpg


And a close up of the light-box in action.
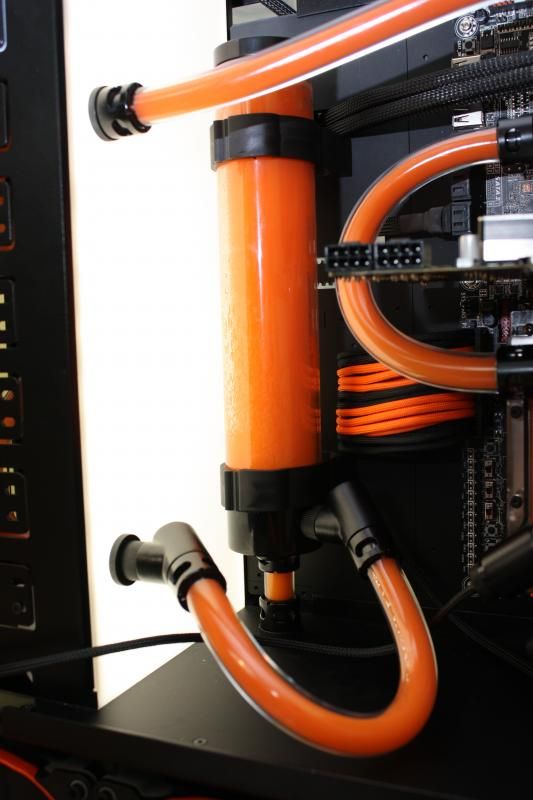
IMG_3322.jpg


The front panel illuminated. unfortunately the picture really doesn't show how bright it glows.
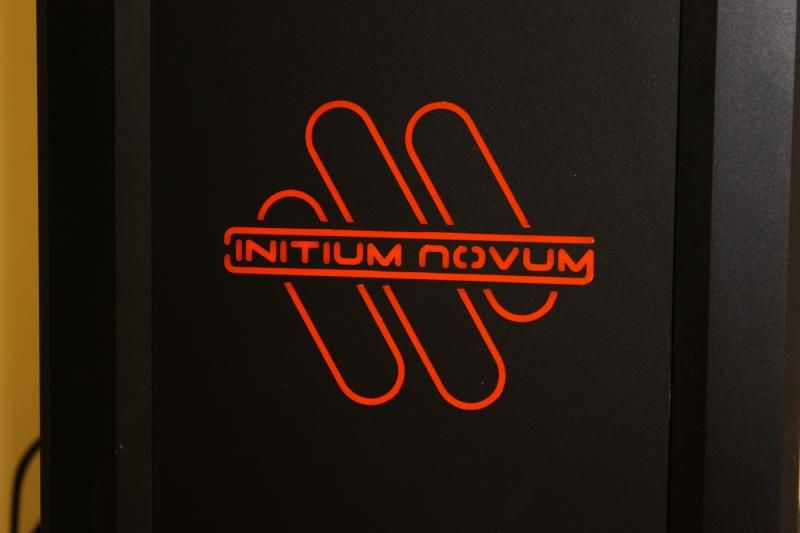
IMG_3323.jpg


And an overall picture of the article so far.

IMG_3327.jpg


Tonight I've been back to sleeving more cables and carefully threading more cables in, planning to have it up and running to see some temperatures before the week is out.
 
Last edited:
I've been really terrible at thanking everyone for their positive responses and comments, It is really appreciated! I just get far to engrossed in writing the updates I completely forget to type the segments I had planned after reading all your input.

Fantastic! Making me want to do a wc build more and more. Subbed.

Thanks very much Mr Critchley!
 
Just a quick update, I finished off some more cabling and got the PC up and running, had a quick mess around and had it at 4.6GHz although it seems to want a lot of volts to be happy there.

46.png


I'll try to take a few more photos tomorrow and let you know how my playing with the clock goes.
 
Just a quick update, Not much has happened unfortunately, still just stuck in the queue with Coldzero trying to clear the backlog.

Temps are still fine and I'm mostly working with voltages to try and push the overclock a bit further with out that much luck so far but I haven't had a huge amount of time to work on it anyway.

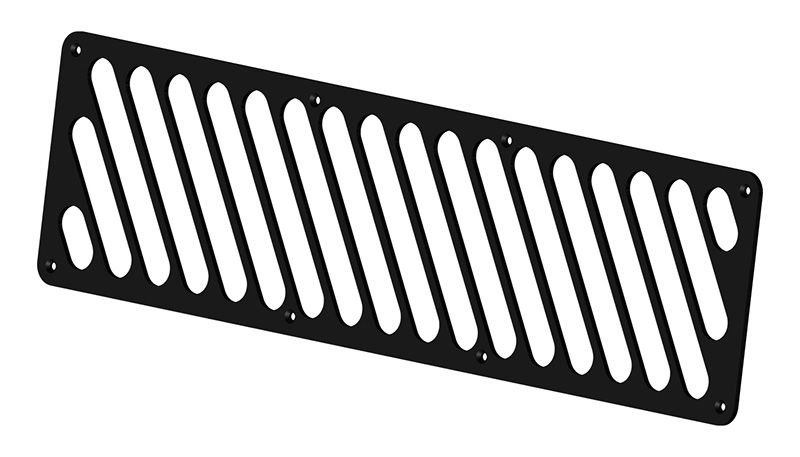
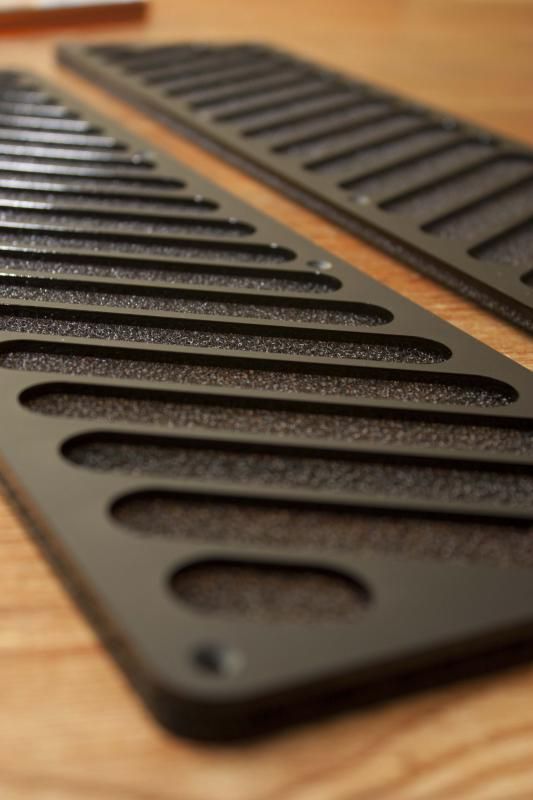
I do have this so show you, It's a render of the fan grills for the side, plan is to use orange LED strips to make them glow from the inside once installed, just waiting on the other parts to be completed before I order because I cant realy afford the postage multiple times at the moment :(

Side-grills-Andrew.jpg
 
The grill looks great and suits your theme very well.

Thanks, Ricardo at Coldzero really does turn out some great stuff even if you just go to him with a simple sketch of what you want!

Wow, that looks really nice! Great job!

Great stuff as usual :)

Thanks very much guys.

I have decided that now is the time for the 580 to get replaced, the allure of the 780ti is just too great! So now I'm just waiting for the news from EK that their block for the 'ti' is out, that or maybe if Bitspower bring out a block soonish I may go for one of their black tinted blocks. We'll see what turns up first :).
 
Well here's a small update, progress on this really has slowed down :(

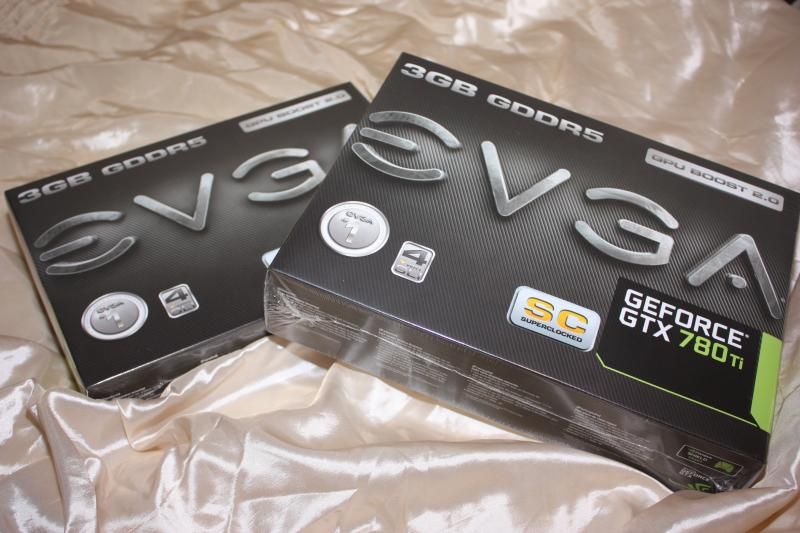
But I do have two 780 Ti's :)

IMG_3391.jpg


Originally I had hoped I may be able to just move the 580 out of the way and leave it in the loop until my 780 Ti blocks arrived but it wouldn't move anywhere near enough. So I had to fully drain the loop.
And for now it looks like this!

IMG_3397.jpg


Then I have some good news and some bad news.

Good news is my Nickel EK GTX 780 Ti blocks have been shipped, hoping they may turn up tomorrow seems I'm off work and should be able to rebuild the loop then, on that line of stuff I also bought some Clear Mayhems and Yellow, Orange and Deep Red dye so should be interesting to see how to clear coolant looks. O and I ordered the EK backplates too!

Bad news is Coldzero is closed until at least January now, So in an attempt to get this build finished sometime in the foreseeable future I have sent an email to ModWithMe to see if they can produce the custom parts I still need to get my dirty little hands on. I'll update as soon as I hear back.

That's all for now folks, hopefully pretty pictures soon.
 
Loving the colour scheme, looks awesome.

May I ask how you braided those cables without seeing the heatshrink? Did you use 550 paracord?

Thanks, can't beat a bit of orange!

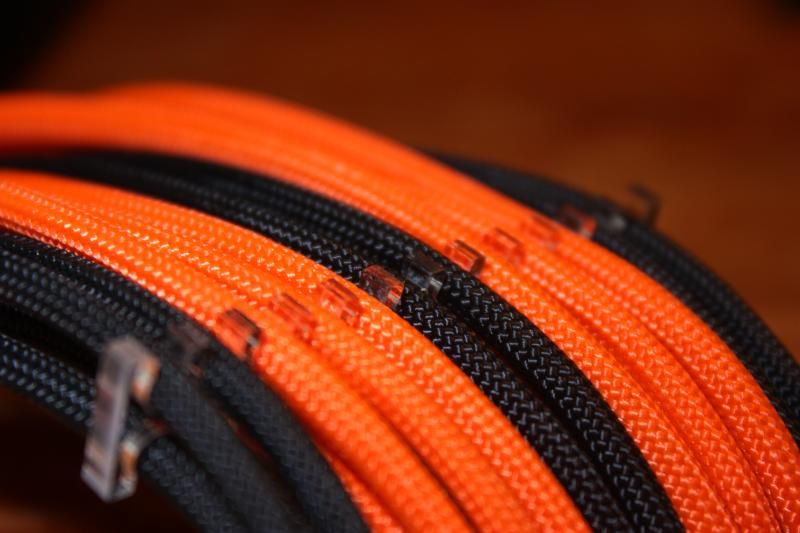
The sleeving is 550 paracord using the method they call heatshrinkless!
You can see Lutro0's guide on doing it here.

I much prefer the look of the heatshrinkless style to the heatshrink showing, trying to figure out a way to hide my power switch connections and the Sata connectors at the moment.
 
Build looks great so far. As a heads up we do offer a clean plexi top for the RAM blocks, but your custom one turned out pretty great too :)

Good to know for next time!


Unfortunately I haven't had an opportunity to put the new 780ti blocks in, have been under the weather and too busy mostly, and now I'm going skiing for a week on Friday but I will definitely get some progress here over the Christmas break.
 
Massively long overdue update, long story short I've finally got the custom parts I've been waiting on from Coldzero, I've also got a new 240mm rad due to arrive tomorrow which I plan to install in the bottom compartment to provide extra cooling for the GPUs.

With the Easter weekend almost upon us I should have plenty of time to actually get this build completed so without further ado here is a tiny bit of work and a few nice teaser photos.

IMG_3627.jpg


IMG_3630.jpg


IMG_3636.jpg


IMG_3632.jpg


IMG_3637.jpg
 
Yep, I'm working on an update.
I got some done last weekend, stripped the case right down and did some cuts for running cables, also fitted the new 240 rad in the bottom which then changed some of my plans. So I've ordered some bits, unfortunately I haven't had a chance to do anymore cos I've been rather I'll this week, hoping to get a lot more done this weekend so should have a bug update, with pictures then.
 
I've been busy, It's still not up and running again so I've got a camera full of photos and lots to update you on.

Quick run down of what I've been up to, Fitted the new 240mm rad in the bottom section, this meant I had to move the pump, decided I was going to move it into the front bays which also meant I would either need to change the routing out of the bottom of the reservoir to keep the pump below the res or move the res as well. Decided I would move the res into the front as well but obviously the old res Is far too big so I picked up an EK pump/res combo.

I've then been organising the new loop with new tubing because the old tubing had been stained orange and I'm going to use Mayhems X1 Clear with dye this time around so wanted fresh tubing.

Had some fun in the front bays getting everything to fit, fan controller, pump/res, slim dvd drive and all the tubing is a rather tight fit, It turns out I'm going to have to fill the loop then put the DVD drive in afterwards.

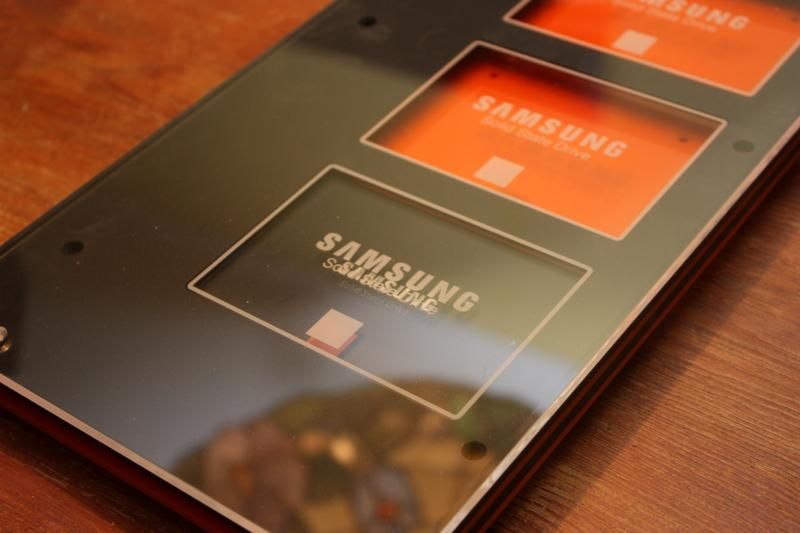
Also done a bit of work with the SSD mount panel, Had to purchase some rounded Sata cables so I can route them behind the panel, turned out the new cables had chunkier connectors that wouldn't fit so I sat and carefully trimmed away rubber until they were all more streamlined (Hope they all still work.) Also sat and made the Sata power cables as well.

I also stumbled across the fact that my old mid plate needed to be replaced due to the positions of the old holes, so I ordered a new one last week and got the email today that it's on its way, crossing my fingers that this should finally be the last piece of the puzzle that allows me to finally get this build finished.

Maybe I should have planned something simpler for my first build log and water cooling loop :D Have got the bug now though and have all ready been thinking of ideas for my next project.
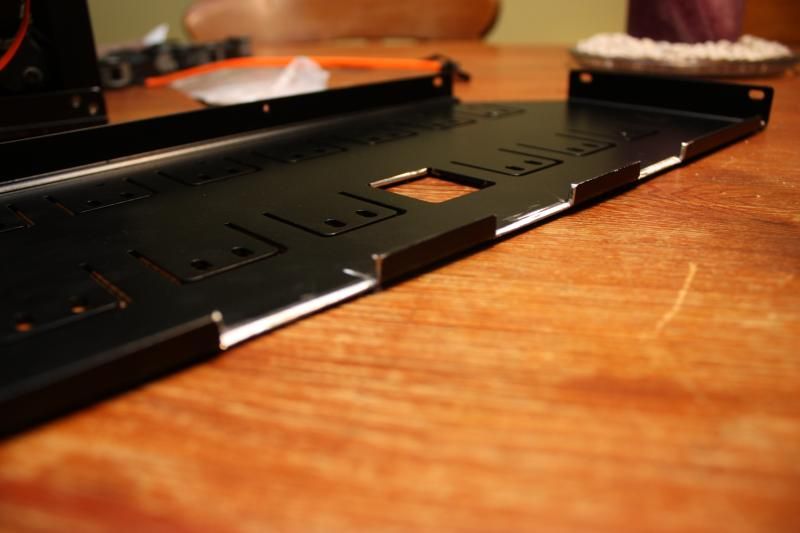
 
Just a quick heads up, Leak testing of new loop complete, running clear at the moment for a few days to clean the remnants of the pastel out of the components, 35 Photos uploading at the moment and then I'll be sitting and writing up some stuff to go along side them.

ETA 1 hour I hope.
 
Ok, here it is!

Lets start with the SSD mount, First I've cut out some slots in the side panel for cable routing.

IMG_3641.jpg


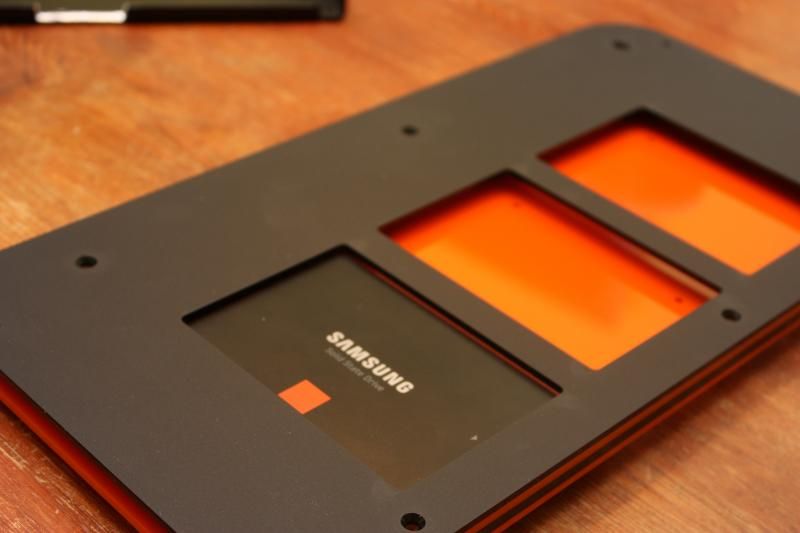
Then we start to build up the layers.

IMG_3645.jpg

IMG_3647.jpg

IMG_3648.jpg

IMG_3649.jpg


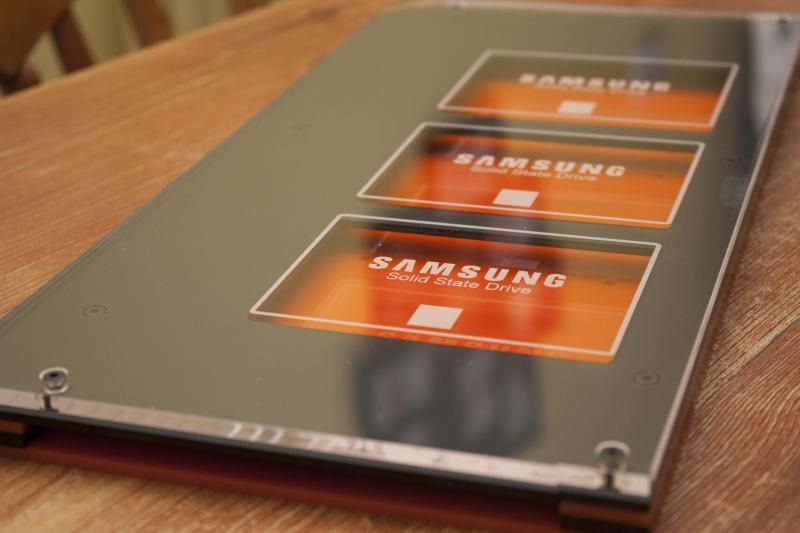
But, as you can see the etching on the clear layer doesnt actually match up with the SSD, I haven't decided yet if I should remove the text from the SSDs or get the top clear layer re-done.

IMG_3650.jpg


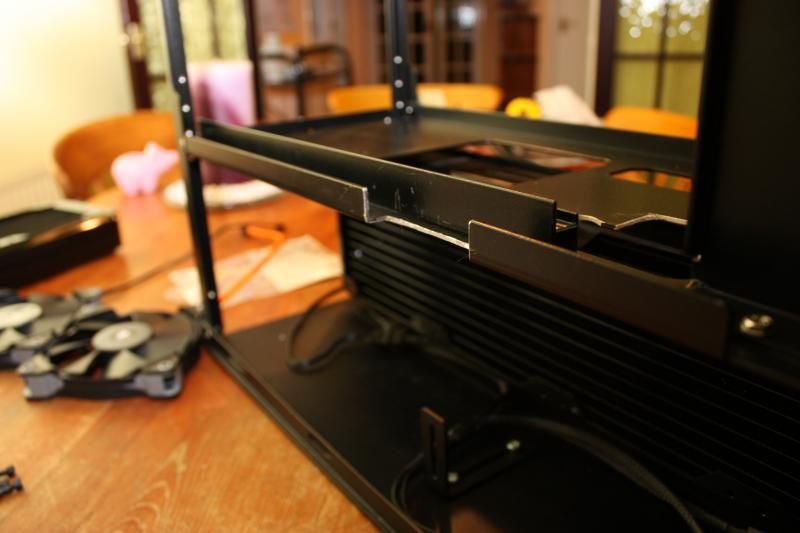
Next we move onto the additional 240mm rad in the bottom section.
Here's the rad mounts and you can see my initial cut for running cables, this had to get bigger, just so many damn cables.

IMG_3643.jpg


It's tight down there!

IMG_3655.jpg


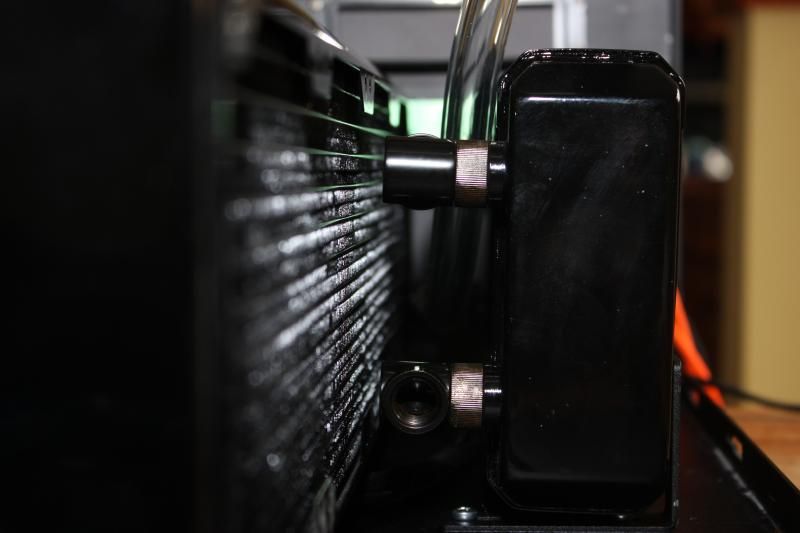
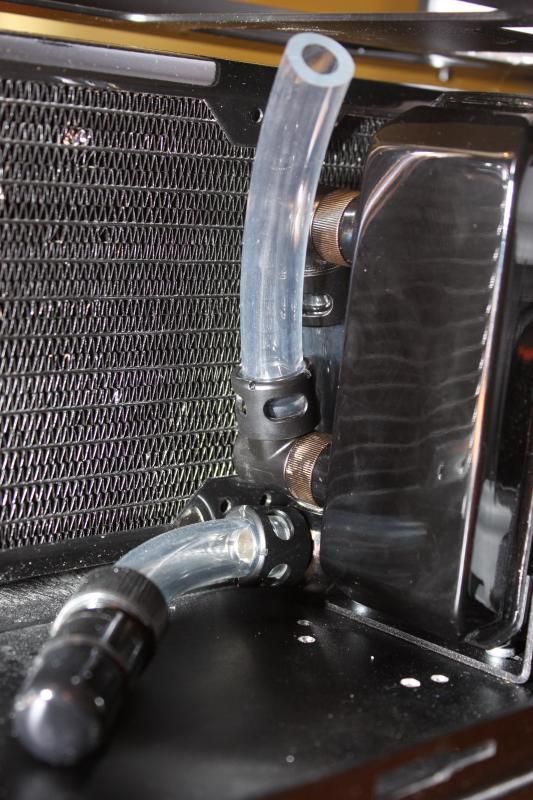
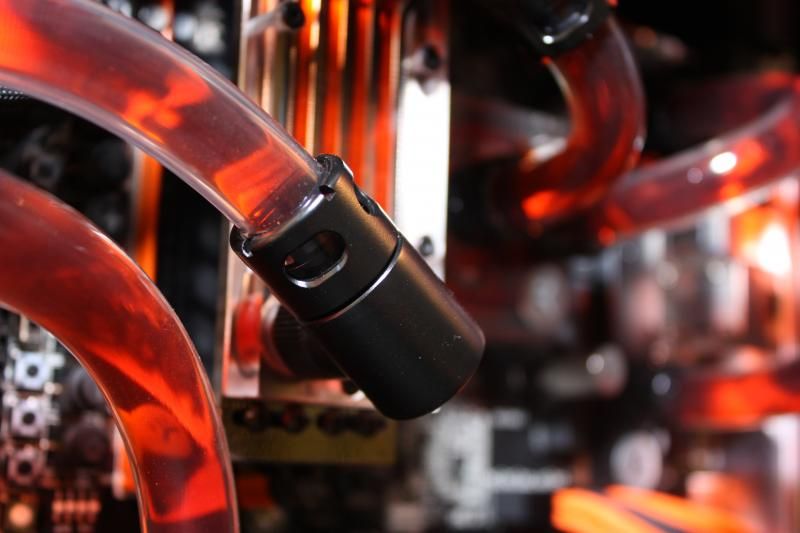
O and here is the additional monsoon fittings I had to order for the new rad, they now come with uncoated centres, this makes them a hell of a lot easier to screw down once you have the tube over but be careful If you want them to match older fittings if you're using clear fluid!

IMG_3651.jpg


The T section I've created to allow a drain port in the bottom section.

IMG_3660.jpg


And you can just about see it in position below the bottom rad fitting.

IMG_3669.jpg


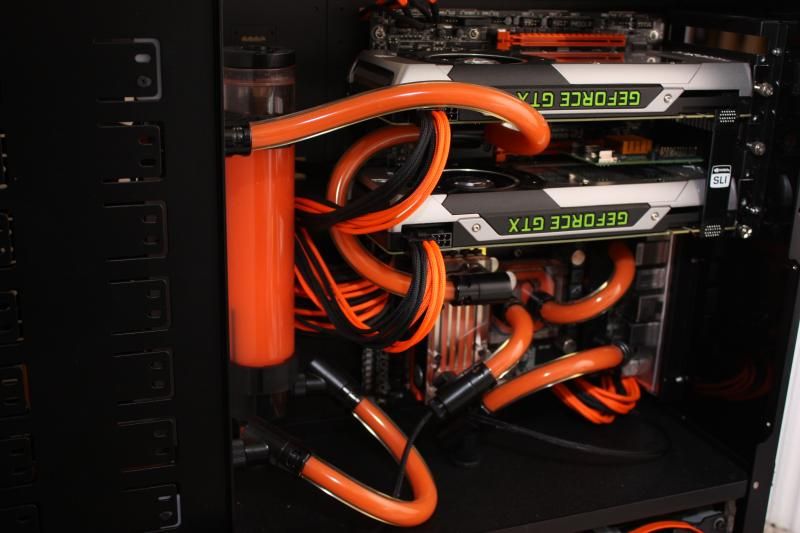
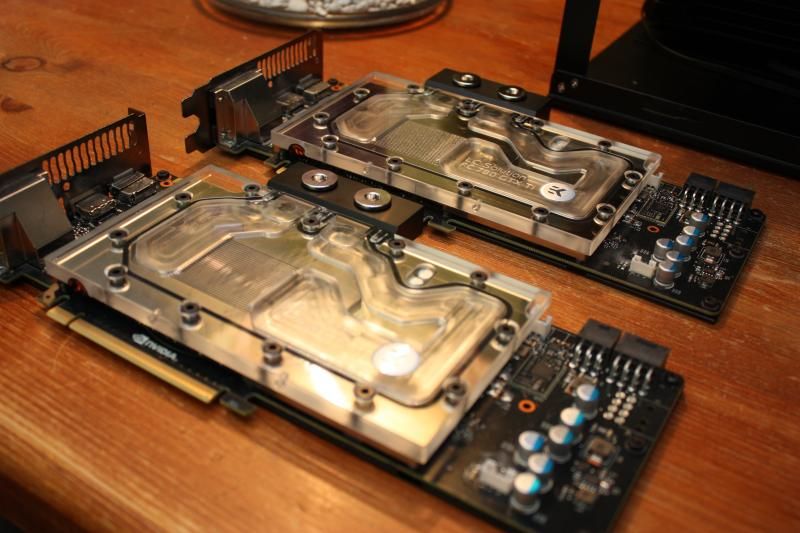
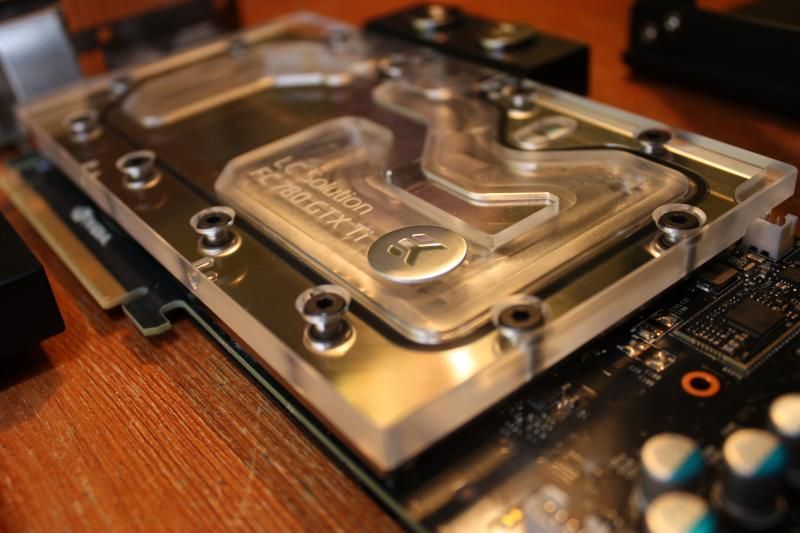
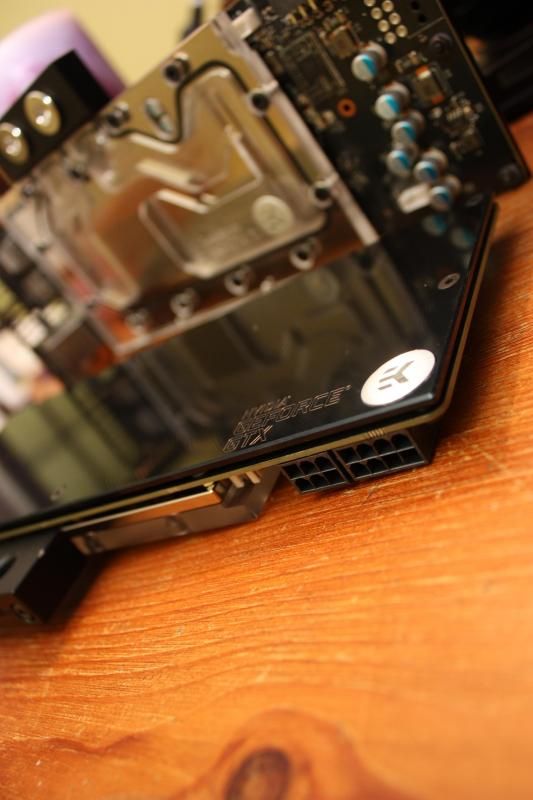
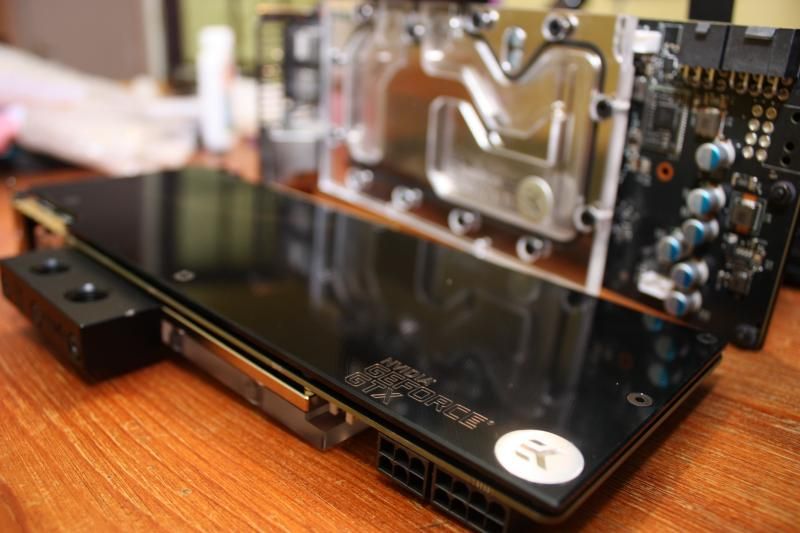
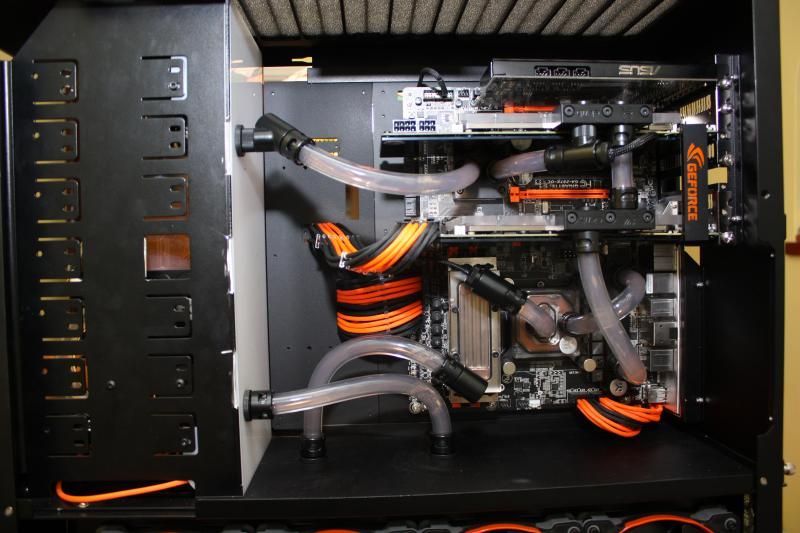
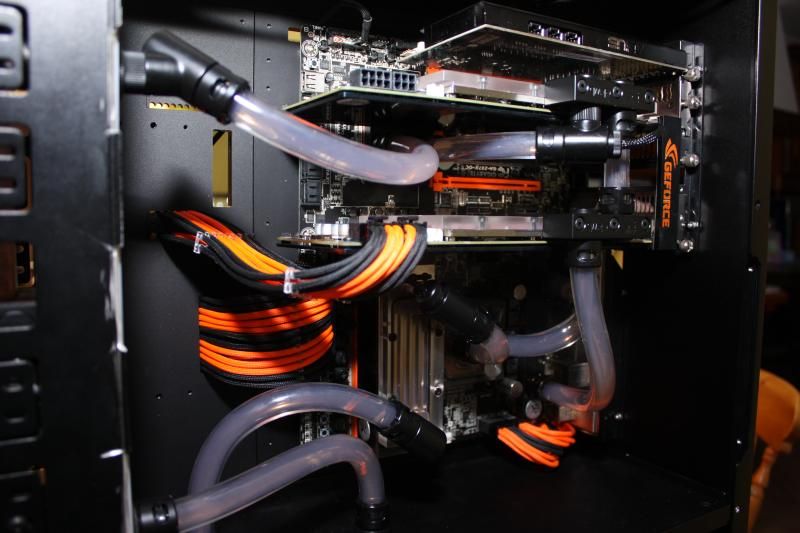
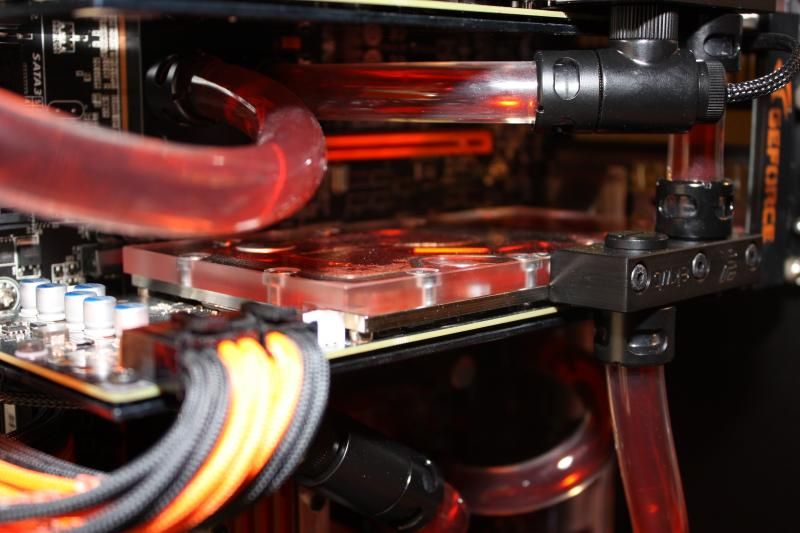
Next we move onto the GPU's I got a bit carried away when doing this so there are no progress shots but plenty of nice pics of the finished product!

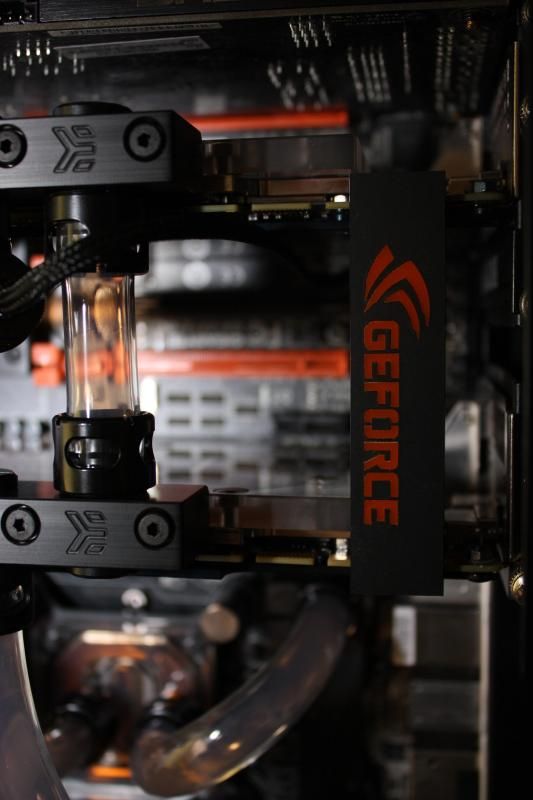
IMG_3672.jpg

IMG_3674.jpg

IMG_3677.jpg

IMG_3678.jpg

IMG_3680.jpg


Now the front section, When I thought "no problem, I'll just put the res/pump in here" I didn't think it would be anywhere near this cramped!

IMG_3664.jpg


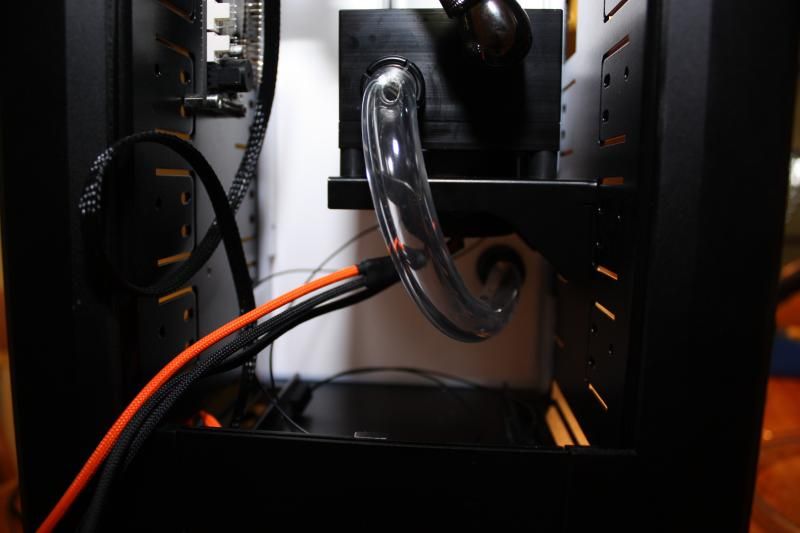
And a couple of close ups of the interesting tubing arrangements.
The top Tube had to run like this because of the Res being in between the fittings but also there is still the slim DVD drive to fit in there, Also one SSD will be mounted in the bottom of this section.

IMG_3665.jpg

IMG_3668.jpg


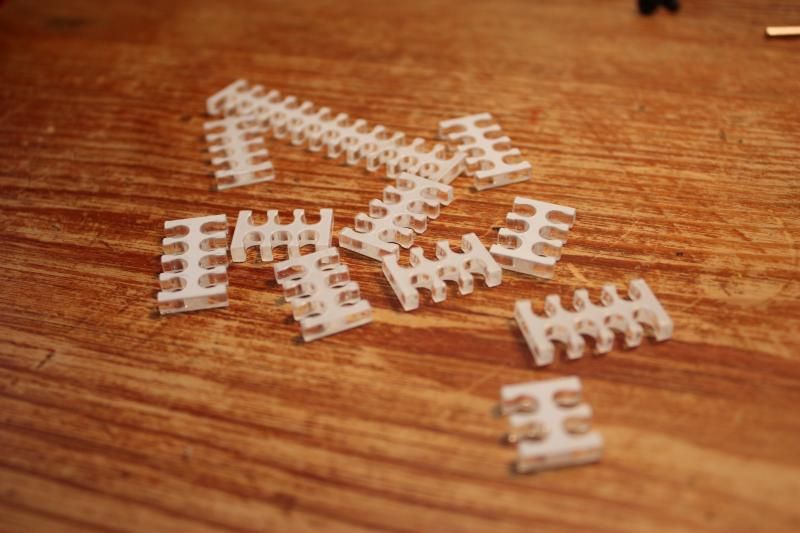
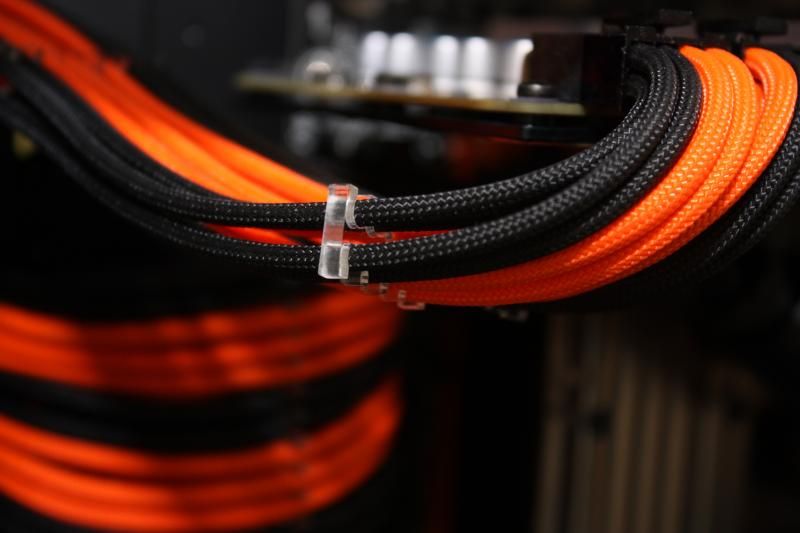
Cable Combs!

IMG_3684.jpg


They look a bit nicer when you remove that protection film!

IMG_3685.jpg


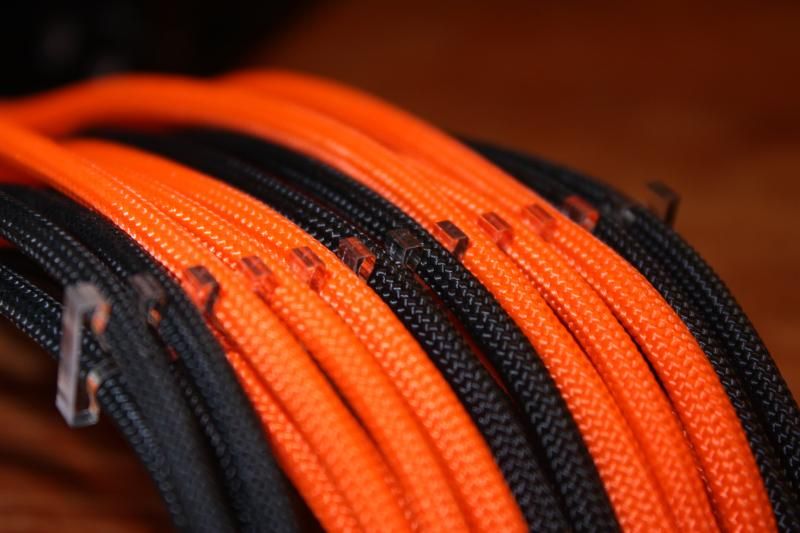
And then you put them in between some cables! Definitely worth a few pennies from E22 imo.

IMG_3690.jpg

IMG_3689.jpg

IMG_3701.jpg


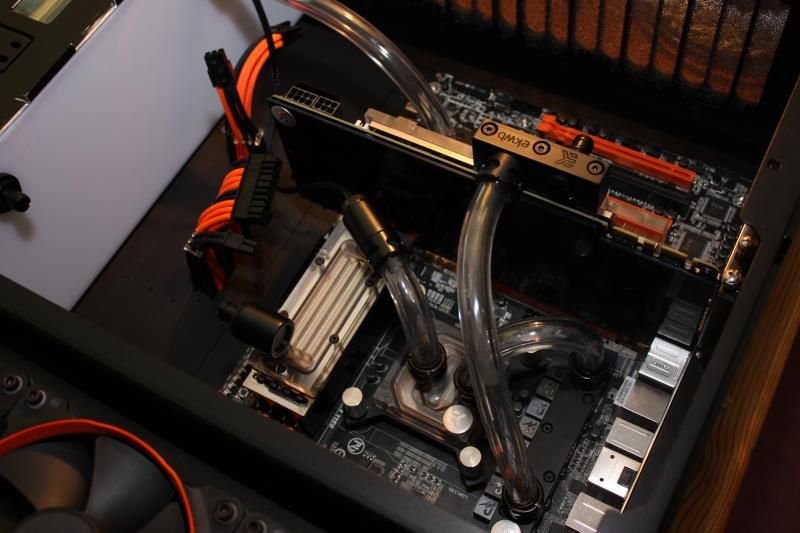
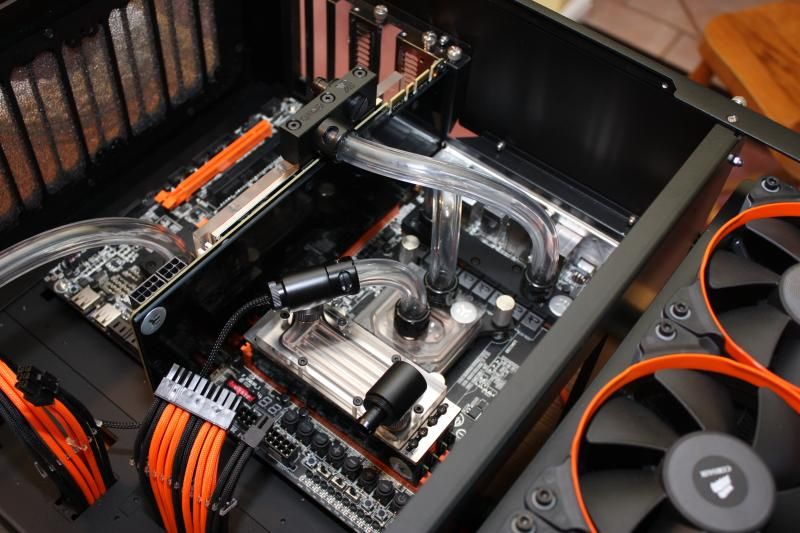
So this leads us on to putting the motherboard back into the case and building the rest of the loop, pretty self explanatory, here goes!

IMG_3691.jpg

IMG_3692.jpg

IMG_3693.jpg

IMG_3695.jpg


Cloudy fluid thanks to the remaining pastel in the loop.

IMG_3697.jpg

IMG_3700.jpg


And the nice SLI bridge that I also got from Coldzero.

IMG_3702.jpg


That's all the photos for now, going to run the system for a couple of days, the drain and refill with added colour, Should hopefully then be able to ply you with some more photos including some of the finished article!
 
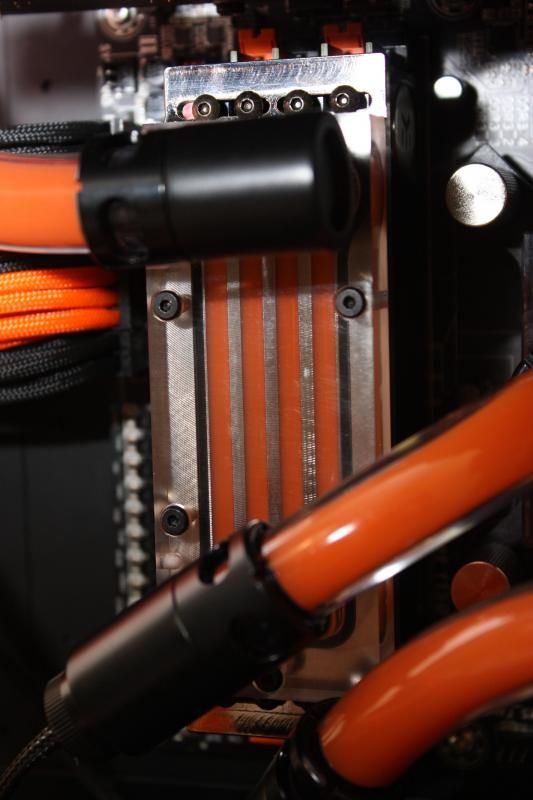
Ok so here is some pictures of the loop with coloured fluid, it's mayhems X1 Clear with dark red, Yellow and Orange dye's mixed.
Not finished the side panel yet, haven't had a huge amount of time to work on it but having issues getting the cables to fit properly, may have to cut or file some sections out of the panels to get it to all fit.
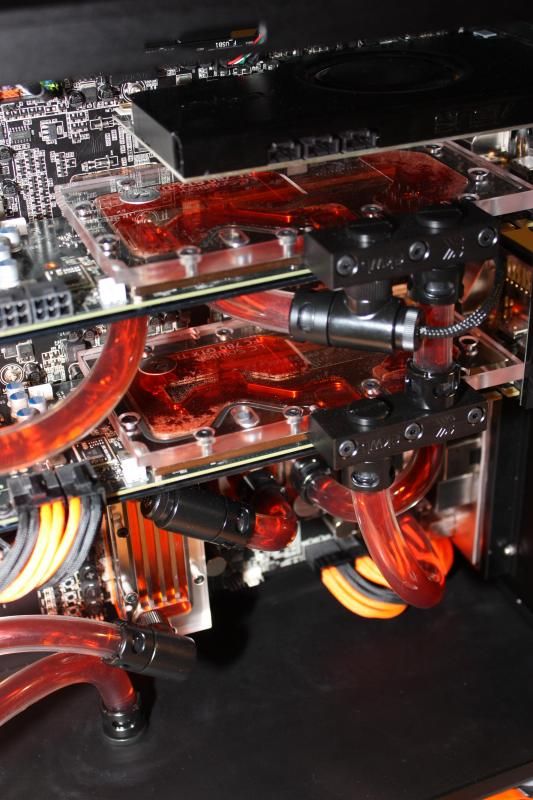
IMG_3707.jpg

IMG_3708.jpg

IMG_3713.jpg

IMG_3714.jpg

IMG_3715.jpg

IMG_3718.jpg

IMG_3721.jpg

IMG_3723.jpg


I think I still need more light in the case to make the fluid pop, probably going to try an LED strip hidden along the mid plate and one in the roof of the case hidden from view, hopefully that should fill the case with light.
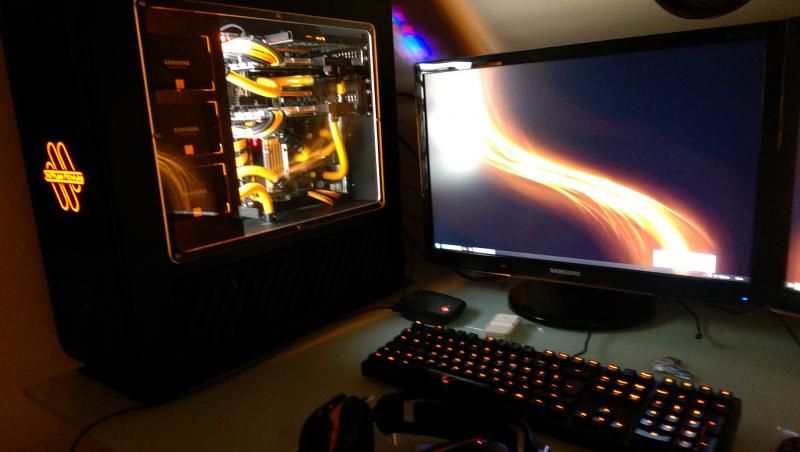
That's all for now, have made up the new longer cable 6 pin pci-e cable for the second GPU but it isn't sleeved yet. Will update at the weekend I hope!
 
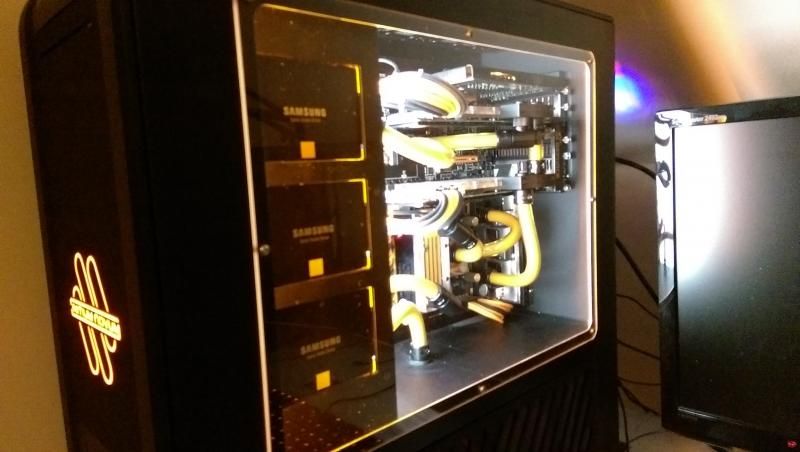
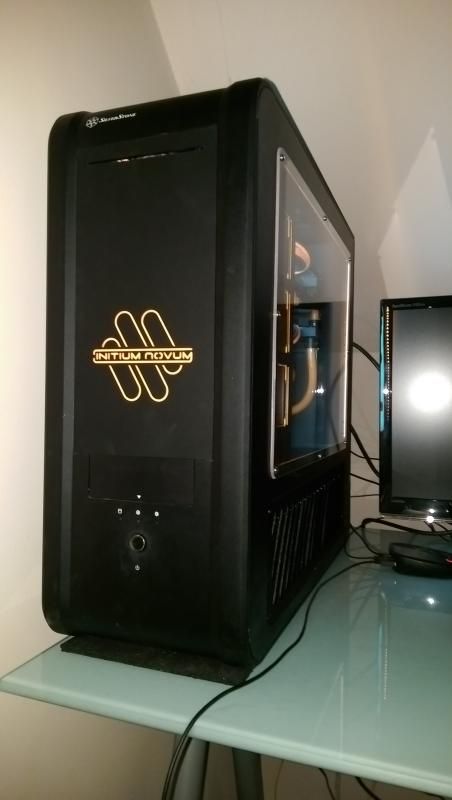
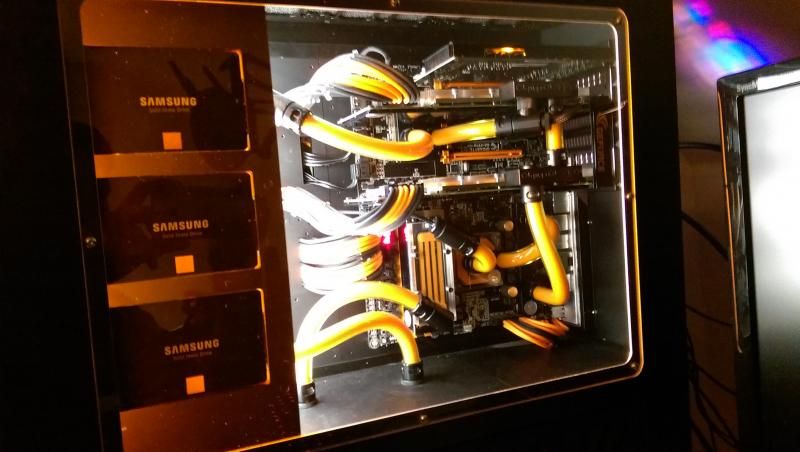
I've almost finished this finally, approaching a year late because of building work and other things slowing me down to a crawl with progress but we're very nearly there.
I've contacted Patuga over at ColdZero about getting a replacement top layer for the SSD mount and once that arrives it will be complete!

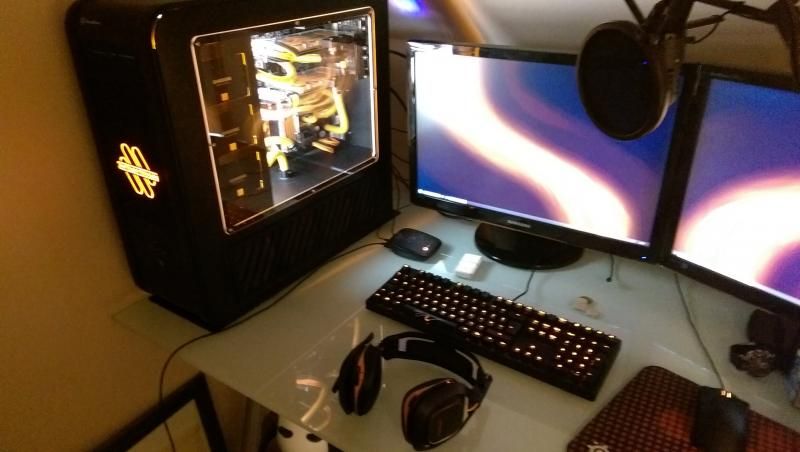
Here's a few photos of it in situ, unfortunately I seem to have lost my battery charger for my dSLR so you'll have to make do with crappy phone camera photos for now, Once I get the final part I'll take a good array of decent quality photos to show of the build.

IMAG0004.jpg

IMAG0005.jpg

IMAG0006.jpg

IMAG0007.jpg

IMAG0008.jpg
 
Back
Top Bottom