[Buildlog] GAME HARD, FOLD HARDER

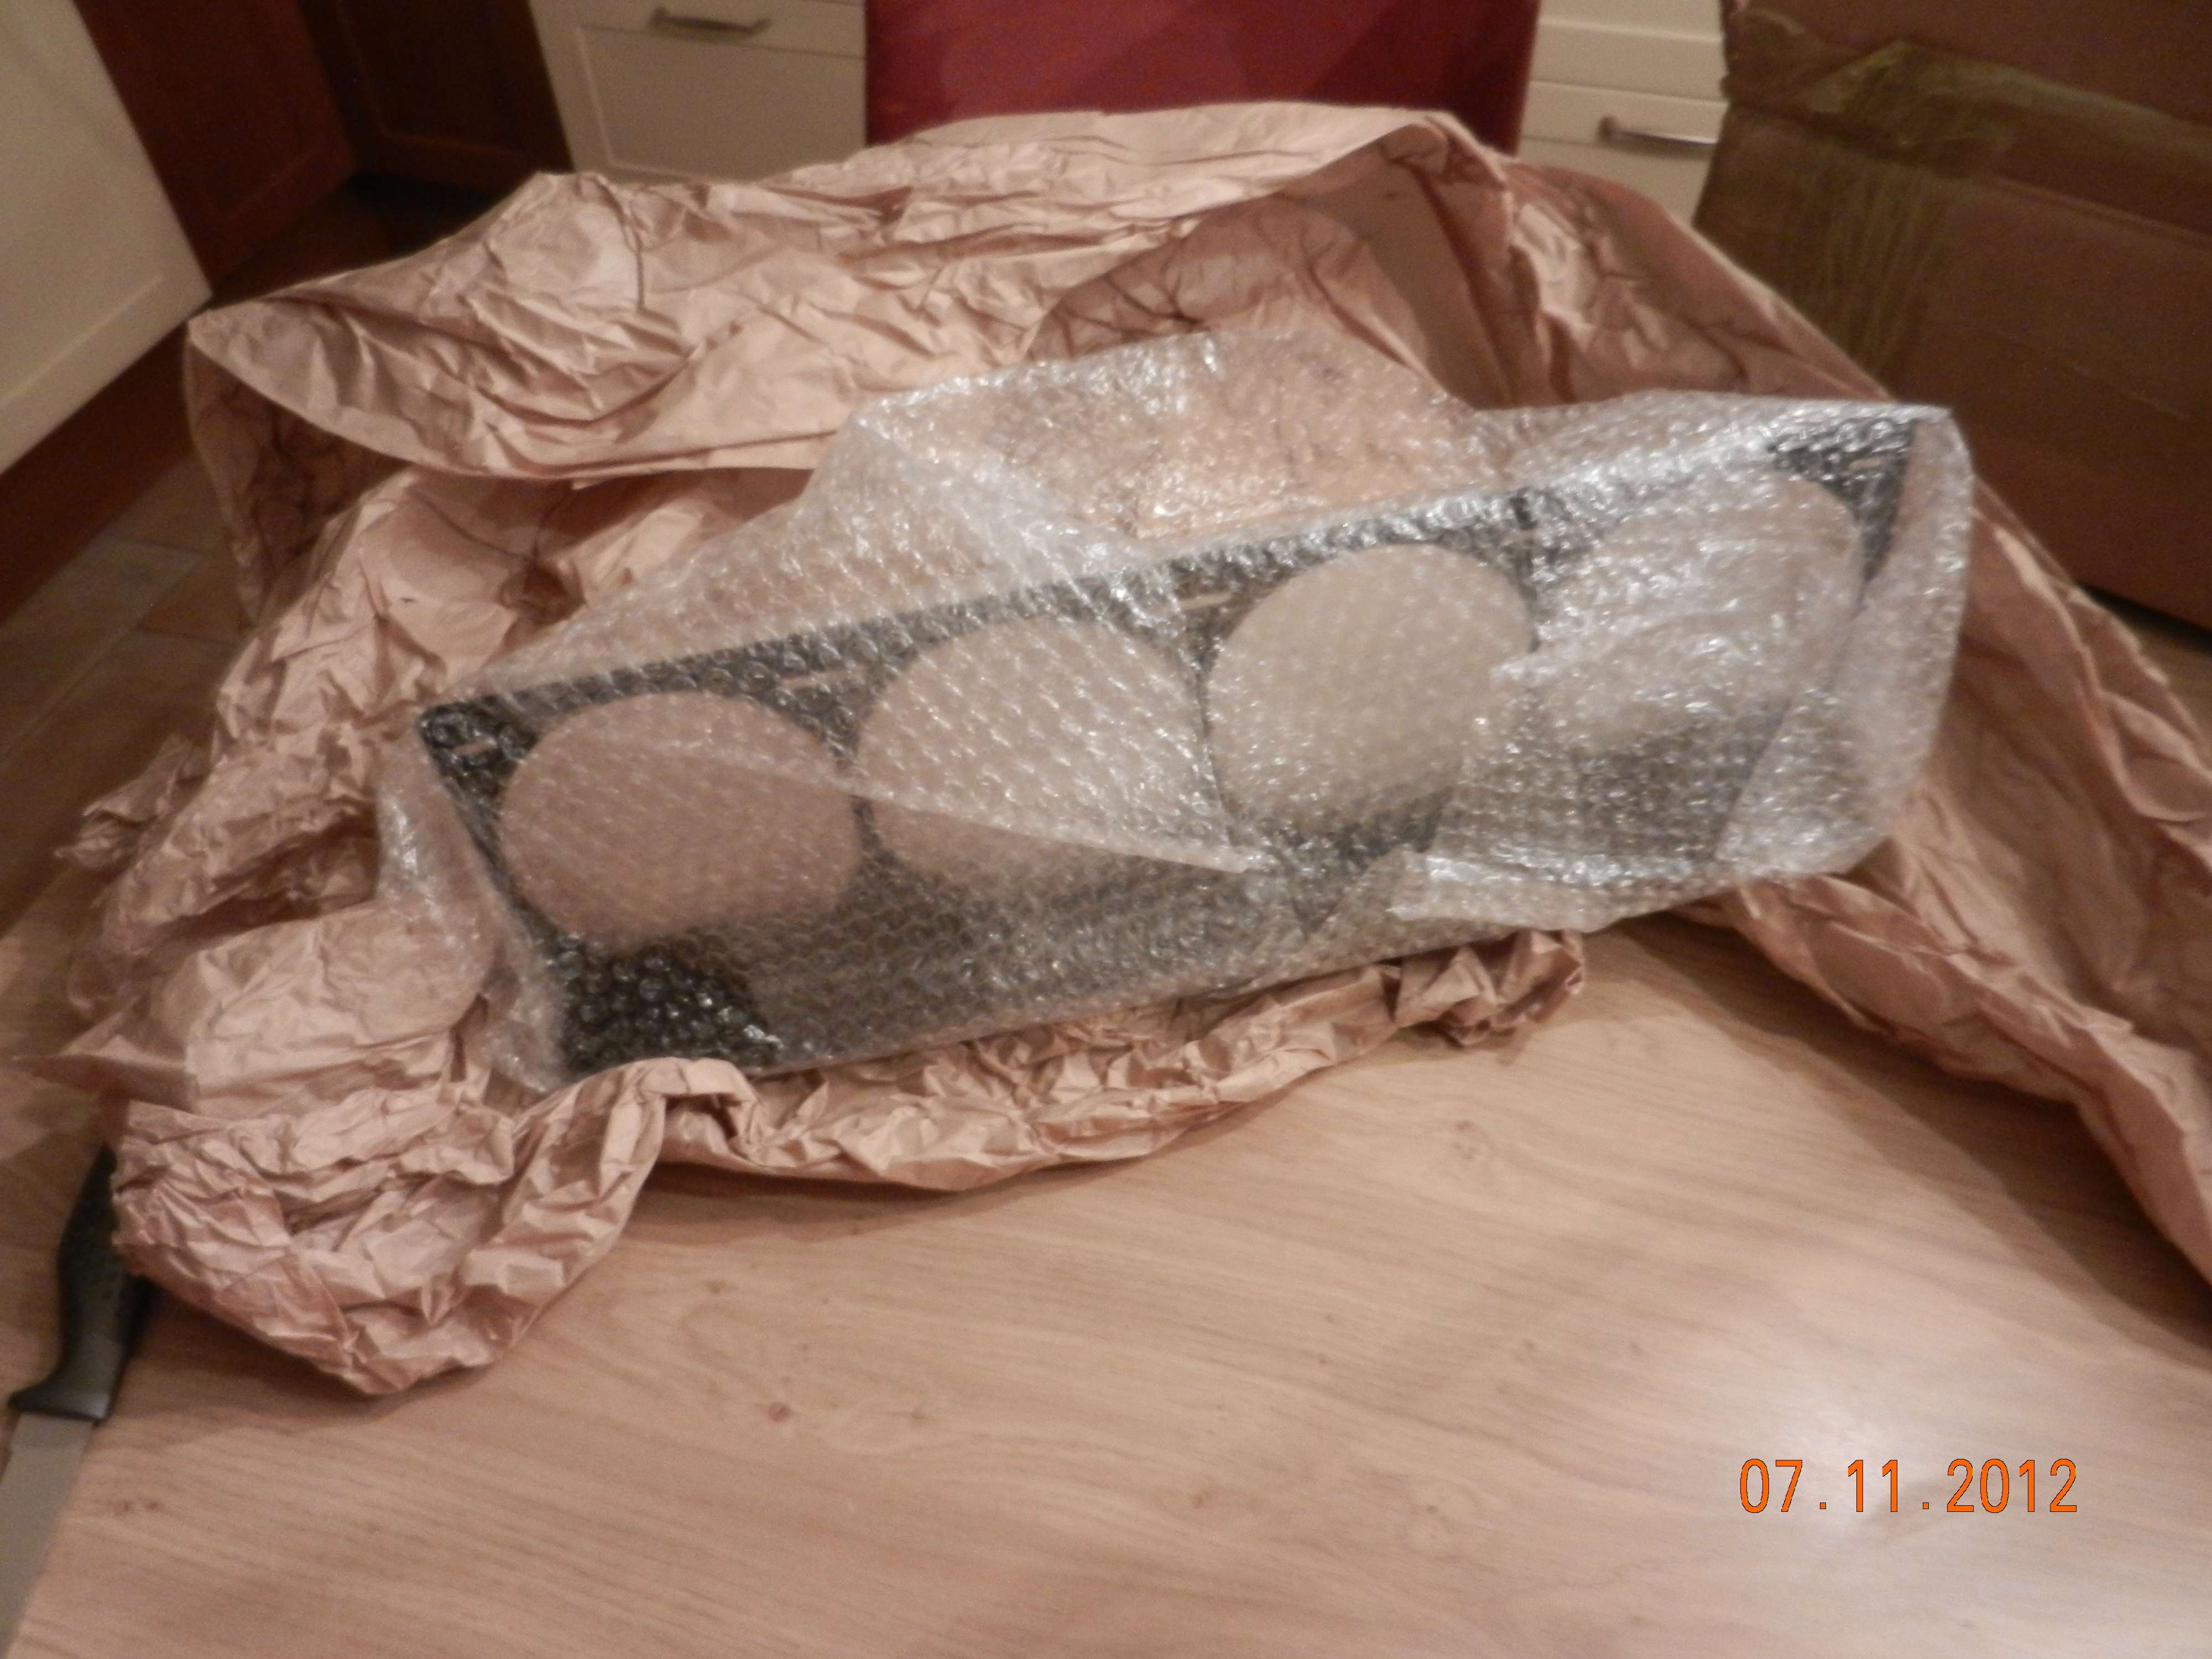
And then FINALLY something arrived for the United States of Americana. Unboxing whooooooooooooo exiting!!!!
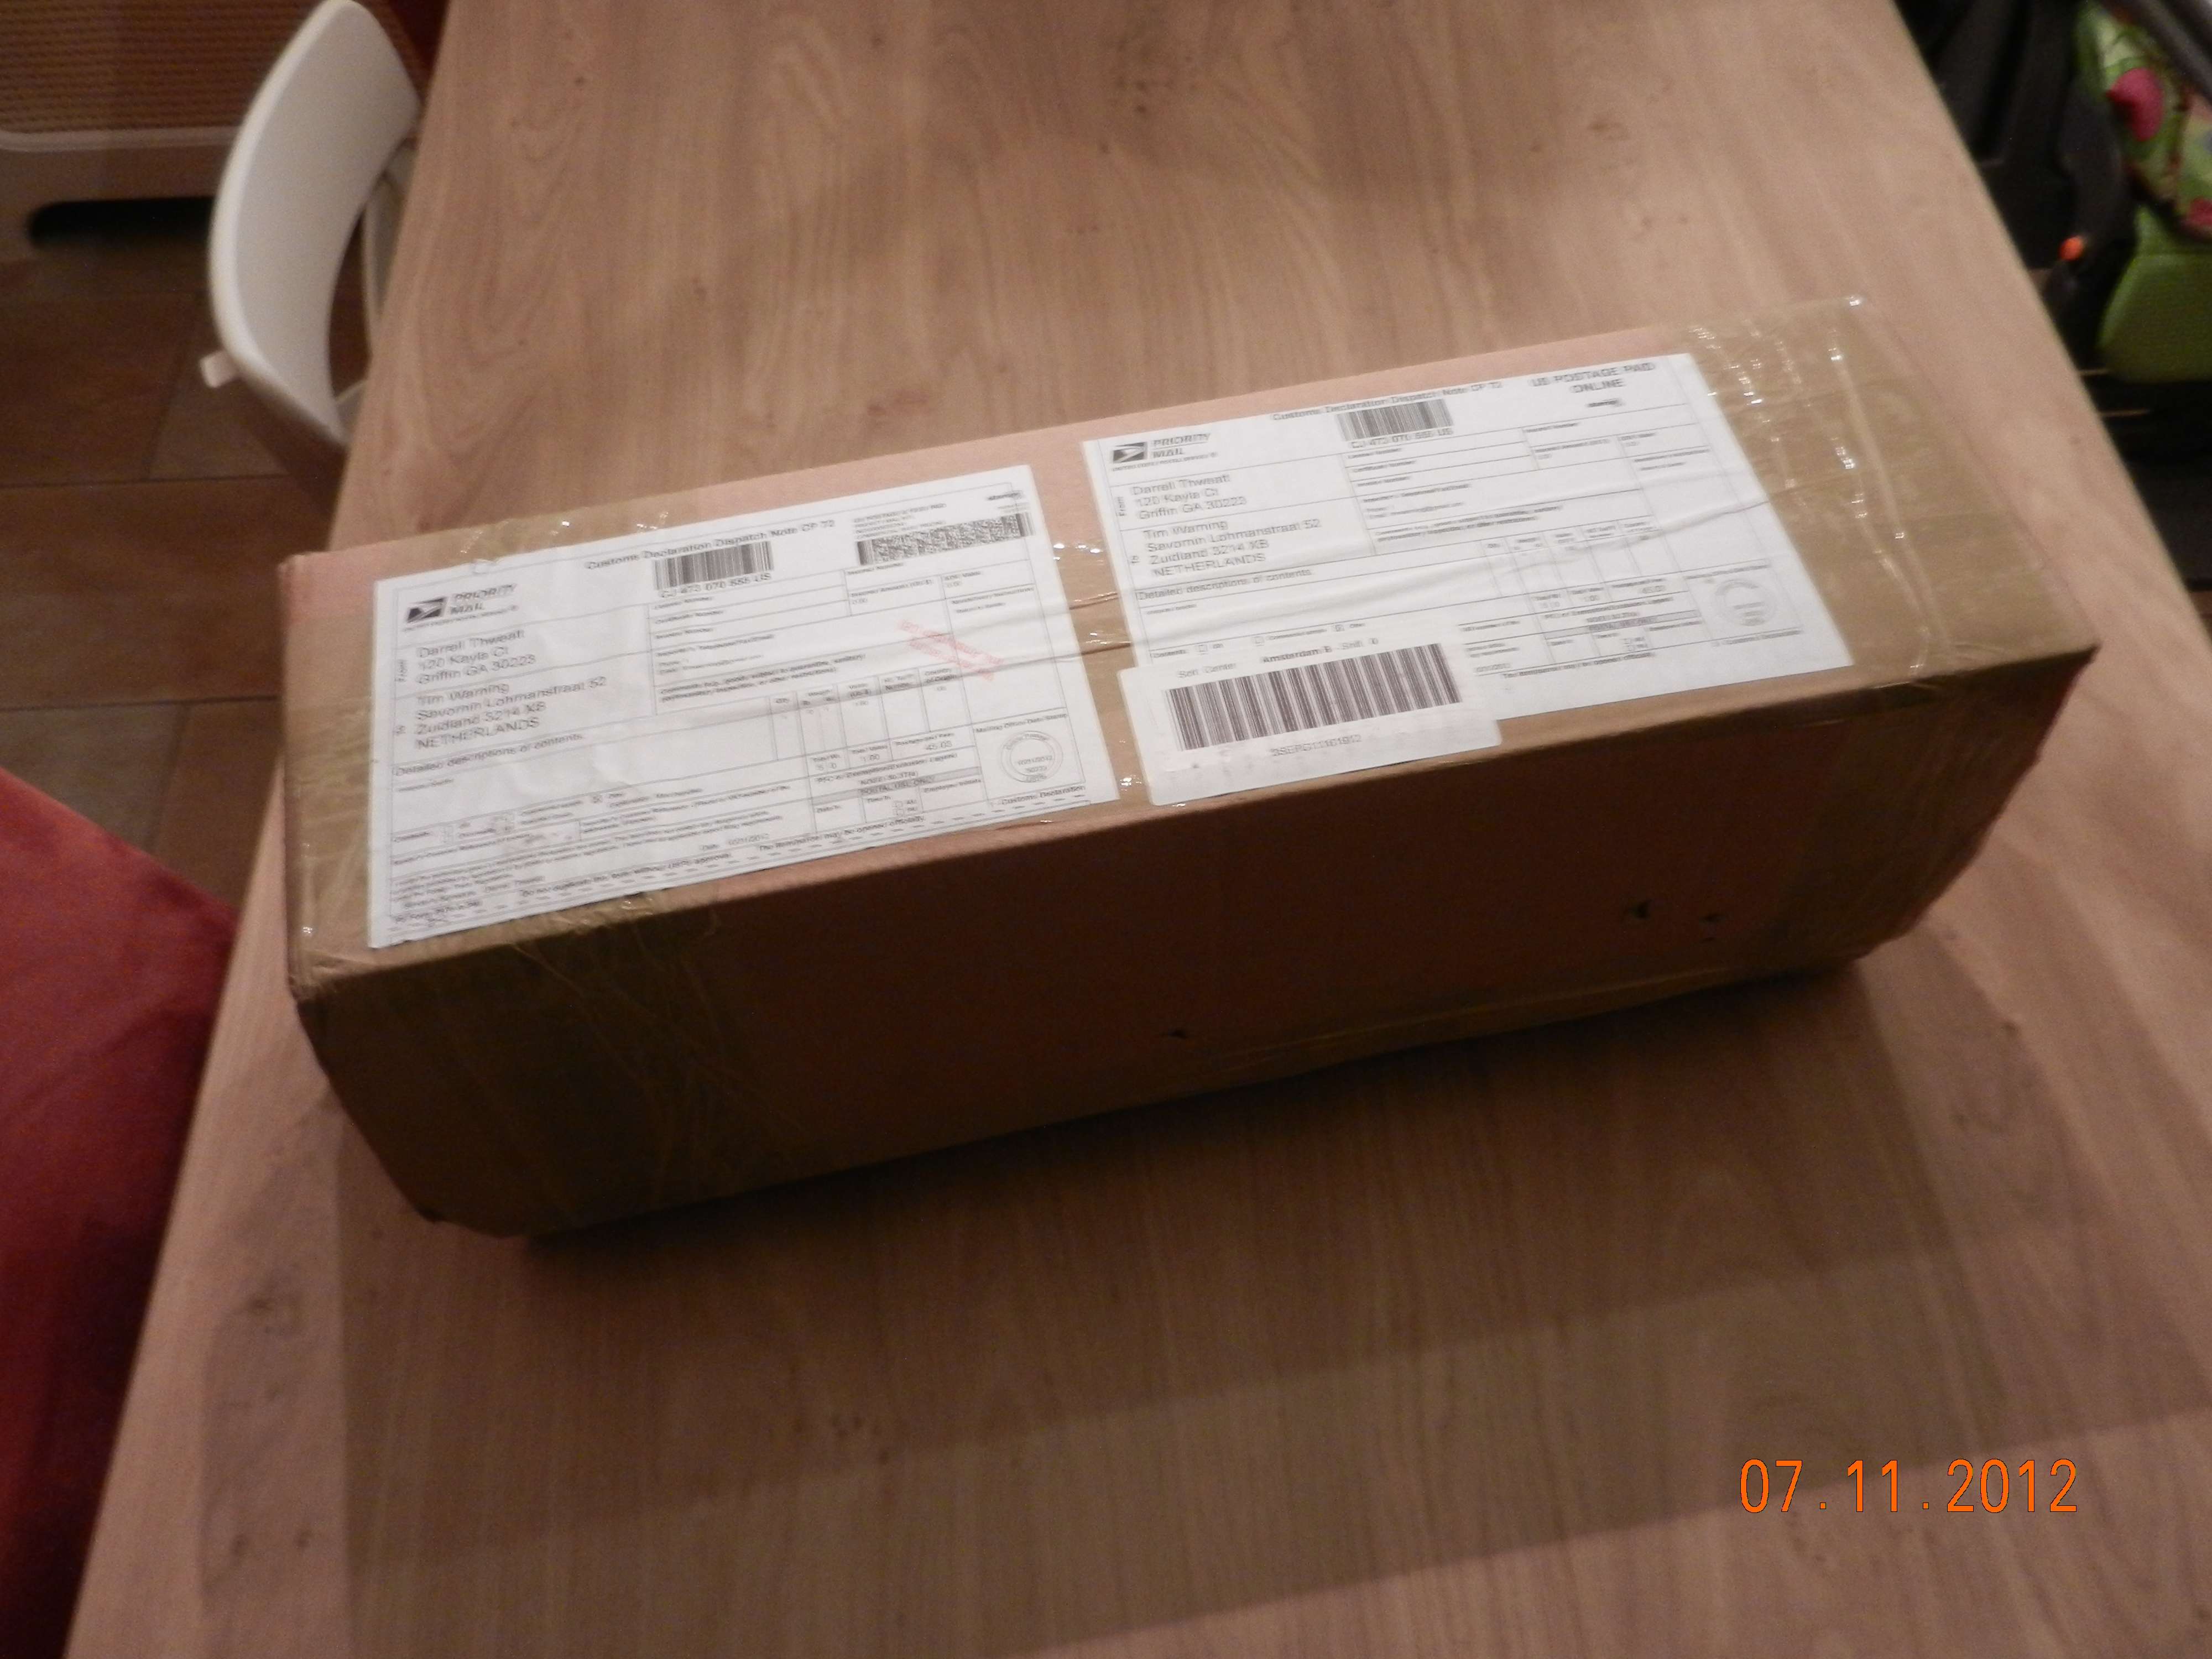


What will it be?
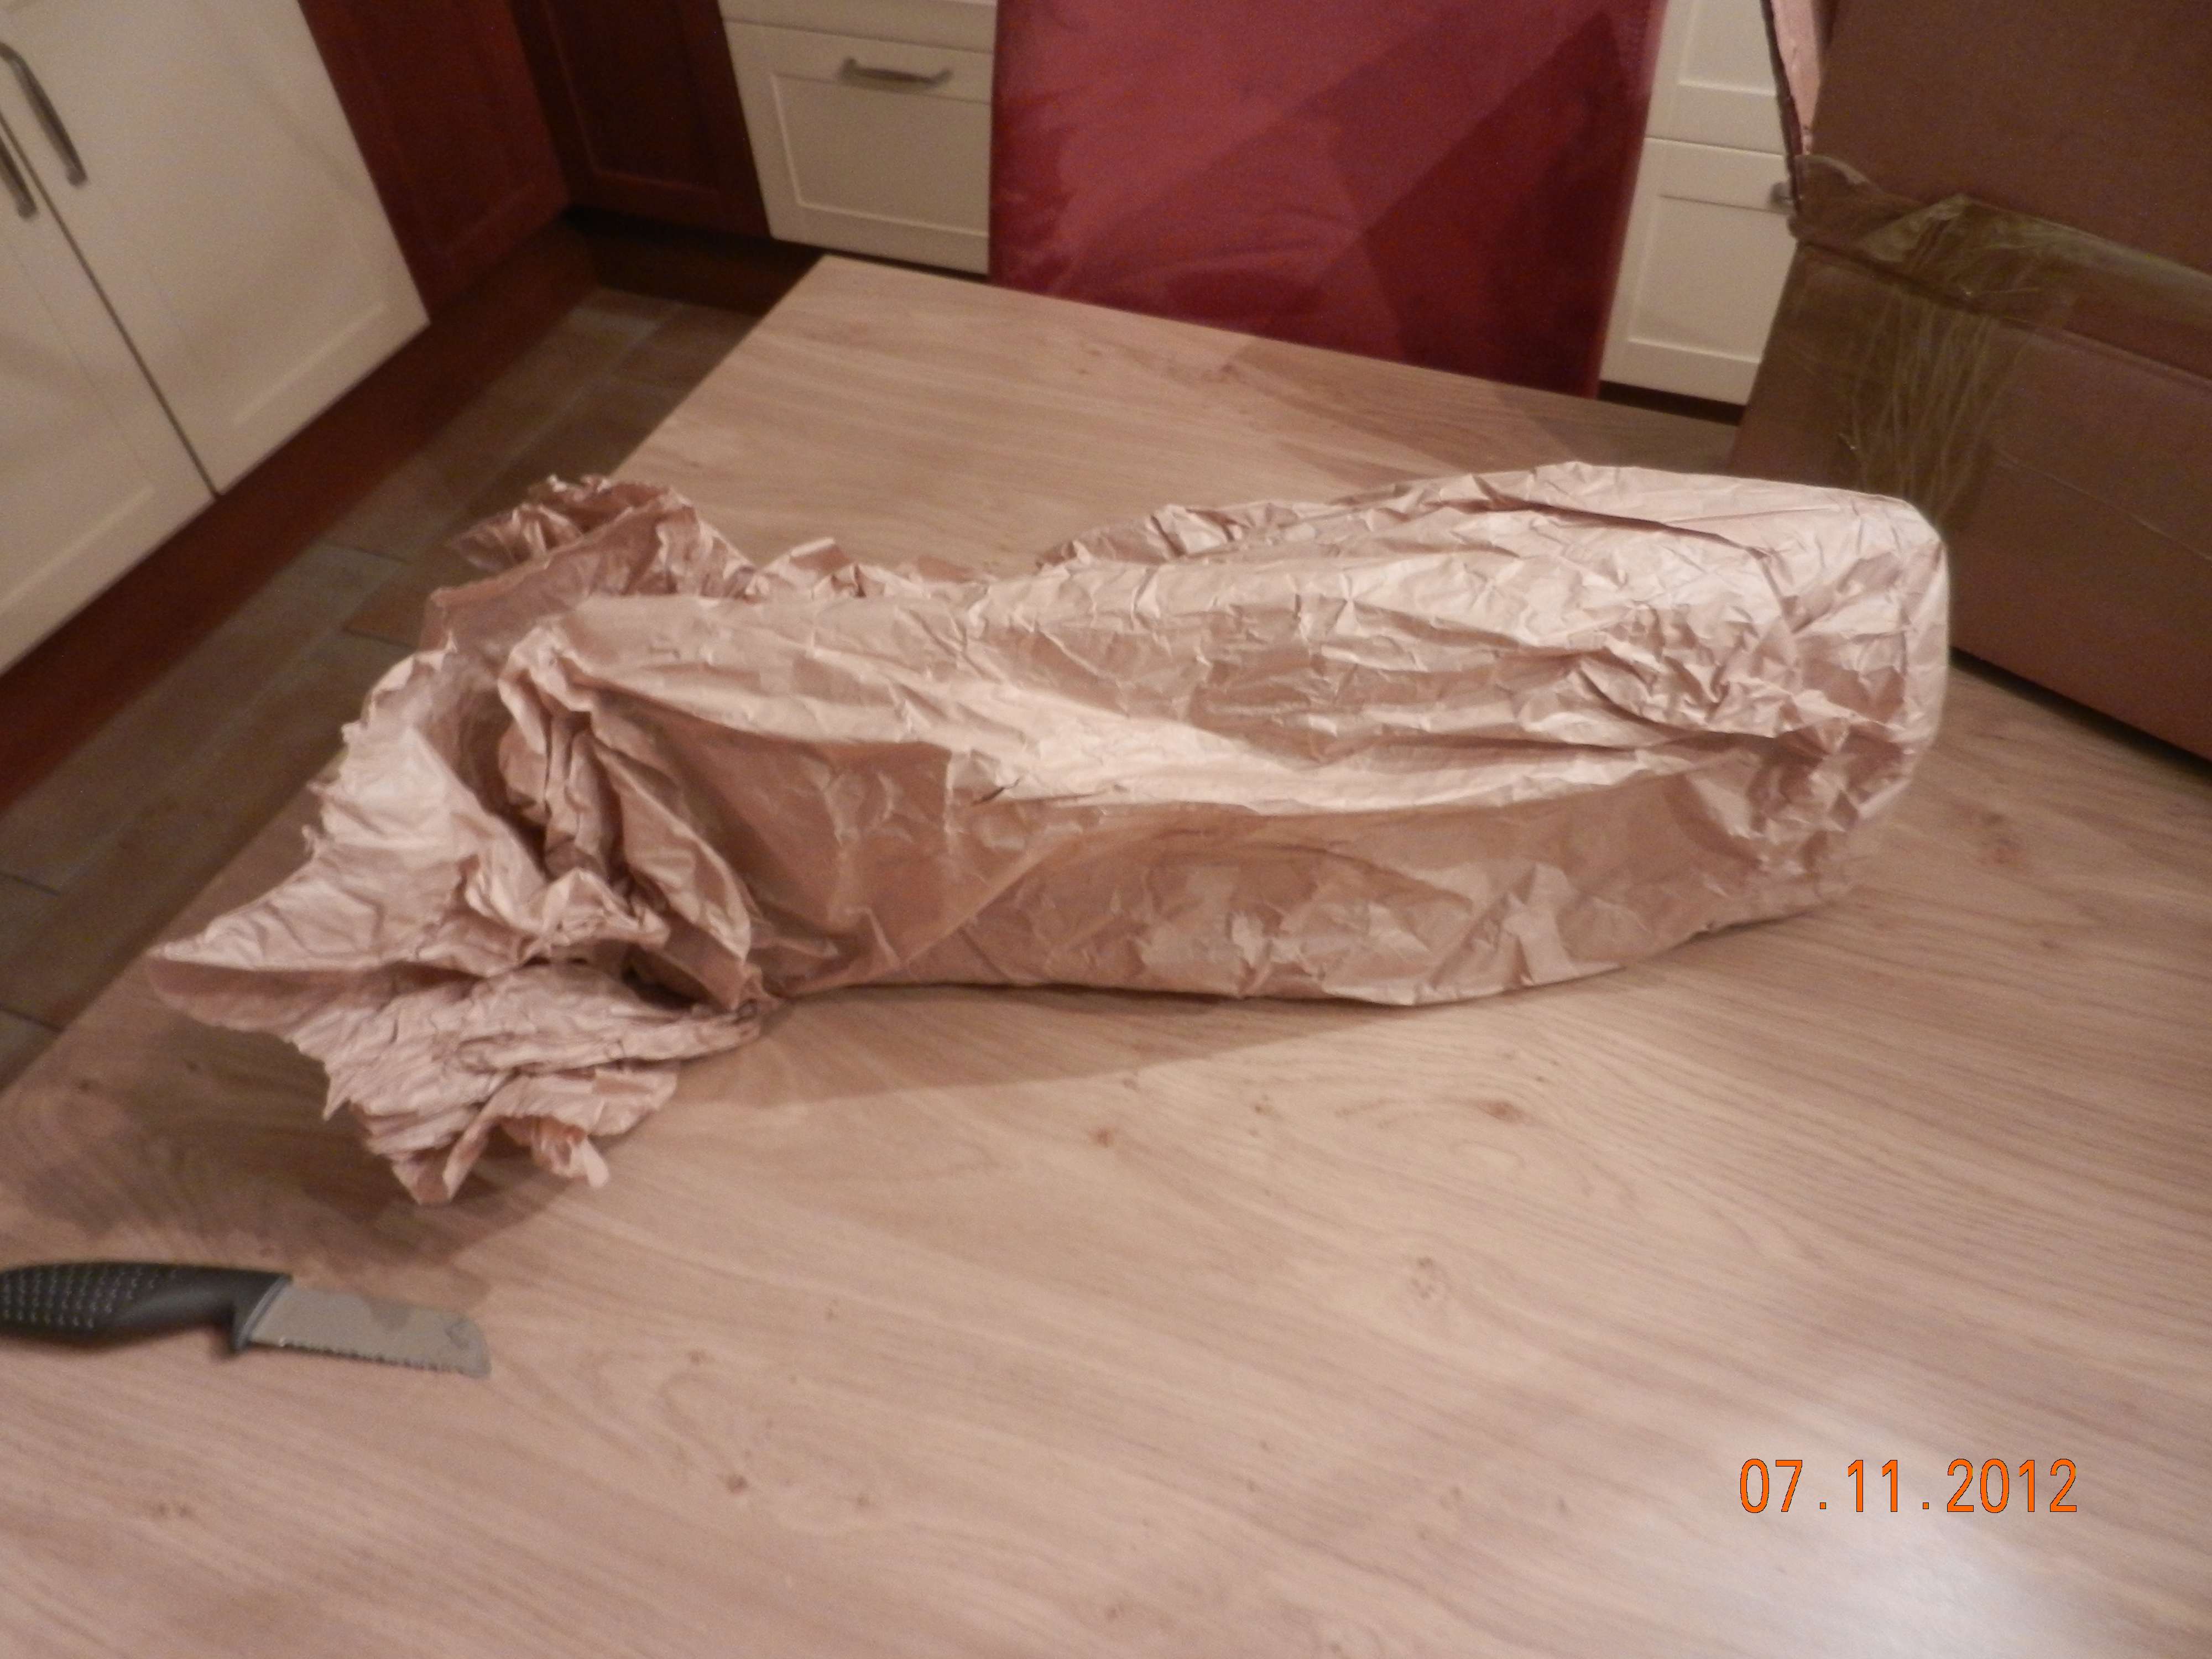


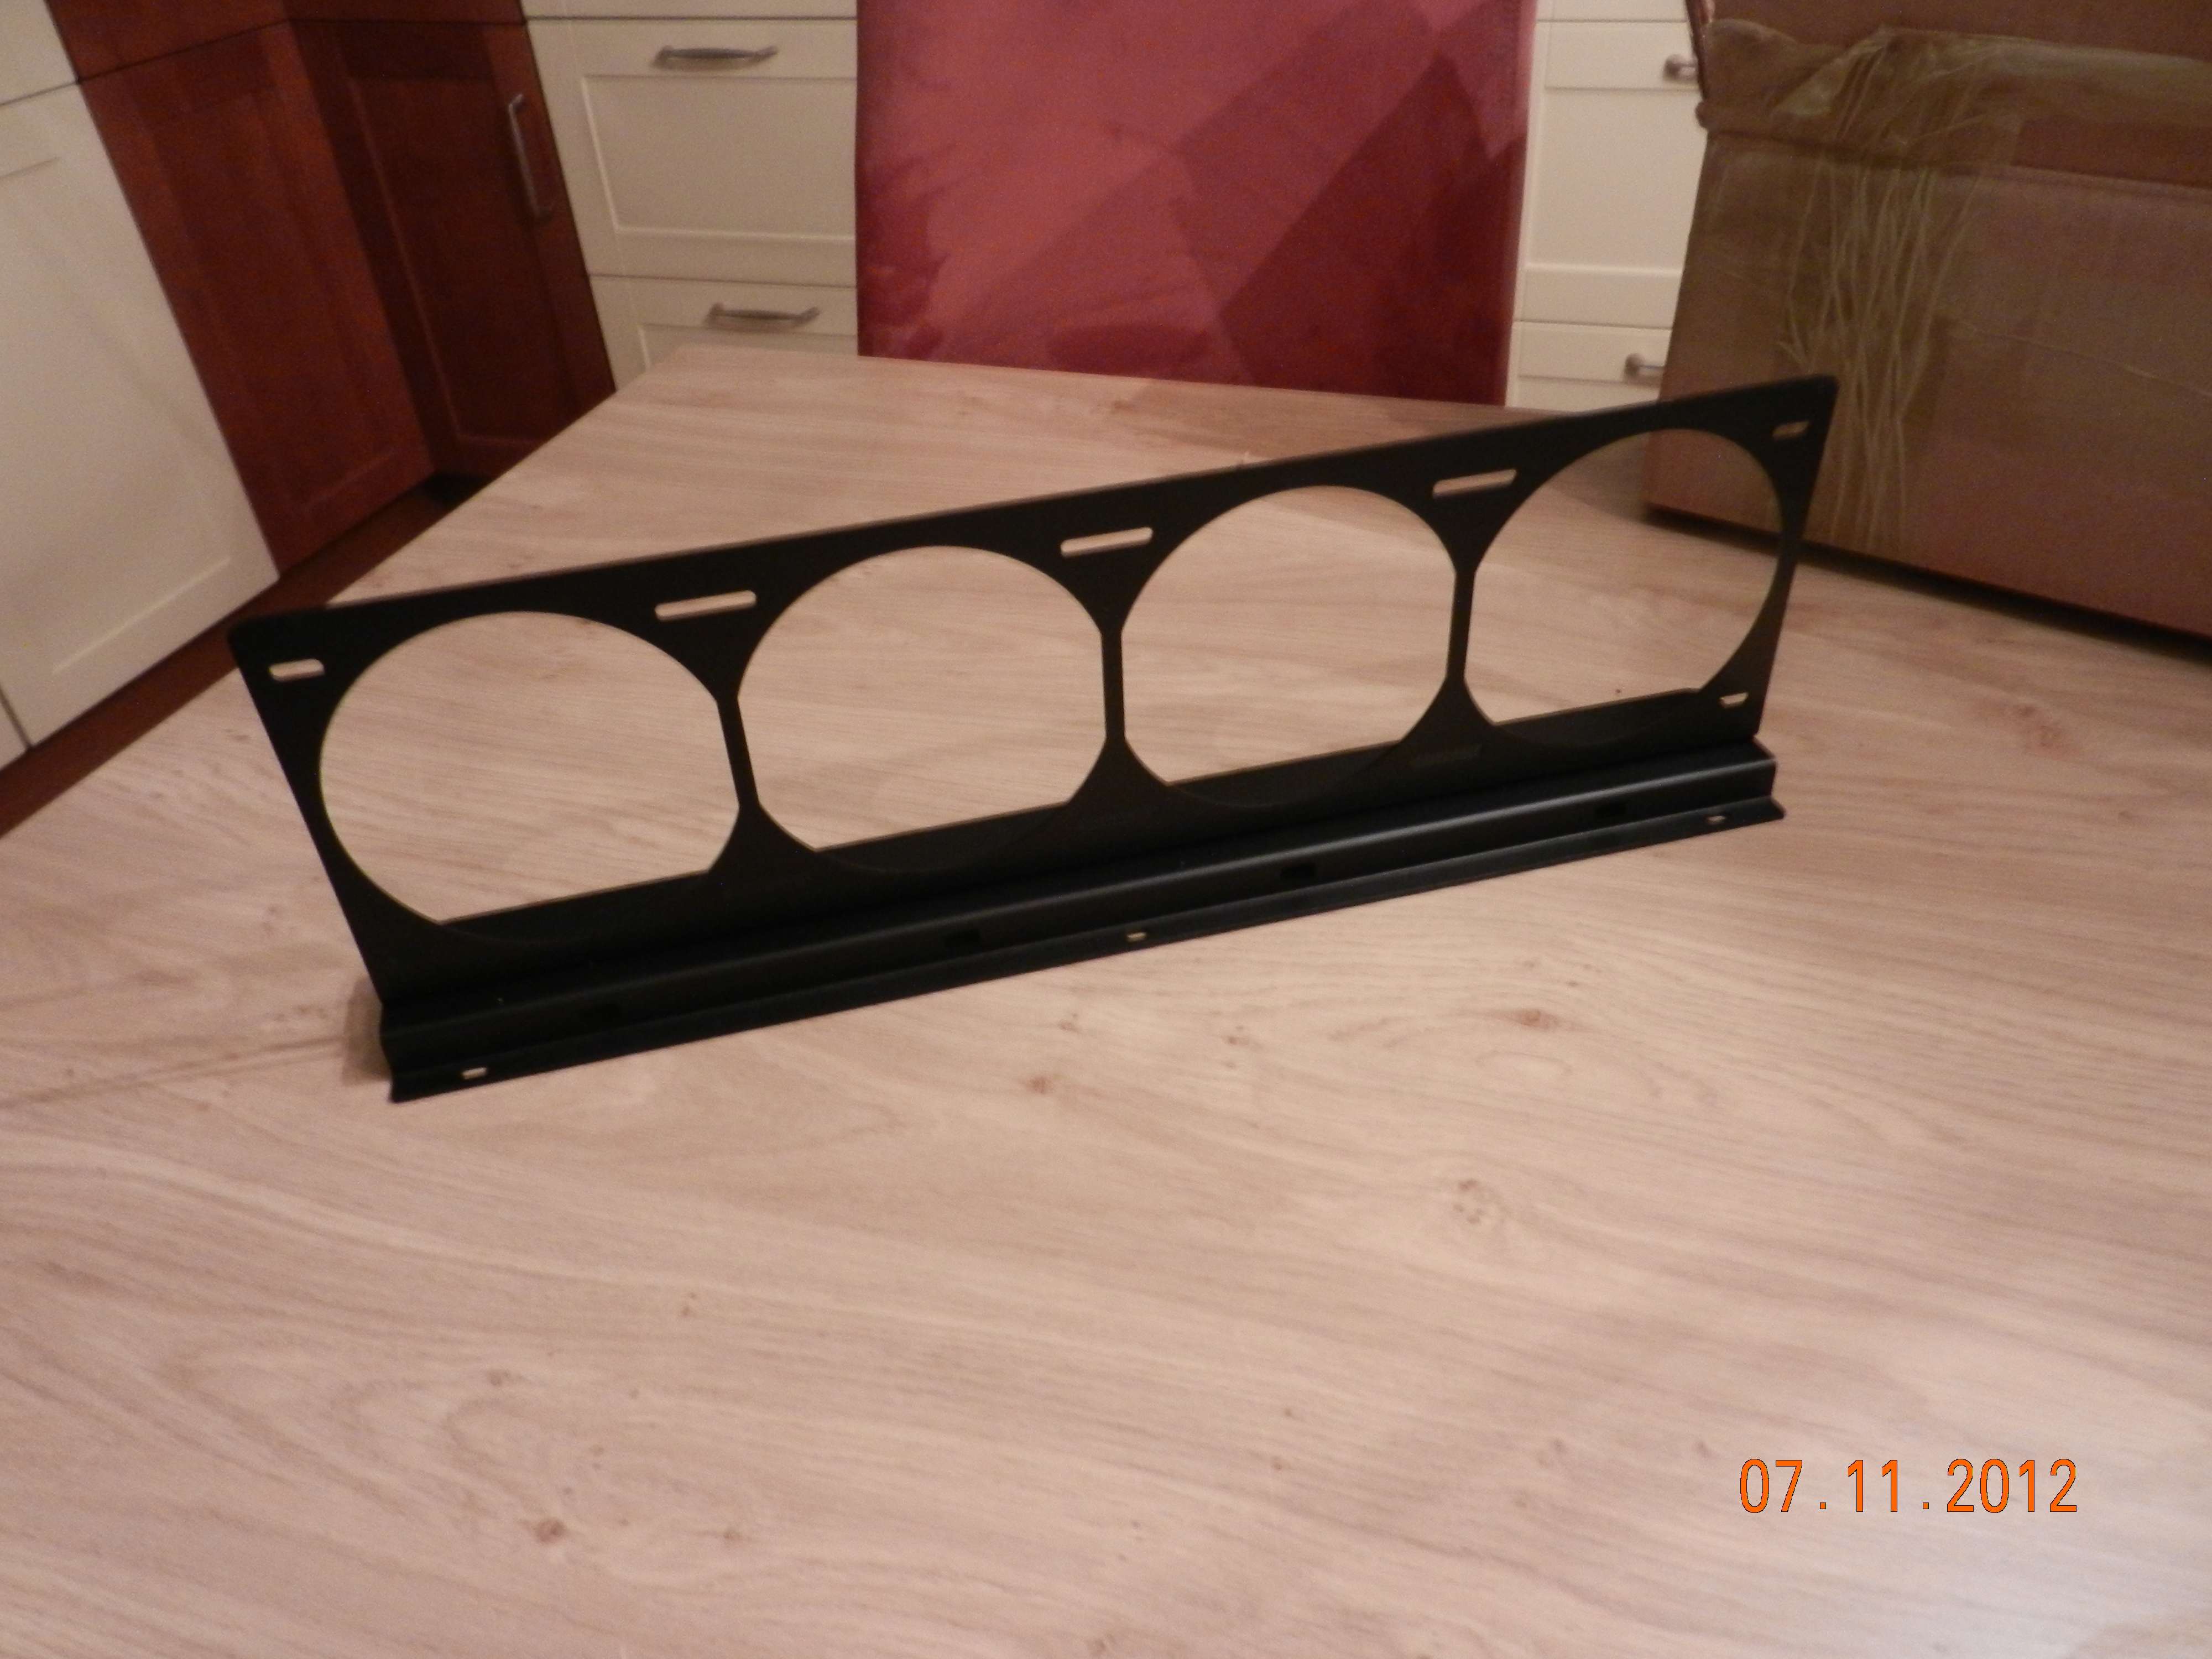
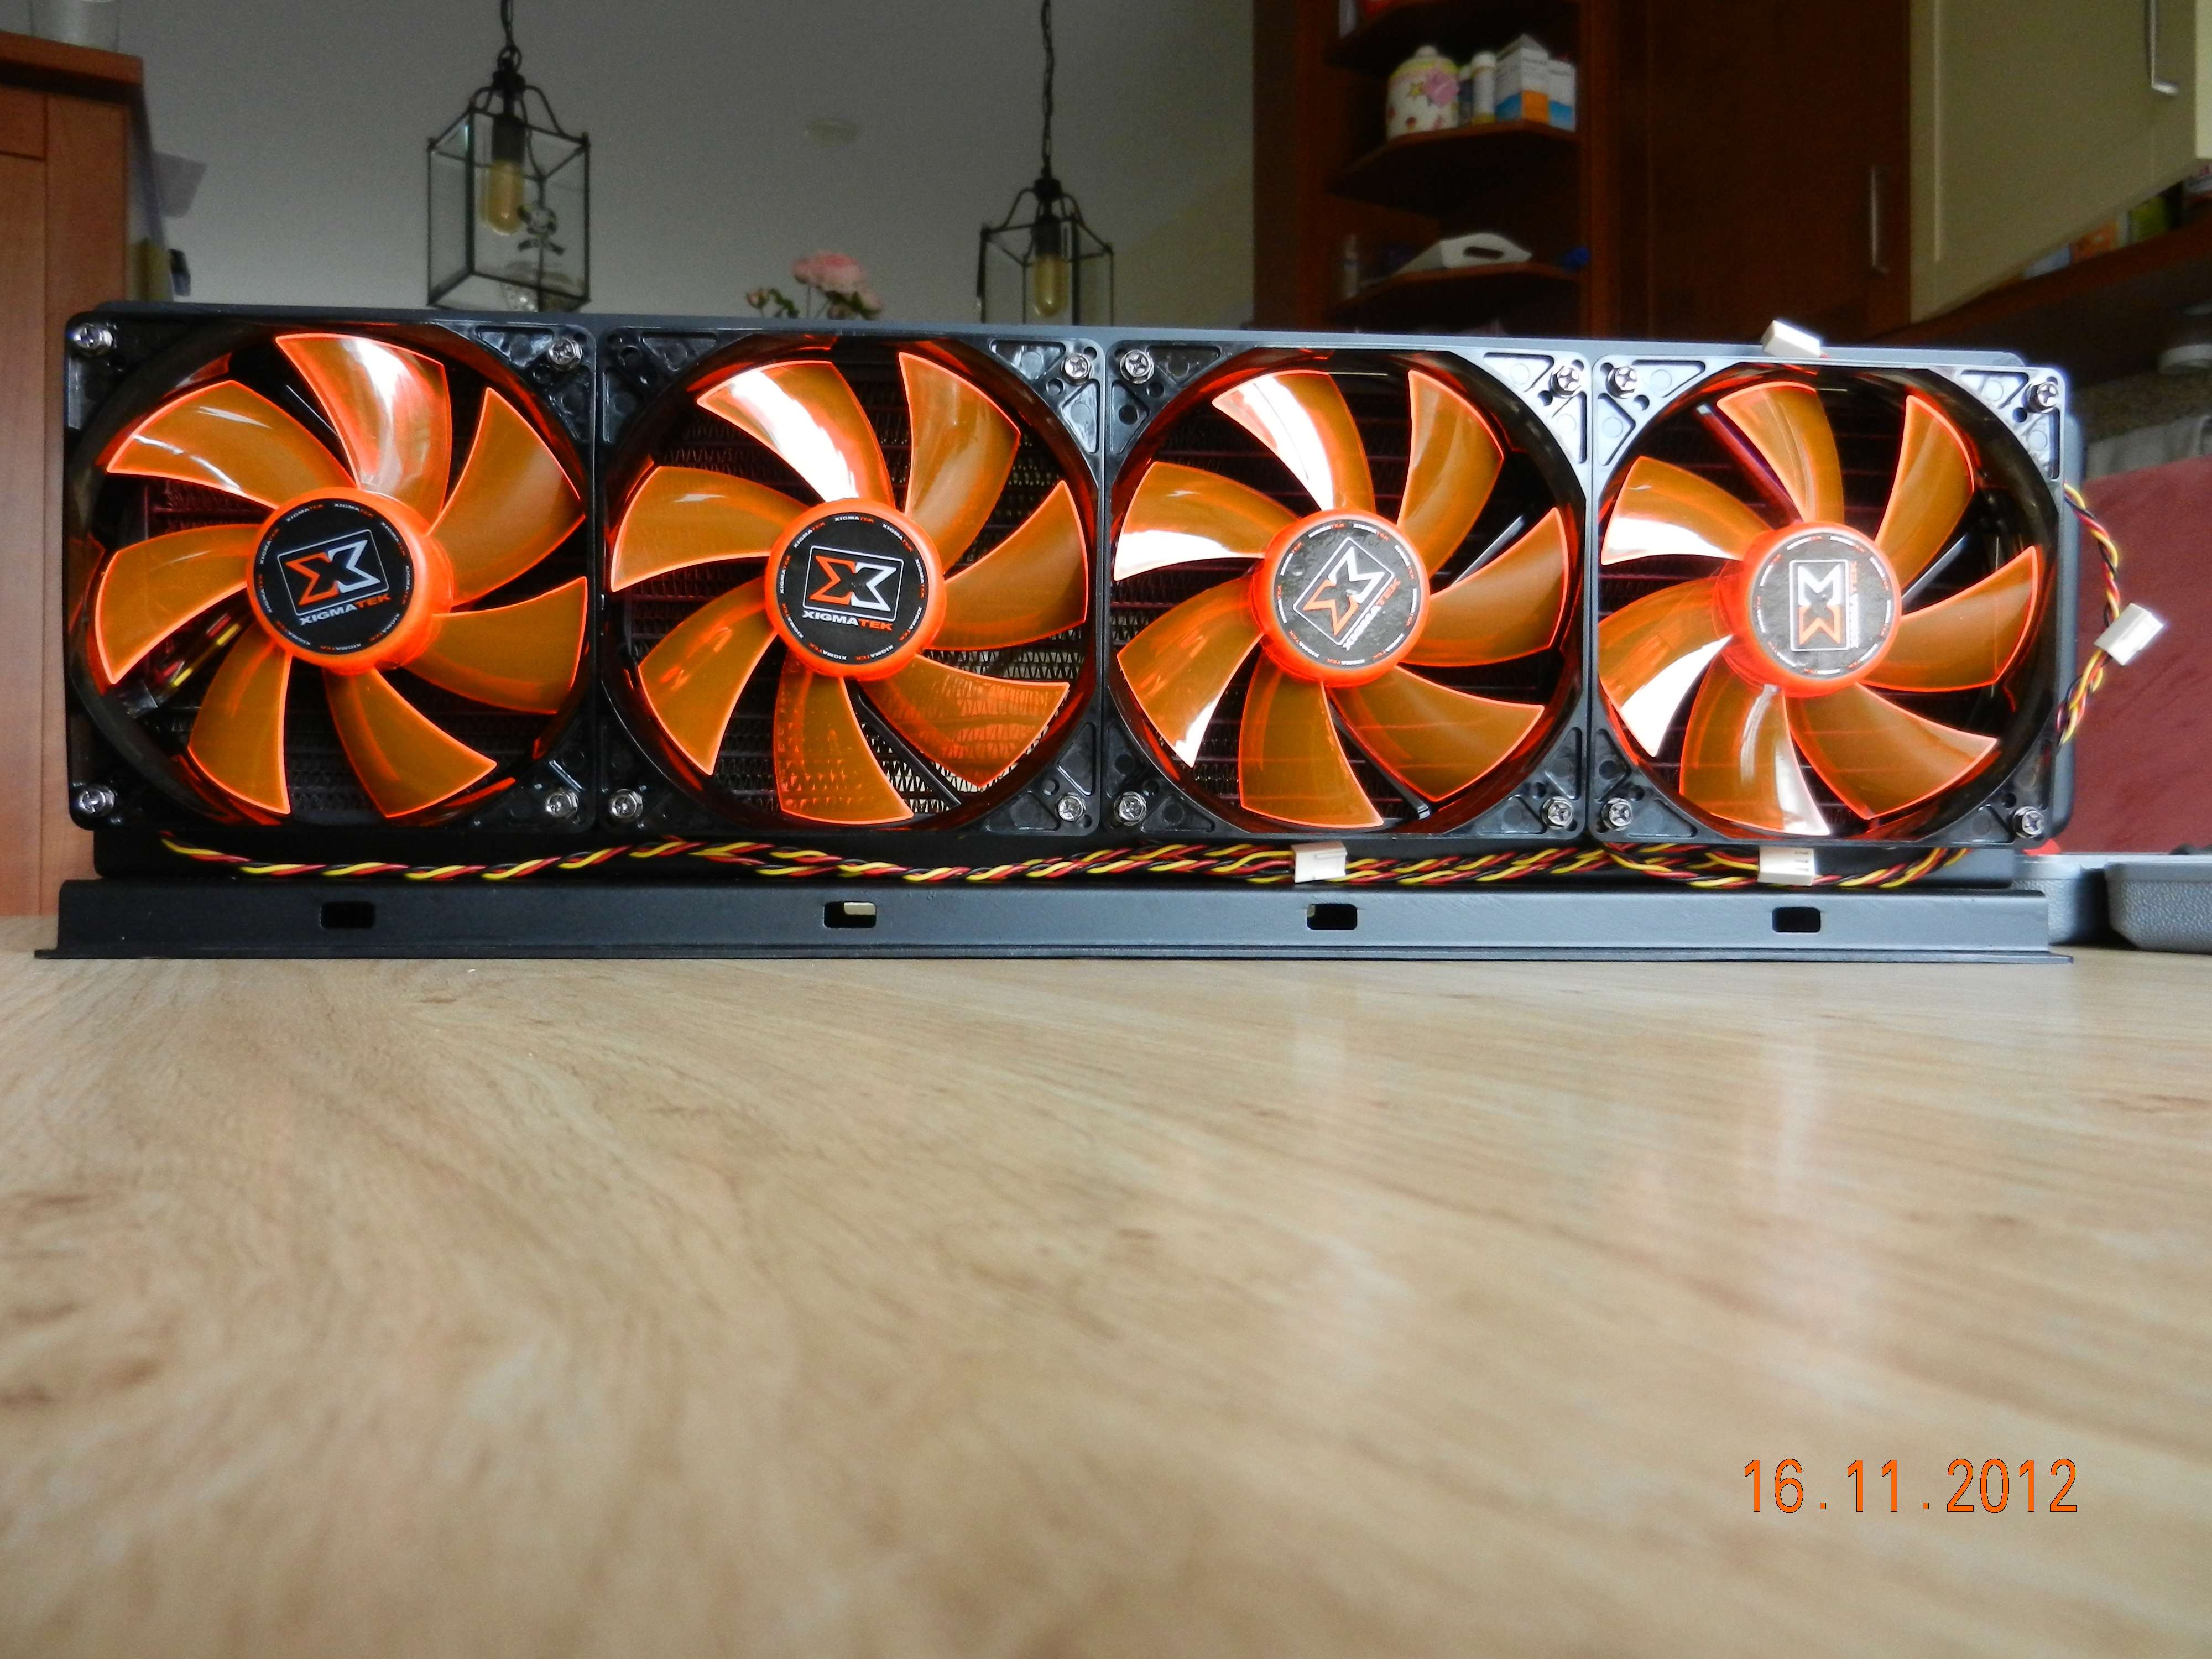
It is .... it is.... YEAH it is my DWOOD Murdermod style radiator mount he made for me. It is gorgeous.

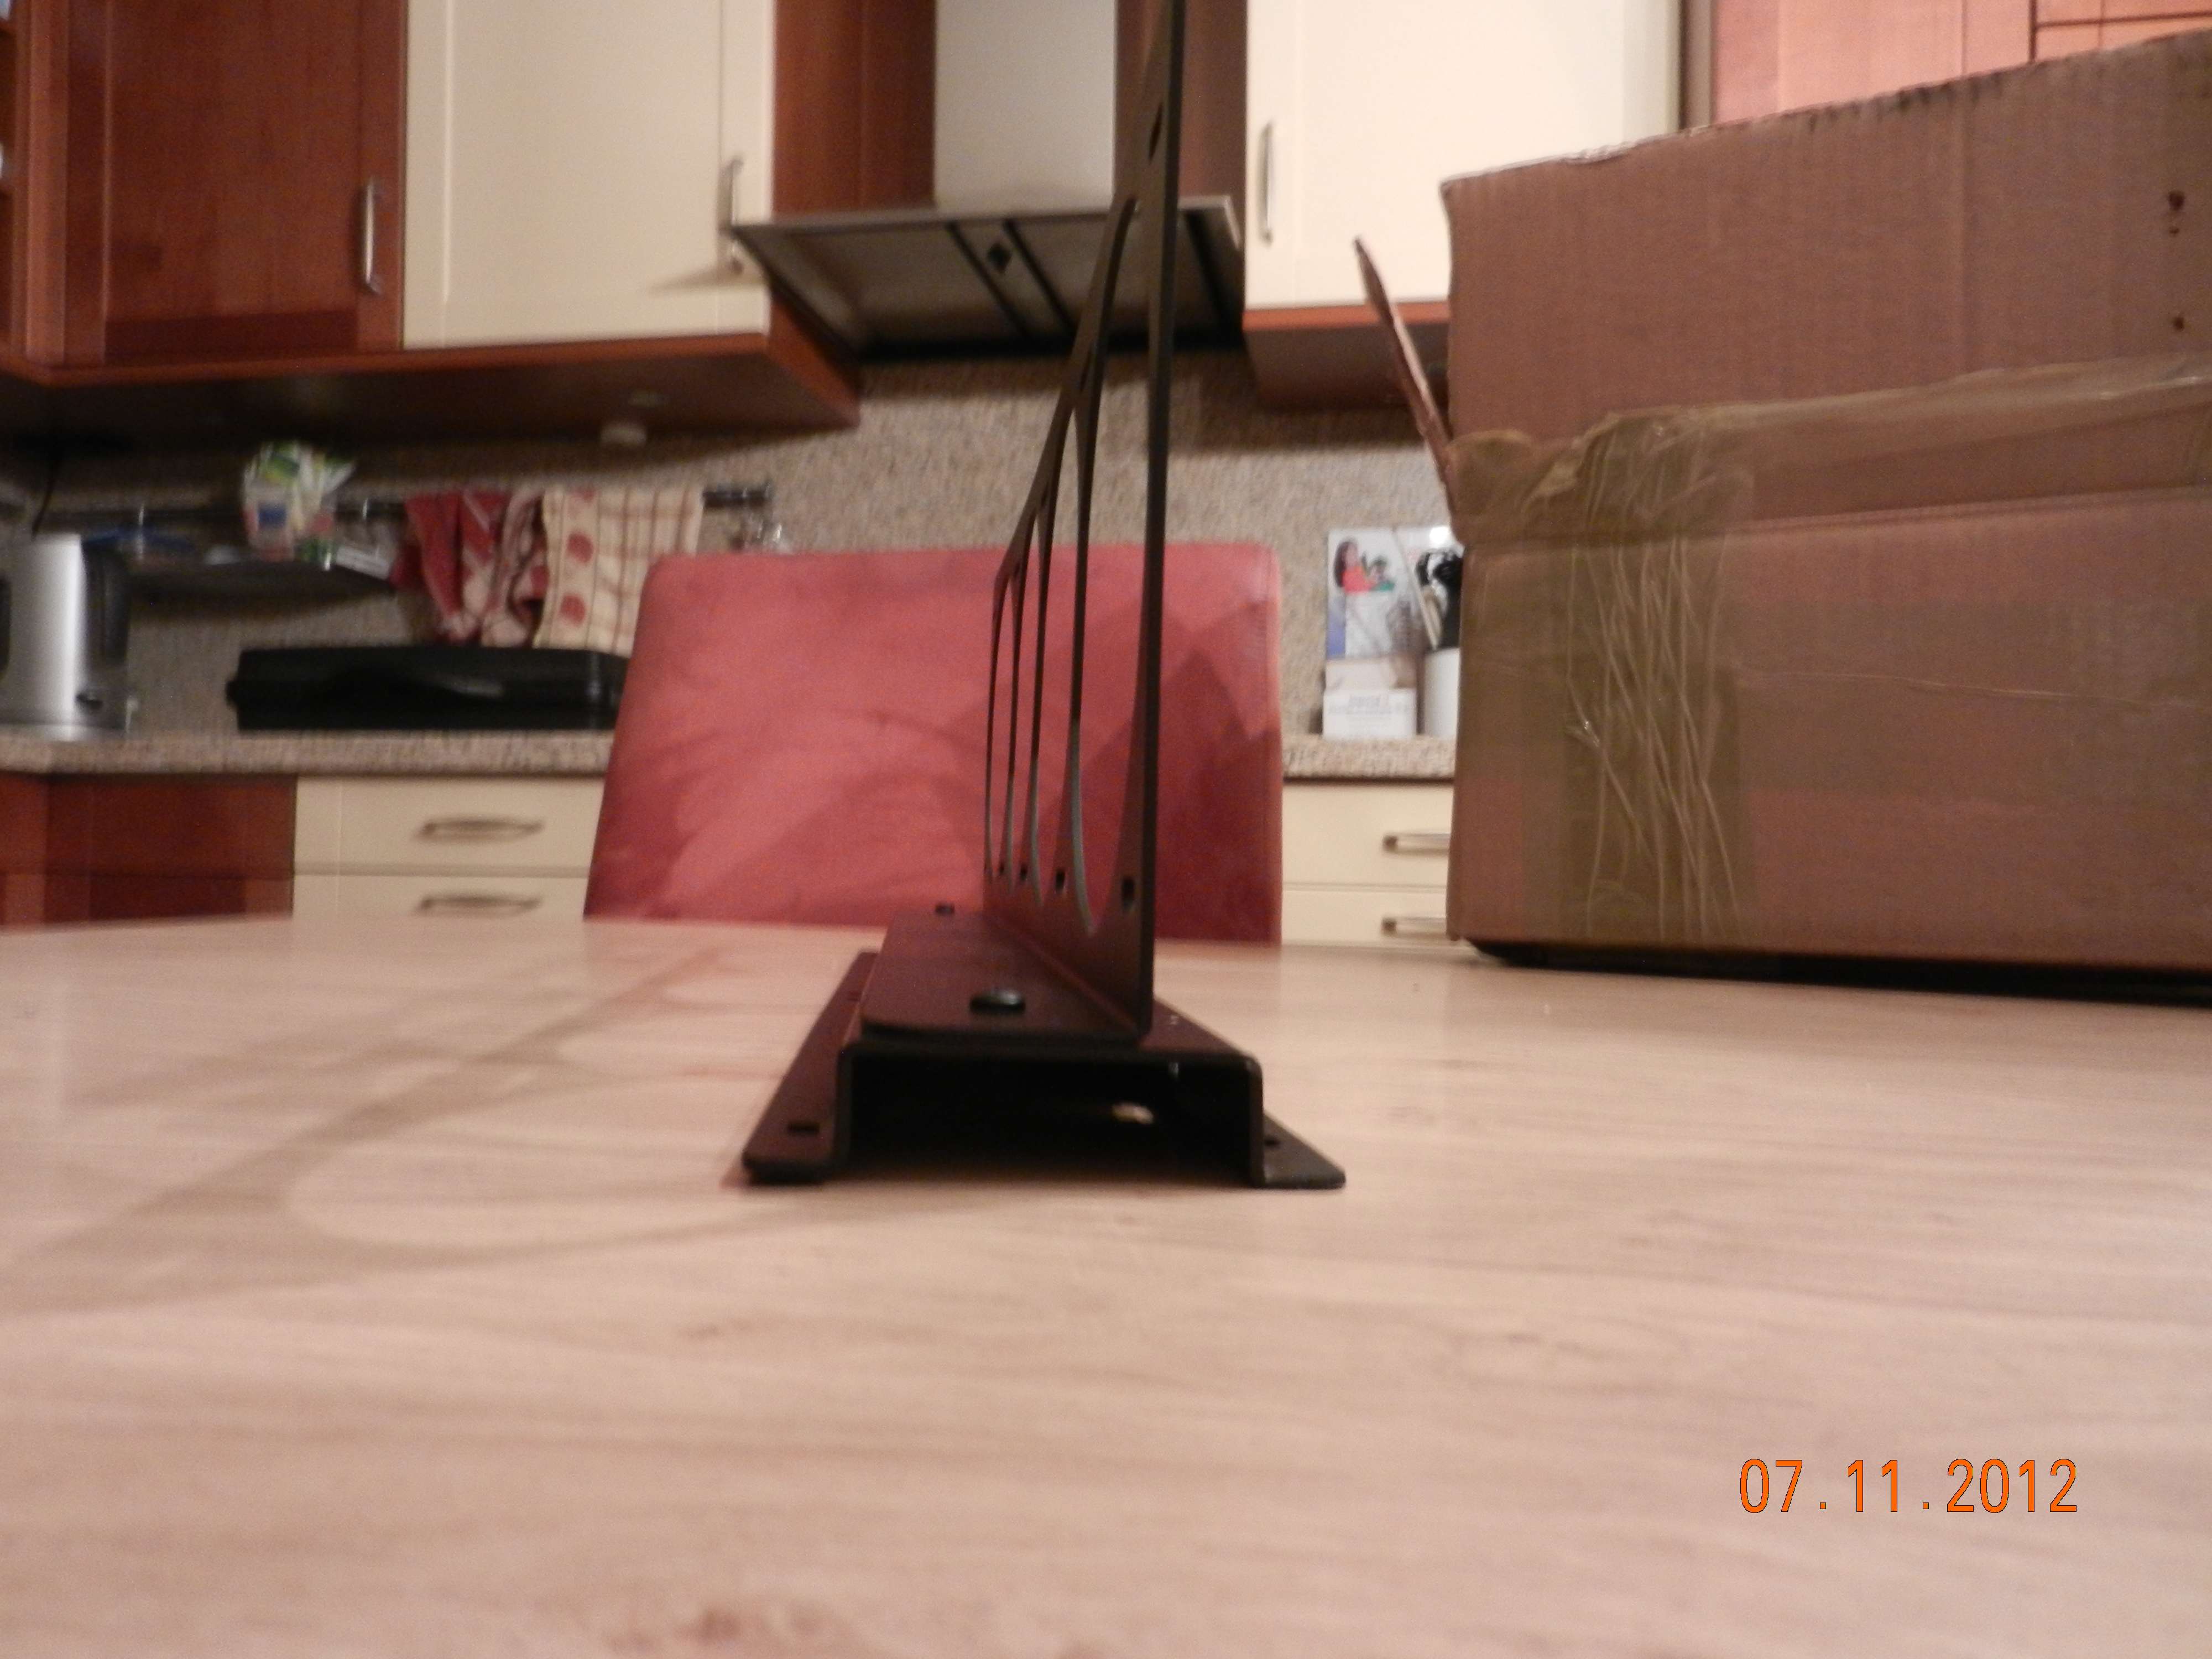
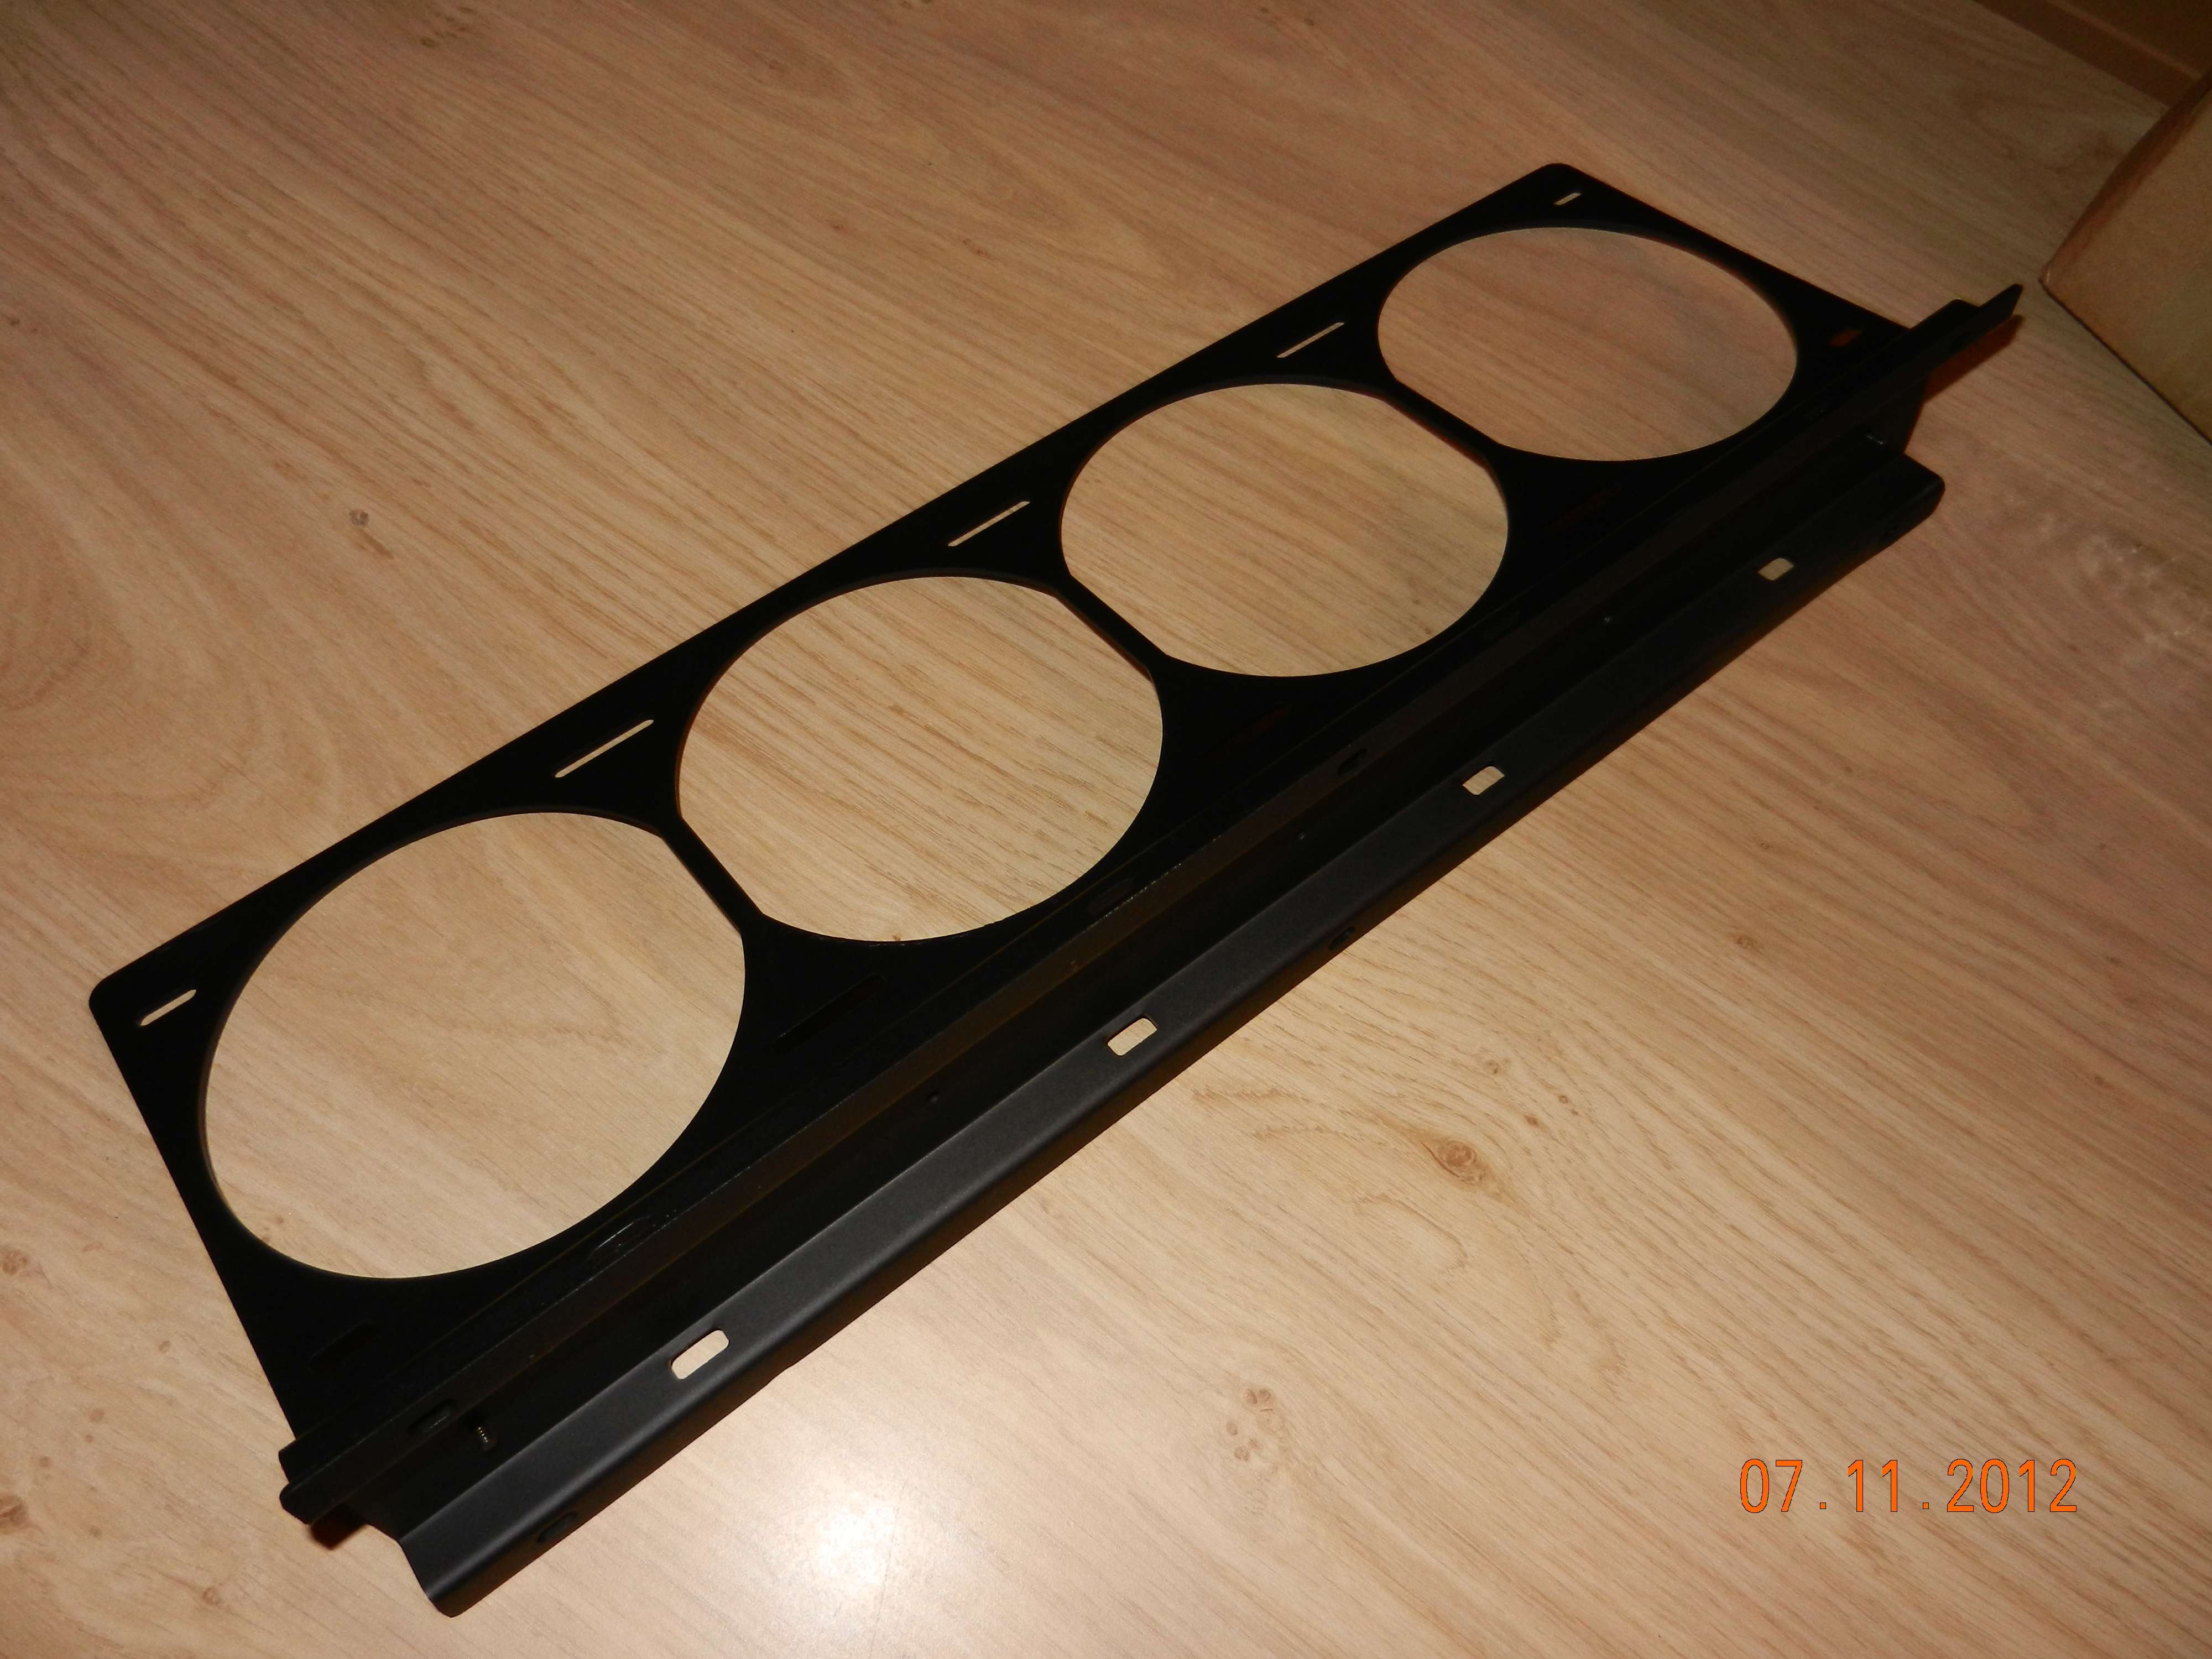
It is not a 100% copy. Mudermod also had the rad being removable from the bottom mount. This one is not removable. The idea is to have a low tunnel under the rad and fans. Together with the holes you can now put the fan wiring directly through the hole and cables are gone. They come out as one bundle at the end of the case / tunnel. So clean. Great design.

I love it so much. Such a great idea by Murdermod and DWOOD does very good quality.

Only .. it doesn't fit my TJ07 :mad:

Due to my amazing measurements. I will need to take a few mm off the top to make it fit. I am such a dumb*ss :mad:
Man I was upset with myself. Oh well at least it will then fit. But now I have to work on this beauty.

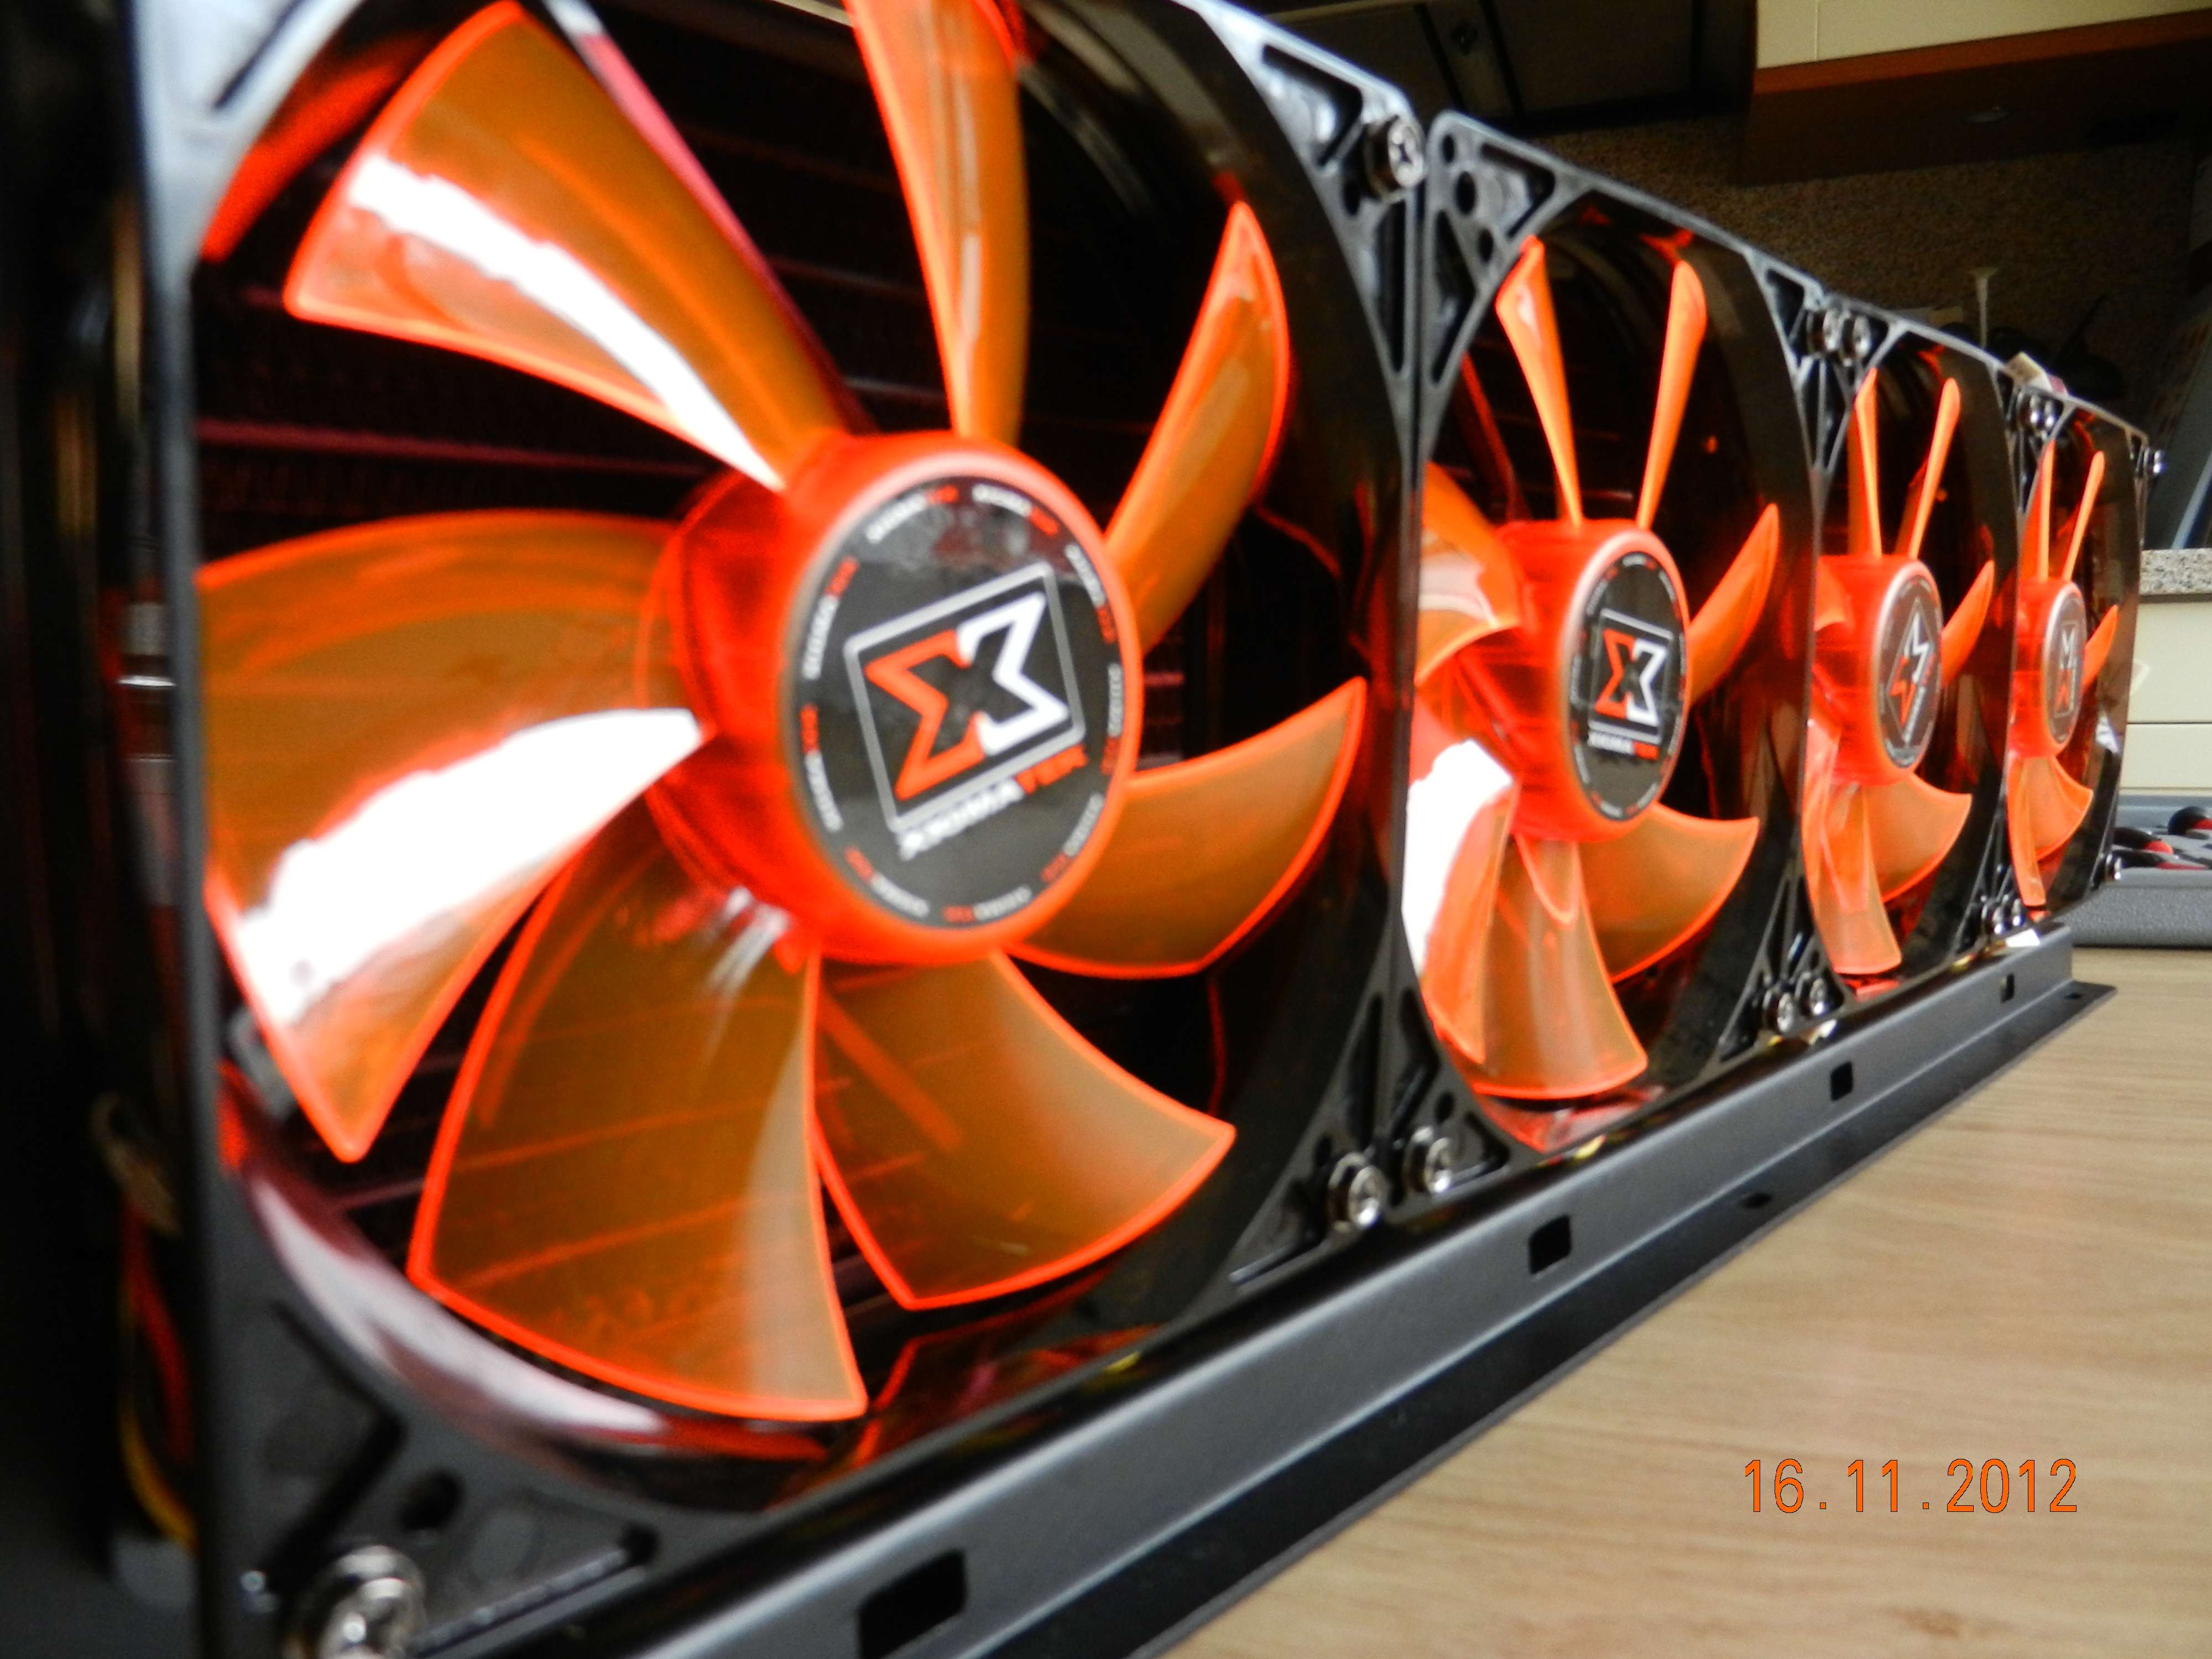
Then I couldn't stop myself anymore. I just HAD to see how it would end up. Grabbed a 3mm thick XSPC radiator I had laying around, 4 orange Xigmatek fans and the mount.

I love it so much. That black with orange.
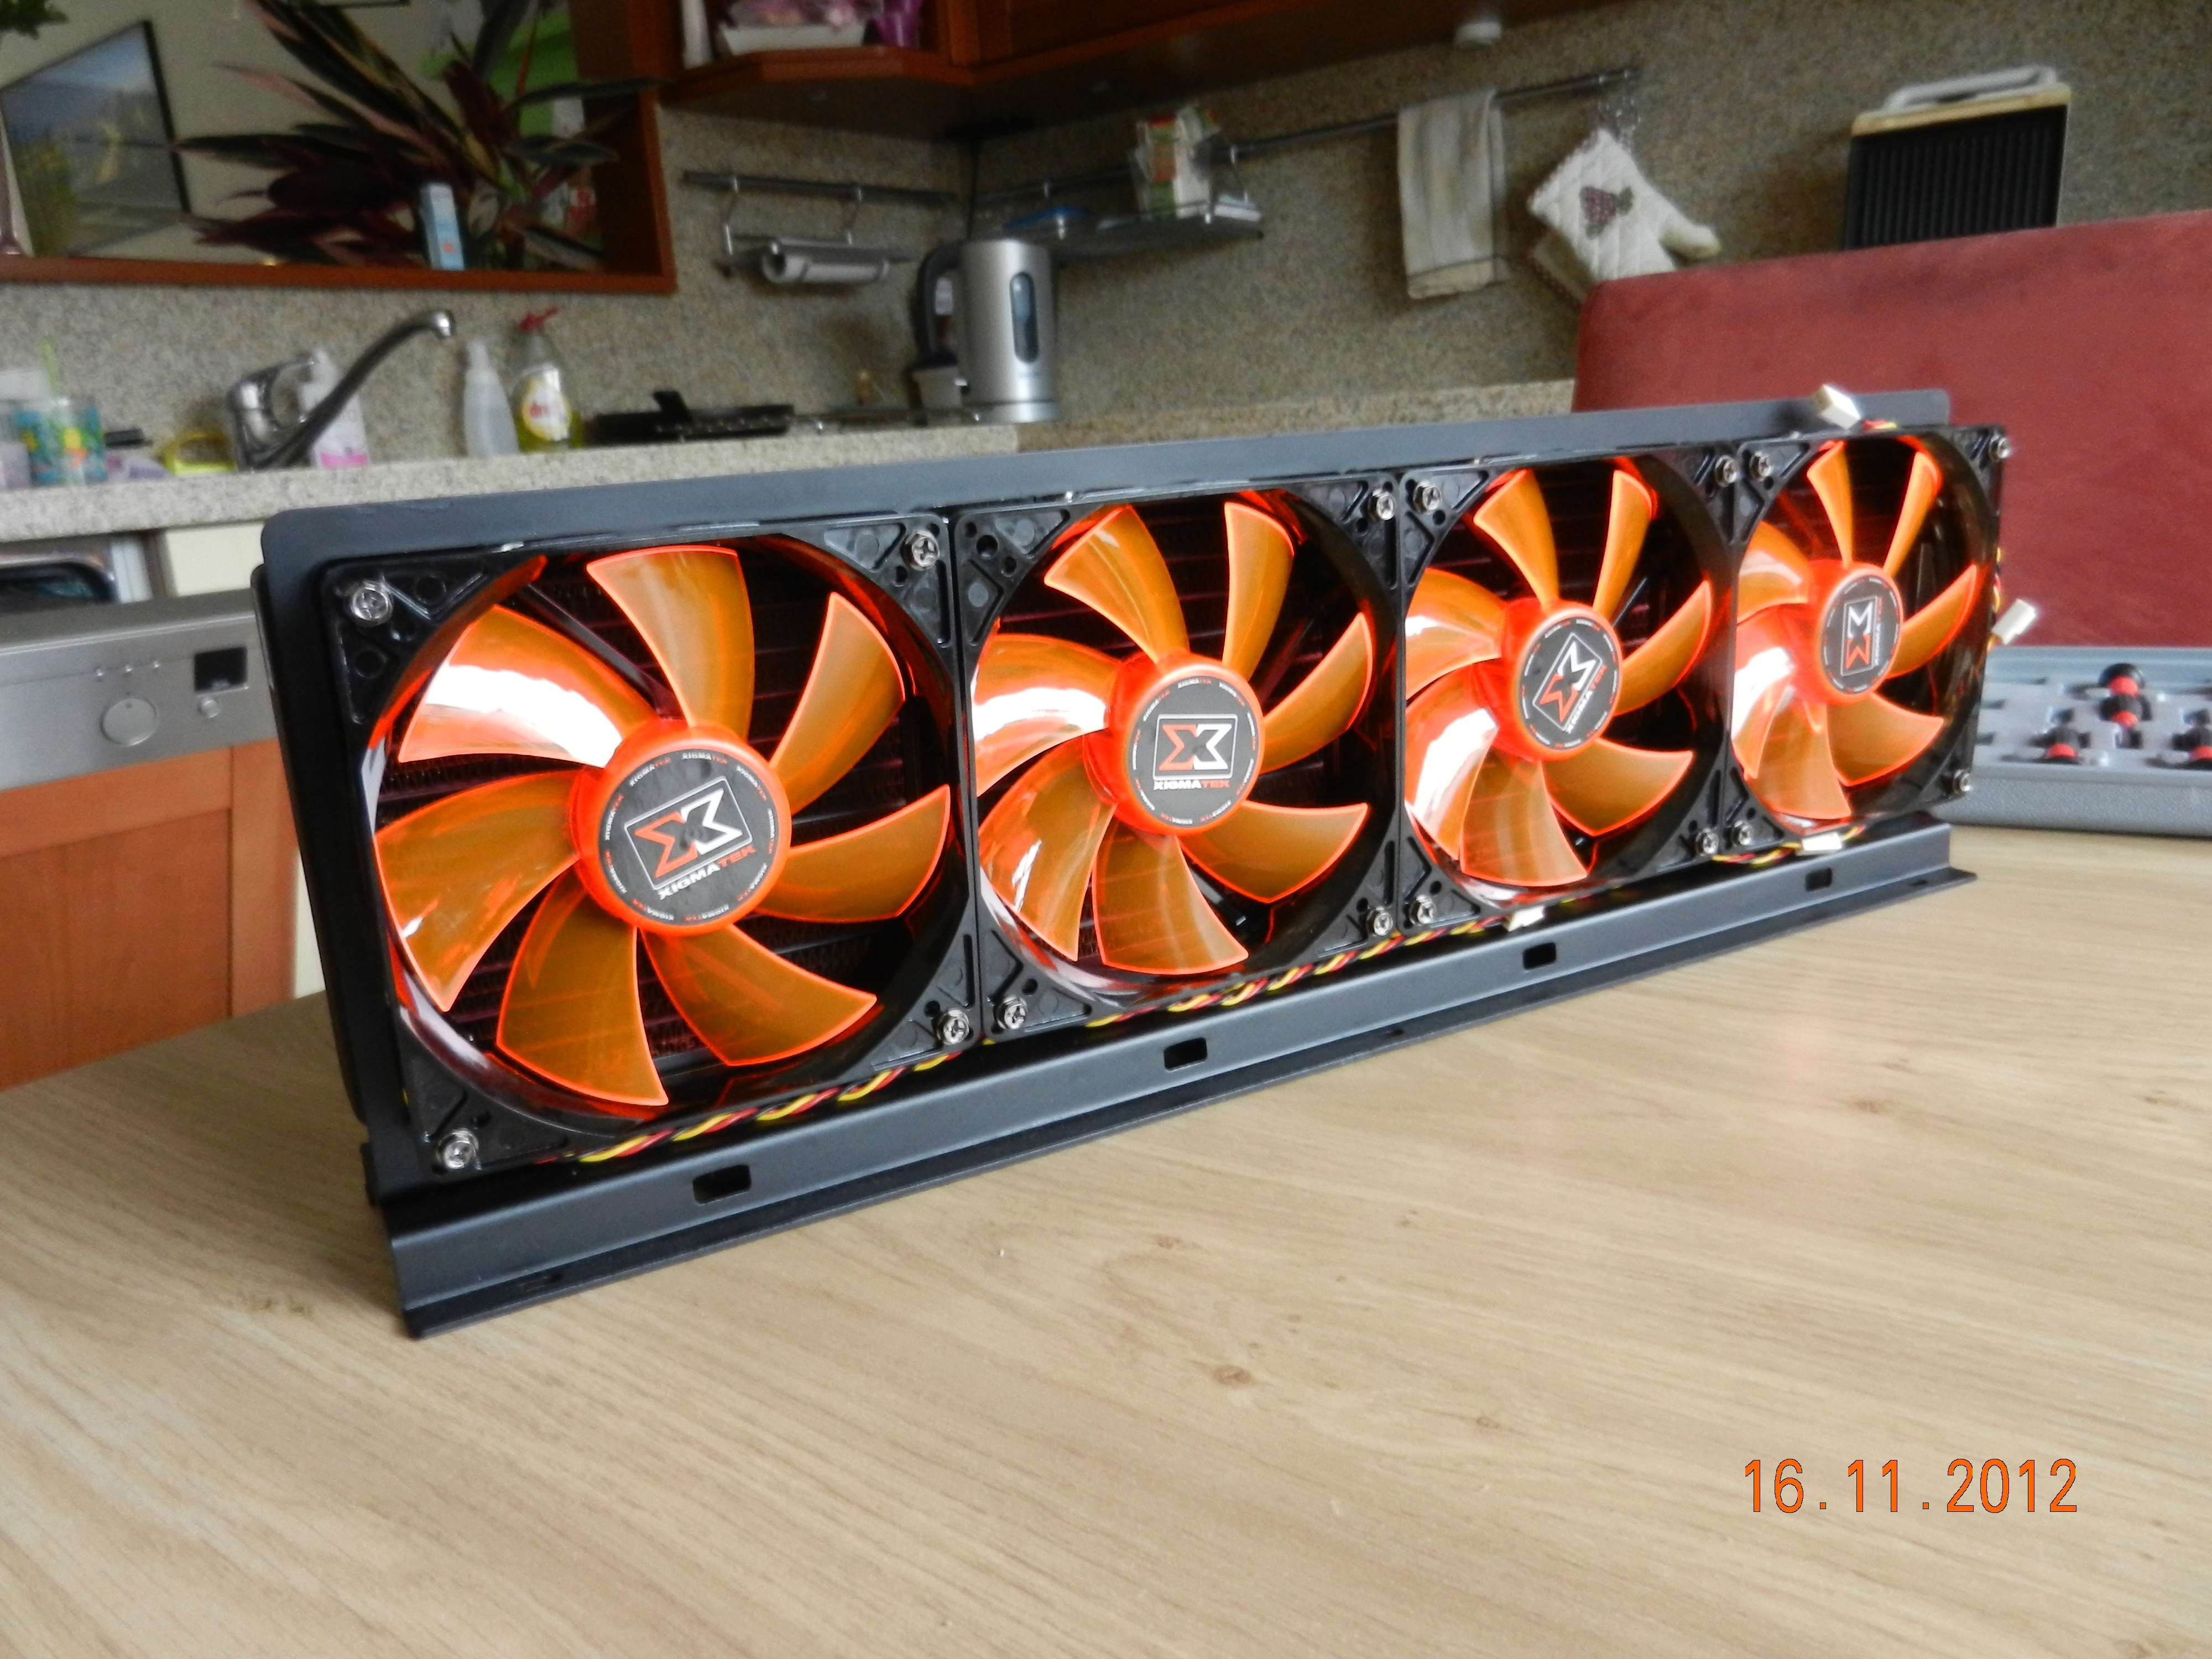


Looking great already - can't wait to see the end result.

I'm quite jealous of the fact you've got sponsorship though, while I'm buying all my own kit like a chump. Maybe I need to become more creative and skilled, and see if they'll sign up for my "make a computer look like the prime minister" idea.

Thank you.

Well I had written a big plan on what was the purpose, materials, etc. I literally have spent months networking, getting the right people. Etc. My personal family PC I use at home is 100% payed for by me. This time I just tried. The project would happen anyway, the sponsoring just forwarded the project a few months. I am very happy with my sponsorings. But it is not like you email them and you get a big pile of stuff. They get requests daily (and lots of them).

the black and orange does look good...wasn't sure when I first saw the pics but the fans mounted up do look pretty sweet.

Great work on repairing the case, with all the work you did on it though would it have been cheaper to have got a new one?

Nah. The TJ07 is like 300 euros new. And I got this one for 100 I think. I knew I was going to mod it anyway. So in the end it saved me a lot of money.

Thank you for you nice comment btw :)

Wow!!!! I've no idea how you're going to get that radiator stand into the case, but it looks like a special piece of kit.

I took about 4-5mm from the top and that way it fits.......barely hahaha. Really it is like a micromilimeter from the midplate. But in my book; fitting is fitting. ;)
 
I got in touch with the people from KFA2. After a meeting by their marketing employee (whom I explained my project and what my plan was) at HQ he got green light and he sent me the following package:


I just love unpacking things :D


A reference GTX670 by KFA2. Awesome! They sent me a reference model knowing I wanted to create a full watercooled system. :thumb:


I didn't make any more pictures of the card itself because I wanted to keep it nice and spotless in it package. I will make a lot more pictures very soon when the waterblock and backplate will be ready for fitting. So don't worry ;)


What is this? The box is bigger than what I just unpacked. What kind of trickery is this? :thinking:


So I turned the box around to see what was going on. Only to find a second package in the same box. Every box I receive should be like this, double the surprise!! HOORAY!! :D


I didn't make pictures of all that was in that side. It was a merchandising package containing stuff like pens, keyrings, various stickers, posters AND 3 awesome shirts. Not just a blanc shirt with a small logo. But a pretty well arted shirt. Cool enough to wear in public imo without feeling like a walking commercial. They're all sized M but I am 1 meter and 90 cm and it fitted fine to me. So it is more like a L at least as I usually wear XL sized shirts.


Of course I am going to keep one to myself as I really like all the artwork of KFA2 in general and this shirt is no different.

I want to thank KFA2 and especially Graham for helping this project. :cheers: He also created the "Game hard, fold harder" line in the KFA2 type of font. How awesome is that? Not only did I put it in a banner, but it will also be used in the case itself. I designed something with it and it will hopefully find its way into the case (if physically possible).


I also put the traditional KFA2 banner in here to show how I took a line from them and made it my own ;)
 
Small teaser (don't worry, not sponsored)

dscn1150r.jpg
 
So jealous!

I sold a kidney and participated in 5 of those shady medication testings to afford it though ;) :D

But thanks, I almost was scared to open the package. I just wanted to put it on display in my house :p

Hmmm. T-Shorts and a fine looking mobo. I'm going to have to get on with my build now just to take the edge off...

I have a couple of shirts to give away from multiple brands. If I get a lot of views and replies I will also give one away here.
 
What's the total length of all 4 of those black and orange fans? Also what size of fans are they? Thinking of doing something like this in my build.

Well they're 120mm fans. So they are displayed on a 480mm radiator and they are 480mm in total. They're standard 25mm thick.
 
Loving the work so far. Another great TJ07 build! That motherboard tray is awesome. Shame you didn't get the Logitech G710+ it would have been perfect with your colour scheme! Also congratulations on the sponsorship, KFA2 have really great customer service and it shows here! Keep up the great work!

Thank you for your kind words :)

I hope I will do KFA2 proud.
 
glad you got the board ok dude!! it really does look awesome doesnt it
i <3 mine

and t-shirts to give away you say!??!?! :P get them sent over to me, il wear them at the lans i attent to give them some free promo!

Yeah man, you literally brainwashed me with pictures of yours ;)

I will randomly give them away in threads. I do now know if here as well. I will probably do it on the most active threads. If I get another batch I will be sure to send you one as well ;)

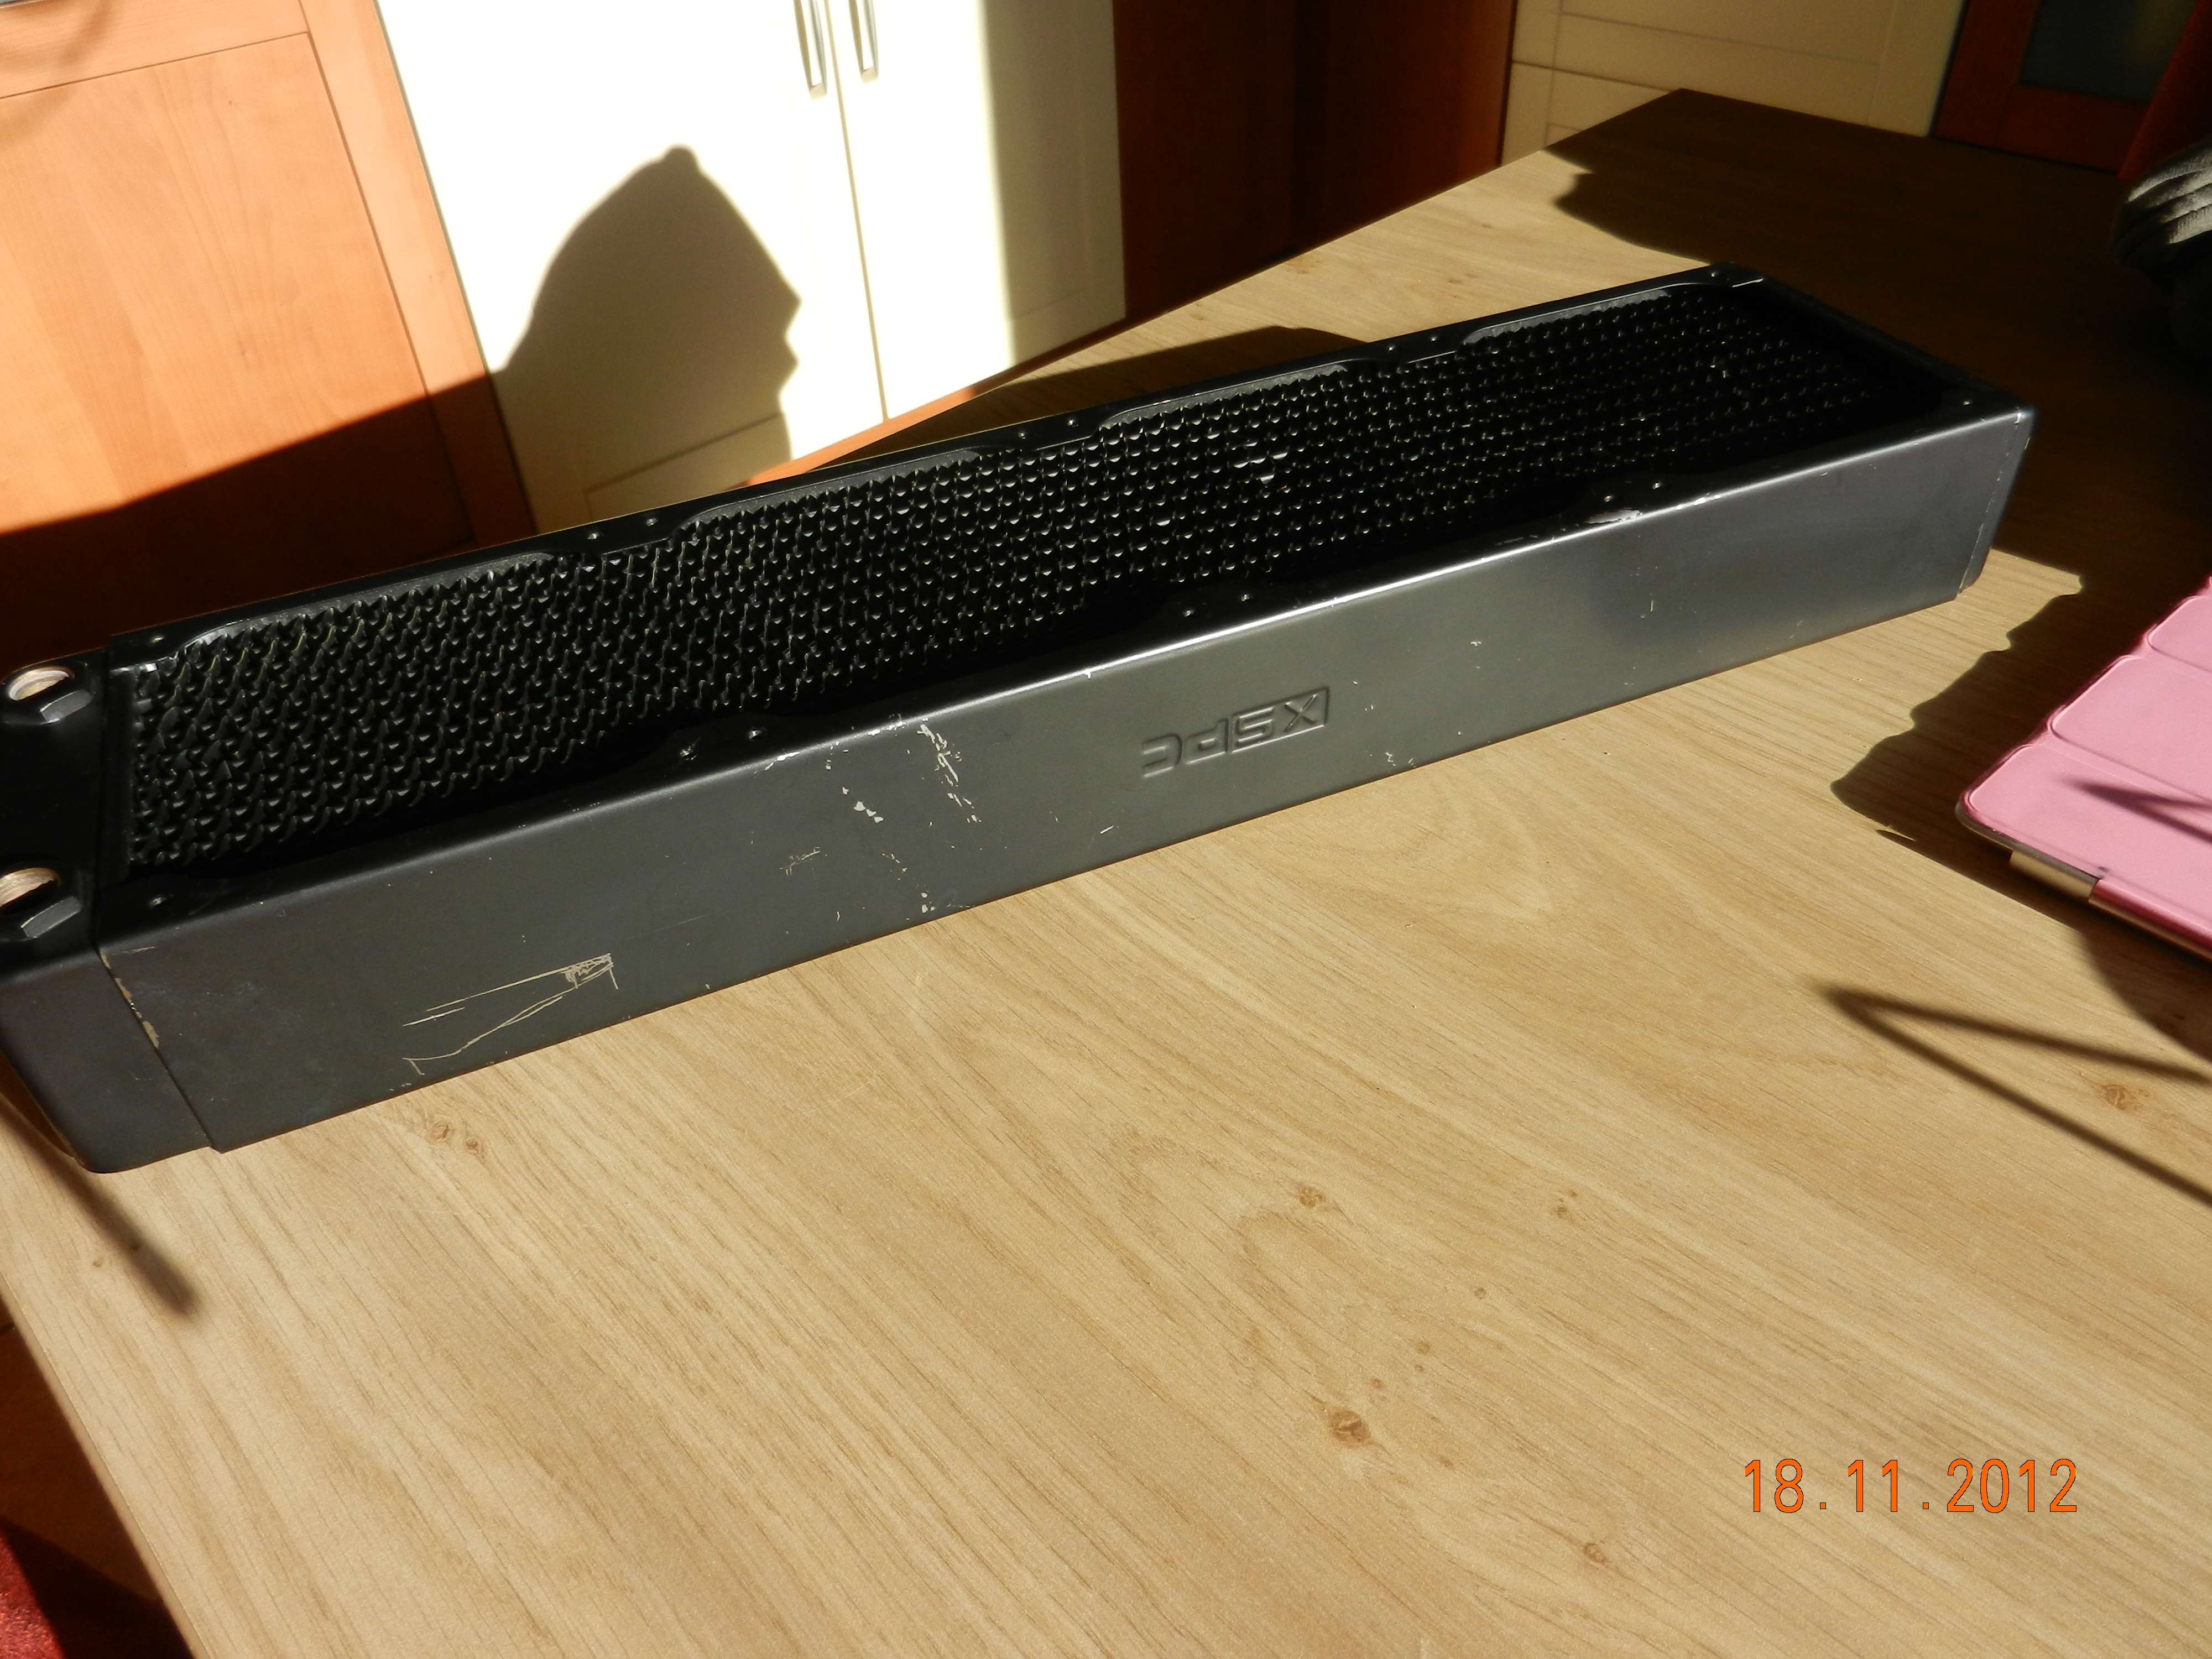
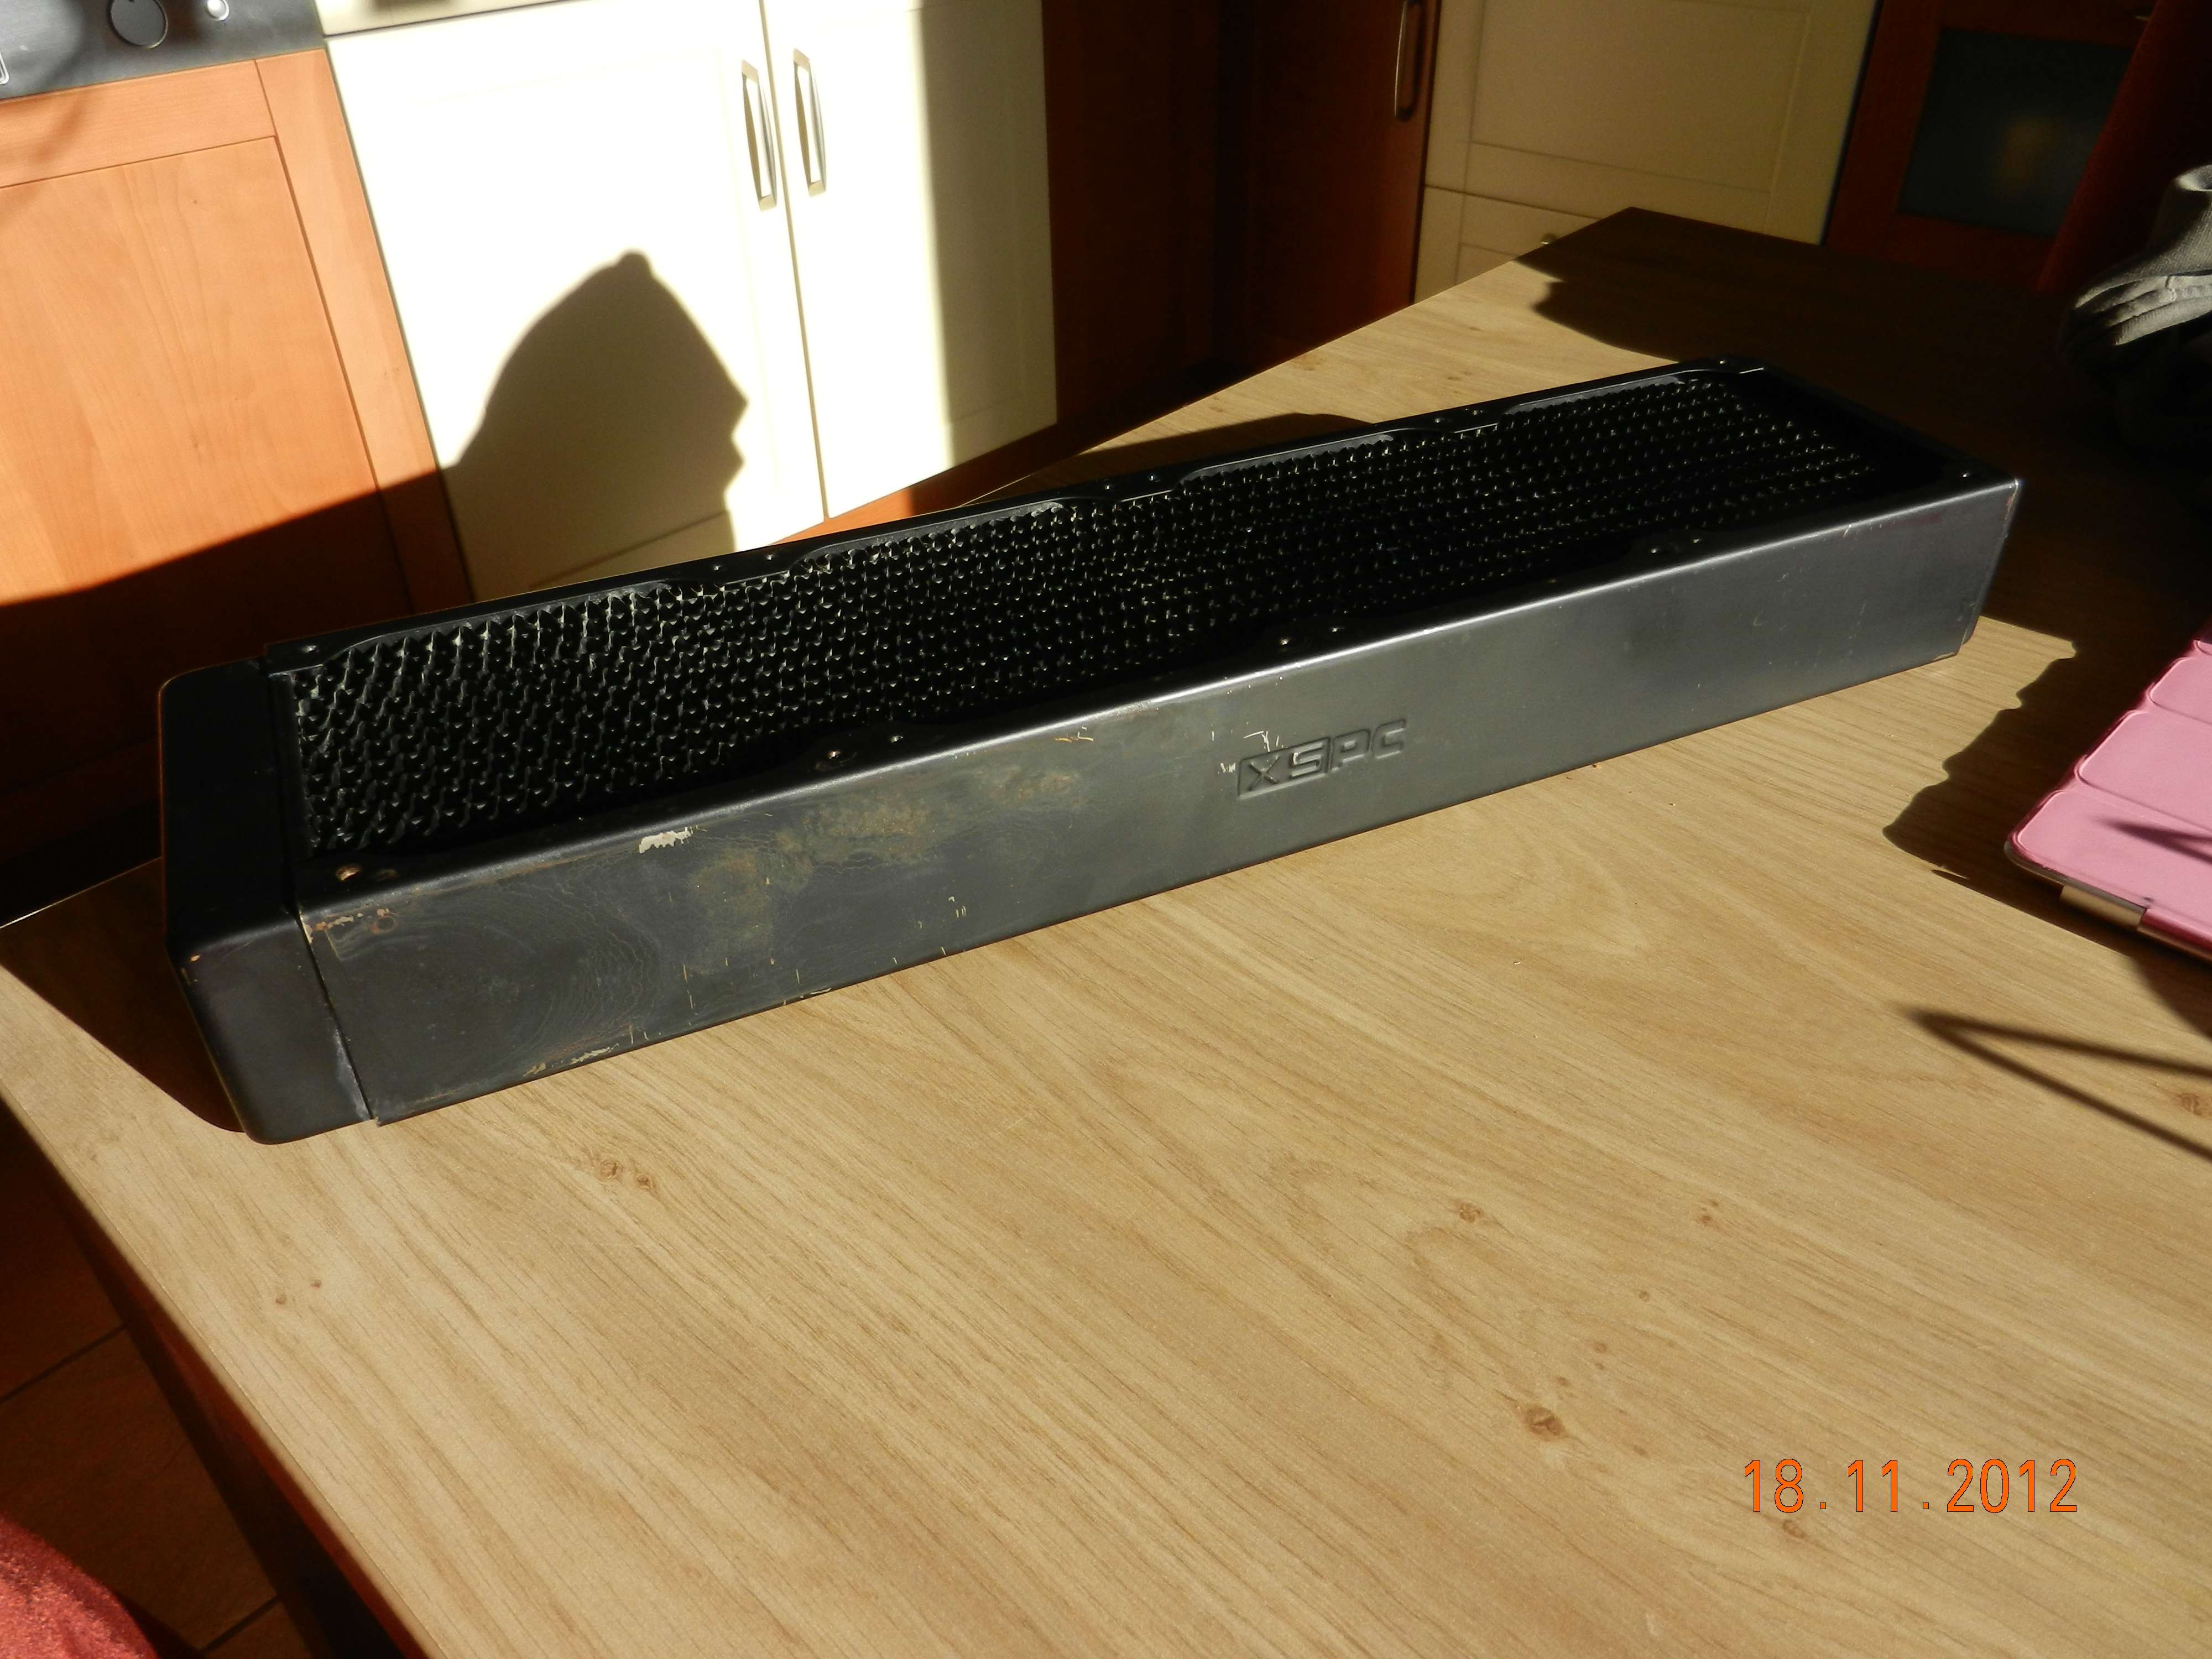
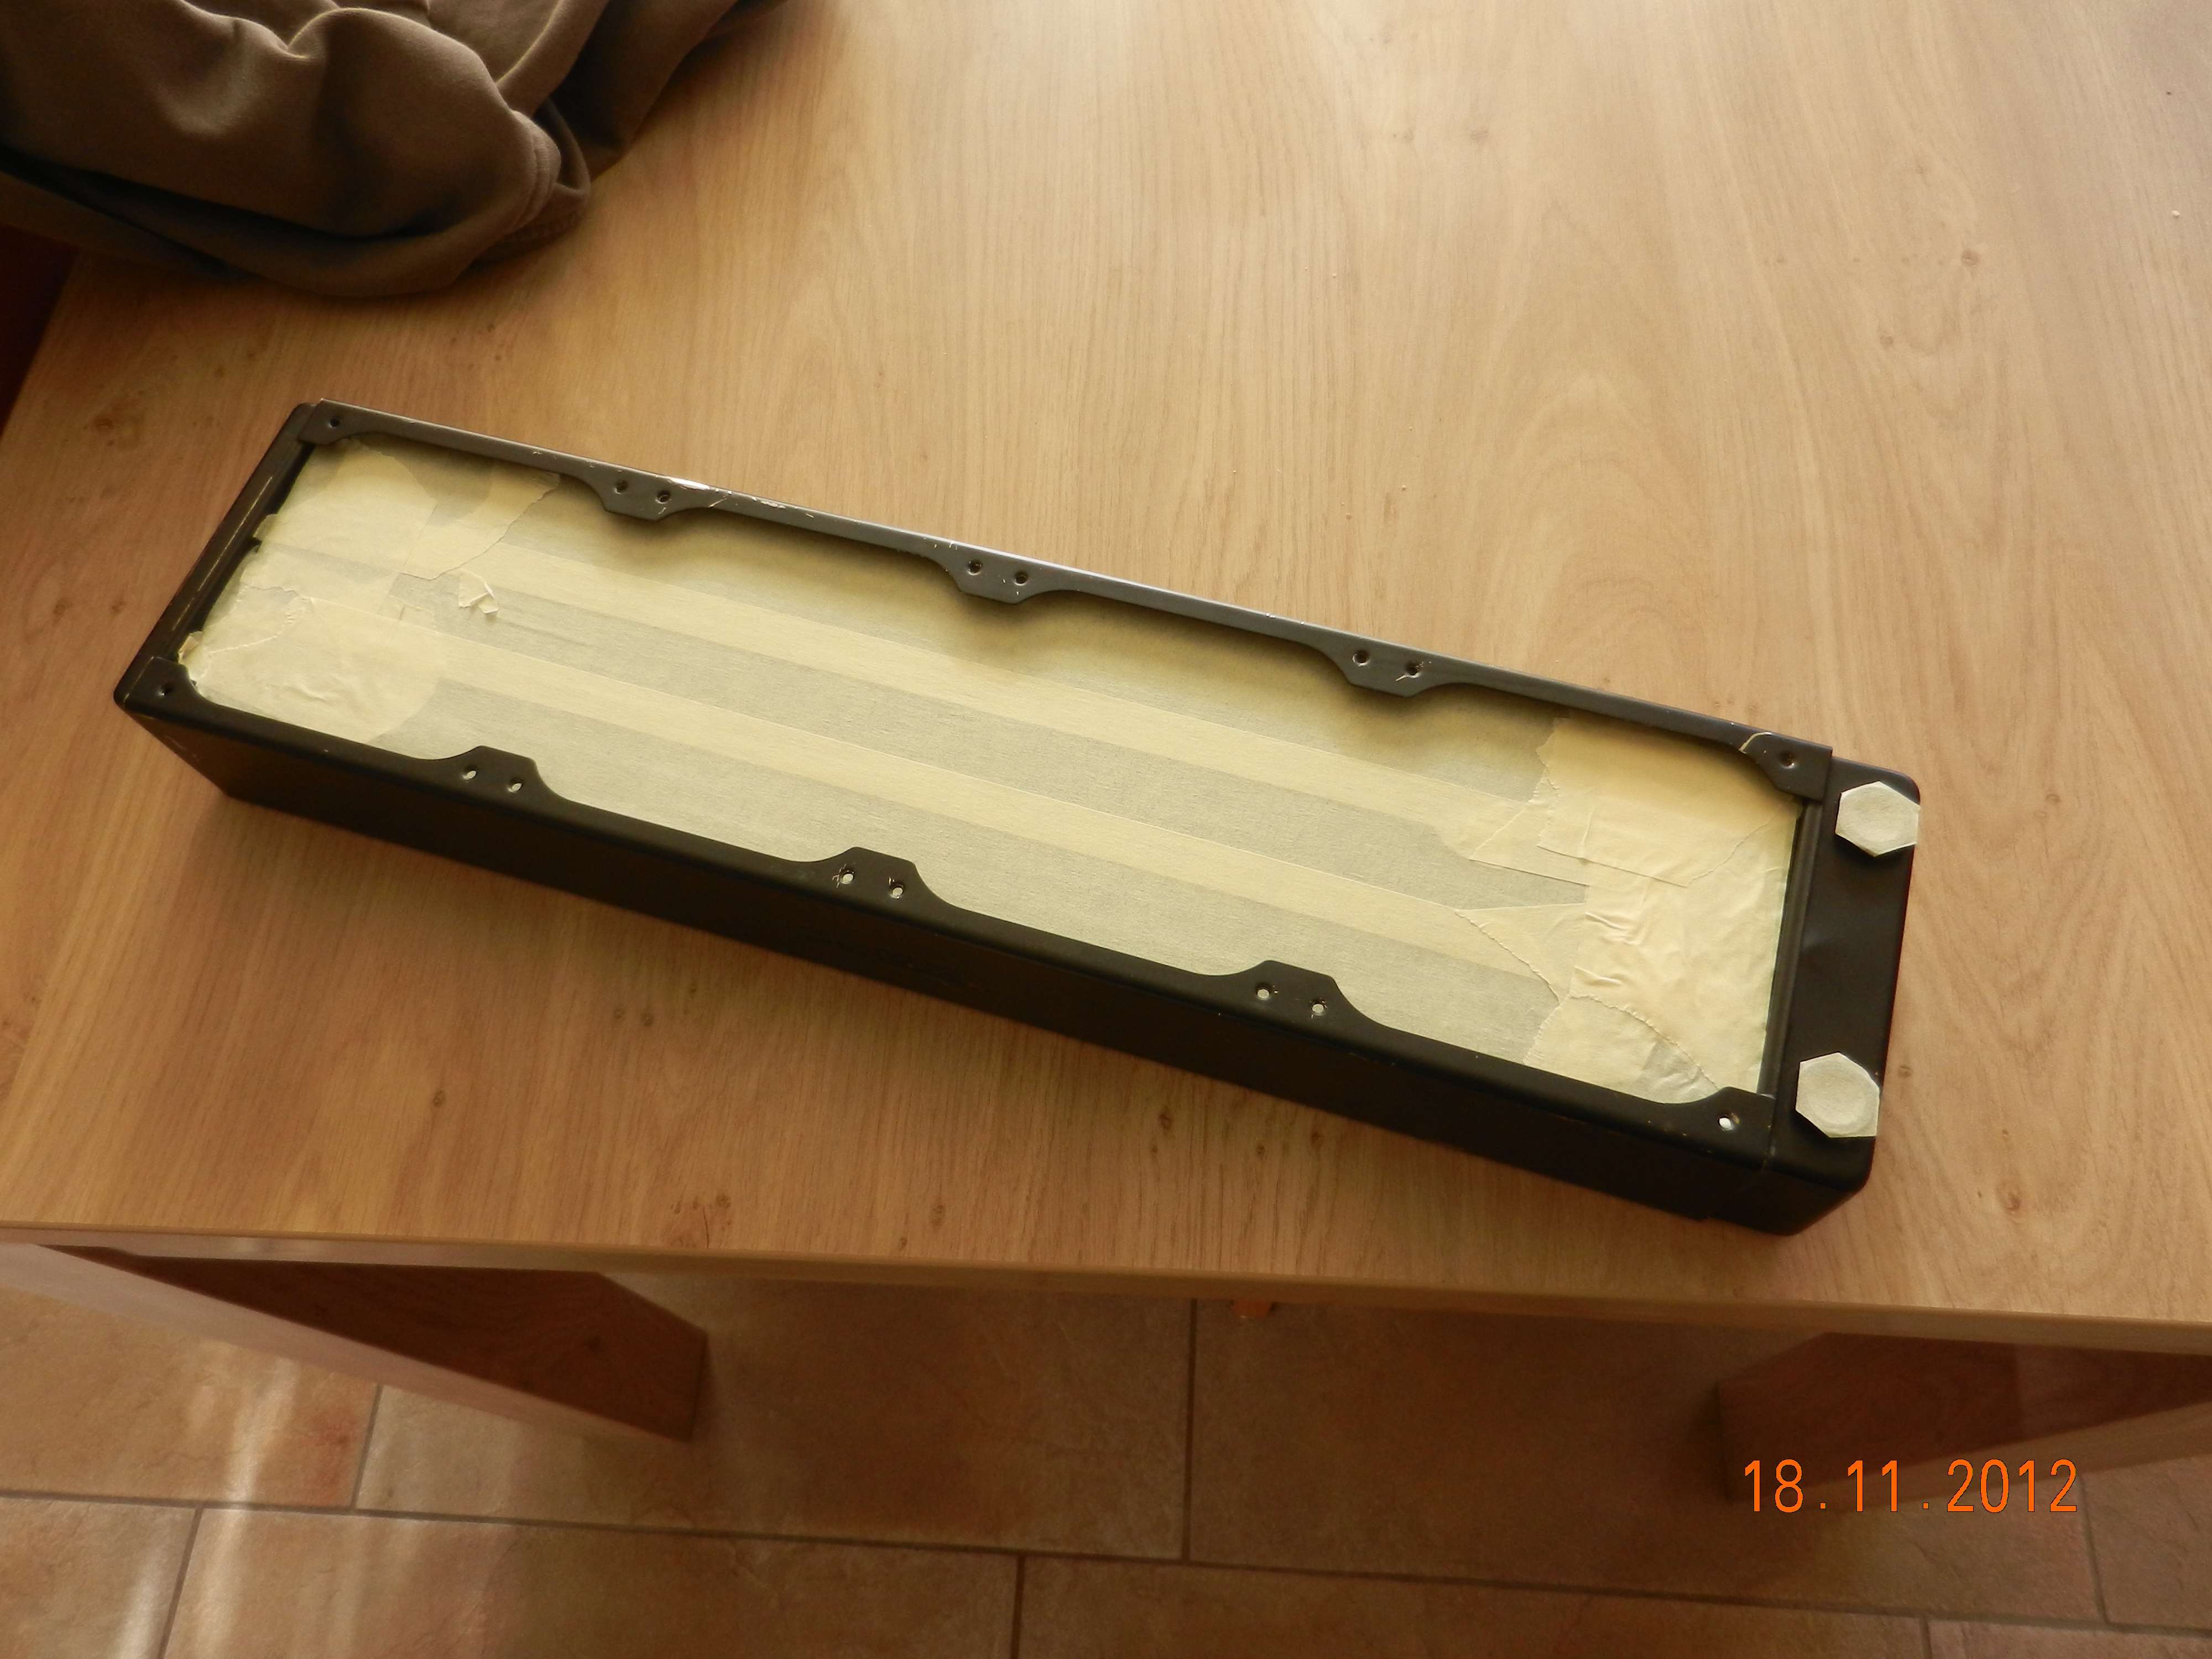
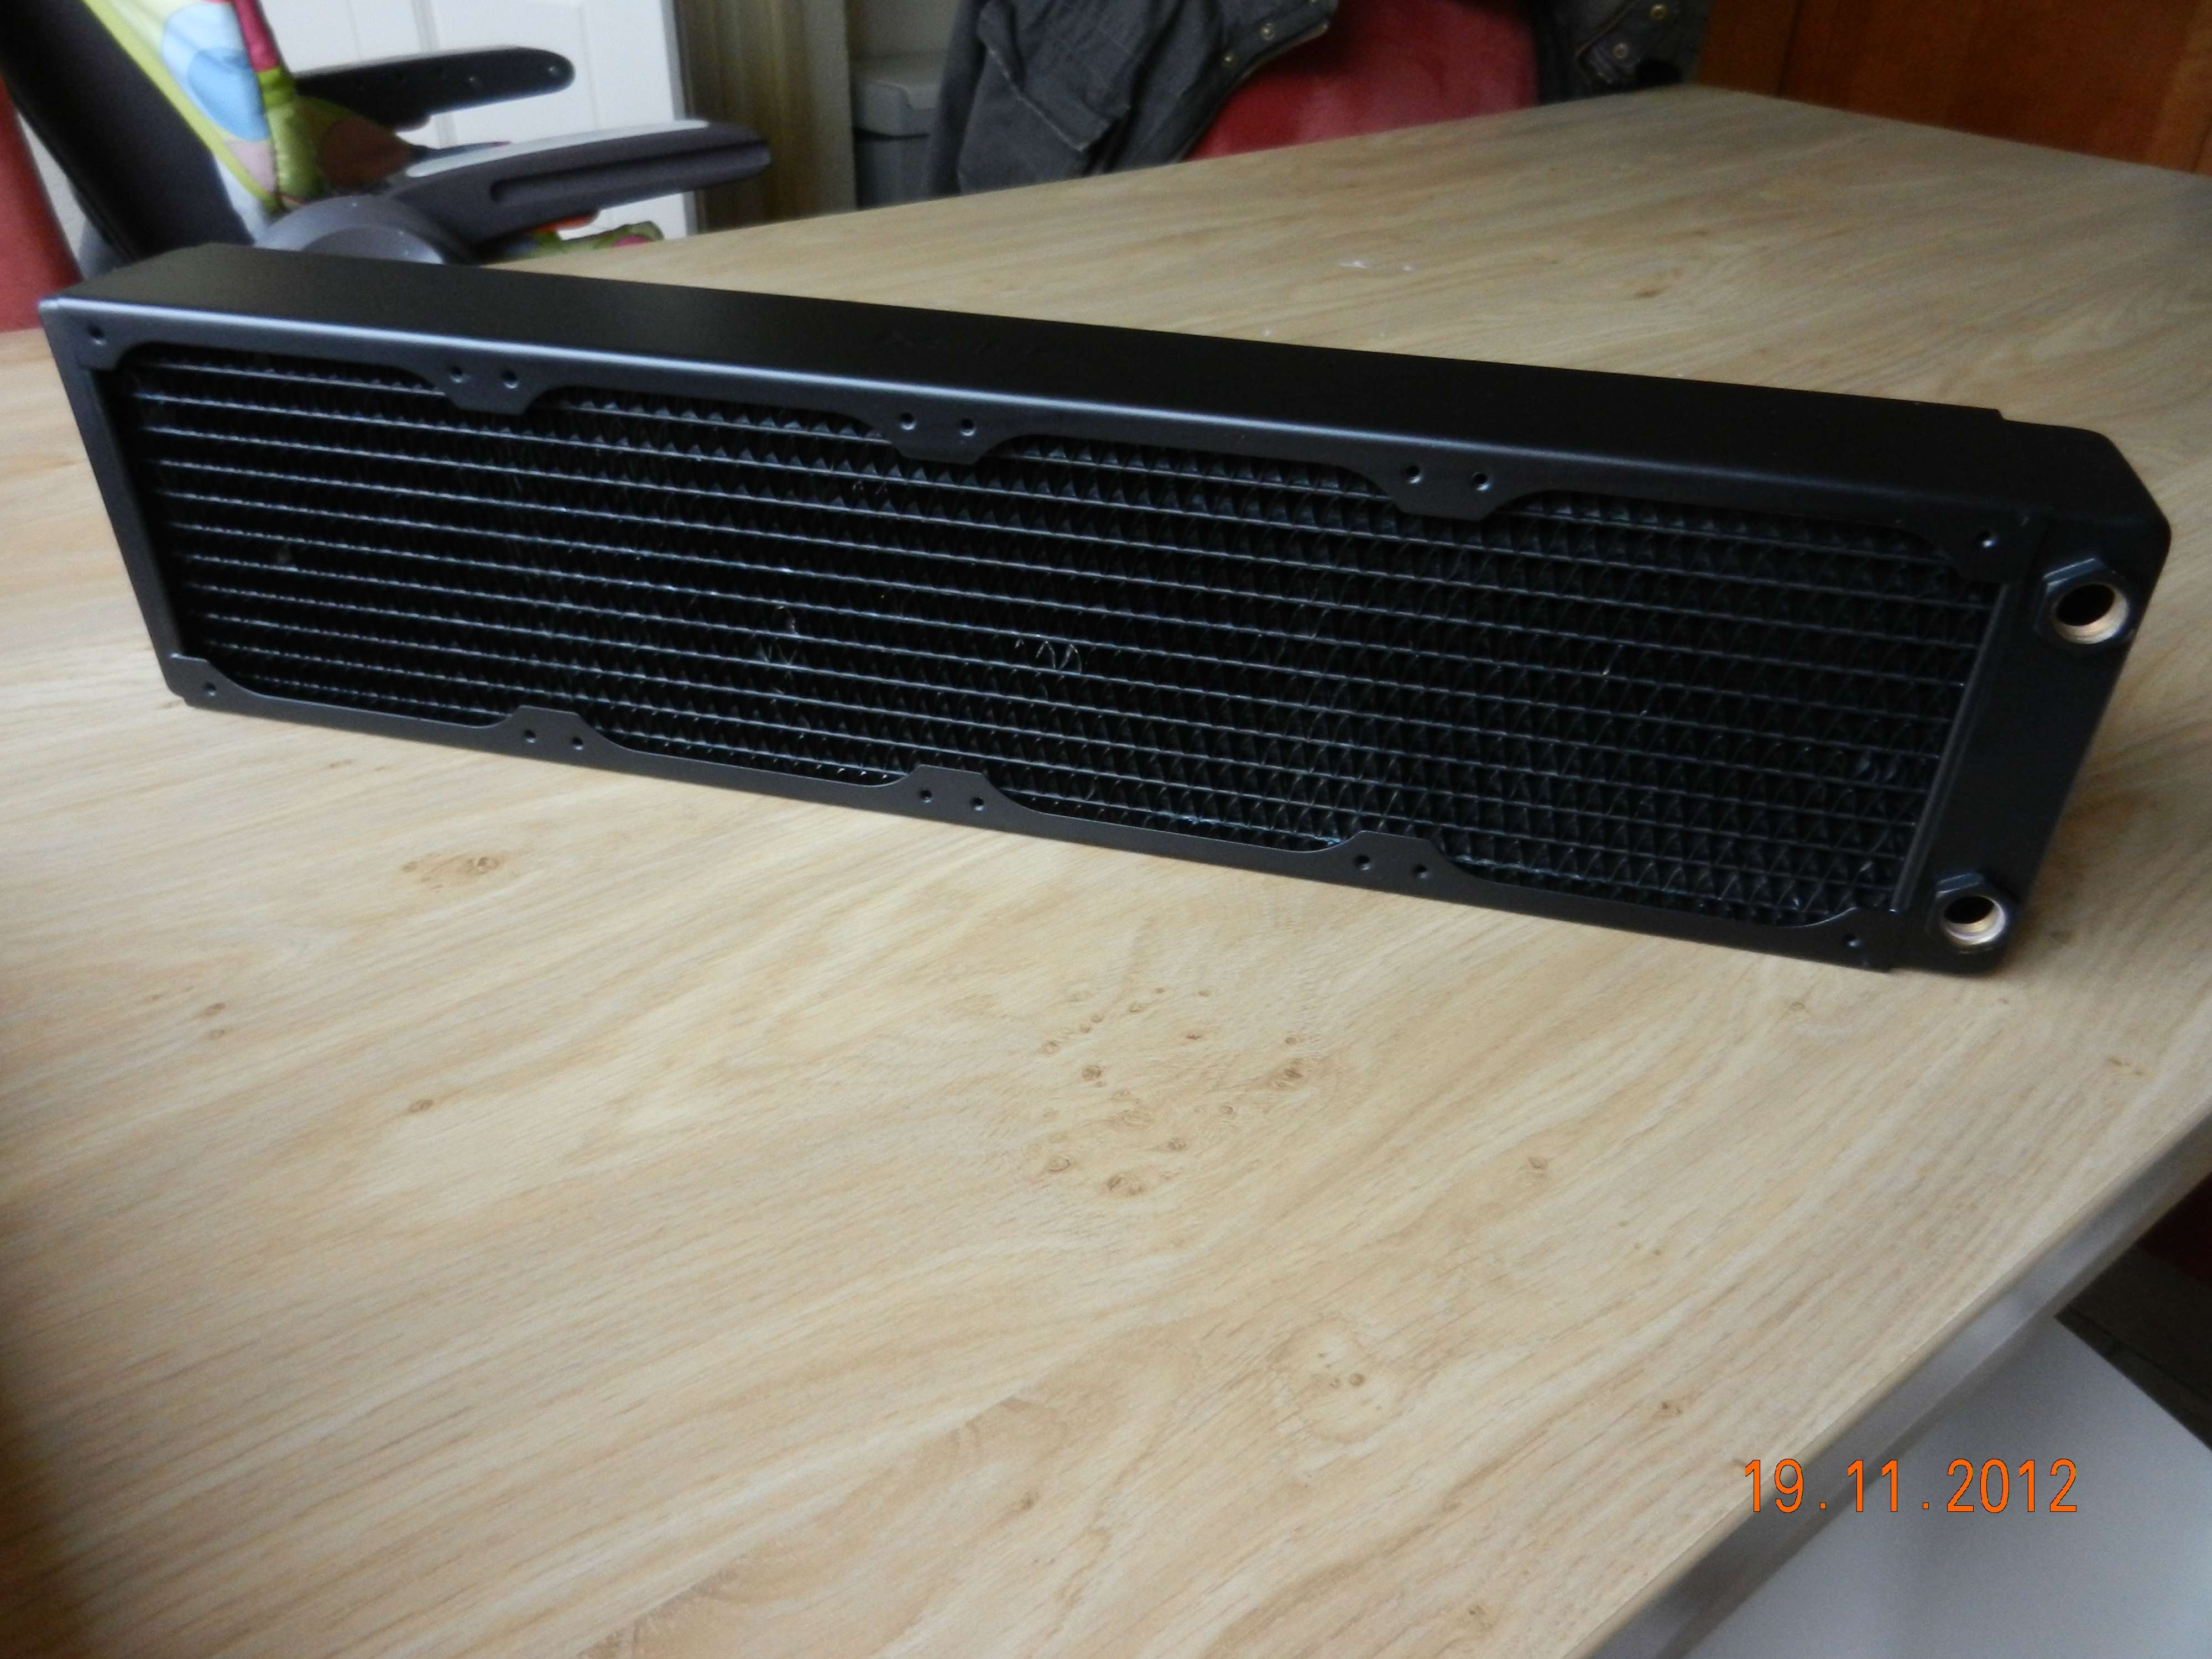
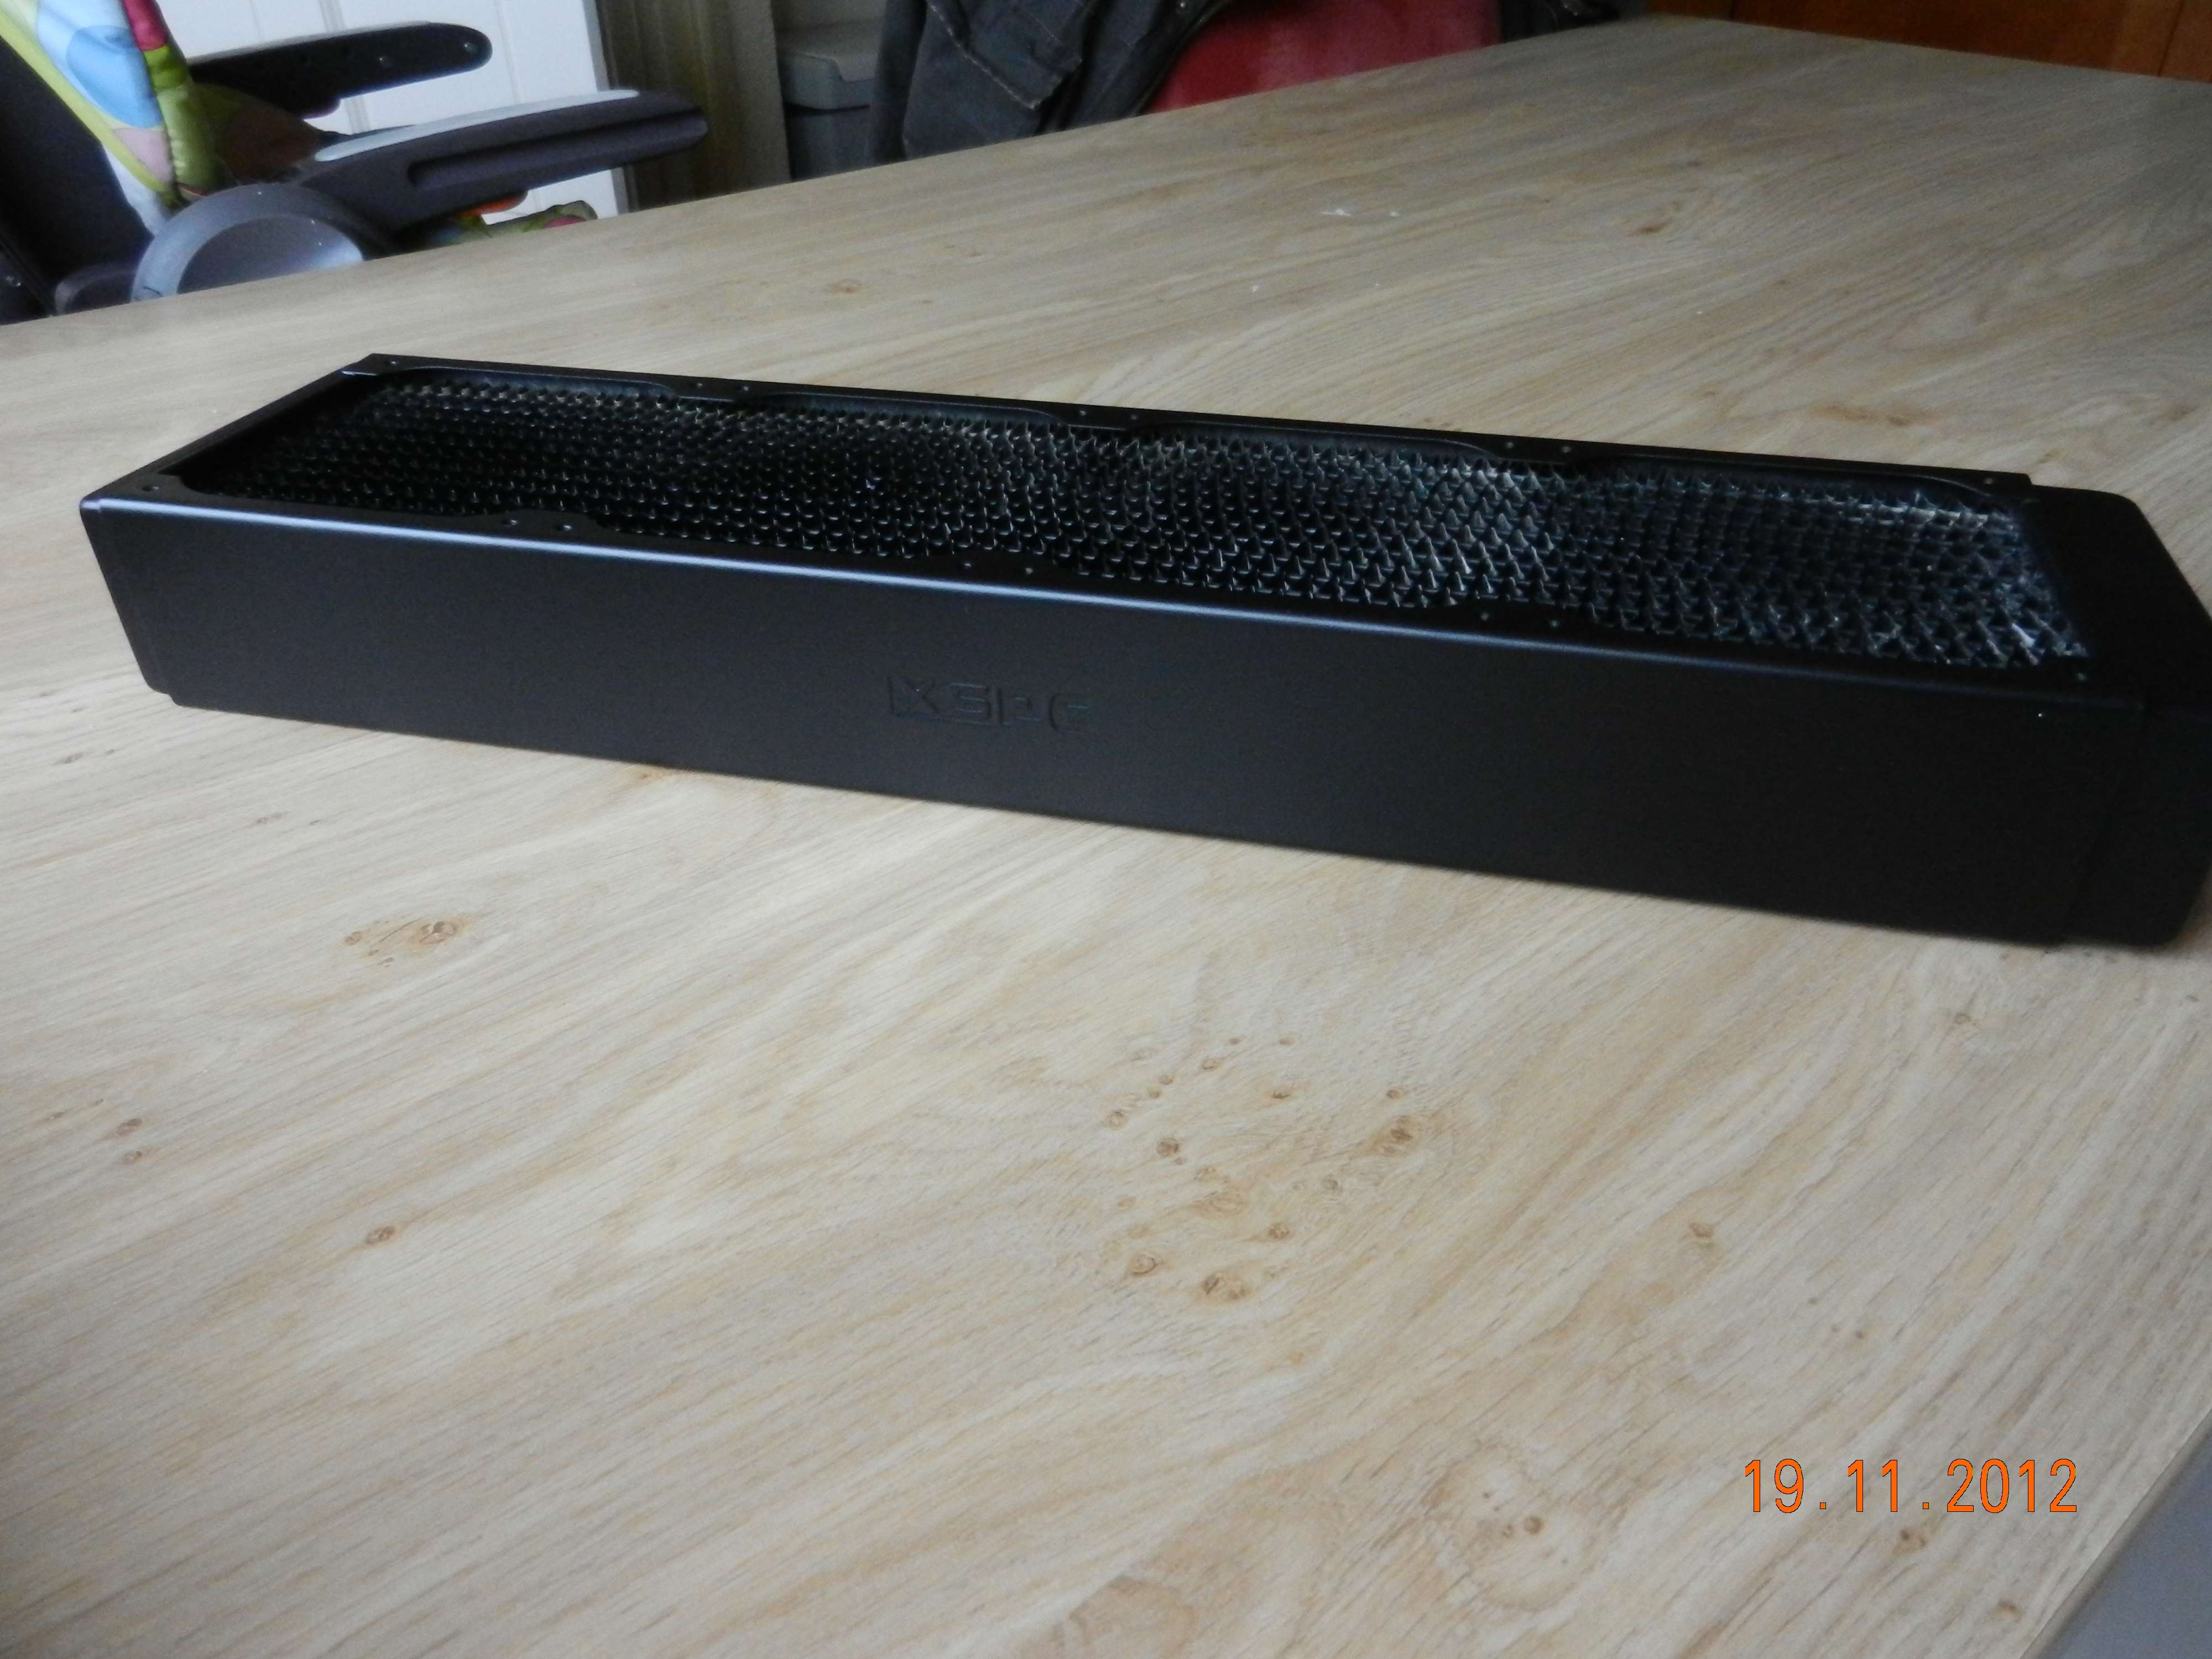
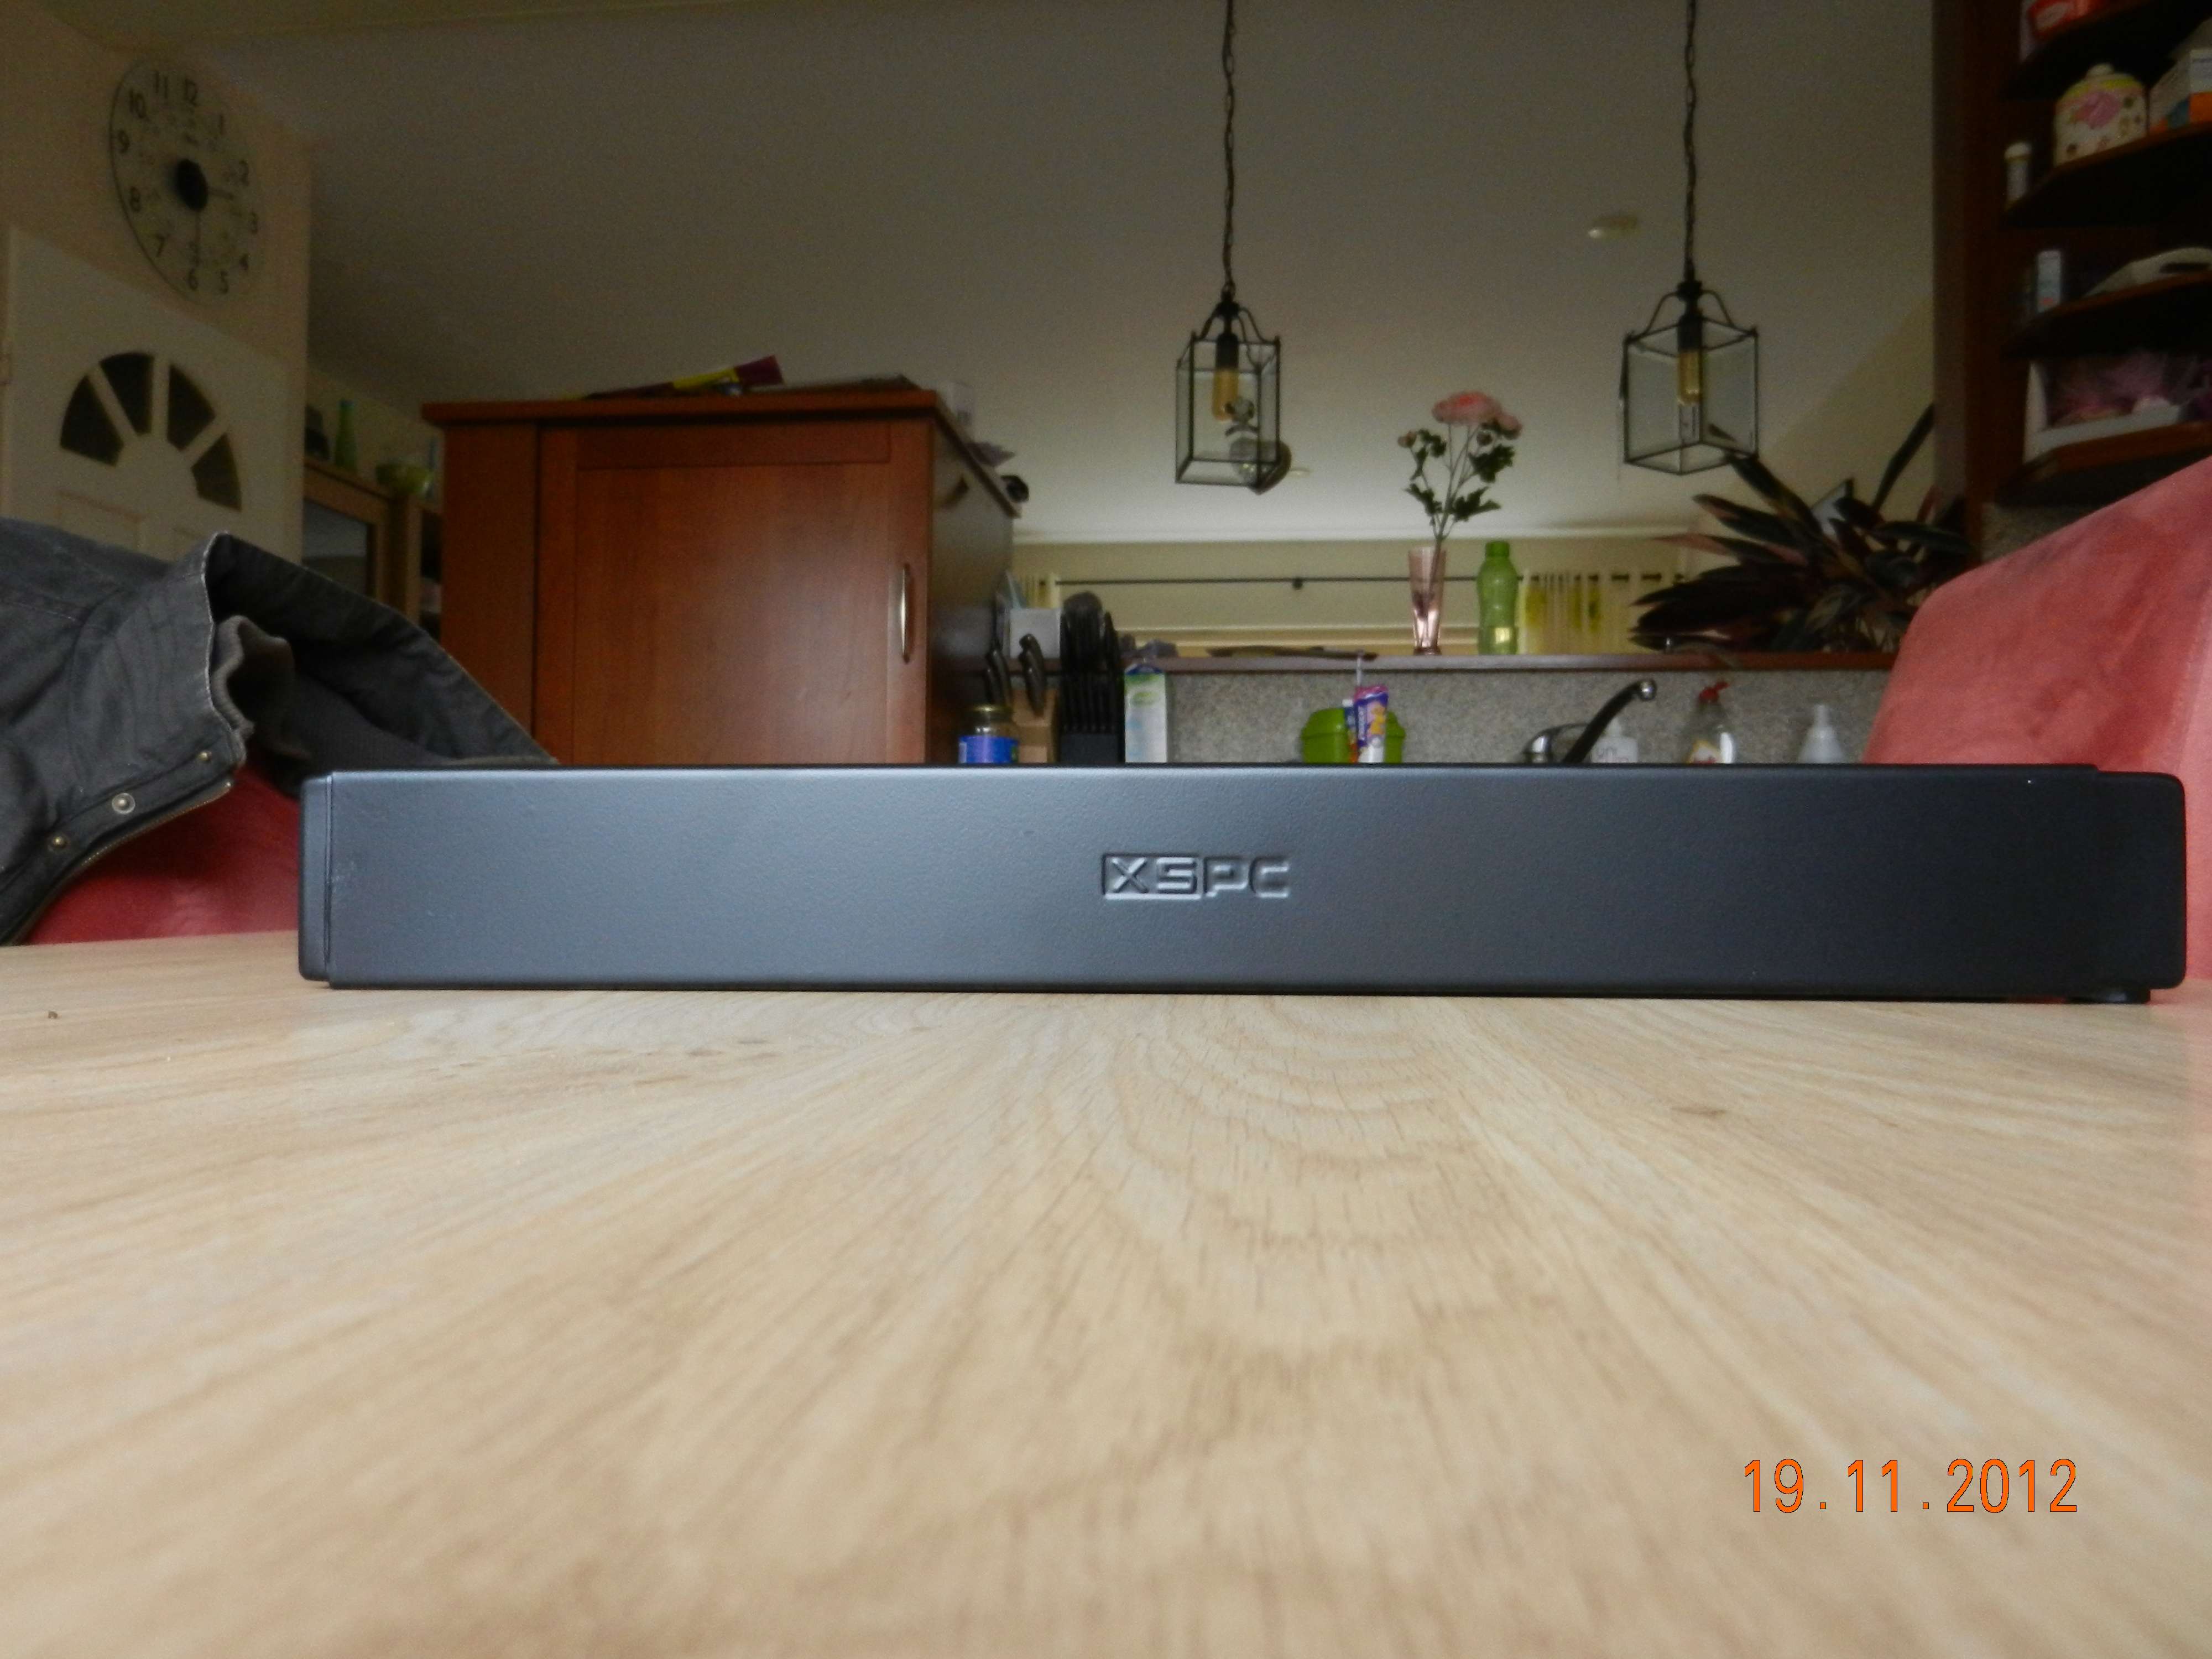
Here is the beast that will be fitted to it. The thick 480 XSPC radiator. But it was all scratched and stuff. So I taped it up, sanded it, cleaned it and spraypainted it. There. Good as new. :)


you look pretty handy with the spray paint - that rads come up like new!

IS there a particular brand to use, plus what grit sandpaper did you use?

I usually get a Flexa can. This one is soft glossy black. But I bet there are way better nozzles out there that put this one to shame.

I used 240 grid I think. If the bottom colour isn't damaged badly or dented you can suffice by just making the old paint look frosty, then clean with some degreasant whatever. I used terpentine. Then just apply a thin layer, wait 20 mins, another thin layer, and another time and this was the result.
 
Sorry, I don;t follow with the:
"If the bottom colour isn't damaged badly or dented you can suffice by just making the old paint look frosty, then clean with some degreasant whatever. I used terpentine. Then just apply a thin layer, wait 20 mins, another thin layer, and another time and this was the result. "

comment. Can you explain again?

My appologies, English is not my native language.

Some people think when painting they need to sand untill you can see the bare metal. Get it all off. Which is just not needed. If the current paint on it doesn't have big scratches in it or dents (so the material is not damaged but quite flat) you can suffice with using a small grid paper such as 240 or a bit less. Just so you remove a thin layer of paint. The paint will have a "frosted" look after that. It will be enough. Just clean it afterwards with something that is degreasing. I used terpentine for it. But lots of stuff can be used. When it is clean just spraypaint it with a thin layer, then wait about 20 minutes and spray a thin layer over it again without cleaning or sanding. Do this 3 times and the photos I just showed you are the result.

I hope I explained it better now. If there is something you still don't understand just tell me.

----------------

Alrighty, time for a new small update. Since I got the advice a rad with no fans is pretty muchy useless I went and installed the fans in the top. Man I love those fans. I also couldn't help myself, I had to testfit stuff just because I could even though I will need to take it apart again for sleeving of wiring and such. I like how it ended up. I also made some holes in the midplate for wiring behind the mobo plate and room for loads of wires and tubing inside the pillar. After that painting it black. But I forgot to take picture of it. The top grill looks pretty much flush now. There will be a cover over de 5,25 bays side. So no worries. Things are SLOWLY starting to take shape. But I need to buy me that mobo soon and some fittings :D BTW the MDPC package is only partly for this build. The sleeving is for a PSU I am sleeving for someone else.


Got a really good build coming along here. Those orange on black fans look so good im tempted to swap my colour scheme to something like it haha.

I await futher progress :D

:D I love orange. I now see orange builds all over the net. When these fans are on I like them even more. But that will be a few updates down the line. I have quite some building to do first.

Thank you for your comment!

No need to apologise - thank you for explaining to a thicky like me:) All perfectly clear now.

haha no problem at all. Glad I could help.

I'm intrigued to see why the res and fan controllers have been mounted facing inwards...

I wanted the front to be as clean as possible and I really like the stock look of the TJ07. It is so clean. The anodised aluminum 5,25 inch bay covers are really nice. So the idea was to make all parts face inwards instead. This also means no visible wiring and tubing in the PC. At least not at the back of the bays. They will all be in the bay-tower/pillar. Invisible to the eye.
Now they stick out as you can see, but there will be a custom bay side cover made up which will also stick out a tad to fit nicely against the covers, fancontroller and reservoir.
 
This is really shaping up to be awesome and one of my favorite builds I've seen. Very similar to what I was planning!

Are you planning to install a slim 360mm rad in the top? How did you mount the grill?

I also like what you have done with the reverse mount XSPC reservoir. In fact I did exactly the same in a Tj11 demonstration system that I built!

Keep up the good work and keep us updated. I can't wait to see this one finished!

Thank you very much!

I wanted to fit a rad there, but there just isn't enough room. The grill takes up about 6mm under the roof. It is fitted like the stock one, my last update shows that. Where the washers have been put the grill is mounted with screws.

A TJ11 demonstation build *drools*. I'd like to build that alright.
 
That's a shame, you could get some serious radiator area bit I suppose it doesn't really matter with lower power and cooler components. Do you have any plans for the mid plate or is it staying as is?

Here is the tj11 mid-build. You can see I had the same idea as you with you XSPC bay res (x2) (this was a completely rush job, I was given 2 weeks!)

Yeah I would have really liked having one on top as well. Maybe in another project I will use an matx mobo, lower it so I can use the top for a rad as well.

Oh there are many custom panels in planning atm. I have a very special idea for a midplate. I have to admit I have seen it somewhere else first. But it is so amazing I cannot NOT use it in this build.

Very Nice. Are we to assume that there will be no side permanently fitted to this build, or at the very least some sort of Window cut into the side panel?

Both sides will have a sidepanel with a window. I have special plans for the other side even. But yeah there will be a sidepanel with a big window. But everything you see through that window must be clean.
 
Well the reservoir has a top opening, I will temporarily fit a hose there that goes out the front and up a bit. I can poor coolant in there. When the loop is full I can take it off and close it.

I will make a drain tab on the lowest point, so basically a T-section with a tab on it to open and close it. End it with a 1/4 part. When I need to drain I will fit a hose to it and drain it.

Sounds plausible?
 
That's exactly what I'm doing. I've had problems as my 800D has only 5x5.25 bays, and all are occupied - I've had to butcher the fan controller in order to get access to the top of my Koolance bay-res.

I placed the res a bit lower than the top on purpose. That way it should be easier to fill it from the top. And a drain should be on the lowest point of the case.

I have actually thought about making a fillport in the top. But I fear it will destroy the clean look of the case.
 
Time for a small update.

I had this idea for 2 SSDs. One being a Samsung one (black and orange duh) and the other being the same but put it in a new casing. Full acryl with Samsung engraved and finally (if doable) 2 or 3 LED holes in the side to add either orange or white leds and highlight the brandname.

How do you guys think it worked out? Be honest. They will feature on the back of the mobo plate side by side. More picture of them when they are fitted and the leds have been tried.

1222797


1222798


Thanks a lot for helping me out Marcel! I know it cost you quite some blood, sweat and tears to get them done the way I envisioned it! Top work!

1222799


www.robocnc.nl

And I finally received my package that was sent by the most handsome man in the world :thumb: :D bearing the most beautiful name in the world. Thank you SO MUCH for helping me out man. :drunken:

Two i7-3770ks and 2 packages of 2*4GB Samsung low voltage, low profile ram. In other words; THE overclocking ram. One cpu is for me, one is for a friend and all the ram is mine. For this project :D

 
Personally, I think the Samsung SSD case looks great anyway. For something 'different', how about CNC'ing a block of aluminium and then anodising it?

I think it would look great, but the original case already looks like an anodised aluminum. I just tried something different. I can always change it. But he who does not try does not succeed ;)

I guess I will see how it looks when the leds are in and both are mounted behind the mobo plate.
 
What was wrong with the black an orange? Your fans are orange/black....

.... as is the fan grill! You also say in your "plan" that...

"The theme will be completely black with orange accents."

Poor me. I confoosed. Nice concept, but I don;t like the green PCB personally. It just doesn't go with anything else in your build that I can see...

Hey man no ganging up on me *swings fists uncontrolably around*

:p :D

Sometimes you just have to try something. Also I don't want the orange to be too much present. I will first try this with white and orange leds. If I hate it I can always try something else.

For example paint the plexi case black or antracite and remove the paint in the engraving. Put leds in and then only the letters light up.

This is kind of a "he who doesn't try won't succeed" kind of thing. I can always choose not to use something or change the concept right?

Please don't be mad :(

I like actually quite like the plexi. But I would be tempted to use a smoked grey plexi maybe trying things with orange LED's

I think it depends on the colours of the build and the idea behind it. You can make it work for every case I think. Thanks a lot for the comment btw.
 
Back
Top Bottom