Very nice G, I'm impressed with that colour scheme, looks really sweet in the CM case.
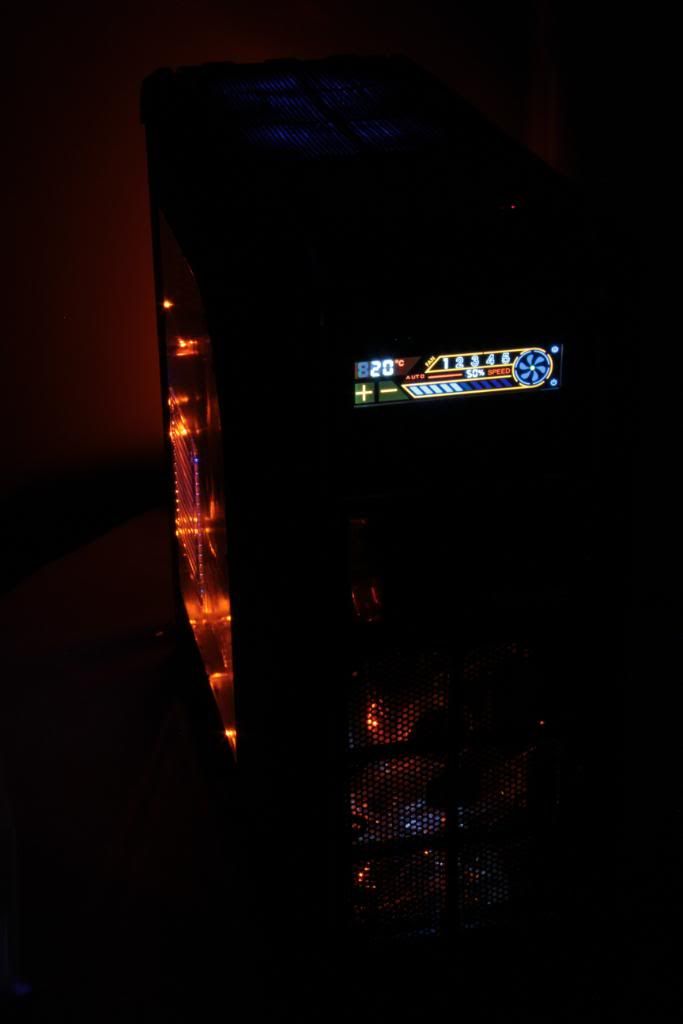
Hows your temps with that RASA kit?
Thanks Rob. Not really let her stretch her legs yet. I like to make sure everything is running well before I clock the twangers off it. Pretty confident of 4.2 with nice low temps though.
Nice kit, and nice pictures - nice and sharp, I so need to get my D50 back off my mate...
My scabby little kodak point+pray camera isn't really upto the same standard! lol
Cheers mate, I'm still learning how to use the camera, or should I say how to take photographs correctly, but enjoying every minute. Photography, and there I was just looking for another expensive hobby
")
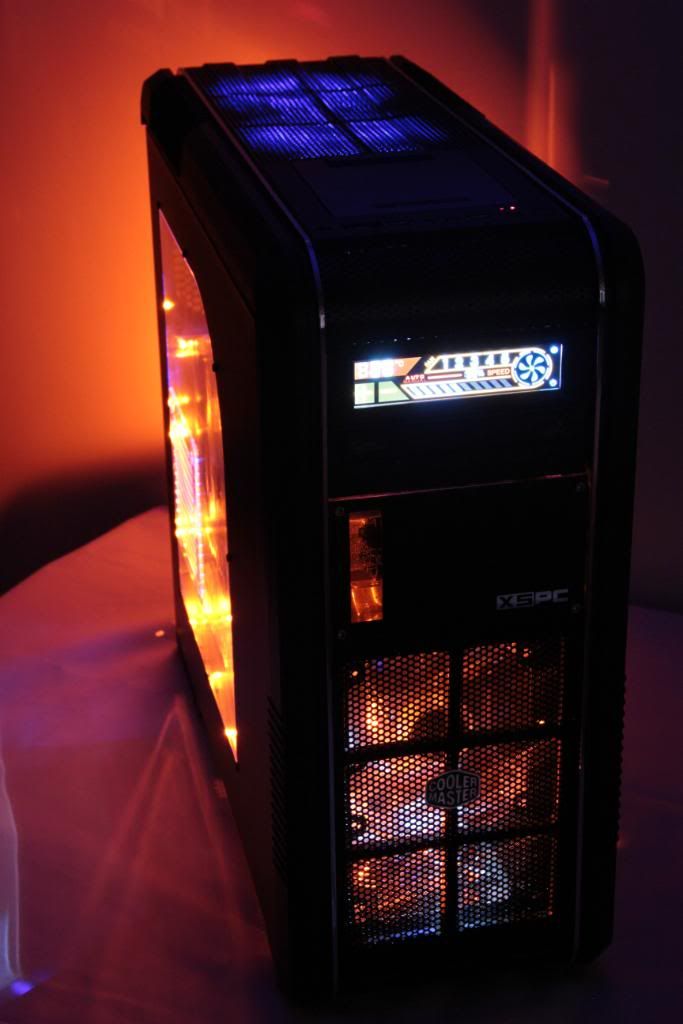
really nice mate, love the colour contrast.
also, good job on the cable management! xD
Thanks you. it took some time but is always worth the effort.
It has always been my intention to give my thoughts on this case, using the build log as the vehicle for the review. Most reviews of this case, (and there are plenty of them out there), cover the main characteristics and features of the case. Now please don't think i'm saying there's anything wrong with this review method, there isn't, however they don't really talk about what it's like to build into, work with or use when finished. I just thought rather than add to the pile of this style of review I'd try something a little different.
So what can I tell you about this case, what's it like to build into?
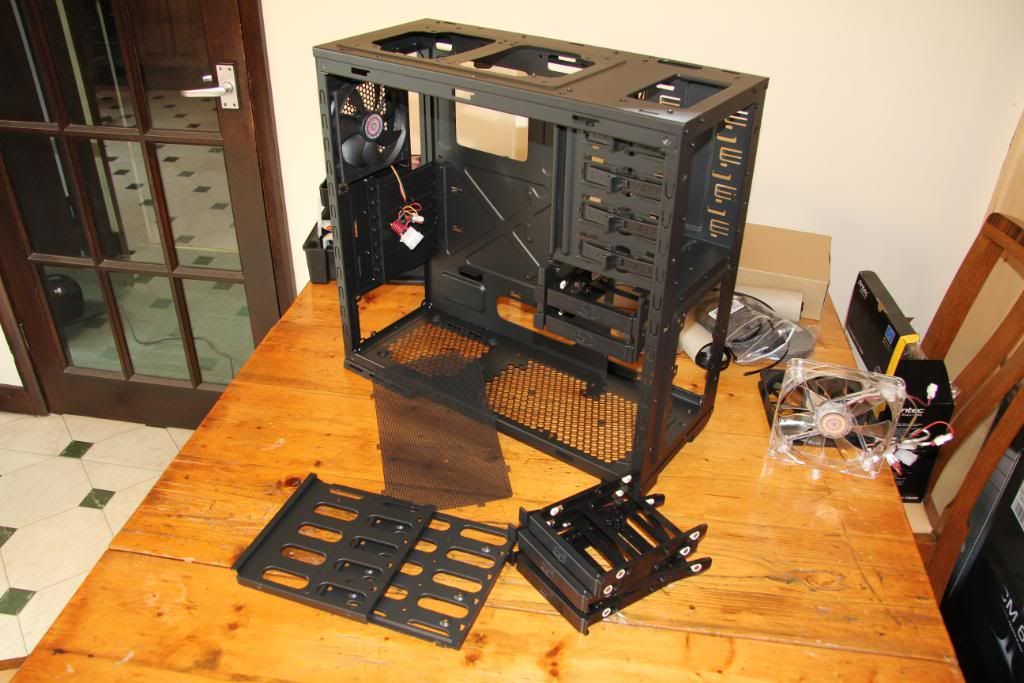
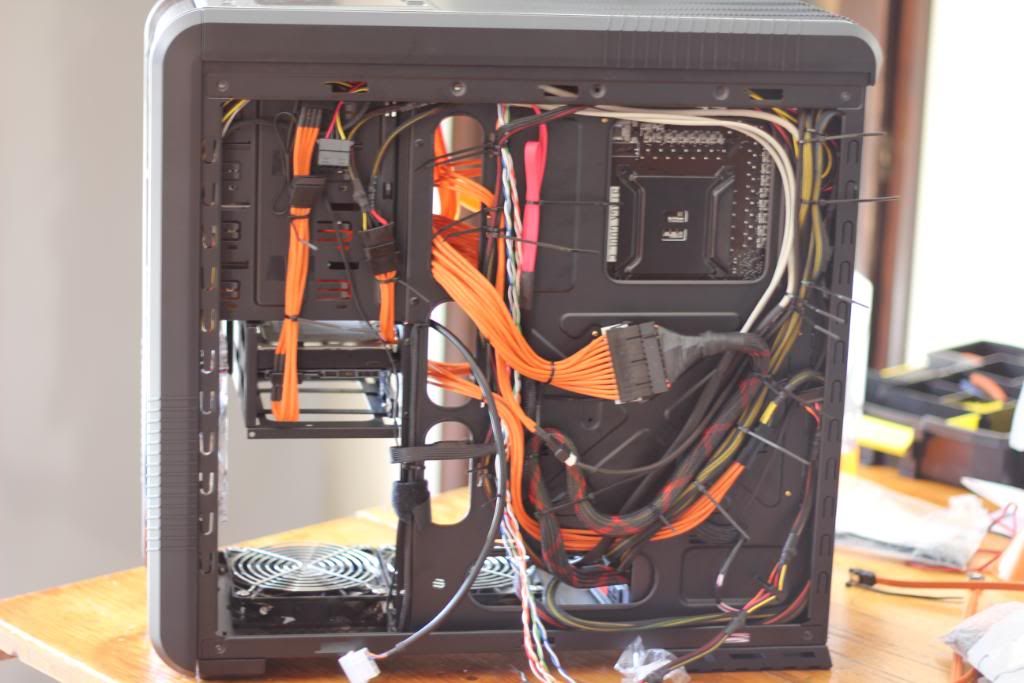
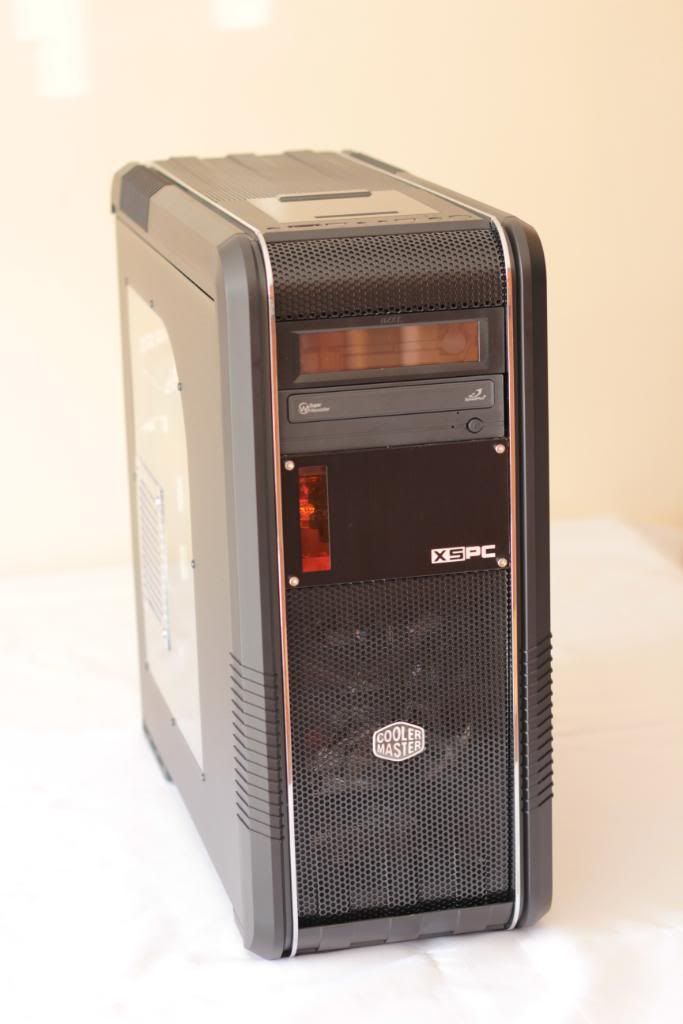
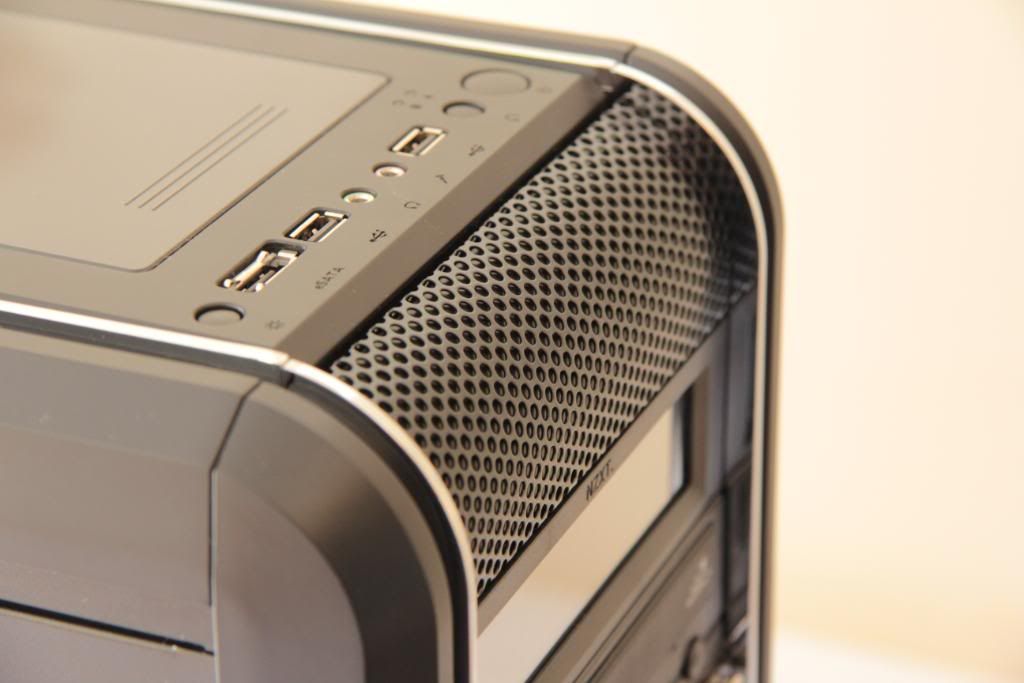
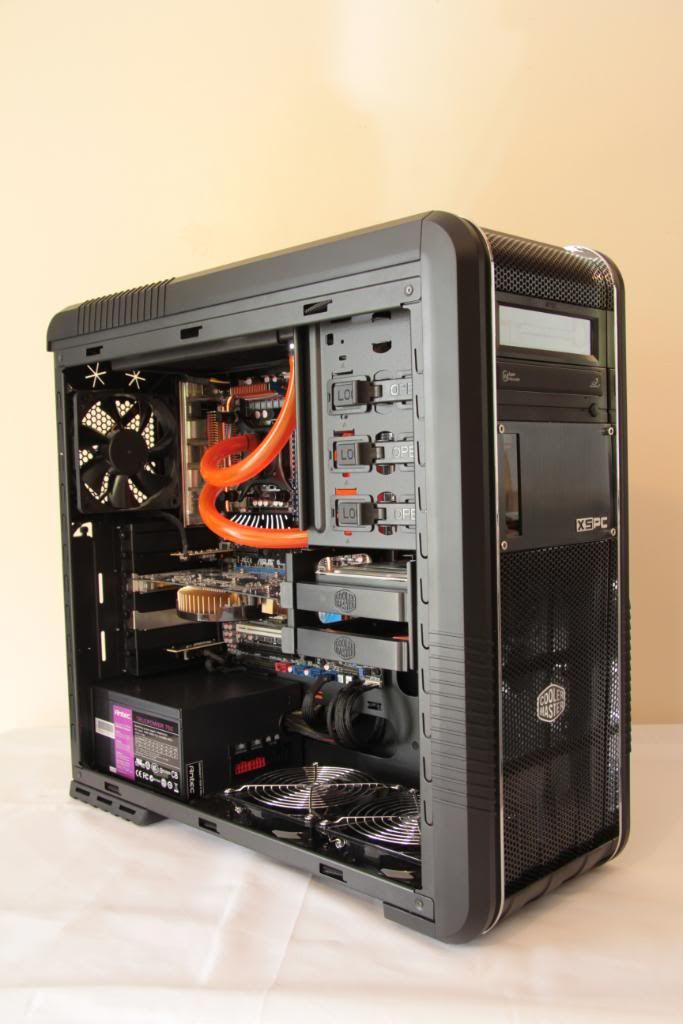
It's an easy case to work with, very easy in fact. All panels apart from the rear panel are removable. The side panels by means of knurled thumb screws, and the top and front panel by means of plastic barbed clips. The lower HDD rack can be removed easily enough, although this does require the removal of several very small screws. Instructions on how to dismantle the case are provided, but to be honest it's easy enough to work out. The dismantled case provides plenty of working room for routing all those cables,.
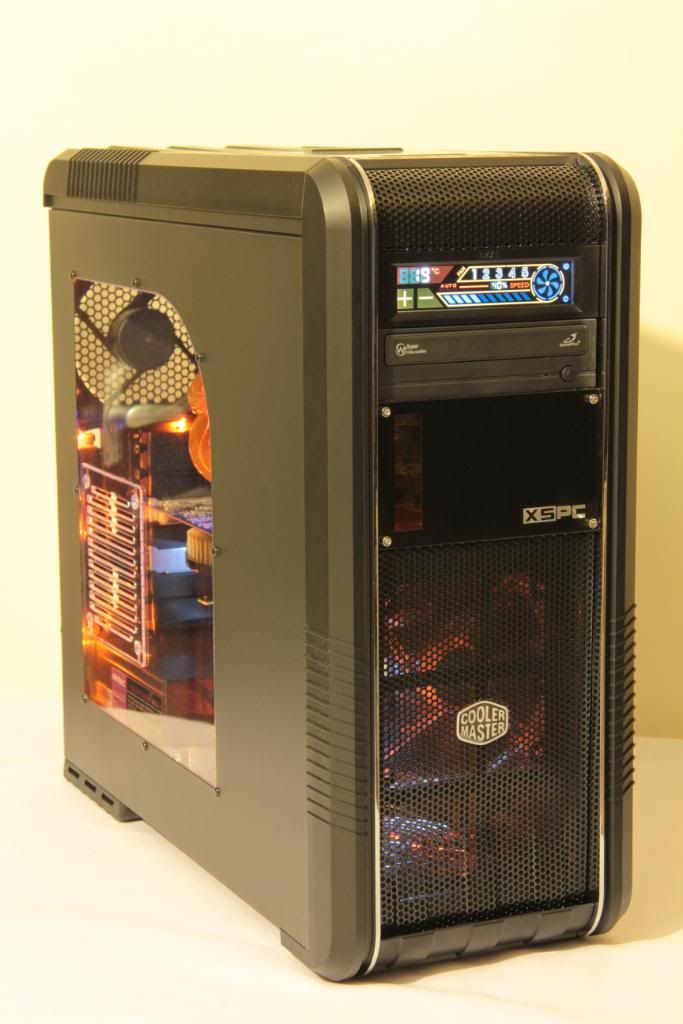
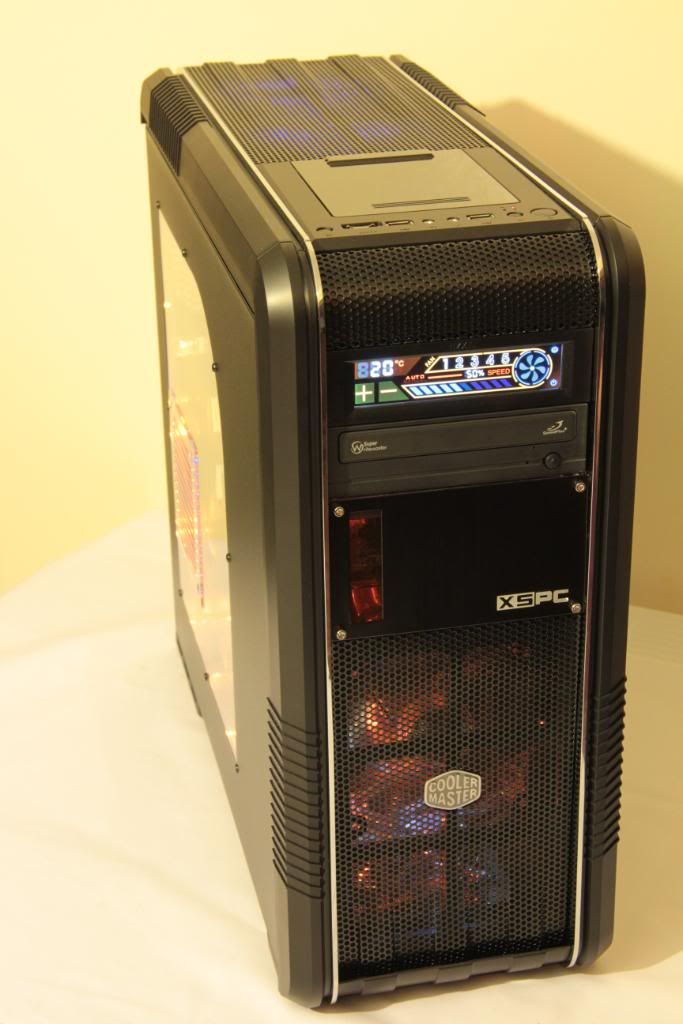
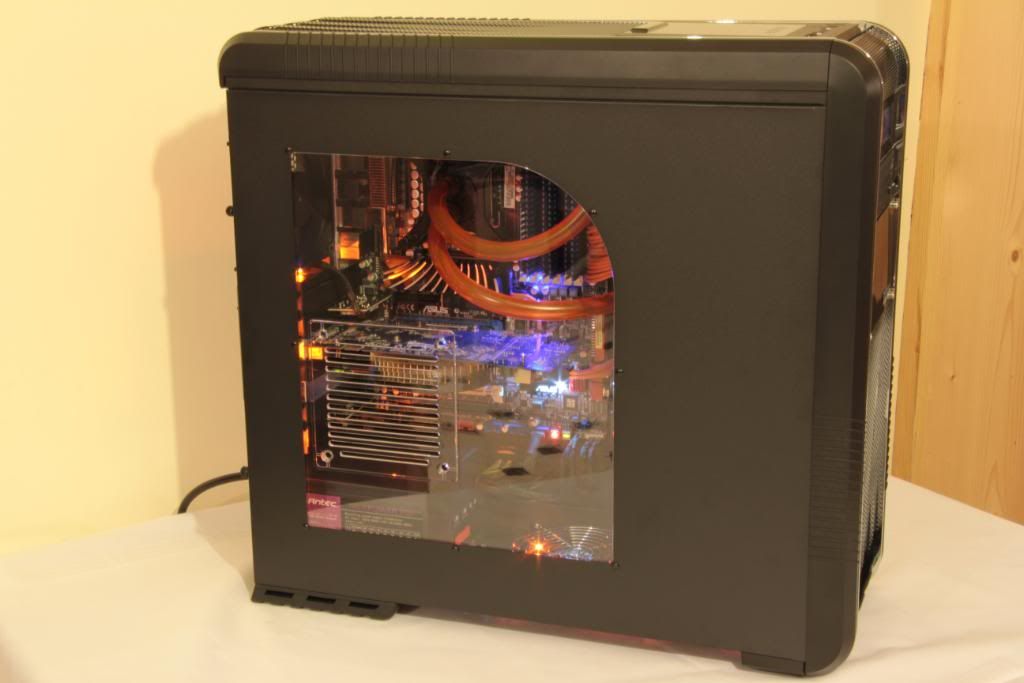
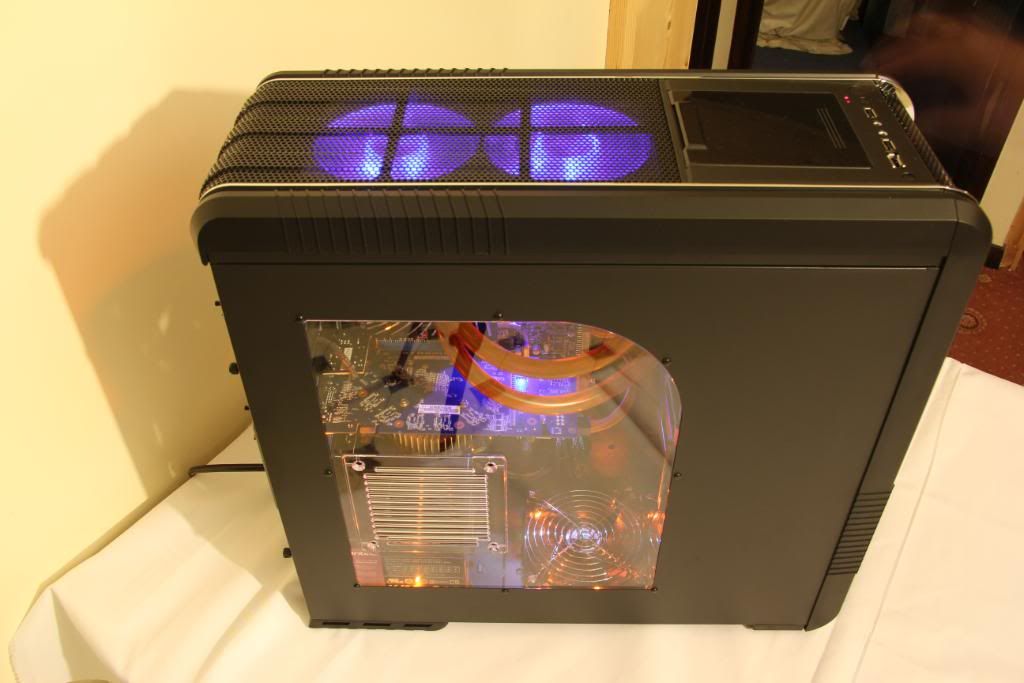
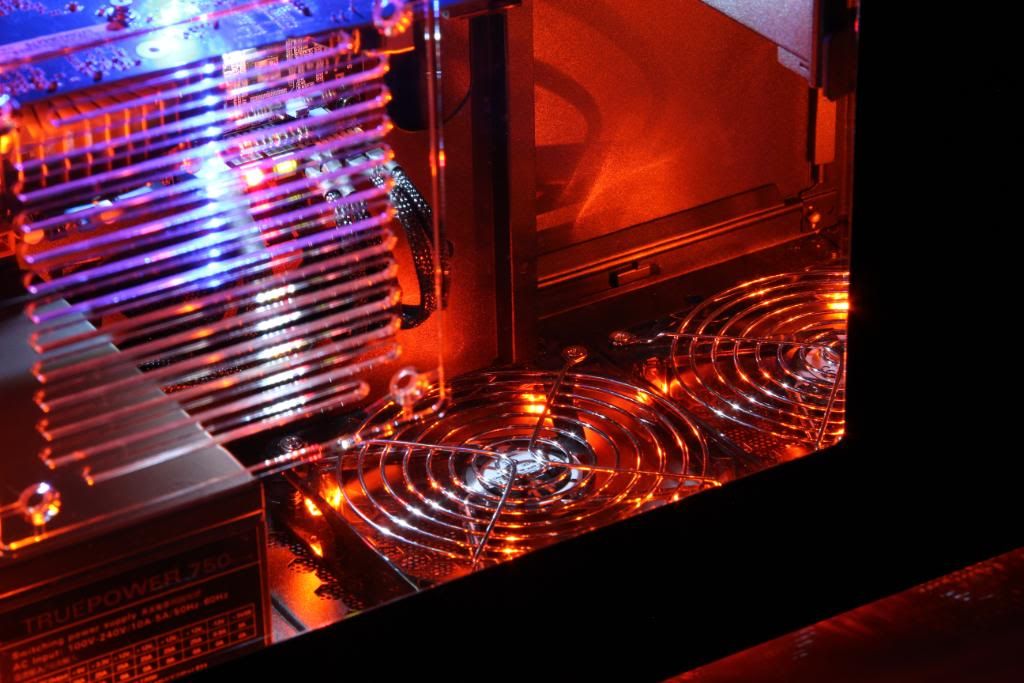
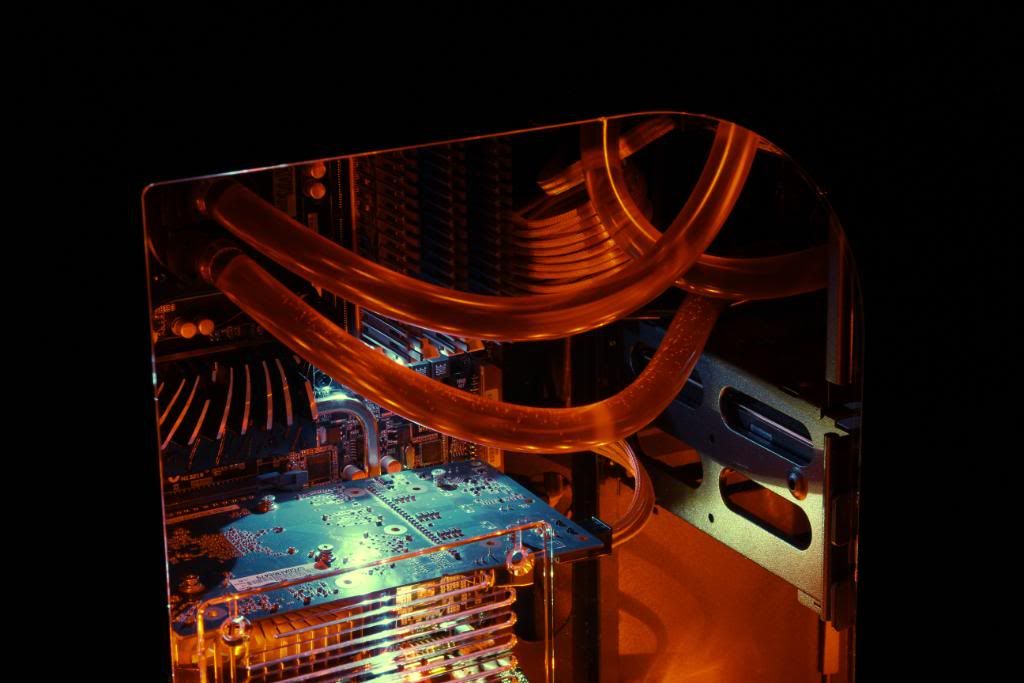
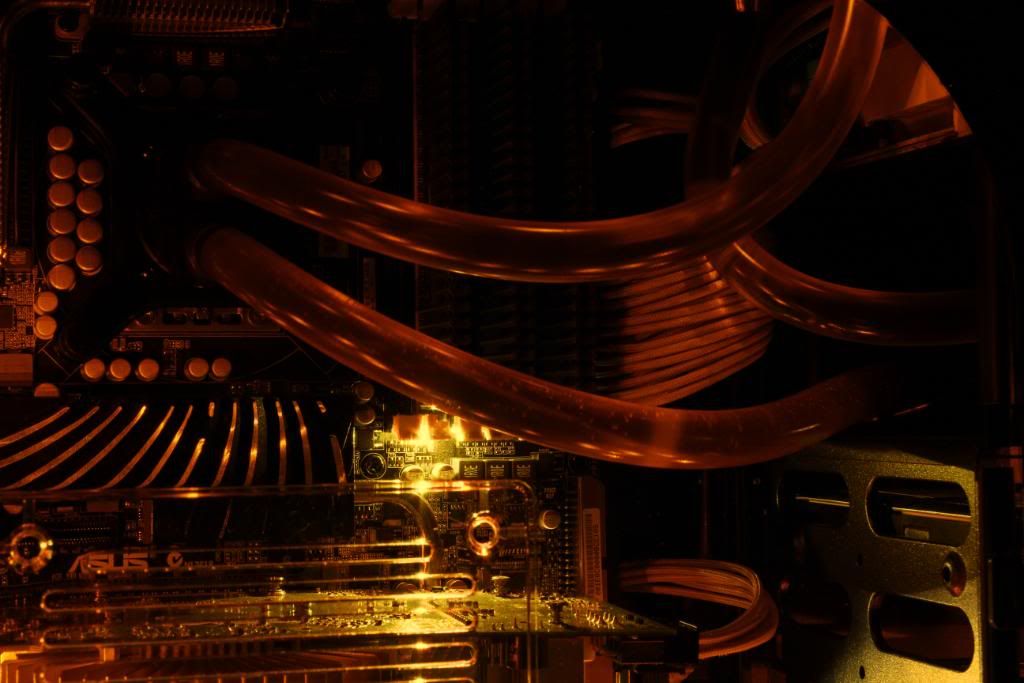
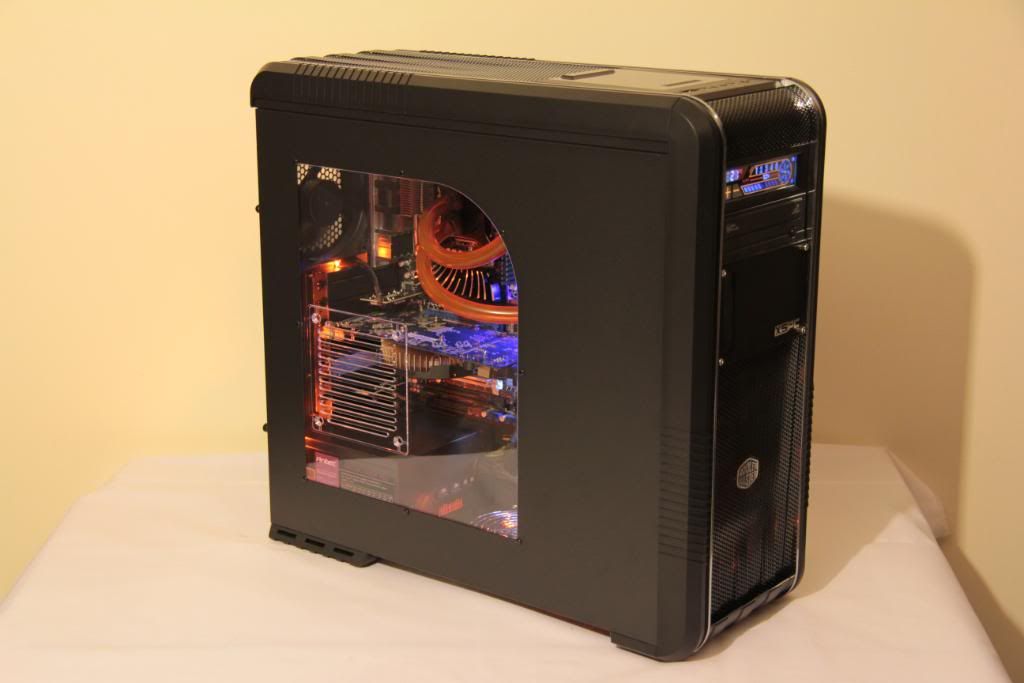
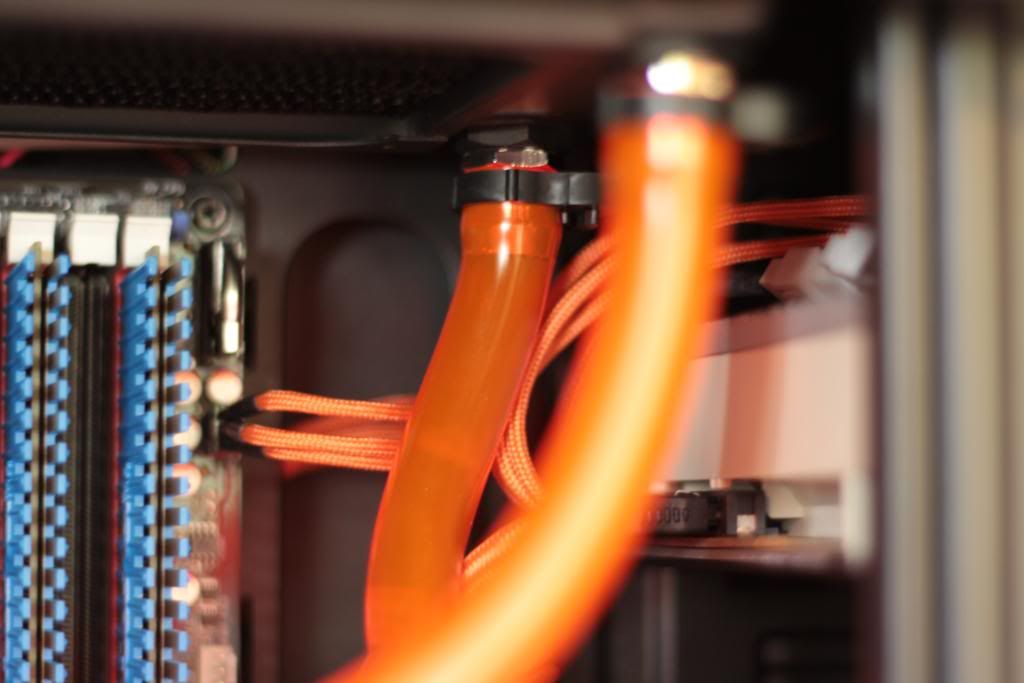
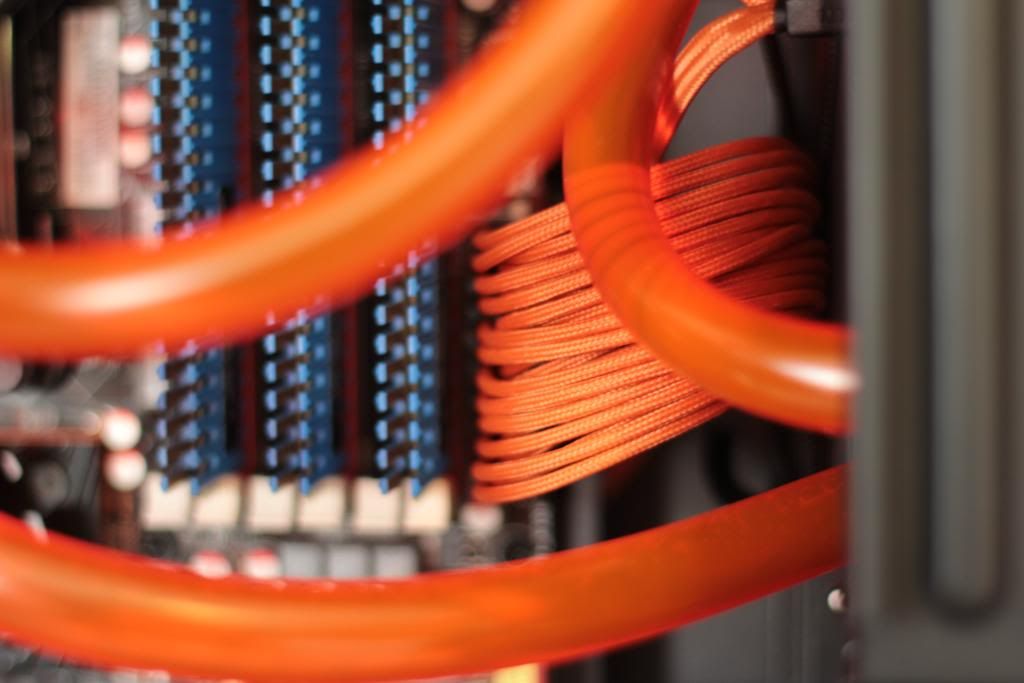
and boy can this case take a lot of cables, just look how many I managed to stash behind the mobo tray! There's also plenty of room under the top cowling to route fan cables and other power leads
There are plenty of cut outs in the mobo tray to pass cables forwards, however there are no nice little rubber grommets to hide the wires as they pass though. Can't think it would have been a costly addition to make to the case, and wonder if sold as an aftermarket accessory they would prove very popular.
The next thing on anyone's list when they're looking to buy a case is cooling. Or more particularly the cooling options.
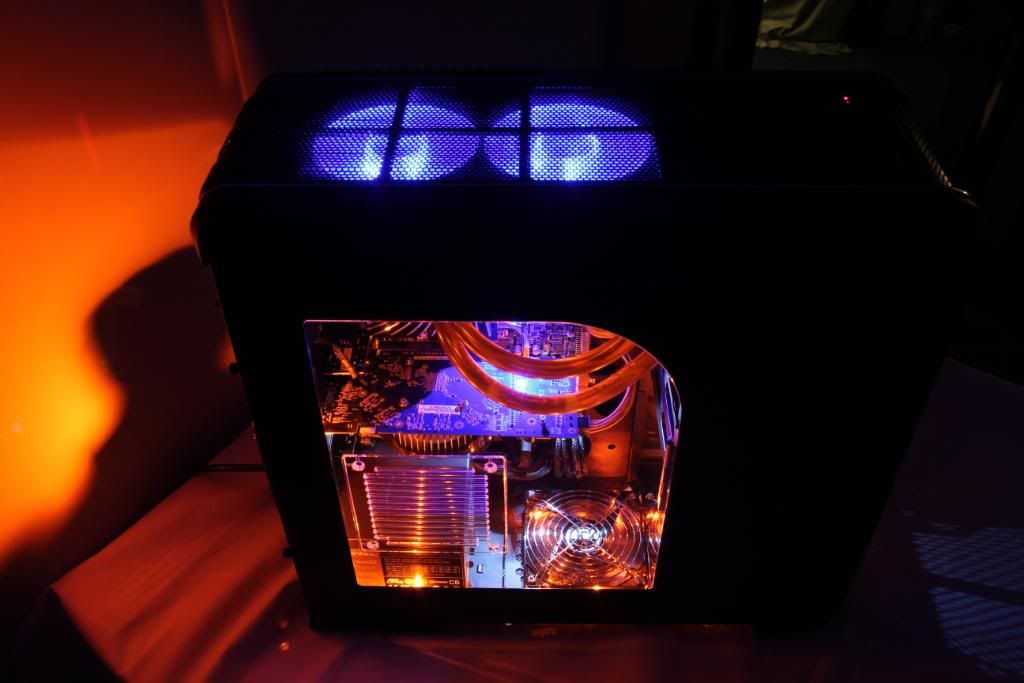
I'm going to cover air first. The case comes complete with a 140mm front fan, a 140mm top fan and a 120mm rear fan. however as the doctor said to the man with the lettuce leaf sticking out of his bottom "that's just the tip of the iceberg".
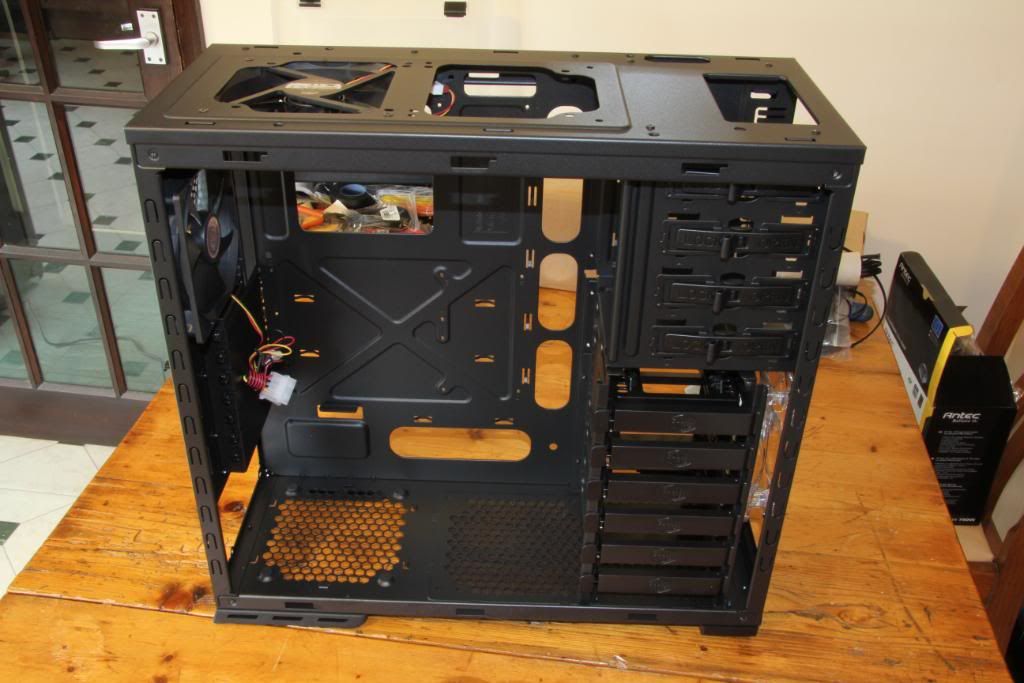
The front will take a 120 or 140mm fan, the top and bottom will each take 2x 120 or 140 fans, the rear a 120. There is also provision for a 120mm fan in the windowed side panel and yet a further fan behind the mobo. Add to that additional cooling provided by the optional GPU support unit and I think you'll agree there are more than a few options available to you.
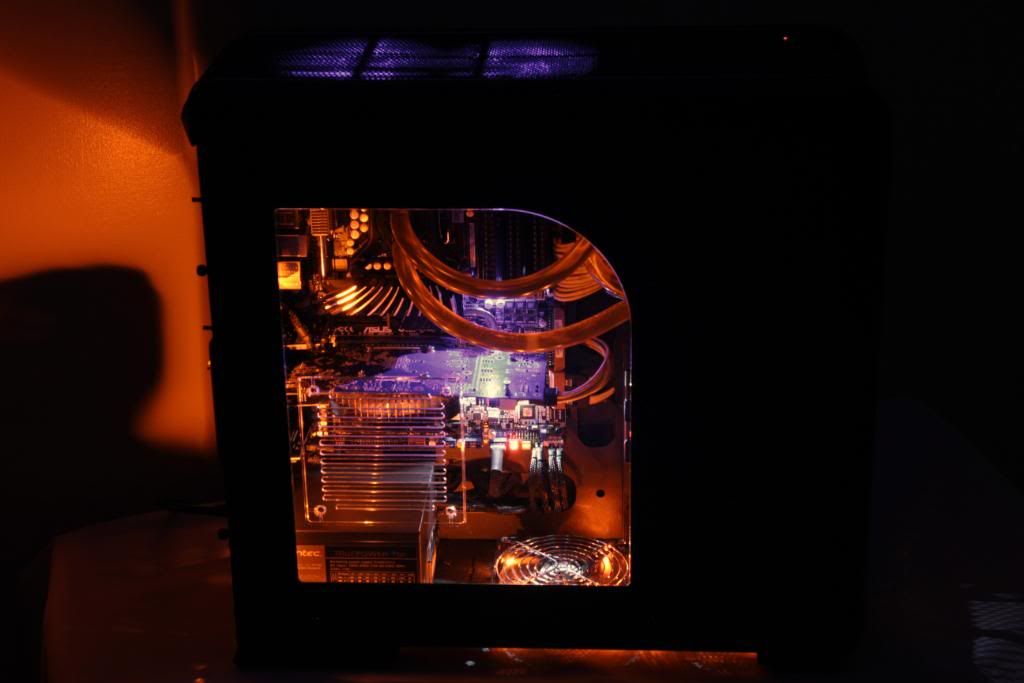
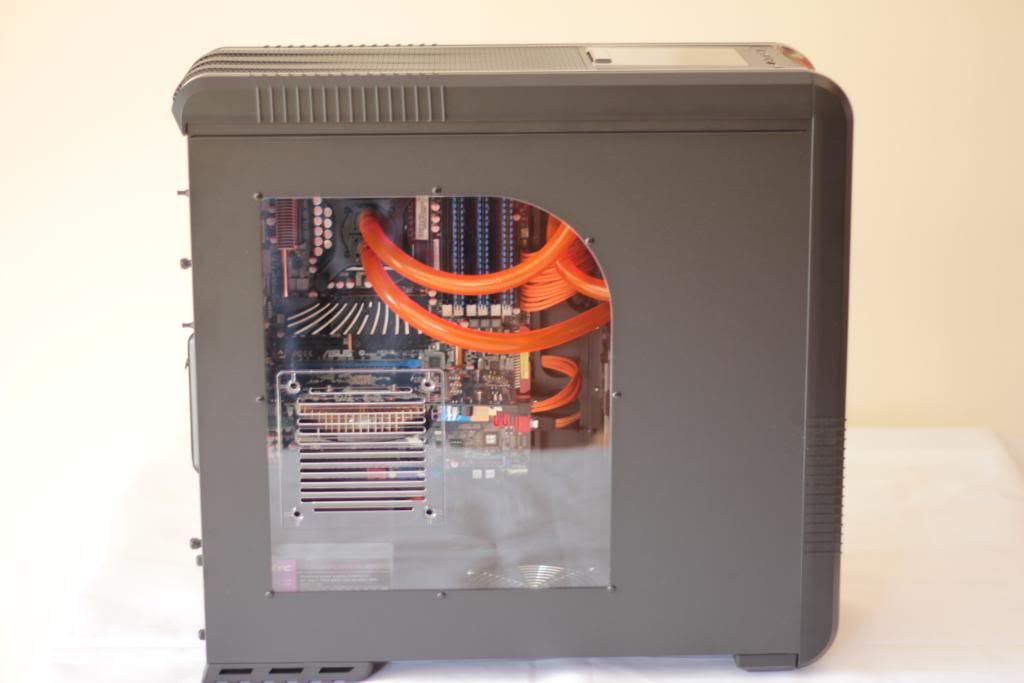
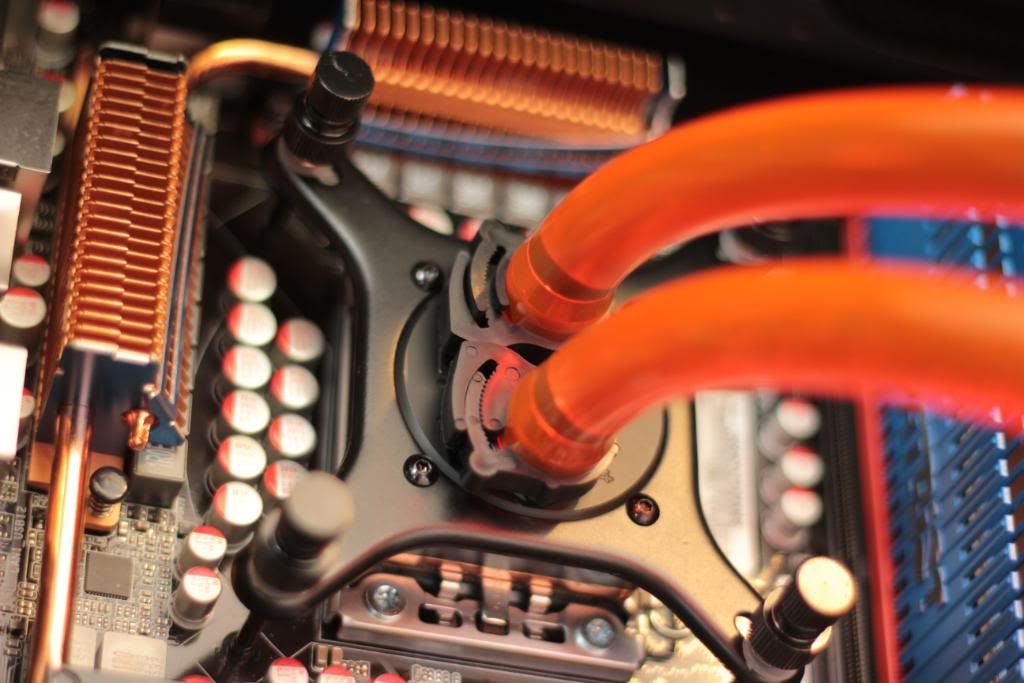
If you're looking to put a water loop into this case then don't go thinking that your options are limited. I put the RASA 240 kit into this, choosing to put the rad into the roof. However it will also take any 120.2 rad in the base or for that matter 140.2 in the base and the roof. Reservoir wise there are 4 5 1/4" bays able to take a dual bay res and still leave room for other bay essentials.
There's not a great deal of room inside for a separate res and pump, but that said there's not any less than other cases of this size. If you really do need all 4 optical drive bays then the removal of the lower HDD section should provide ample room for a cylinder res and pump.
One small disappointment is that there's not quite enough room at the top of the case to install fans internally. For the sake of about 3mm it would be possible to install two sets of fans in a push pull configuration.
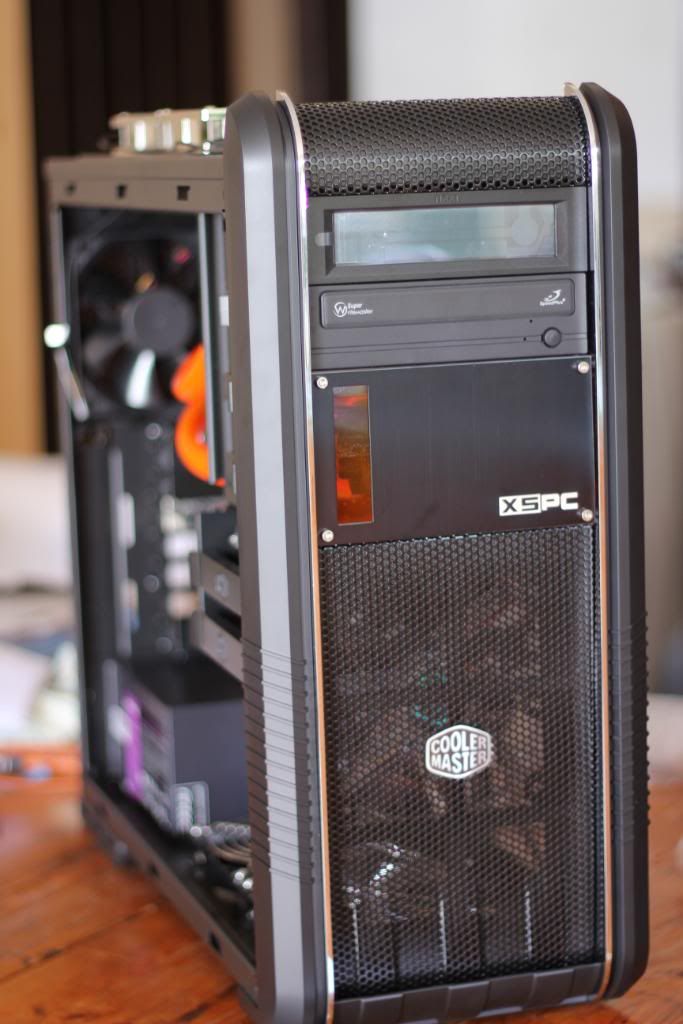
The overall feel of the case is one of solidity and quality. You get the feeling you could sit on it and it would be fine. Nowhere do you get the feeling that a corner has been cut or a "cost saving" made in the choice of materials or components.
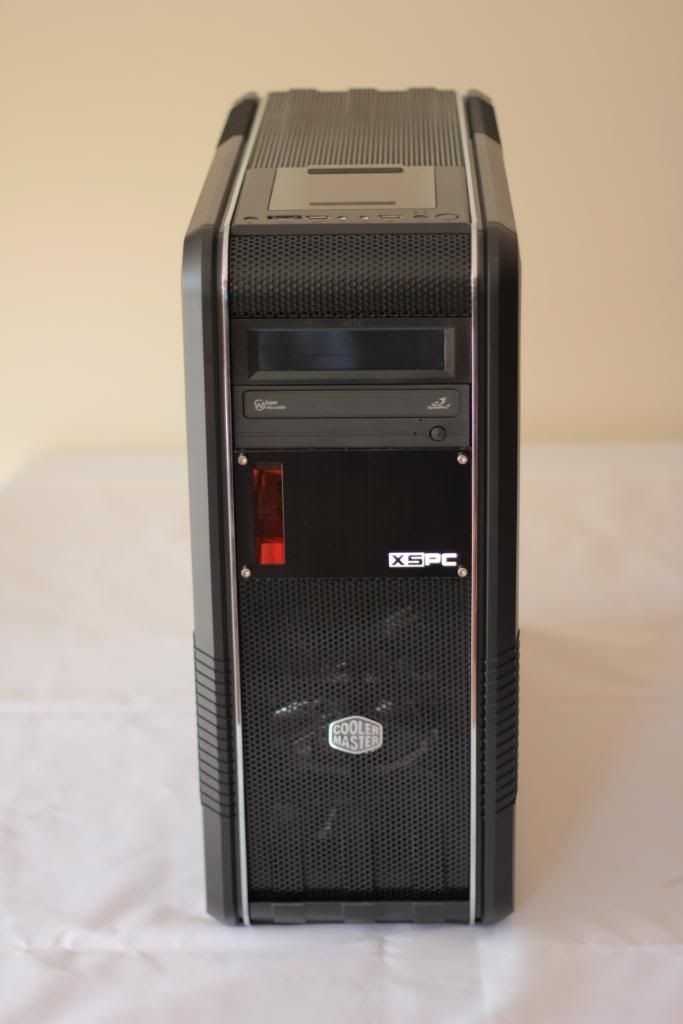
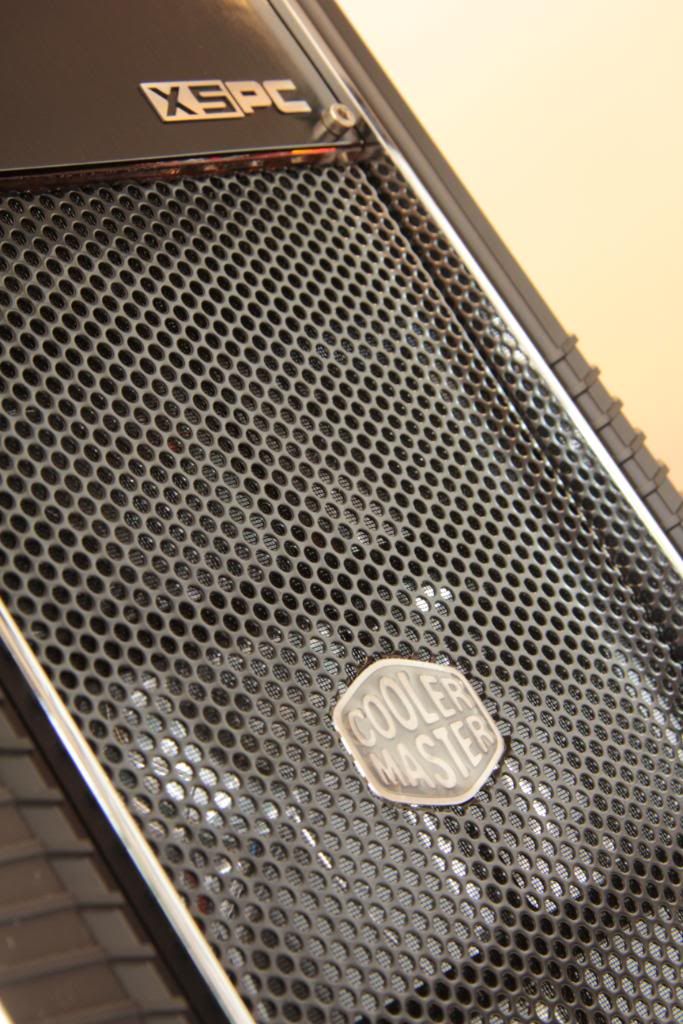
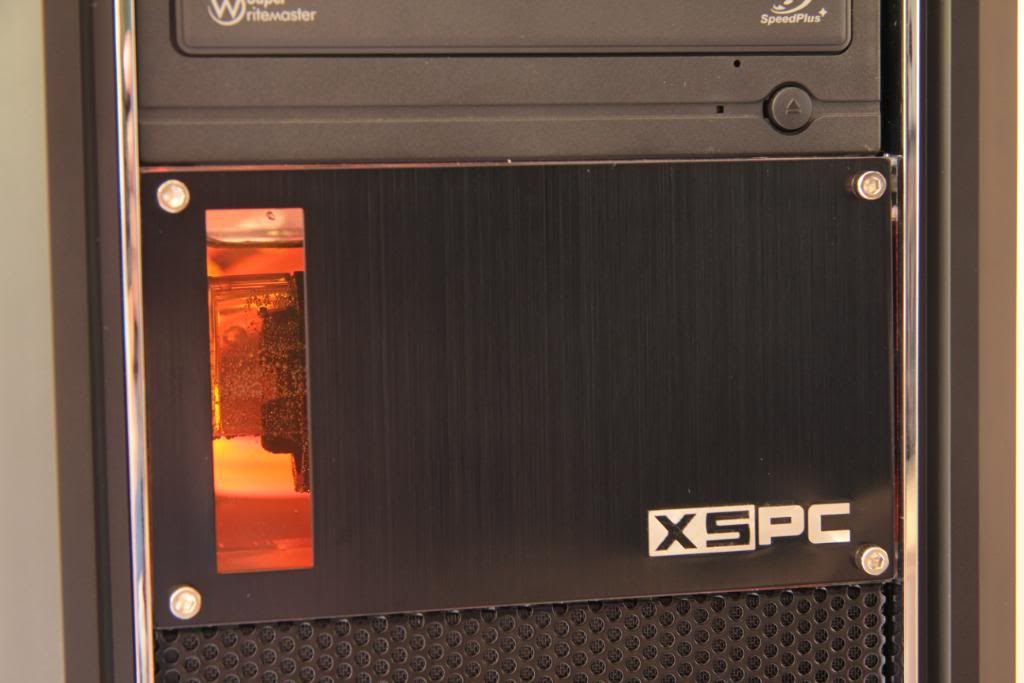
Aesthetics wise, well as the saying goes Beauty is in the eye of the beholder (as Wayne Rooney's other half. Personally I like the looks, it's sleek and classy, while at the same time the mesh gives it a slightly edgy look to it, kind of like a Bentley but with a mesh grill rather than the classic vertical slats. It still looks classy but also a bit aggressive. The one thing i'm not taken by however is the fan grill in the side window. i think if they made a side window without and a side window with they'd really only be selling one type. The fact it has the grill won't stop you buying it, it's just you might wish there was an option not to have it.
Good points
High quality solid construction
Excellent cable management
Great flexibility
Extensive cooling options
Stylish "classy" looks
Now I'd normally entitle the next part "Bad points, but when all I'm doing is being picky I think it would perhaps be a little harsh to use that title, so I've gone for an alternative
Areas for improvement
Rubber grommets on cable management holes.
Lose the fan grill in the window.


")
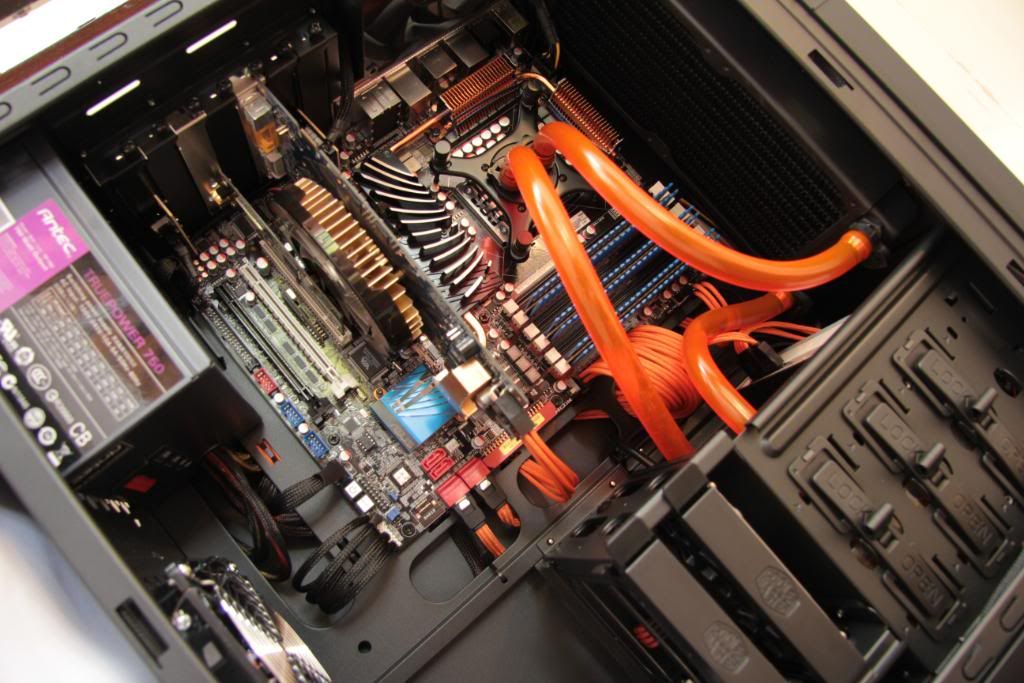

what GPU is that in there? looks a bit retro?