Associate
- Joined
- 1 Jan 2014
- Posts
- 30
- Location
- Lincolnshire, UK
24/02/2014
Hello all,
Welcome to my project log.(Cool named suggestions welcome)
I decided to build this project because since i was around 14 years old i have had this picture in my mind of a cool 'idea' for a PC. I'm 30 now and can finally afford it
I have not had a lot of call for a PC these days due to tablets and smartphones and TBH i don't ever see the time of day when i can sit and play games so i have no need for a mental gaming system so i decided to start building the computer case i wanted to build as a lad, Ive not seen one anywhere or similar so i like the fact it will be a one off piece when done.
I have basic knowledge when building computers and have only ever built one when i was about 15-16 so i cant really say i have any clue what im doing, so go easy on me and i welcome your constructive advice.
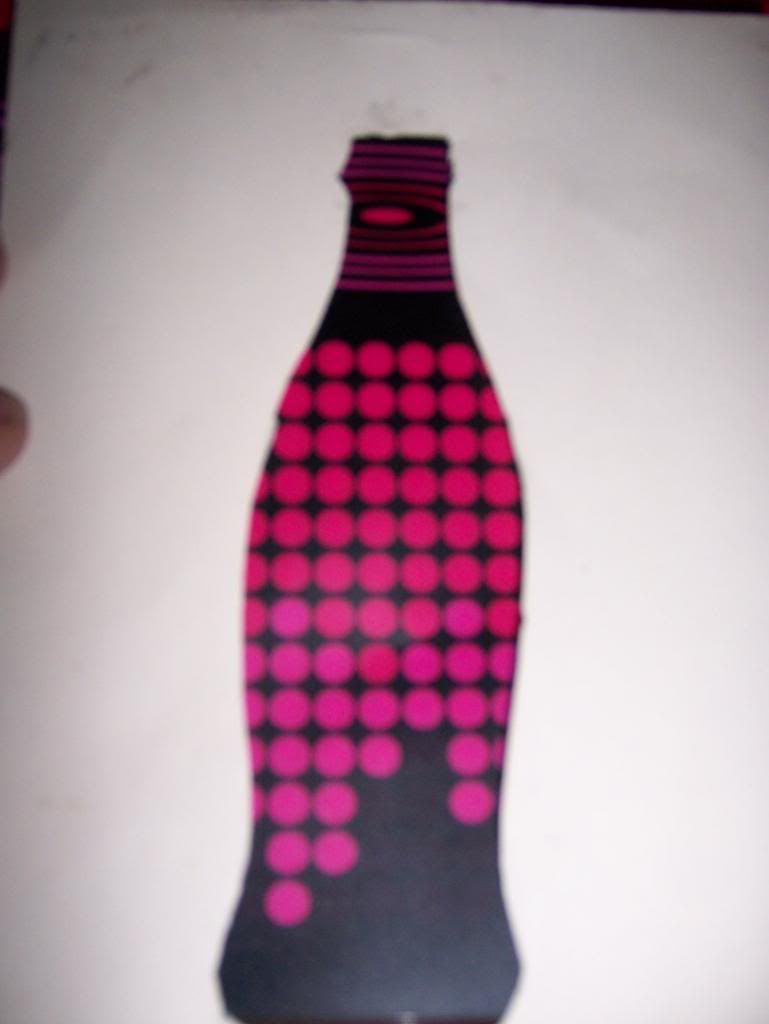
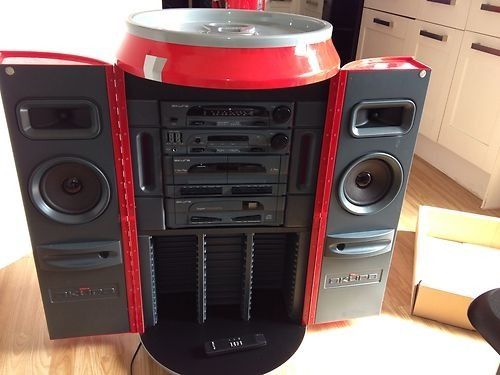
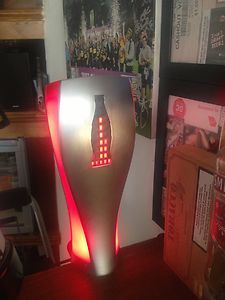
I am starting with this old gem from the 80's/90's. Its an Akura Hi-Fi in the shape of a coke can. (I had one when i was young after breaking it i threw it away and i thought of this project in its memory)
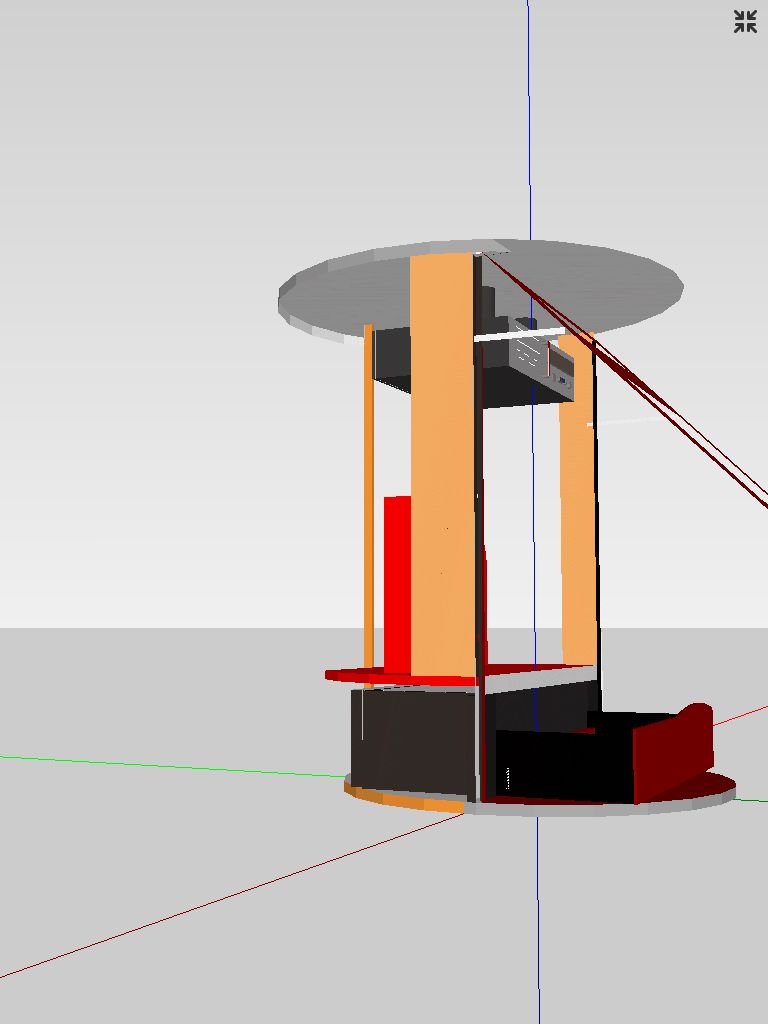
Here is a crude paint mock up of what i'm after with a few sketch up models of the plans.
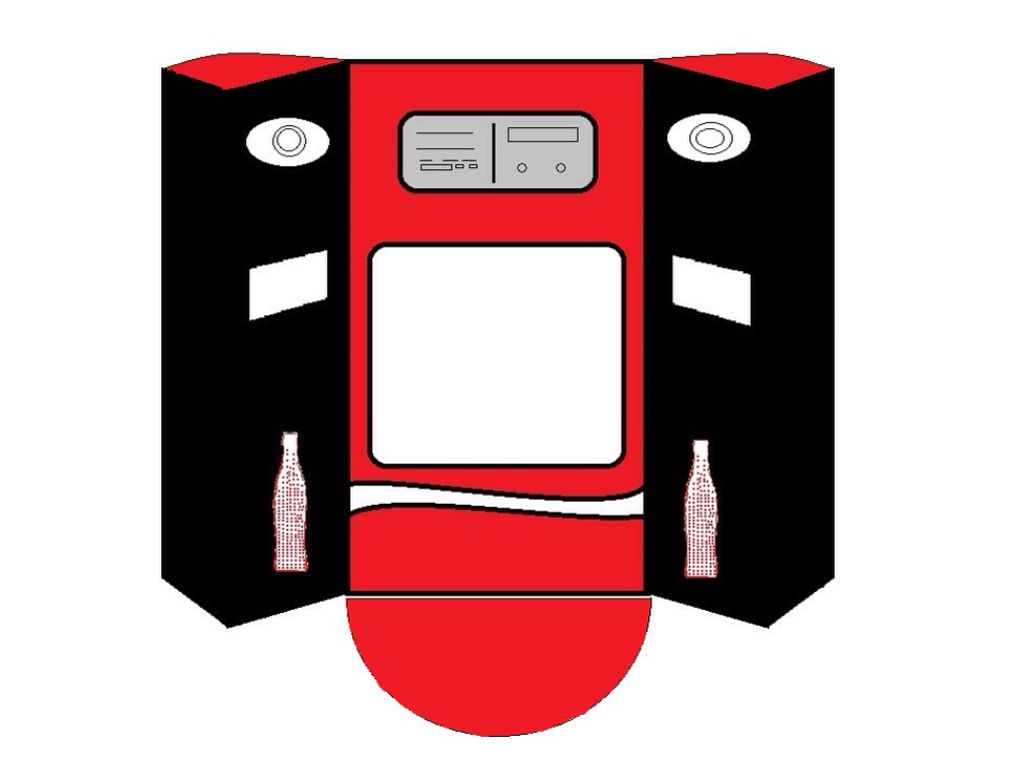
The sketch ups were difficult but give the clearest idea of what im doing.
Left
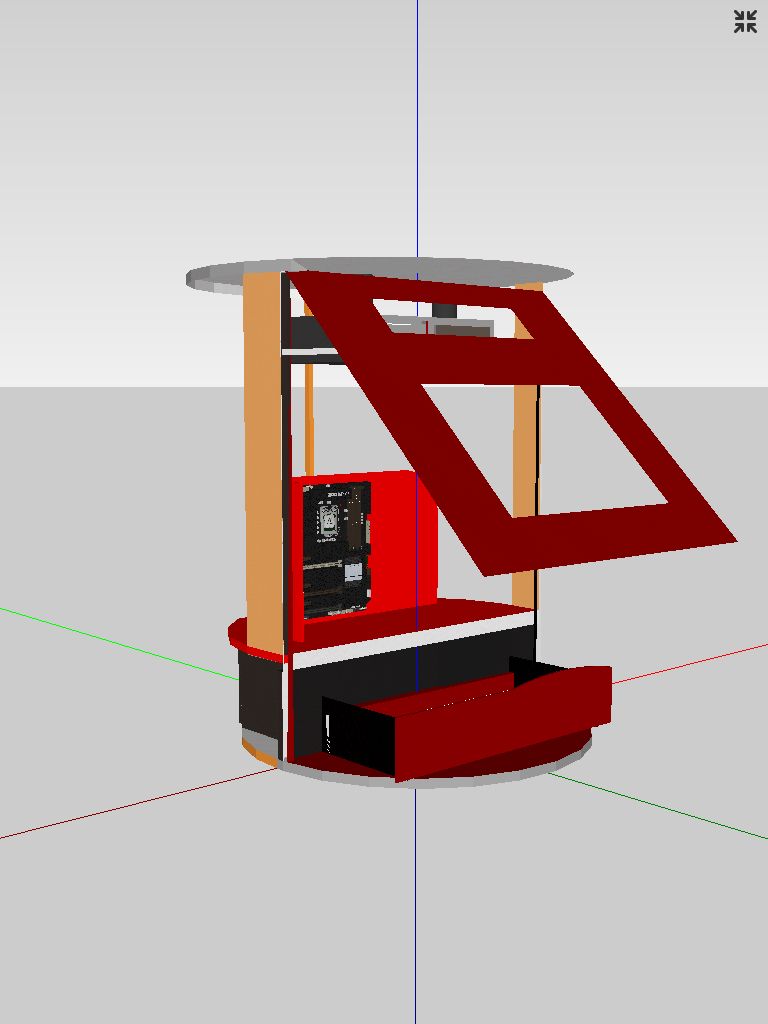
Right
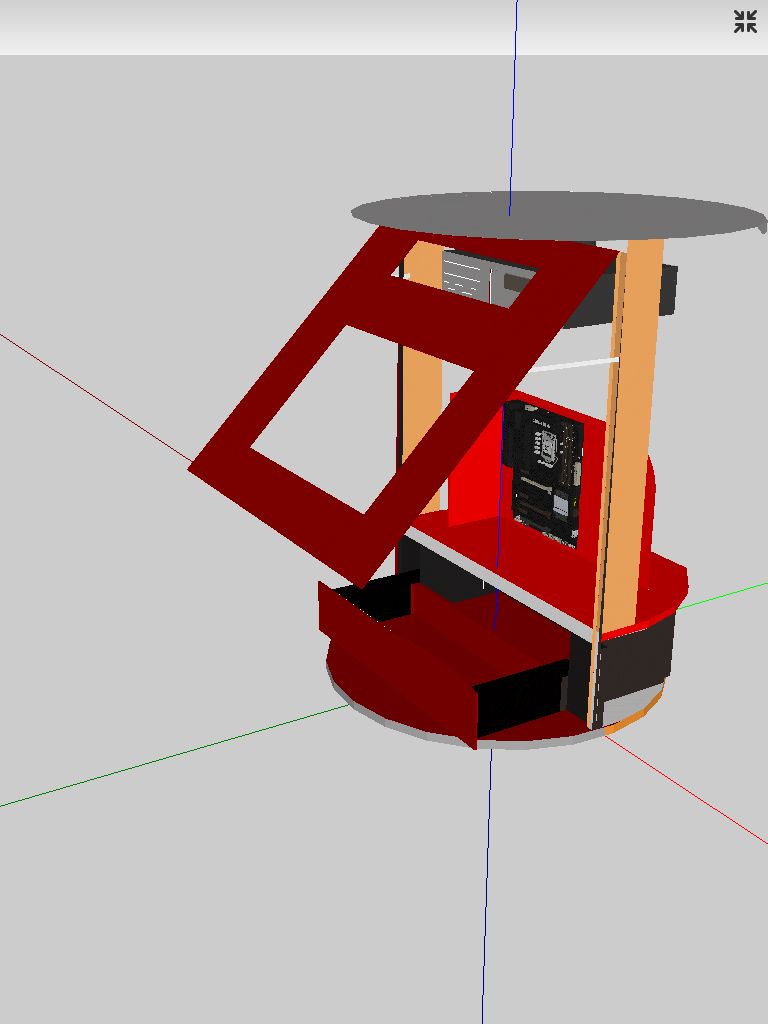
Side
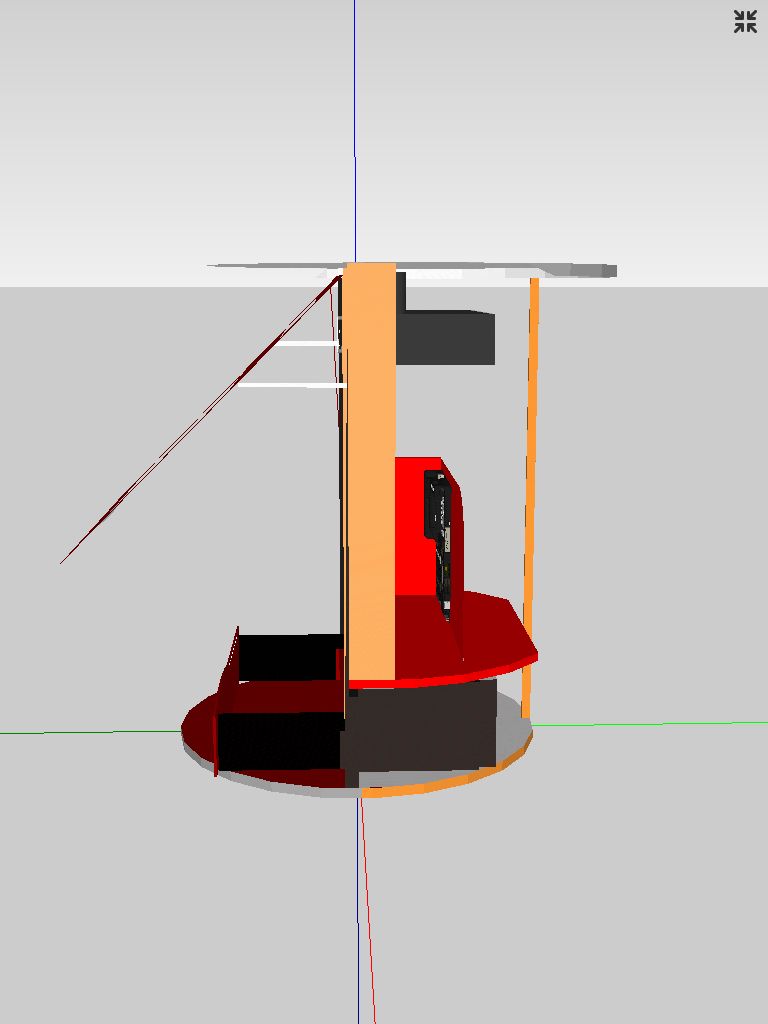
Other side
(ADMIN- hopefully i have sized these right otherwise i will rectify this upon realizing when i hit submit new post? and then edit until they do please bear with me while i do this and i will try to keep it clean)
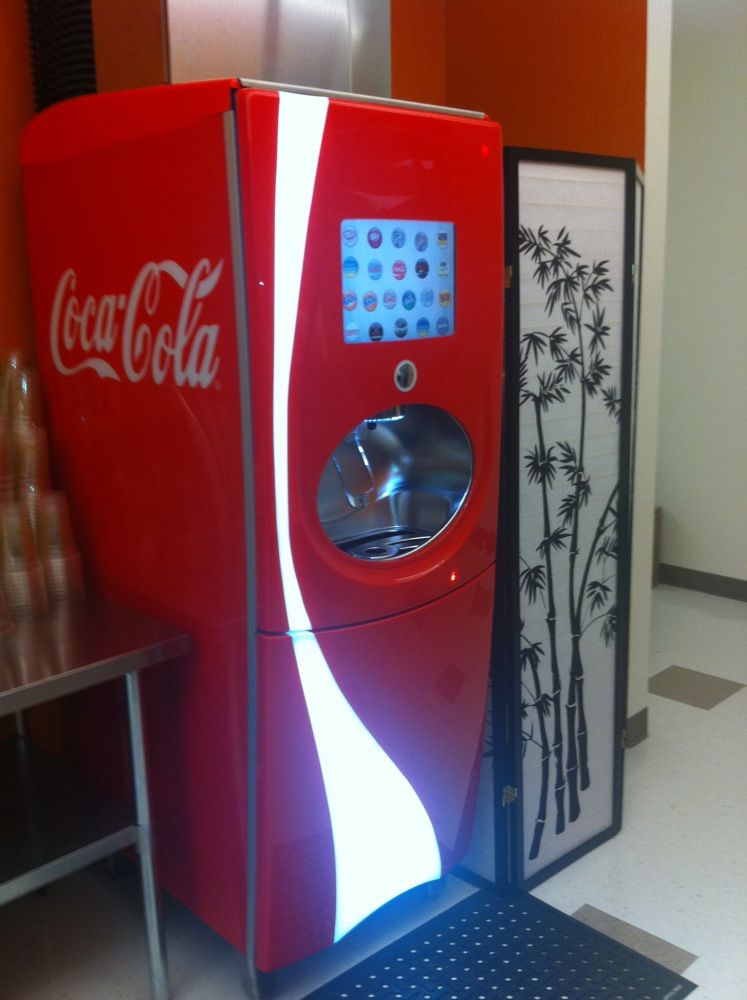
I have drawn inspiration from various things like this
and this
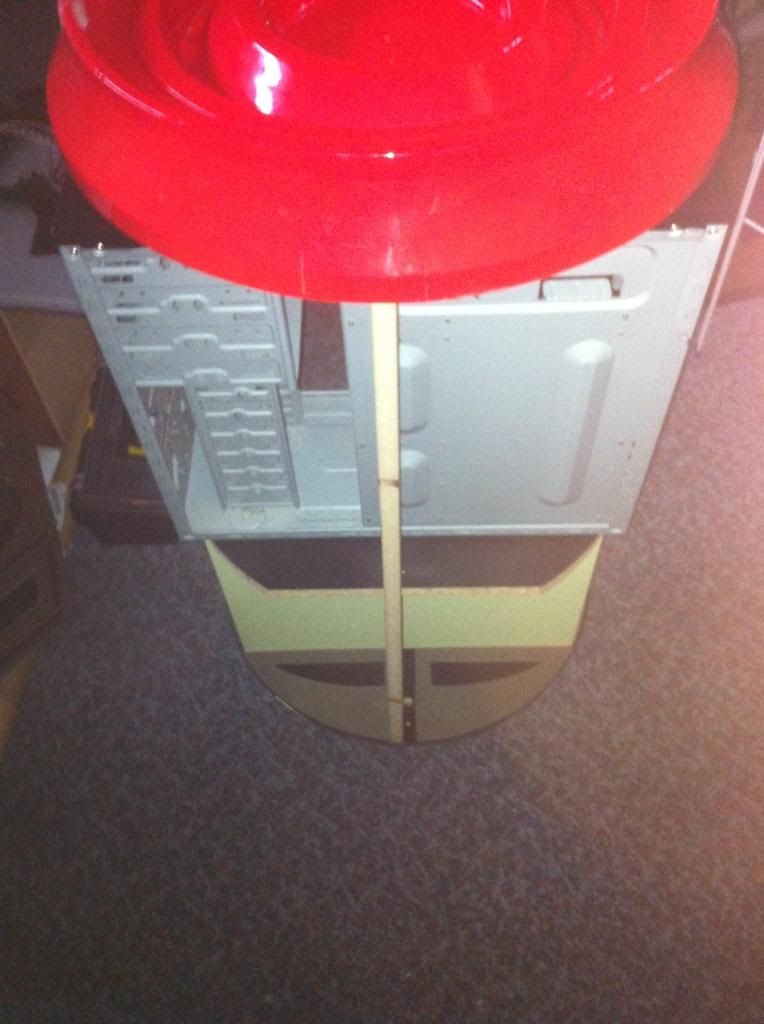
My idea is obviously to build the computer inside, but upon opening i soon noticed space was a bigger issue than i thought.
Ok so my equipment wish list and prices are below
(not purchased yet) more to add later
£429 MB, CPU +ram
Asus Sabertooth Z87 carbon fiber Armour motherboard
I5 chip (specs to be considered yet)
8- 16gb ram
Component speakers
slot load dvd and a slot load bluray drives
(Purchased) more to add later
Coca Cola hifi £50
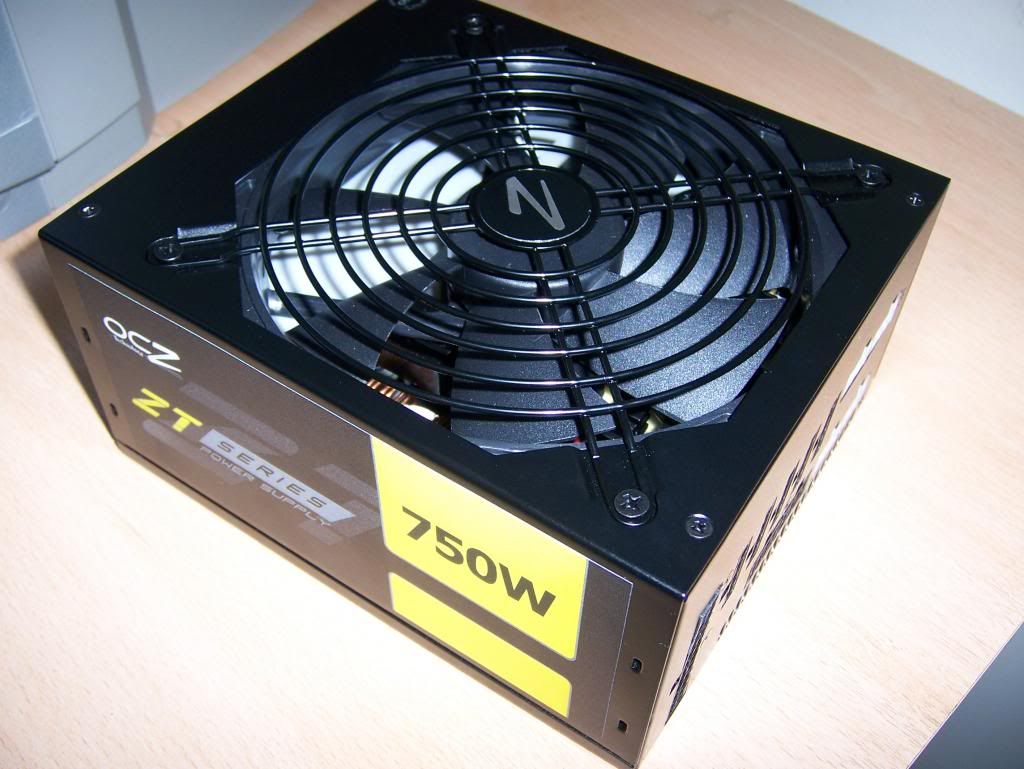
OCZ 750w power supply £99
(i bought this already in anticipation of needing a lot of power but probably wont)
7 inch VGA headrest monitors x2 £74
Mini Amp £13
Large EL panels £60
Heart EL panels £30
Original EL panels £12
Coca cola badges £7
Hole saws £24
Kingston v300 SSD £65
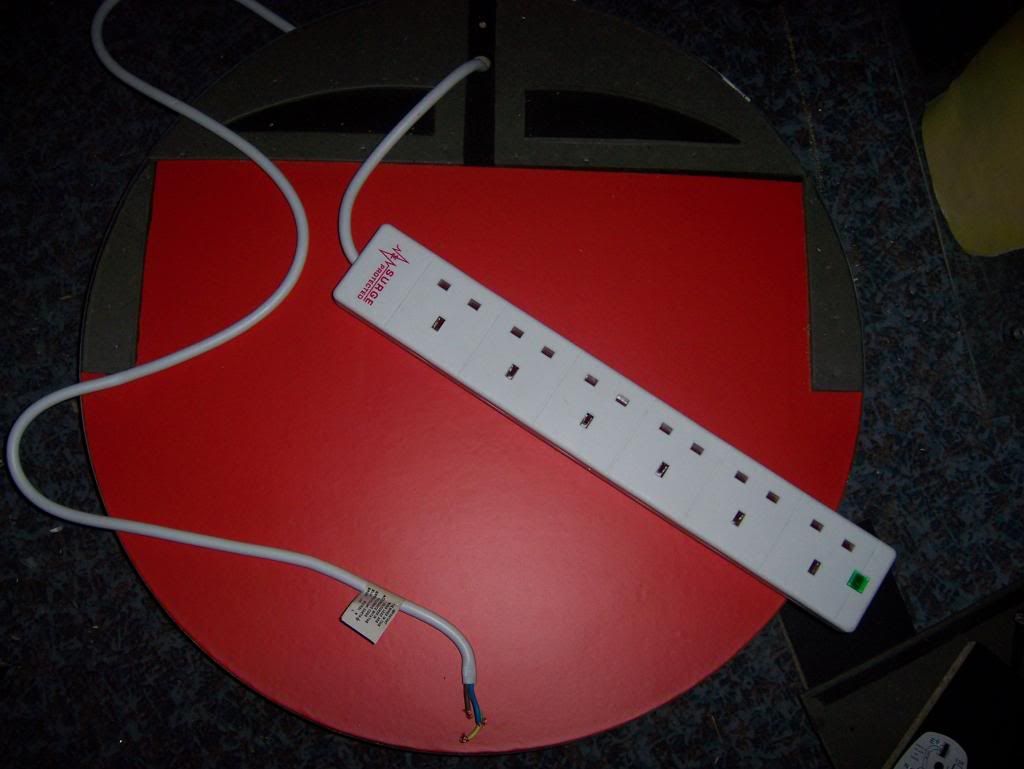
Extension lead £6
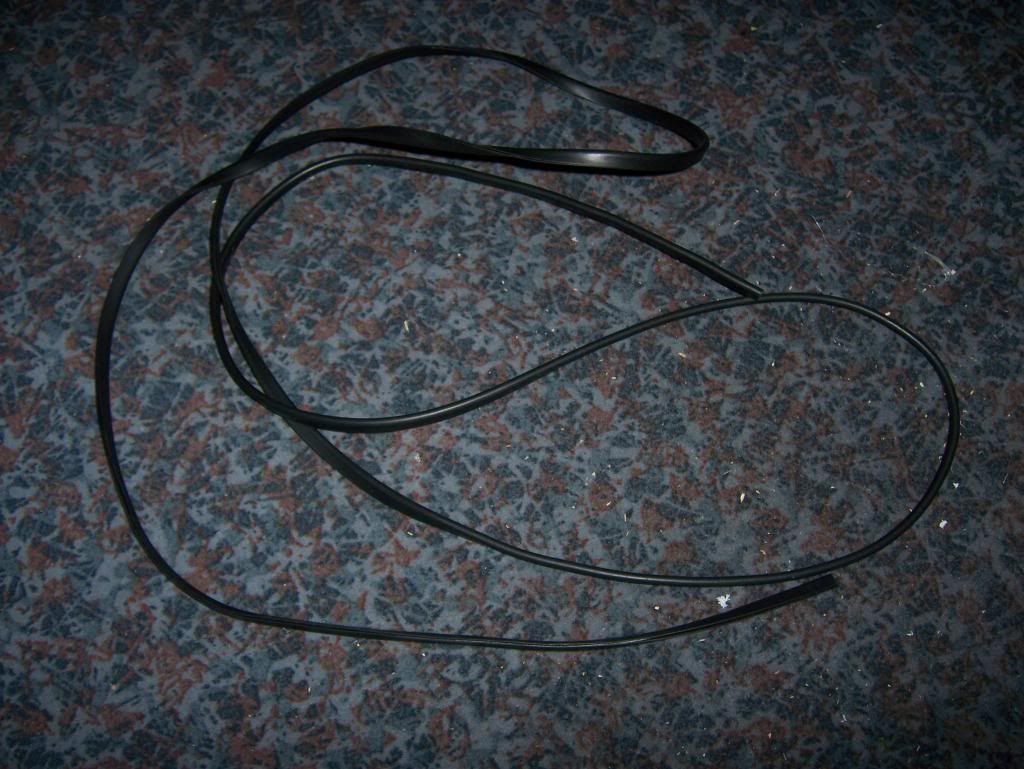
Black foam seal £5
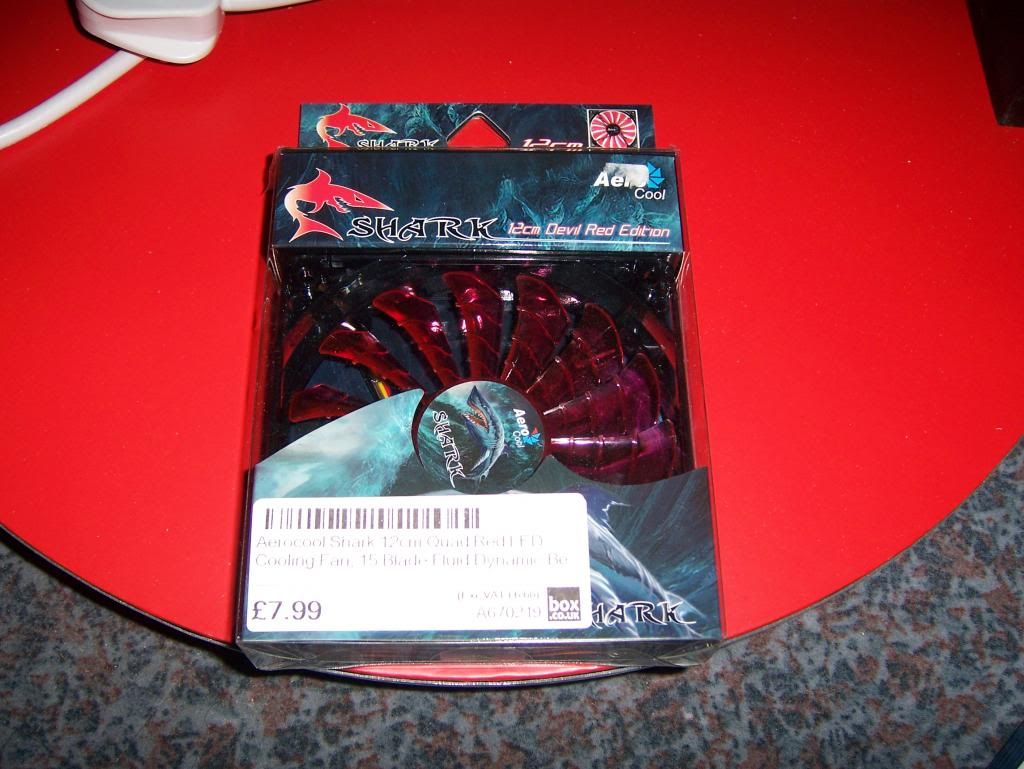
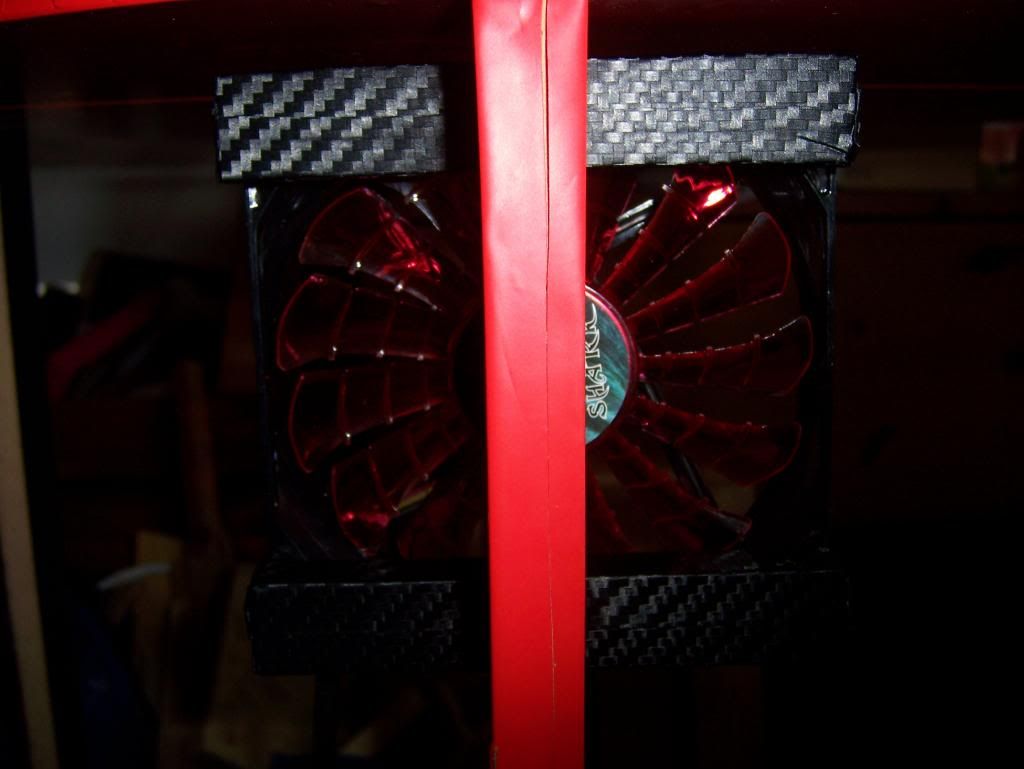
x2 120mm aerocool shark 15 blade fans with red LEDs £13
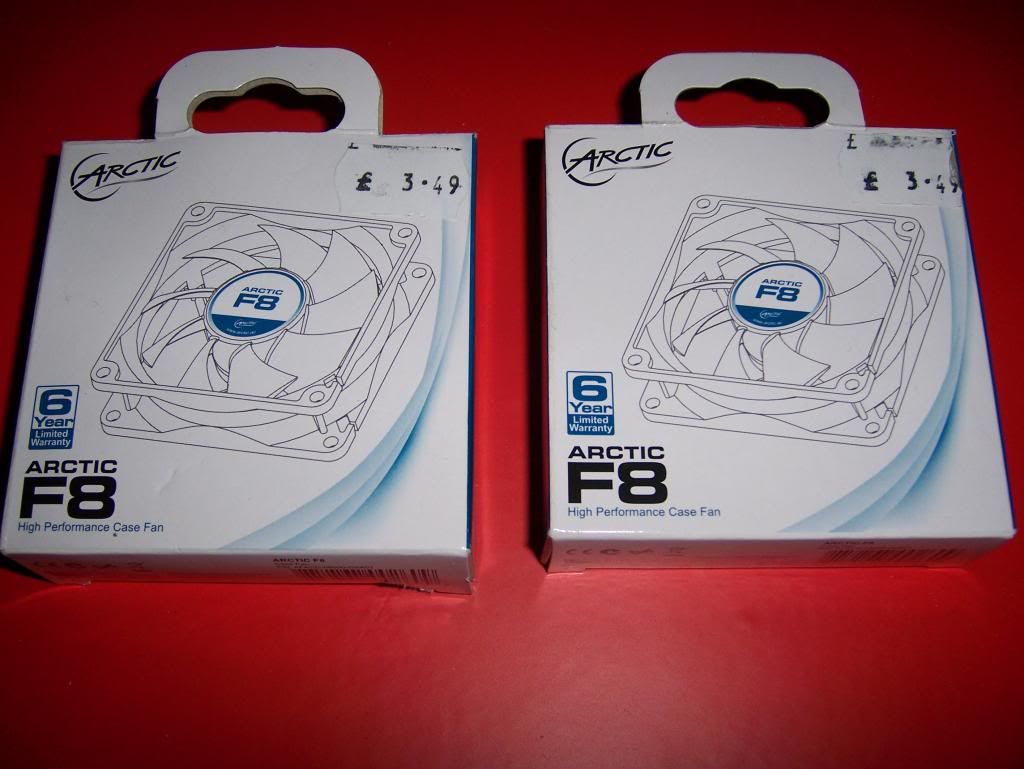
x2 80mm arctic F8 fans £6.98
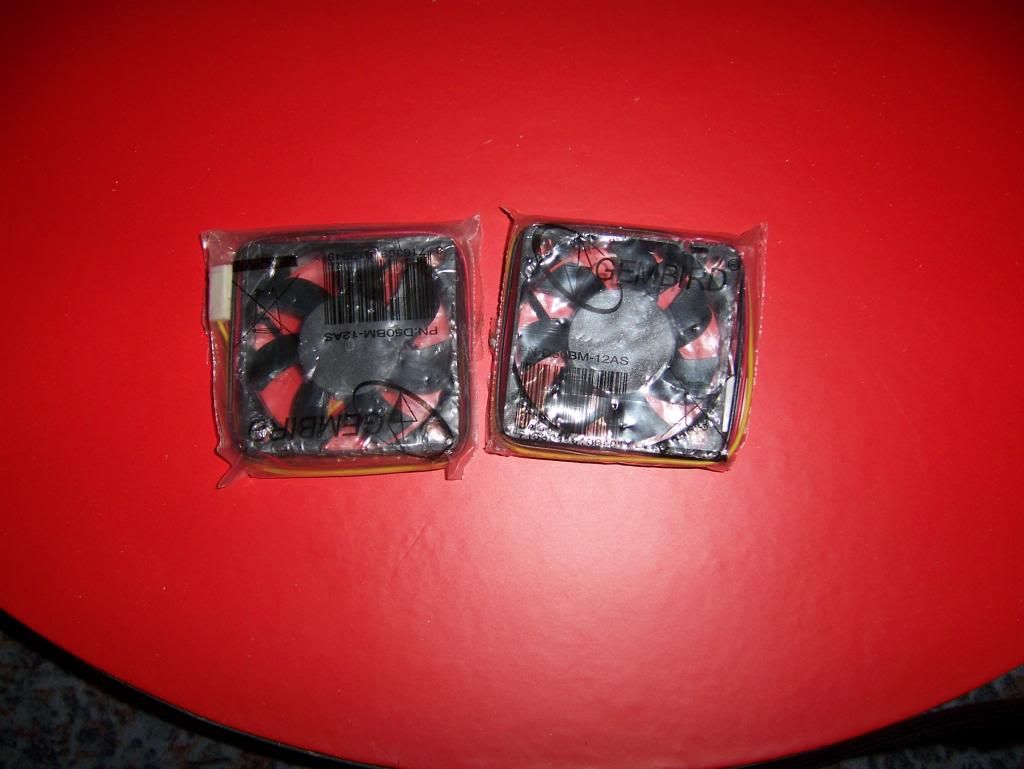
X2 50mm fans £5
aerocool fan controller with LCD display £22
multicard reader with 2.5 HDD hot swap bay £16
4x rolls of red DC fix vinyl £16
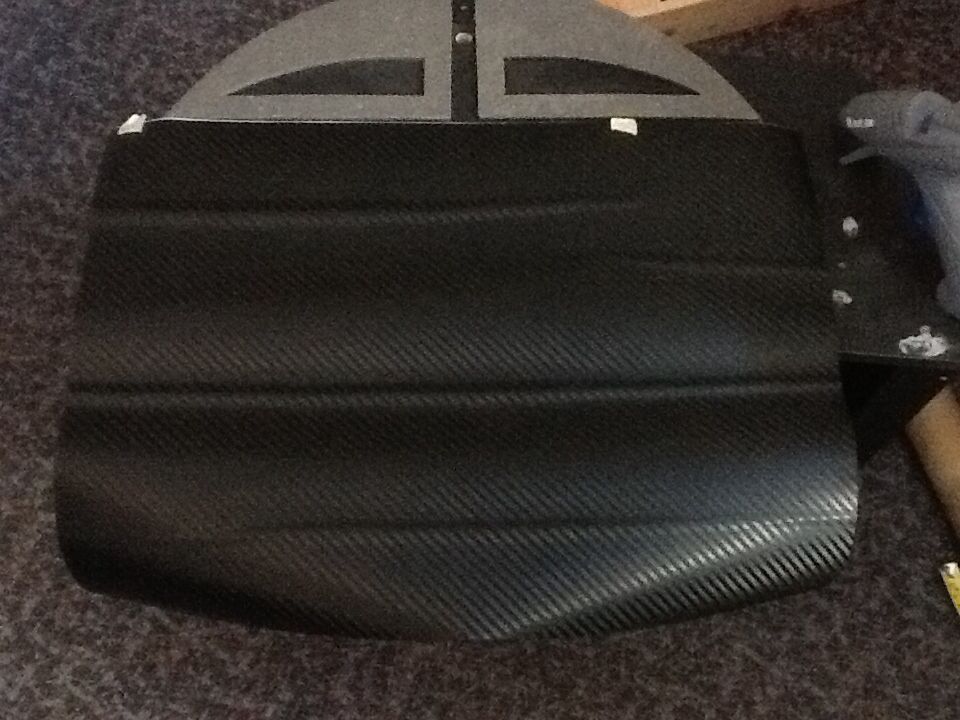
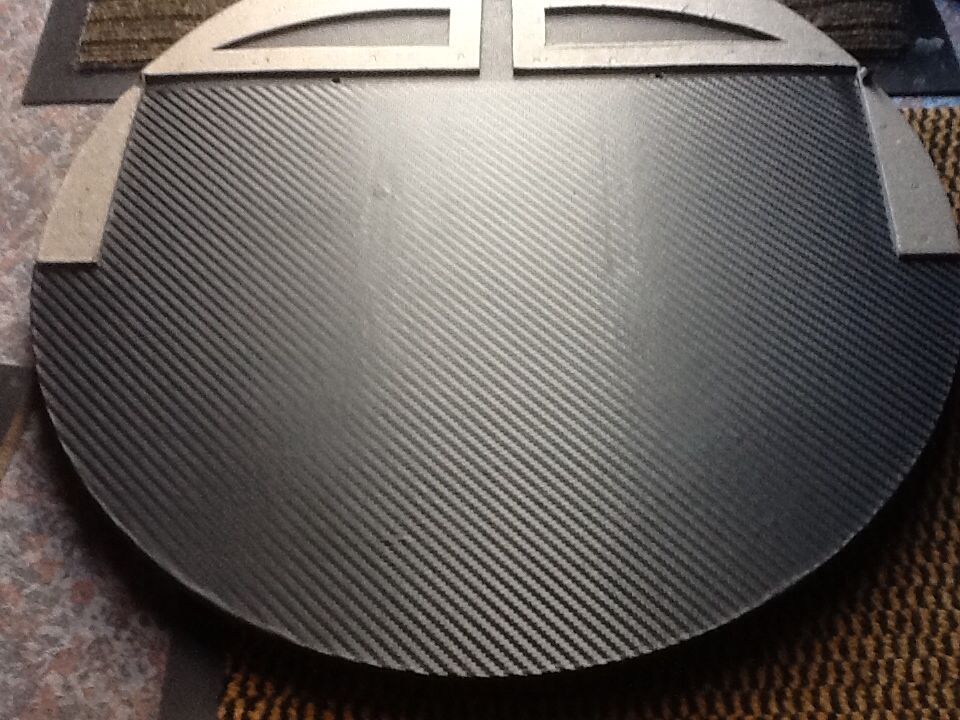
a lot of carbon fiber 3d weaved di-noc ? film (its from ebay so who knows but looks awesome) £30
Orange film £6
Pci slot covers £3.50
Led strip RED £1.79
Cable bungs £7
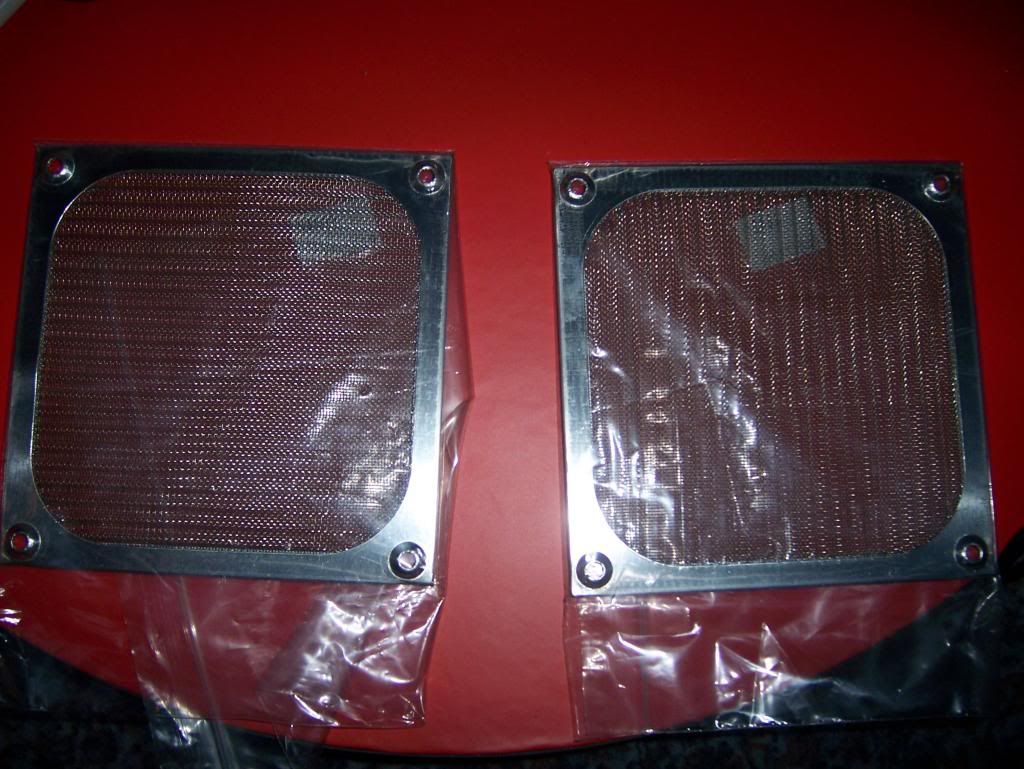
Mesh £2.49
Sata to molex cable £1.48
Red acrylic paint £5
Air duster cans £2-3
(I have to come back and edit this list later as there's too much of the top of my head and im trying to sort photobucket and my getting my pics the right sizes for now)
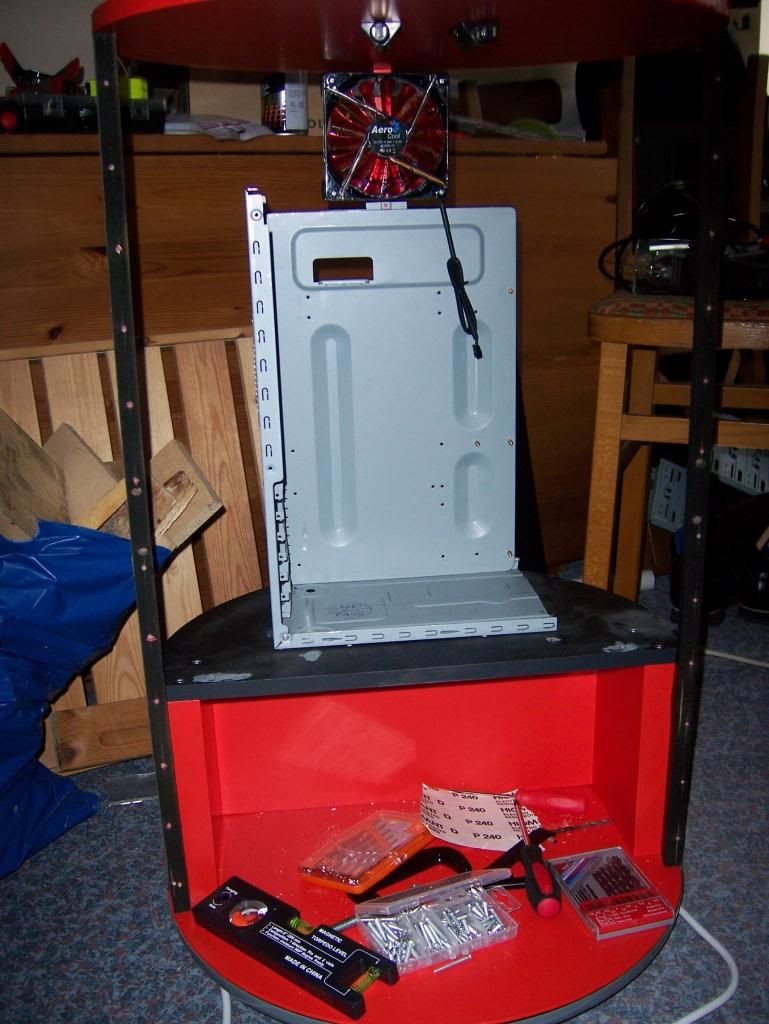
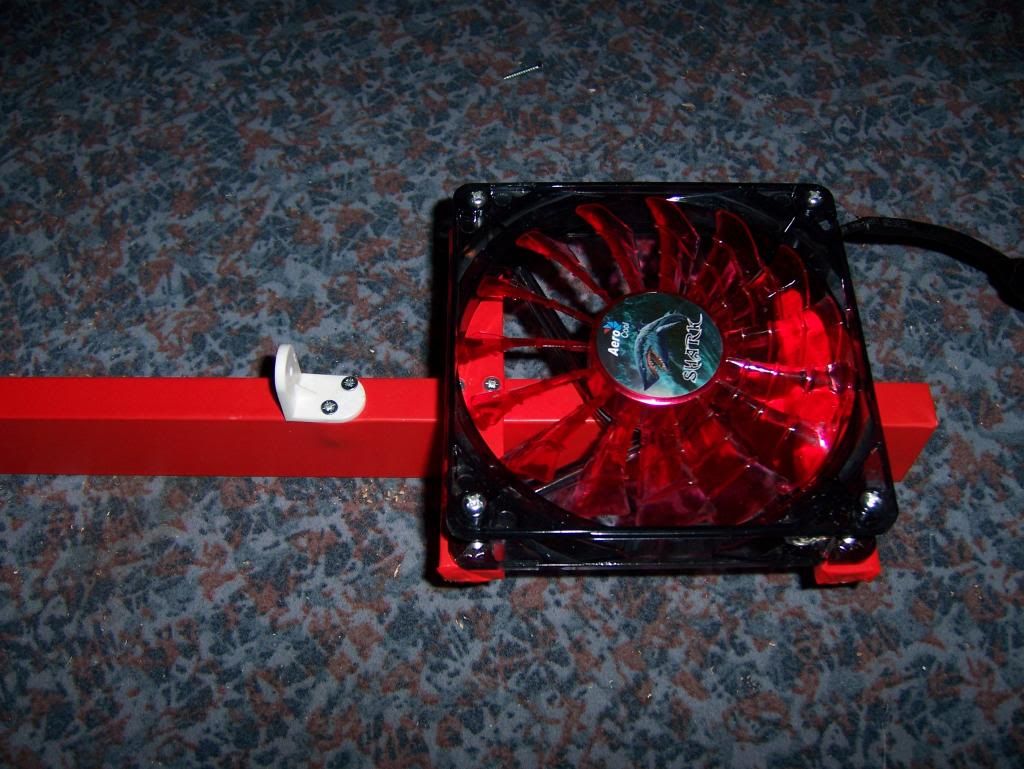
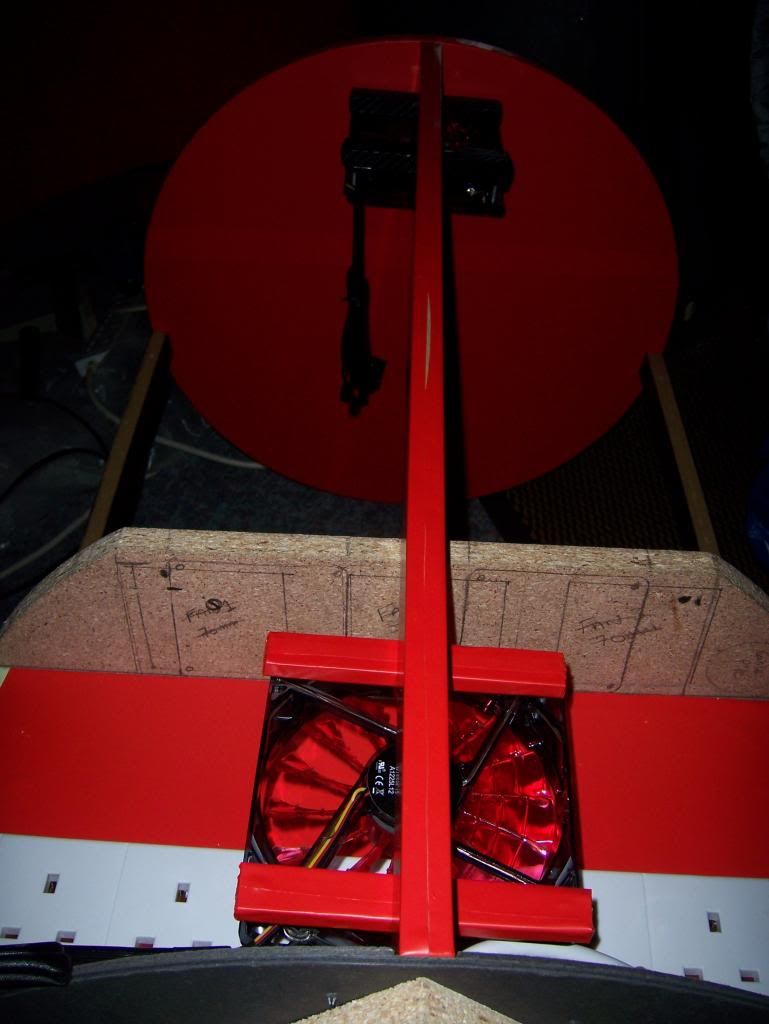
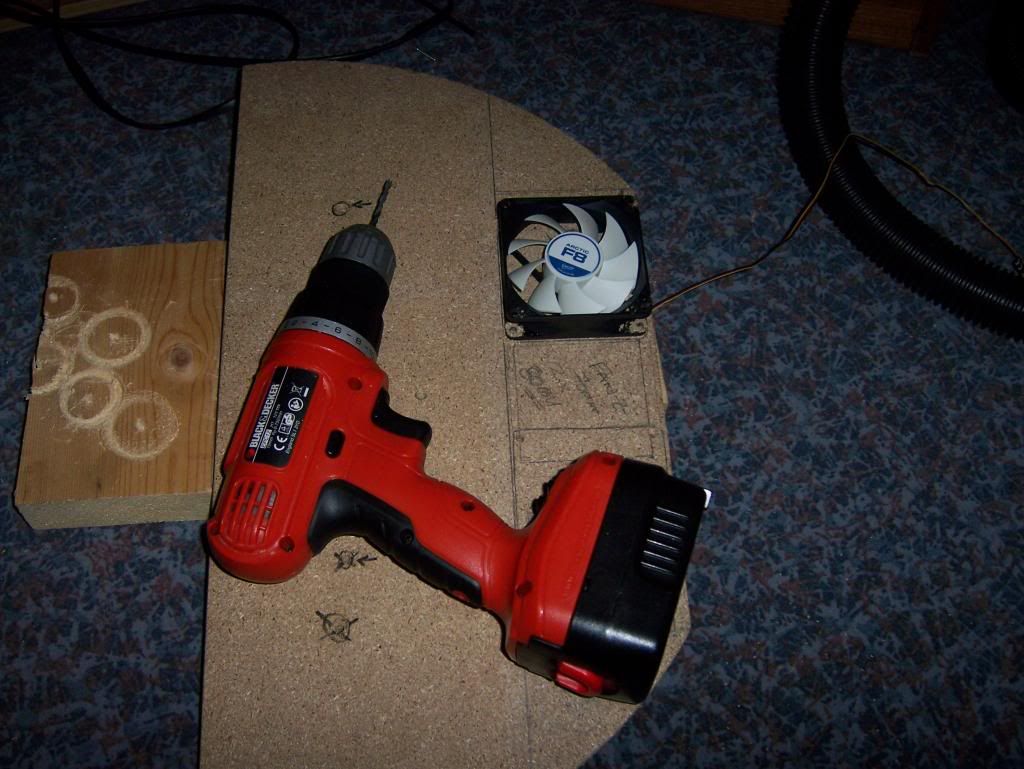
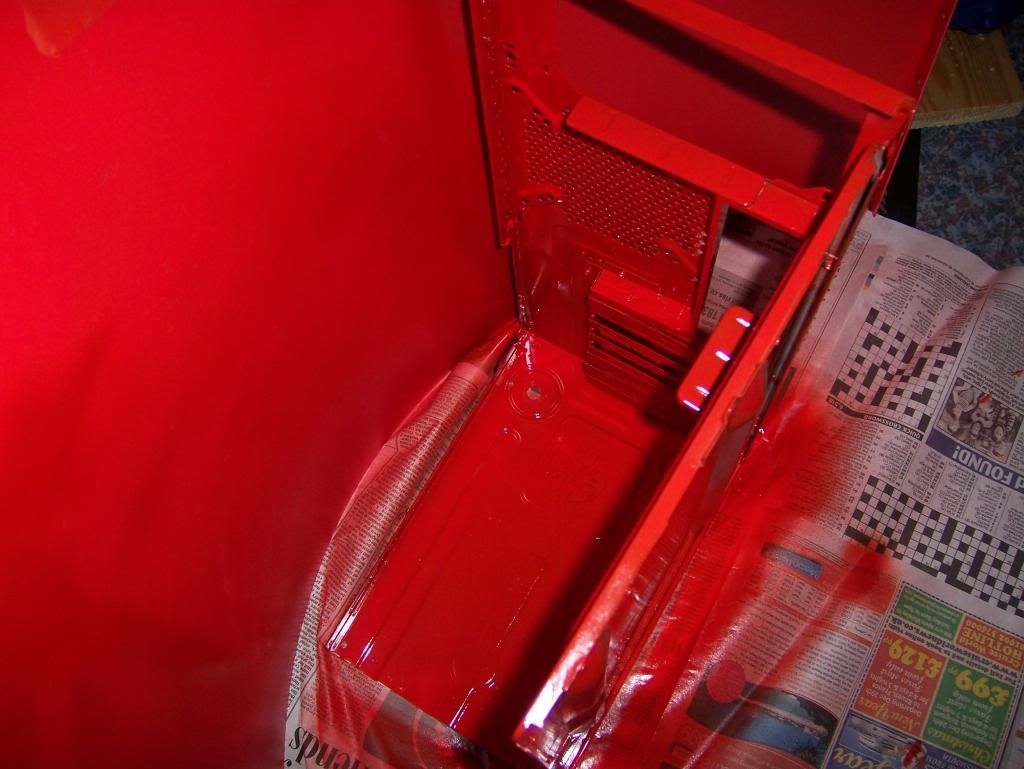
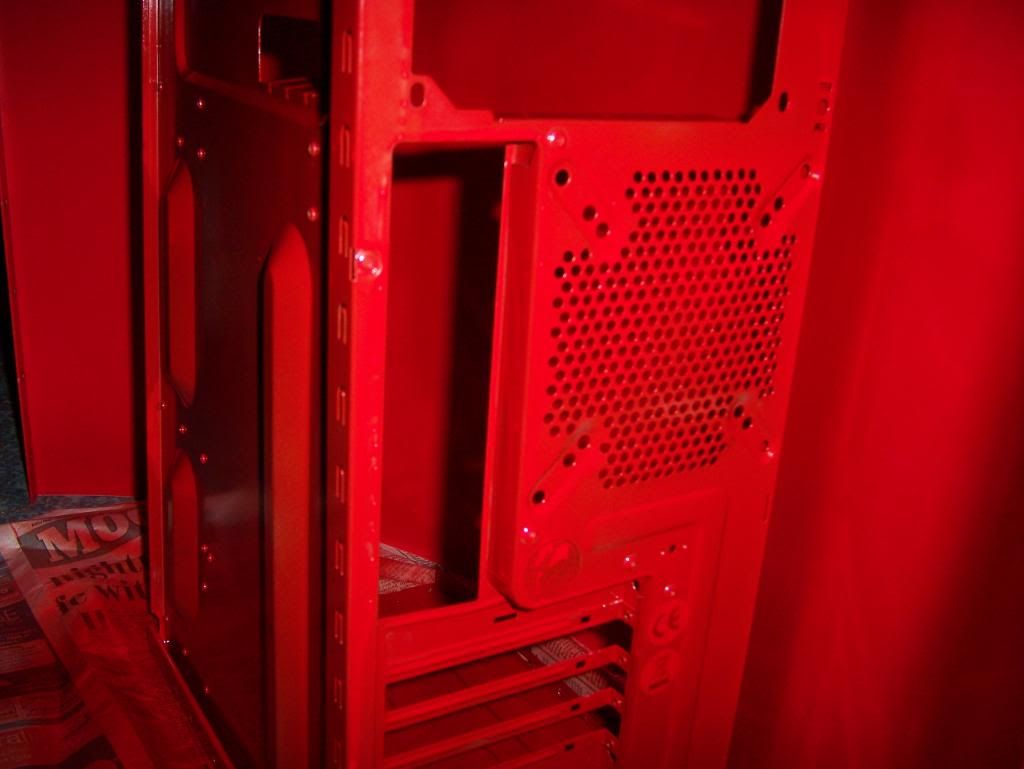
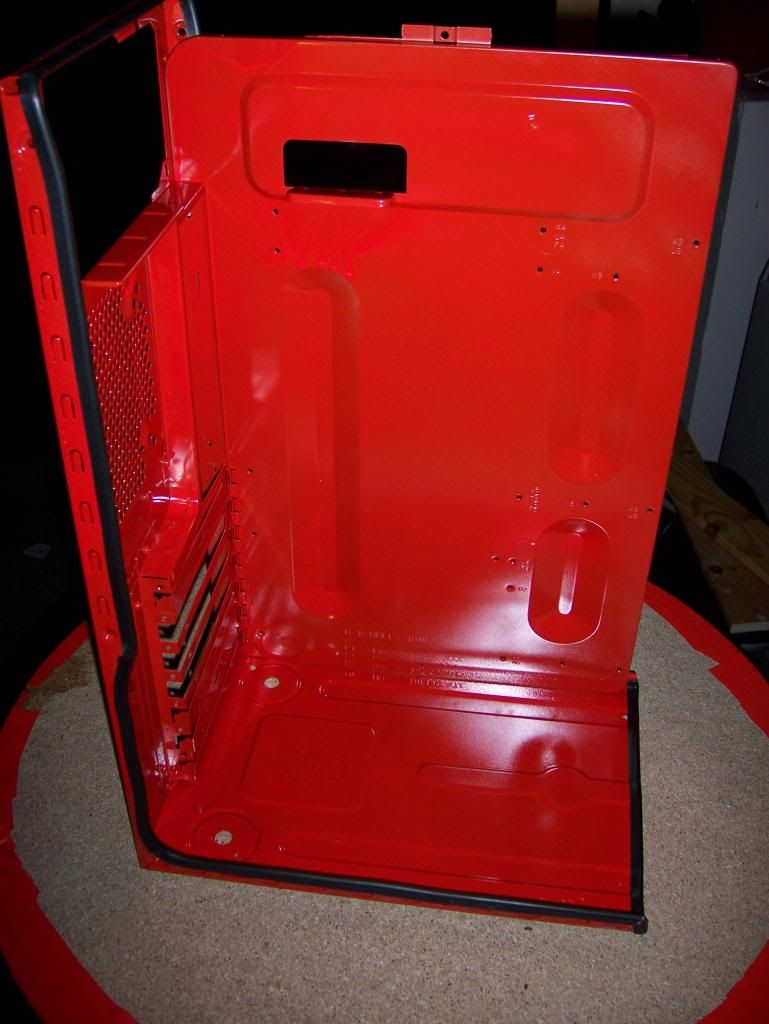
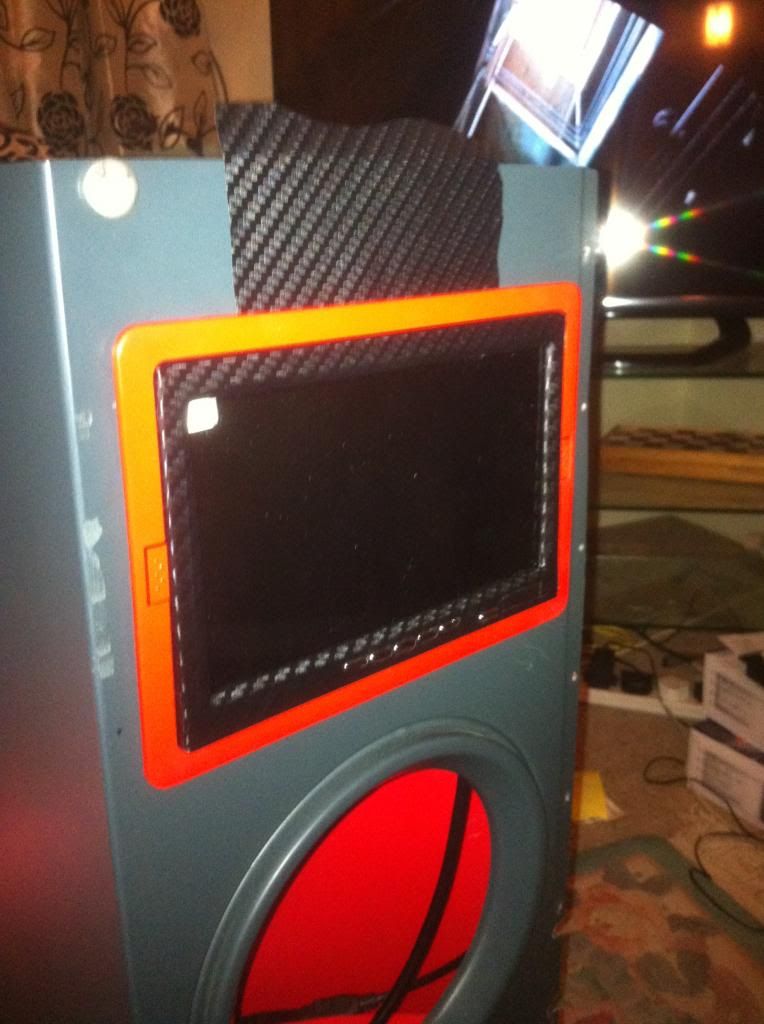
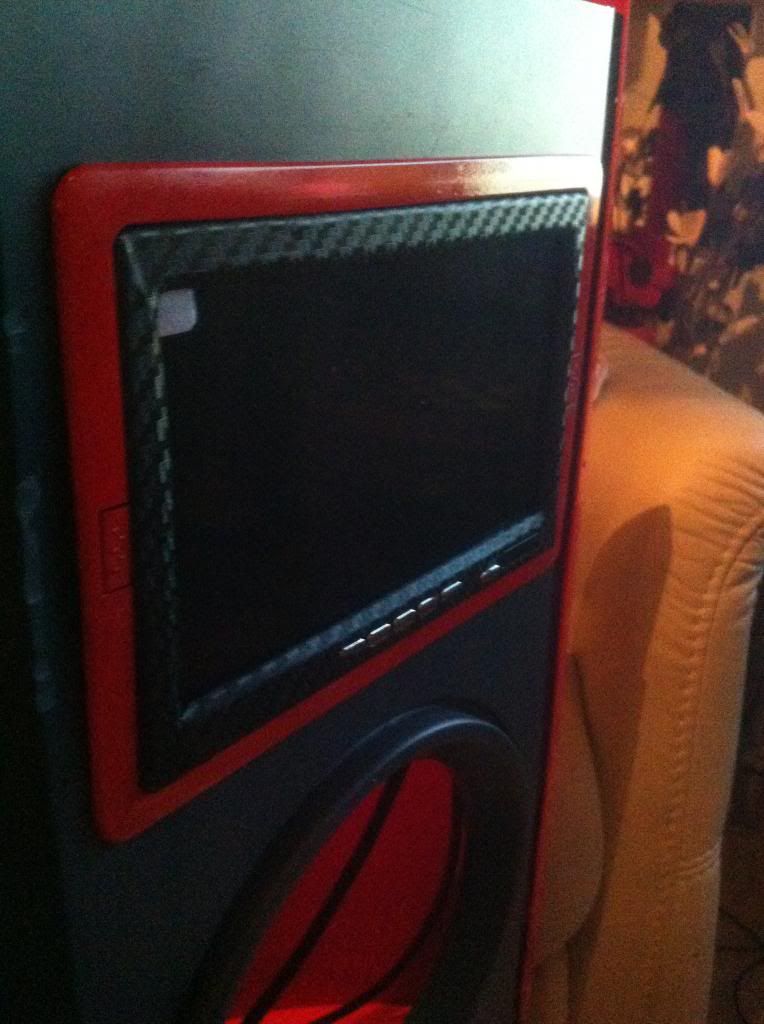
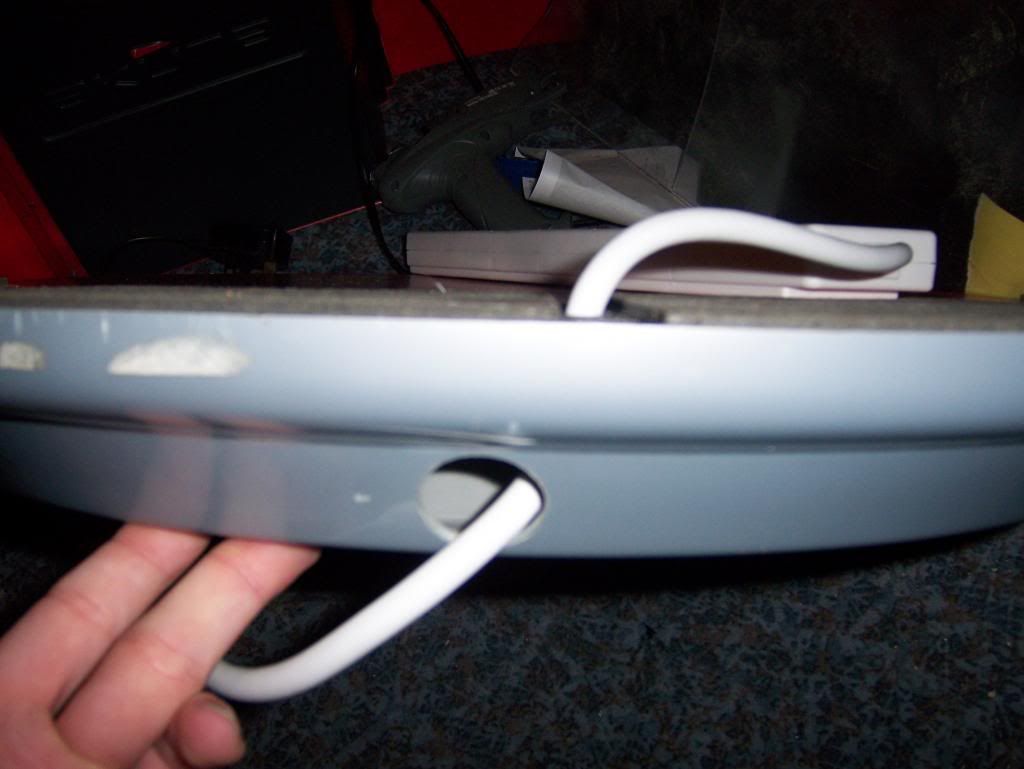
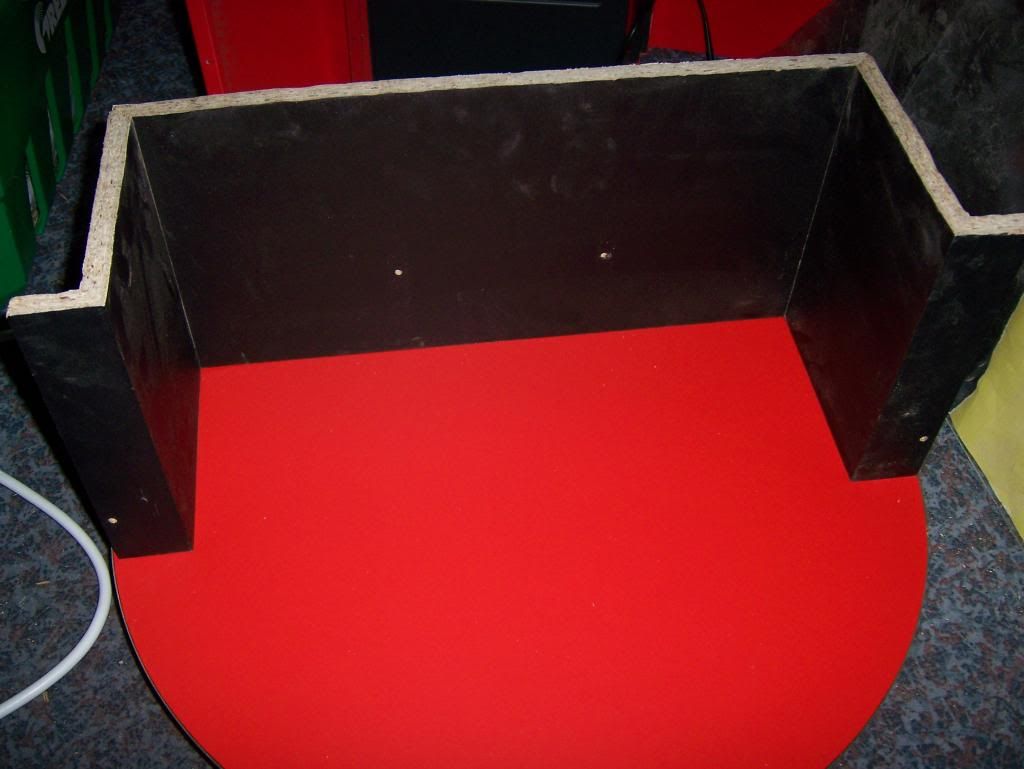
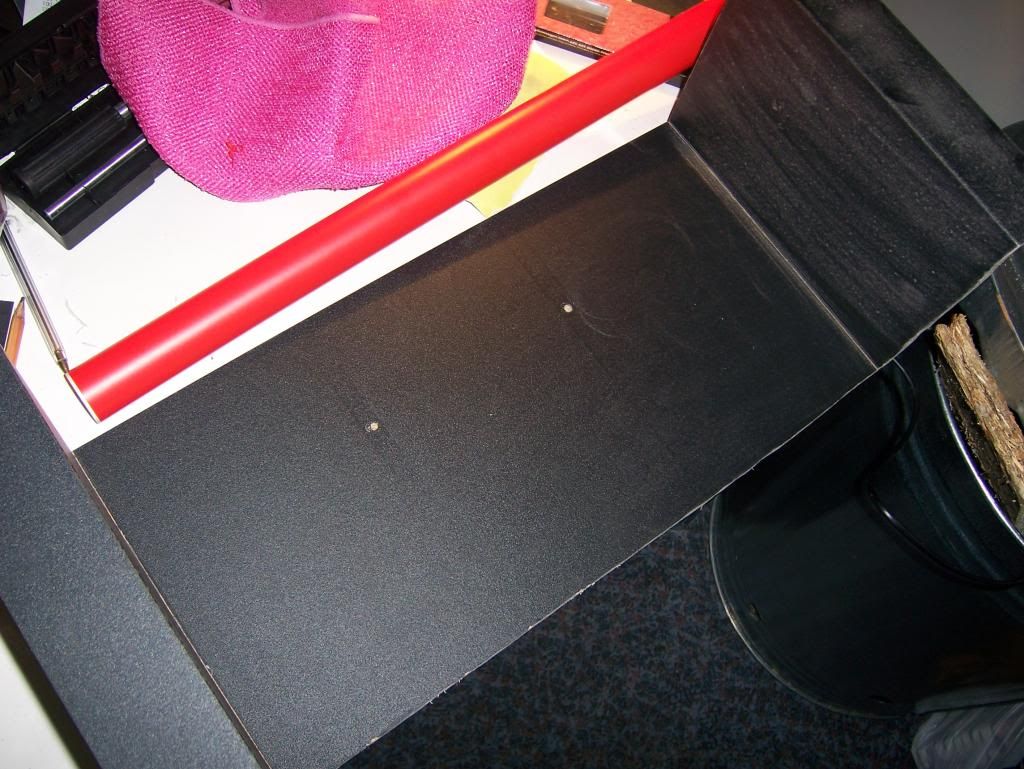
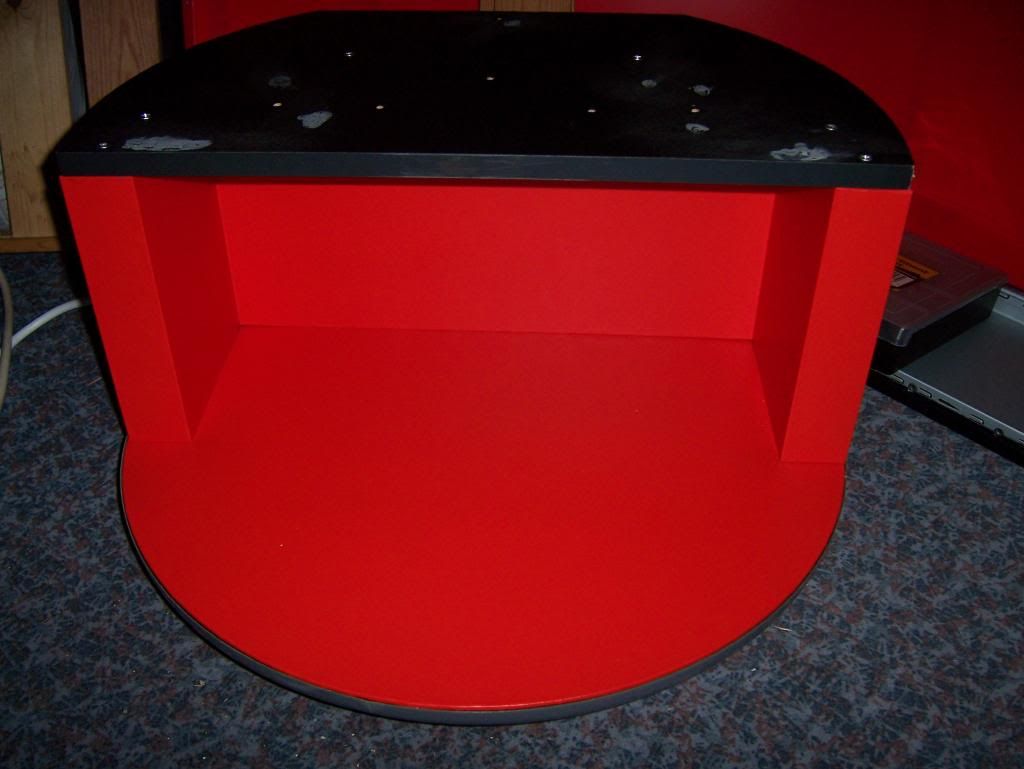
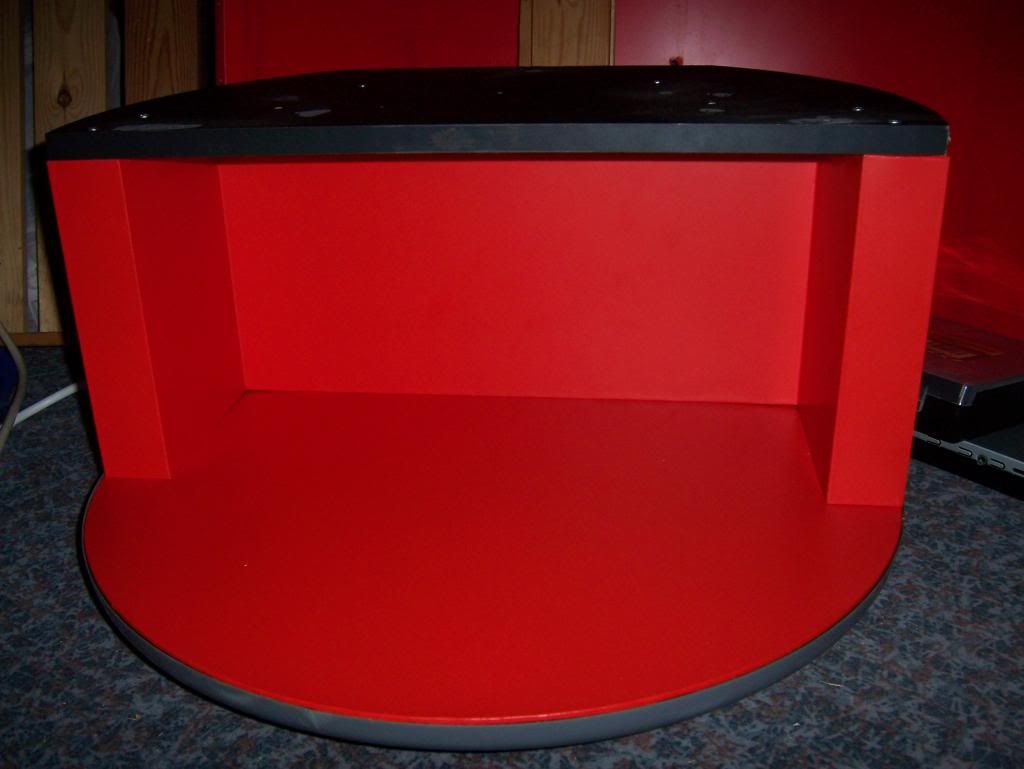
I have loads of pictures to put up so this may need updating a lot over the next few days but here is a few teaser/spoiler pictures of a few bits to wet your appetite
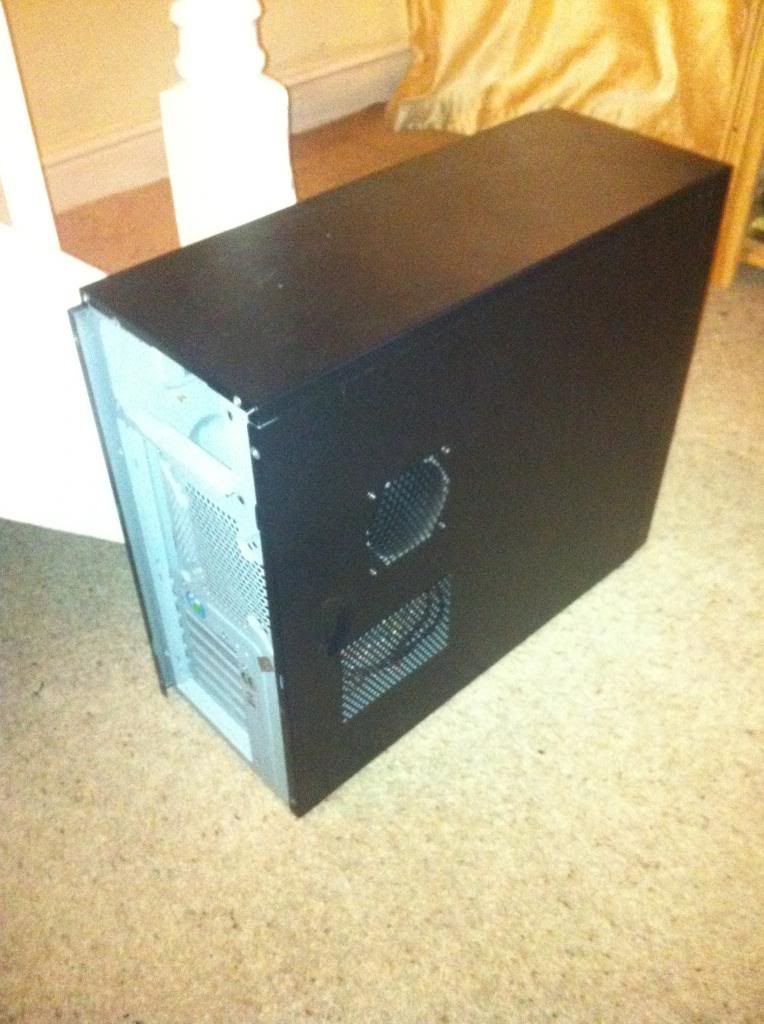
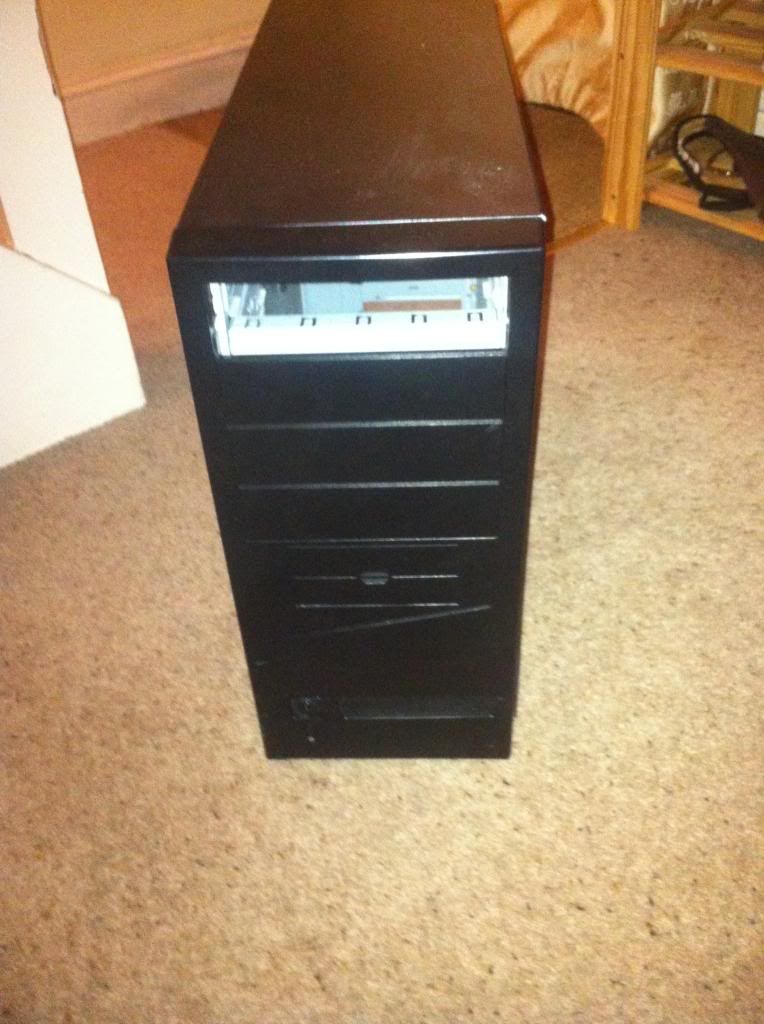
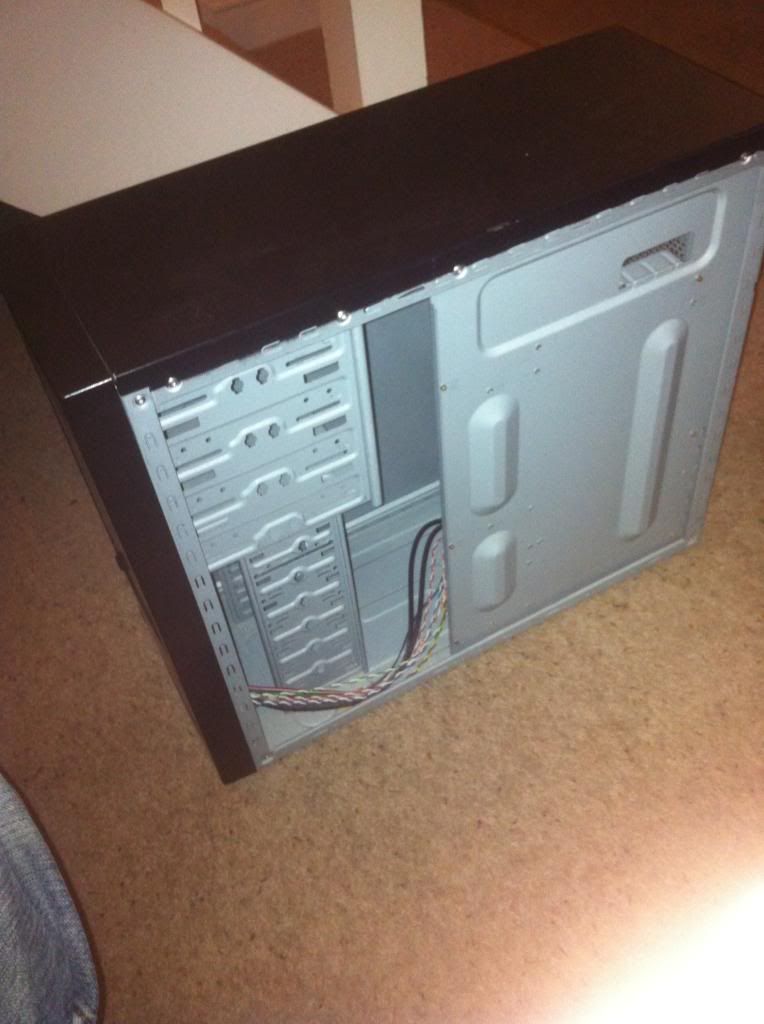
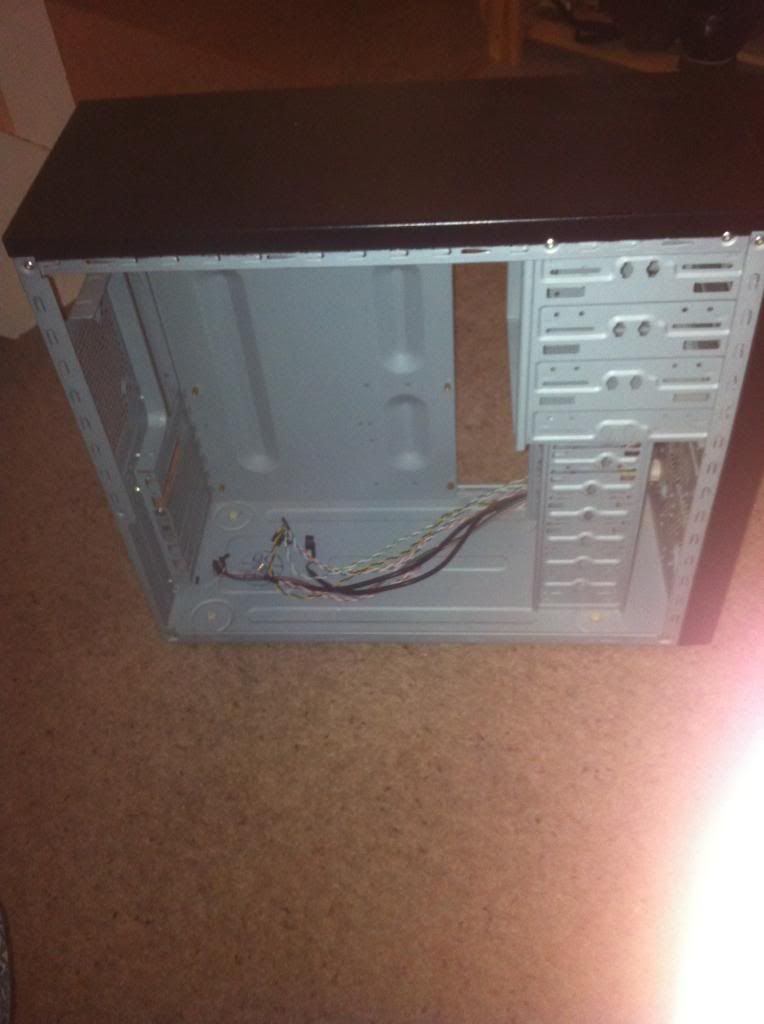
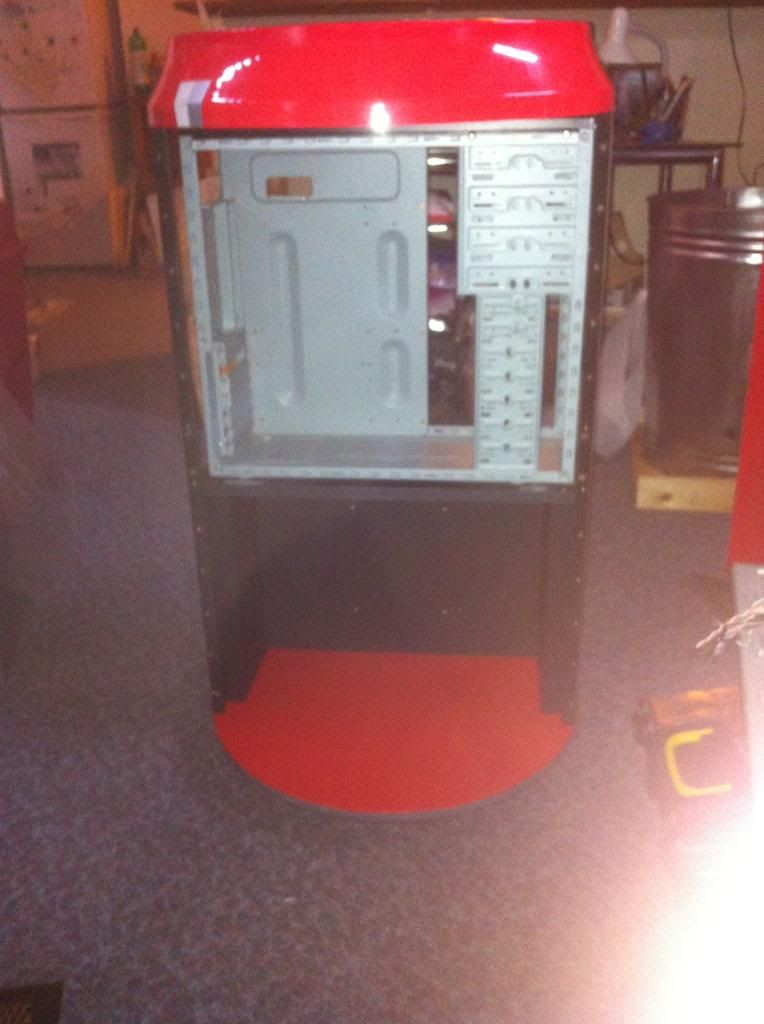
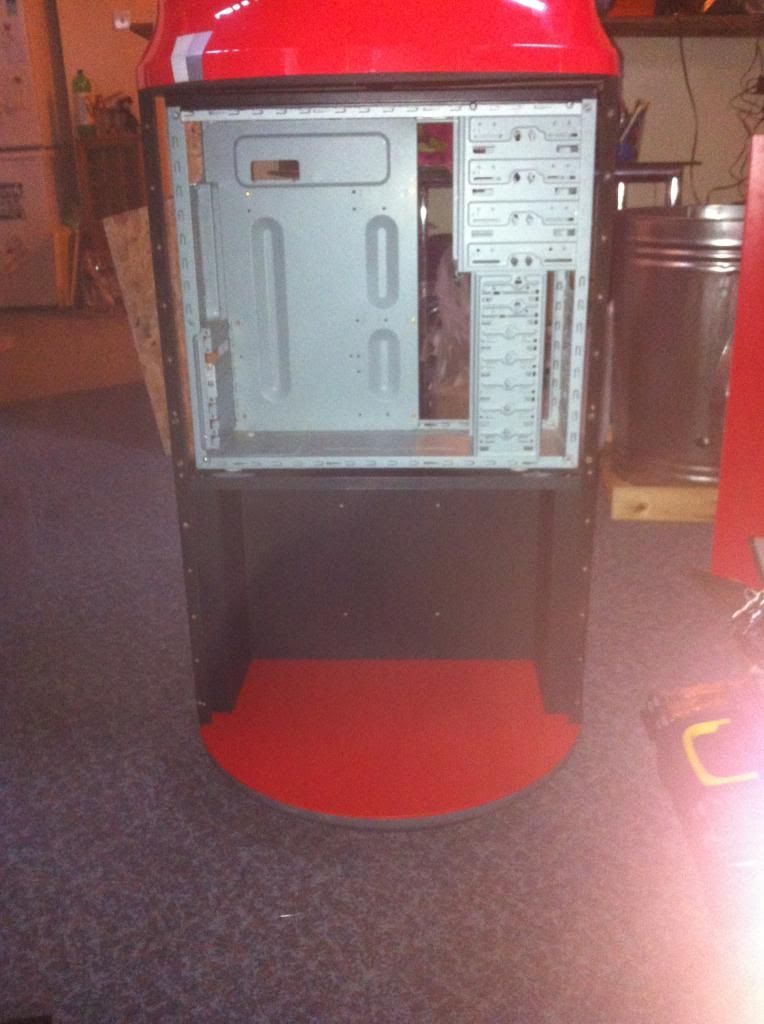
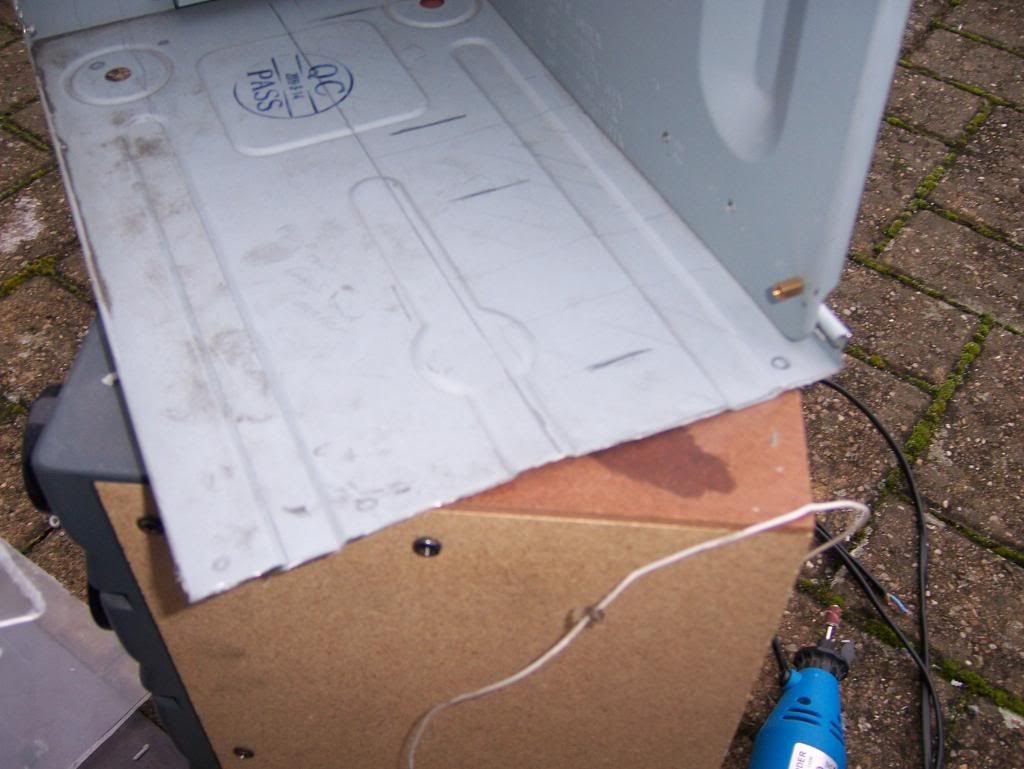
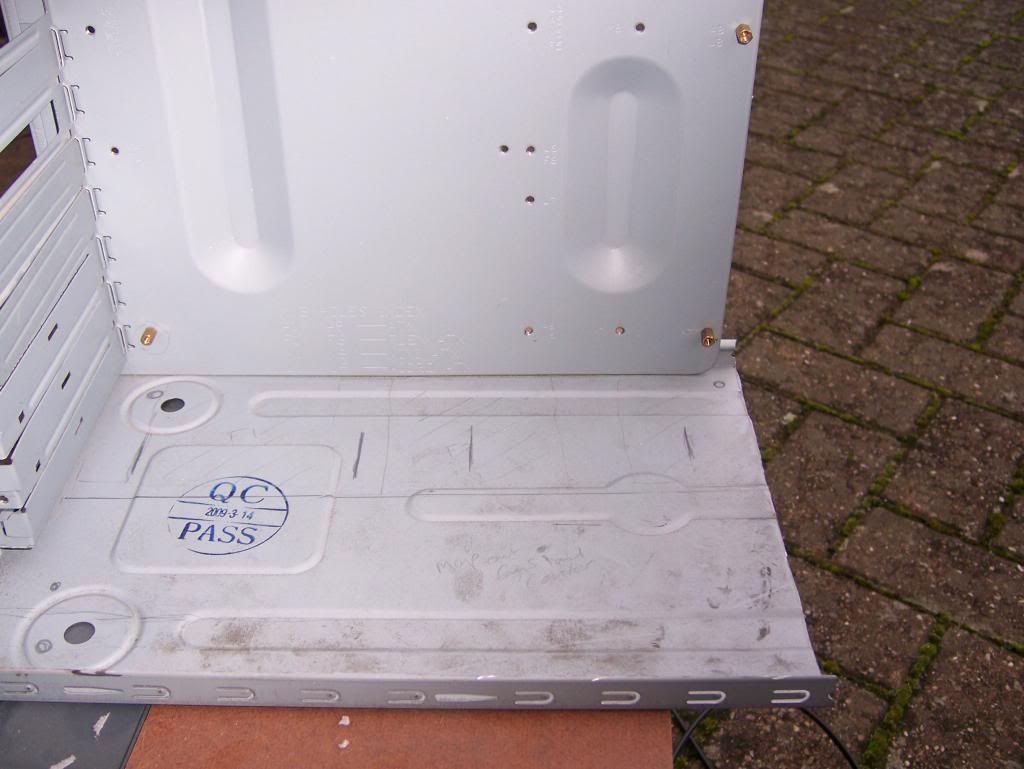
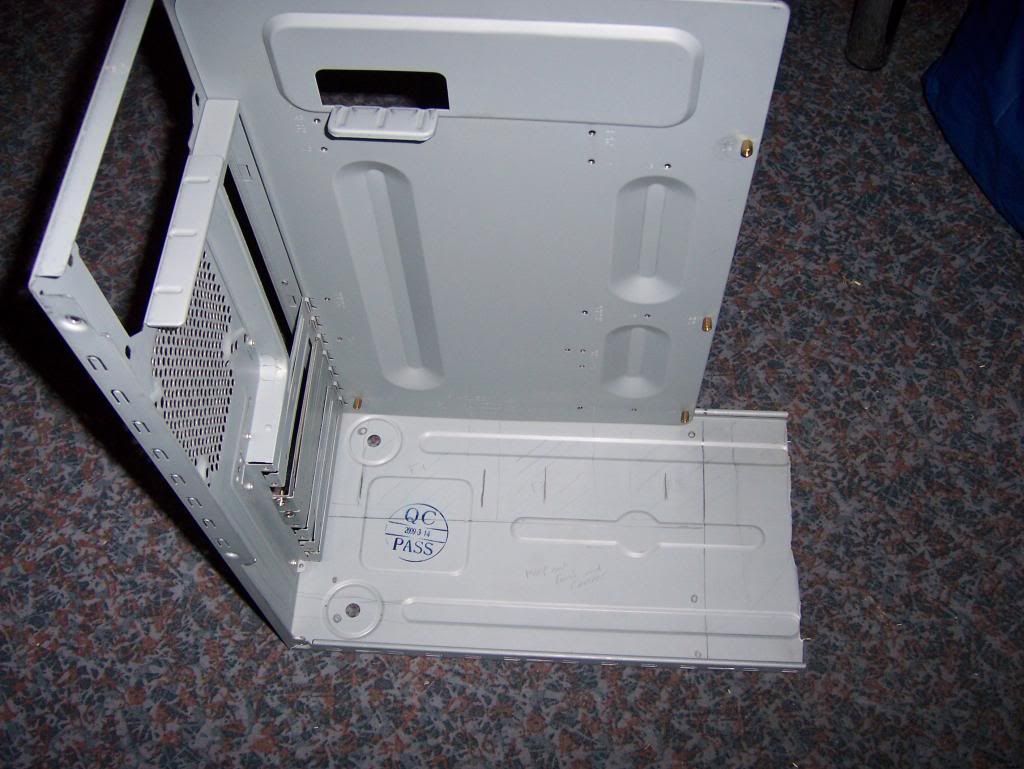
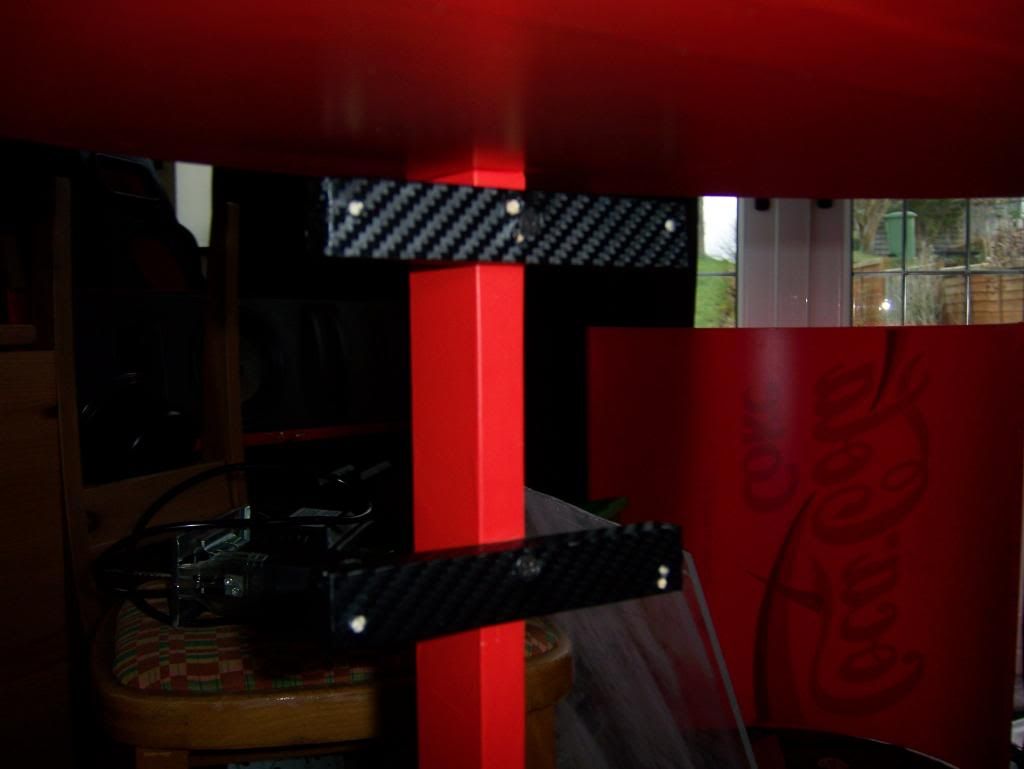
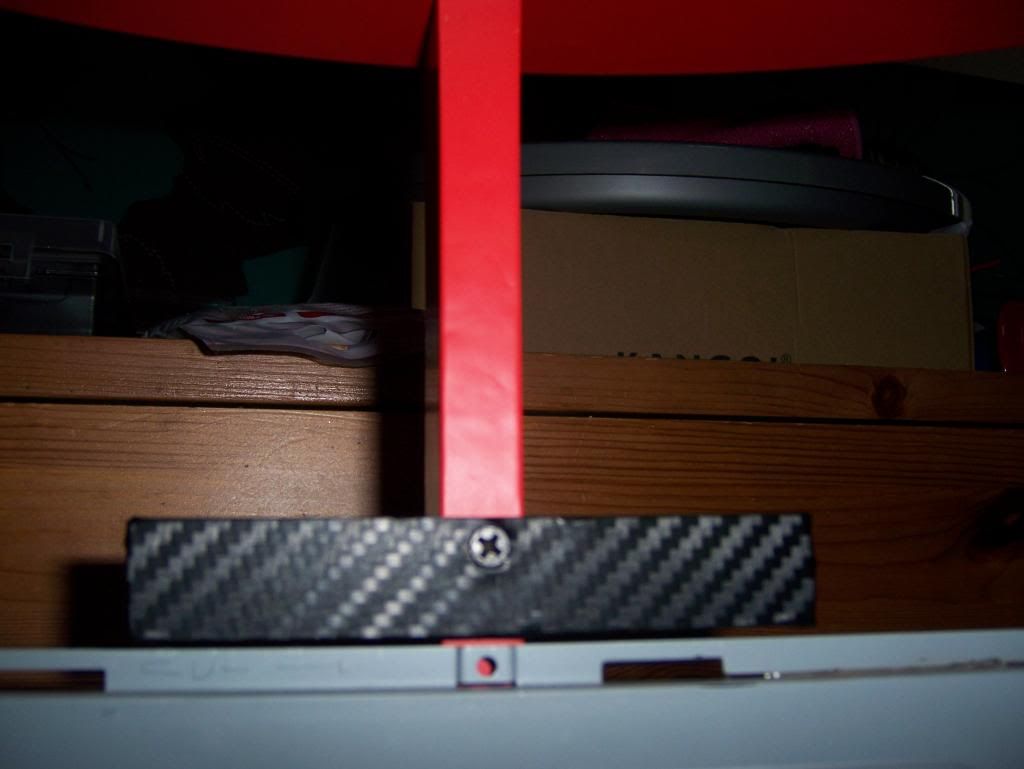
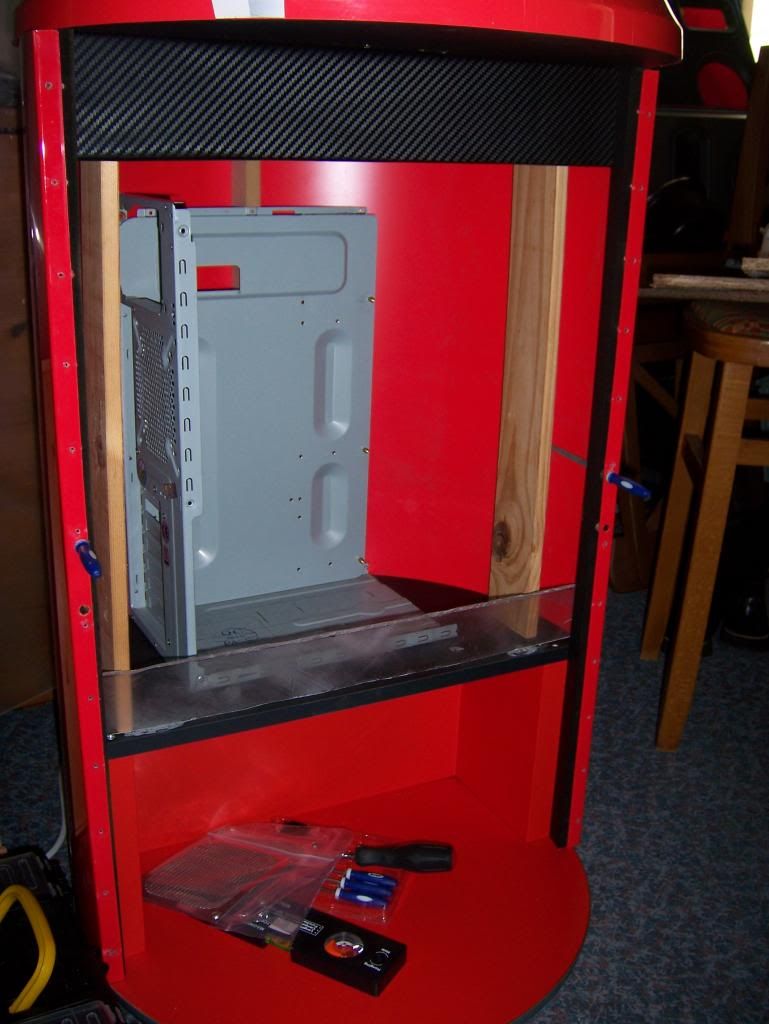
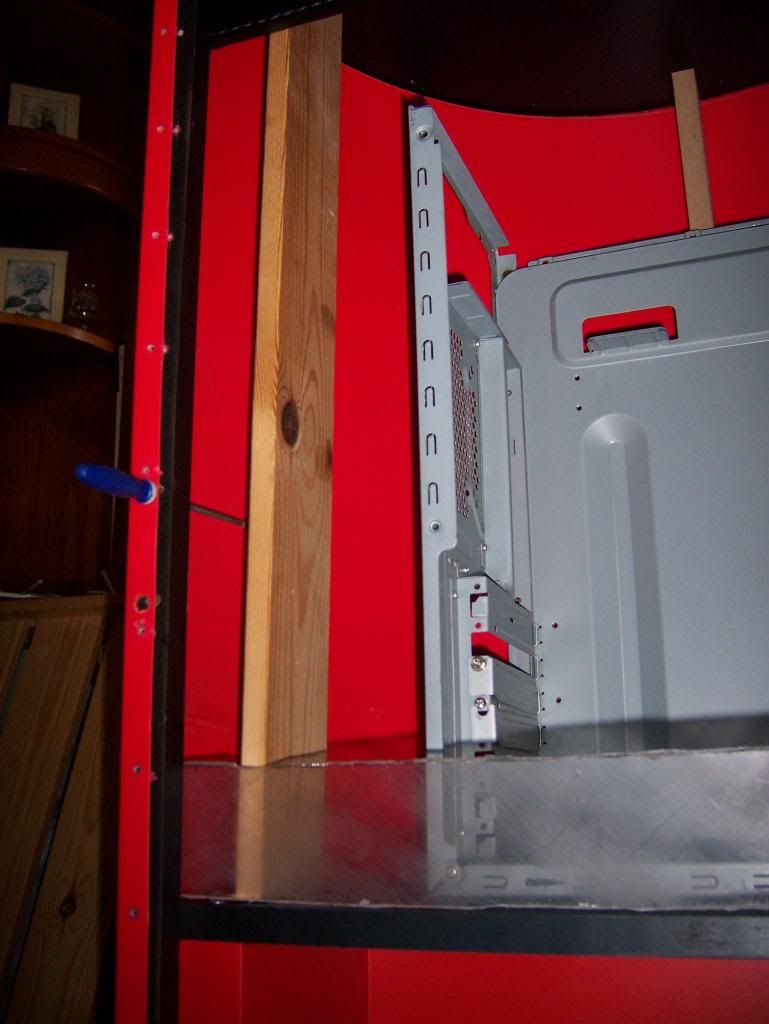
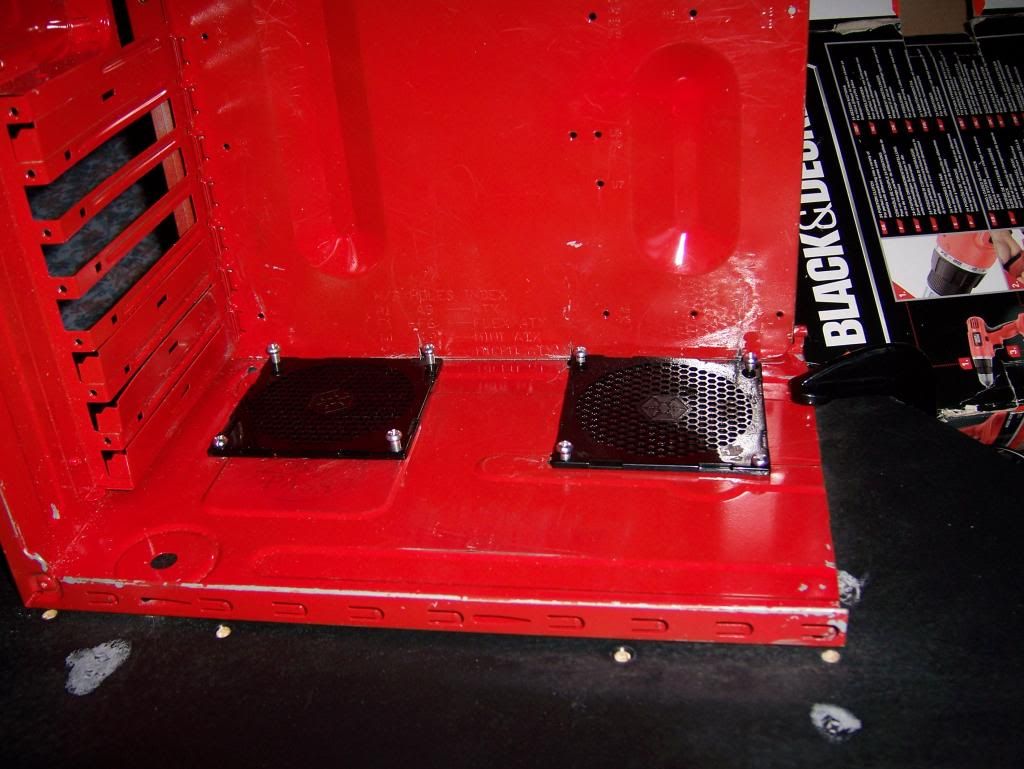
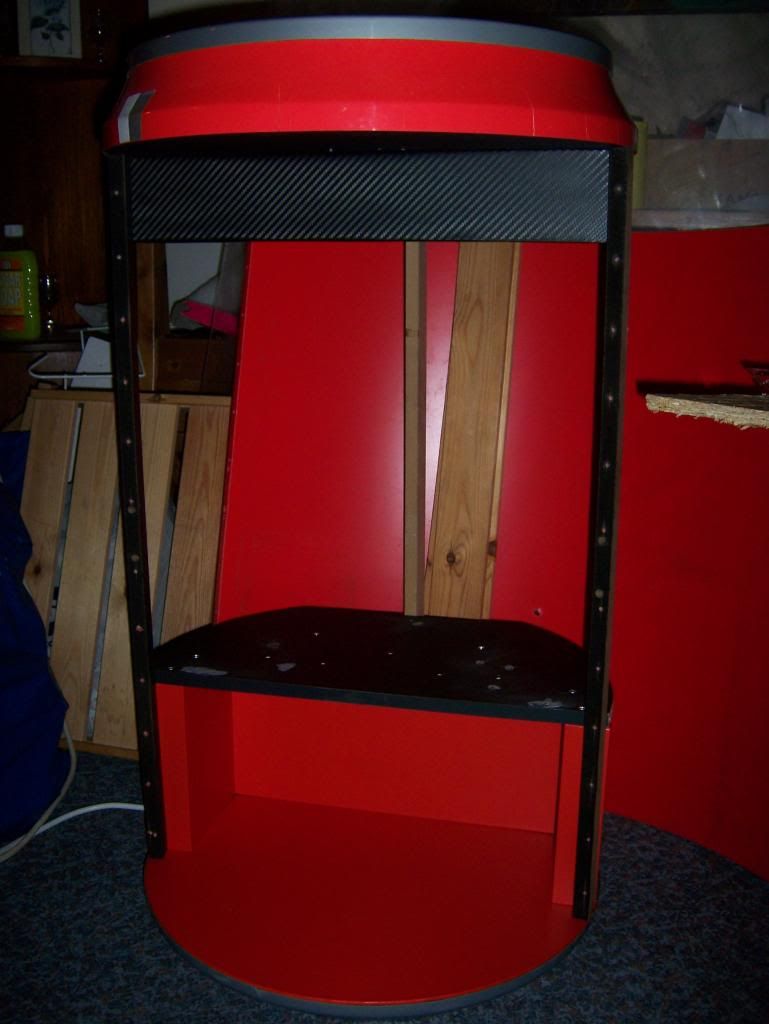
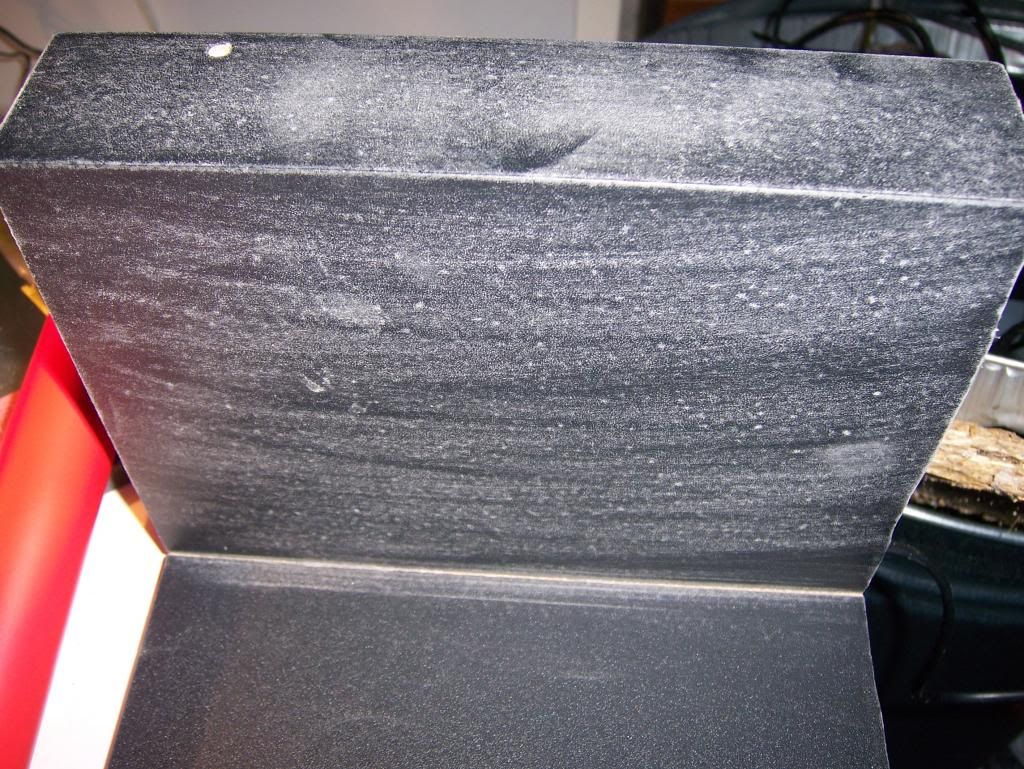
The base unit
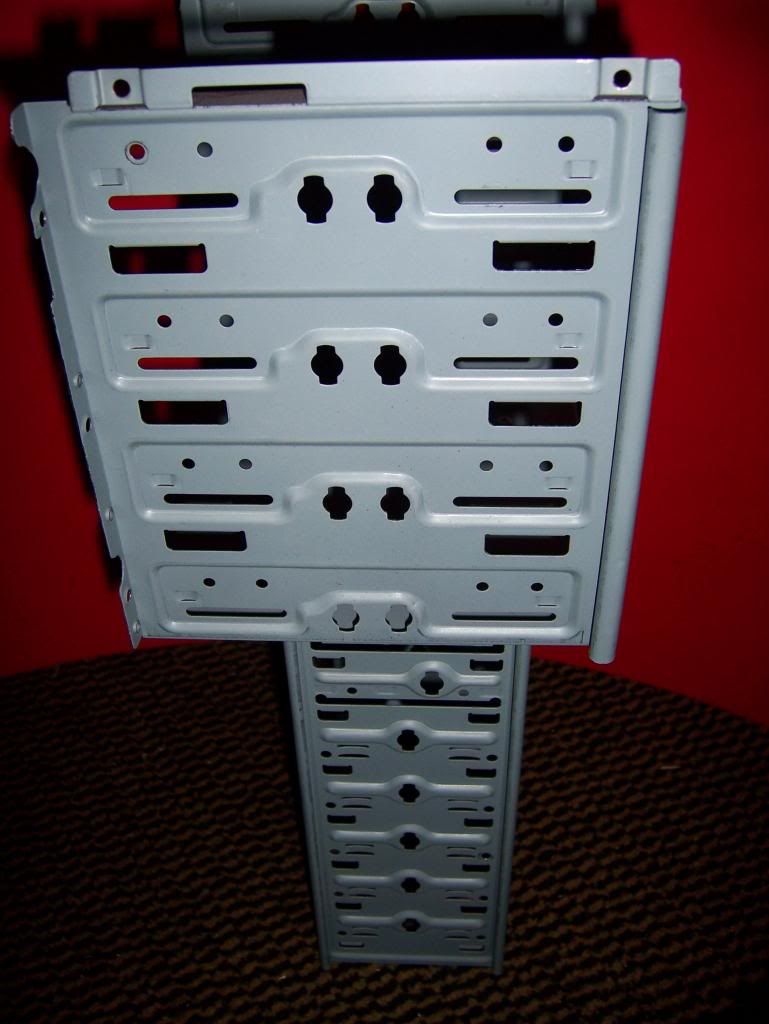
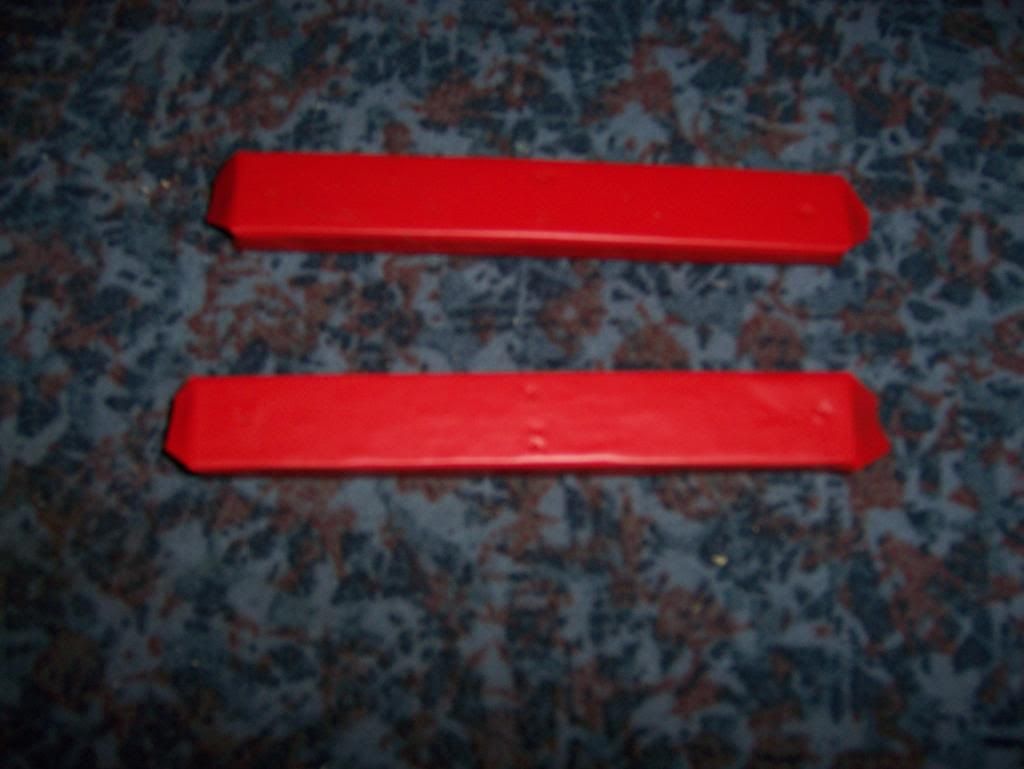
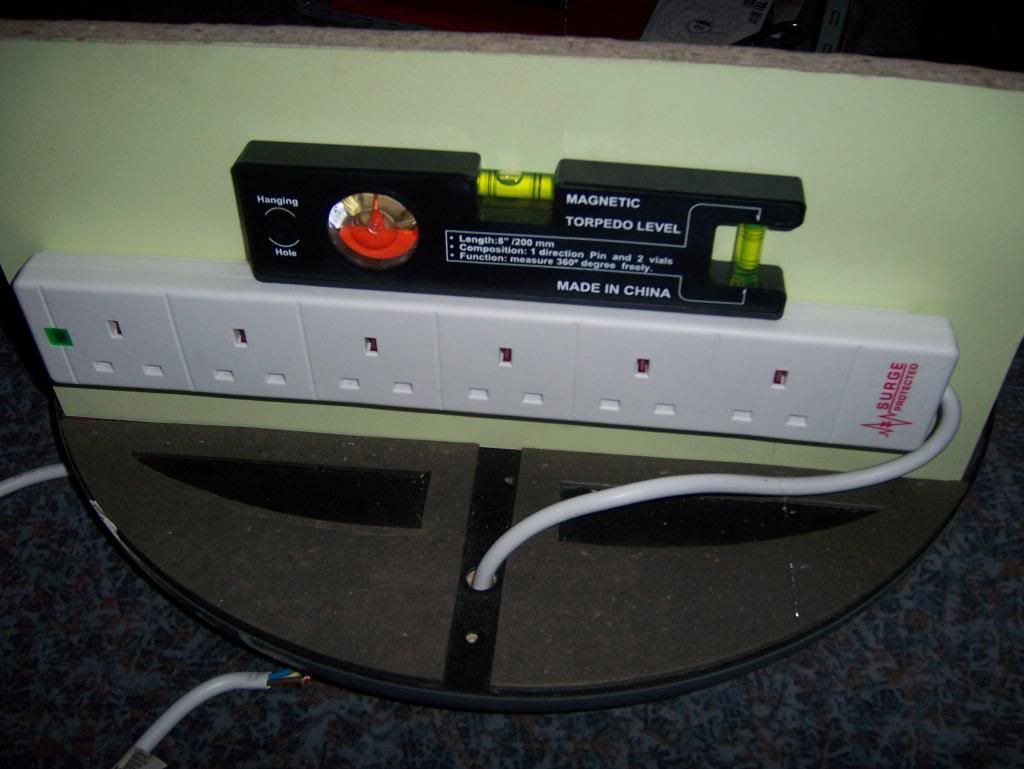
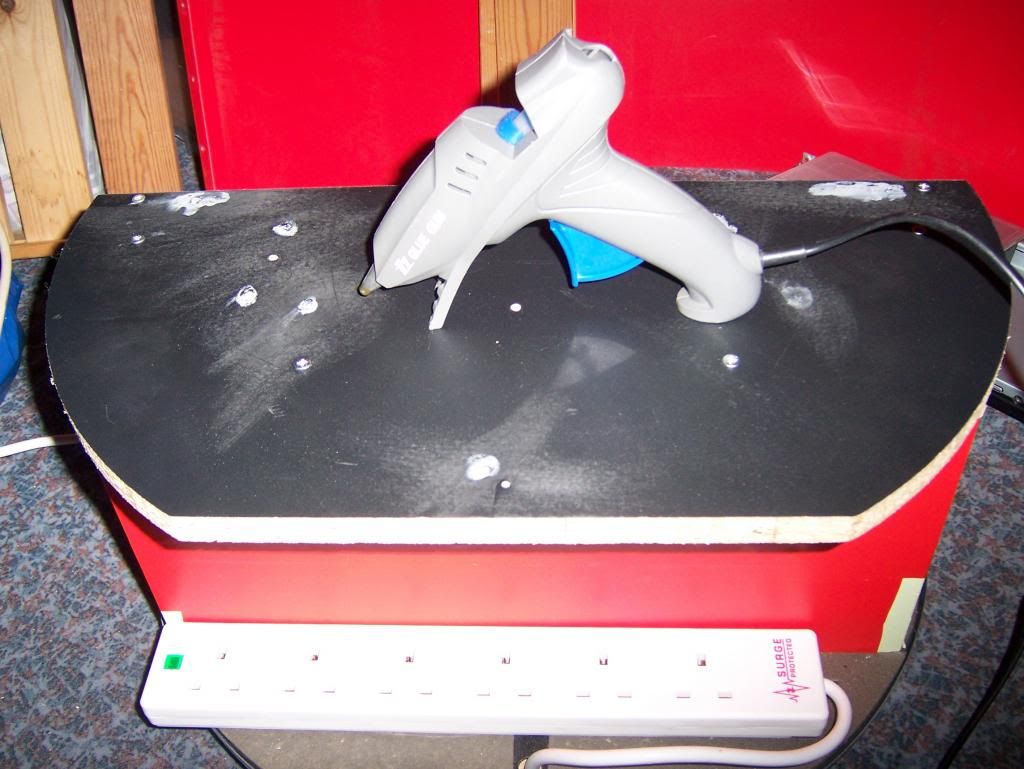
Some equipment
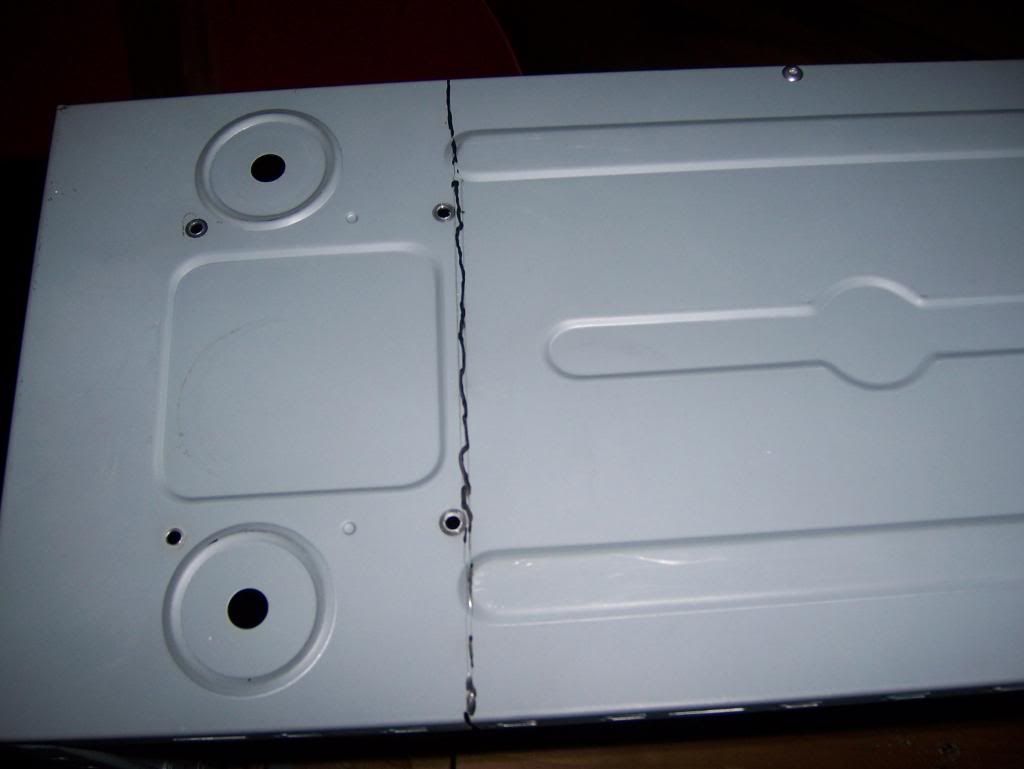
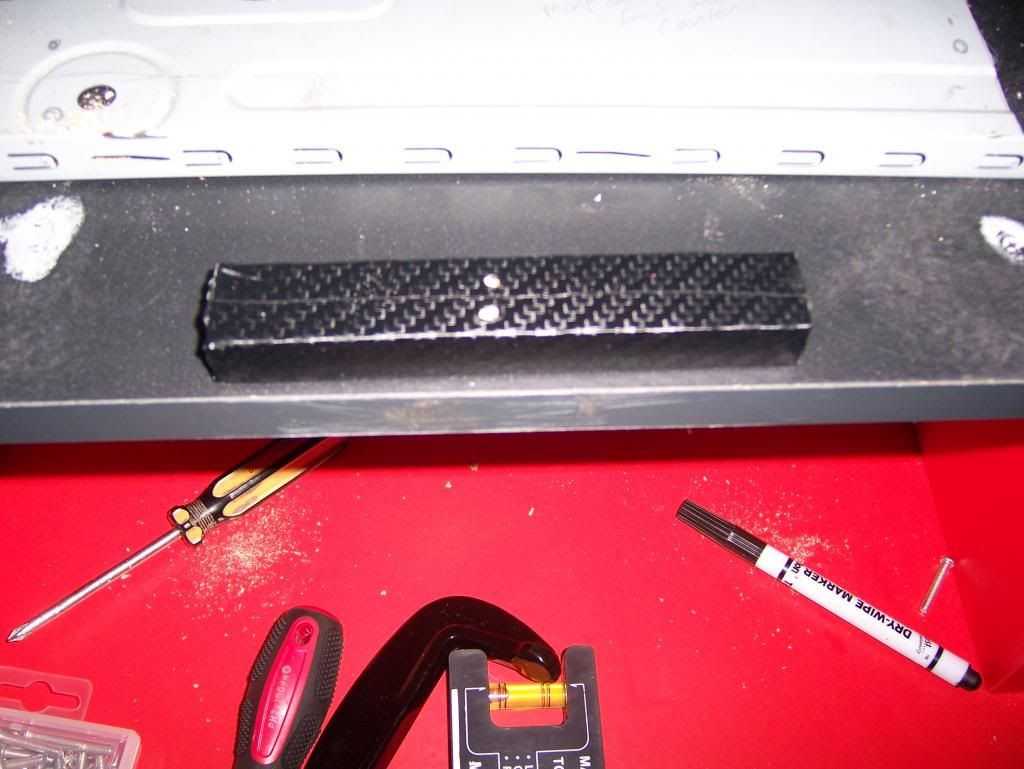
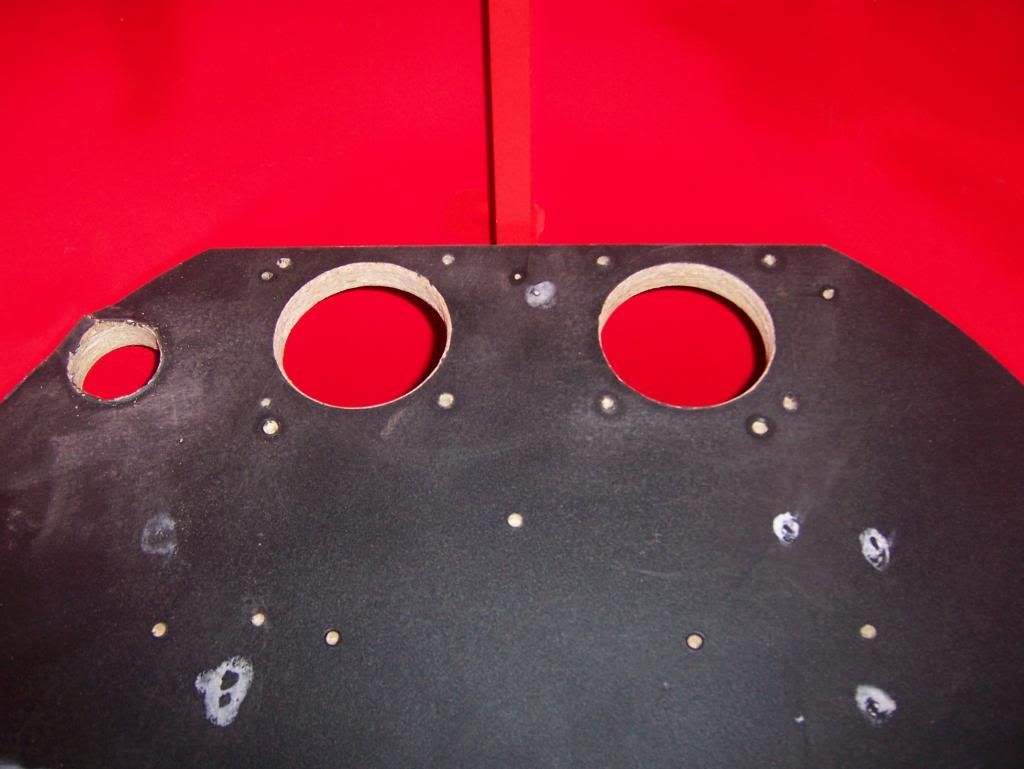
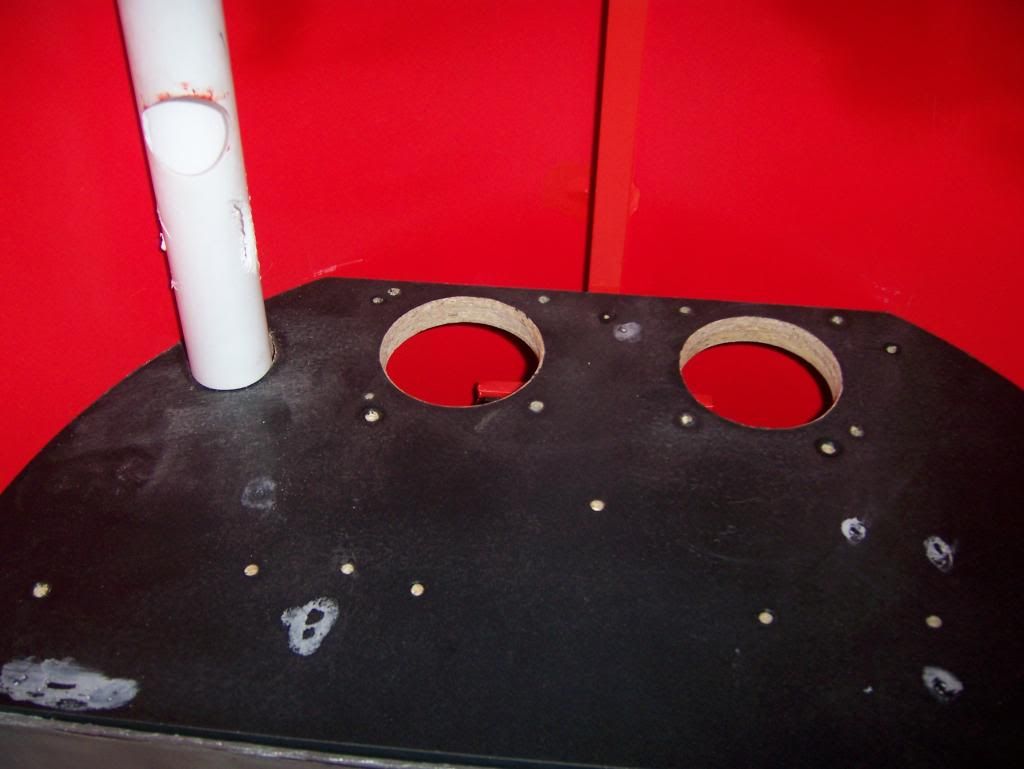
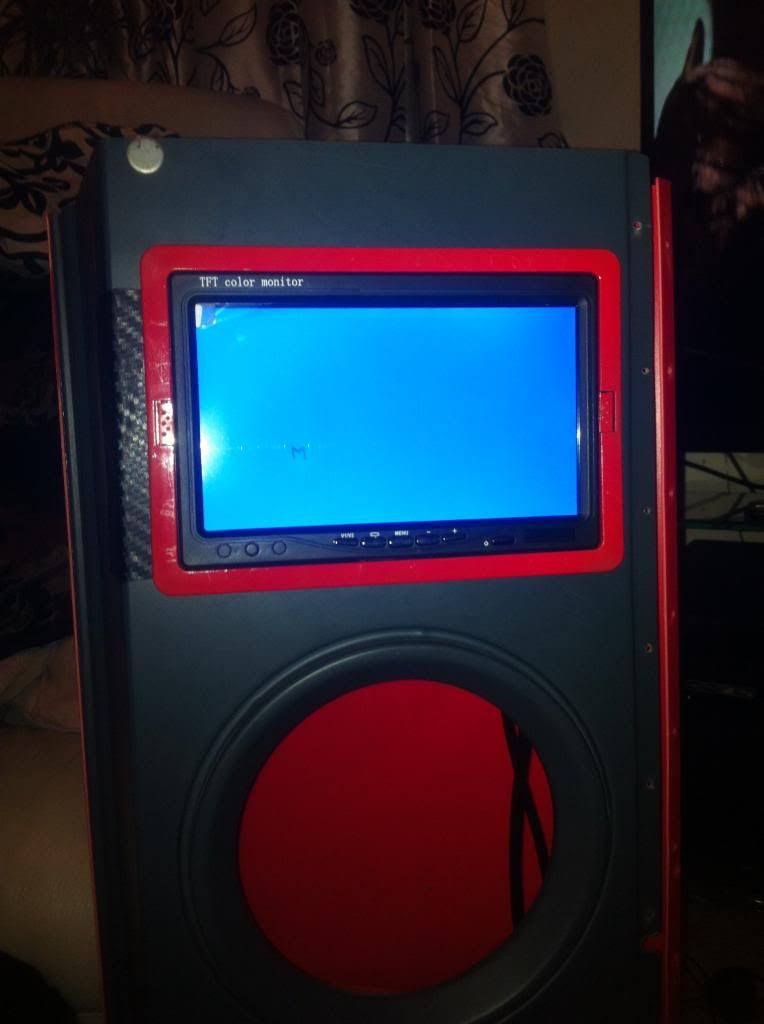
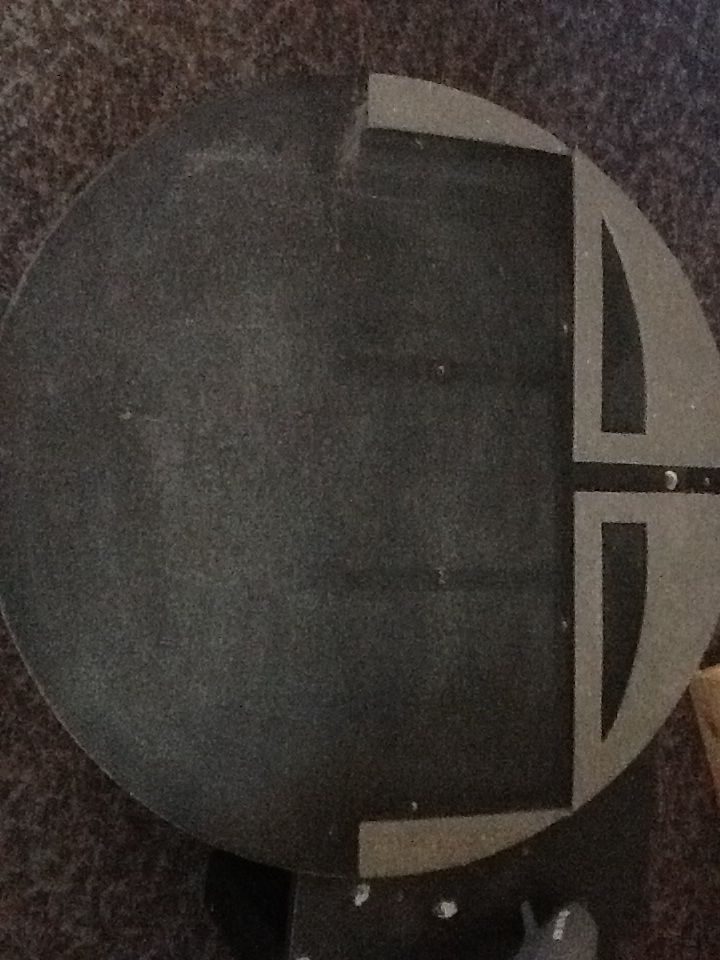
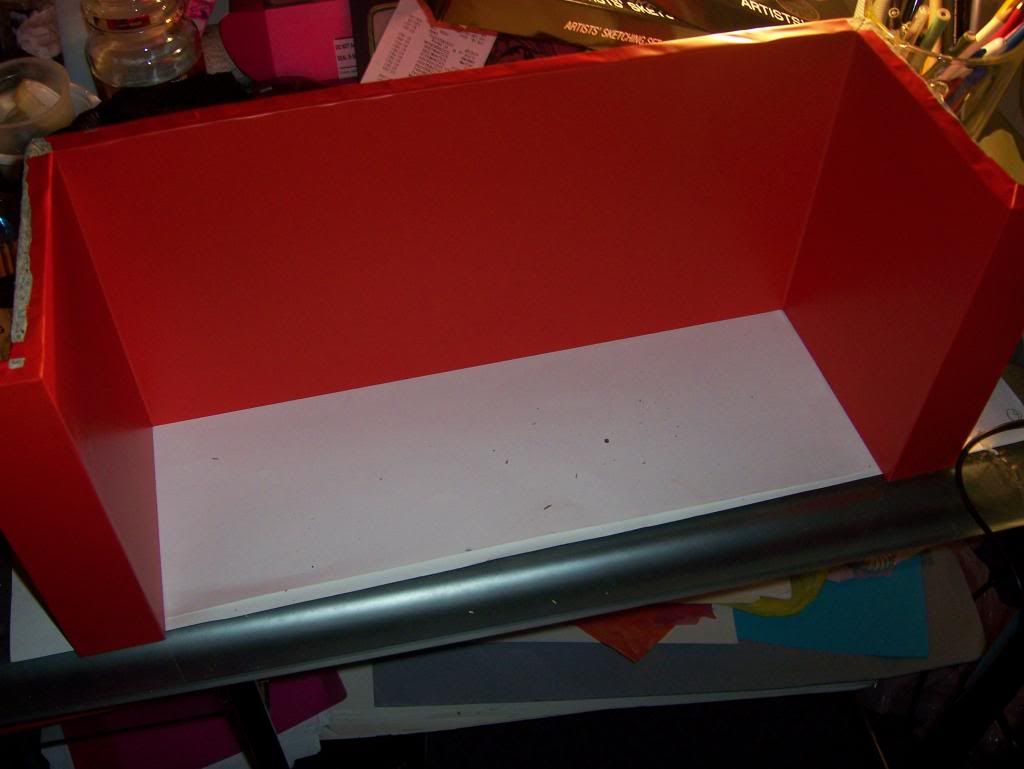
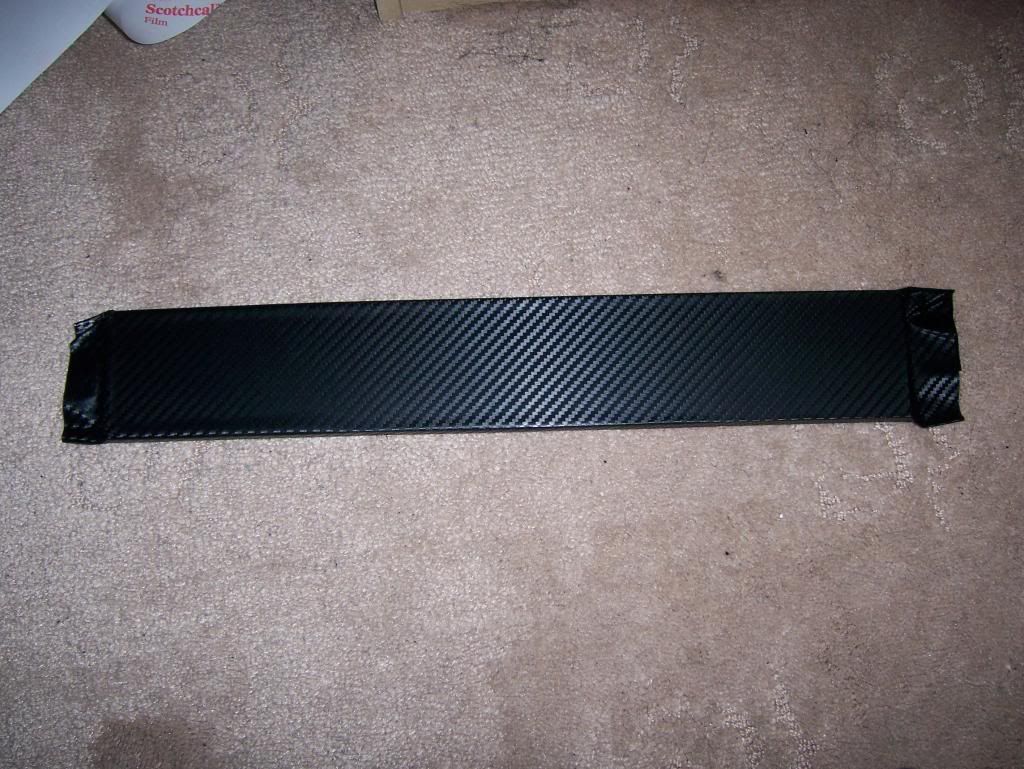
A door
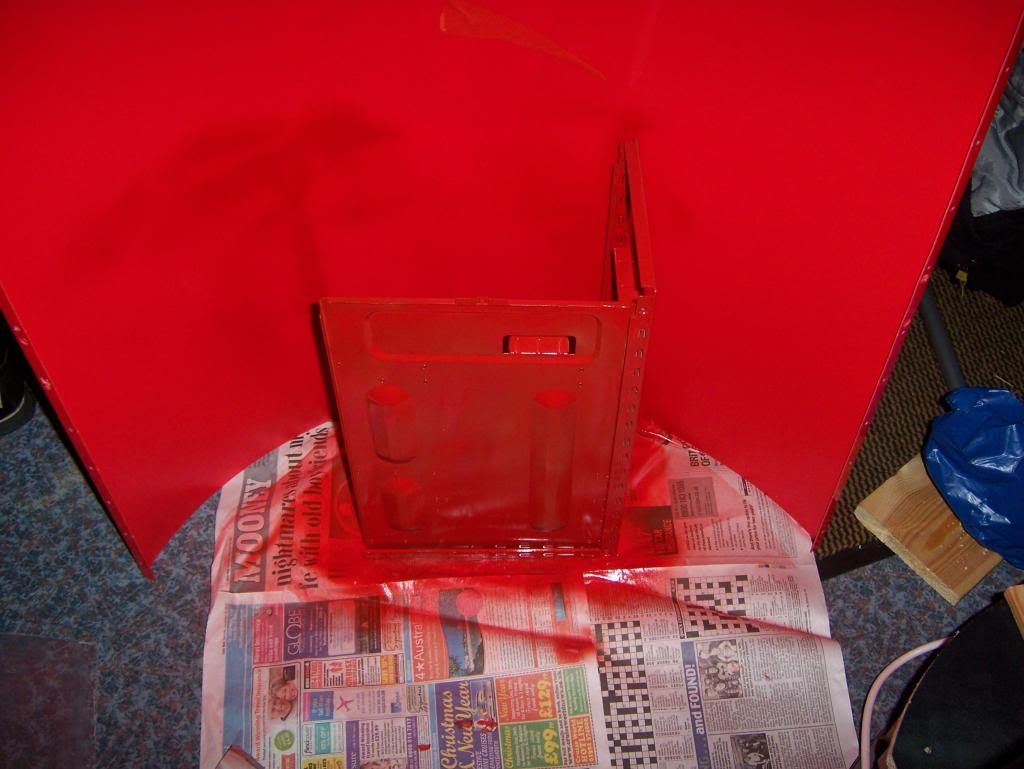
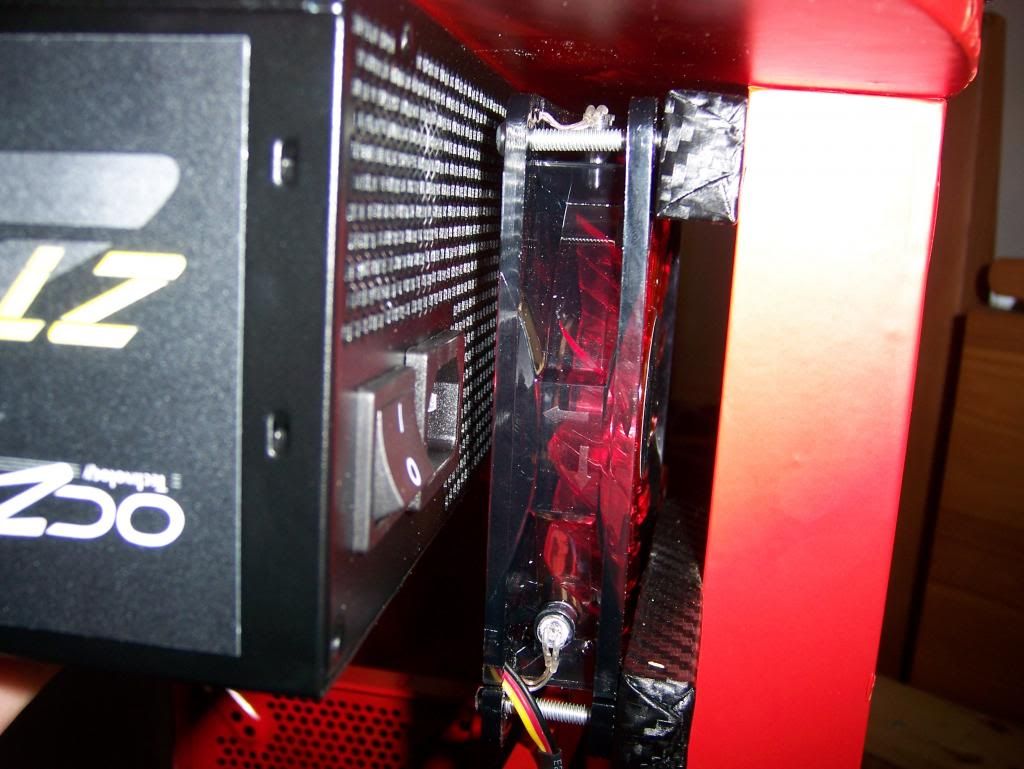
PSU
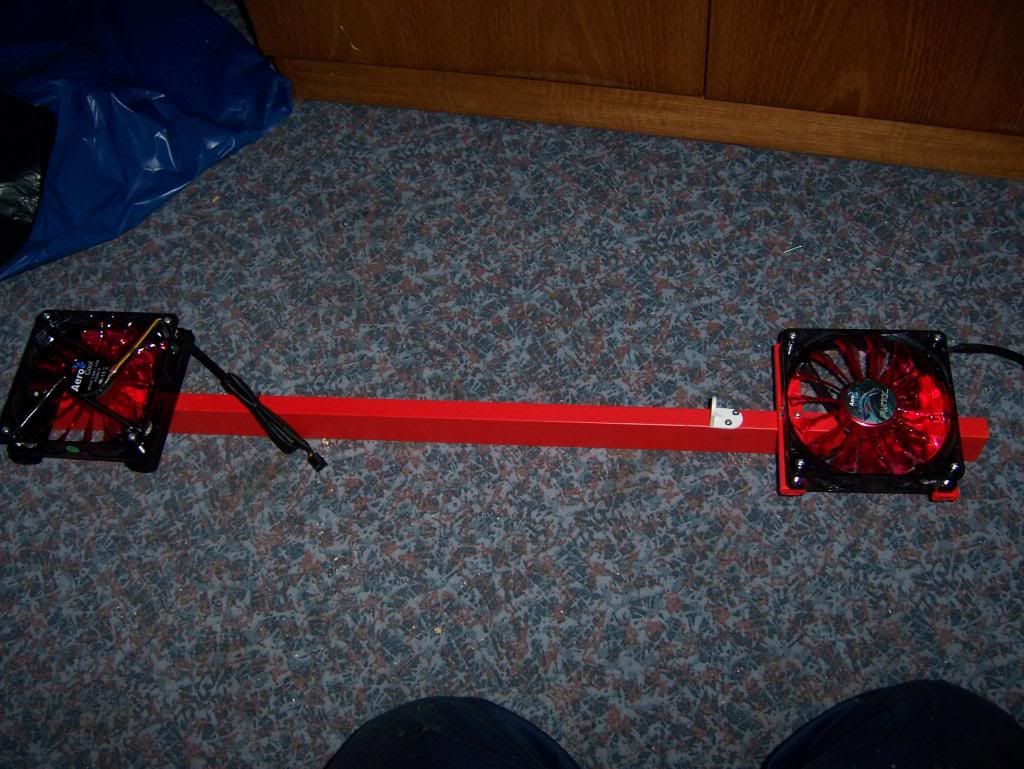
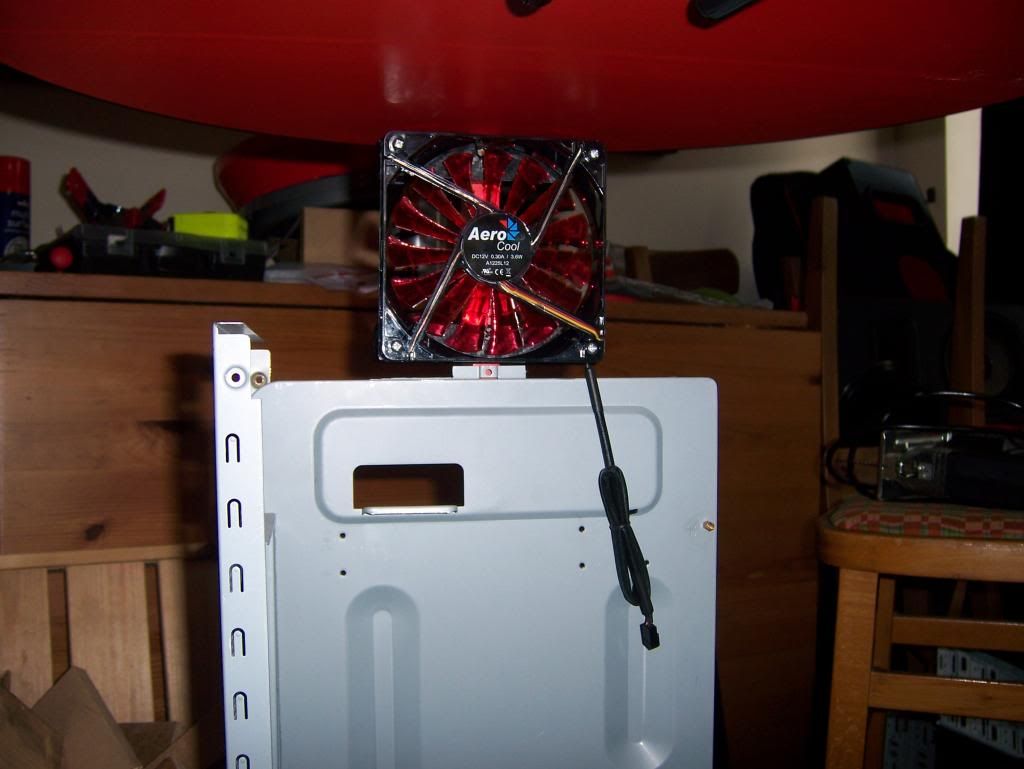
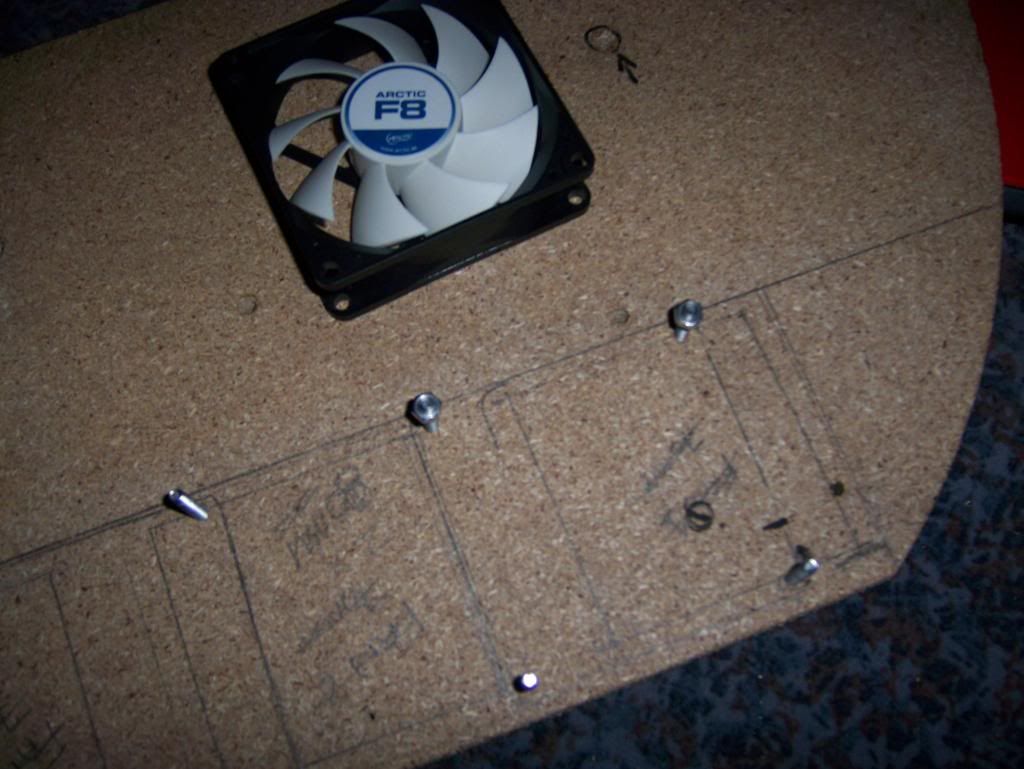
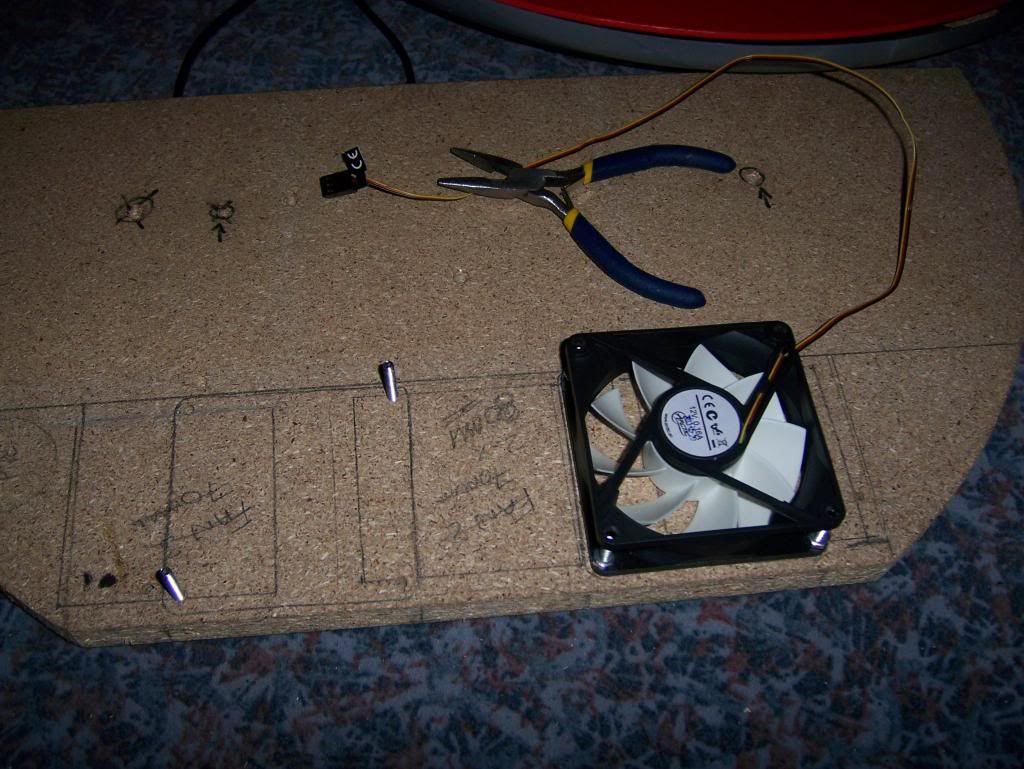
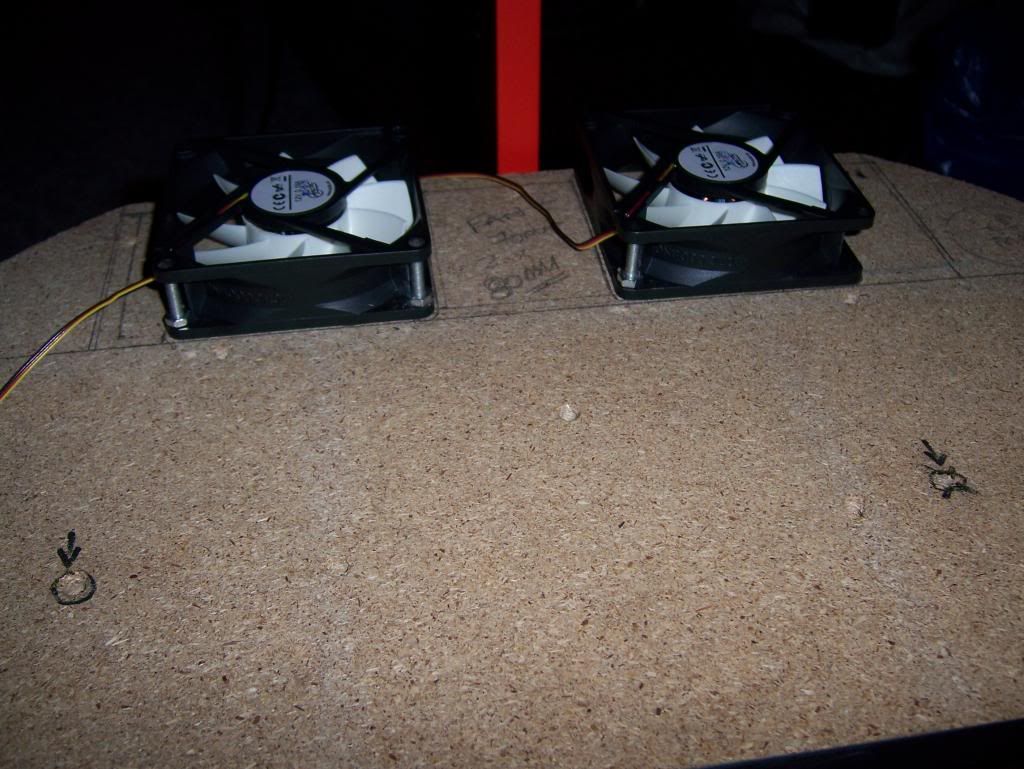
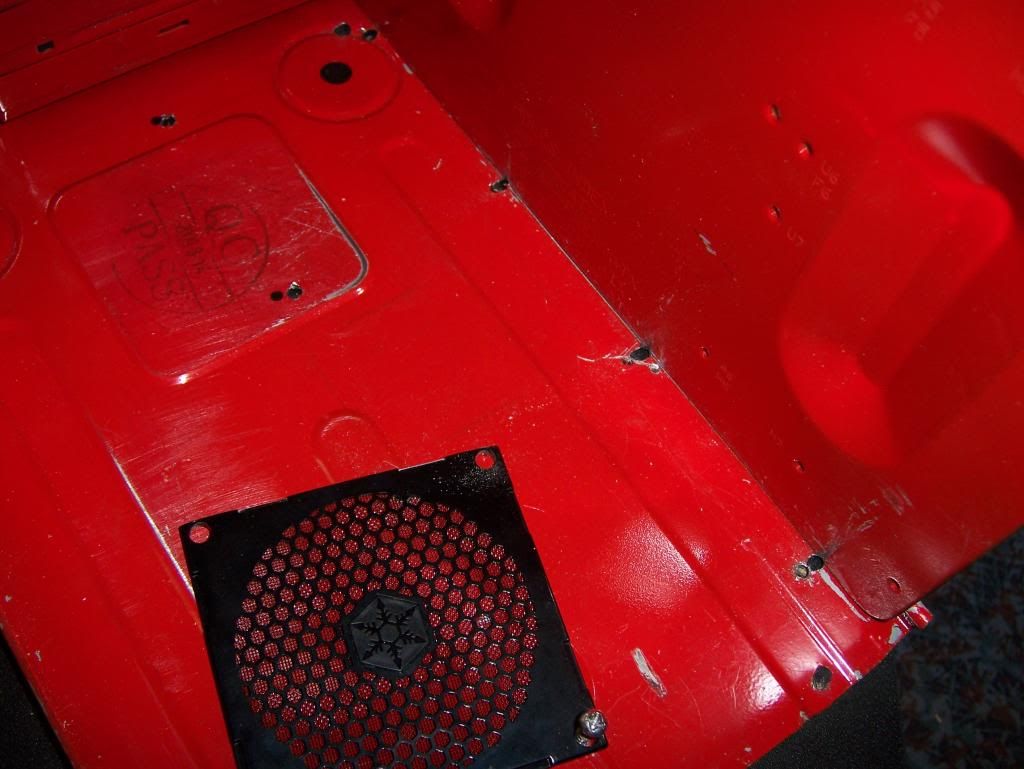
Fan

I wont give too much away for now and will get started on the next post however i will be editing the first post along the way as well as posting and discussing on new post below.
Hello all,
Welcome to my project log.(Cool named suggestions welcome)
I decided to build this project because since i was around 14 years old i have had this picture in my mind of a cool 'idea' for a PC. I'm 30 now and can finally afford it
I have not had a lot of call for a PC these days due to tablets and smartphones and TBH i don't ever see the time of day when i can sit and play games so i have no need for a mental gaming system so i decided to start building the computer case i wanted to build as a lad, Ive not seen one anywhere or similar so i like the fact it will be a one off piece when done.
I have basic knowledge when building computers and have only ever built one when i was about 15-16 so i cant really say i have any clue what im doing, so go easy on me and i welcome your constructive advice.
I am starting with this old gem from the 80's/90's. Its an Akura Hi-Fi in the shape of a coke can. (I had one when i was young after breaking it i threw it away and i thought of this project in its memory)
Here is a crude paint mock up of what i'm after with a few sketch up models of the plans.
The sketch ups were difficult but give the clearest idea of what im doing.
Left
Right
Side
Other side
(ADMIN- hopefully i have sized these right otherwise i will rectify this upon realizing when i hit submit new post? and then edit until they do please bear with me while i do this and i will try to keep it clean)
I have drawn inspiration from various things like this
and this
My idea is obviously to build the computer inside, but upon opening i soon noticed space was a bigger issue than i thought.
Ok so my equipment wish list and prices are below
(not purchased yet) more to add later
£429 MB, CPU +ram
Asus Sabertooth Z87 carbon fiber Armour motherboard
I5 chip (specs to be considered yet)
8- 16gb ram
Component speakers
slot load dvd and a slot load bluray drives
(Purchased) more to add later
Coca Cola hifi £50
OCZ 750w power supply £99
(i bought this already in anticipation of needing a lot of power but probably wont)
7 inch VGA headrest monitors x2 £74
Mini Amp £13
Large EL panels £60
Heart EL panels £30
Original EL panels £12
Coca cola badges £7
Hole saws £24
Kingston v300 SSD £65
Extension lead £6
Black foam seal £5
x2 120mm aerocool shark 15 blade fans with red LEDs £13
x2 80mm arctic F8 fans £6.98
X2 50mm fans £5
aerocool fan controller with LCD display £22
multicard reader with 2.5 HDD hot swap bay £16
4x rolls of red DC fix vinyl £16
a lot of carbon fiber 3d weaved di-noc ? film (its from ebay so who knows but looks awesome) £30
Orange film £6
Pci slot covers £3.50
Led strip RED £1.79
Cable bungs £7
Mesh £2.49
Sata to molex cable £1.48
Red acrylic paint £5
Air duster cans £2-3
(I have to come back and edit this list later as there's too much of the top of my head and im trying to sort photobucket and my getting my pics the right sizes for now)
I have loads of pictures to put up so this may need updating a lot over the next few days but here is a few teaser/spoiler pictures of a few bits to wet your appetite
The base unit
Some equipment
A door
PSU
Fan
I wont give too much away for now and will get started on the next post however i will be editing the first post along the way as well as posting and discussing on new post below.
Last edited:


")
 (Really want another one though, can't find anything as good these days)
 Looking forward to seeing how this develops.
 1
1