

You are using an out of date browser. It may not display this or other websites correctly.
You should upgrade or use an alternative browser.
You should upgrade or use an alternative browser.
Competition to win an exclusive Overclockers UK Goodie Bag!
- Thread starter fiveub
- Start date
More options
Thread starter's posts
")
Associate
- Joined
- 4 Dec 2009
- Posts
- 1,669
- Location
- Worcestershire
Thanks so much! I probably won't have time to enter now as I am not around next week but I will give this ago at some point and make myself a wallpaper. This is a big big help.If you're using 3DS MAX, I'll give you some pointers.
1. Set the OCUK Logo image as the viewport background.
Simply goto Views>Viewport Background>Viewport Background or press ALT+B. Select the location of your image by clicking files. Then tick 'Hold Before Start' and 'Match Bitmap', 'All Views' and 'Lock Pan & Zoom'.
2. Using splines, draw around each part of the OCUK Gauge.
To do this, go to your top viewport and maximize this viewport. Then go to the shapes tab (next to geometry and lights) and select the line tool. Before drawing lines, set the tool parameters to corner and corner respectively.
Now, draw around each individual segment of the logo using the line tool, keeping to the shape and contour. When the end of the line reaches the beginning it will ask to merge lines. Tick yes. Repeat for every segment.
3. To make 3D convert each segment to editable polygon.
Holding CTRL select all segments of your OCUK logo. Right click and select convert to editable poly.
NOW: Select one of the segments and select the modify tab and navigate to the polygon selection tool (red square). Then select the face of the segment and click the extrude tool. Set it as you like.
Repeat the process for each individual segment of logo.
Once this is done, select all of your segments and navigate back to modify, in the drop down list, select 'cap holes'. This will close all of the rear open polygons of each segment.
All done!
Thanks again!

know its rubbish but I was just messing around.
It's better than any of mine and a lot of others on here!
Soldato
- Joined
- 21 Mar 2003
- Posts
- 4,652
- Location
- Nottingham
I know its rubbish but I was just messing around.
Only real problem, is that you forgot the website address..
It's better than any of mine and a lot of others on here!
I was just trying to throw everything in hair, reflections, glass and it didnt turn out quite the way it was supposed to.
@Ceryndrion. Doh!
I was just trying to throw everything in hair, reflections, glass and it didnt turn out quite the way it was supposed to.
You have a few days left bro, go crazy!
Associate
- Joined
- 12 Jan 2009
- Posts
- 2,331
- Location
- Staffs
Is that Messiah hair Calibi, or are you rendering in something else? I'm liking the Arnold renderer in it, but haven't had as much chance to play yet as I'd hoped. Damn minecraft stealing my time ")
Is that Messiah hair Calibi, or are you rendering in something else? I'm liking the Arnold renderer in it, but haven't had as much chance to play yet as I'd hoped. Damn minecraft stealing my time
Yep, I couldnt get it to work right. I think because I resized the plane after adding the hair, no matter how many hairs per cm I dont get a full coverage.
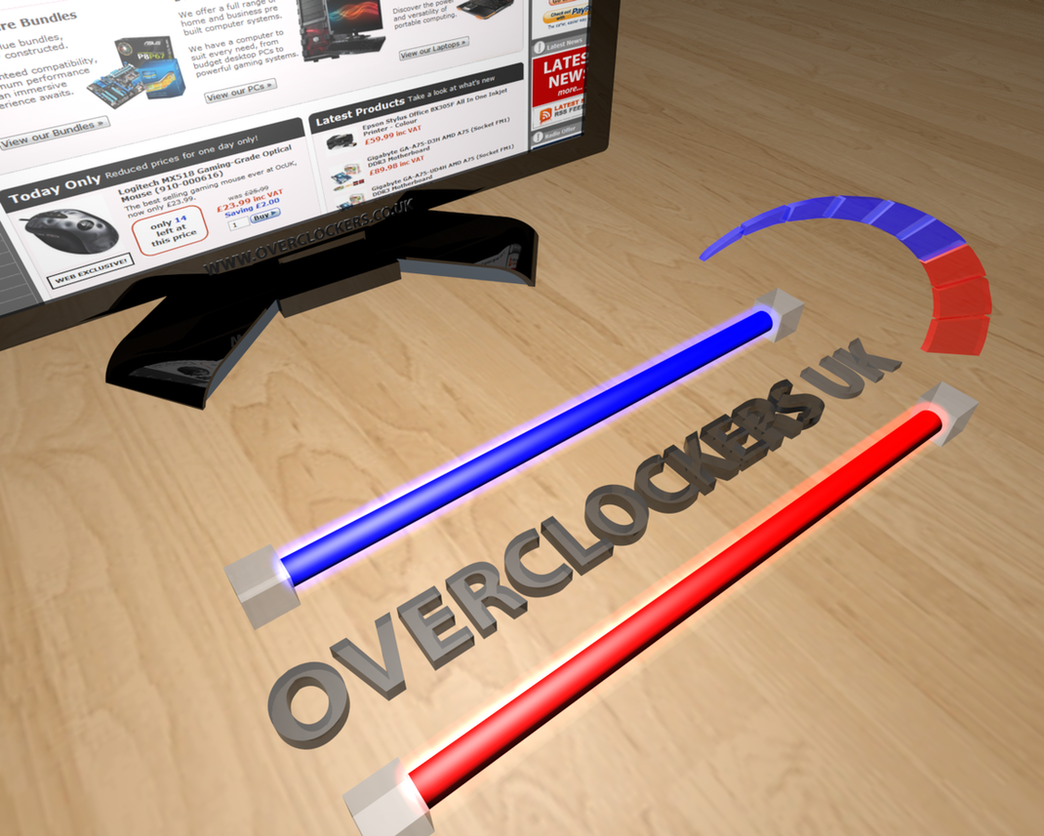
I didn't like how my last 3D design came out, so I did an overhall. This one looks so much better, took me a few hours for the past few days to get it right, but here it is!
This is a quick 'Hidden Line' view of the design, shows you the details.
-

It looks very good on the desktop...
-

Finally the full thing, (scaled down for the forum)...
-


Yes, the above rendering time is in hours. Hope you all like it, feel free to download the full 1920x1440 version HERE!
This is a quick 'Hidden Line' view of the design, shows you the details.
-
It looks very good on the desktop...
-
Finally the full thing, (scaled down for the forum)...
-
Yes, the above rendering time is in hours. Hope you all like it, feel free to download the full 1920x1440 version HERE!
I'm awaiting for someone to whack out something ridiculously awesome so I have competition for my next background.
Hurry up gord! I've been waiting days!
I think you scared him off
