Computer Worklog-log [Darkninja462]

Associate
Joined
5 Feb 2009
Posts
405
Computer Build-log – “Great Heights”


Background History

Been thinking about getting a new case for a while just never found “The One” that appealed to me with lots of room, correct price, style and management. Well In essence I need more room as my TT Armour is full up and no more room for expansion in any direction. I would need it to house all of my stuff internally with ease and maybe add another loop into it.


Current Rig:

Core 2 Duo E8400 (775s) @ 4.0 GHz
Evga 780i 3way-Sli motherboard
Evga 9800GTX+ SSC edition
Creative X-Fi Platinum Fatality + Front Bay
Zalman ZM850-HP Modular
3x 320GB WD (Raid 0 & Storage)
4 GB Kingston Ram (5-7-7-20)
Hauppauge WinTv 1100-HVR
Thermaltake Armour (Silver)

2 Water cooling loops
Loop 1 (CPU) – Pump -> CPU Block -> 120Rad -> 240Rad -> Res
Loop 2 (GFX) – Pump -> GFX Block -> 240(external)Rad -> Res

Samsung 2433WB Monitor 1920*1200
Phillips 200WB Monitor 1600*1050

Prologue:

With this in mind I thought up some concepts that I like/would like to create. This was to have sections within the main case. My main though is to have 3 sections all lying parallel in the case:

Bottom:
Watercooling Rads/Pumps/Etc.
Middle:
Motherboard/DVD Bays/Etc.
Top:
HDDs/PSU/Control Box
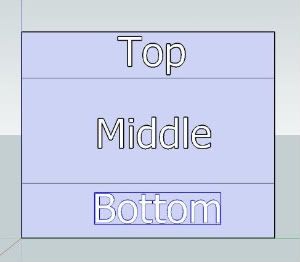
SketchUp2009-04-2020-10-14-56.jpg


My aim is to stick to this and house all of my Rig + Extra Room for expansion in the future.

This led me to do some concept art (Mainly during lessons at school). I love the look of the Tenjim TJ-07 how the Rad sections is situated and separated from the rest of the Case, this was my main theme and I decided to mirror this by having same design for the top section as bottom.

As I knew there wasn’t a case in production that was like this, I will haft to go it alone and build a case from scratch, this required a lot of thinking and research and skills which I will need to pick up.

Also took me on a trip to my design teacher to actually see if it was physically possible, all good talked him through what I wanted to do and he gave me the all clear and the facilities of whole design block to use (inc. Laser CNC, Milling machine, Pillar Drills, Most tools). This should make my life easier with all these at my disposal.

More later :D

Ninja
 
Construction

Construction

This was relatively difficult to come up with as there are lots of options of materials, but after a lot of talking over with my teacher over usability/strength/appearance. This led me to decide upon using aluminium. As it is (Fairly) easy to work with and has a nice appearance and strong, this will be the basis of my main frame for my case and more than likely 100% of the case. There is a downside to aluminium though and that is attaching it together, it is possible in some ways but not always financially (e.g. plasma welding) as I don’t have the facilities to do this or the funds to seek out such a magical place. I will need to bolt the pieces together, this will require solid bars instead of hollow ones as the bolts will need to be tapped to allow the bolts to hold together using M5 Allen Hex Bolts. This also makes the case very heavy from the start.

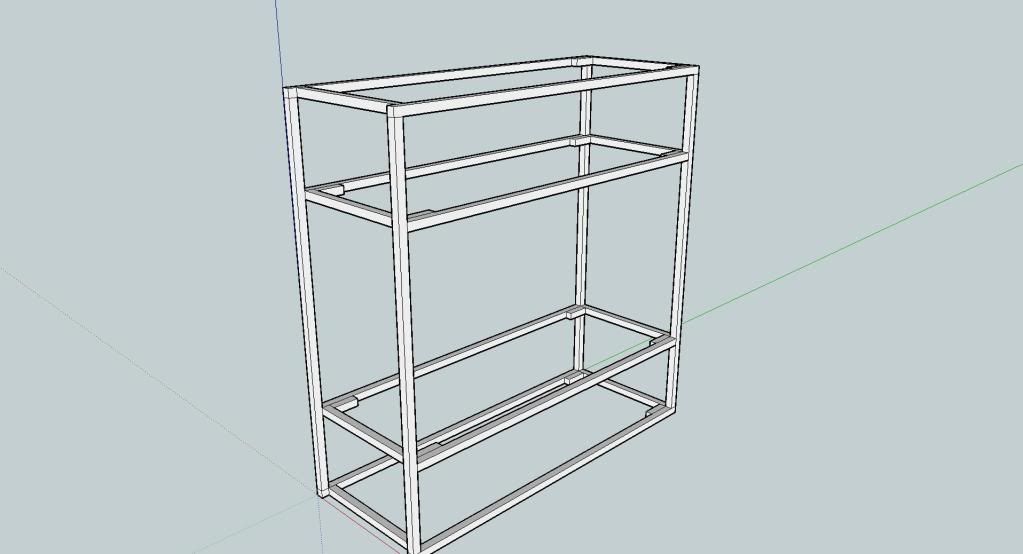
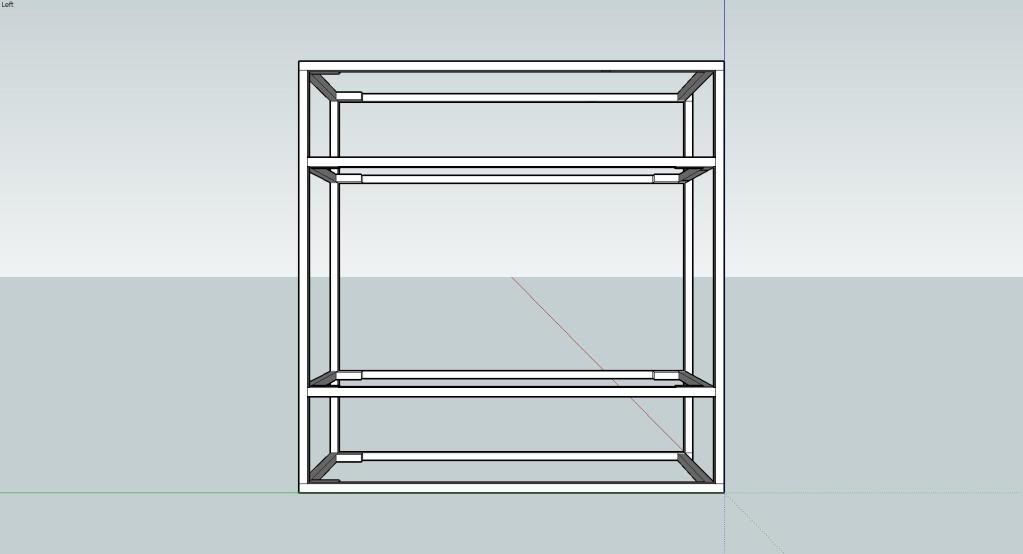
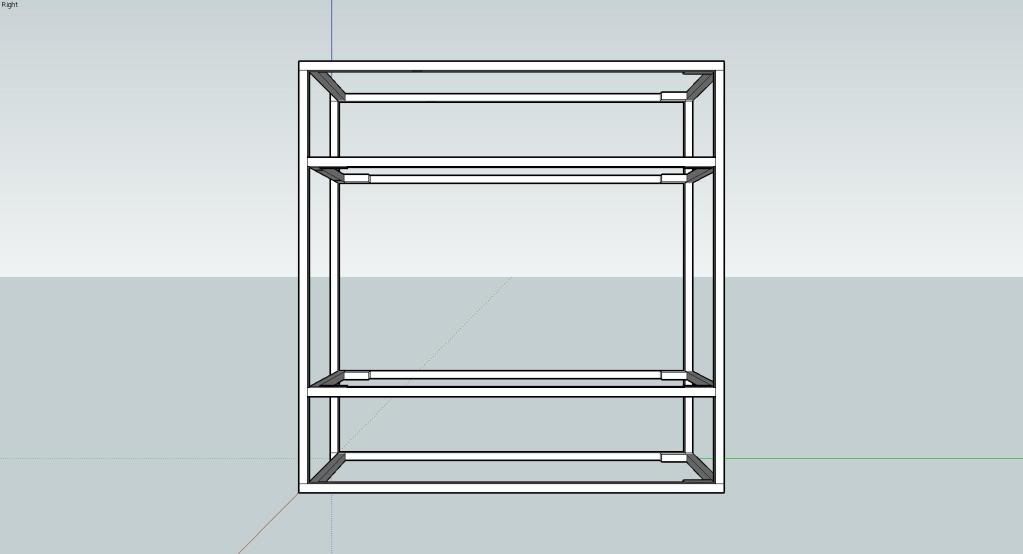
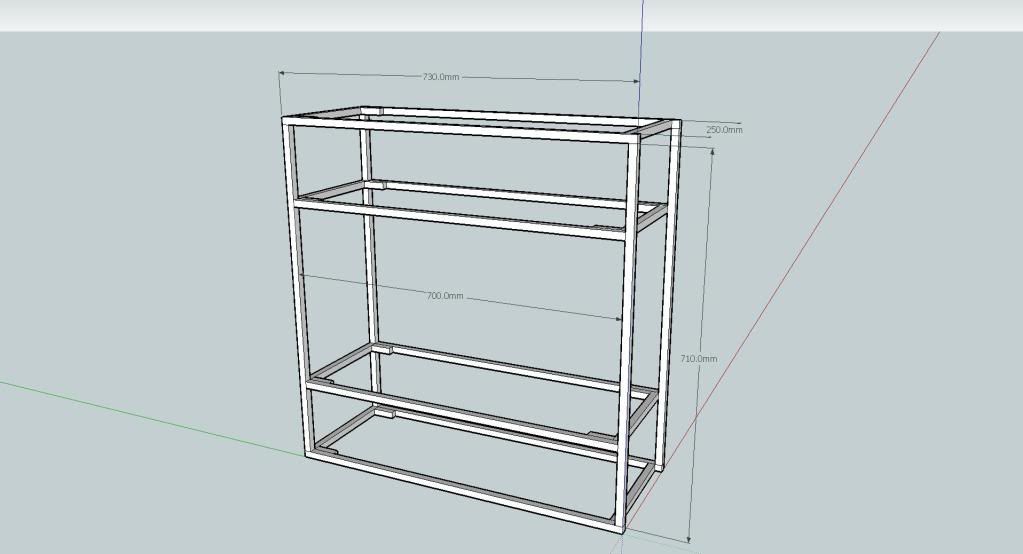
These are the Frame Plans:

Back:
Back.jpg

Front:
Front.jpg

Isometric
Isometric.jpg

Left
Left.jpg

Right
Right.jpg

Top
Top.jpg

Dimensions
DimensionsIso.jpg


More Later :D

Ninja
 
Prototypes

Prototypes:

As for many things there are certain ways to go about doing them and not all of them work so this is where my prototype’s come in, I had many ideas that I would like to implement into my design some have evolved from my design board to actual life (with the help of my Design Teacher & My Step Dad), these range from very small things to large things, also some of them a secret to surprise you all later on in the build.

Aluminium Joint’s/Cuts/Tapping/Drilling:


But here is the prototype for the aluminium joints. I ordered 500mm bar of 5/8” x 5/8” square bar, to start testing the joint’s/cuts/taping/drilling to see if was actually possible, and it was here are some of the results:

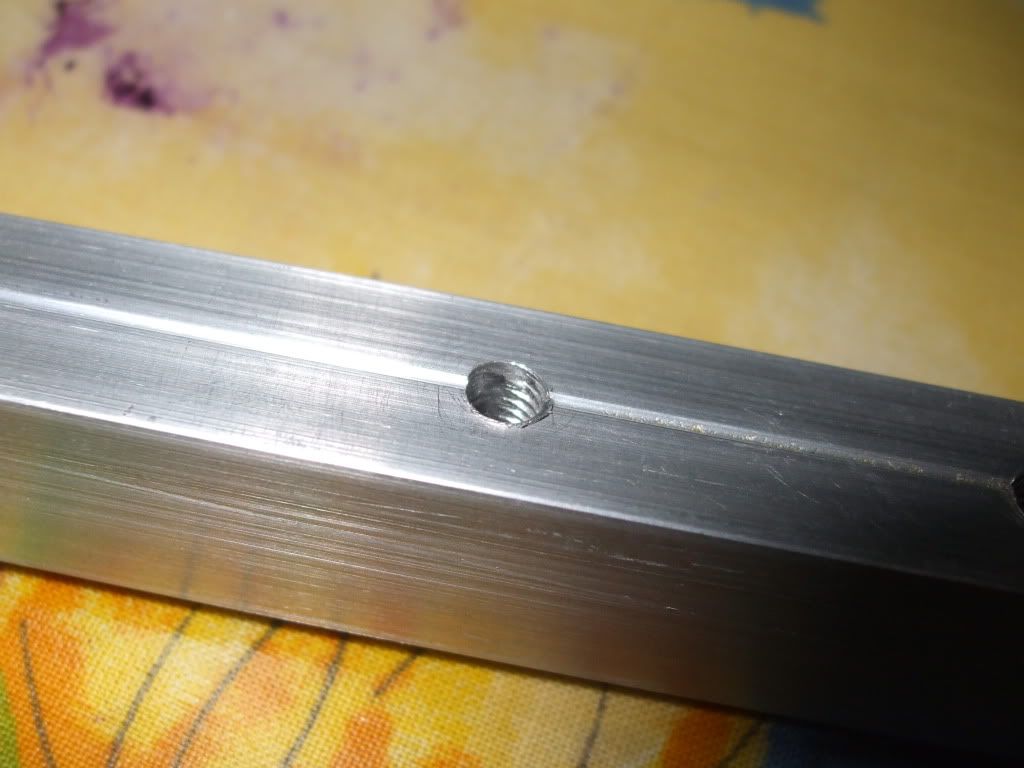
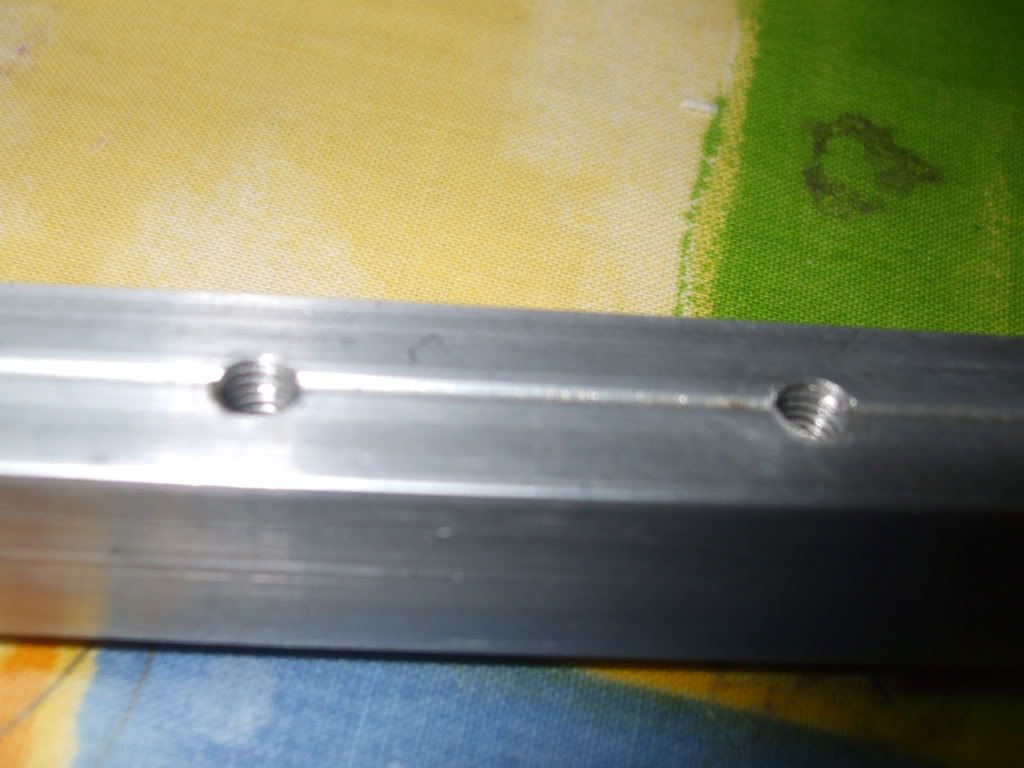
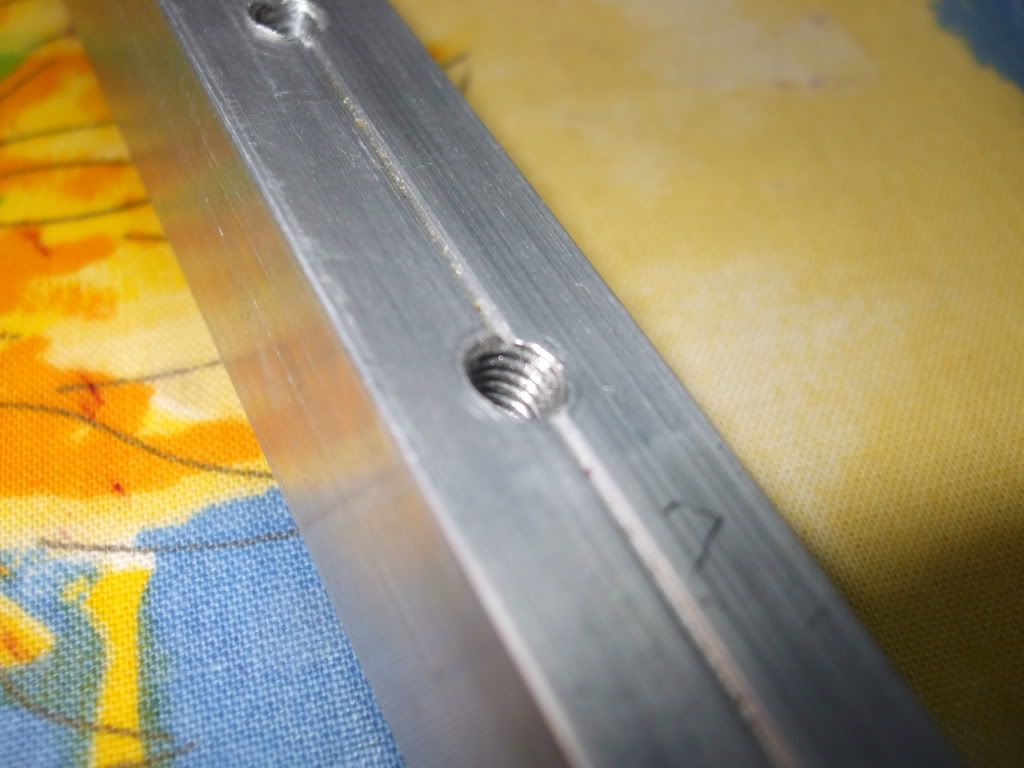
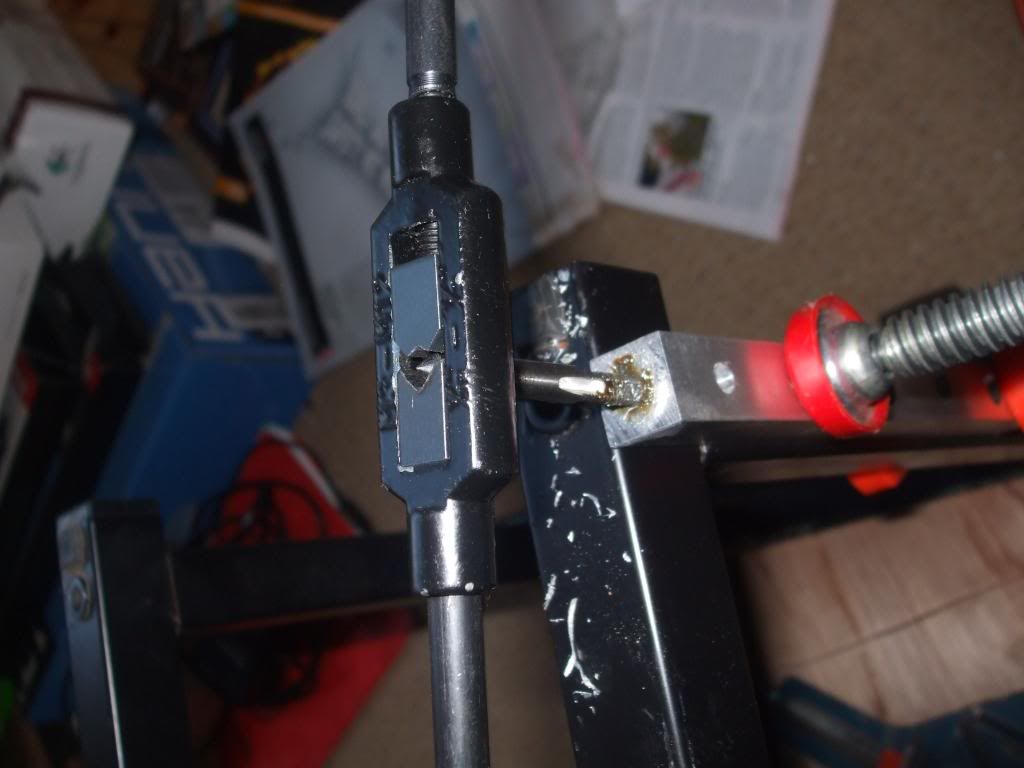
My First Ever Taps (Took a while but was well worth it :) )
DSCF2188.jpg


DSCF2189.jpg


DSCF2190.jpg


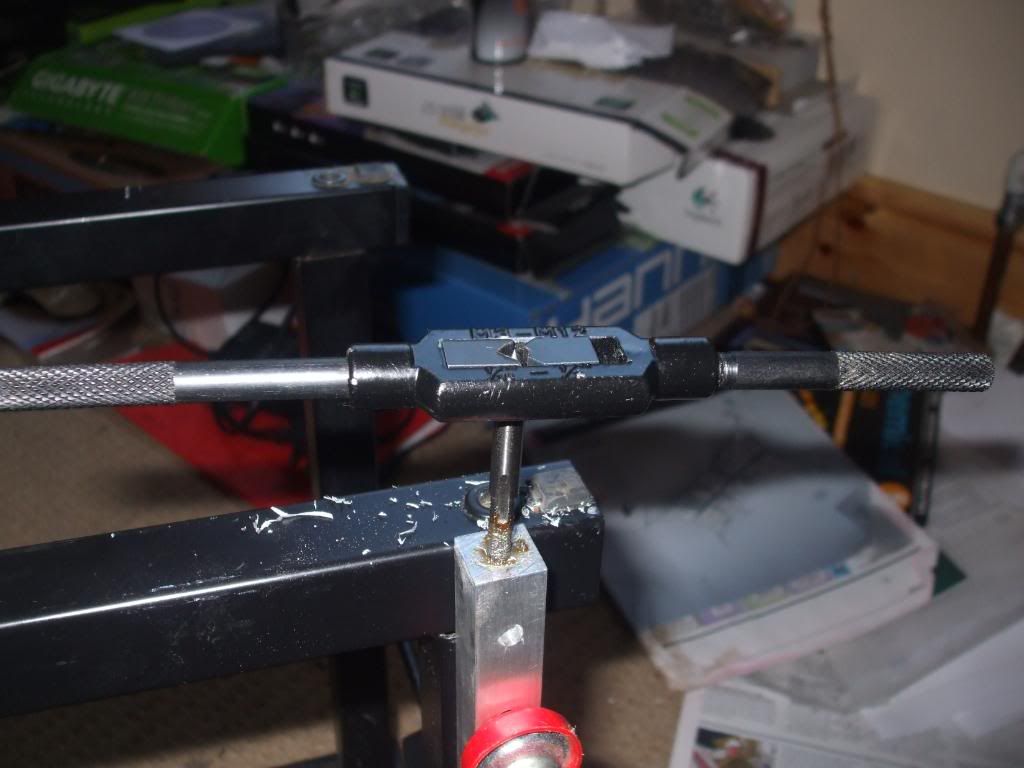
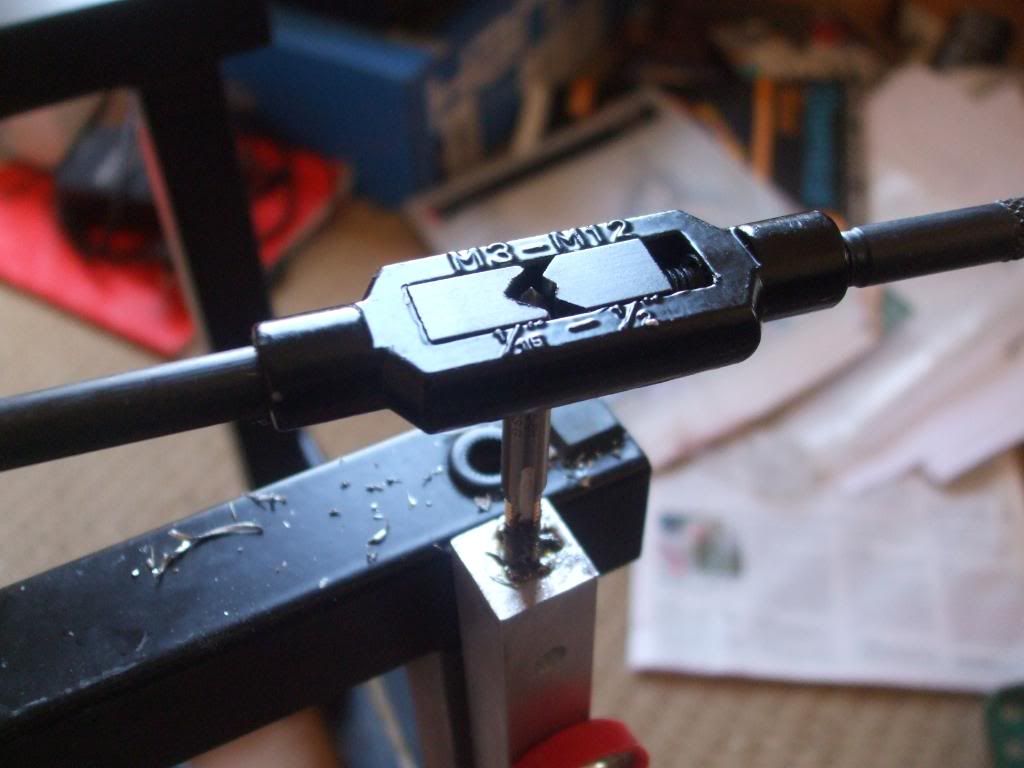
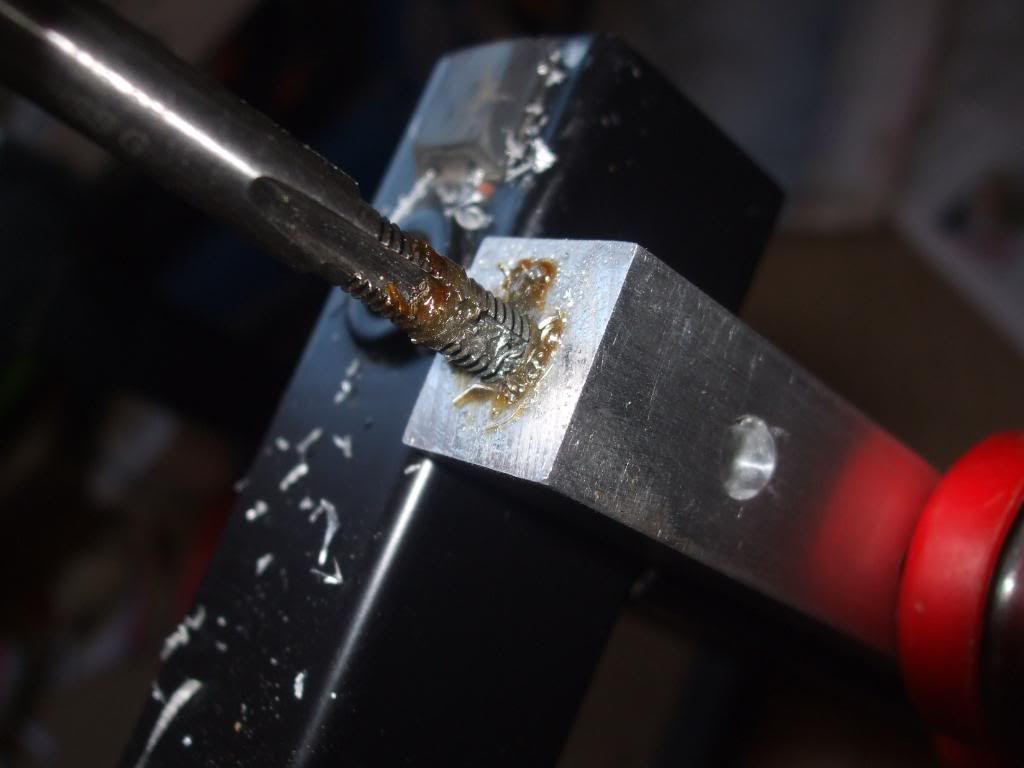
Starting To Tap The Holes (hardest bit)
DSCF2239.jpg


DSCF2240.jpg


DSCF2241.jpg

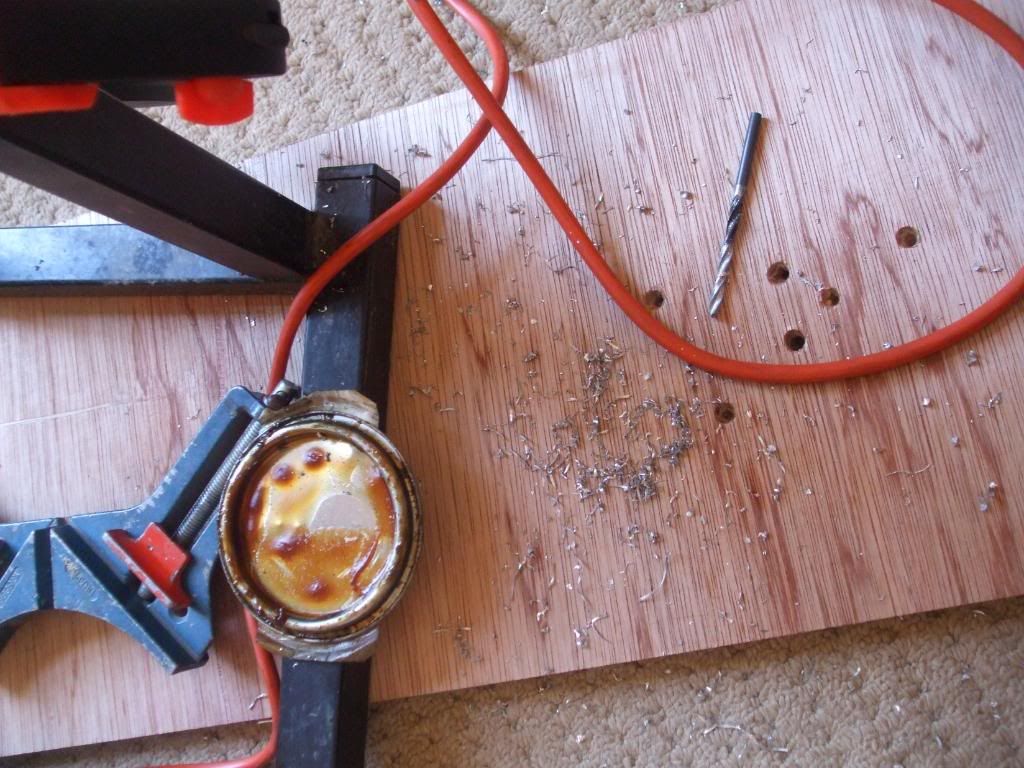
Mess Made From Tapping
DSCF2242.jpg

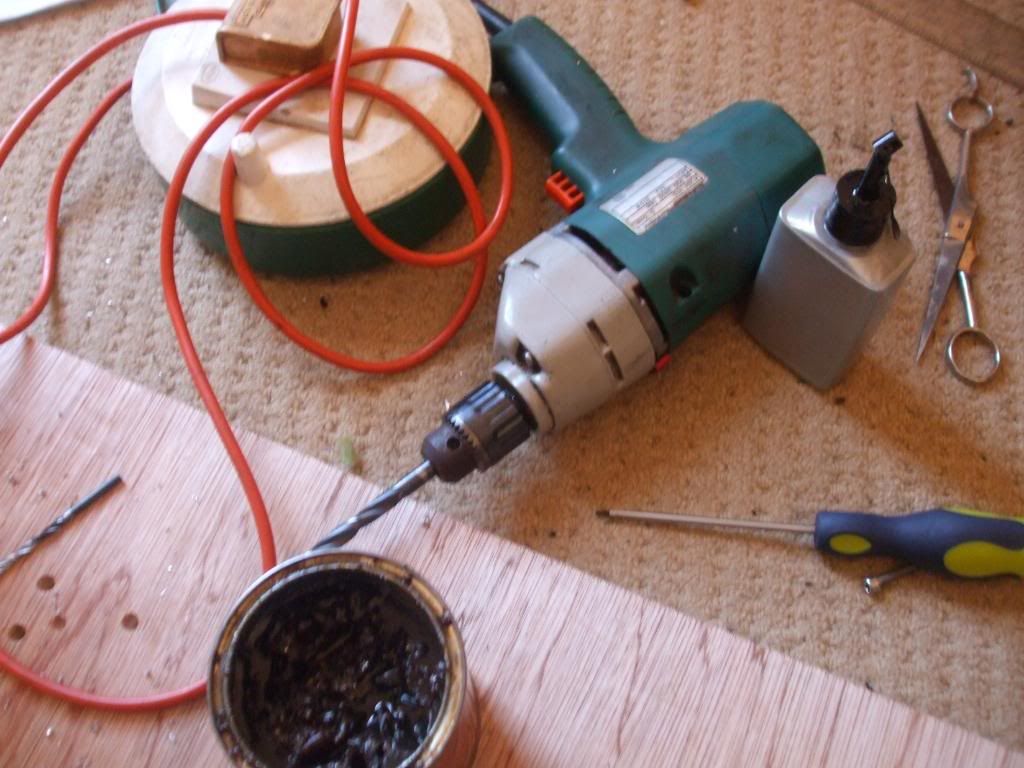
Selection Of Tools Used, The pot of black/brown stuff is metal cutting lube :D
DSCF2243.jpg

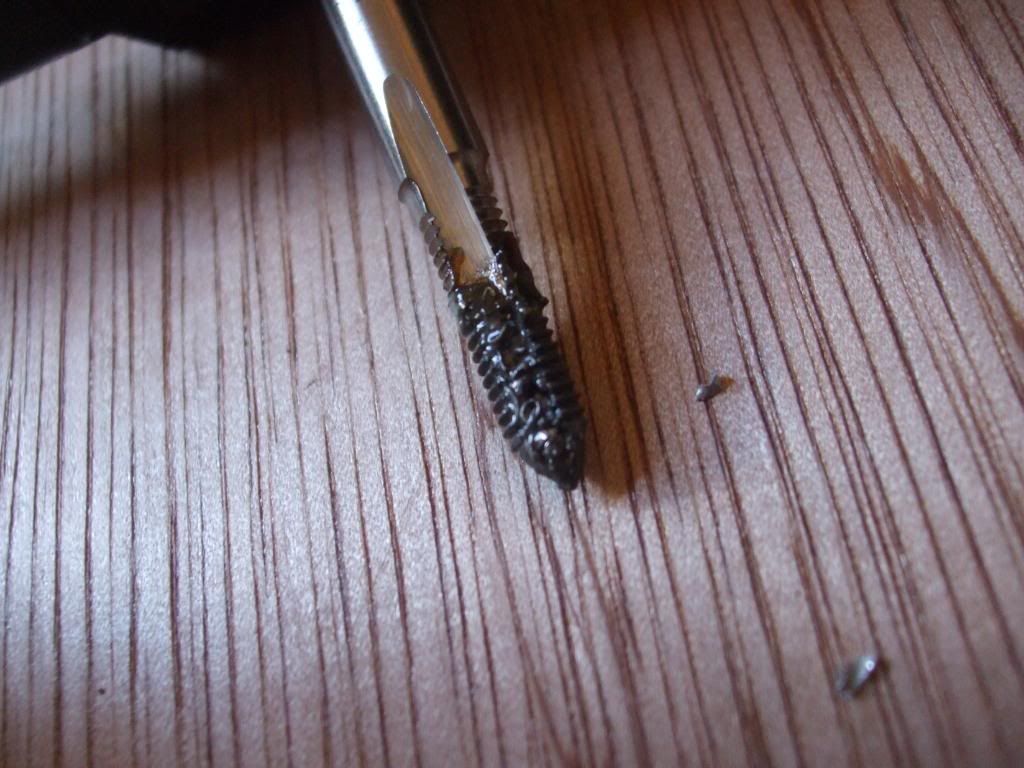
Horrible "Gunk" that appears while tapping
DSCF2246.jpg

Closeup of "Gunk" on the tap
DSCF2248.jpg

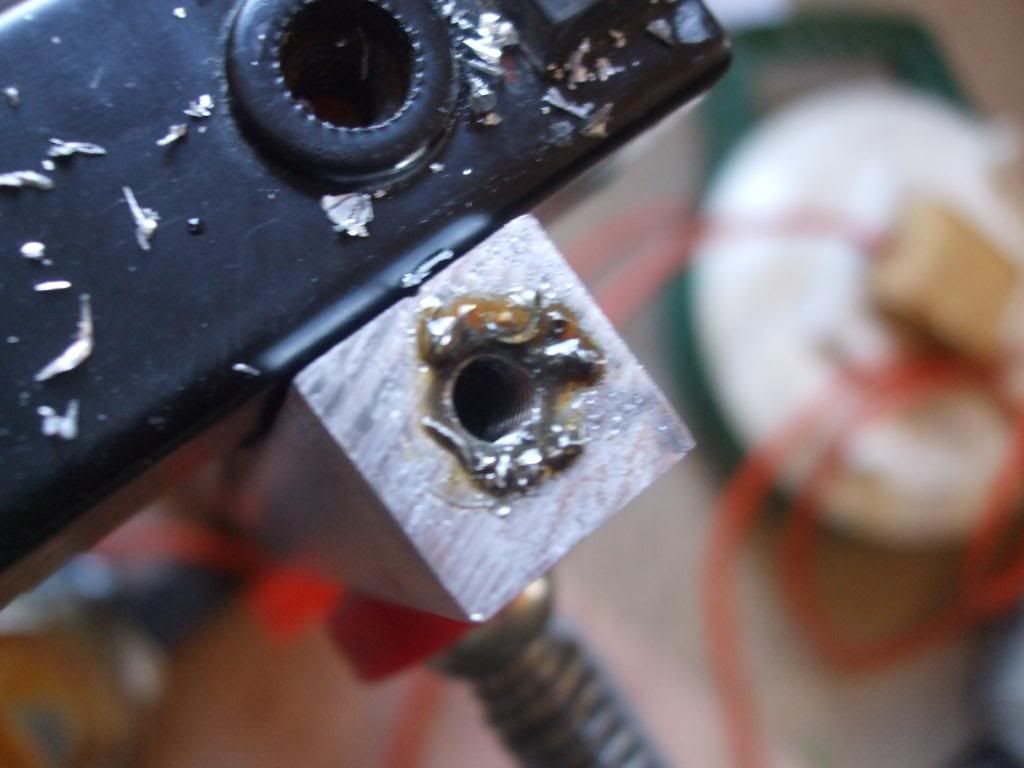
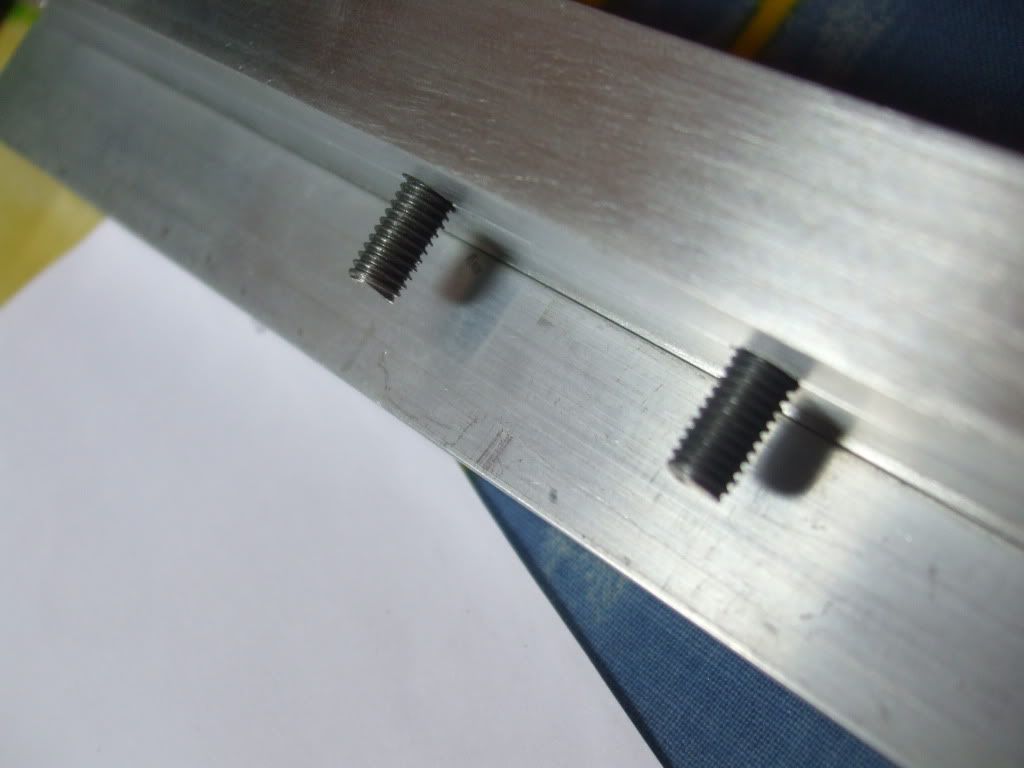
"Gunk" on the bar and the nice clean-"ish" threads in the hole
DSCF2251.jpg

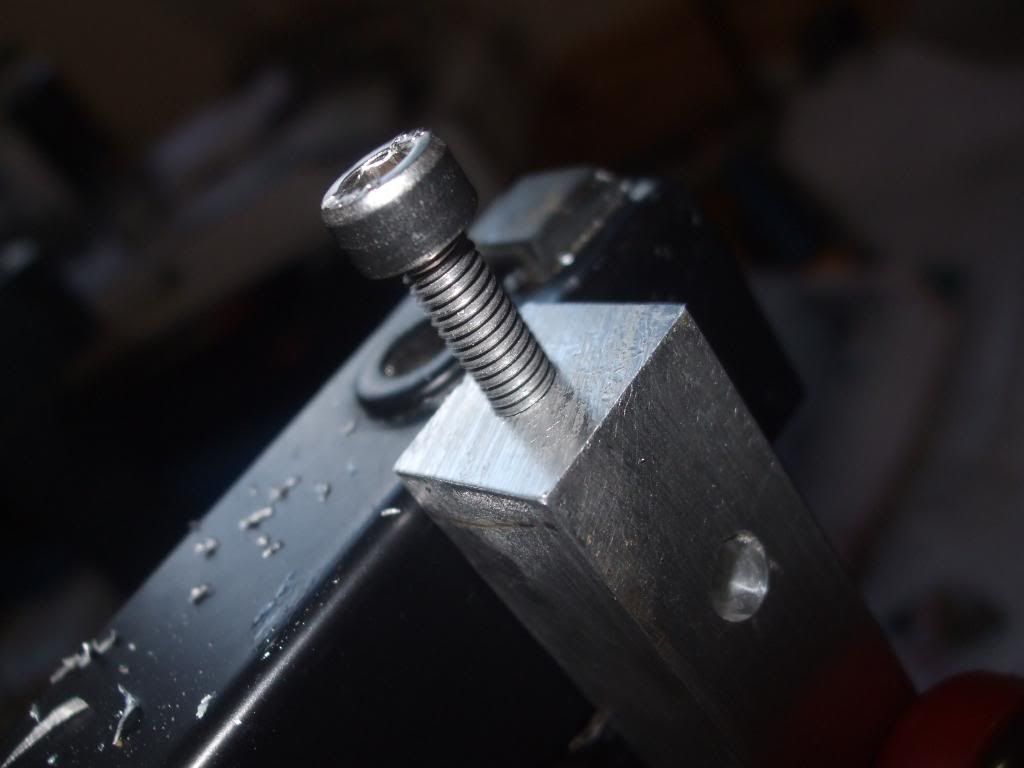
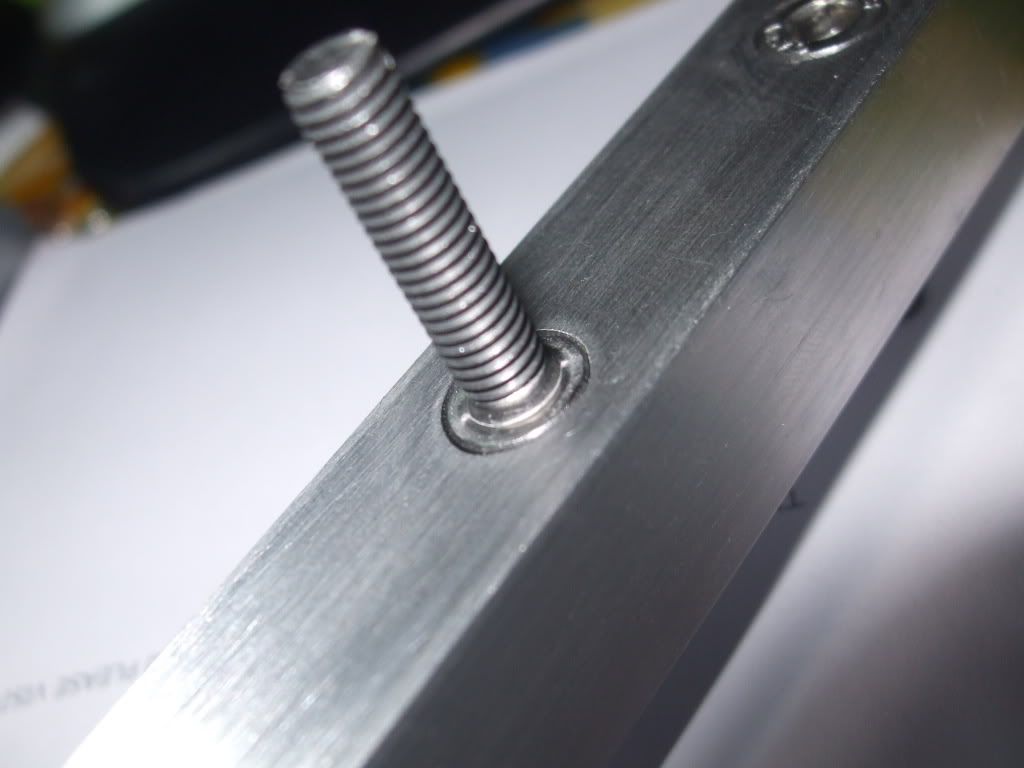
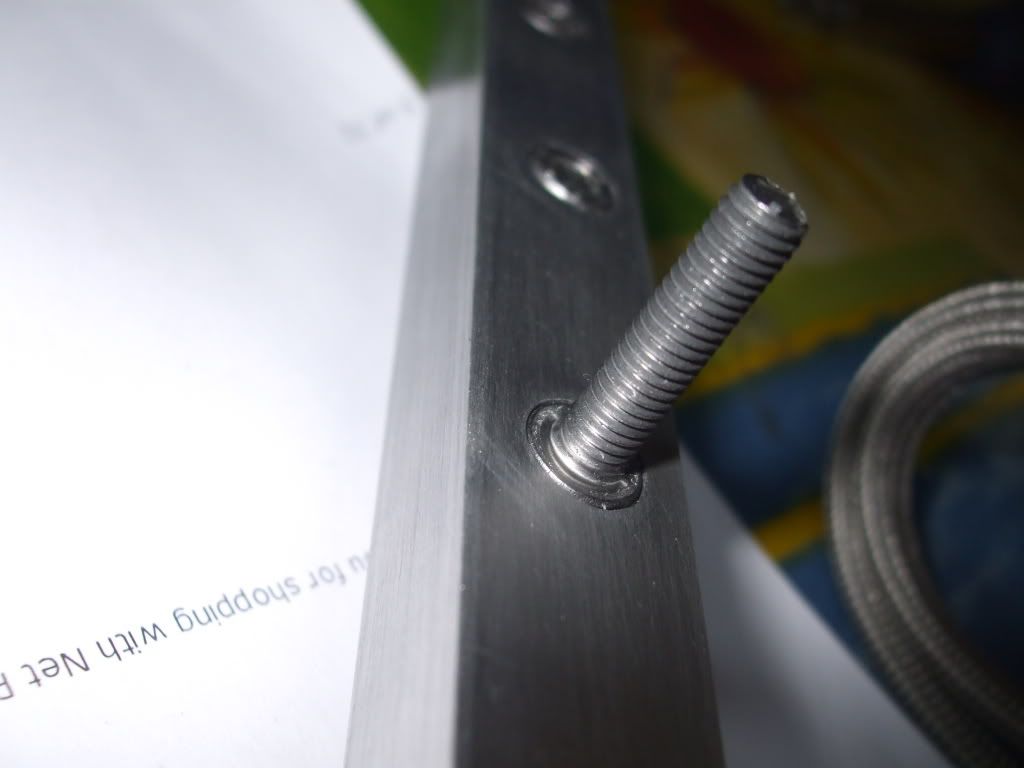
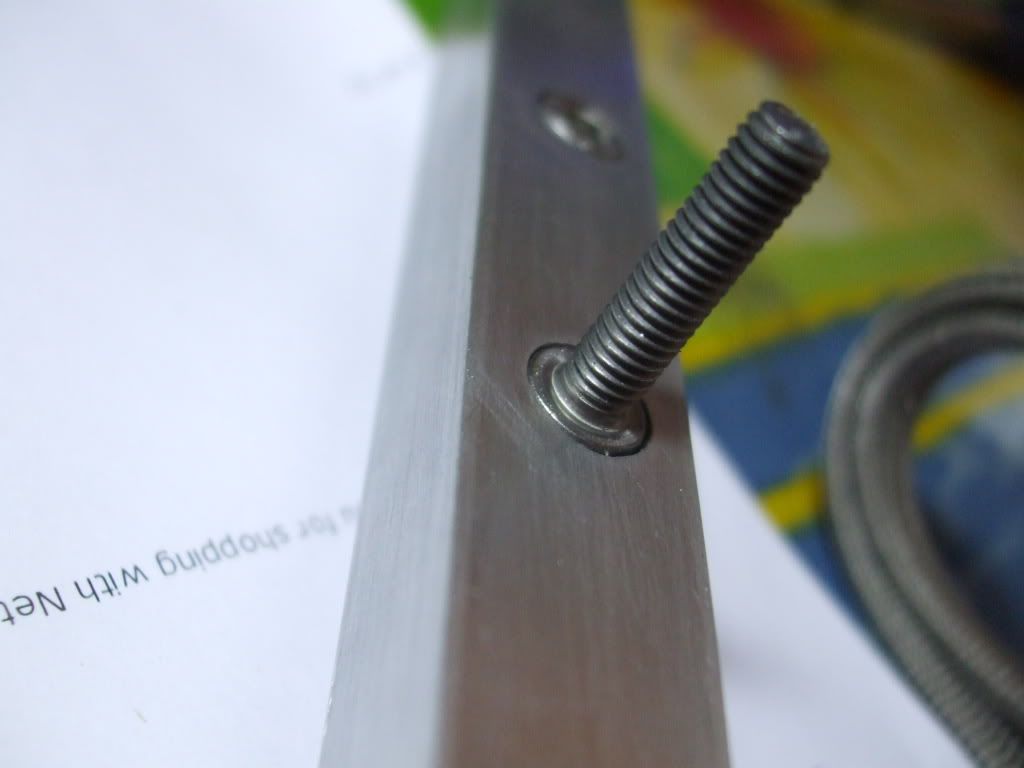
Checking The M5 Bolt fits in the thread
DSCF2252.jpg

Checking The M5 Bolt fits in the thread
DSCF2253.jpg


Ninja
 
Last edited:
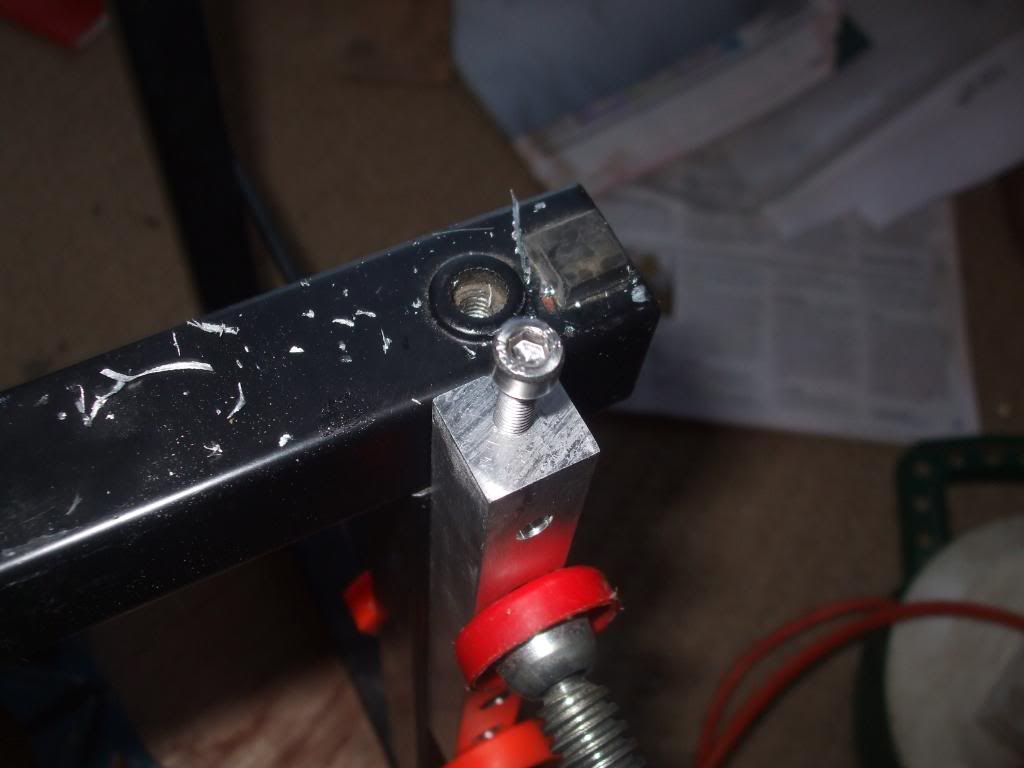
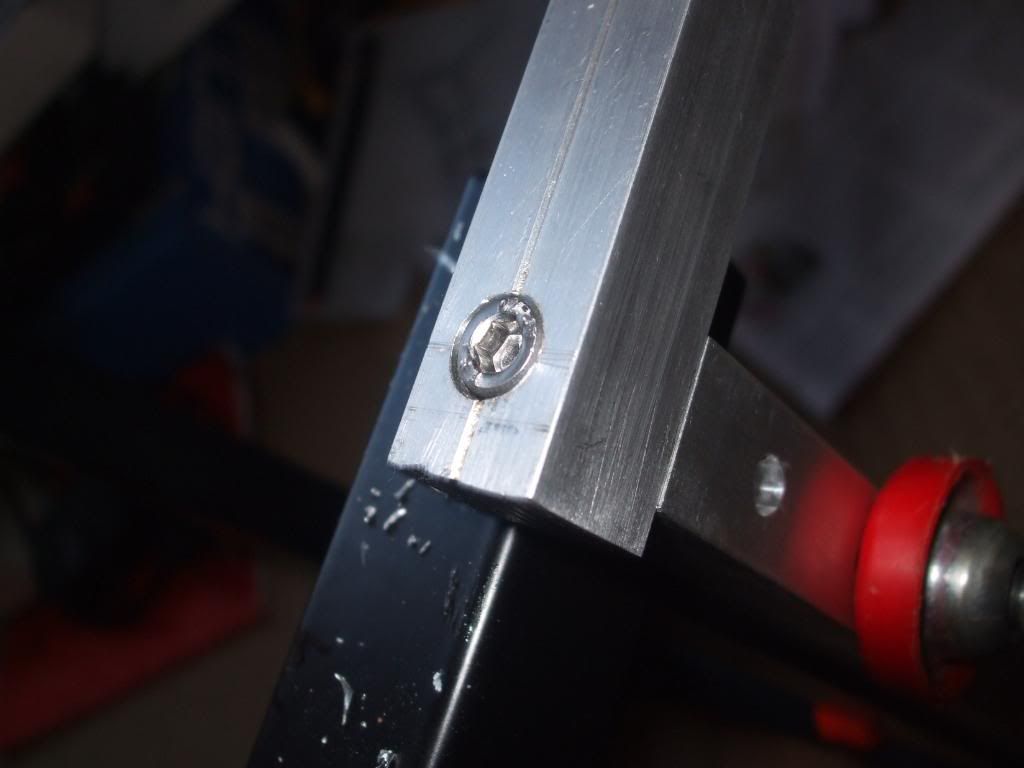
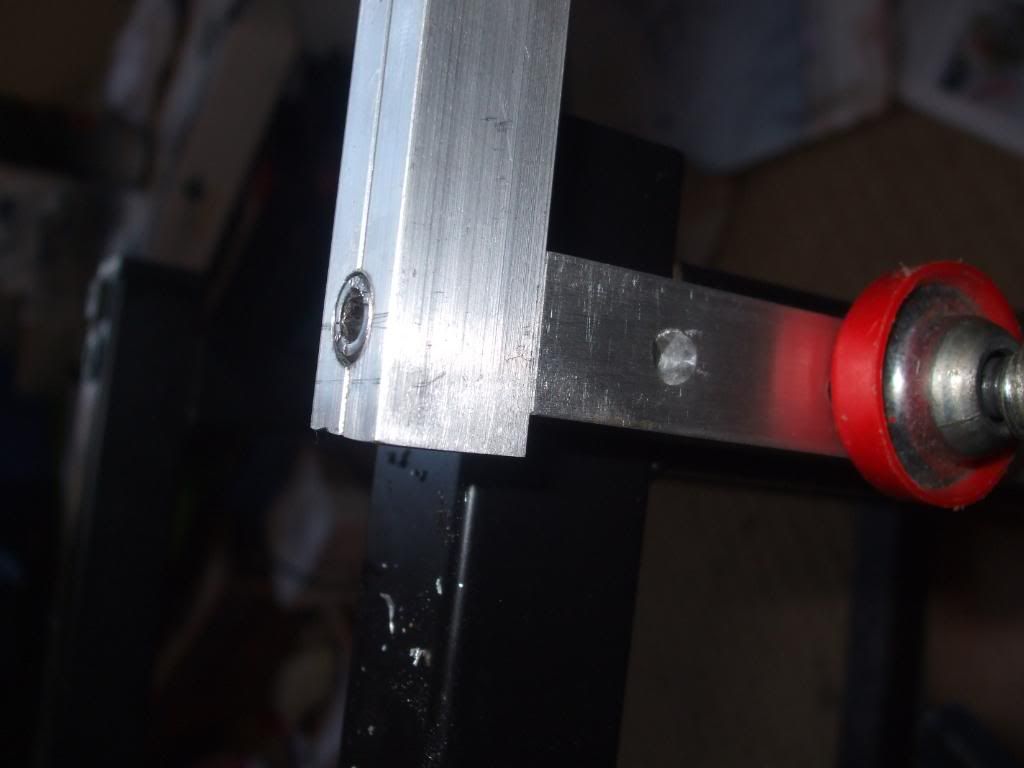
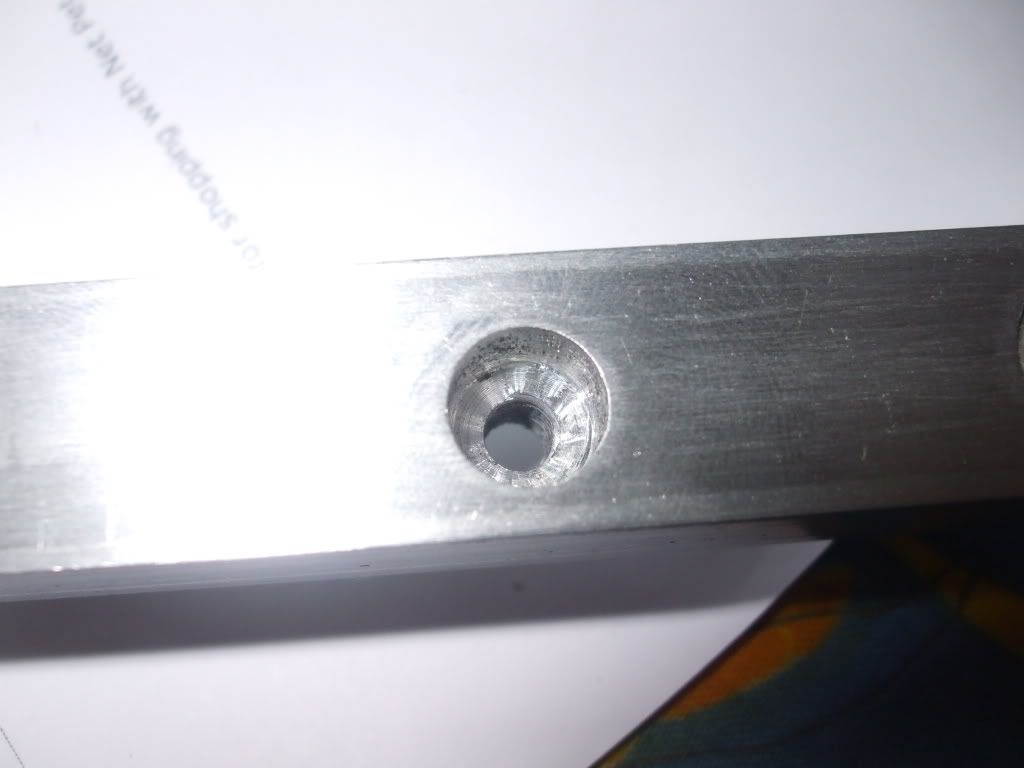
Counter Sinking
DSCF2254.jpg

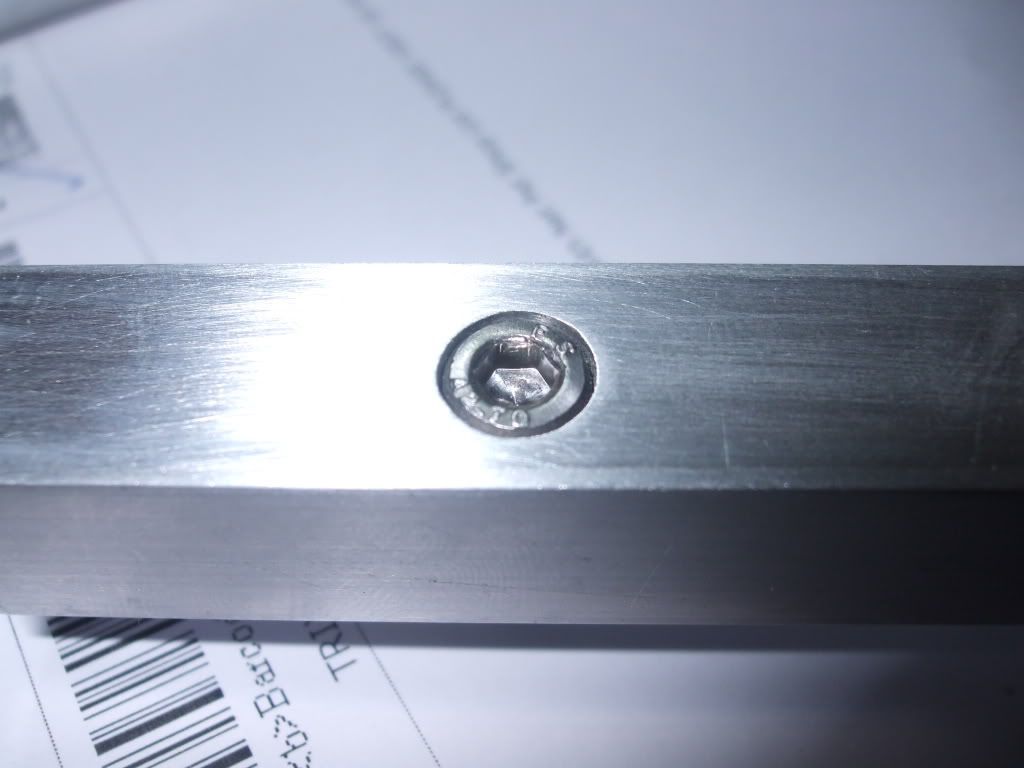
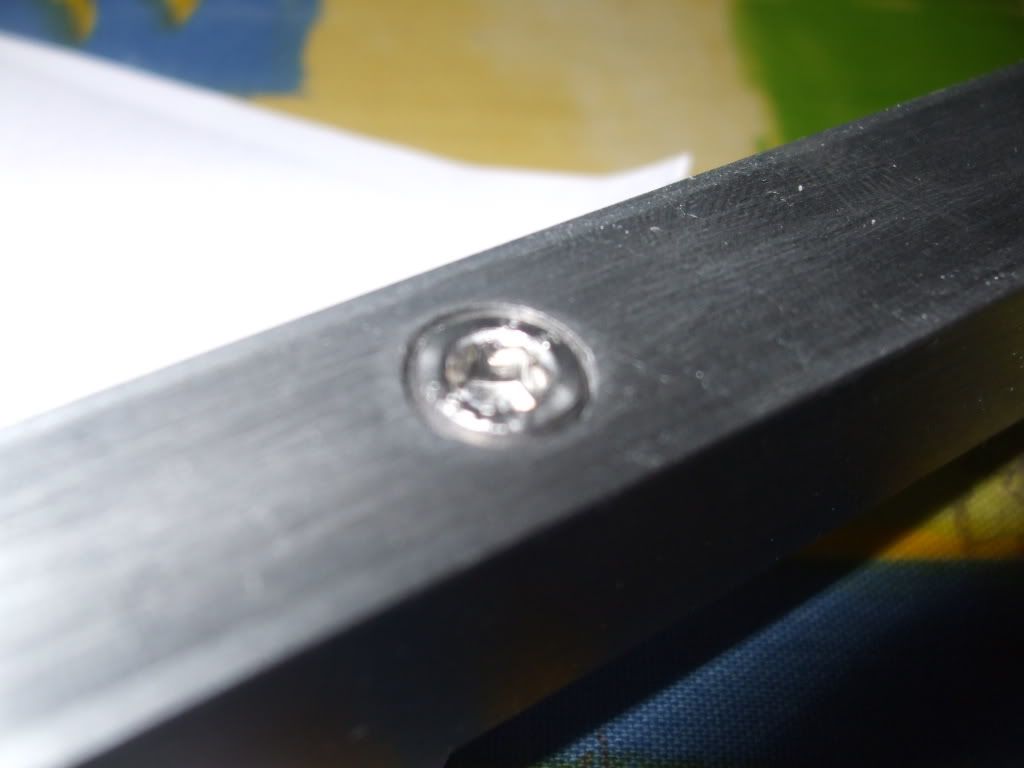
Flush Countersunk Joint
DSCF2255-1.jpg


DSCF2233.jpg

Countersink Head test
DSCF2234.jpg


DSCF2235.jpg


DSCF2237.jpg

Flush Countersunk Head
DSCF2224.jpg

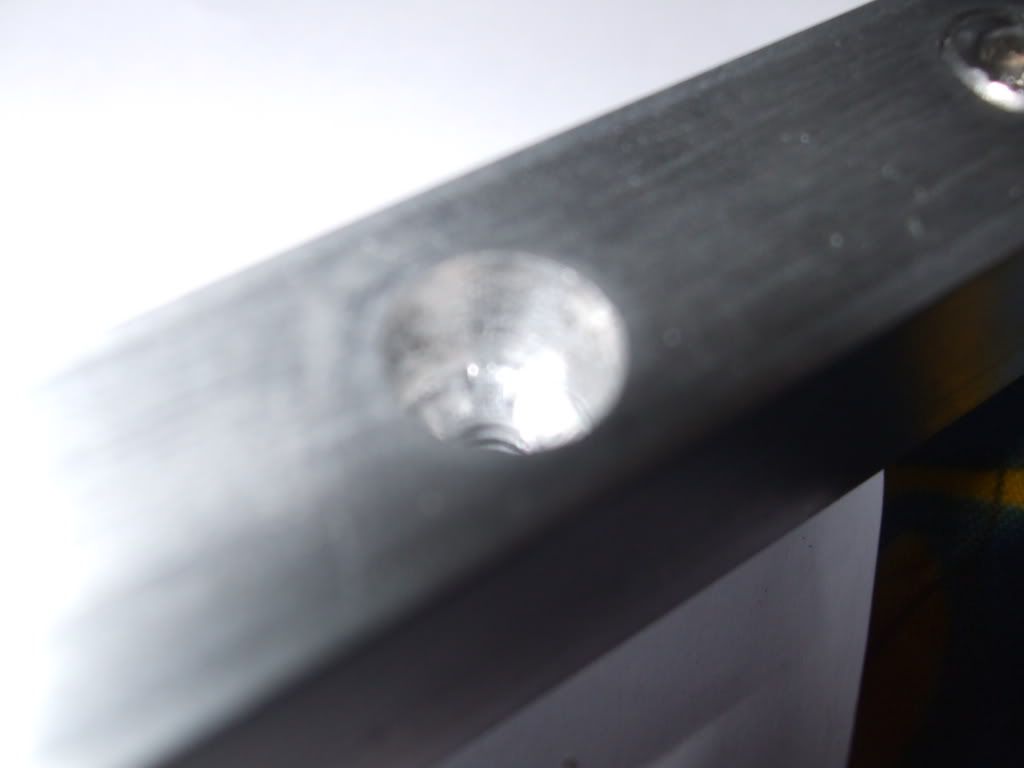
Countersink Hole
DSCF2226.jpg

Countersink Hole
DSCF2230.jpg

Countersink Hole
DSCF2231.jpg

End Countersunk Result
DSCF2232.jpg


Many Thanks Guys & Girls

Comments Appreciated :D
More To Come in the following days

Ordered the Aluminium for the frame all 40ft of it :D should arrive on Wednesday :) so I can start Cutting it down then :D

Many Thanks

Ninja
 
Last edited:
Love scratch builds, good luck!

ps, whats philloi's problem :confused:

I put the first 3 posts as "Reserved" (now changed) so I could put all of my introduction in the first 3 so that it was neat and tidy.

Hmmm, looks interesting! I'll be watching this with interest. Im glad you went with hex bolts instead of riveting it together.

Yea I didn't really consider riveting as in my opinion it looks good dam awful, and I like the look of my HEX caps they look nice and shiny :D.

I will post more pics of some other protoypes of some LED work I have been doing and just general shots of items I have.

Ninja
 
Last edited:
Been doing some more prototype work today and all has turned out well in my opinion. I will post more information later ;) when I have though how to word it, without giving to much away :P

Ninja
 
Well Some updates from today :D. Apologies for the poor pictures as my digital camera ran out of battery's before I could even take the first picture (dam sister not charging it :() so had to resort to my 1.3mp phone camera *crap phone*

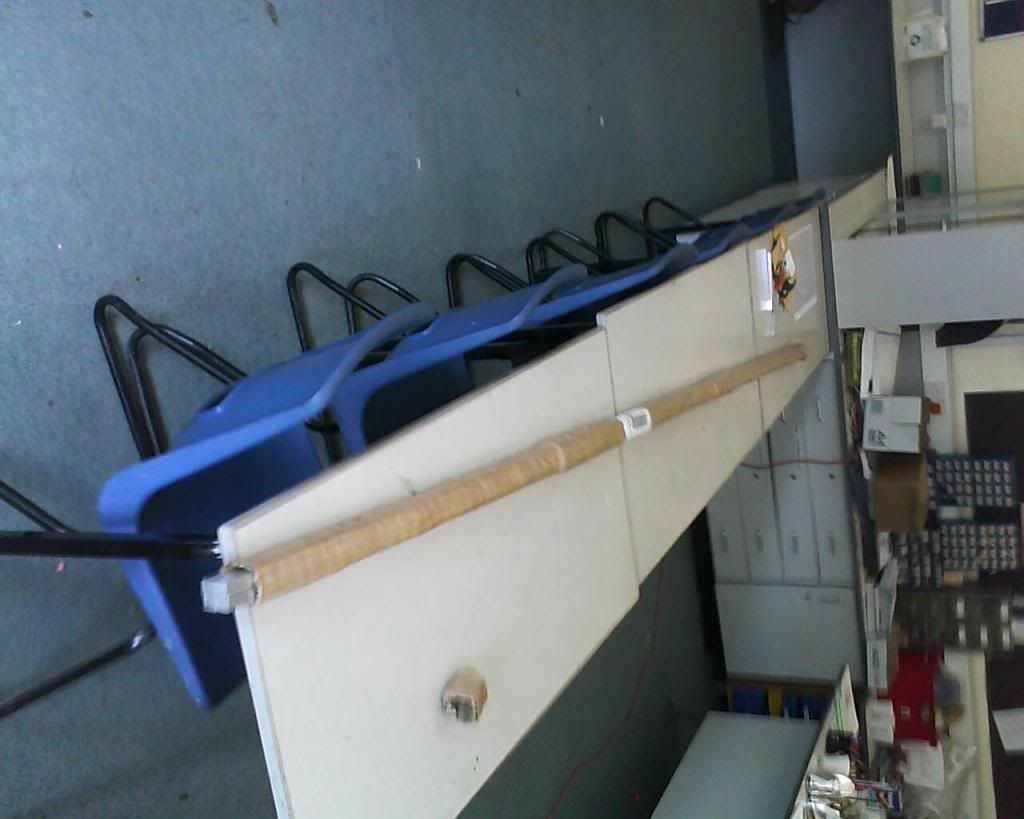
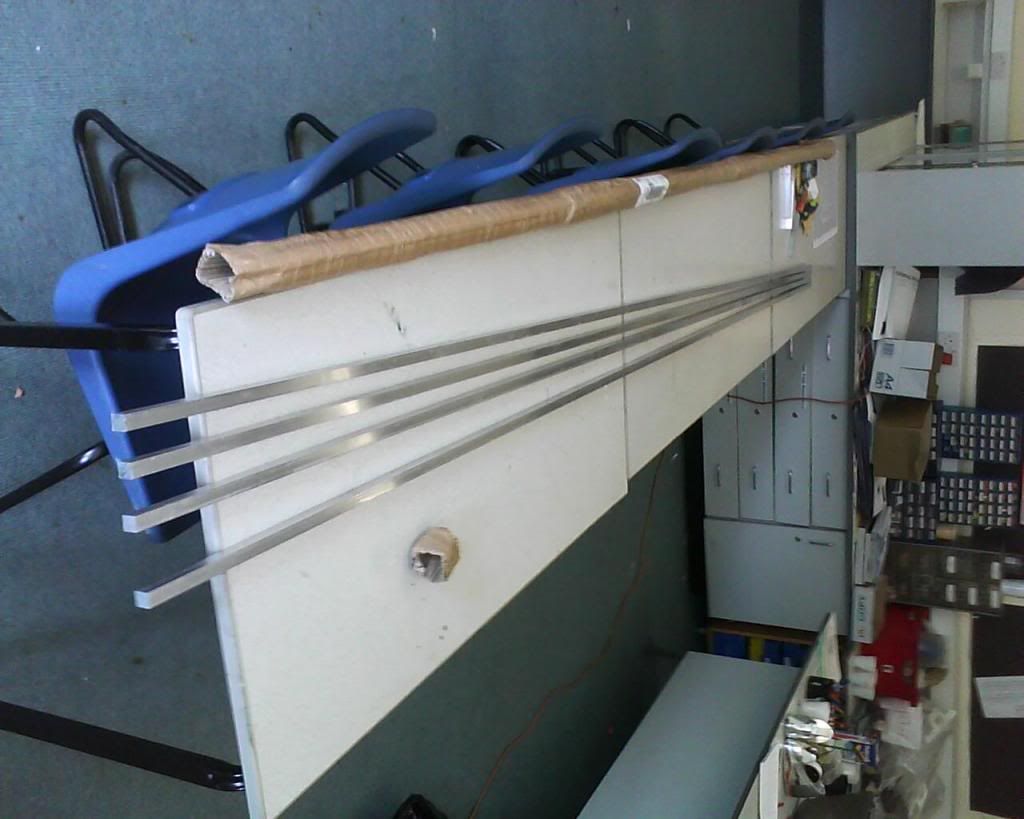
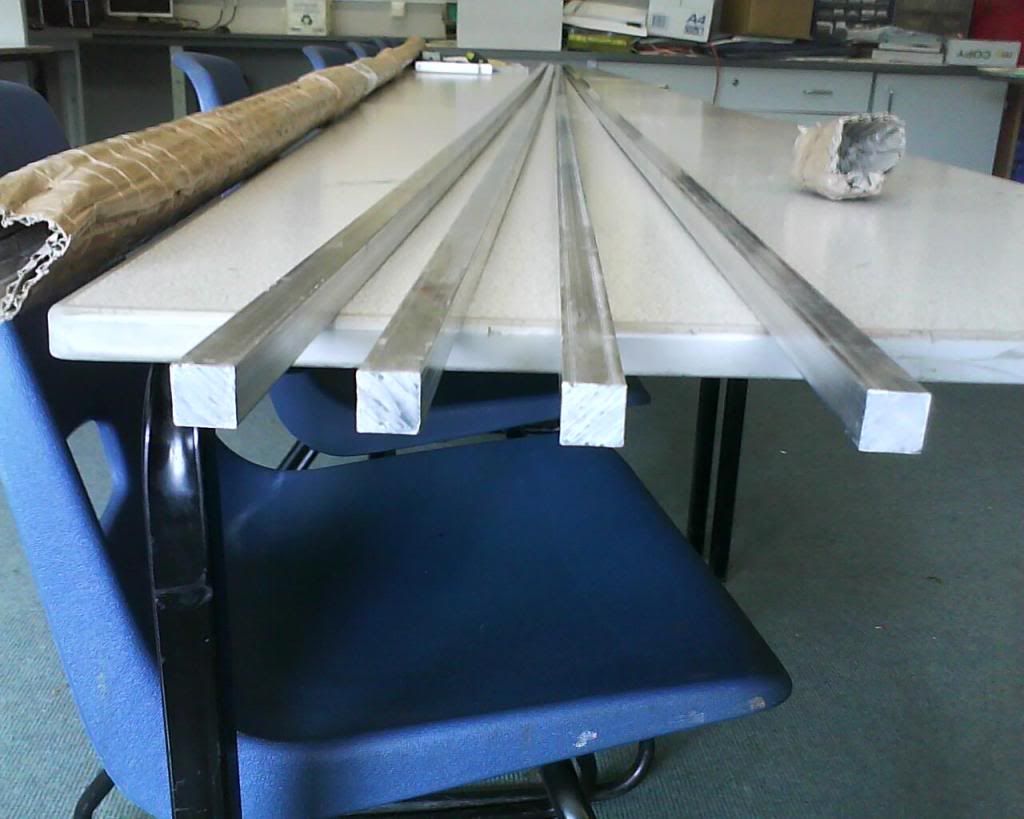
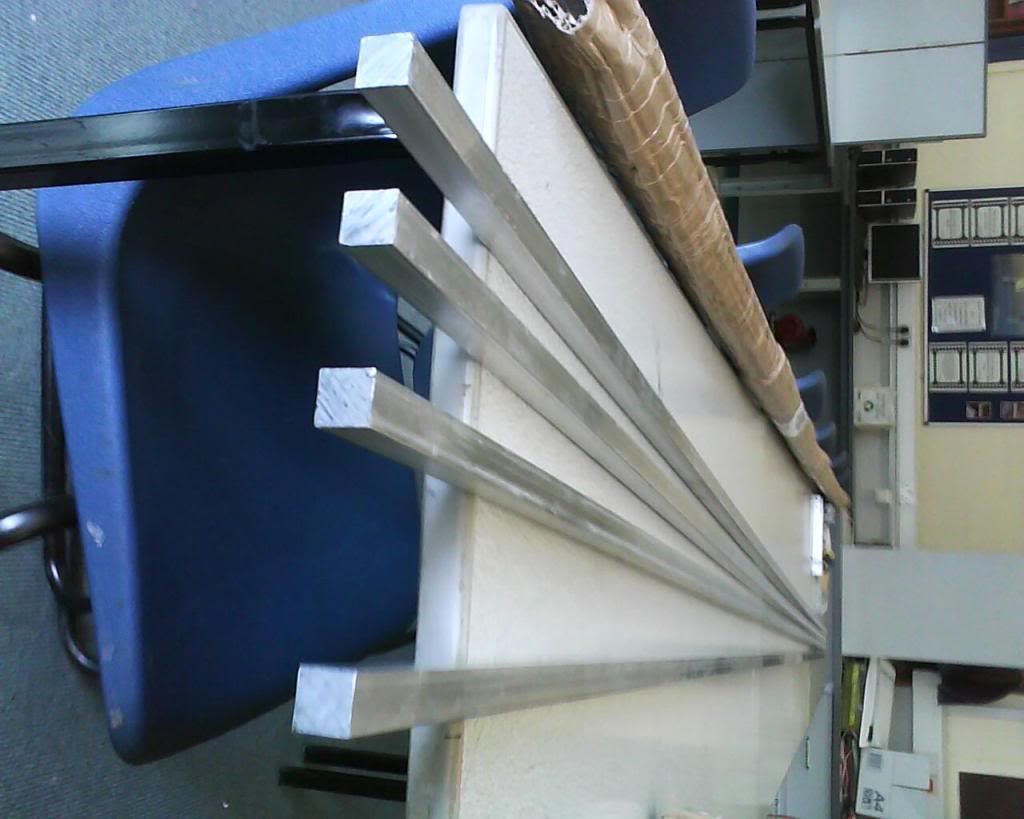
Aluminium Arrived and had to help the guy get it off the truck lmfao, only just vertically in the room :D 10ft :D some pictures below:
Package:
DSC00007.jpg

Out of package:
DSC00008.jpg

Ends of the bars:
DSC00009.jpg

DSC00010.jpg
.

As for my new workshop/work area, here are some of the tools that are at my destructive disposal :D :
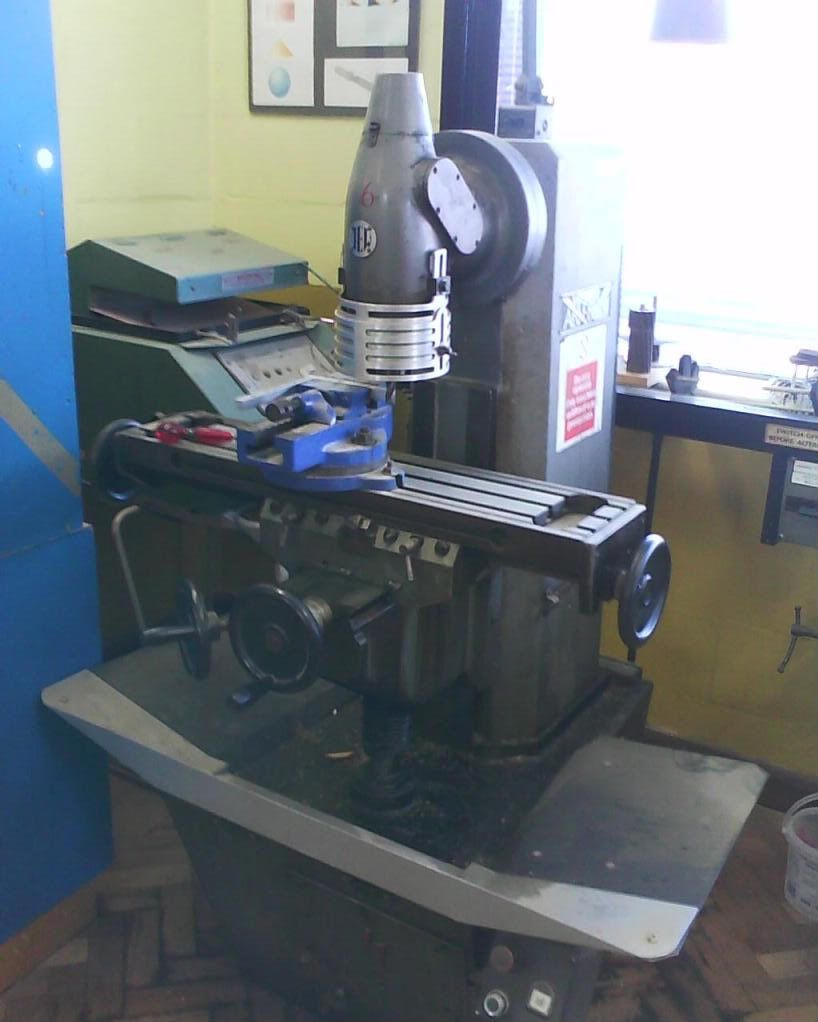
Milling machine:
DSC00015.jpg

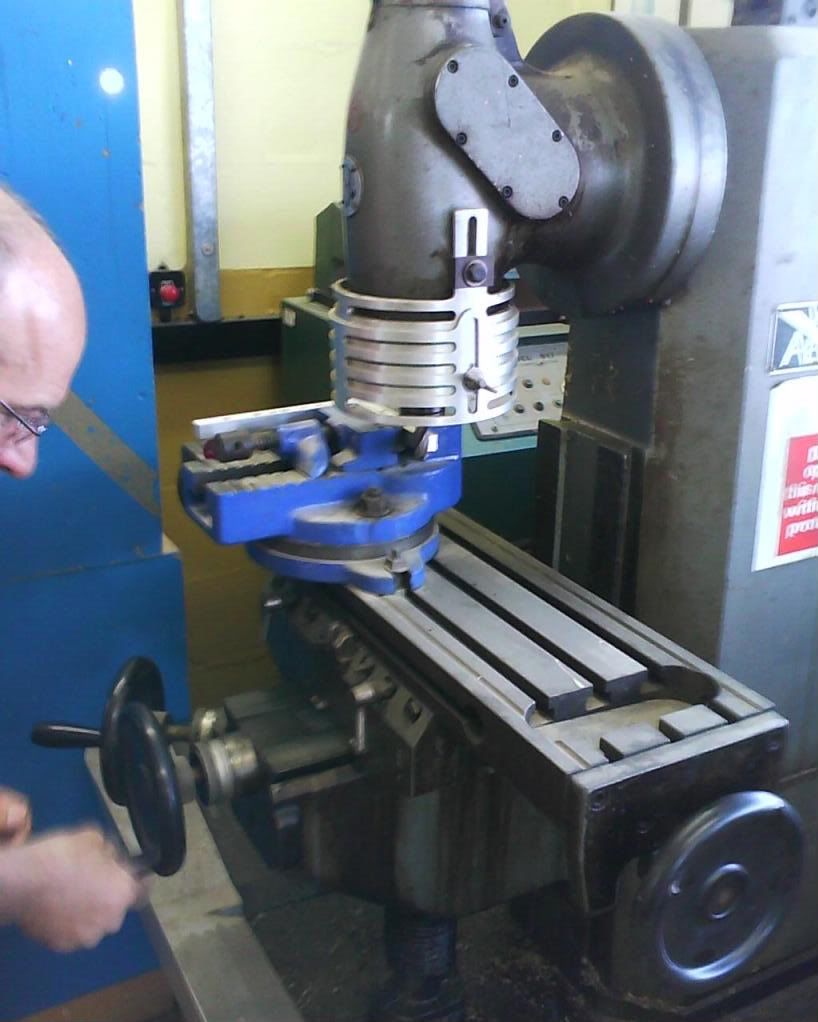
Milling machine being operated:
DSC00014.jpg

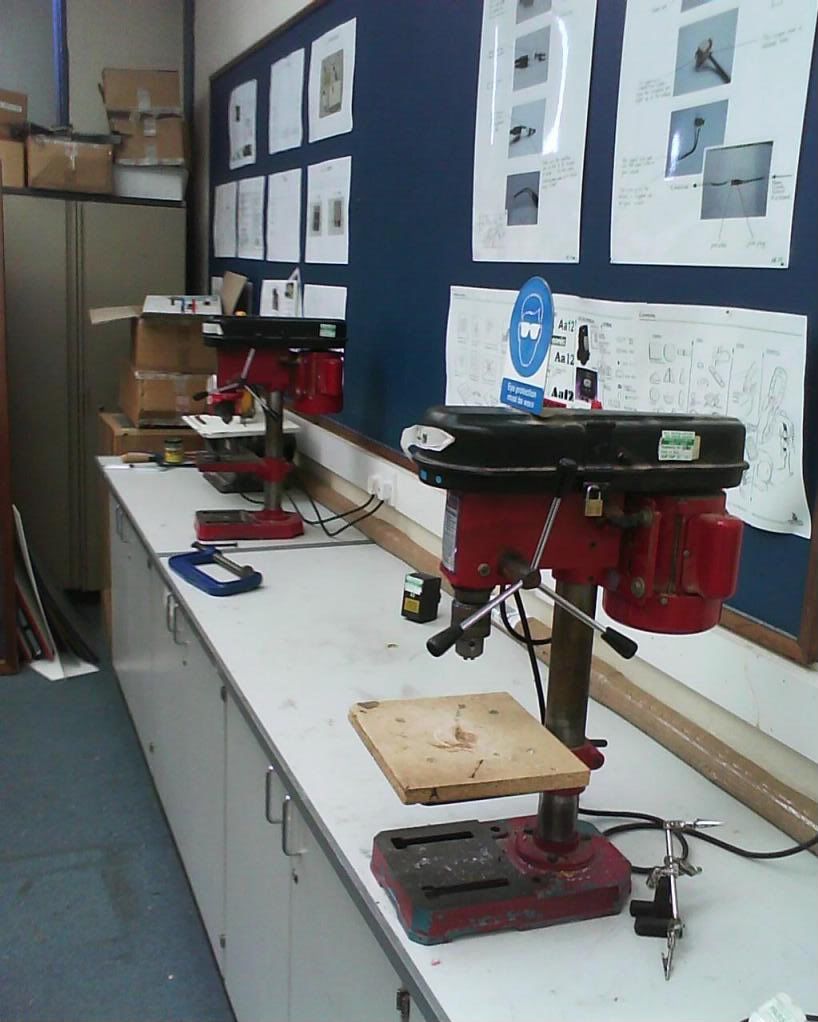
Big pillar drill:
DSC00013.jpg

Mini pillar drill:
DSC00011.jpg


Hope you like the update :)

Should have some pictures of the work done on the milling machine today ***Only with the test piece though*** see if it cuts square.

Ninja


***Update @ 19:09***
Here are some of the pictures from the milling machine and squaring off the bars :
Picture3.jpg


They show the ends being squared off after using the milling machine on them.

Ninja
 
Last edited:
The main light colour for the case will be blue, mainly becuase I'm like addicted to the colour :S this lead to my second addiction a well know auction site :( so I was able to pick up some "Ultra birght 5mm Blue LED's" for bout 9p each. 200 of them to be precise.

These will serve various purposes through the build, I might use all of them I might not will depends on the use of them :)

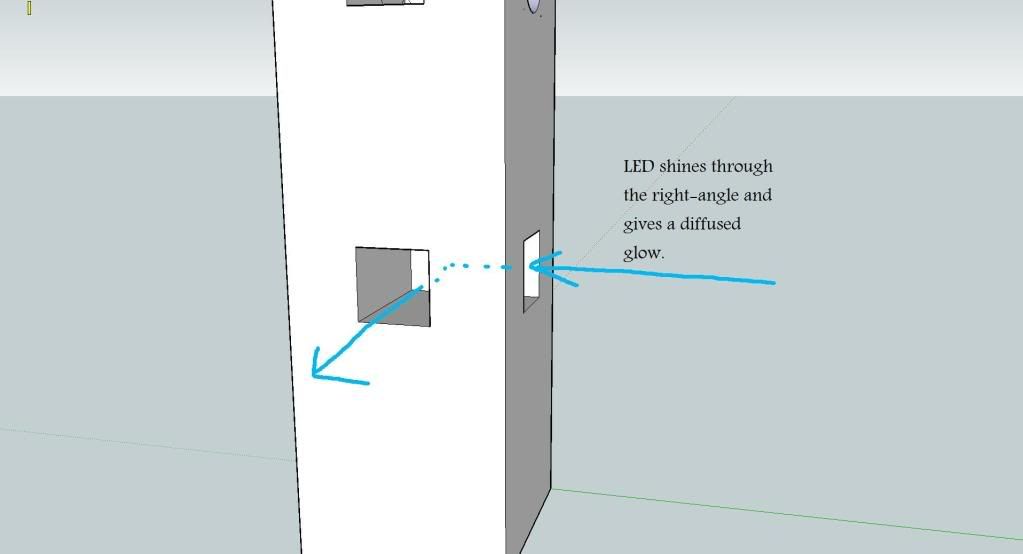
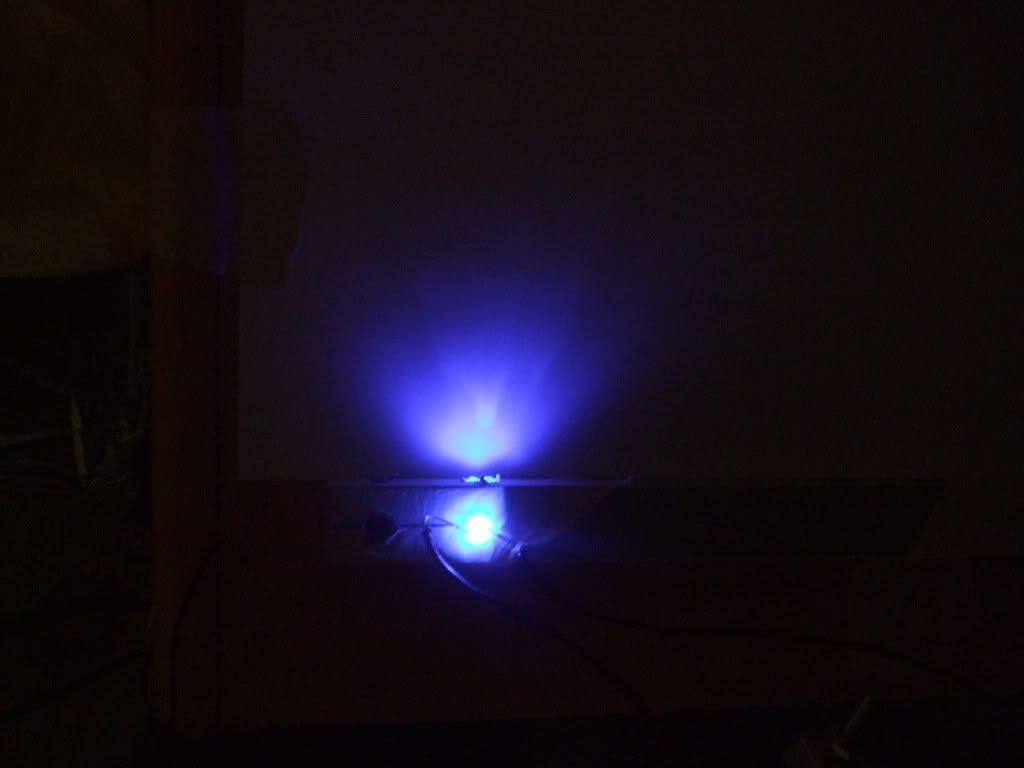
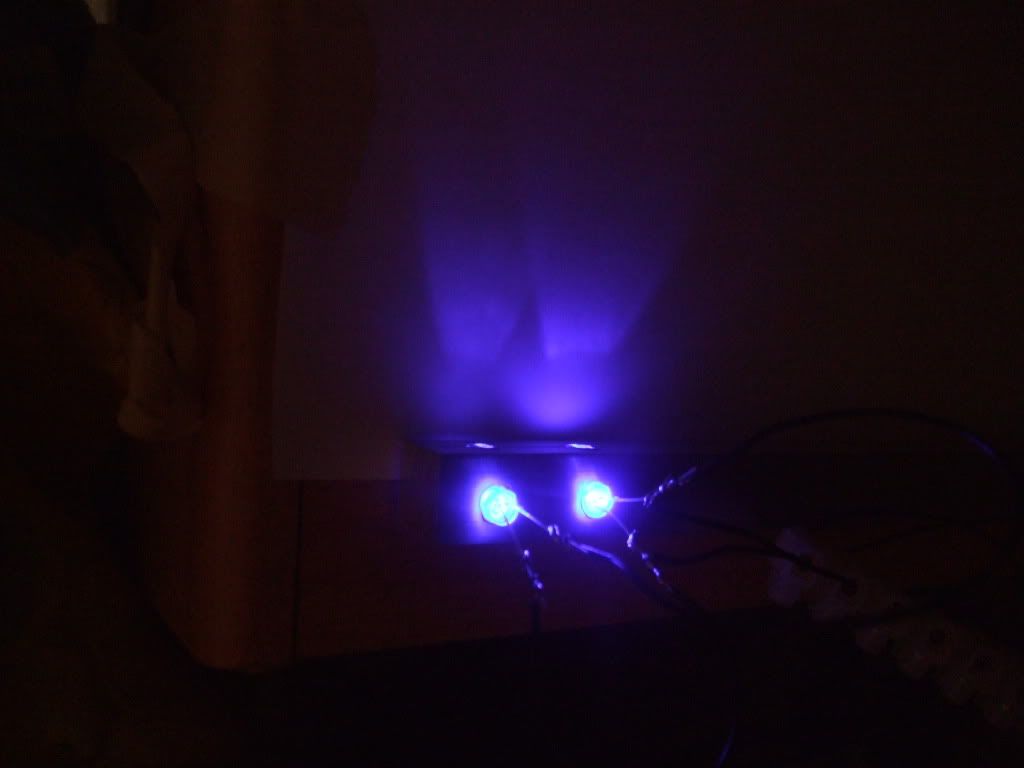
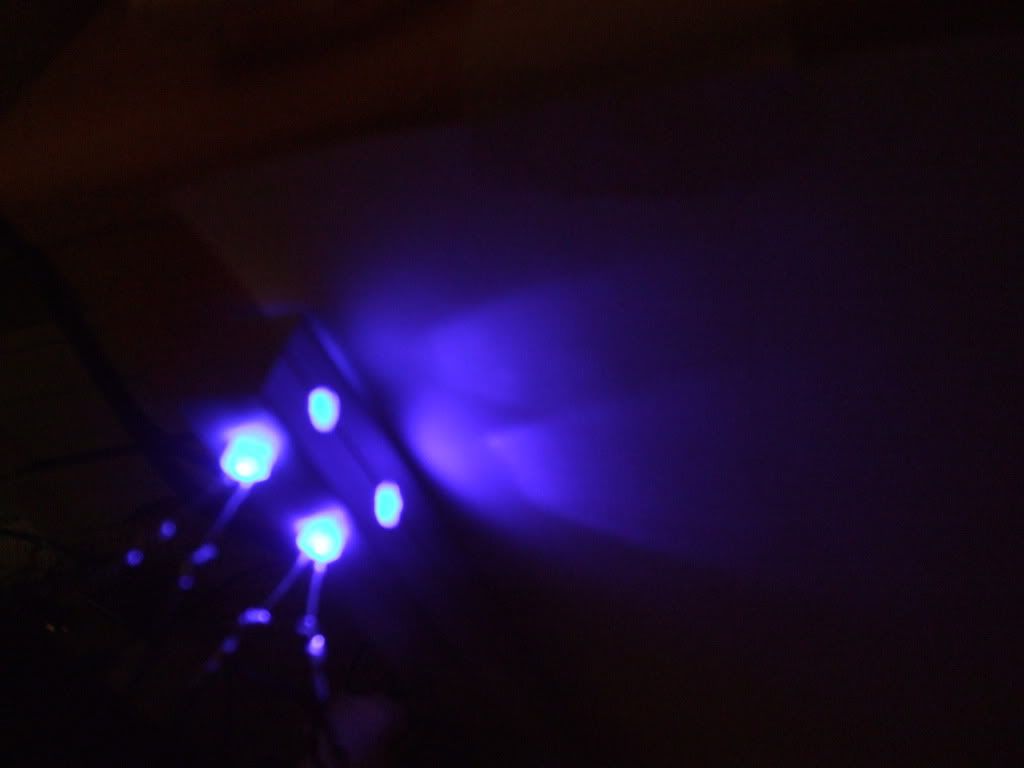
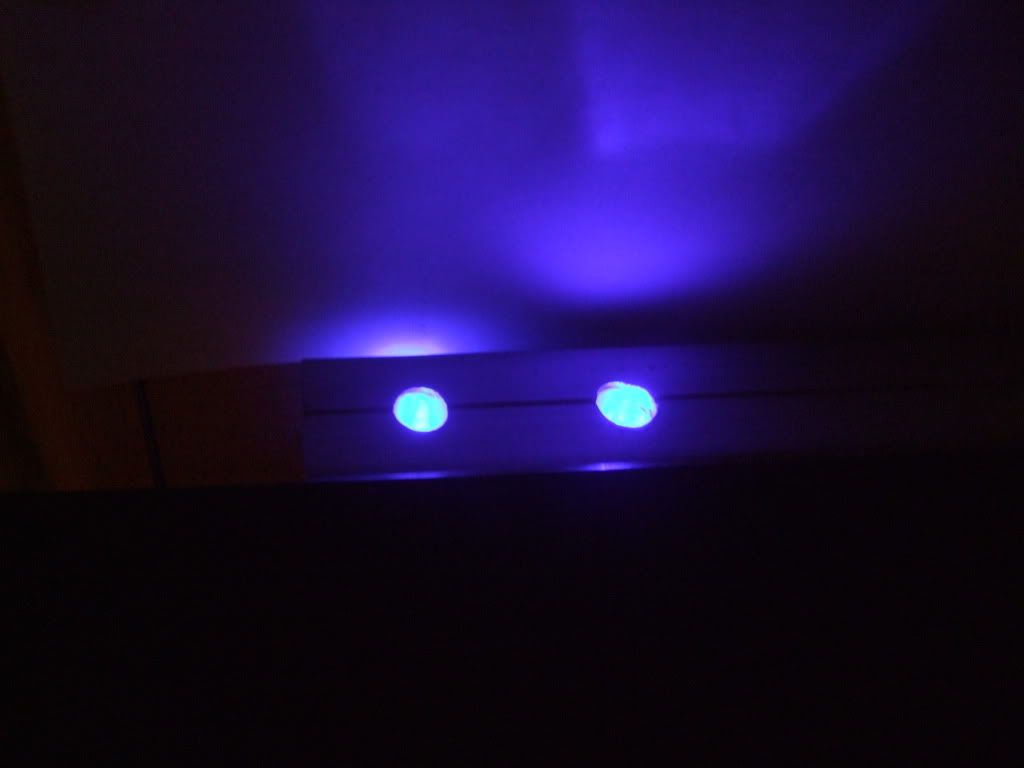
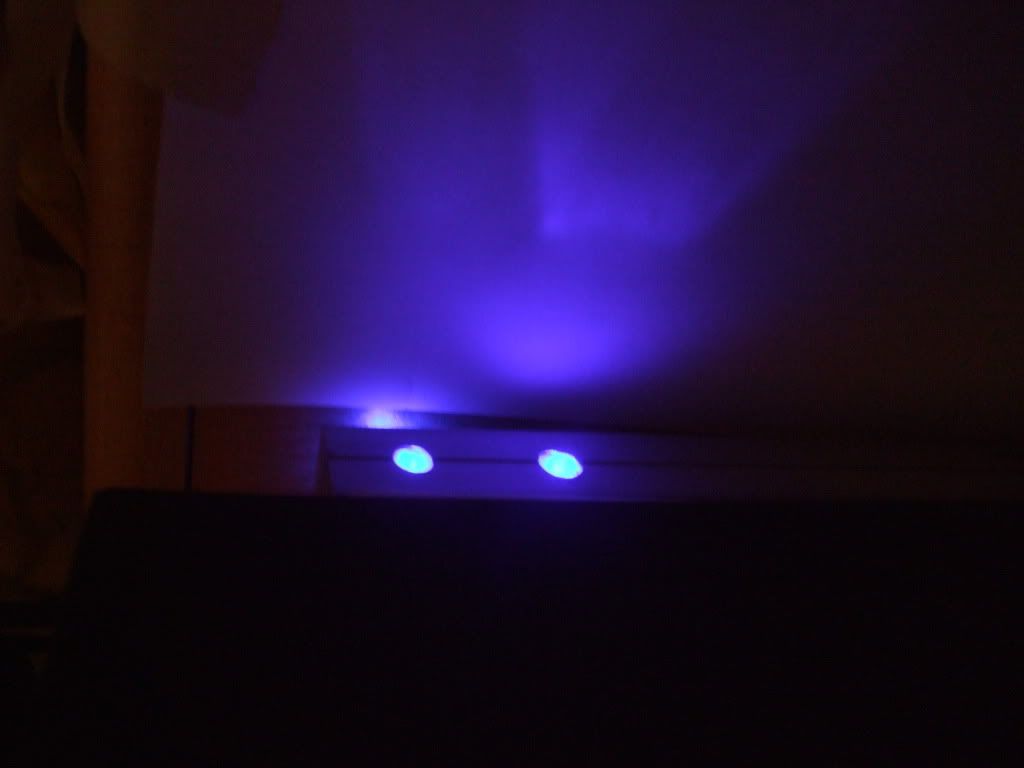
Well being a normal human being I like LED's but the full on glare you get from normal LED's can sometimes drive me mad especially directly on the front of case's so I had a think about how I could solve this problem with the materials I would be using, and came up with this idea to give a diffused glow across the front of the case. Like so :
LEDPlan.jpg


This then led me to work on the prototype bar that I used to practice taps/drilling/etc.

In my opinion came out with some quite astounding results that worked way better than I ever had expected.

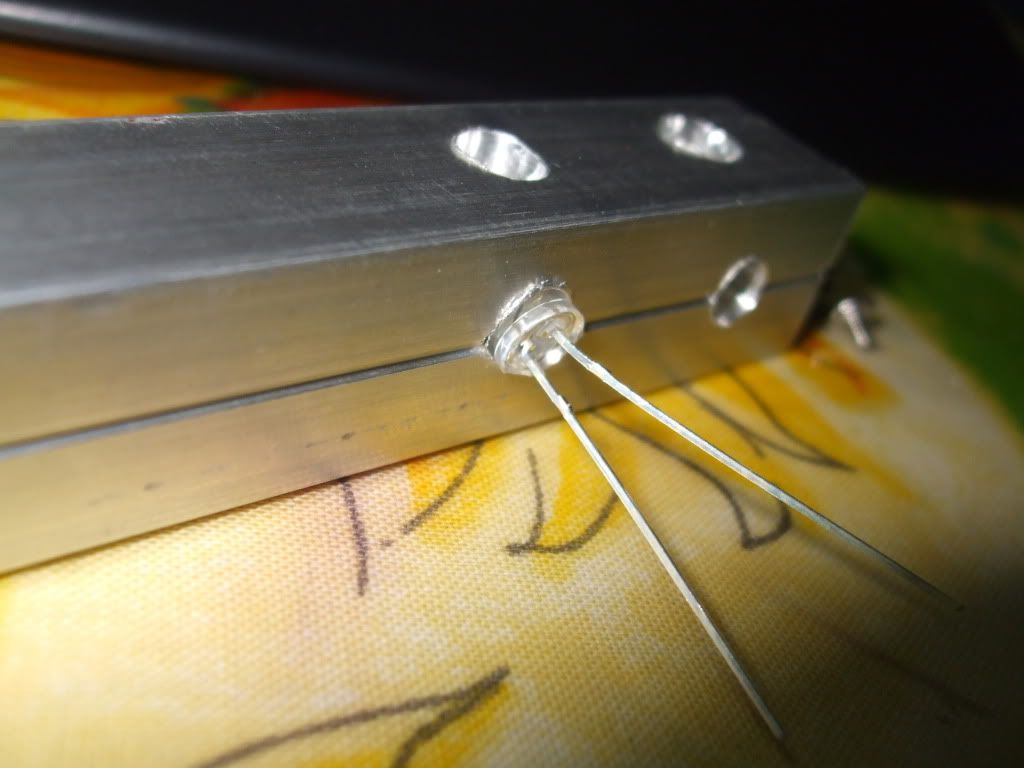
Simple setup after drilling the 5mm holes:
DSCF2191.jpg

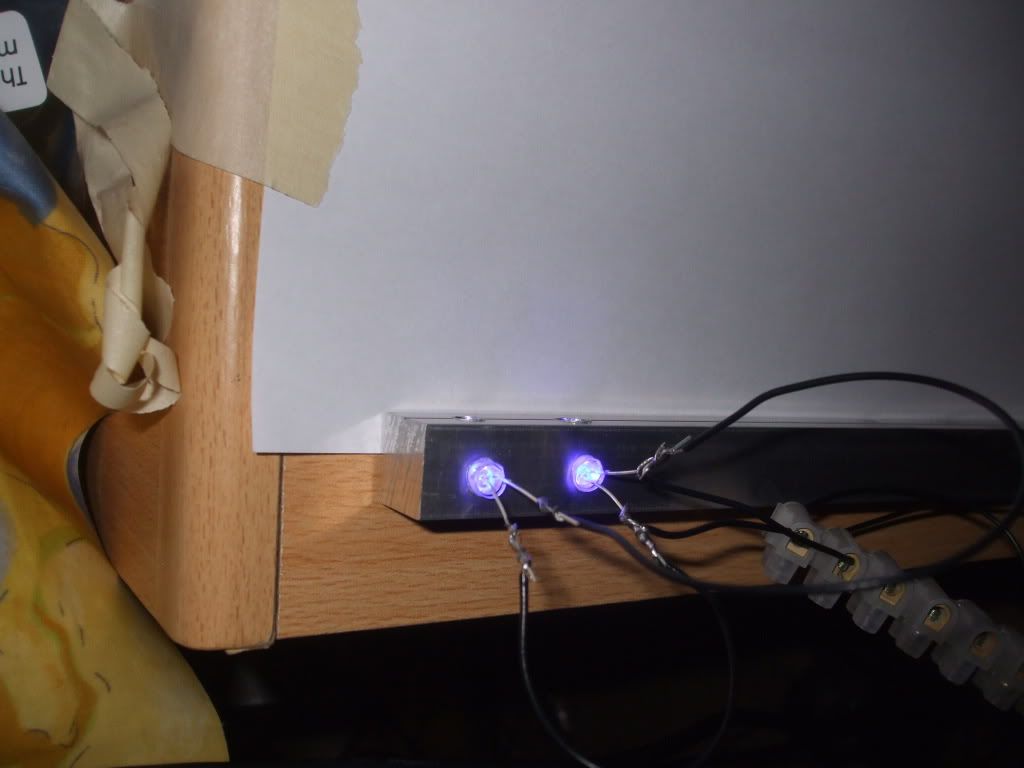
The 2 LED's rigged up ready for testing in the dark:
DSCF2193.jpg

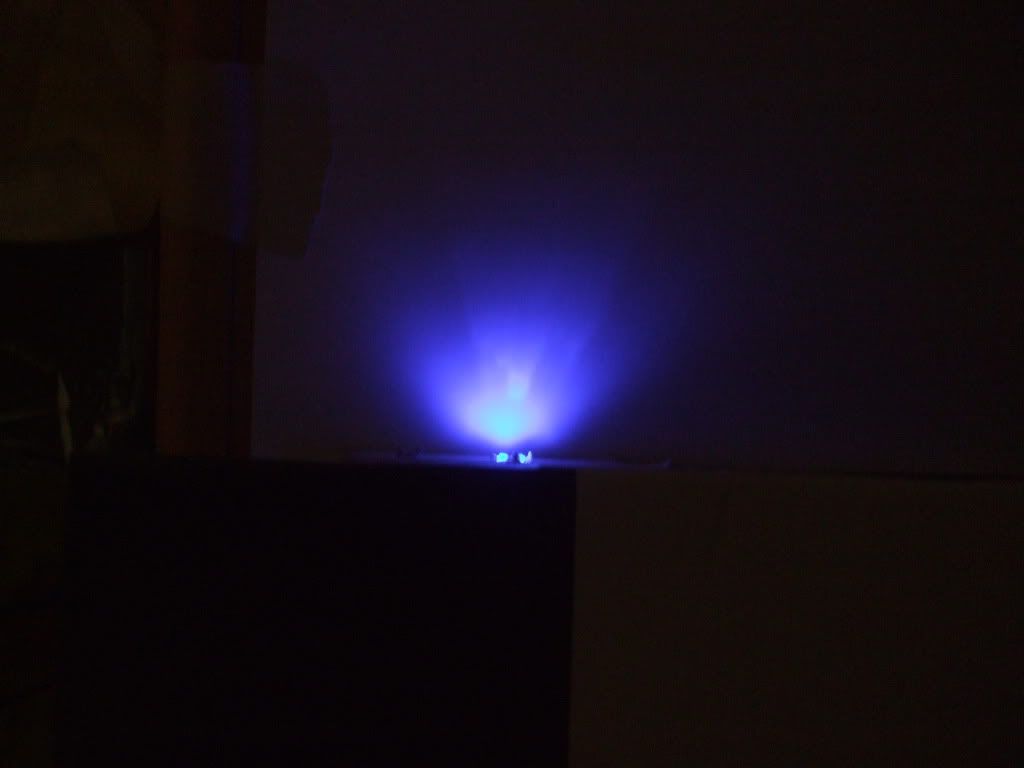
Using one LED on results:
DSCF2186.jpg

DSCF2183.jpg

DSCF2185.jpg

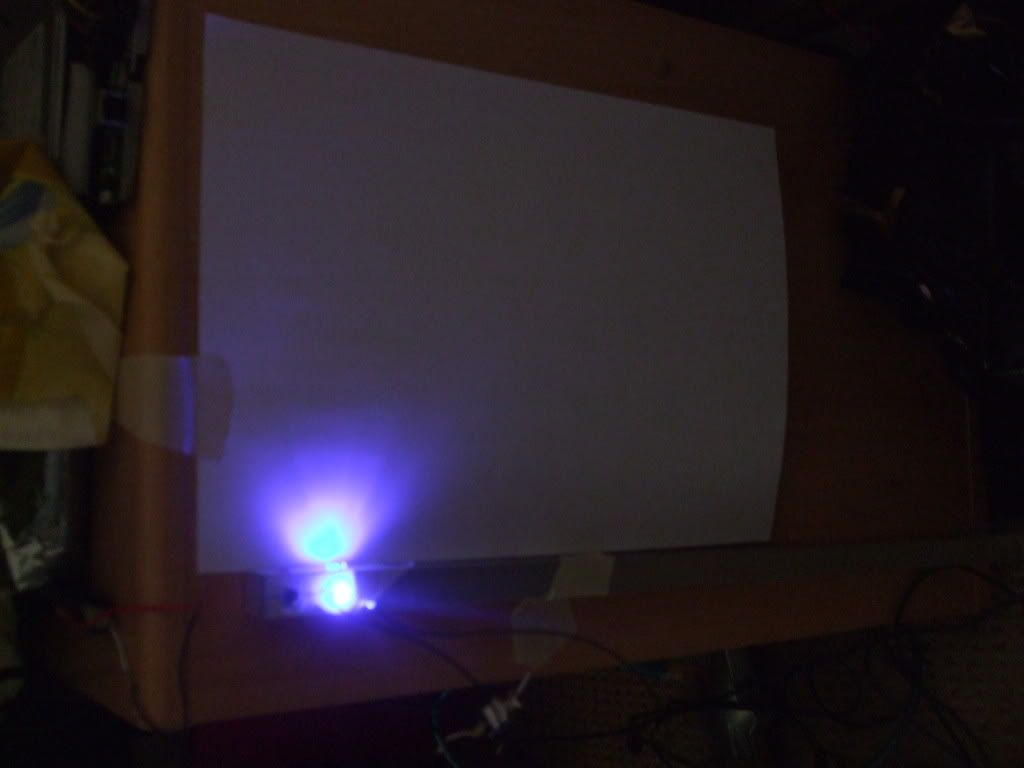
Using two LED's on results:
DSCF2194.jpg

DSCF2195.jpg

DSCF2196.jpg


Don't worry about the fact you can see the base of the LED lighting up as this will be in the case and will be screened out of the final product which should look something like this :
DSCF2197.jpg

DSCF2198.jpg


Any comments on this are much appreciated ? :D

btw the LED's are blue-er than that in real life.

Ninja
 
Looking really good mate, loving the way the LEDs come out, looks awesome. Reminds me of expensive lighting in a show room or something :P

Thanks :)

this is looking really good i like your experamental nature keep it up ;)

Haha most of my work is about experimenting :) like my spraying of motherboards :)

Looks awsome man!! Scratch building a case is gonna be a lot of work, but sooo gonna be worth it when your done :D

Loving the fact your experimenting too, I wasnt sure about your LED idea but the results look good, nice work :)

Yea it is a lot of work, but I like the challenge :)
LED idea is going to take an awful lot more planning but should be worth it for the effects it gives :)
________________________________________________________
Now to the update.

Bit of an update (well not really :P), been doing loads of cutting over past few days during break and lunch and frees, bout 60% of the way through I think, it takes ages :( bout 4-5 mins a cut, should be able to go onto milling some of the pieces tomorrow so im gettin there slowly :), should have some pictures from cutting later on today.

Thats all folks

Ninja
 
What, you spraying your cards/boards/whatever you want to call the important bits in a PC? :P

What you doing, literallty masking off where the heat sink goes and spraying everything with paint? Sounds... unusual haha, does that work? Or have I got this completely wrong

You have got it right (I think :P) and they do work still perfectly fine :)

check out the thread its on these forums :P

http://forums.overclockers.co.uk/showthread.php?t=17982260

There You Go ^^

Hope this explains all :P

Ninja
 
Nice! I thought it would seriously effect the cards but they work fine for you!

Should do one black like the first, then a seriously thin coat of the gold on top, just to add a subtle gold sparkle... would look pretty cool :p

It will all depend on what colour spray I get as I'm not actualy paying for it atm :P as I can't buy it.

Ninja
 
this is looking awesome man!!
wish i had the tools to do this:p

haha I wish I had the tools at my house would make it so much quicker.

_____________________________________
Update

Been using the Milling Machine today too me all of lunch time to do 2 bars :(

This is going to take a long time :(

Results are near enough perfect though :D

Ninja
 
looks very good

Thankyou :)

____________________________
Update

Well all is good, I was aloud to use the Milling Machine during lunch and the afternoon. So :D I got 90% of the Milling done :D just got some small bits left to do.

Therefore drilling can start tomorrow which puts me well ahead of where I though I would be :) so I'm bout 2 weeks ahead which is always a nice though.

Should Have some pictures up sometime tonight.

230th Post :D

Ninja
 
Last edited:
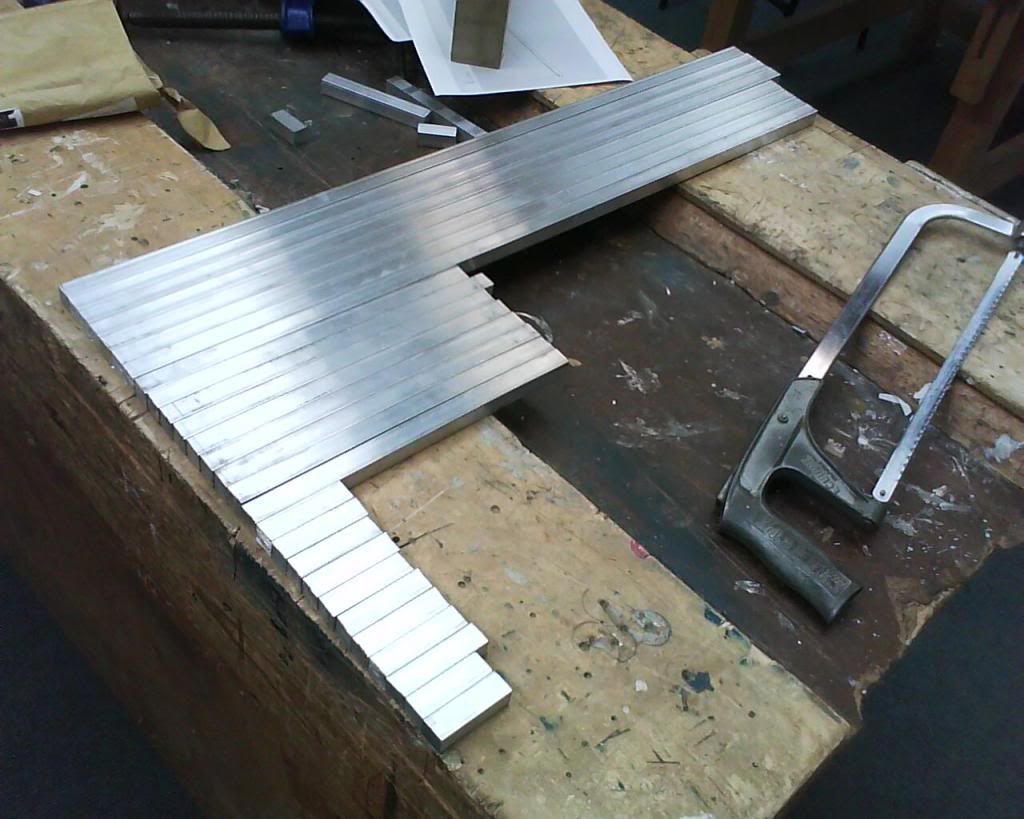
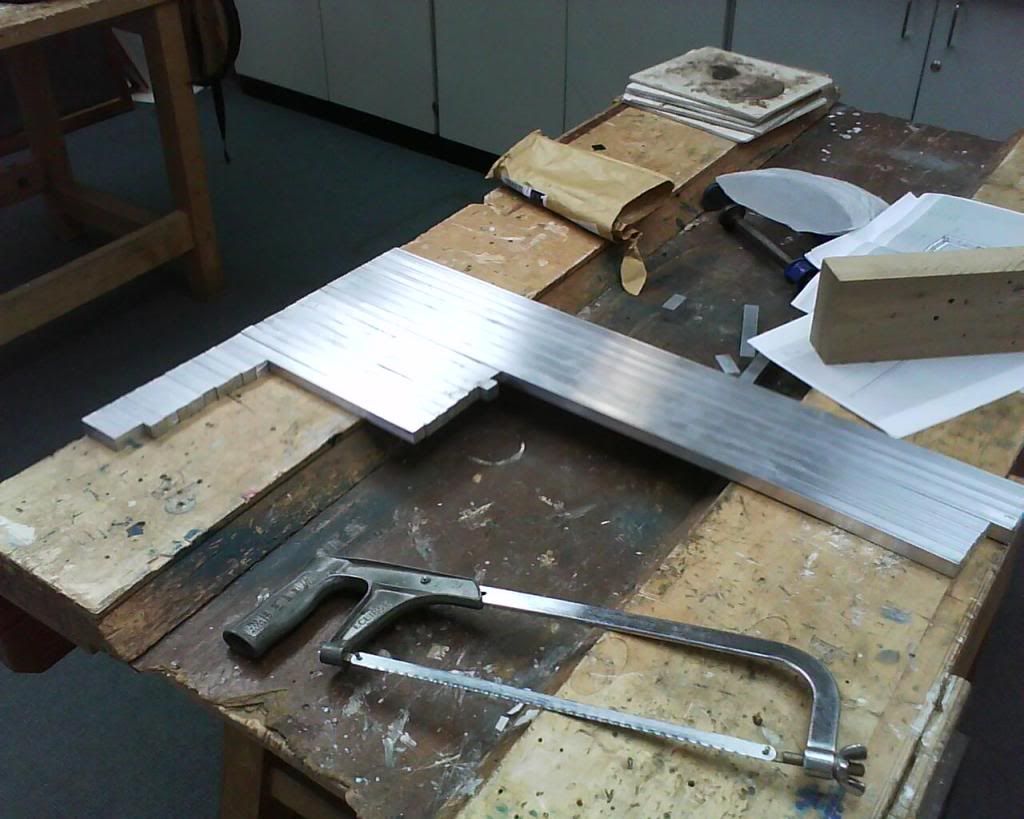
Well Here are the pictures from today hope you enjoy all my hard slaving away it took to do all this today :P :o

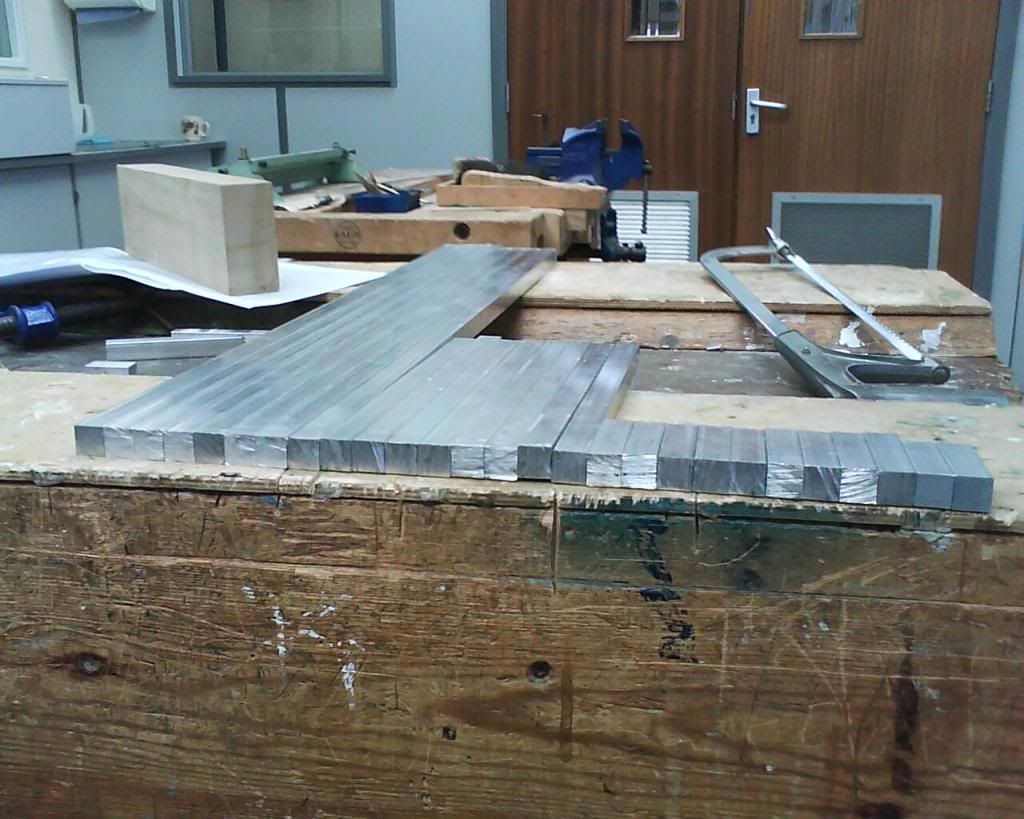
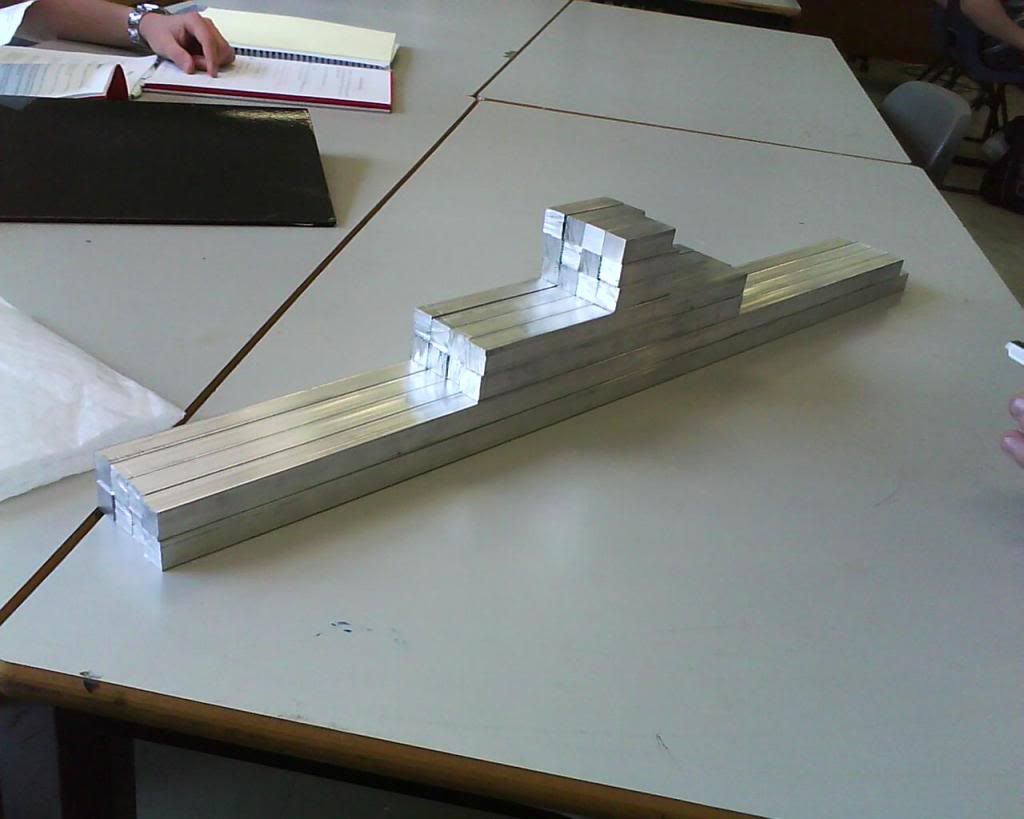
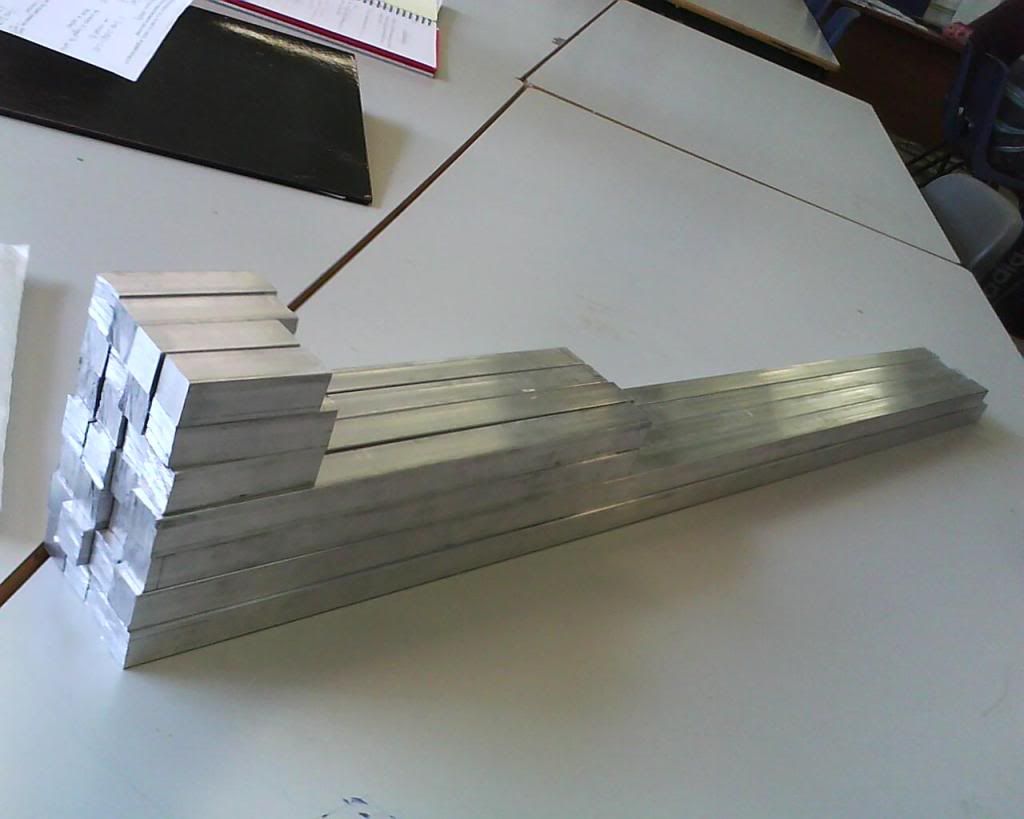
well all of the Bar's cut, all *bar* :rolleyes: 4, that I will cut later on:
DSC00016.jpg

DSC00017.jpg

Side View:
DSC00018.jpg


Here some pictures from when I got bored in my lesson :P

Pyramid View:
DSC00019.jpg


Steps View:
DSC00021.jpg


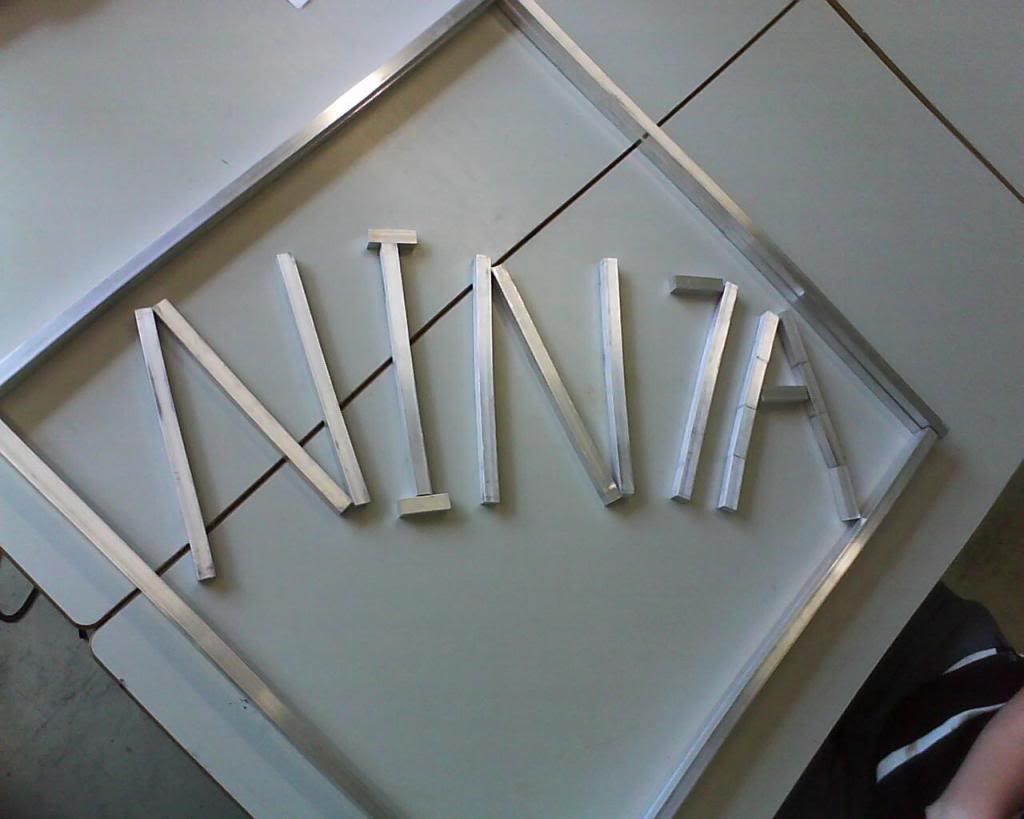
Couldnt Resist doing this :D
DSC00023.jpg


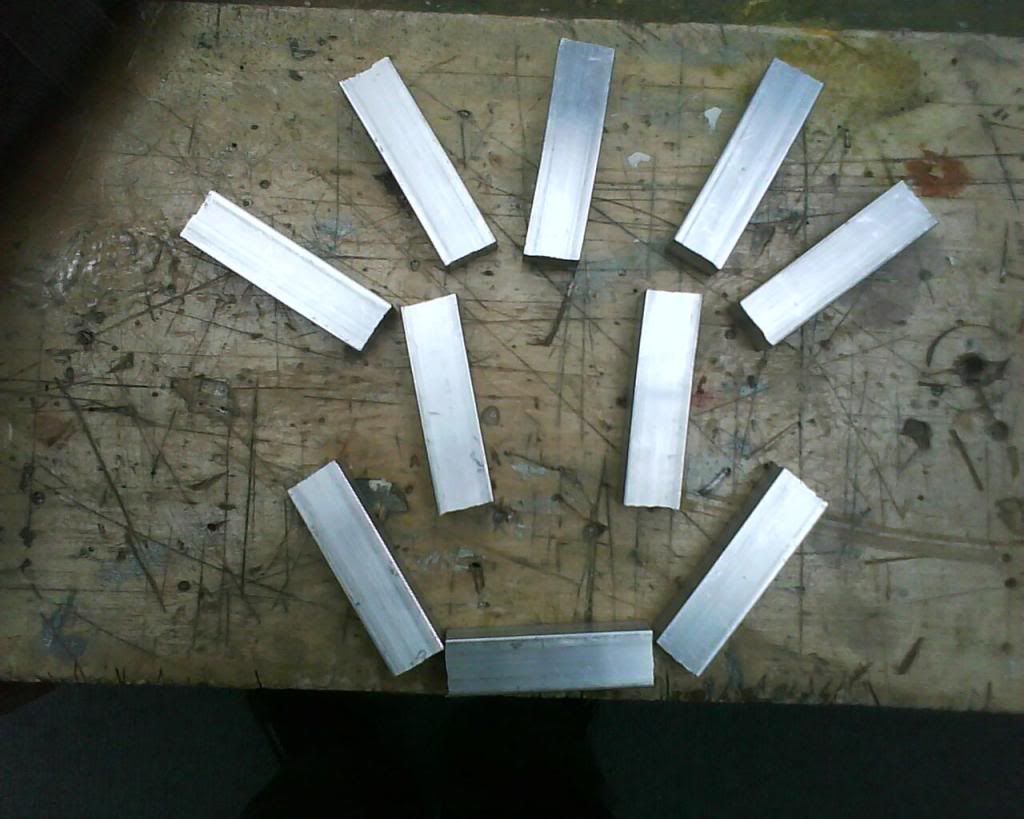
There was some reason behind this the square bars is roughly the size of the side panels :)

and finally the bars that still need to be Milled off:
DSC00024.jpg


:) hope you like :)

Ninja
 
Back
Top Bottom