

Associate
- Joined
- 5 Feb 2009
- Posts
- 405
Computer Build-log – “Great Heights”
Background History
Been thinking about getting a new case for a while just never found “The One” that appealed to me with lots of room, correct price, style and management. Well In essence I need more room as my TT Armour is full up and no more room for expansion in any direction. I would need it to house all of my stuff internally with ease and maybe add another loop into it.
Current Rig:
Core 2 Duo E8400 (775s) @ 4.0 GHz
Evga 780i 3way-Sli motherboard
Evga 9800GTX+ SSC edition
Creative X-Fi Platinum Fatality + Front Bay
Zalman ZM850-HP Modular
3x 320GB WD (Raid 0 & Storage)
4 GB Kingston Ram (5-7-7-20)
Hauppauge WinTv 1100-HVR
Thermaltake Armour (Silver)
2 Water cooling loops
Loop 1 (CPU) – Pump -> CPU Block -> 120Rad -> 240Rad -> Res
Loop 2 (GFX) – Pump -> GFX Block -> 240(external)Rad -> Res
Samsung 2433WB Monitor 1920*1200
Phillips 200WB Monitor 1600*1050
Prologue:
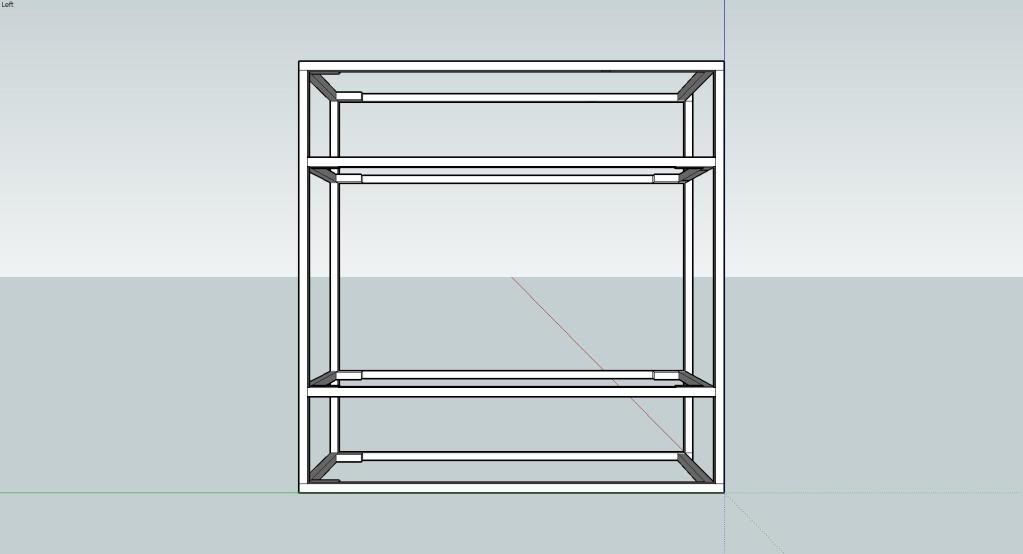
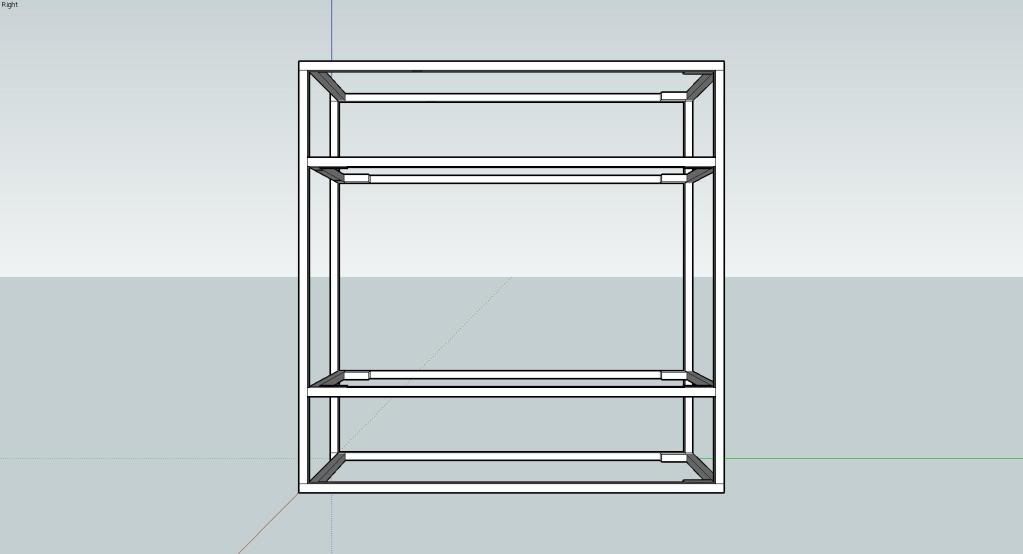
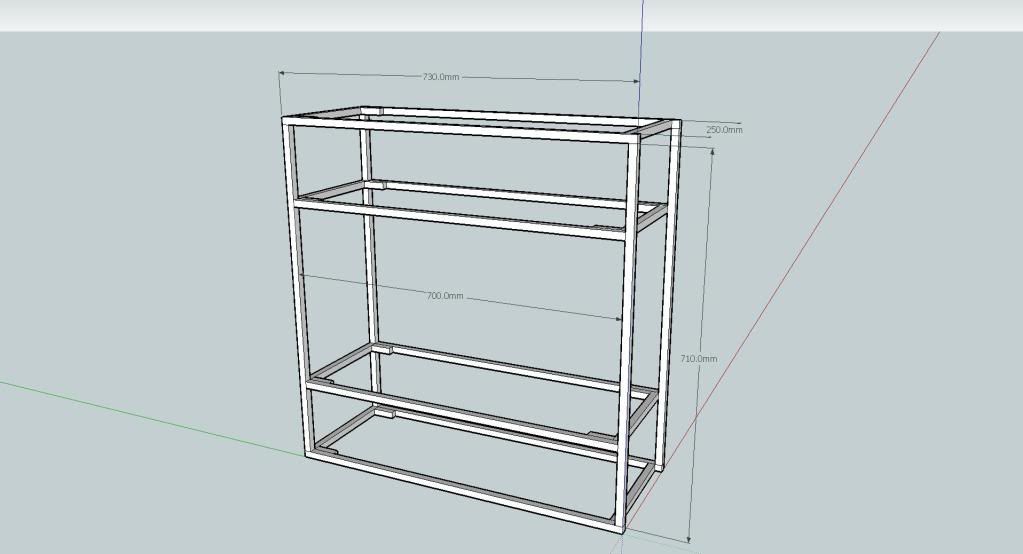
With this in mind I thought up some concepts that I like/would like to create. This was to have sections within the main case. My main though is to have 3 sections all lying parallel in the case:
Bottom:
Watercooling Rads/Pumps/Etc.
Middle:
Motherboard/DVD Bays/Etc.
Top:
HDDs/PSU/Control Box
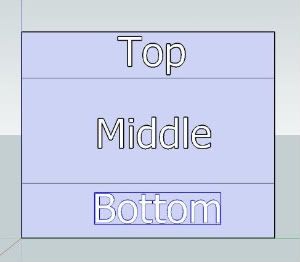
My aim is to stick to this and house all of my Rig + Extra Room for expansion in the future.
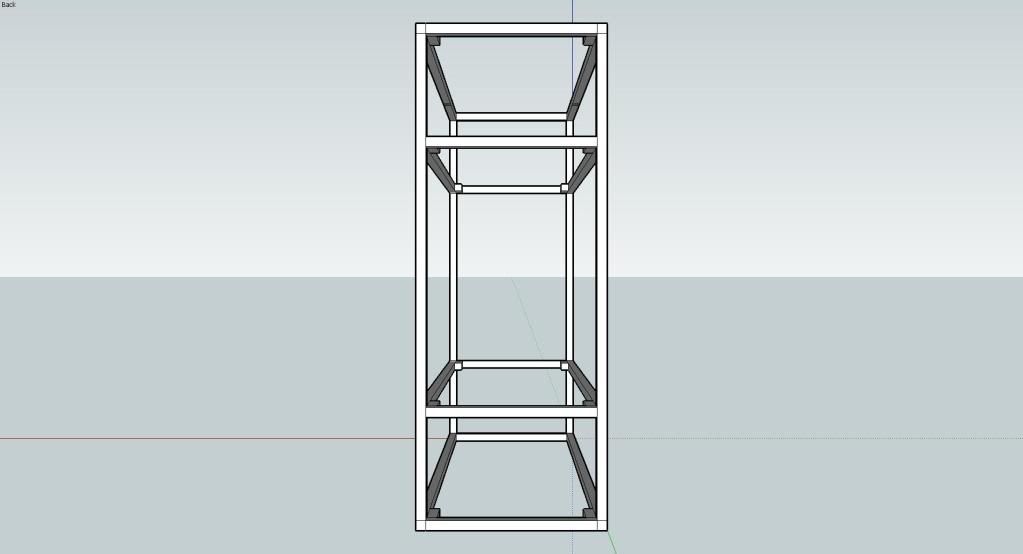
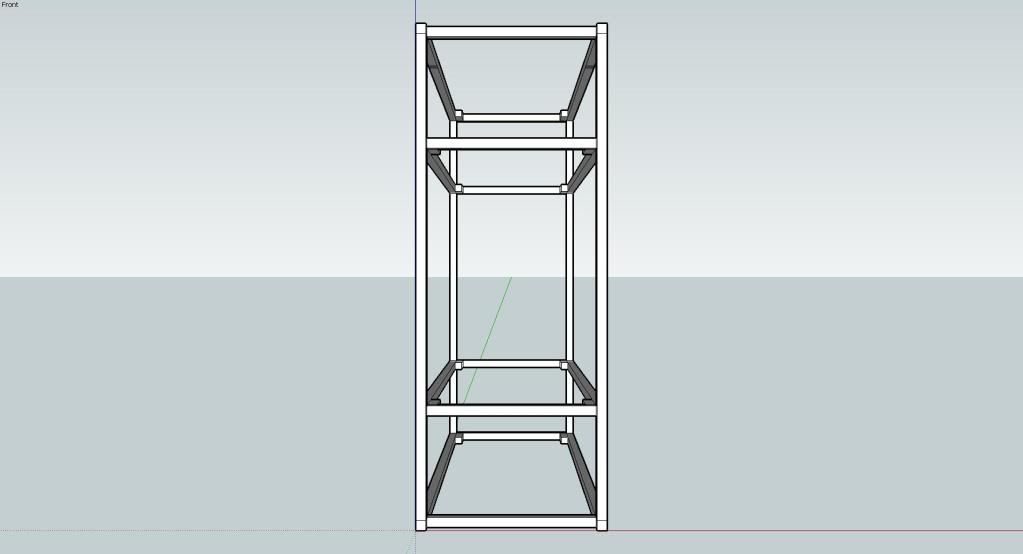
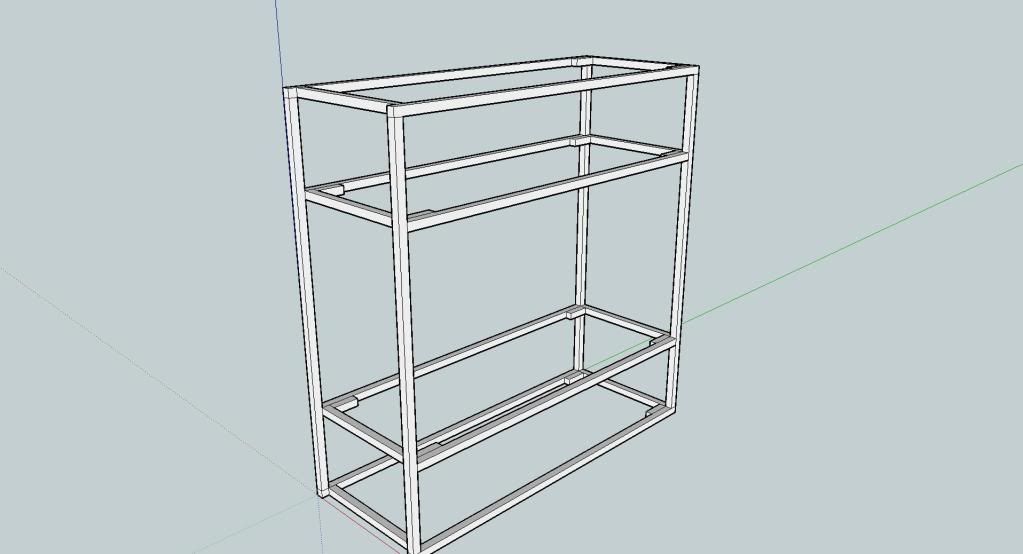
This led me to do some concept art (Mainly during lessons at school). I love the look of the Tenjim TJ-07 how the Rad sections is situated and separated from the rest of the Case, this was my main theme and I decided to mirror this by having same design for the top section as bottom.
As I knew there wasn’t a case in production that was like this, I will haft to go it alone and build a case from scratch, this required a lot of thinking and research and skills which I will need to pick up.
Also took me on a trip to my design teacher to actually see if it was physically possible, all good talked him through what I wanted to do and he gave me the all clear and the facilities of whole design block to use (inc. Laser CNC, Milling machine, Pillar Drills, Most tools). This should make my life easier with all these at my disposal.
More later
Ninja
Background History
Been thinking about getting a new case for a while just never found “The One” that appealed to me with lots of room, correct price, style and management. Well In essence I need more room as my TT Armour is full up and no more room for expansion in any direction. I would need it to house all of my stuff internally with ease and maybe add another loop into it.
Current Rig:
Core 2 Duo E8400 (775s) @ 4.0 GHz
Evga 780i 3way-Sli motherboard
Evga 9800GTX+ SSC edition
Creative X-Fi Platinum Fatality + Front Bay
Zalman ZM850-HP Modular
3x 320GB WD (Raid 0 & Storage)
4 GB Kingston Ram (5-7-7-20)
Hauppauge WinTv 1100-HVR
Thermaltake Armour (Silver)
2 Water cooling loops
Loop 1 (CPU) – Pump -> CPU Block -> 120Rad -> 240Rad -> Res
Loop 2 (GFX) – Pump -> GFX Block -> 240(external)Rad -> Res
Samsung 2433WB Monitor 1920*1200
Phillips 200WB Monitor 1600*1050
Prologue:
With this in mind I thought up some concepts that I like/would like to create. This was to have sections within the main case. My main though is to have 3 sections all lying parallel in the case:
Bottom:
Watercooling Rads/Pumps/Etc.
Middle:
Motherboard/DVD Bays/Etc.
Top:
HDDs/PSU/Control Box
My aim is to stick to this and house all of my Rig + Extra Room for expansion in the future.
This led me to do some concept art (Mainly during lessons at school). I love the look of the Tenjim TJ-07 how the Rad sections is situated and separated from the rest of the Case, this was my main theme and I decided to mirror this by having same design for the top section as bottom.
As I knew there wasn’t a case in production that was like this, I will haft to go it alone and build a case from scratch, this required a lot of thinking and research and skills which I will need to pick up.
Also took me on a trip to my design teacher to actually see if it was physically possible, all good talked him through what I wanted to do and he gave me the all clear and the facilities of whole design block to use (inc. Laser CNC, Milling machine, Pillar Drills, Most tools). This should make my life easier with all these at my disposal.
More later
Ninja

") )
)
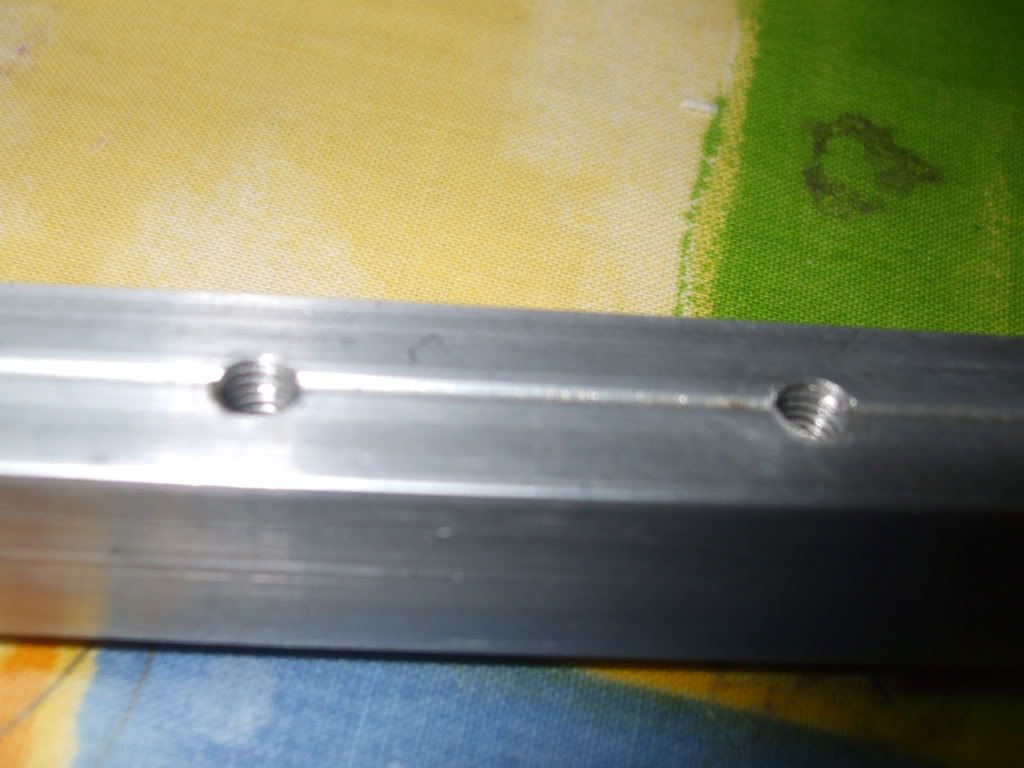
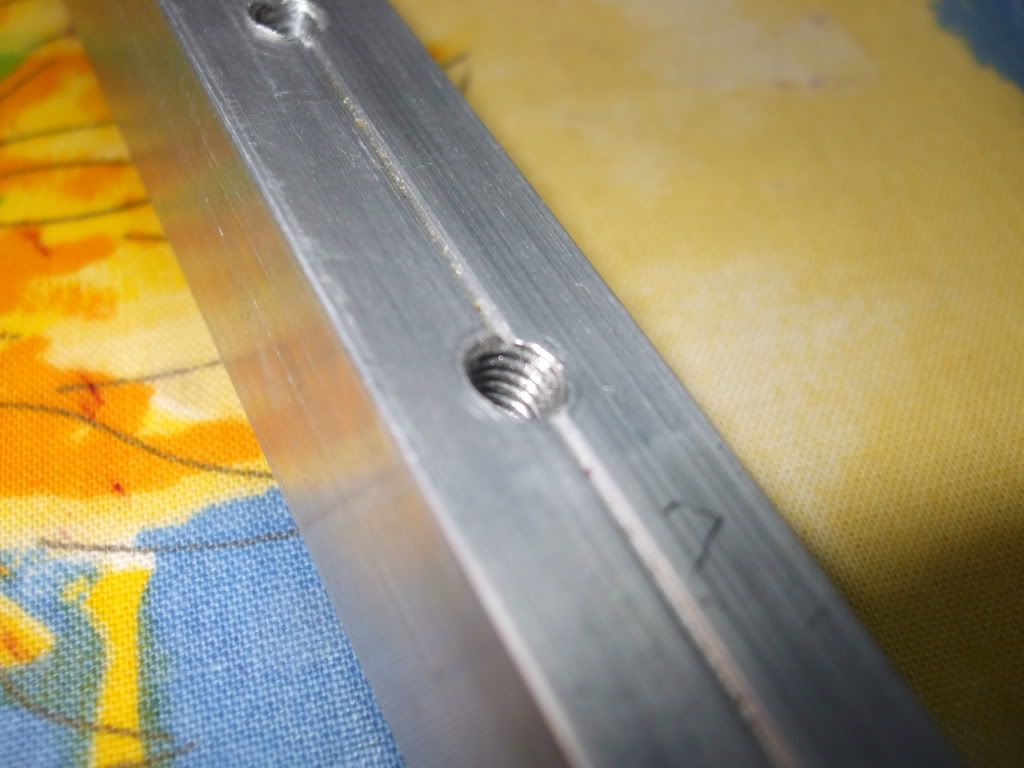
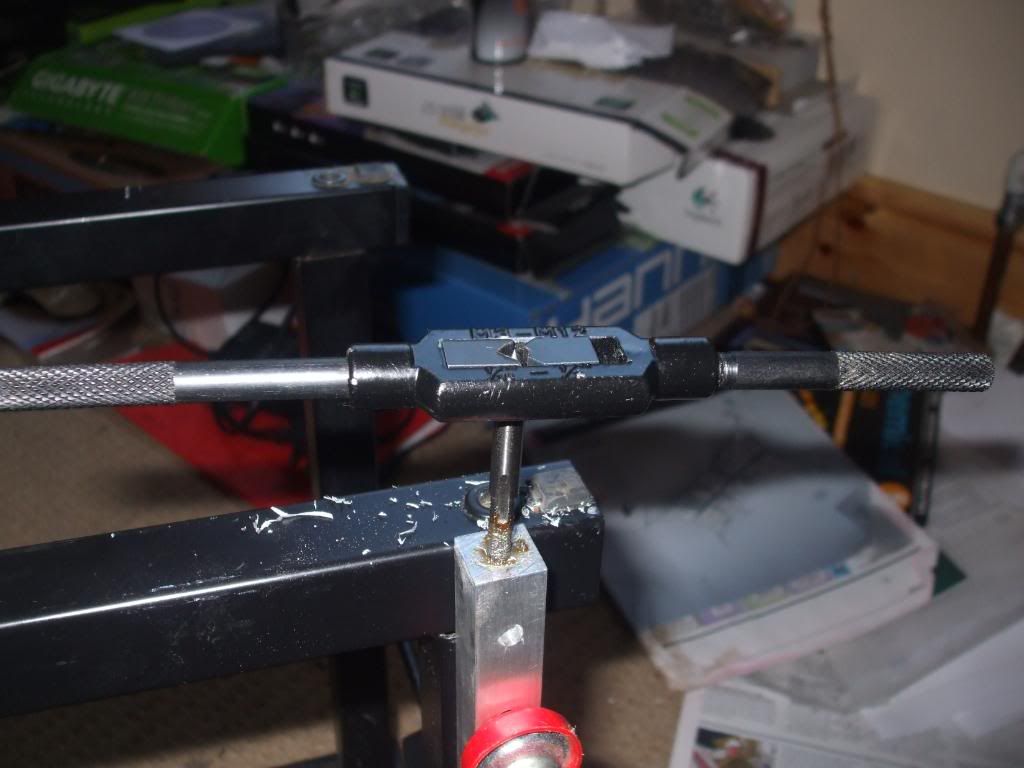
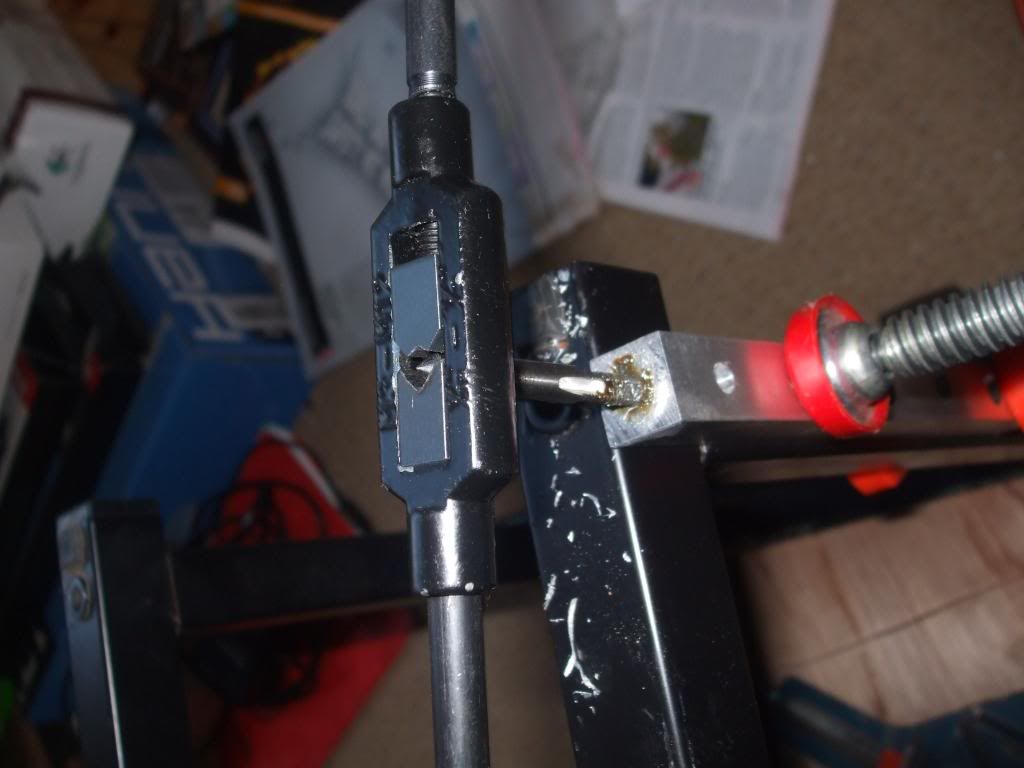
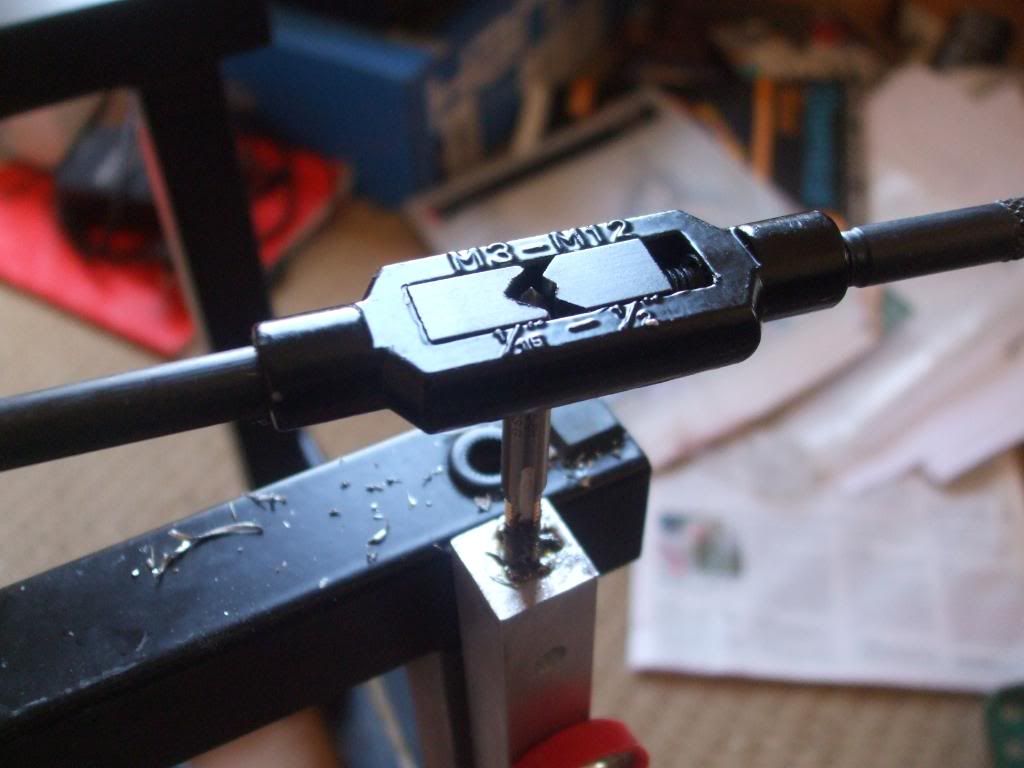
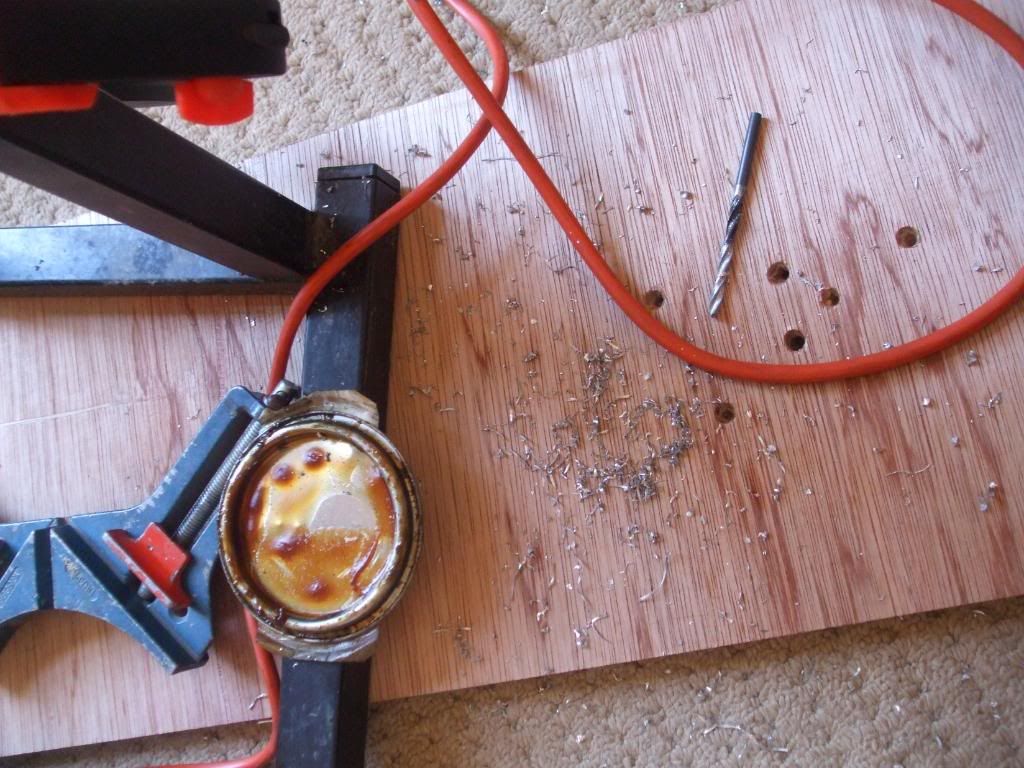
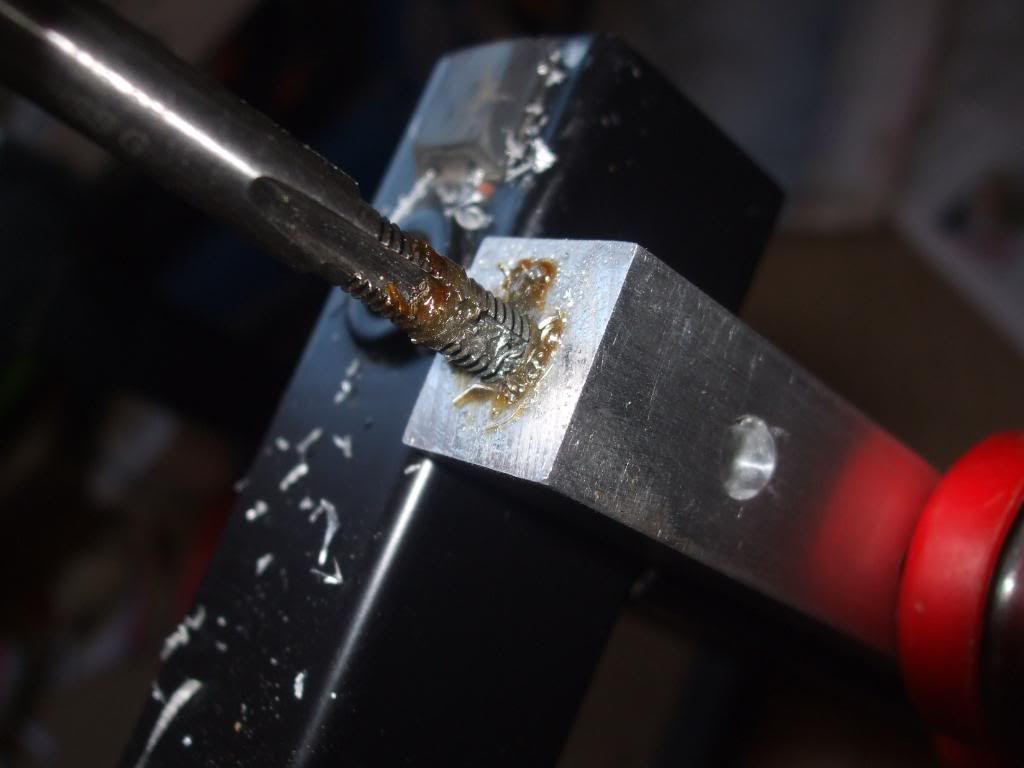
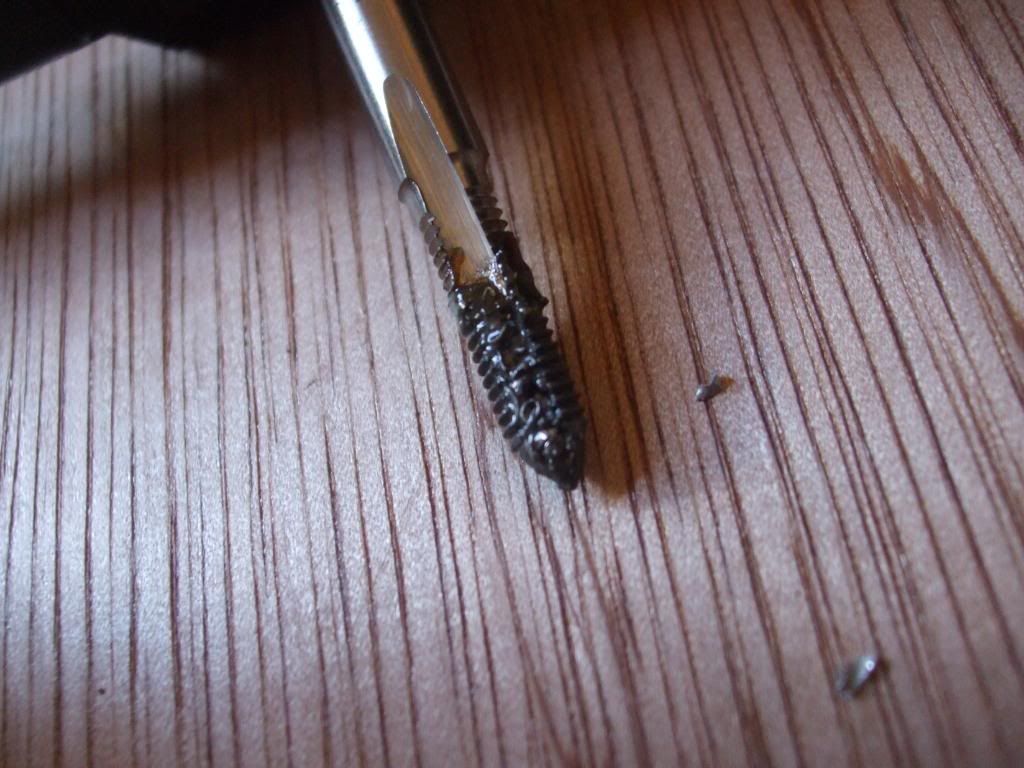
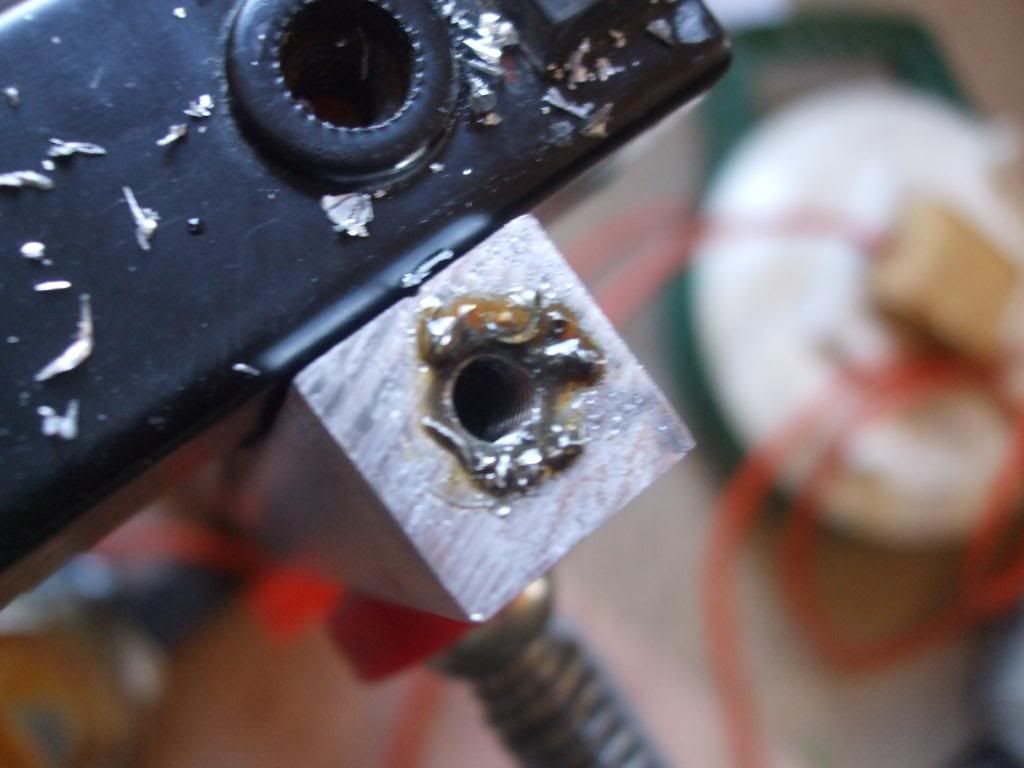
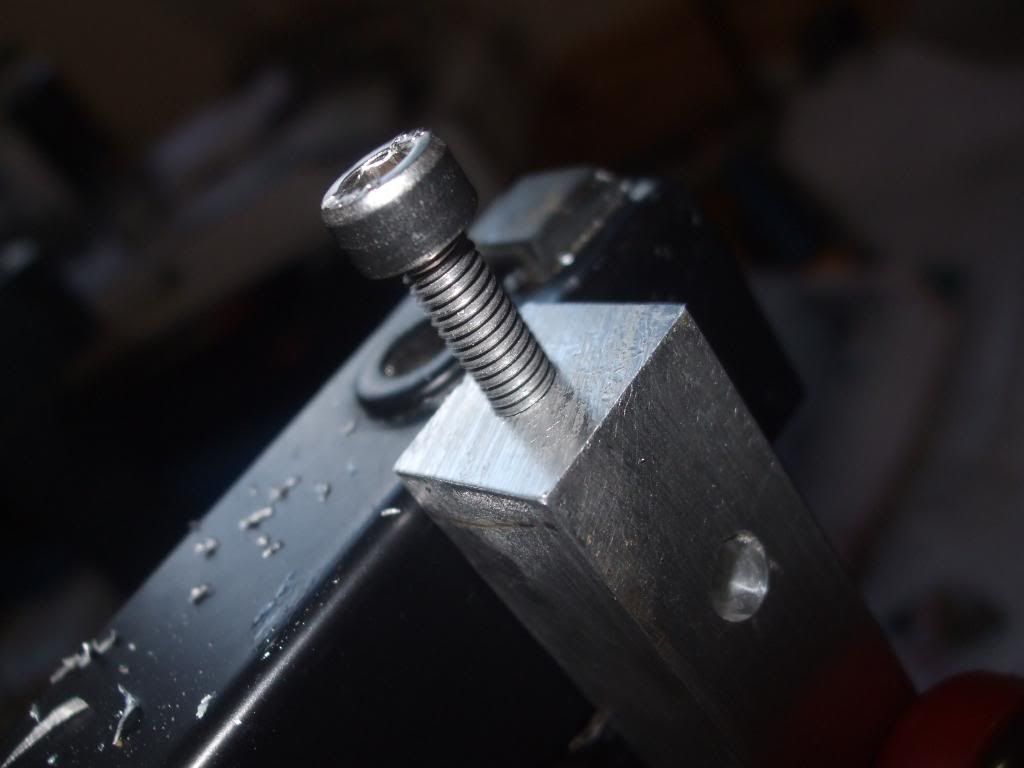

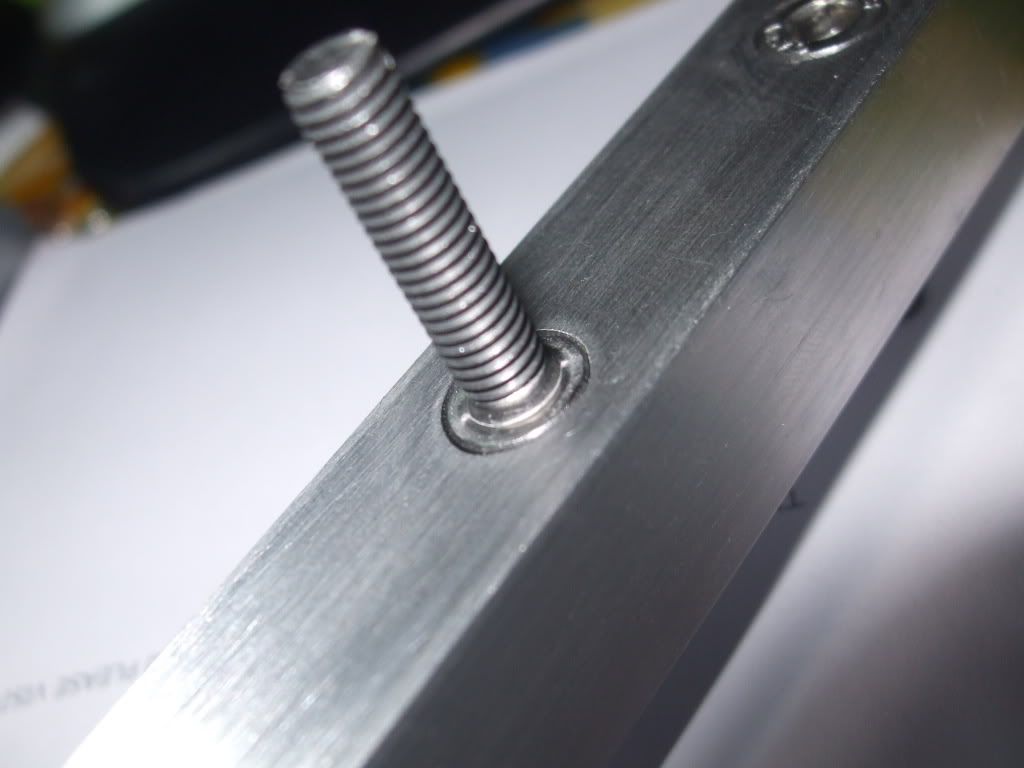
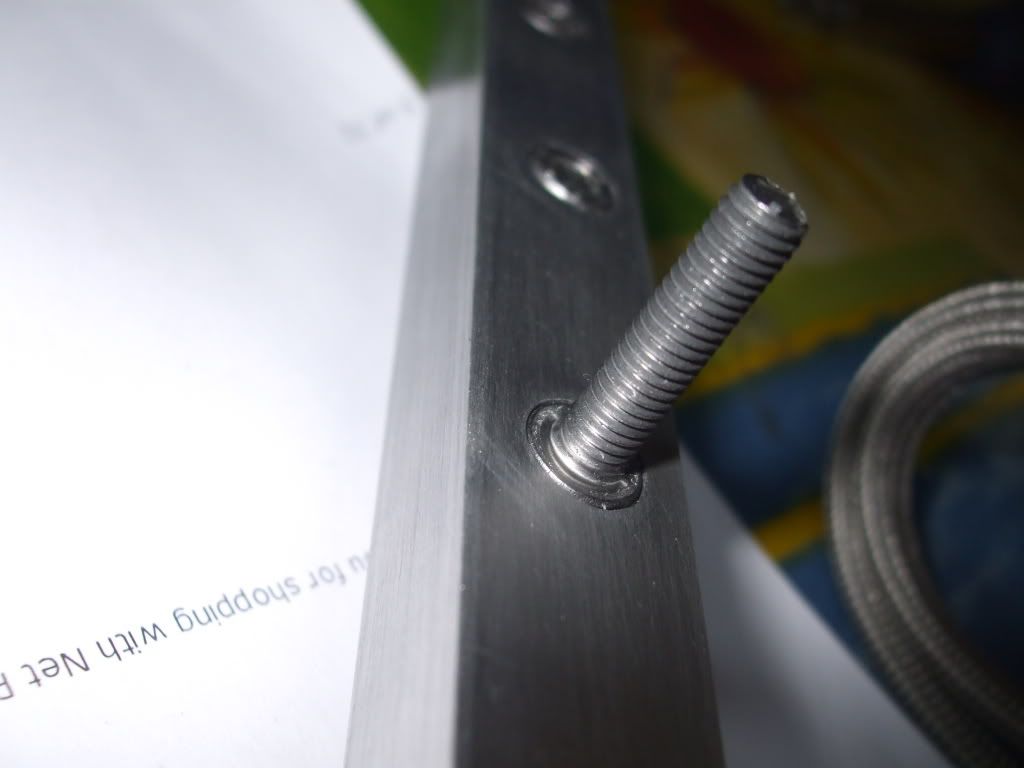
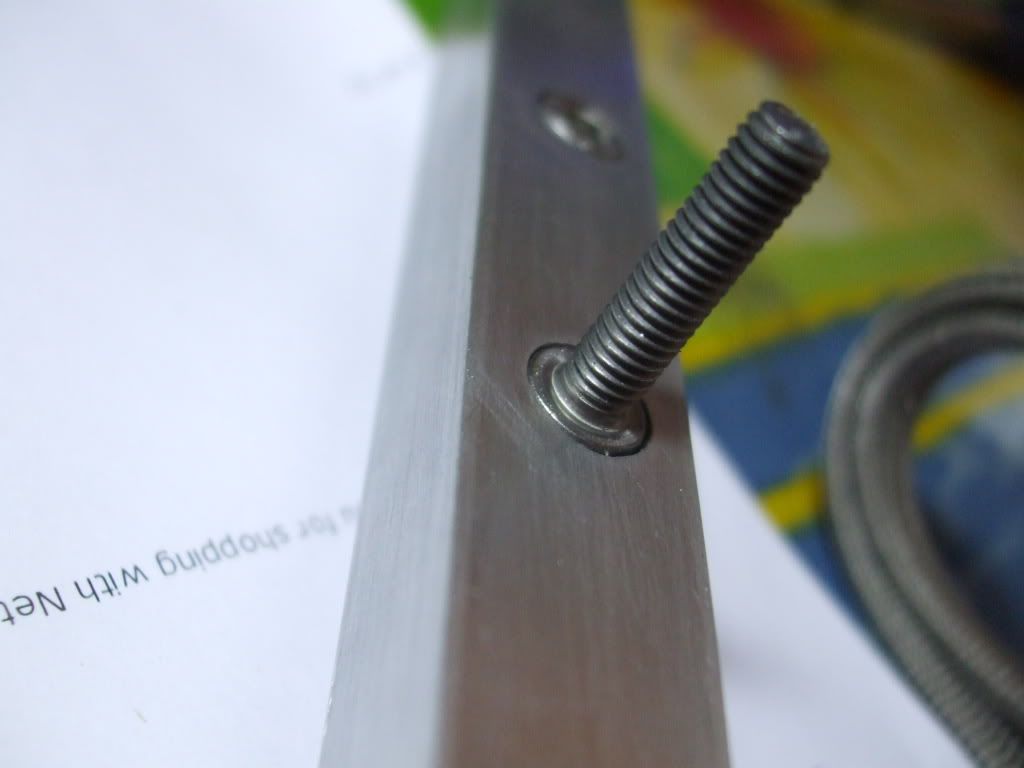
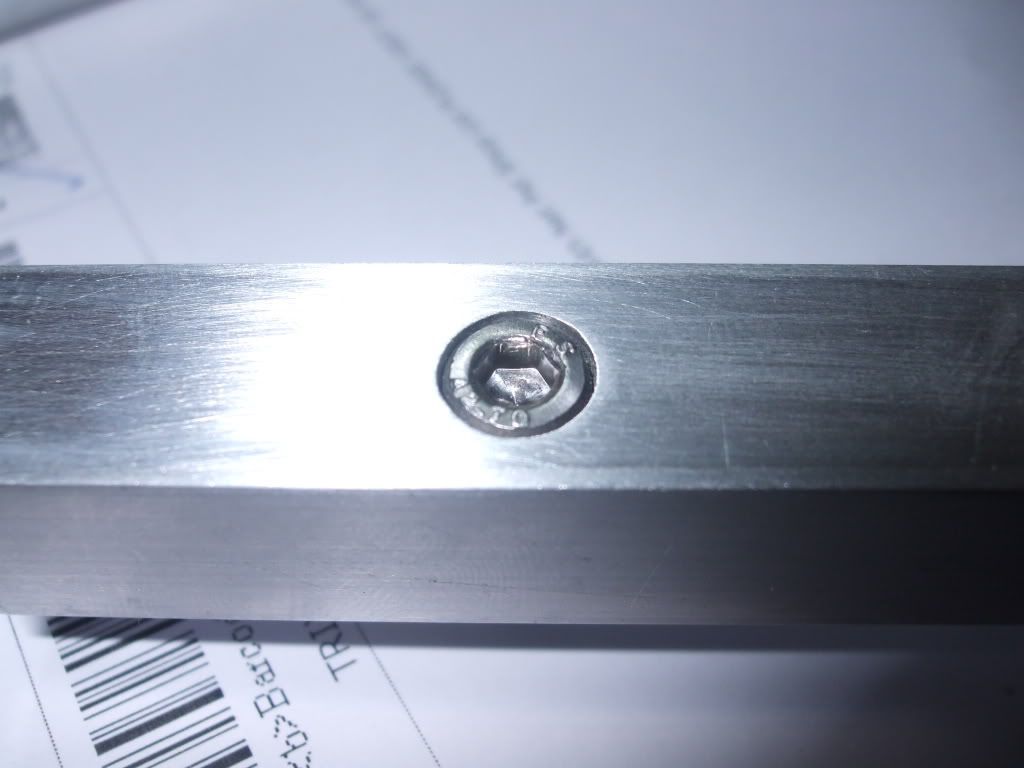
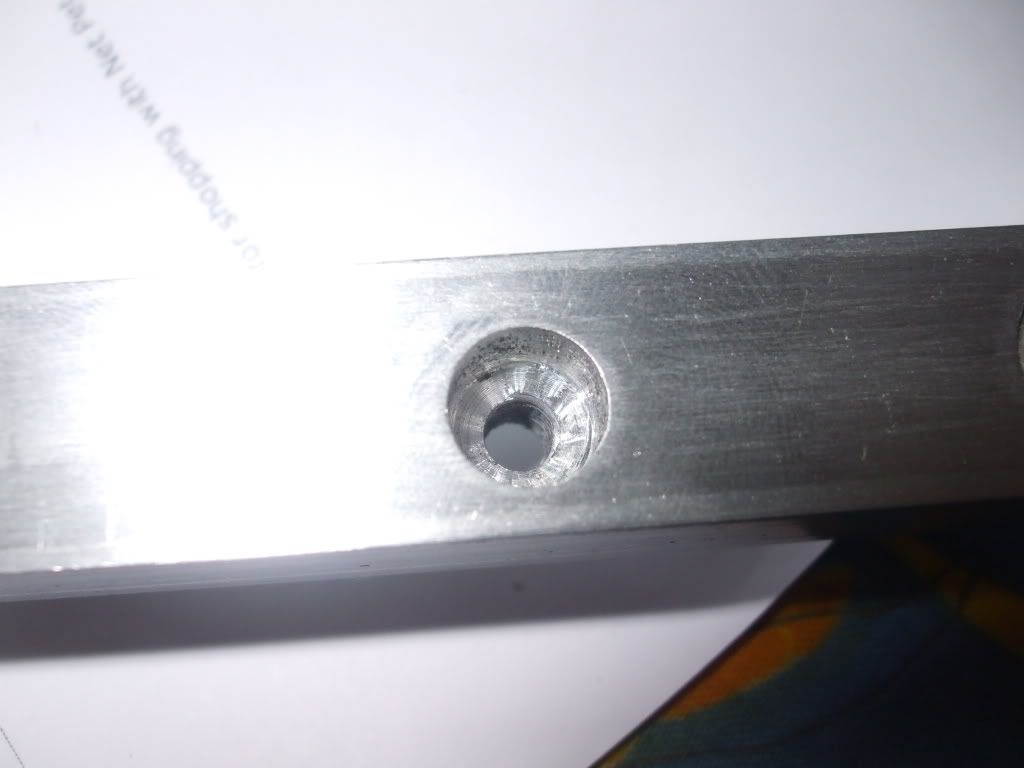
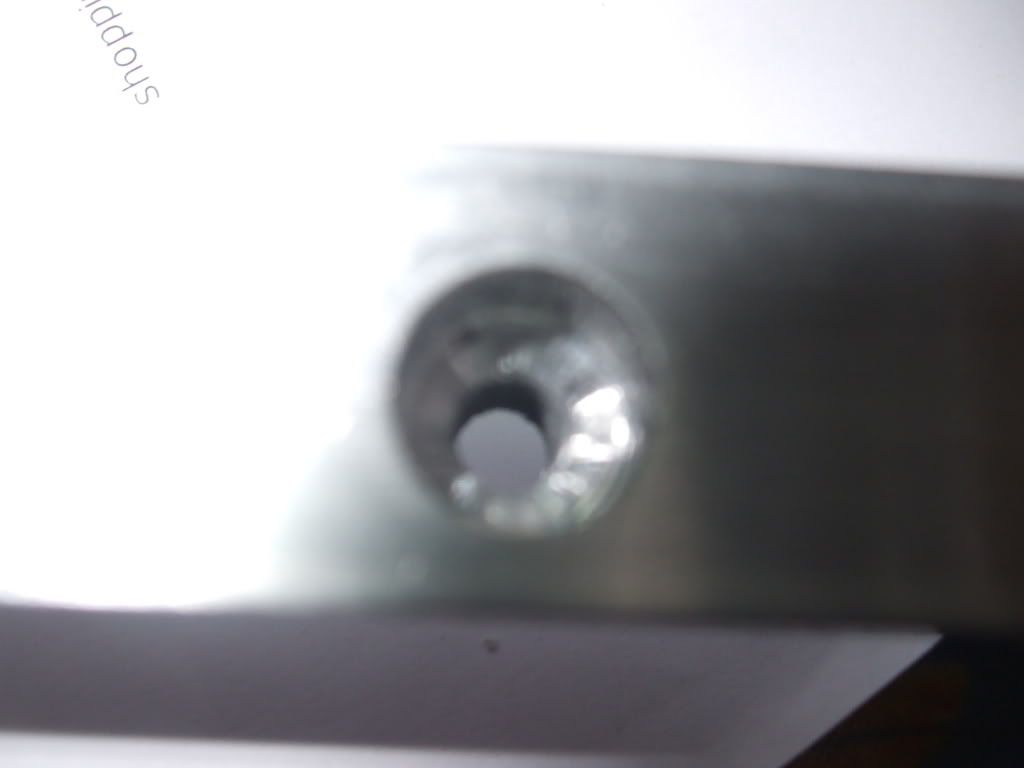
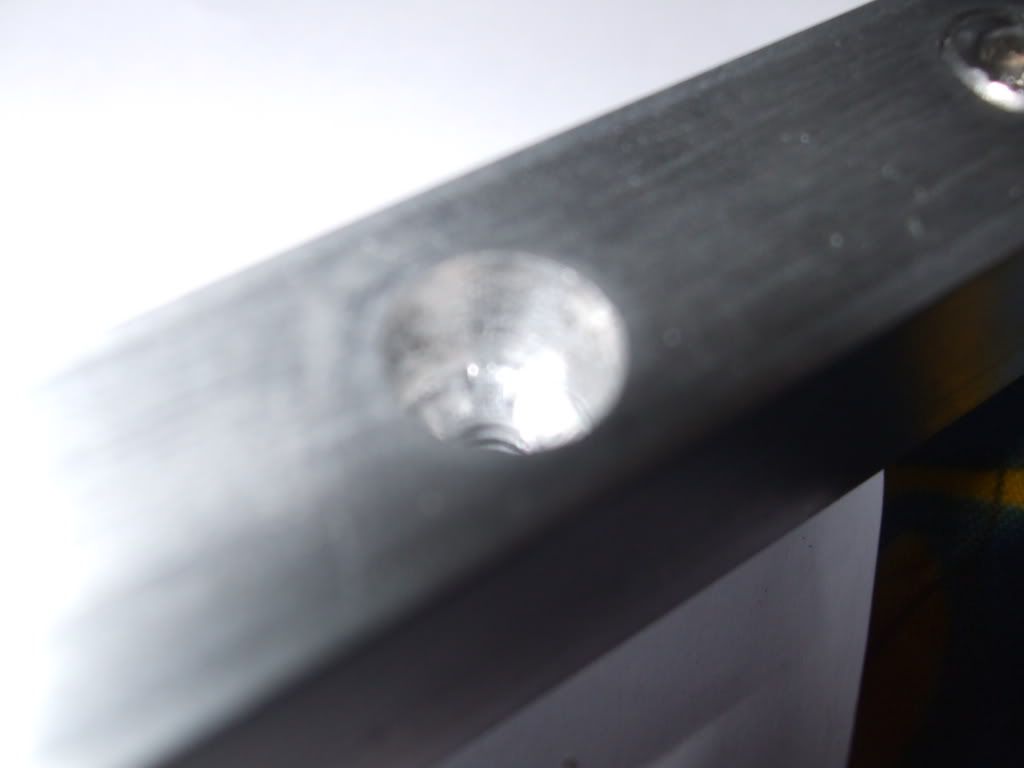
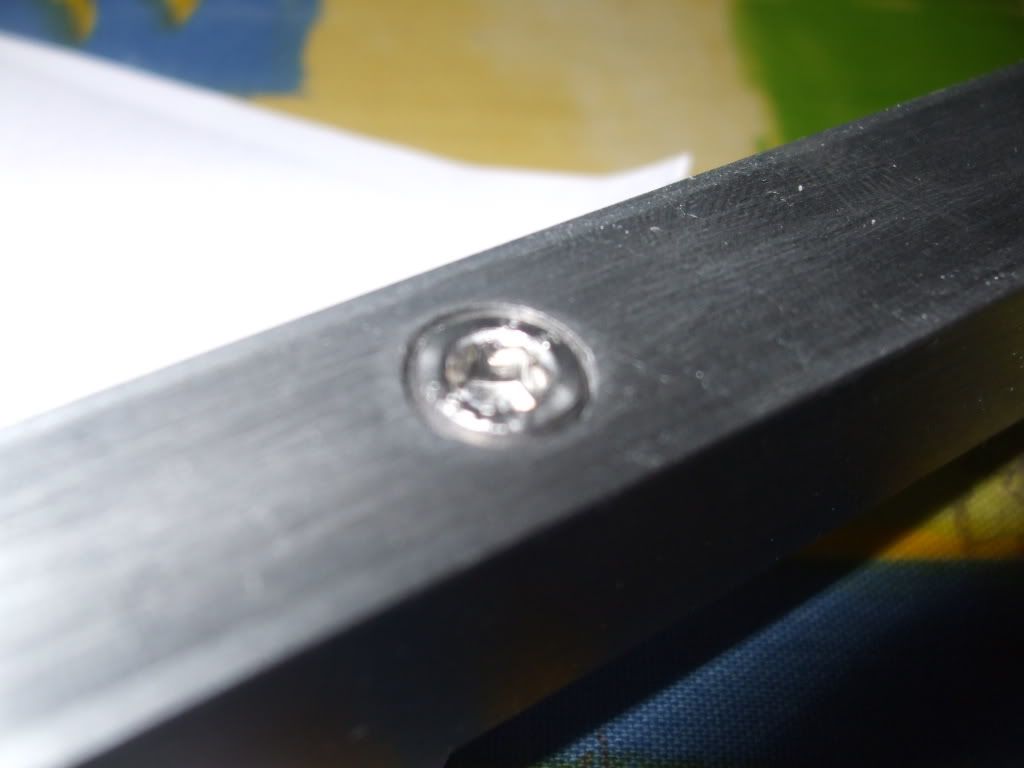


 Good work with the tapping- looks nice and tidy.
") when I have though how to word it, without giving to much away
when I have though how to word it, without giving to much away