Computer Worklog-log [Darkninja462]

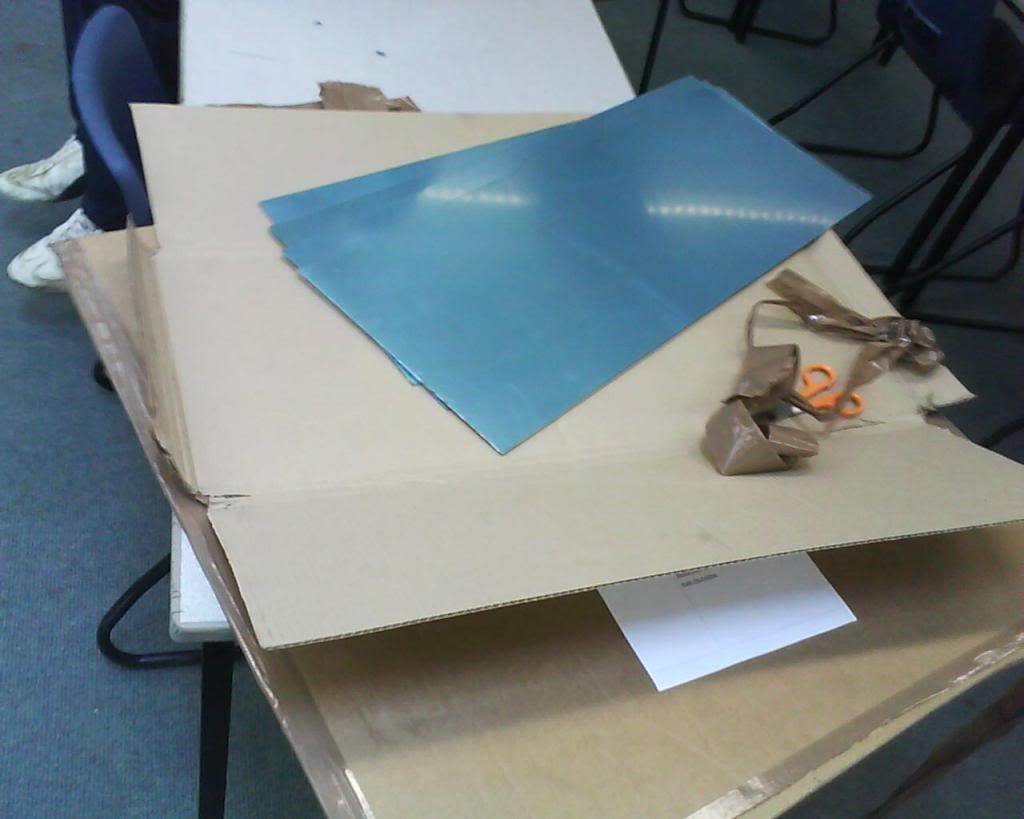
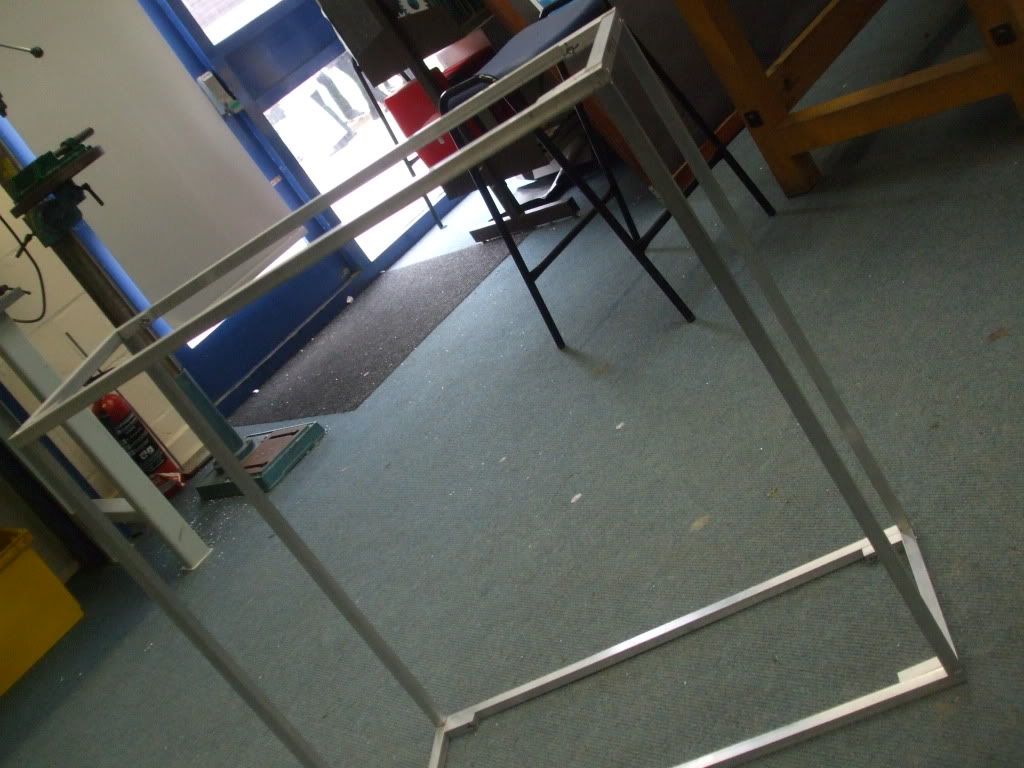
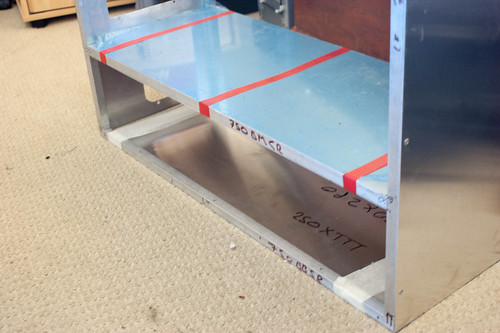
Well he did post images of his dimentioned CAD model - it's just that no-one said why do you need a 730x710x250mm case :D

Intergrated screen maybe - somewere to house 200 LED maybe - gerbil wheel secondary power supply... Looking forward to the answer.

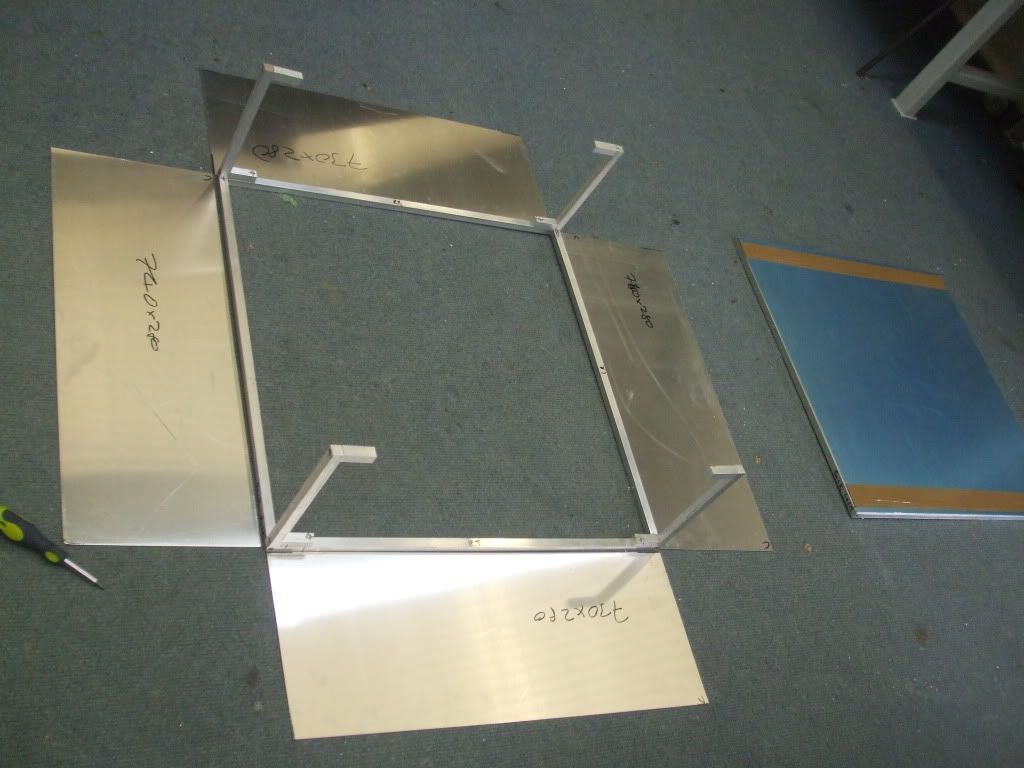
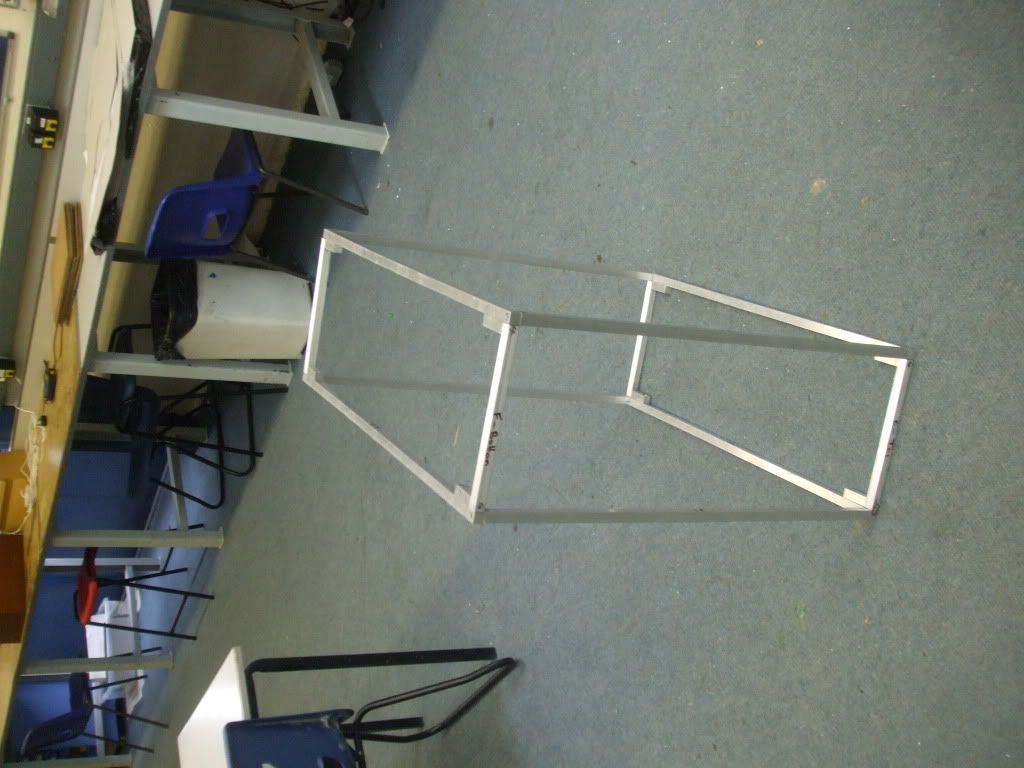
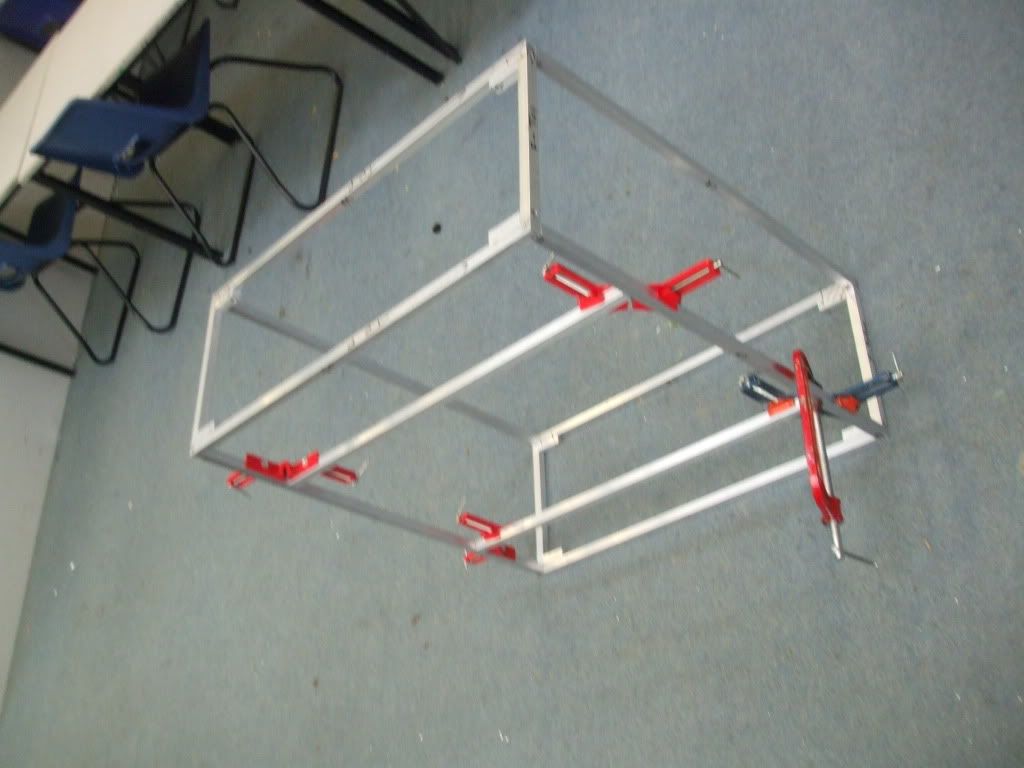
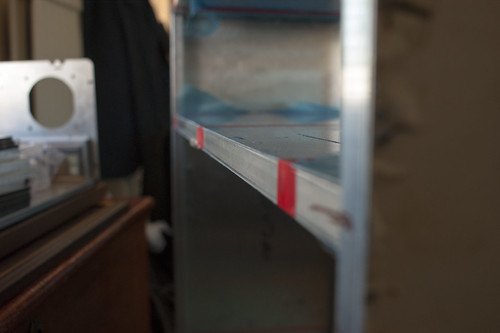
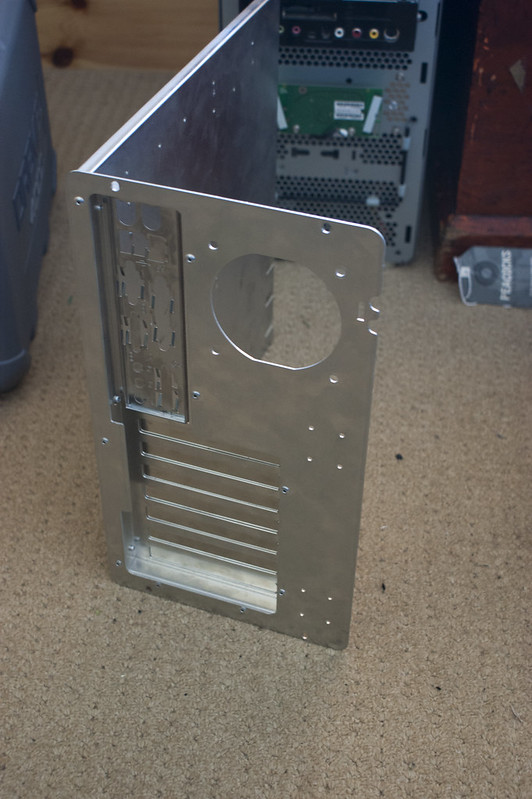
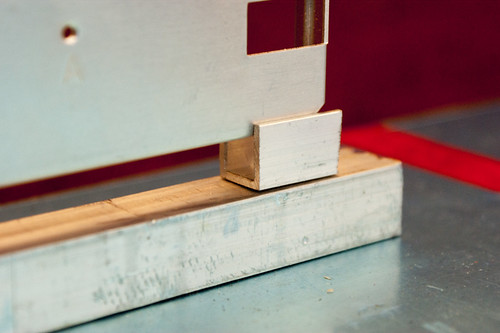
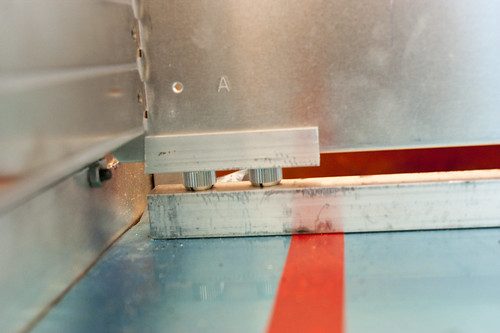
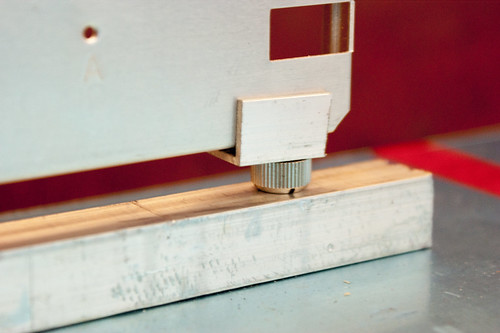
Loving the oldschool metal detailing at the juctions - that baby is build to last :D
Keep the updates coming, and there's no such thing as to many pictures

Haha I agree I love looking through the pictures great fun
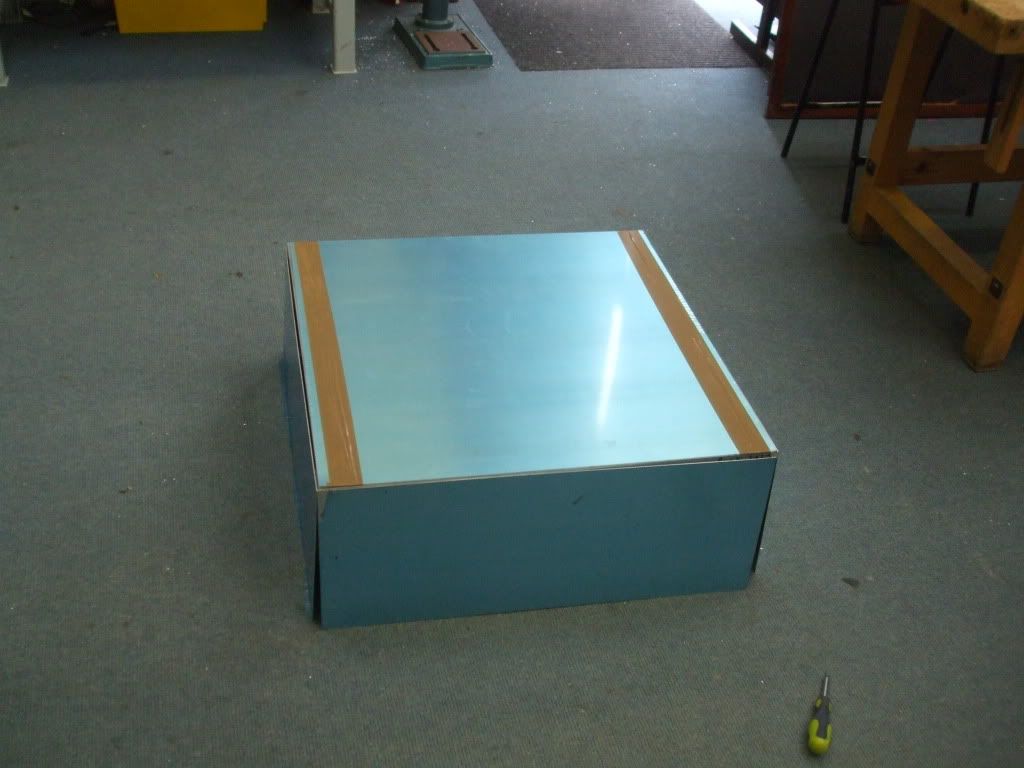
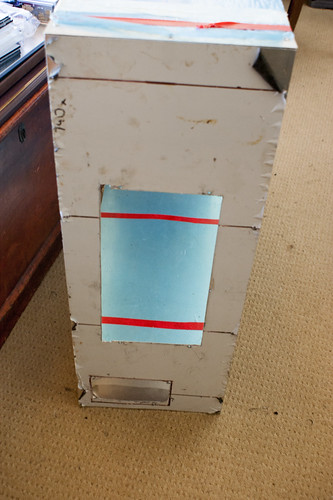
 :) (Gives Me Ideas) and reason for being so big is for water cooling at bottom so I have loads of room to play with :D and just loads of room and hopefully future proof.

Looking good, can't wait to see the final product :)

Me Neither :D

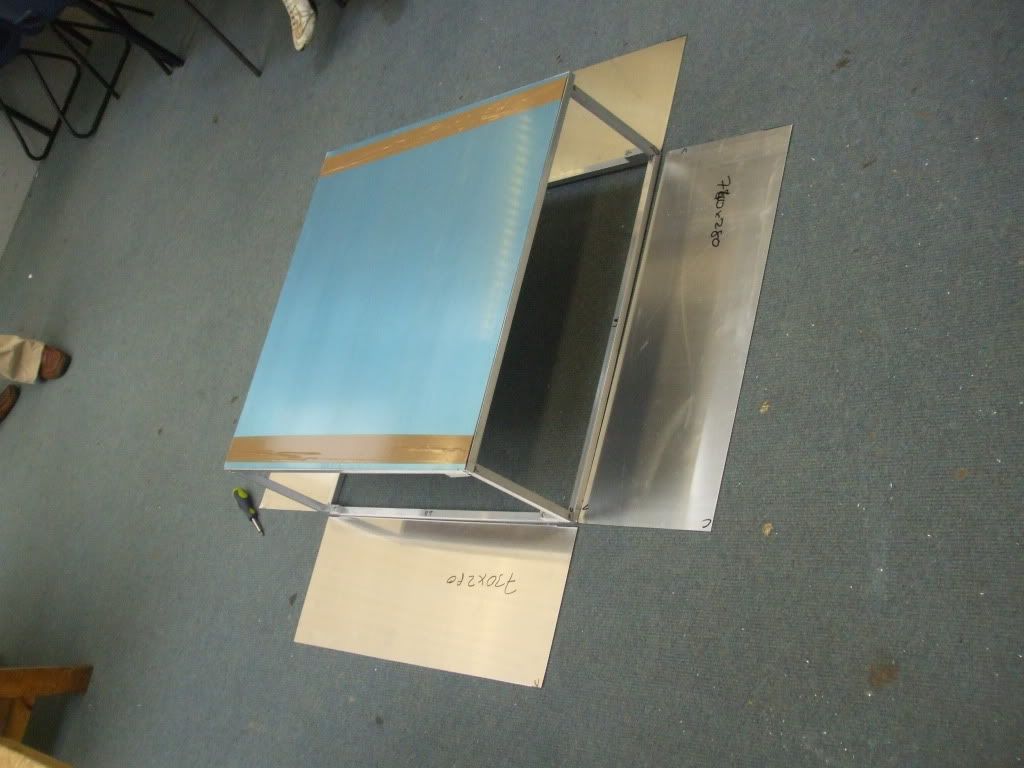
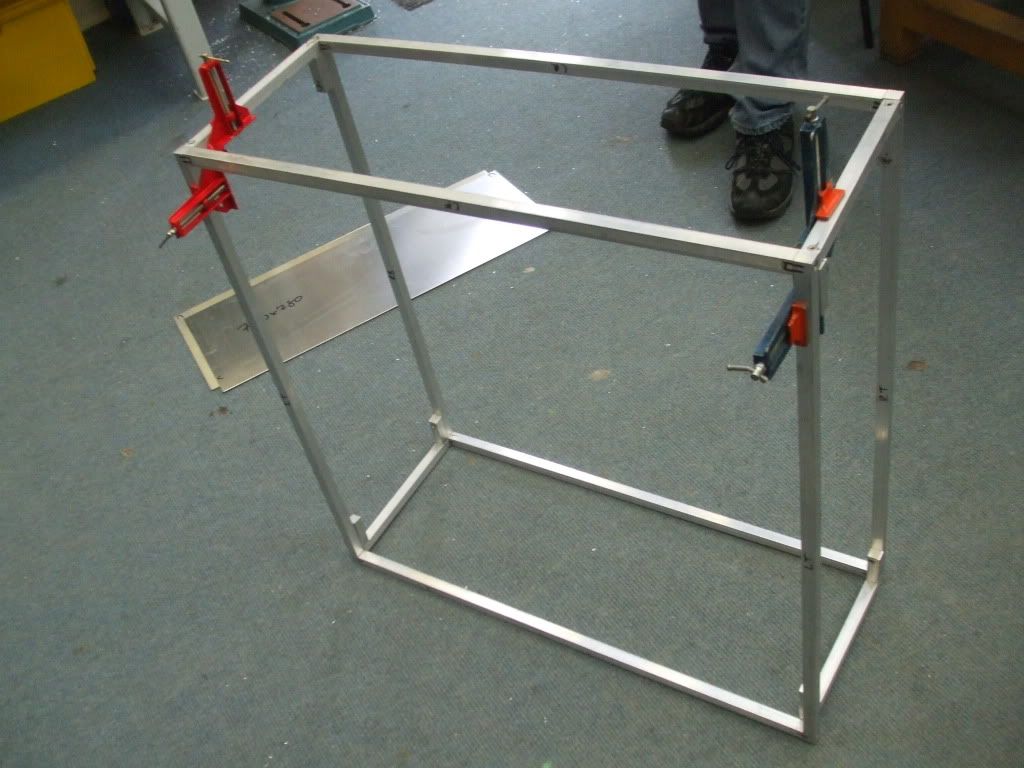
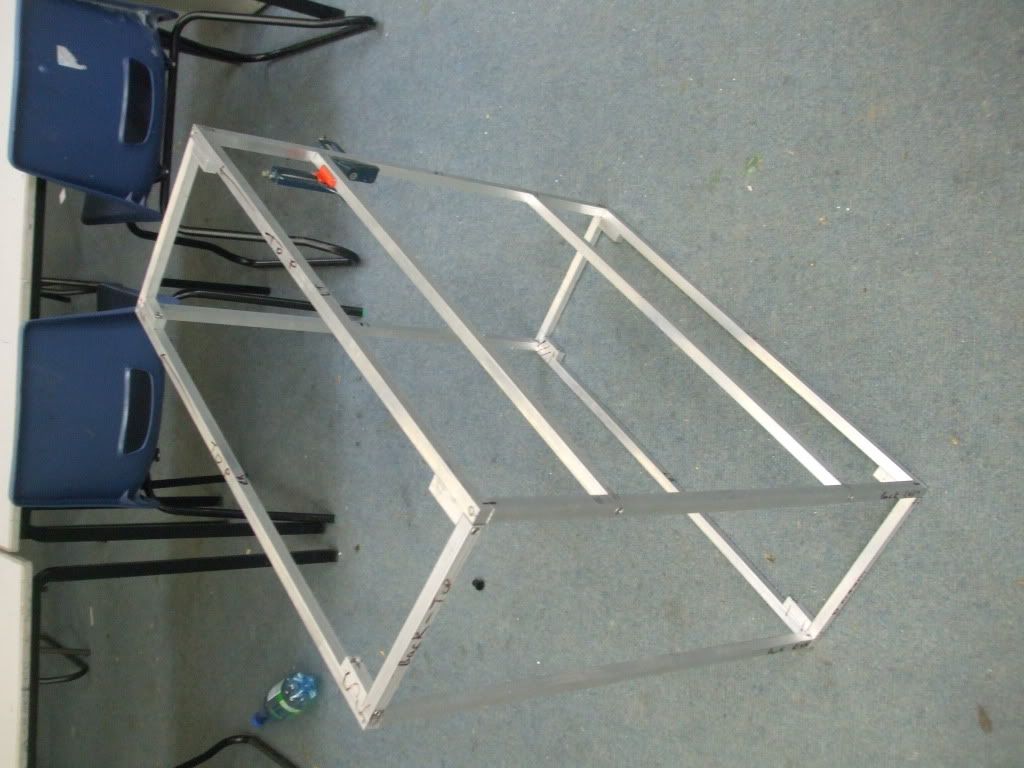
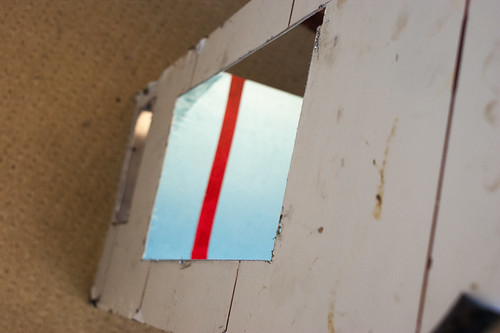
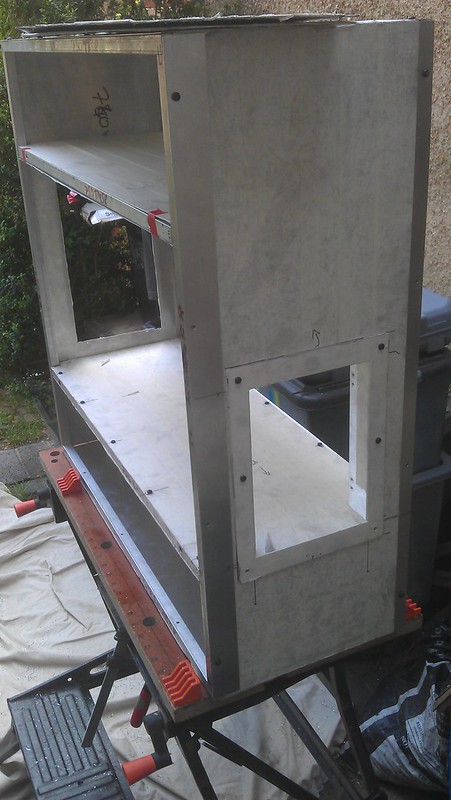
numbers mean nothing to me, need to see things in person... and now I have... geeeeez its a big case haha :p

Will at least mean theres plenty of room to work in there... and like you said, will be able to stick a nice monitor in the side haha :D

nice work though ninja, keep up the good work

Thanks for the positive comments :)
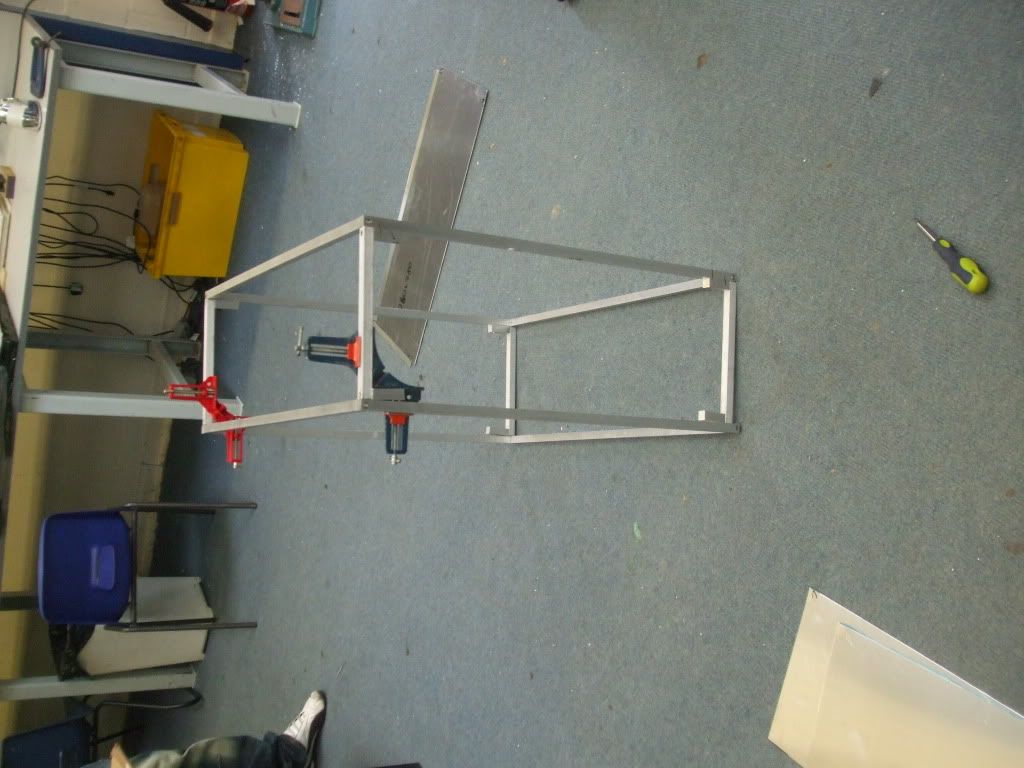
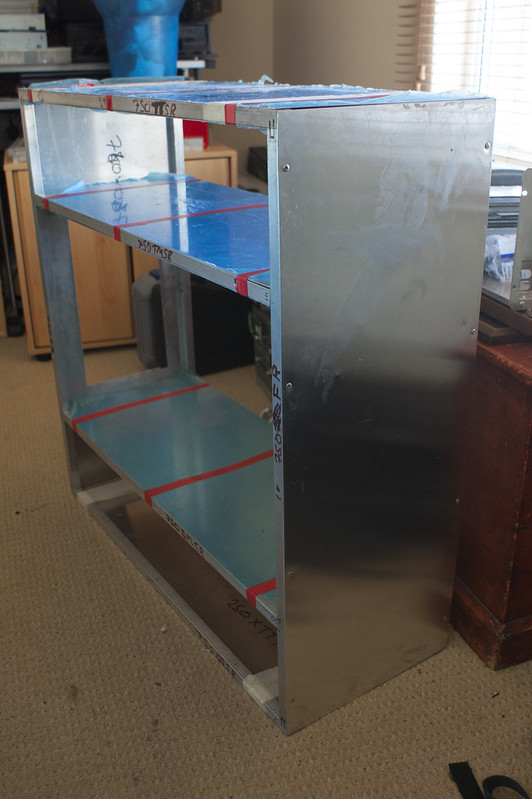
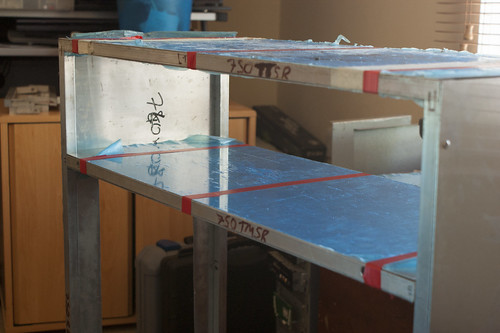
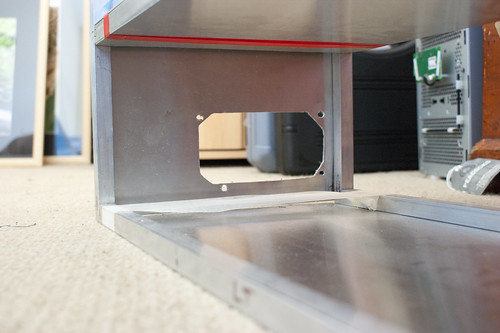
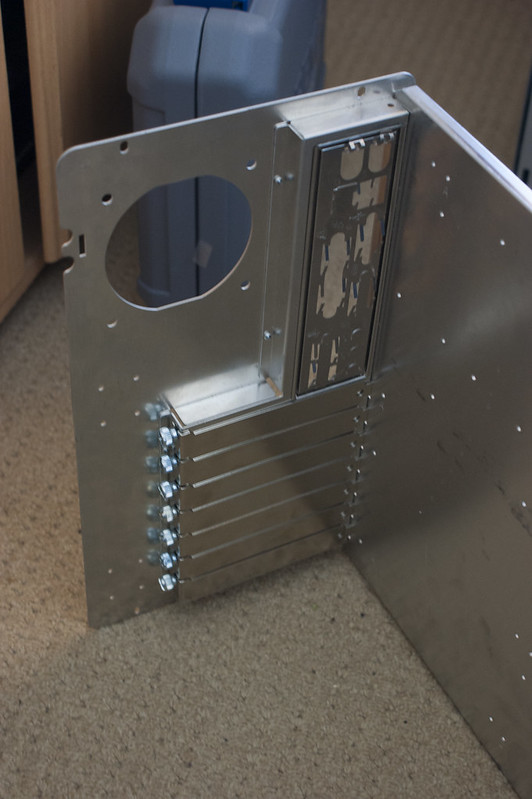
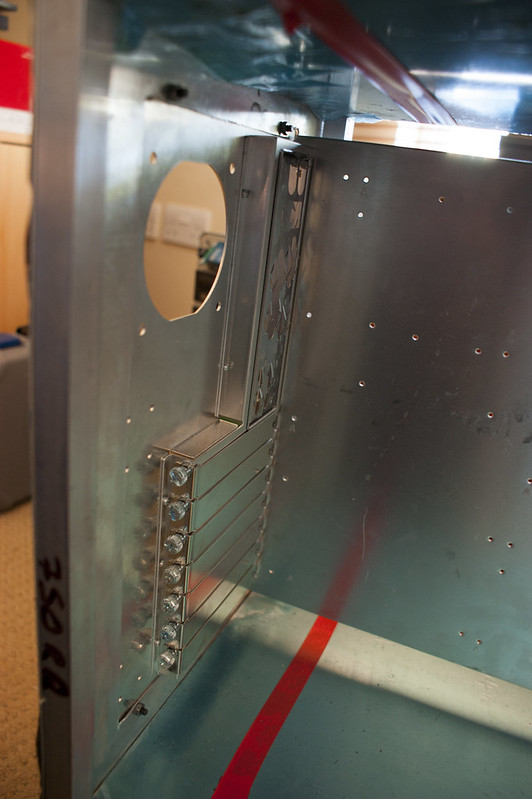
_______________________________________________________
Update ***

Completed both the side sections today and one of the crossbars so progress is going good will need to get on milling machine tomorrow though so I can keep the progress steady then I can do 95% of the bars to completion :D so frame should be done In a week *fingers crossed*

Many Thanks

Ninja
 
**Update Major One :D

Well had some rather nice surprises today, got my sheet aluminum through in the post :), and did tonnes of work on the case today and nearly finished the frame work :)

Now on to the pictures :D :
Opening Of My Parcel('s)
DSC00028.jpg

Well started the day by laying out my new aluminum round my case.
Without the top panel on:
DSCF2279.jpg

With top panel on:
DSCF2280.jpg

DSCF2281.jpg

All boxed up:
DSCF2282.jpg


Anyway back to the construction:

Little mock up of the outer frame
Front:
DSCF2283.jpg

Side:
DSCF2284.jpg


4 Taps/Bolts Later:
DSCF2288.jpg

DSCF2290.jpg


In the afternoon moved onto the cross bars

Mock up of them:
DSCF2291.jpg

DSCF2291.jpg


After doing 3 more Taps/Bolts:
DSCF2294.jpg


My first war wound from this case, I get the feeling its starting to hate me :P
DSCF2295.jpg


Thanks To All

Ninja
 
Have you thought of forgetting the side panels altogether, save for the motherboard tray, however you plan to mount that? I'll be honest, with these chunky frame custom cases I awlays think they look better with the innards on display so to speak. As soon as you put side panels on they look a bit too home-made if you get me, especially when things start bending and flexing, unless you have mega diy skills that is. Amittedly the ones I have seen like this and like the look of all have the mobo tray horizontal in the case, such that it lends itself to having fully open sides. Just a thought.
 
Have you thought of forgetting the side panels altogether, save for the motherboard tray, however you plan to mount that? I'll be honest, with these chunky frame custom cases I awlays think they look better with the innards on display so to speak. As soon as you put side panels on they look a bit too home-made if you get me, especially when things start bending and flexing, unless you have mega diy skills that is. Amittedly the ones I have seen like this and like the look of all have the mobo tray horizontal in the case, such that it lends itself to having fully open sides. Just a thought.

how do you mean horizontal btw ?

Ninja
 
Think a desktop case on two or three levels. Would have a bigger footprint than a vertical case of course. With your case, have you designed how you are going to mount things like the mobo tray and hard drive cage?
 
motherboard tray is going to mounted on rails so it slides in and out of the back, and haven't got round to thinking bout HDD tray, if worst comes to worst ill buy a Lian Li one for a bit, but thinking bout getting one CNC'd for me using sheet aluminum.

Ninja
 
Its been along time many hours/exams/days have past since I started now is time for the update.

Finally got hold of a motherboard tray, now in my possession not letting anyone take it :P
ordered the some more aluminium so now have the lenghts to make the CD-Tray bay, more bolts to fit side panels on, new camera to take some decent shots :)

Hope to be keeping you a lot more up to date :)

Ninja
 
The time has come to update OcUK Form with the details of the build I know I said I would have updated it a very long time ago now however I have my reasons but now is not the time to go into this.

Times have moved on things have been upgraded, I am now in presence of a better mind set. Moving on from my naivety off "its good enough", which lead me to look back over what I had done and think what utter rubbish I had made, completely off square. . . things not flush with each other etc. . . this I would like to add is not all completely my fault some of the bars had twisted over time.

So due to this I stripped everything down and started again, squaring off ends and joints, re-tapping holes to get them flush re-setting each side frame dead square and same lengths as the other. This did leave me with a loss width wise but that's not an major issue and needed to be done.

Once this was sorted it allowed me to rivet the external panels onto the case giving it some structure and cross beams for added support. My custom ATX removable motherboard tray arrived finally after 18 months of waiting for it.

The motherboard tray slot has been cut within the case so it now slides in as it is meant to, ATX PSU hole has been cut in the rear of the case so PSU now fits into it.

Work then stopped due to my University January exams.

The intermediate aluminium plates where still in their original sizes so the corners needed to be altered to allow them to slot into the case. This is where my new toy comes into play decided that it was about time I treated myself to a Dremel and by god I am so glad I did has allowed me to proceed much more than I anticipated.

I have now cut all but one of my intermediate plates meaning that the whole project is now taking shape.

I am now planning to cut the last plate this week sometime. On another route I have bent into place a HDD rack and have ordered a fabricated 5.25" Bays holder (Hopefully wont get into to much trouble here) from Mountain Mods, this will arrive at some point silly USPS. So that will be fitted at some point when it arrives.

Additional Info: Was a Dremel 4000 that I purchased.

Sorry for those people that had lost their faith in this project log but will have it back on track soon, pictures will be coming up if anyone wants pictures of specific things let me know or if you want me to go over details/processes of things I have done just leave a message.

Regards
-Ninja
 
Update: Pictures

Everybody loves pictures so this is what this post will all be about, the following images will show the current state as of this morning which the case is in.

7629193420_e1e0e71f56_c.jpg

Caption: Showing all but one plate taped into position to give an overview of the case.

7629198446_685b71eb74.jpg

Caption: Showing top section of the case.

7629203682_4153efc84e.jpg

Caption: Showing mid and lower section of the case (Bottom section is missing a plate).

7629208392_c764b308f4_c.jpg

Caption: Showing motherboard tray cutout in mid section.

7629214284_8e5d5bcae9.jpg

Caption: Showing PSU cutout in lower section.

7629220600_35ec312491.jpg

Caption: Showing Rear of case looking down.

7629227244_d15f653d1d.jpg

Caption: Showing rear of case both motherboard and PSU cutouts.

7629232030_a0679d7757.jpg

Caption: Showing top mid section top and bottom plates taped into place.

7629237280_dcb714de4a.jpg

Caption: Showing top mid section plate fitting round corner column.

7629249552_fe895fcb22.jpg

Caption: Showing top mid section plate butting up to the rear panel.

7629254682_518340ee73.jpg

Caption: Showing rivet attaching outside panels, (These are in the process of being removed and replaced with M4 bolts.

7629260220_62408518bc.jpg

Caption: Showing PSU (bog standard one that was laying around) fitted to the case outside view.

7629266092_4f3aca4bc1.jpg

Caption: Showing PSU fitted to the case inside view.

7629271794_3fe3815a39_c.jpg

Caption: Showing custom fabricated motherboard tray back view.

7629276602_1171bb5264_c.jpg

Caption: Showing inside view.

7629282396_3c491997a1_c.jpg

Caption: Showing motherboard tray fitted to case outside view.

7629287854_ccac5e7911_c.jpg

Caption: Showing motherboard tray fitted to case inside view.

7629295292_8281ba2d02.jpg

Caption: Showing motherboard tray mounting rail concept 1 overview.

7629302732_5e475933e1.jpg

Caption: showing motherboard tray mounting rail concept 1 close up.

7629309466_73b72e4376.jpg

Caption: showing motherboard tray mounting rail concept 2 overview.

7629317656_97e94cd477.jpg

Caption: Showing motherboard tray mounting rail concept 2 close up.

The last 4 images are concept ideas for how to make this and will consist of solid piece of bar and then a U profile extrusion of aluminium like the one shown. So that the motherboard tray cannot move once slotted in.

Hope you enjoy the pictures and the update.

If you want to check out the images at larger resolution check out the flick set in the following link: Link Here

Little Update: Just had a little stint on a local auction site (not strictly competition as engineering supplies) but awaiting some new drill bits as broke a few drilling out rivets earlier, and some shiny marine grade A4 stainless bolts which should look awesome :D

Regards
-Ninja
 
Last edited:
Update: Shiny Package Arrived!

Had a surprise this morning to get a delivery which was supposed to be still in Los Angeles :confused:

Oh well not really important just glad it is here :)

5.25" x5 Drive Bay:
7635805152_cfc7dde171.jpg


7635804322_04cc29a76f.jpg


7635803232_603d421aab.jpg


7635802412_e399b997d9_c.jpg


This is a welcome sight can finally mark up where it should be, I think I will be going just above flush (On the inside) with the bottom mid plate any thoughts on this ? rather than dead in the middle or flush with the top inside.

Regards
-Ninja
 
Back
Top Bottom