custom allu case from the ground up.

Soldato
Joined
13 May 2007
Posts
7,004
Location
On the wagon, sorta
Ok some people will think I'm crazy allot of my friends did, i had planned on buying a SG03 i love them they gorgeous and tiny to boot i was all set, then one morning i woke up and decided hey what the hell ill make my own.
All i have heard ever since is why! it certainly isn't cheaper considering i have had to bye all the tools materials etc, but its mine and i made it :D

So here we go I'm going for a desktop htpc style case made from aluminum (and stainless mesh as the ally mesh was to hard to source)

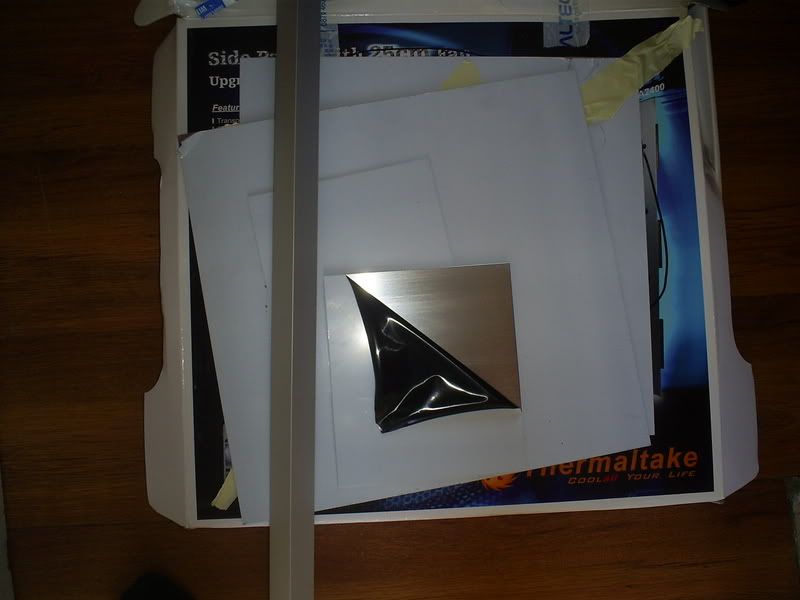
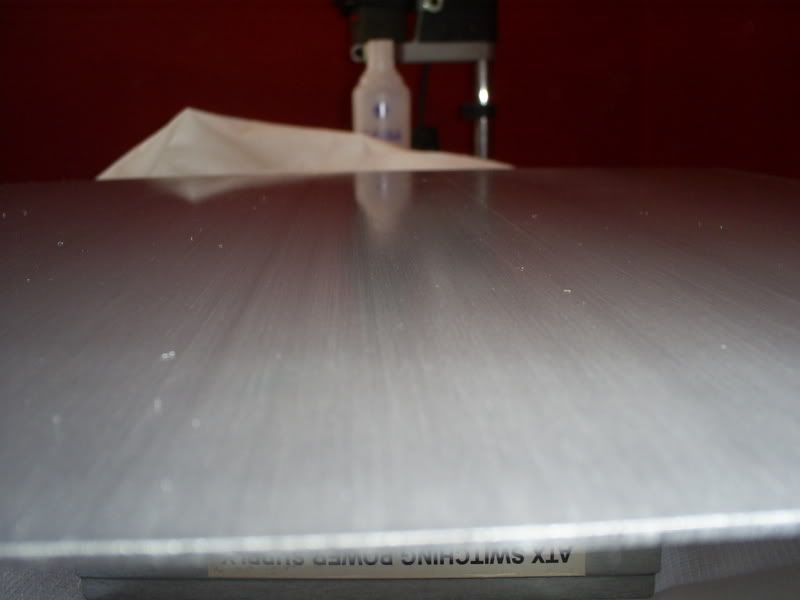
This is what it will be sitting next to or on top of

S5030330.jpg


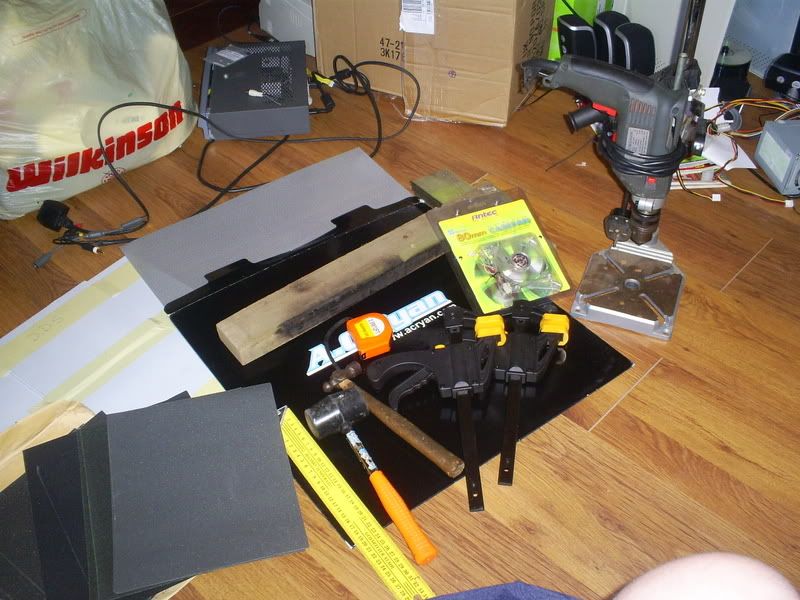
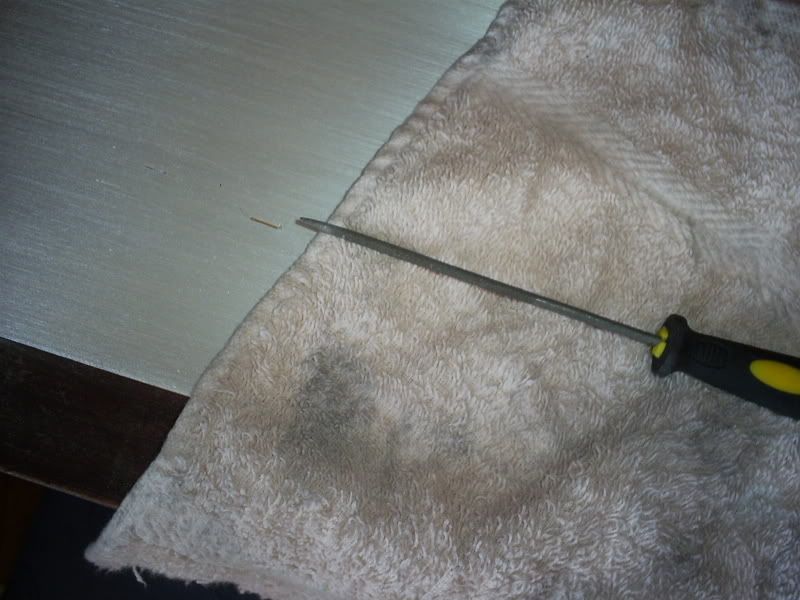
Got the delivery with a few goodies but I'm still waiting on some parts but this is enough for me to make a start at least

S5030329.jpg


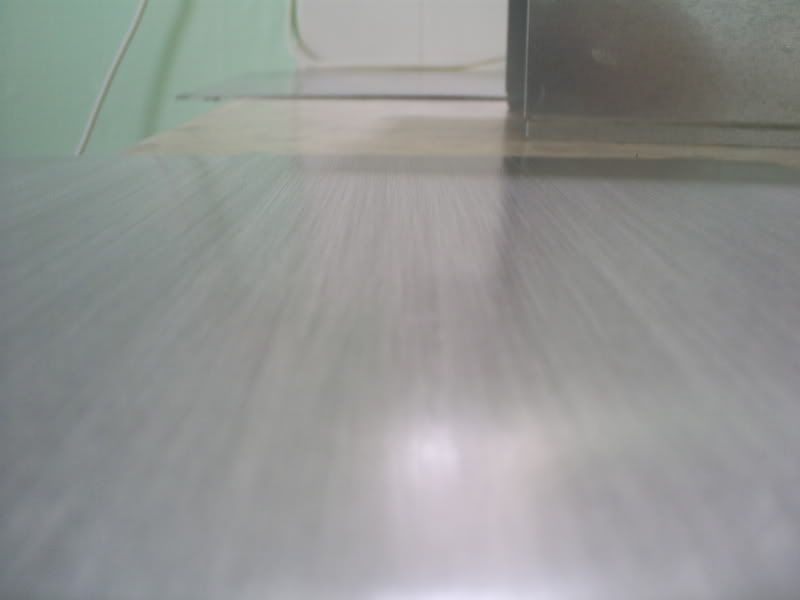
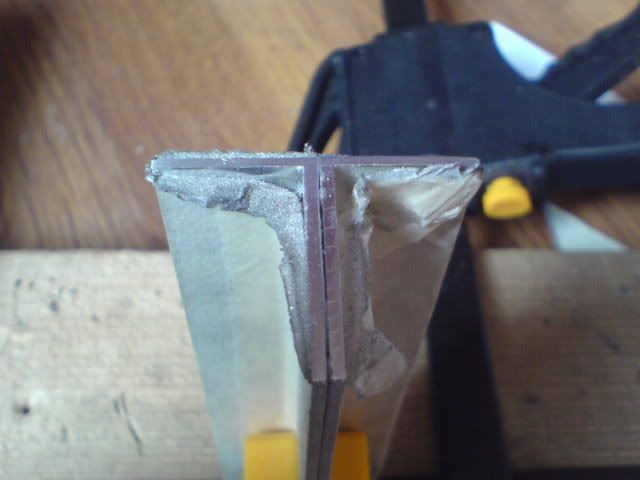
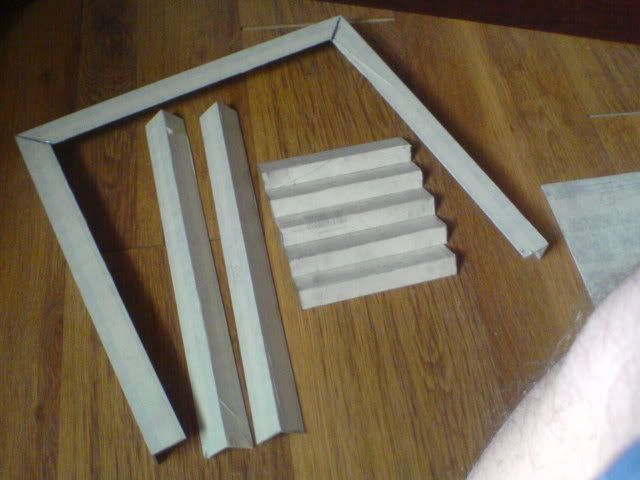
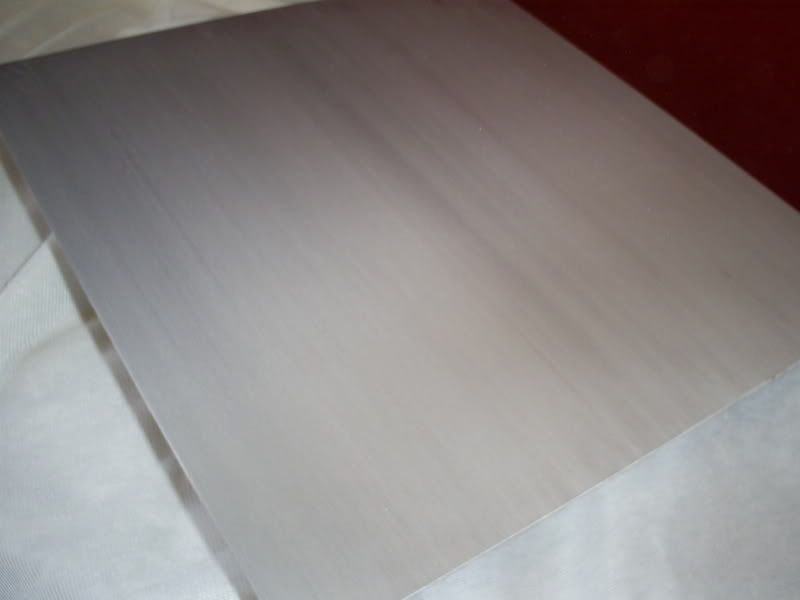
This is the aluminum, i got a good deal on this from a gangway manufacturer all precut to size extremely accurate with a guillotine.

S5030332.jpg
 
Last edited:
And so the hard work begins, i cleared a workspace and set up my brushing rig ready to start.

S5030344.jpg


Straight away i could see there was going to be a problem, brushing a piece of aluminum larger than the piece of sandpaper brushing it was trickier than i thought its was real hard to stop a pronounced line forming at the end of the sheet on the panel.

S5030353.jpg
 
And then disaster as i was making the finel passes over the panel one of the nails worked its way loose flipped under the sandpaper and this is the result

S5030350.jpg


needles to say i was furious so i set about repairing it best i could.

S5030351.jpg


Well it didn't turn out to bad still a little annoyed but there nothing can be done about it now this is the final product ready for clear coat.

S5030352-1.jpg


sorry for so many posts but i had that many images!
 
Remember, measure a dozen times, cut once . . . :)

Good luck. Aluminium is easy to work with, but its softness can be a problem (As you have already found out). Normal PC threads (The coarse ones for hard drives expansion cards etc) Are 6-32UNC. This is an american specification thread, just a bit of info which isnt widely known (I had to measure it to find out).

Good luck. :D
 
Cheers bud that good info to know.
am i going to have trouble finding a tap and dye set that will cut these threads?
and what size drill bit should i use to make the initial hole?
also will 2mm thick aluminum be Ok to thread into ie: will it be secure enough for the screws?
 
deuse said:
wow good stuff..

will keep my eye on this,maybe you can do custom jobs for all of us ;)

id love to make a career out of something like this but then pipe dreams are just that.
cheers for the comment matey
 
hey dude you can have any thing in life you want
its just how bad you want it

keep posting pics of updates.. ;)
 
6-32 UNC - Tapping Drill 5/32" or 4mm.

It may be better to buy a motherboard tray and use that as the base. It would be a thousand times easier.
 
I think a motherboard tray might be the only way foreword looking at 2mm aluminum i don't know weather it would grip an insert enough.
i suppose i could make the motherboard tray removable as well to give it another little quirk.
only problem is i only have steel ones lian li do a motherboared tray and back panel but there £20 a shot plus p&p so im looking at £30 mark for a allu one hmmm decisions decisions.
dont realy fancy spending up of £50 for a on/off switch mobo tray and case feet
 
well todays work os done, this is what ive gotten through.

i got an early start by clear coating the panel hear is the stuff i founf, i got it from my local charlie brown's for £5 a tin looks nice on as well.

S5030358.jpg


heres a quick shot of the aluminum after its been clear coated sorry there are not more/better pictures the memory card was full and before i remembered to snap some more shots id taped them up ready for marking.
The clear coat seems to give the brushed effect a more unified look and it seems to work as a mild concealer as well, it makes the metal a lot more forgiving to inconsistency's.

S5030357.jpg


Then wouldn't you know it the battery's dies on the camera so i had to switch over to the phone so sorry for the lack of quality.
Heres the paper template i made so that i could cut the angles into the top brace section i was making.
Looks crude but i did not have anything to measure angles so the needs must

S5030360.jpg


S5030361.jpg
 
heres the cut looks spot on!

S5030362.jpg


its off! not much but enough to tell by sight all though it shouldn't make any difference to the angle of the bend
once both cuts are made in this way i went about making the bend.
Its amazing how useful old roms are

DSC00278.jpg


even the xbox rom is getting in on the act

DSC00279.jpg
 
time for some lunch this for you guys

DSC00281.jpg


watered and fead i set to the task of cutting all the main posts for each corner and the strut bar i plan to use to help mount the psu.
I like to use the reinforced cutting discs as grinding discs its really good at removing material evenly

DSC00284.jpg


after some sanding with 100 grit and then 220 grit this is the result its a nice smooth edge, believe it or not mine is the one on the left
the one on, the right is the retail cut on the end of the piece of angle.

DSC00283.jpg


well thats me done for the day, time to sit with the girlfriend,show her i know she still lives here lol!
not bad for a days work ill probably spend an hour tomorrow making sure the ends are nice and smooth and then move onto cutting in detail like mounting gaps for the psu and fans. then its on to cutting the mesh to size and working out the best way to mount.

DSC00286.jpg


and yes the bottom one of the 5 pieces is shorter than the other because it needs to be :D lol!
 
need a little info if any one who looks in can help.
what the diameter if a vandal switch the one with the lit surround around the button.
 
im loving this thread so far....
ive got one of those buttons but its on my case! :D

dsci0326om7.jpg


its a bulgin switch (cheers to raikiri for the heads up!), if thats what you are thinking of, i used a 19mm drill bit and a bit of tension, it was tight!
its probably 19.2 or something and i took the rubber washer away so that it would sit flush.
keep the updates coming.....subscribed!
 
Back
Top Bottom