You are using an out of date browser. It may not display this or other websites correctly.
You should upgrade or use an alternative browser.
You should upgrade or use an alternative browser.
custom allu case from the ground up.
- Thread starter Kanifee
- Start date
More options
Thread starter's postsdamian666 said:youll probably being to hard on your self, that and you probably arnt taking your time
just dive in and give it a shot you have nothing to loose but bordam
And money
 , seriously good project mate, its going to look great when its finished.
****UPDATE****
ok this morning i was bored so i re designed the full front of my pc, i know i know its a bit late but i cant help my self and the other one just seem a bit blanned.
now i understand how case designers find it hard to come up with unique and likable designs.
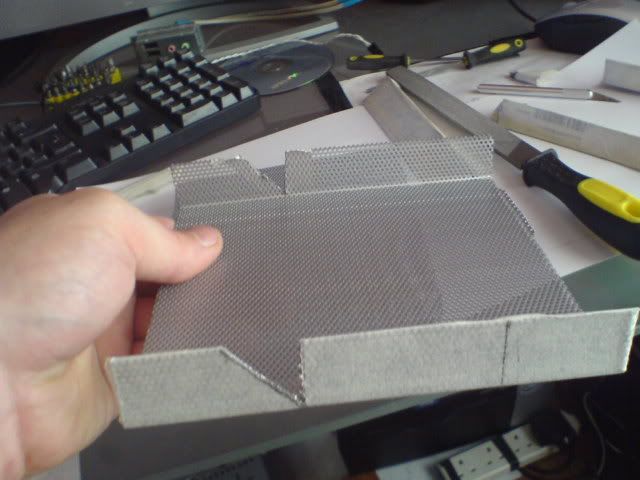
heres a quick sneak peak of the sort of look im going for now, theres still a load of detail that will make this look a lot more attractive.
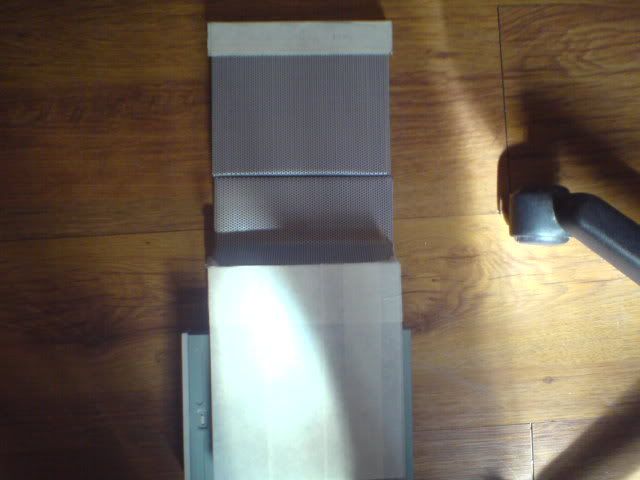
ok this morning i was bored so i re designed the full front of my pc, i know i know its a bit late but i cant help my self and the other one just seem a bit blanned.
now i understand how case designers find it hard to come up with unique and likable designs.

heres a quick sneak peak of the sort of look im going for now, theres still a load of detail that will make this look a lot more attractive.

Last edited:
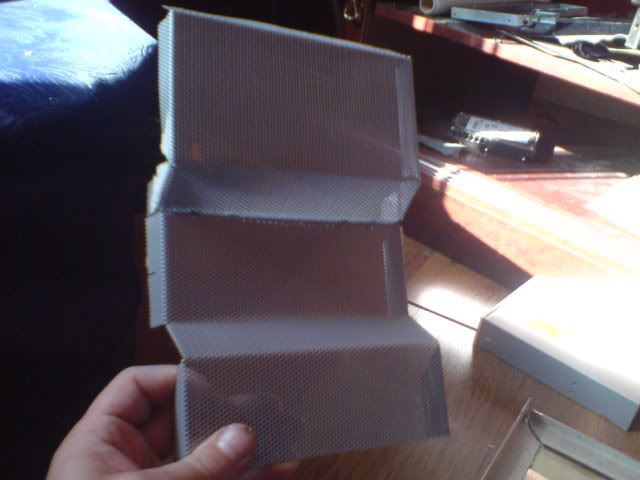
i started making the side trims for the face from the scrap i had from the window cut out, i told you it would come in handy lol!
i really am sick of filing must be some machine out there that can do it for you
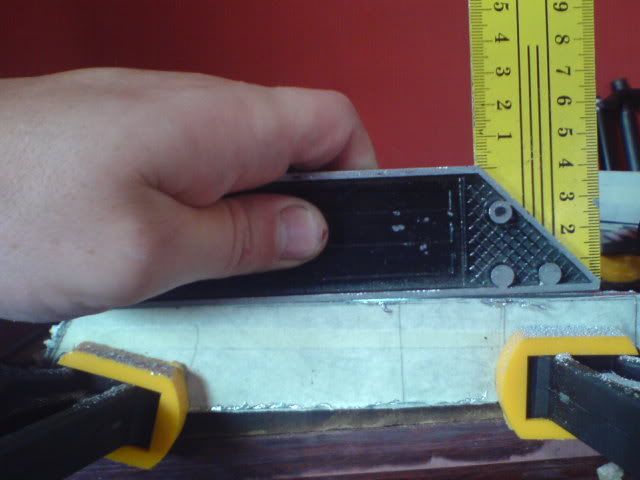
heres the left and right done and paired, only niggle is i have the brush on them going a differant direction to the front panel, shouldnt be a problem but its still annoying.
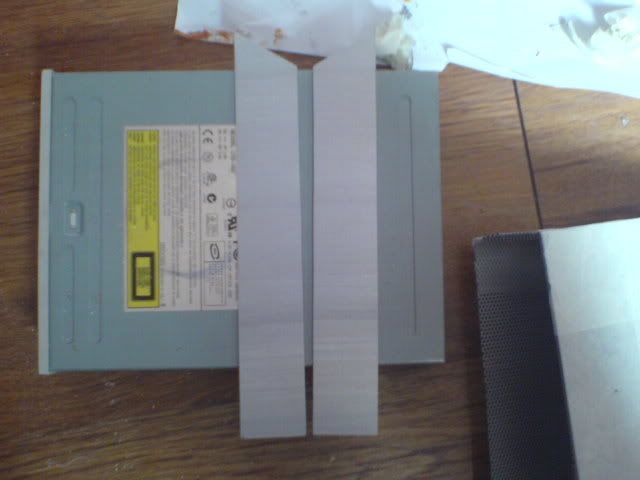
i really am sick of filing
 must be some machine out there that can do it for you

heres the left and right done and paired, only niggle is i have the brush on them going a differant direction to the front panel, shouldnt be a problem but its still annoying.

hmm nice fit, the lip will be hidden behind the front panel but this just gives you an idea of there use.
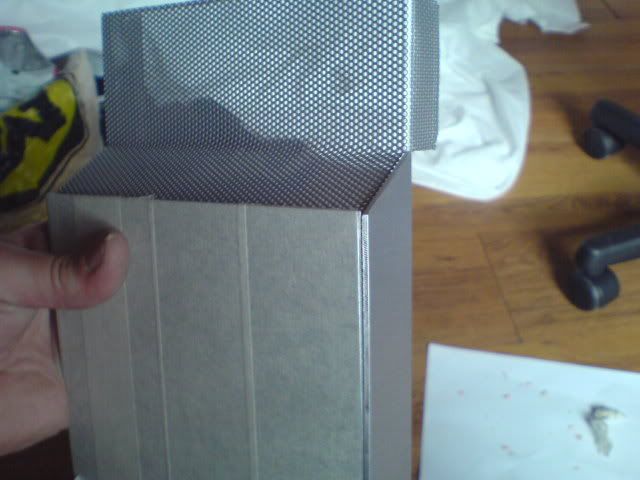
then i start cutting in the detail so they fit snuggly around the other pieces
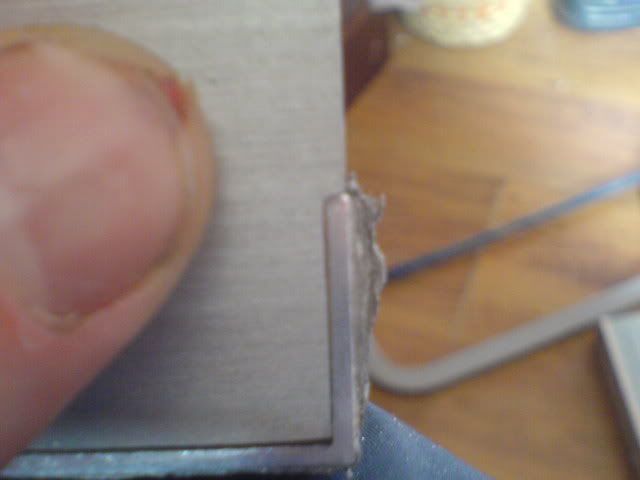
well thats it for now, enjoy lads and speak soon.

then i start cutting in the detail so they fit snuggly around the other pieces

well thats it for now, enjoy lads and speak soon.
ok update
sorry for the gap but have had a busy few days, the plasterers have been in to take care of my bedroom ceiling before i was sleeping with it in my bed
heres some pics of the job they done.

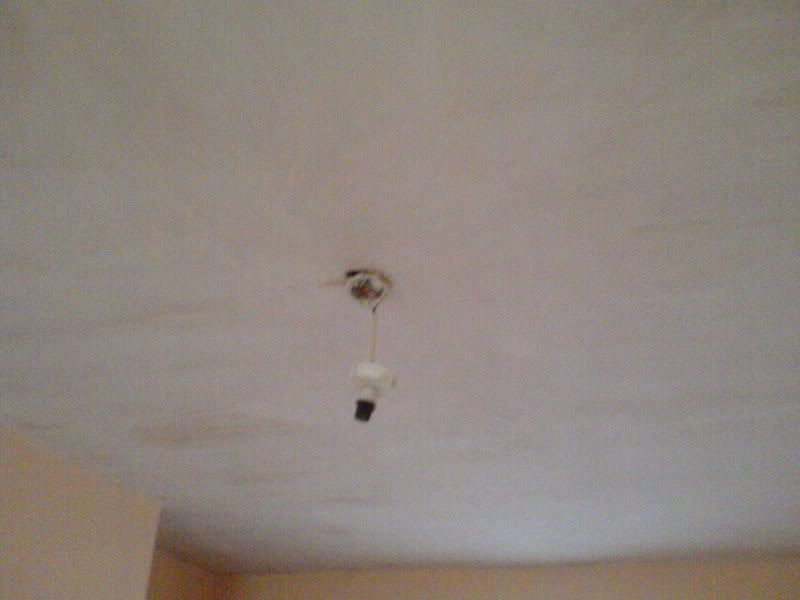
not bad just need to wait for it to dry and then im sorted, so that means work can start back on the mod just what i like to hear.
sorry for the gap but have had a busy few days, the plasterers have been in to take care of my bedroom ceiling before i was sleeping with it in my bed

heres some pics of the job they done.


not bad just need to wait for it to dry and then im sorted, so that means work can start back on the mod
 just what i like to hear.
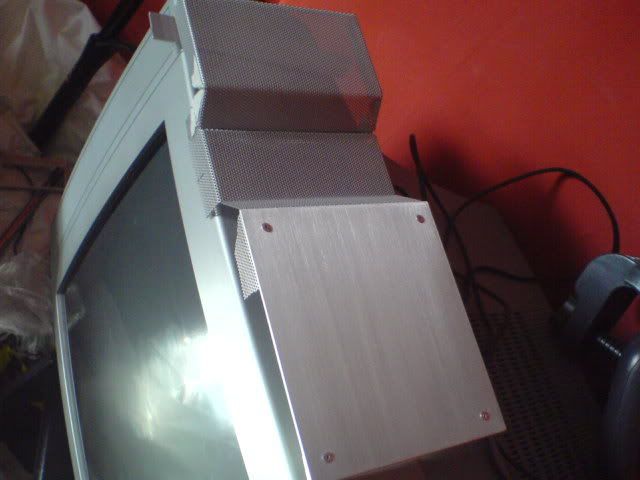
As you can see i couldn't find a way to mount all the pieces without hiding the rivets so i went rite to the other end of the scale and put them rite in plane sight, i think its looking good allot better than i thought they would look.
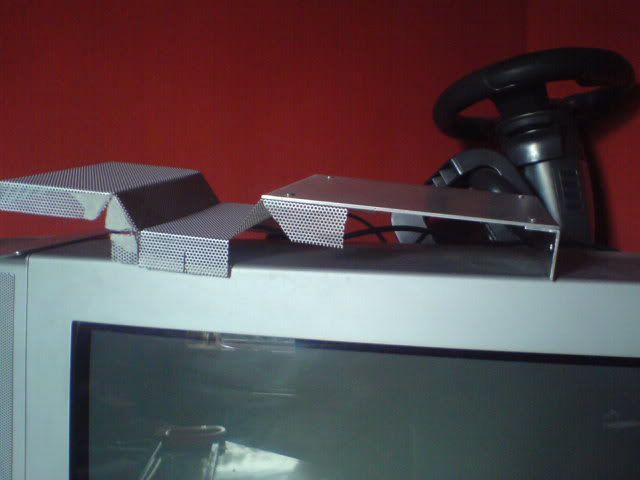
and hear i fitted the top piece that will join to the top struts
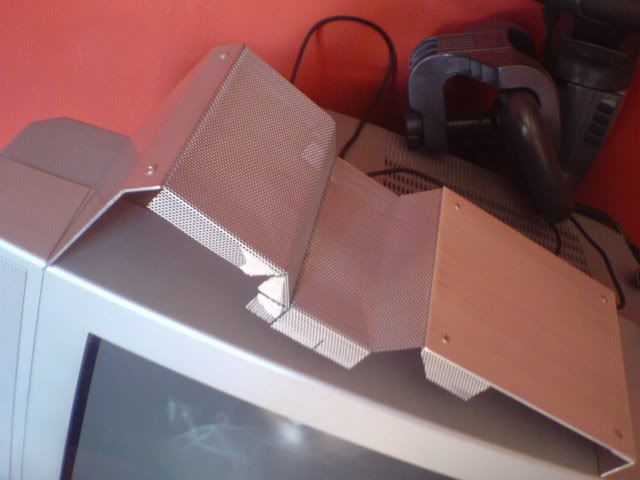
starting to realy take shape im getting excited now

and hear i fitted the top piece that will join to the top struts

starting to realy take shape im getting excited now

Associate
- Joined
- 25 Feb 2007
- Posts
- 878
- Location
- leicestershire
your throwing down some real nice skills there, keep it up!


