Deep End

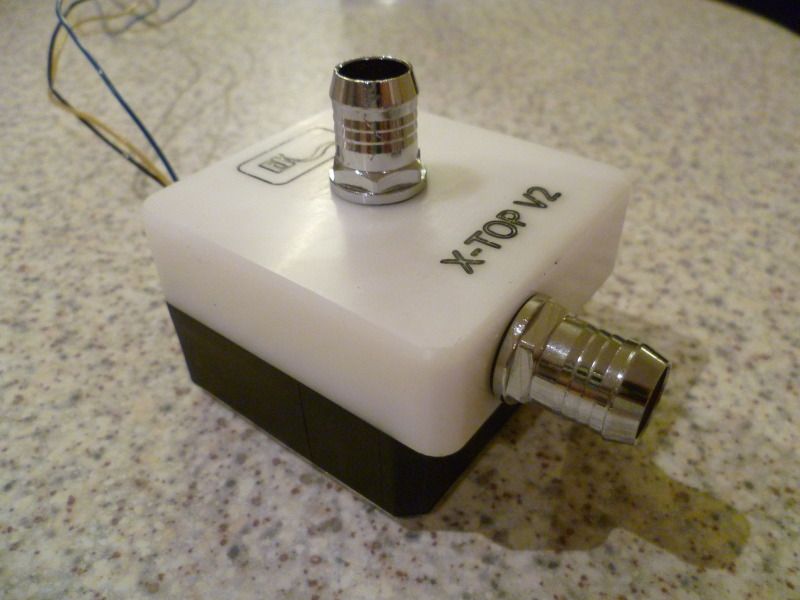
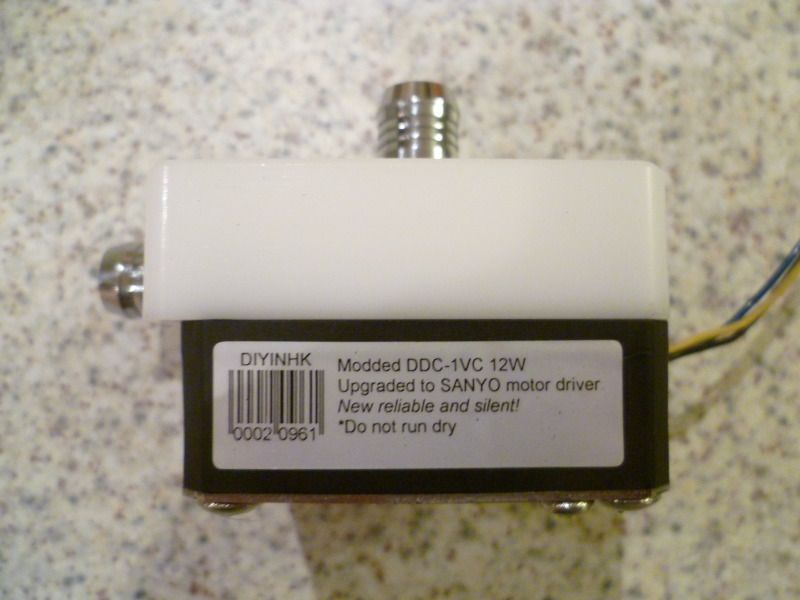
Well, I have made the decision. The XSPC pump is going. I have a Laing DDC with a DIYINHK PCB ready to replace it and I think I'm going to be getting a XSPC dual bay reservoir, I still love how they look but I don't want to compromise on functionality! The only problem with the new pump is that it has a lovely EK Top on it but its white! Of course this goes beautifully with all of my black hardware. Oh well :). The chap I got it of was fantastic and the price I paid I can not complain :D! (whats the criteria for members market?)

Can anyone recommend a way of decoupling the pump from the chassis. I've been looking at the foam sandwiches which look pretty good.

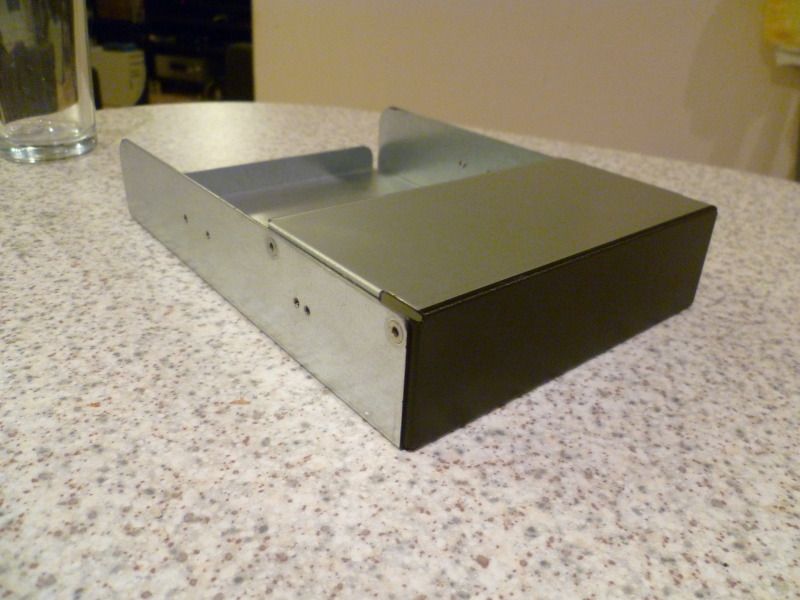
I also think I have found a good way to mount my Aquaero 5. I have a steel blanking box that fits in a 5 1/4" Drive bay. Its a bit long so it may be Dremel time this weekend!

I'll add pictures when I get home.
 
So as promised here are some pictures!

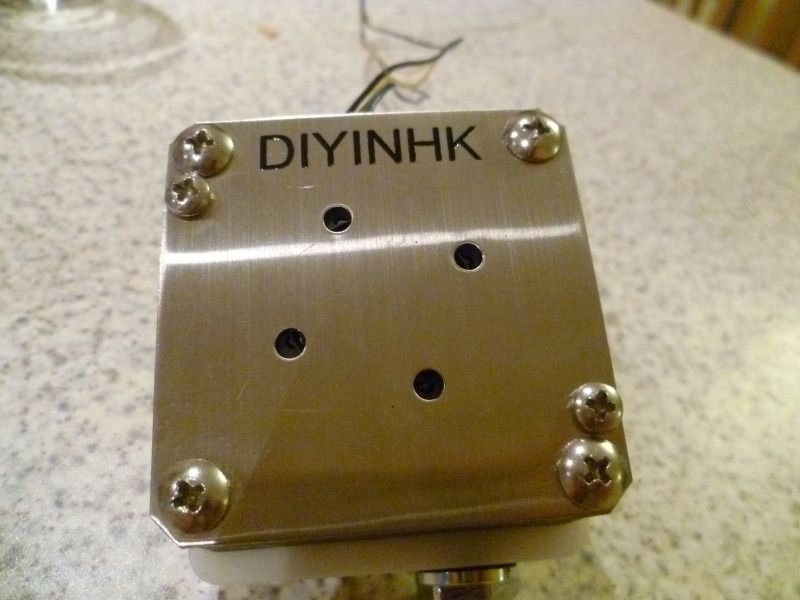
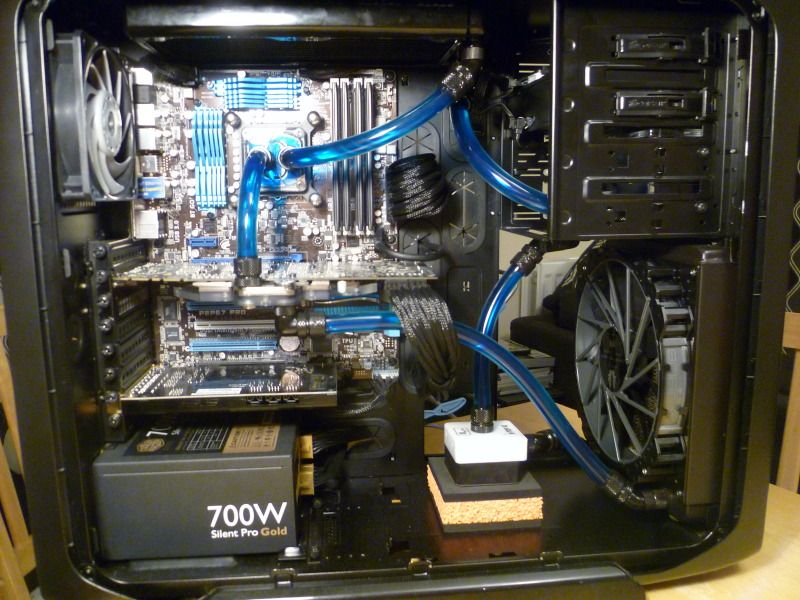
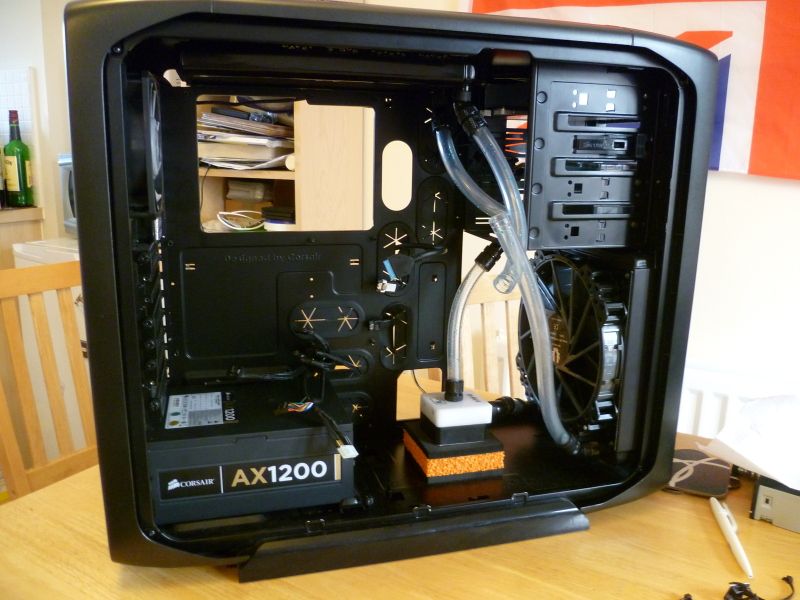
New (hopefully quiet) pump!

P1000690.jpg


P1000693.jpg


P1000695.jpg


Blanking box to mount the Aquaero 5 LT internally

P1000698.jpg


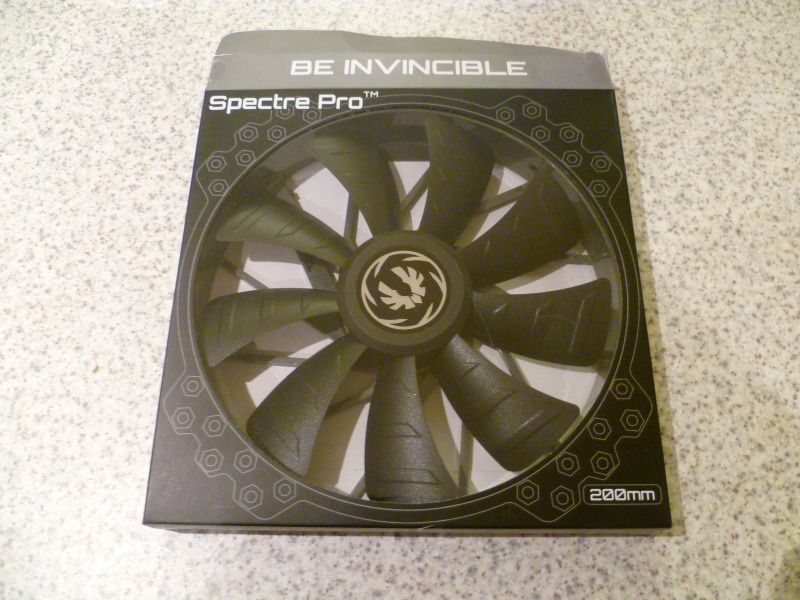
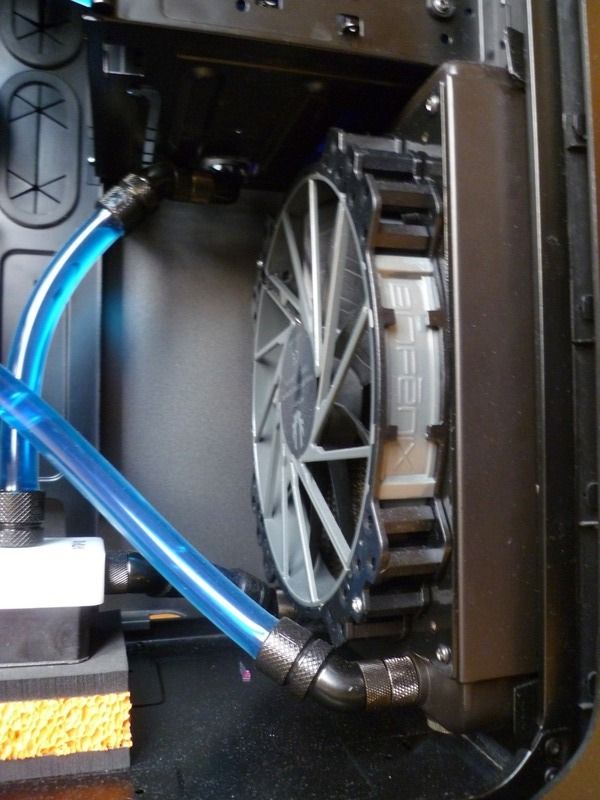
Finally one beastly fan for the front 200mm radiator. Should move a little bit more air than the supplied corsair!

P1000700.jpg


Again I have to order some more components to get the pump in place, which means entirely draining the loop. Luckily I'm free this weekend and I have an old housemate coming to stay so I can have an extra pair of hand for lifting and draining.

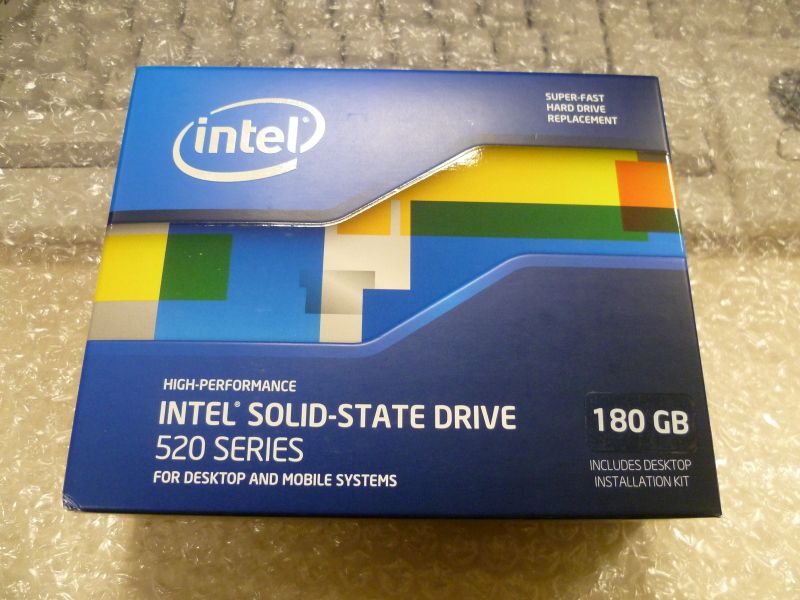
Also I'm eying up one of these for a little more room for programs and games. I'm just hoping 180GB will fit everything.
 
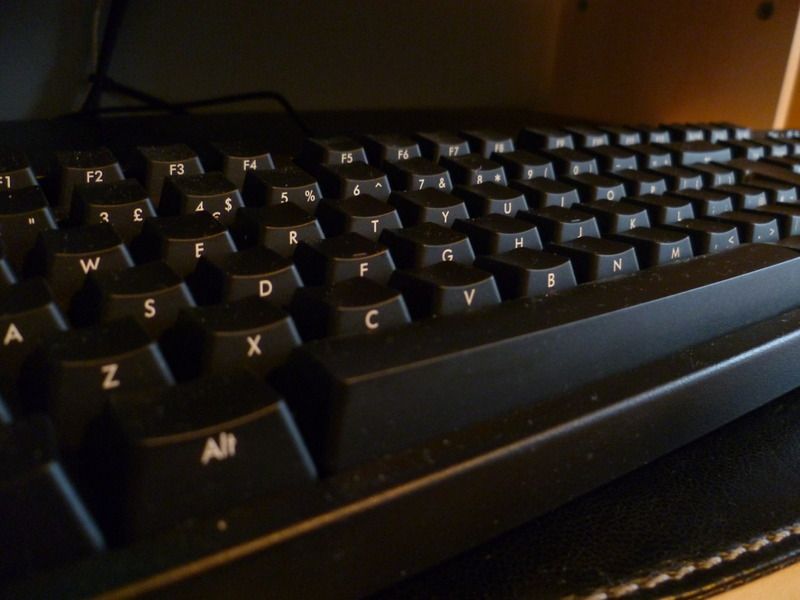
It's glorious to type on isn't it!

Just a sly update! I got some packages today so I can really crack on this weekend!

Today is going to be a good day:D

P1000703.jpg
 
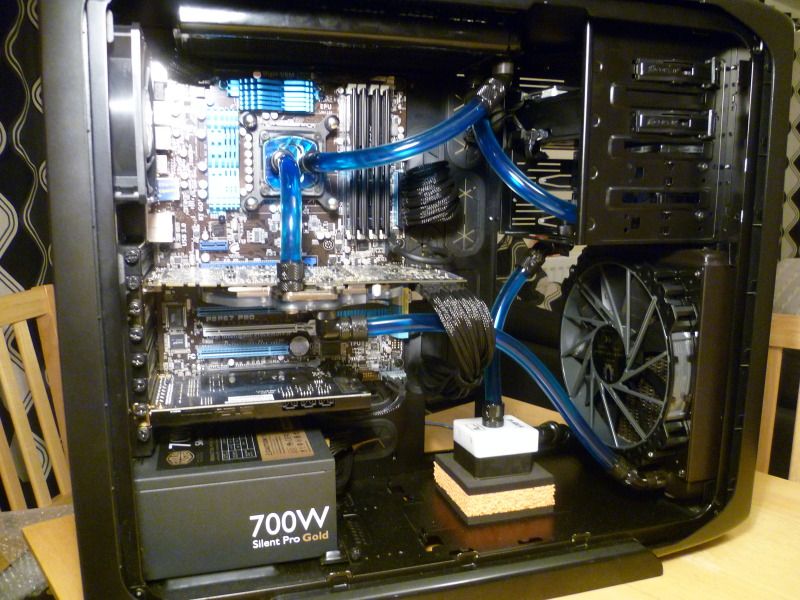
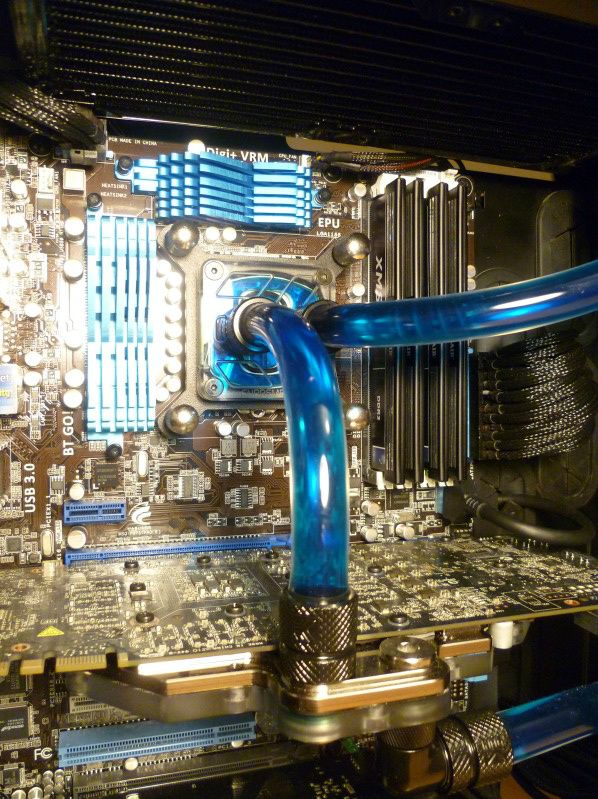
Woop woop. Mostly done. Some cable tidying and a little love with the dremel on the drive bay for the ssd and I'll be back in business. I will get some photos that arent in awful light! The fluid is now the same colour as the heatsinks but I got a UV striplight and there seems to be not a lot of UV reaction from any of my coolant :confused:!

P1000711.jpg


P1000709.jpg


P1000708.jpg


Still some bits to do here and there but what do you think?
 
I have the same case as you and it's great for modding. your build has given me a few ideas and if I may ask you a few things....what sort of money layout are we talking about for:

1. Entire build
2. Just water cooled setup(fans and rad with the fittings)
3. Can you take a pic of what you have in the top drive bay area
4. Where is the bit that you fill with the fluid, where have you stored that? I'm not 100% sure about water cooling so I don't know if I'm talking out my ****
5. What way do your fans spin i.e. what is the airflow look like? and what way is the liquid flowing around the loop?

Sorry for that but you've got me really keen
 
!)

I have the same case as you and it's great for modding. your build has given me a few ideas and if I may ask you a few things....what sort of money layout are we talking about for:

1. Entire build
2. Just water cooled setup(fans and rad with the fittings)
3. Can you take a pic of what you have in the top drive bay area
4. Where is the bit that you fill with the fluid, where have you stored that? I'm not 100% sure about water cooling so I don't know if I'm talking out my ****
5. What way do your fans spin i.e. what is the airflow look like? and what way is the liquid flowing around the loop?

Sorry for that but you've got me really keen

It's not entirely finished yet that will be this weekends job, but I'll answer as best I can.

1. If I had bought everything brand new it would probably cost me about £2000 all in. However I probably paid full price for about 1/3 to a 1/2 of it. So in total I recon it owes me a smidge over £1200.

2. Water cooling would probably retail somewhere in the region of £500 but as I've hunted deals left right and center. I've managed to get it cheaper.

3. I will take a picture of my drive bays when I've finished them. They are still a work in progress (mostly in my head at this point I need to get on with them)

4. The reservoir is an XSPC dual bay res. It sits in the bottom two drive bays. It has a fill port in the top so I have to slide out my optical drive to fill or drain the system. (Next time I build I will fully incorporate a drain plug and fill port as this is a bit of a handful to pick up and drain!

5. The water flows:

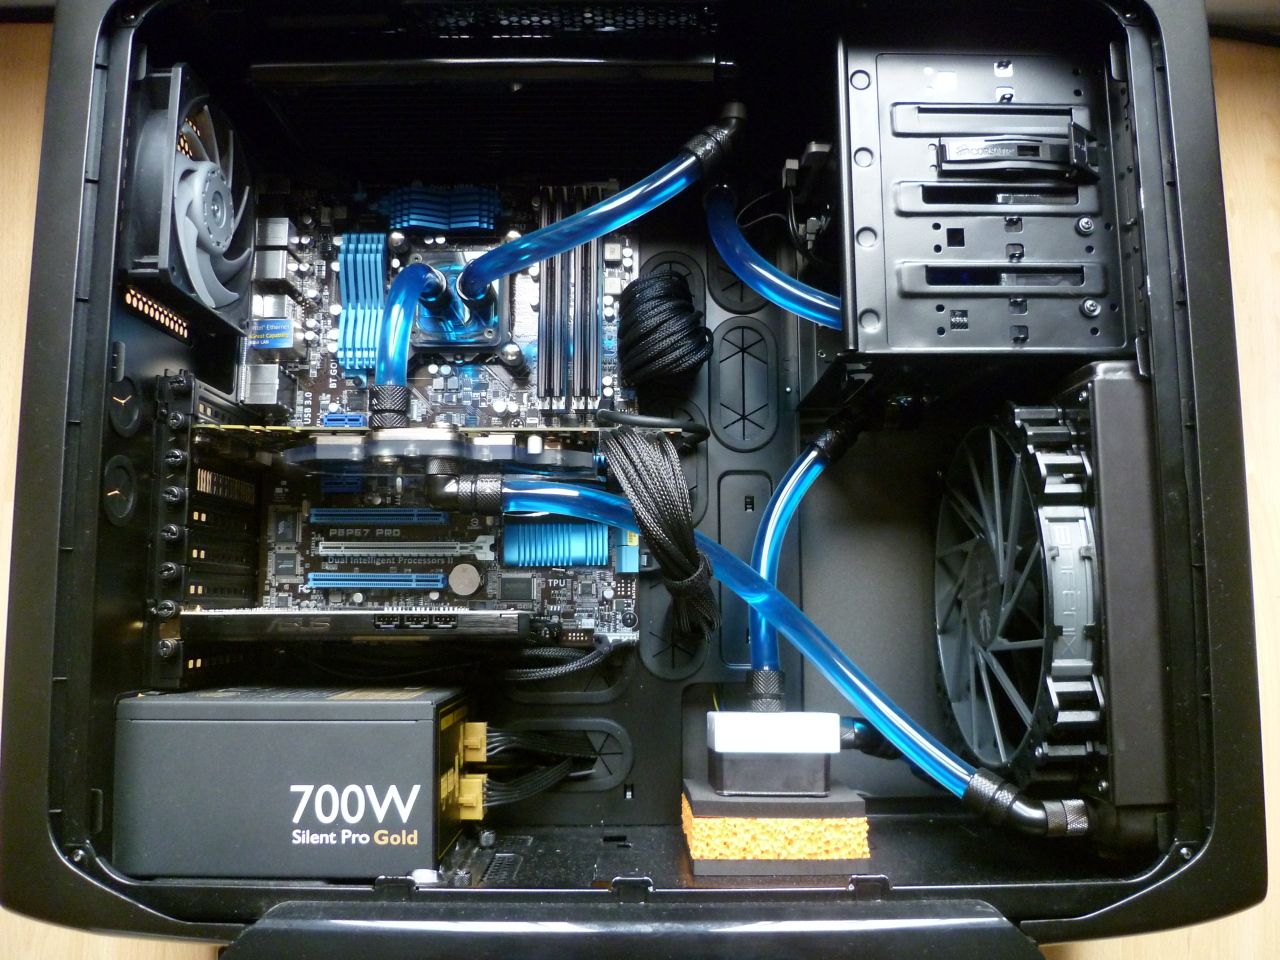
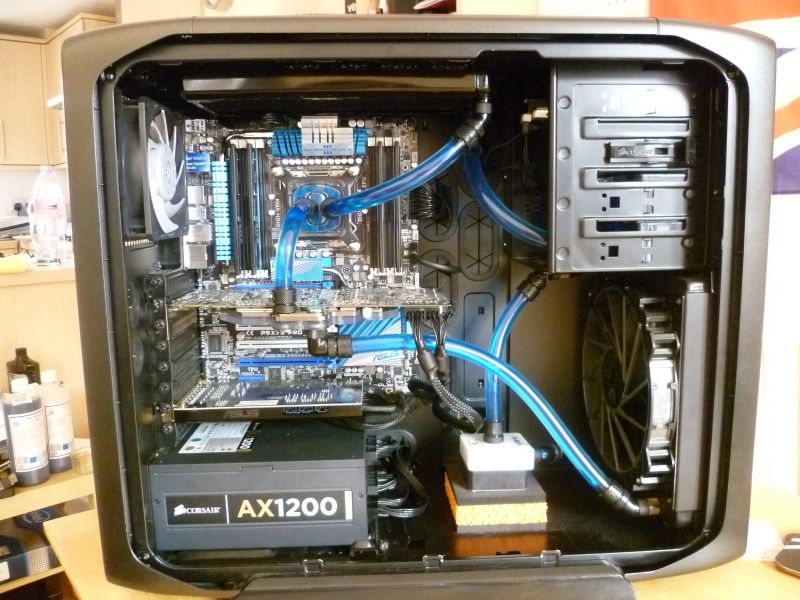
Pump > 200mm Rad > GPU > CPU > 240mm Rad > Reservoir > Pump

All rad fans draw cool air from outside the case through the rad and the last 120 draws hot air out of the case. Fans and pump are all connected to an Aquaero which is reading 5 temp sensors. I can run it quite happily all fans switched off for browsing and light office tasks. When the temps ramp up the fans kick in and keep in under control. Makes for a very quiet PC.
 
just sat on top of my optical disk drive until I get the drive bay adapter sorted. I just needed to put it somewhere to keep it out the way for the moment. I haven't decided whether or not to use the 1TB caviar green or a 500GB WD Scorpio blue (2.5" out of my old laptop) I'm thinking 2x 2.5" drives will be neater and easier and I'm not pushed for storage as I have a server in my loft.
 
Last edited:
I just got everything installed on my new SSD and it flies! Love this system. Just getting battlefield back installed and I'll try and get some good shots over the weekend for you guys. Just had a quick play with overclocking again and I got the CPU Prime95 stable at 5.0GHz so I'm pretty happy. I will now try and get the voltages as low and stable as possible. Next I'm gonna overclock the 580 and see just how far it will go.
 
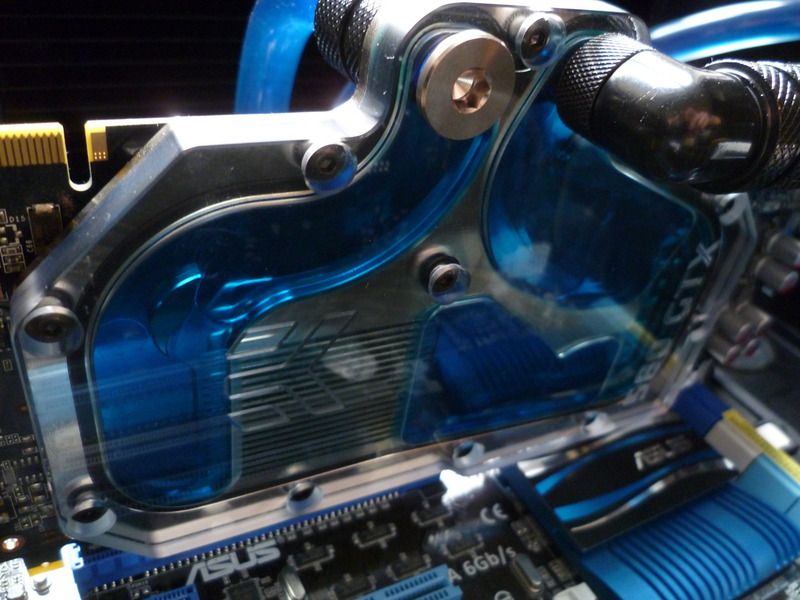
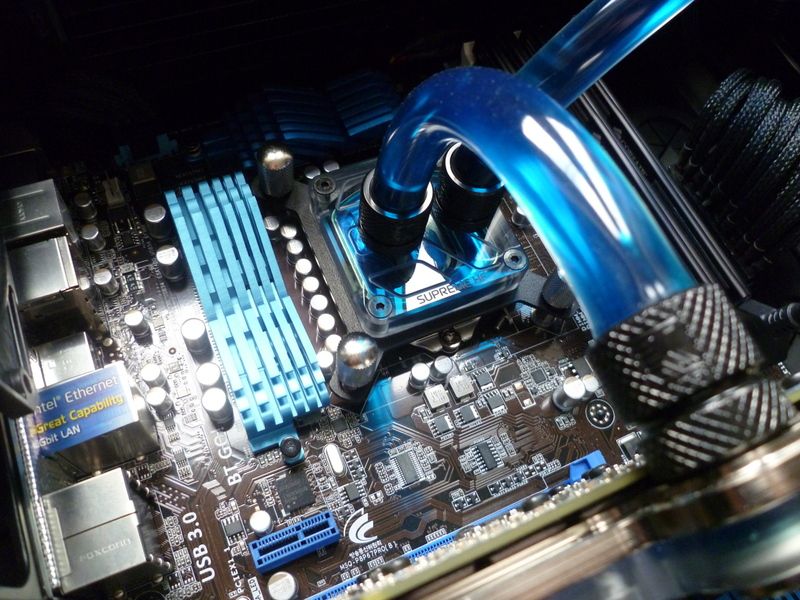
Well here are the pictures. This is how it shall stay for the foreseeable future. I would like to make a few changes here and there but as you can see. When it is in place I can't see it anyway!

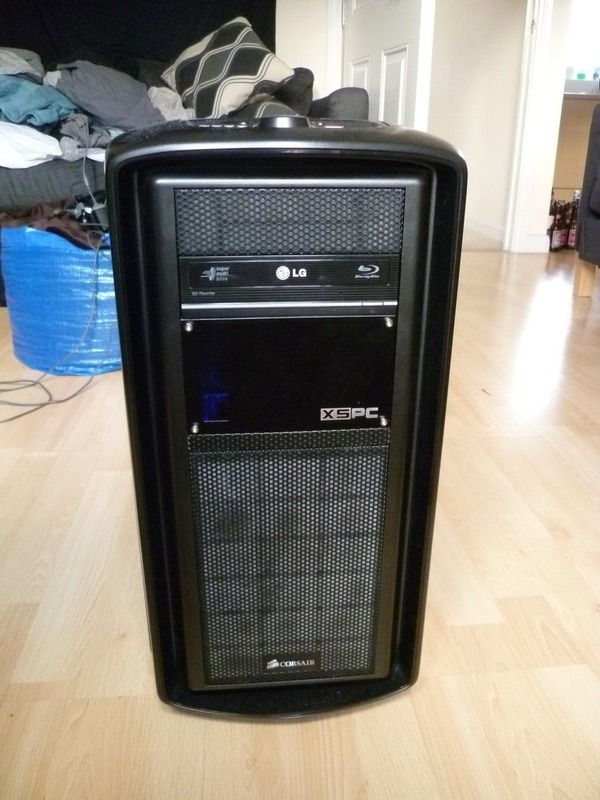
Front of chassis

P1000726.jpg


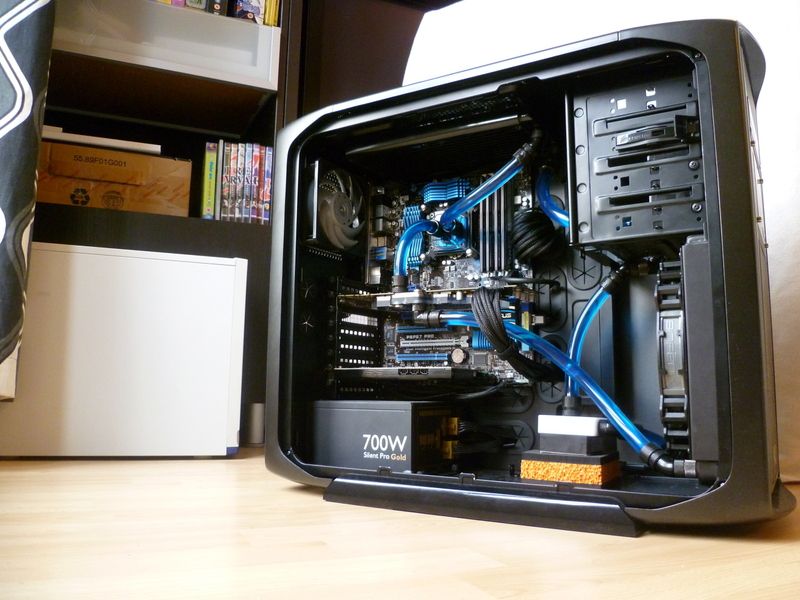
Inside

P1000727.jpg


P1000733.jpg


A few details

P1000730.jpg


P1000750.jpg


P1000728.jpg


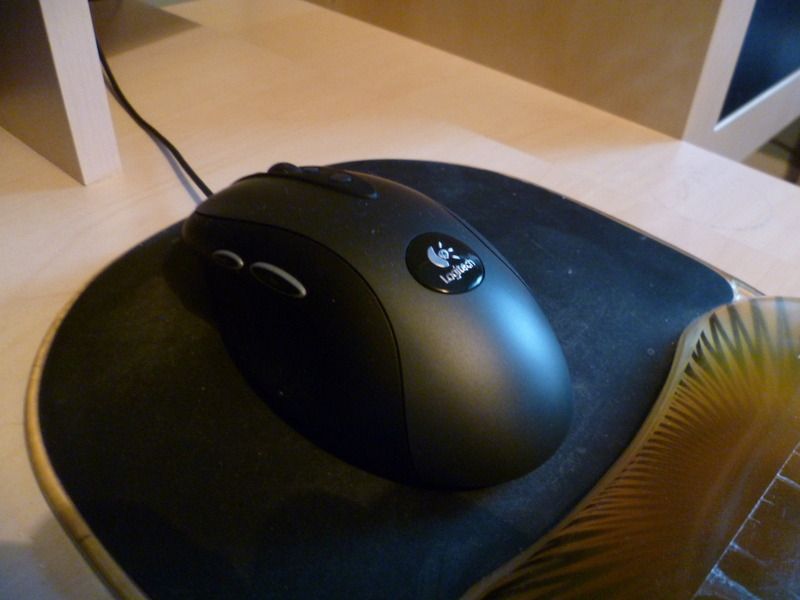
My Keyboard and Mouse

P1000767.jpg


P1000768.jpg


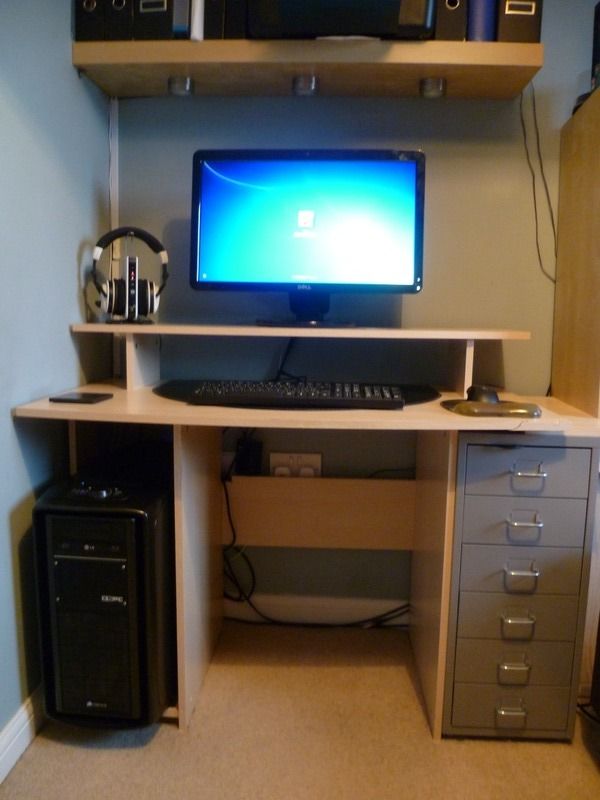
And where she lives!

P1000759.jpg


I've stopped here as its in a state that I'm very happy with. Plus I'm just about to embark on building a dream PC (TJ11 mmmm) Unfortunately it is not my place to show it but I will see about getting some pictures of the finished machine for you guys. I'm going to be very busy but it's gonna be epic!
 
Sooo . . . . Just when I thought it was safe to go back in the water.

I end up having a conversation today something along the lines of;

"(Appleby), you haven't done anything with socket 2011 yet, have you? Well do you fancy it?"

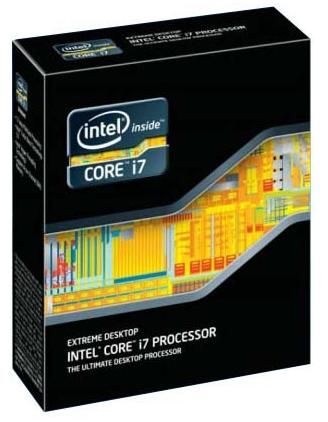
So I'm now the proud owner of one of these

P_500.jpg


and one of these to power it

3960x.jpg


Yes I am a jammy git and yes I'm over the moon :D:eek::D. I have a 2011 fitting kit on order and I will be ripping my current system apart asap so it begins (again) . . . .
 
I know, I wish I had some more space so I could have the system up on my desk with a window but the room is a bit small. I guess building it was the fun for me and I always know its there. (Plus I have a picture of it as my background on my work pc :p so I see it every day)

I will be draining it all over the next couple of days. I wonder if the CPU and GPU blocks will line up again? I'm hoping so as I love how it looks!
 
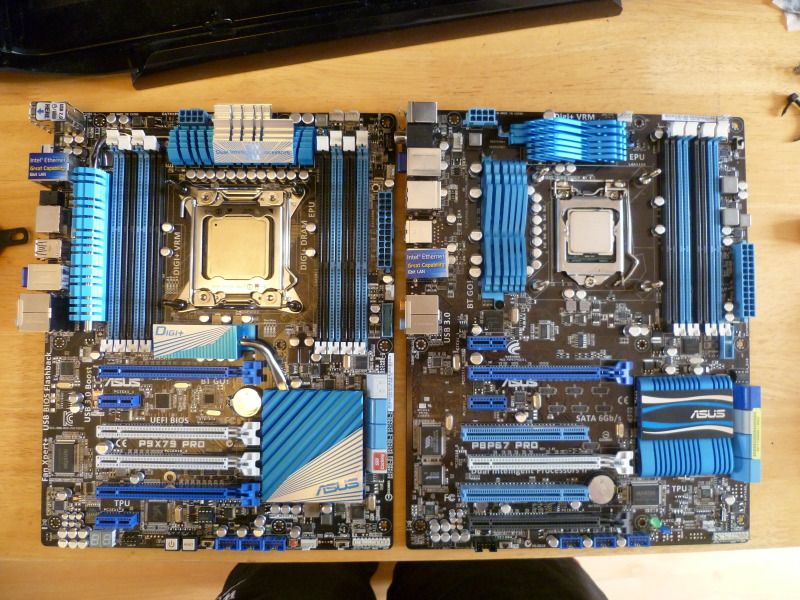
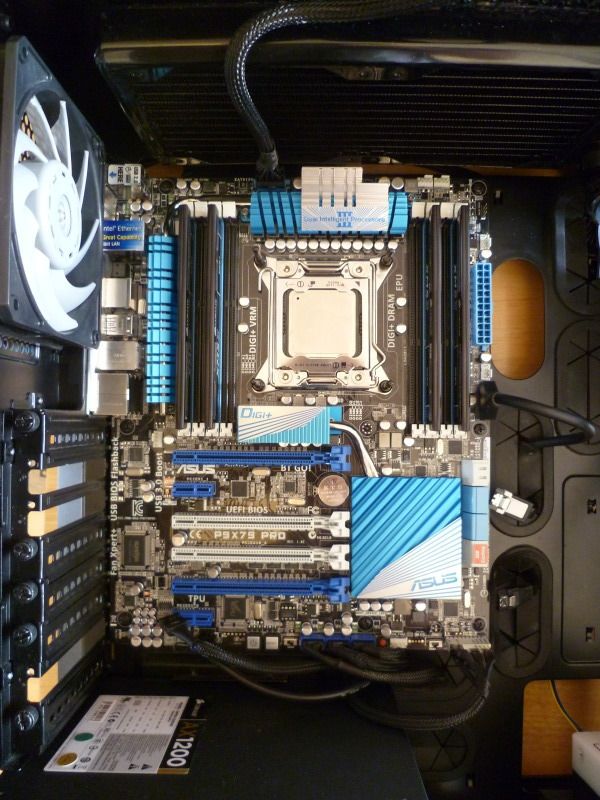
A little comparison between the old board and the new. Socket 2011 is huge in comparison!

P1000792.jpg


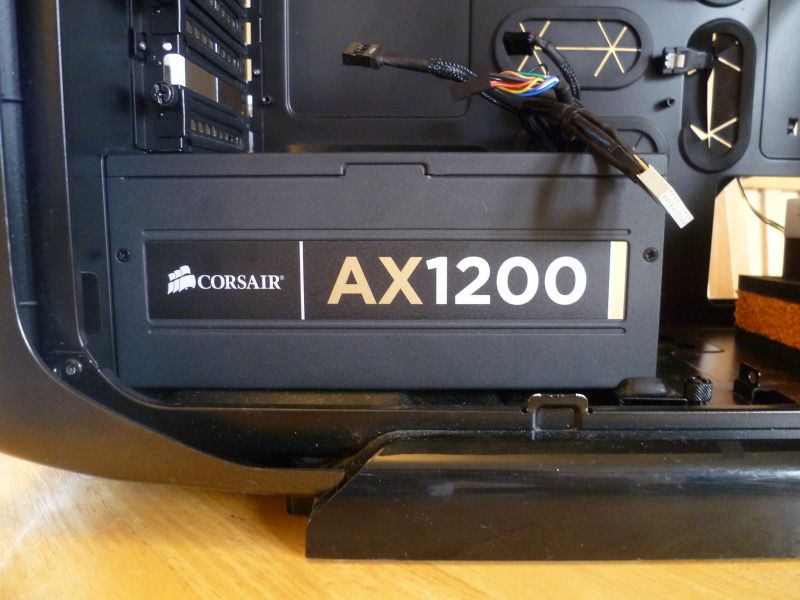
Next up I like to buy things to last so I may as well go all out! Remember with great power supplies, comes great responsibility (to get more crazy hardware!)

P1000790.jpg


In place

P1000788.jpg


Board in

P1000793.jpg


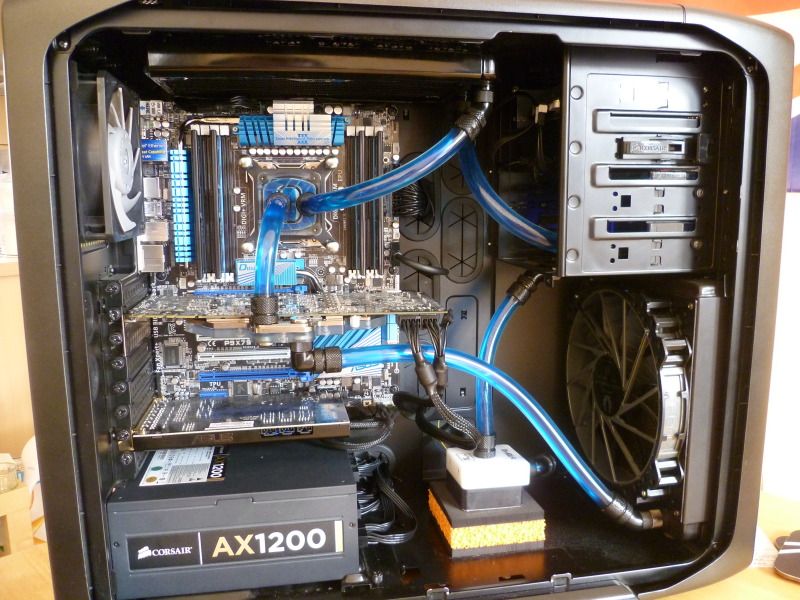
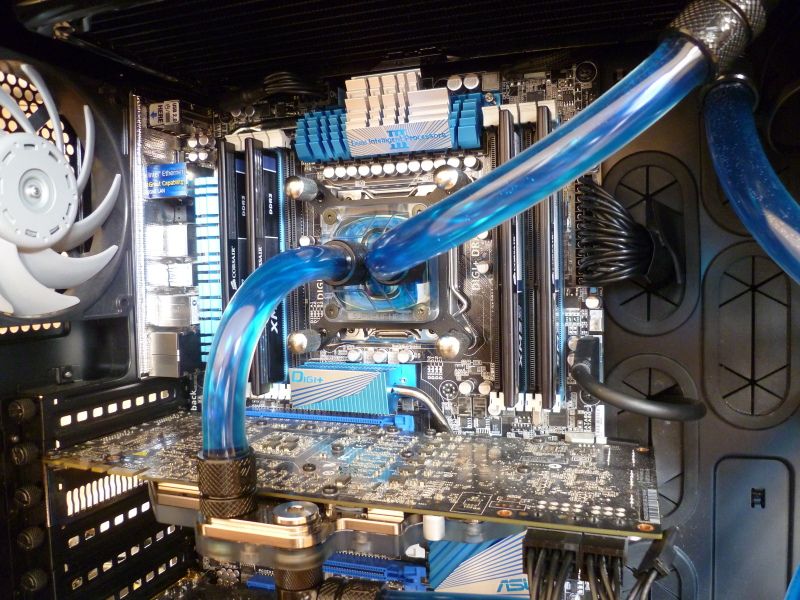
Everything back in as it was. Hardly had to adjust the tubing.

P1000795.jpg


P1000797.jpg


P1000800.jpg


All done!

Less than an hour later I was reinstalling windows and I'm posting from it now!

I'm going to give the system a little time to settle before I start overclocking.

I'm really hankering after a second GTX580 for some SLI goodness. So if I sell my old mobo and CPU . . .;)
 
Back
Top Bottom