DIY ensuite bathroom replacement - build log

Caporegime
Joined
13 May 2003
Posts
34,076
Location
Warwickshire
Hi all

I'm going to document the replacement of my ensuite bathroom in this thread. It's the first time I've done a bathroom myself (closest so far is the downstairs toilet) so it would be great to get people's opinions / feedback and have a place for me to ask the inevitable questions in one place, as I come up against situations and need views on best practice. Might also be useful to others interested in trying.

Before photos:

ZxXxO10h.jpeg


EJQfzMyh.jpeg


Started ripping out today; had some other stuff to do (constant theme in this I'm sure) so didn't finish all the walls. The SDS drill with a tile chisel bit made this very easy on the block work. The plan for the stud walls is to cut whole areas with a grinder then pull the plasterboard off in large chunks.

X9VNapph.jpeg


GdjGpULh.jpeg


sR5PzMCh.jpeg


Pretty sure this is not the belt and braces way to install a shower tray :o. They appear to have laid the tray on laminate flooring with some tile adhesive, or mortar not sure, but it was very crumbly. The plaster and wood at the bottom is mouldy and disintegrating. I expect lots more examples of this shambolic bodgery in this room and as I make my way round the rest of the rooms.

eBJ9XTnh.jpeg
 
Caporegime
OP
Joined
13 May 2003
Posts
34,076
Location
Warwickshire
Put power for a backlit mirror and defogger!
That's an interesting one actually. All the kit is sitting in my garage and it includes a powered cabinet but a vanilla main mirror (bundle deal from Victorian Plumbing).

I had been debating whether to run a 1.5mm T&E and terminate it behind the vanilla mirror, just in case I change my mind in future and want a defoggy one.
 
Last edited:
Caporegime
OP
Joined
13 May 2003
Posts
34,076
Location
Warwickshire
Guys can I chase a 75mm Grohe shower valve into brick, as in external bricks? I was going to put the valve on the wall where the towel heater is so you can switch it on without reaching in, but not sure if I can safely remove that much brick.

It's structural as it's the old external wall of the property pre extension.

The side with the electric shower is a stud wall so it's not a great issue if not, I just ideally wanted the valve perpendicular to the shower heads.

To be fair based on your rip out pics looks like you could just tile onto some of the previous plaster. I'd just put backer boards where shower is going. Unless you need to rip out the wall anyway for noise insulation etc.
Would be nice to avoid it, but I think I'll unfortunately need some kind of board to make sure it's flat and plumb.
 
Last edited:
Caporegime
OP
Joined
13 May 2003
Posts
34,076
Location
Warwickshire
Nah i wouldnt be chasing out that much of an external wall. I'm sure some house bashers would and it'd probably be OK but ill advised.

You could stud out the entire wall to hide it in though which is what most bathroom fitters would do. Tbh tho I'd rather have a bar shower and not lose the space. Especially given its a long thin room and you can't gain lose much shower space with the door open unless you're moving the shower.
I thought about studding out the whole wall to accommodate pipes and valve, but unfortunately that would mean the shower waste fouling a joist and the door possibly hitting the shower tray.
 
Caporegime
OP
Joined
13 May 2003
Posts
34,076
Location
Warwickshire
Have a look at abacus fittings. They do full height frames which are excellent.

Basically a steel stud wall - but it’s minimal build out. Can also fit the famous dlockers shower niches within.
Thank you for this. I've watched so many Skill Builder / Roger Bisby Abacus videos I think I could take over from Roger at some point; really good kit by the looks of it.
 
Caporegime
OP
Joined
13 May 2003
Posts
34,076
Location
Warwickshire
shower is staying in the same place then,but plumbed in then ?

Correct, moving from electric shower to plumbed off a combi shower (with a view to moving to unvented cylinder at some point).

not sure why you wouldn't maintain the shower head and mixer valve on the same narrower stud side,
so that it doesn't take space from moving around in the shower ...

I think that's exactly what I'm going to do. Having the valve under the shower isn't the end of the world and will save an awful lot of work / dust / compromising the brick wall, and there's definitely room in the wall for the valve, so I'll go with that. Decision made!

If you want you can go down the smart shower route and just have a ceiling exit :D

On this. I had a smart shower in my last house and maybe it was just me / the model, but it was nothing but a temperamental PITA :D. I'll be sticking with mechanical thermostatic mixers for this room.

I did put a ceiling-fed Bristan mixer shower in our main bathroom though (interim measure) and it's been excellent and was really easy to install. For this room I'm fixated on the look of a recessed valve and hidden pipes though.
 
Last edited:
Caporegime
OP
Joined
13 May 2003
Posts
34,076
Location
Warwickshire
My pecker pops out on those rimless toilets when I sit down. Super annoying.

Maybe it knows to get out of the way of the extreme flushing vortex.

RE: Valve hiding, for example, on the adjacent wall which may be being built out. You can then just chase in the outlet for the shower head vs. the whole valve contraption.

Can't build out perpendicular wall because it would put the shower waste over a joist. Can't have a different tray because the low-level stone ones are seemingly all central wastes.
 
Caporegime
OP
Joined
13 May 2003
Posts
34,076
Location
Warwickshire
The Google is weak with you young padawan.
Just to expand on my comment, the below shows the layout I'm dealing with:

lClLa7Rh.jpeg


On the left running parallel with the wall is a steel joist, hence the low profile shower trap they've used. I want / need to use a full-size high-flow trap so I can't have a tray where the waste is right at the back, no matter if lateral or central.

On the right is a joist, about 450mm out from the wall. The tray has to be no wider than 800mm or it will foul the door to the room.

The waste has to be central to make it work as far as I can tell from this and I also can't build out the wall towards the joist too much, as I already have no room to play with.

Fun!
 
Caporegime
OP
Joined
13 May 2003
Posts
34,076
Location
Warwickshire

Square tray, corner waste with no upstands and rotate to correct position? or have I missed something?

Or central waste

Thanks for the thoughts and ideas.

I was after a low-profile stone resin anti slip job for the level-access look and more grip than the plastic trays.

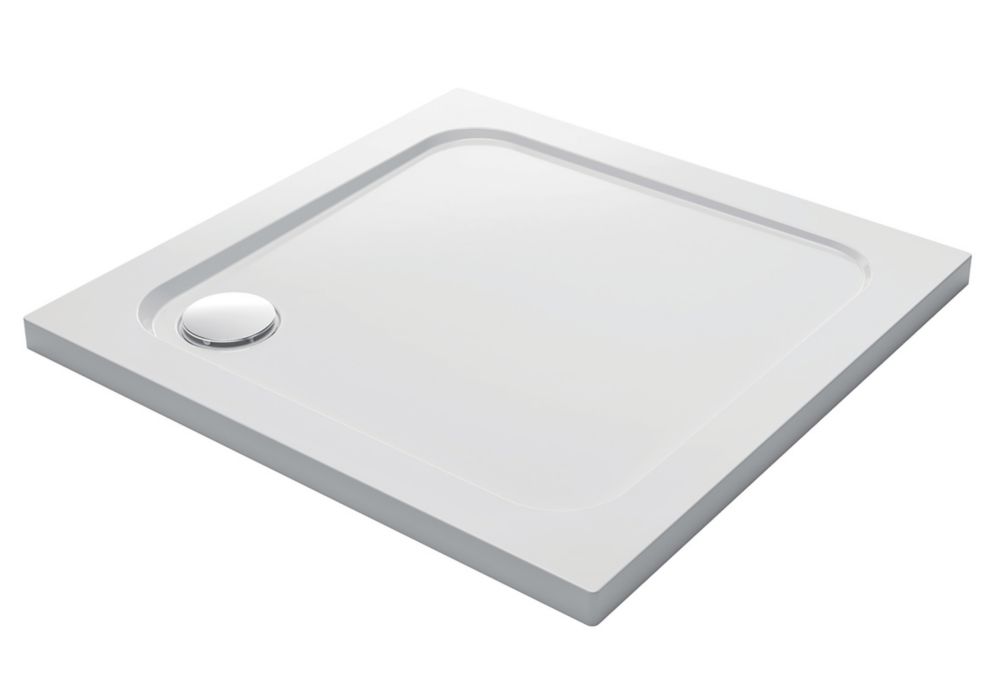
I've found this on Drench, which I think will work:

erRw9we.png
 
Caporegime
OP
Joined
13 May 2003
Posts
34,076
Location
Warwickshire
Hi,

we were considering going for a level entry slate effect tray like the above, but we got put off by several plumbers due to huge issues with them. a couple being is that they are so thin, the bigger the tray the water does not drain properly due to the run off to the drain being very shallow and not steep enough. Also another reason is that if there is a issue with the shower screen or drain blocking, the water will just flood your bathroom instead of having a traditional 10mm lip.

They do look amazing though, but they aren't practical, theres a thread on a plumbing web site that mentioned the above as well
Hearing what you're saying but also wondering how much of this is down to poor installation or tradies trying to make their lives easier.

If the tray is level and a high flow drain is installed correctly with 1.5 inch waste with proper fall, I can't see that it would be a huge issue.

Also my floor will be fully waterproof as I'm having a walk in screen rather than an enclosure.

In any case I'd already ordered it when I read your message :D.
 
Caporegime
OP
Joined
13 May 2003
Posts
34,076
Location
Warwickshire
Others may disagree - especially with PIR board being pretty inexpensive now - but you’re gonna have boards - assume 12mm? Tile adhesive and then tiles - so you’ve probably got the best part of 30mm before the rock wool.
Yes the boards will be 12mm polymer/ cement coated polystyrene type boards.

Sounds like consensus is that the existing should be ok, which is great because the materials have already cost me a fortune on this. You can take see why even average bathrooms are £££.

On Saturday I have a huge delivery of all the exiting stuff - S2 tile adhesive, primer, self-levelling compound, shower tray, and no more leaks seal kit.
 
Caporegime
OP
Joined
13 May 2003
Posts
34,076
Location
Warwickshire
Are you gonna use tile adhesive for the boards or some CT1 type stuff??
I'm using S2 rapid set tile adhesive, Ultra Tilefix brand, for both the foam boards and the floor tiles.

Then I'm going to screw it in with wedi-style round washers before the adhesive goes off to make sure it follows the contour of the floor boards, and then correct level with SLC.

If any floor tiles crack after everything I'm doing to prevent that then I'm going to throw myself out of the window, as I've had experience of cracked tiles and grout from poor installation and have researched extensively about how to avoid it.
 
Last edited:
Caporegime
OP
Joined
13 May 2003
Posts
34,076
Location
Warwickshire
Get some ceiling speakers up there with the spots, nice to just listen to some tunes on when your in the shower.

Did the same with marine grade speakers paired to a bluetooth receiver and glad I did so.
I'm going to park this idea for the moment and maybe add them later.

It'll be easy to add at any point from the lighting circuit in the loft and as cool as it sounds, my budget has already been blown and I keep adding new stuff, like £70 for a wall-mounted toothbrush charger :o.
 
Back
Top Bottom