Dripping with style or floody disaster?

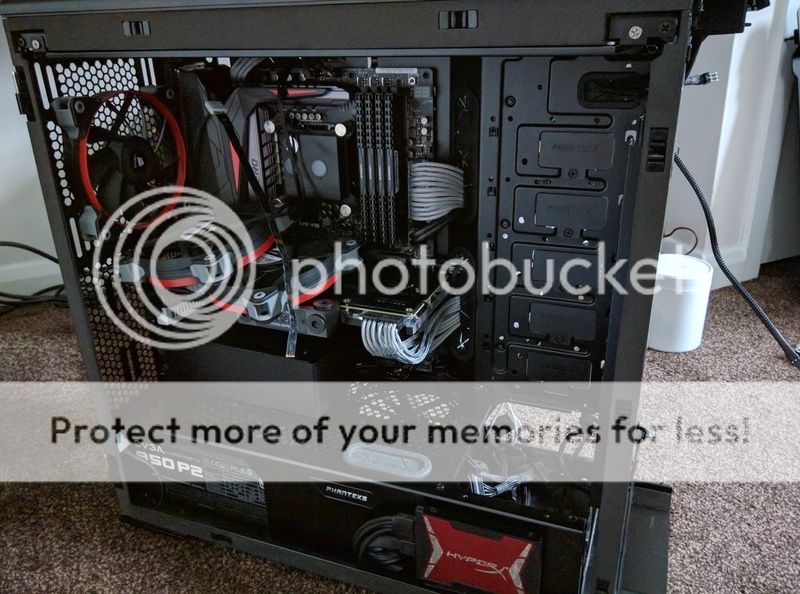
Before all of my brainpower gets used up on the new build I thought I'd best check the current one over as it hasn't been used a lot recently, and I hadn't given it the once over for leaks in months.

Well there weren't any leaks... But... Erm...

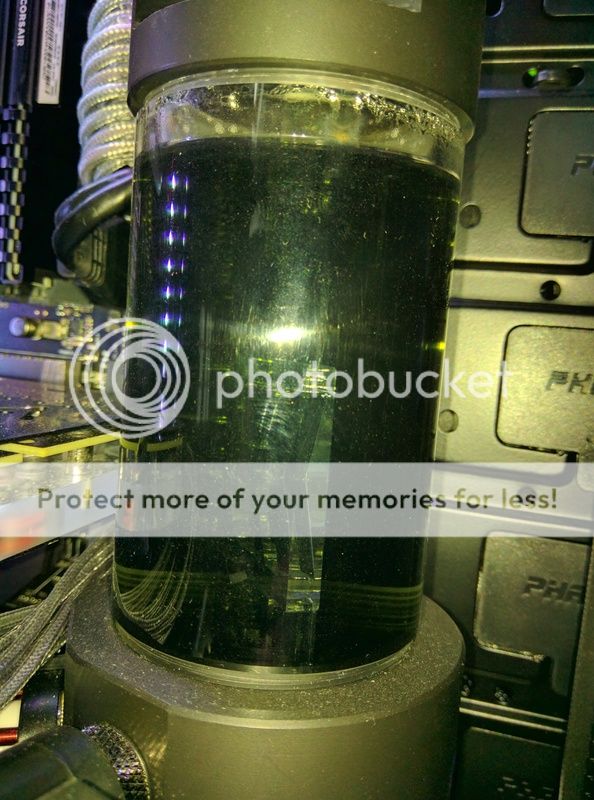
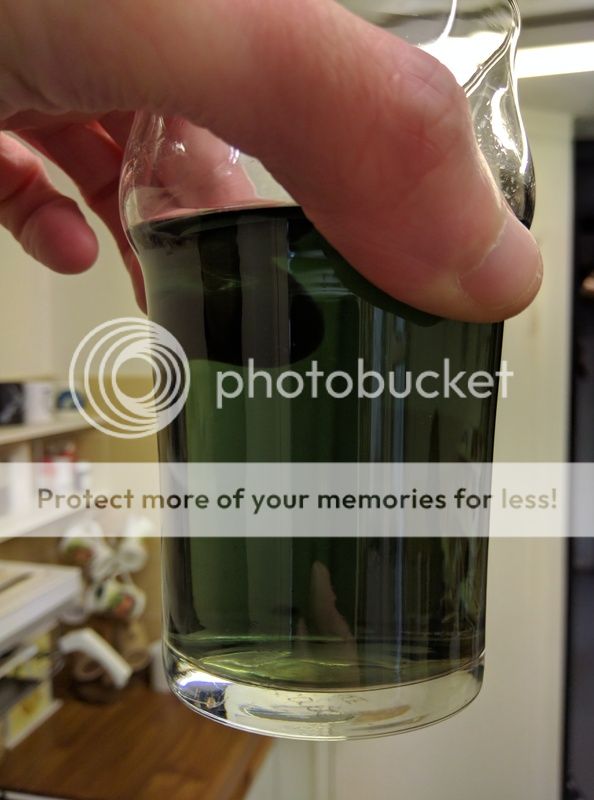
I don't recall the water being that colour!! :eek:

IMG_20161031_154454.jpg


IMG_20161031_154529.jpg
Still working faultlessly and the temperatures are still absolutely brilliant, but think I might just have to strip this one down, give it a quick flush and install some new tubing before the current / future build starts :(

It's tempting to use this as a trial run with the PETG, but not sure I could justify all the extra expense on new fittings when there's nothing wrong with the current setup. Oh well, time to order some more Mayhems :D
 
Well, that saves you a bundle on buying the new Mayhems Oil Black stuff!
You had a couple of silver bullets in the loop. What sort of state are they in? I've never used them but I believe they oxidise over time which is why they need replacing at intervals (see the sales spiel on them). Silver Oxide is black and....well. I'm speculating but, could be.
 
It's actually more green than it shows in the picture, so I'm wondering if the anti corrosion additive I put in (that also made the water far too alkaline) has caused this?

Either way it obviously can't be left as it is, so going to have to try and find the time to re-do it all AGAIN, which is more than annoying when I want to start on the new one...

Will hopefully strip it down over the weekend if I get the chance, will see then if the silver is still... Well, silver :D
 
If it's more green you want to check your metals. My chemistry is a little rusty but both copper and nickel compounds can be green. Worth checking you've not corroded anything too badly if you're stripping things.
 
Will definitely strip the CPU block and check as it only takes seconds, but might get a bit lazy with the GPU as I can see the channels / fins without stripping it, so will just give it a real good flush out :)
 
I SHOULD be playing around with the new build, but seems everything possible is going to get in the way to stop that one from ever happening. So, in the mean time, problems to sort...


Pretty sure it wasn't that colour when it went in :eek:

IMG_20161103_100549.jpg


No gunk and no visible corrosion, guess that's a positive...

IMG_20161103_101856.jpg


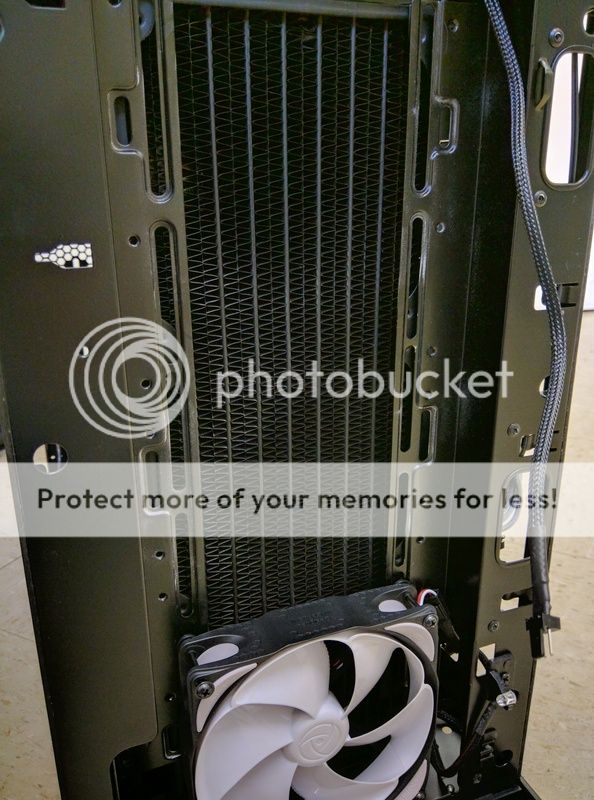
One benefit of having the fans hardly ever turn on? No dust :D

IMG_20161103_104302.jpg


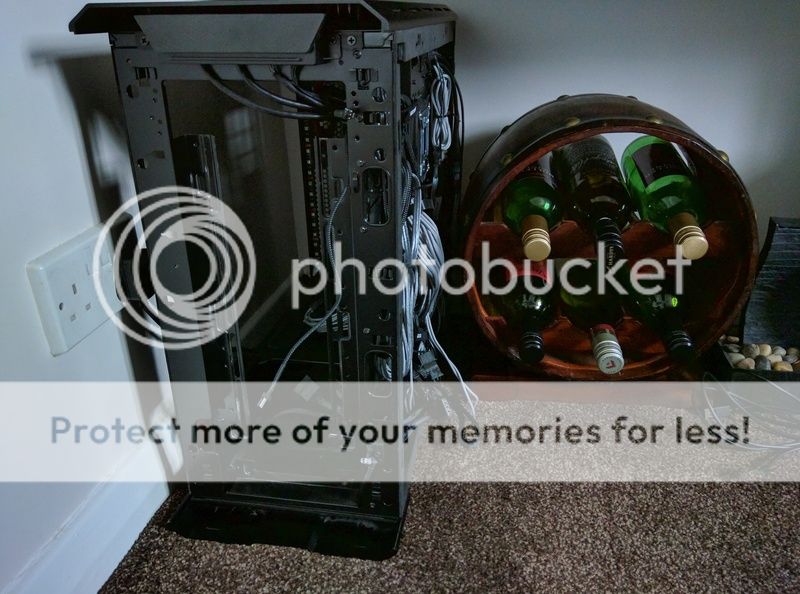
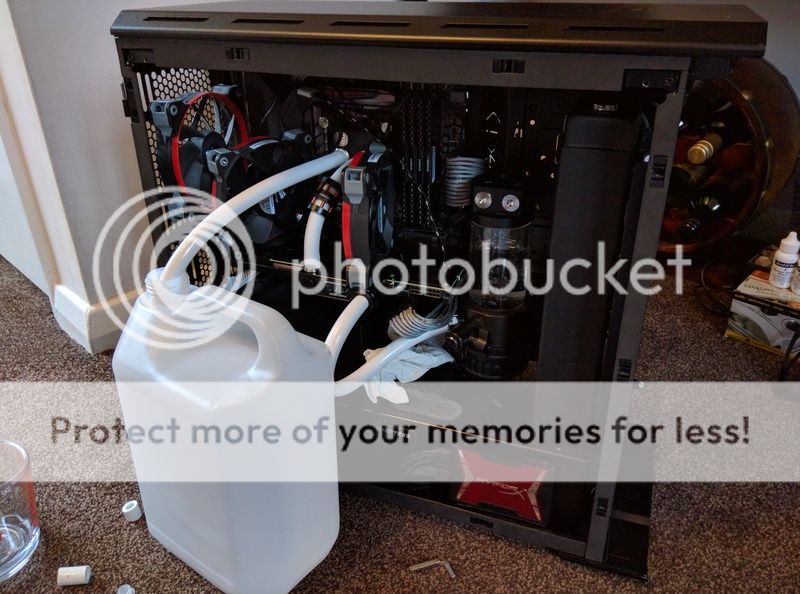
Didn't really want green fluid all over my carpet so came up with a better idea: Turn mums kitchen into a workshop for a few minutes!

IMG_20161103_104552.jpg


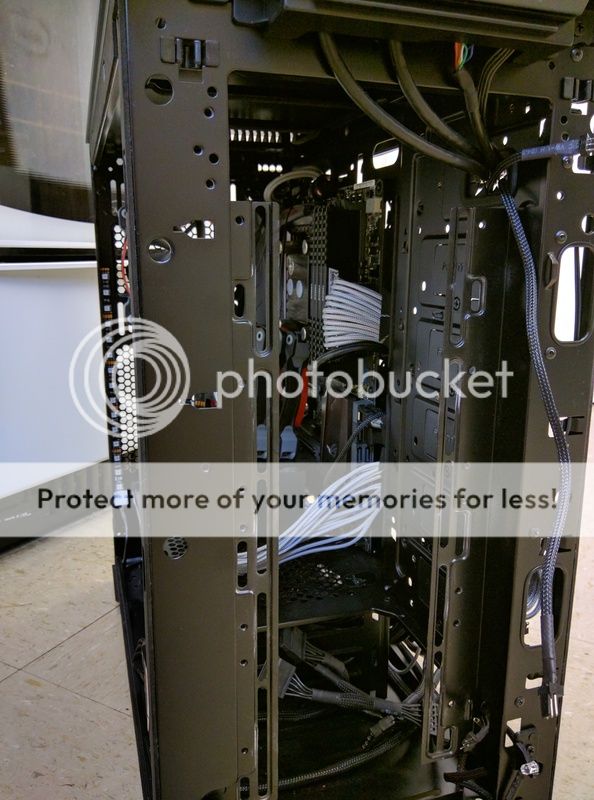
Looking sad...

IMG_20161103_104607.jpg


...And empty :(

IMG_20161103_104619.jpg


GPU back in ready for a good flush when I get time.

IMG_20161103_112422.jpg


Well it's certainly different! :D

IMG_20161103_110919.jpg


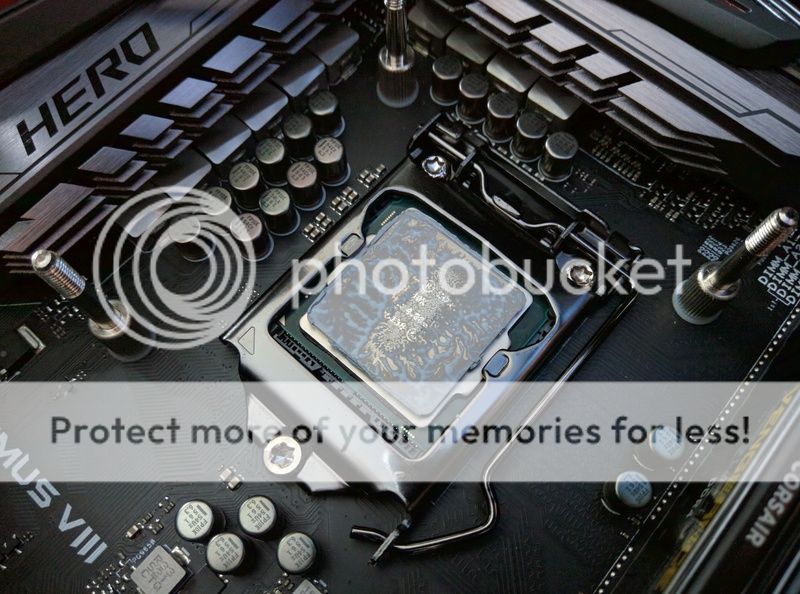
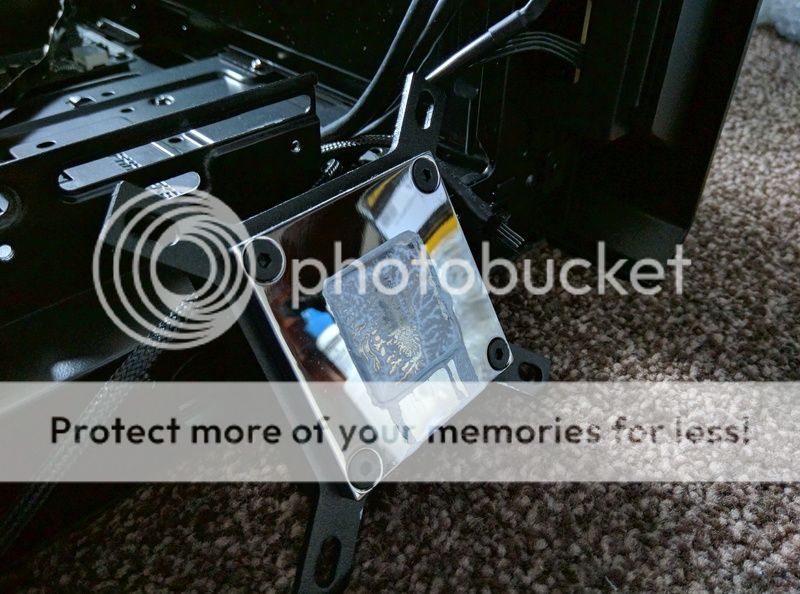
Haven't removed the CPU block yet as I'm waiting for the cleaner to arrive so I can remove the old TIM and reseat it.

Also toying with the idea of delidding it as practice for when I do the new one... Be rude not to really wouldn't it?! :D
 
Remind me not to have a pint at your place! ;)
You put the rad IN the case? How odd :p
Isopropyl alcohol works quite nicely for cleaning up old TIM - not the waxy stuff as much, you want acetone for that. Often available at your local pharmacy depending on whether they're any good or just sell the tiny pre-packed bottles. Also available in half litre bottles online.

If you're delidding, you could do worse than pop down your local barber. You know the razor blades they use to clean up round your neck and sideburns? Those are what you want - if you're going for the blade method at least. They're thin and flexible enough to get between the IHS and die to slice through the glue.
After you've got the IHS off, a fingernail works best to clean it up with. Hard enough to scrape then gunk off but not so hard as to scratch the surfaces. Tried a guitar pick but not hard enough. Once you've spread your liquid ultra and put the IHS back on, you don't need to stick it down, the socket will hold it in place. You might need to offset the IHS slightly so that as you slide the socket clip into place it squidges the IHS into the right place rather than pushing it out of the right place.
 
Don't worry, it's far safer than what comes out the tap! And yes, I thought that would be quite a sensible place for a radiator, especially when using a case that has a place especially for it... although I'm sure there'll always be one who still bolts it to the outside :D

Ordered some of this to remove the old TIM, seems to have good reviews so thought I'd give it a shot. Also used it as an excuse to order a couple more fans :D

Was reading up on delidding Skylake the other night and there seems to be a nice split between the 'leave it open' and 'seal it with silicone' methods. Were you not worried about leaving it open in case any crap got in? I'm still undecided as haven't really had the time to sort the pro's and con's of it all yet...

Will definitely be going the blade route as it seems they're too easy to crack using the vice method, and really don't want to ruin a decent chip. Was planning on using some Kryonaut to replace the old TIM, not quite as good as liquid metal I know but doesn't seem to be a lot in it, and I have Kryonaut here already... #Cheapskate :)

Will let you know how I get on once its all been flushed out and rebuilt, including pictures of the failures along the way. Probably to include slicing off at least 1 finger!
 
I used Kryonaut on top of the IHS and CoolLaboratories Liquid Metal Ultra between the IHS and the die. The liquid metal is much more thermally conductive than the others....but what difference that makes to real world temps, I'm not sure. I think I got a good 10C drop which is in line with others...but given that I changed my entire loop at the same time, it's difficult to say with any great accuracy.

I was concerned about sealing it but it's fairly well sealed by the IHS being squashed on the top and then a block on top of that. Also, it doesn't matter too much as the die is perfectly fine being exposed - it's more breakable without the IHS (which is one of the reasons you put that back) but it's not going to short out or anything. You're also not going to get anything between the die and the IHS because the gap is so small and full of TIM. I was more worried about the electrically conductive liquid metal getting out but apparently it's quite good at staying put - and you don't use much. I did use some clear nail varnish to insulate the little gold dots on the top of the CPU's board though.
If you do seal it, you have to make sure there's a gap anyway as otherwise, you heat the air up inside until it expands enough to blow a hole through your seal. Intel's seal has a such a gap too.
Take it slow with the blade and you'll be fine. The single-sided blades are probably better...for obvious reasons hopefully! :D
 
Guess that's true about leaving it open: Once the TIM is squashed to the edge it is effectively sealed anyway... Well that has saved me one extra bill on silicone, cheers!

That's another of the reasons for delidding this one first: I already have decent data on temps in different games to compare against, so will know how much of a benefit it was and whether or not to bother on the new build :)

From the reviews I was reading the original stuff is utter ****e, the liquid metal is the best but decent 'normal' TIM like Kryonaut gets you a good 90% of the gains that proper liquid metal would but without the need to reapply when it dries out (if that is even still an issue).

Funny you should mention the single-sided blades as I was actually planning on using a double-edged Wilkinson Sword blade! Have used these before on phone screens with tape over the one side... And yes, if you put too much pressure on it your thumb gets ripped up and blood gets inside the phone. Luckily it never seems to do any lasting damage though :D

Does applying a bit of heat to it help soften it up like it does on the ol' phone screens? Guessing it should be pretty much the same only smaller and more awkward, with more expensive consequences :p
 
I think the CLU doesn't dry out like the Pro did - but I could be confusing them. It was said the CLU didn't dry out.
I don't think heating it heaps much - it's got to deal with temps up to 70C anyway. Slices fairly easily as long as you can get the blade in the gap. Blood will probably act as a lubricant and help the process along ;)
 
Got a bit impatient not having a gaming / media PC so have kind of thrown it back together again...


Paste spread on the CPU block and cooler when it was removed :)

IMG_20161106_153152.jpg


IMG_20161106_153211.jpg


Cleaned it all up to a shine, forgot to take photos, threw it back together (no delidding sorry, proper rush job, definitely on W2W though!) and flushed the blocks out. Radiators were removed and flushed properly couple of days ago.

IMG_20161108_145007.jpg


Clear Mayhems tubing. Must say this stuff is an absolute dream to work with, far better than either the Primochill or XSPC stuff I used before.

IMG_20161108_173709.jpg


Filling her up and.... Yup, that's how much fluid I was short by. BLEEEEEEP! :mad:

IMG_20161108_191518.jpg


IMG_20161108_192424.jpg


IMG_20161108_192439.jpg


As you can imagine, I was extremely patient and was more than happy to leave it until I'd got more fluid to bleed the system properly...

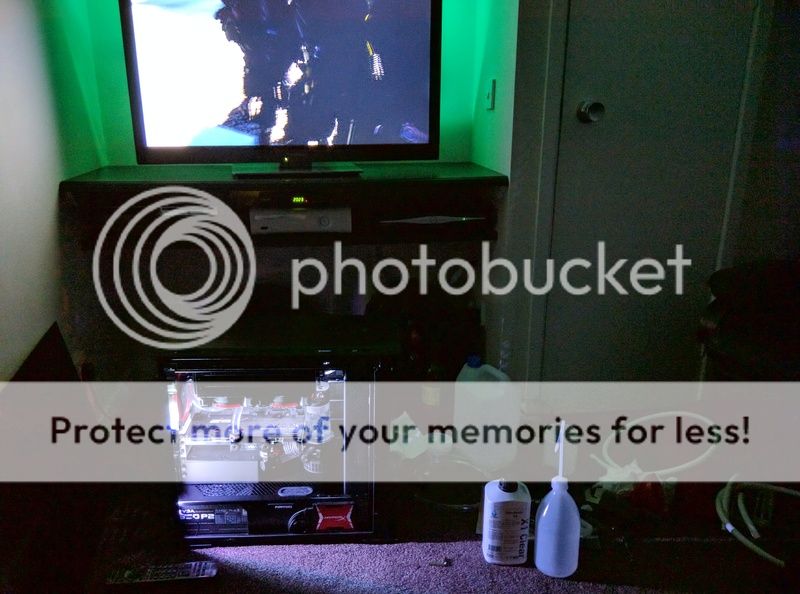
...Not a chance! Fired up Netflix and watched what fluid was in the system do its thing :D

IMG_20161108_202129.jpg


As you can probably imagine the ol' CPU temps fluctuated a bit as the massive air bubbles worked their way through. All good though, and should have the fluid to top it up and bleed it here tomorrow :)
 
Always surprised they're not used more often as they really are nice to look at and good to use. Can get em properly tight without ripping flesh off ya fingers!
 
Always surprised they're not used more often as they really are nice to look at and good to use. Can get em properly tight without ripping flesh off ya fingers!

Yup. Just stick a pointer finger and thumb into the chaingun parts (the poles) and you get more than enough purchase.

My second faves were £1 each. Just basic chrome Thermochill fittings. But they have spanner locations on the back and front, meaning two hefty spanners and they go right up without losing a scrap of skin lol. The only thing I don't like about them is that the hose tends to twist on the last tighten, meaning they then don't go in as you want (and possibly could twist undone). That is why I bought a total of 9 chainguns, because those are the ones I know I can do up in any situ and can rely on them. Plus yeah, totally agree, sexy AF.
 
You probably don't need that last twist then. In theory the collar is just to stop the tube from coming off the barb in the fitting. Provided the hose is reasonably flexible (some are too rigid and don't form to the barb) you should get a seal without the collar on. I know this as I realised that Dr Drop was hanging off a piece of tube at maybe 0.4 bar (gauge broken - starts at 0.2 now) and I spotted I'd not put any collar on at all. Tygon E3603 is particularly flexible though.
 
Always worries me that I'd over tighten them if a spanner was used, especially as I'm a bit of a hammer & chisel, brute force kind of person when it comes to fixing things... Reckon the thread would be stripped in 15 seconds flat so long as I could get enough leverage! Certainly been something that I've had to dial back a few notches on these builds :D

If you want some seriously flexible tube I'd definitely recommend the Mayhems stuff, can't believe how good it is considering the price compared to some competitors.

Definitely right on the collar being pretty much a nice looking fail safe though, whenever I'm flushing the system I don't bother fitting them and not had a dribble yet :)

TBH one of the things I found surprising about water cooling was just how gruff you need to be when doing things up. Some one told me "Don't overtighten anything" etc but then it just peed air when I put pressure in. I don't think that guy has ever water cooled a PC lol. I literally do up my g 1/4 until it stops. They are designed to be done up like that, the Oring needs to be compressed to make a decent seal. If you turn them until they stop the Oring seats in the space made for it.

Any way, what I also found out about water cooling is how kind and genuine the people that do it are. I thought you were all a bunch of nutters but I get it now :D
 
What do you mean?! We ARE all nutters! :D
Too tight on the G1/4 is important on acrylic threads as it can strip the thread. You do want the o-ring touching and squished onto the surface to seal though.
Your experience of the tubing not sealing is, I suspect, because your tubing is quite stiff - hence having to heat it to get it straight. When you push it over the barb, it doesn't contract and hug the stem the other side of the barb so you need the collar tight so that it creates a seal by clamping the hose between the collar and the flange of the barb. As long as it seals (and stays sealed) it's all good...I just think you've maybe had it harder than it normally is.
 
They actually do hold tbh. If anything they are a bit too soft and thus kink a bit easy if you push it too far (they're huge, so I suppose it's what you can expect really).

I won't be forcing mine out of shape. Hence the 45' fittings. I will allow the hose to curve gently before meeting its next fitting :)

They're quite hard to get on tbh. The hose is pretty thick (about 5mm or so) so yeah, you do need to push them on quite hard and god getting them off needs a good firm tug :D
 
Back
Top Bottom