F3nix MS1.1

Associate
Joined
14 Dec 2014
Posts
52
Hello Everyone

I have been building my custom desk for a while now and it has reached that stage where I feel that it's time to share with this great community.

Would like to thank the likes of Peter Brands and Pascal de Greef who have inspired and motivated me to attempt something of this scale, there has been stages where I just thought that it was turning out to be a bit too much but with a bit of research I have come to learn that everything is possible. I have also learned along this journey that there is some really good people out their who are willing to give up their own time to assist and help a total stranger in all ways that they can. There's still hope for humanity after all :thumb: lol

I have picked up a few sponsors along the way which I will be introducing as I progress through this build log, I would like to take this opportunity to once more thank them for their help and belief, this project would have been completely different without their help :dremel:

But let's get this build log going, I will try and keep it as short as possible but have well over 1000 pictures on my facebook page, which by the way is FenixMS1.1. Just in case anyone is interested to have a look.

Mod to live or live to mod???:confused::D

Thank you everyone. Hope you enjoy the ride

untitled137_zps180b6bdc.jpg


**************************************************

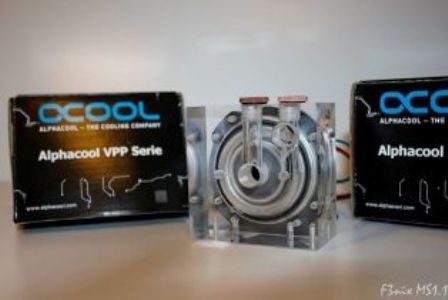
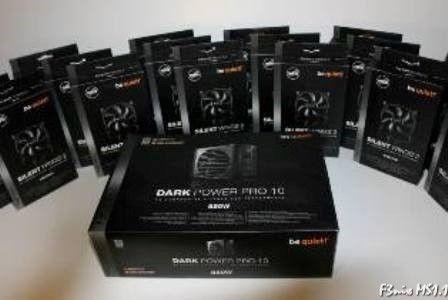
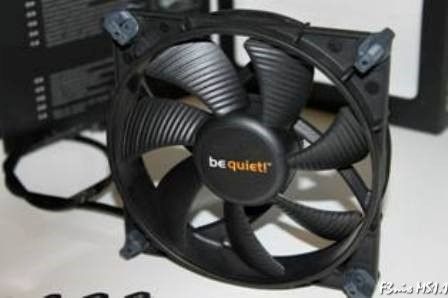
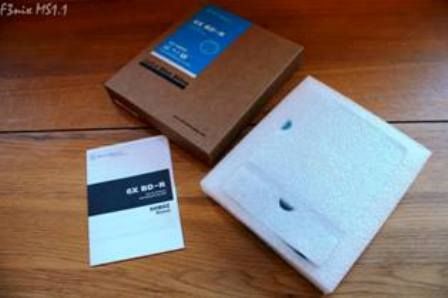
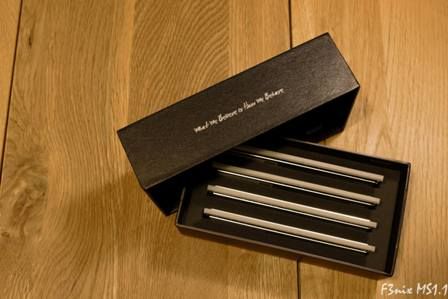
I would like to take the chance to send a huge thank you to all the companies that have believed and decided to support this build. I surely wouldn't have been able to do it the same way without their amazing help. Thank you All :D


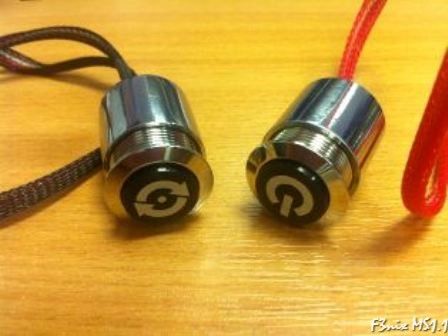
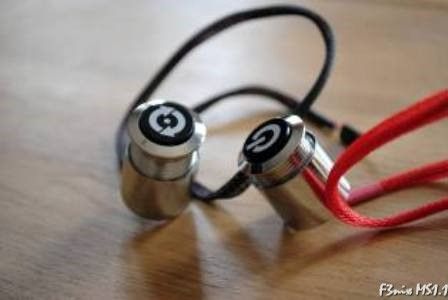
Power and Reset Switches
3_zps800ddb99.jpg
4_zps8b978023.jpg


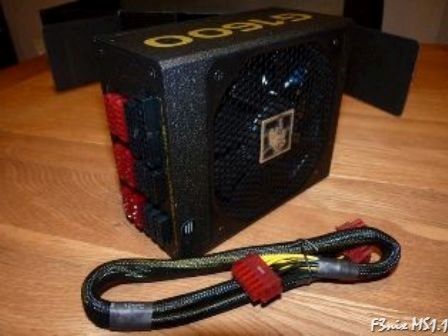
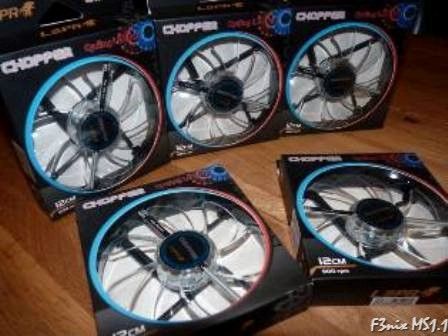
PSU and Fans
7_zps8b0ab579.jpg
8_zps82a5c611.jpg


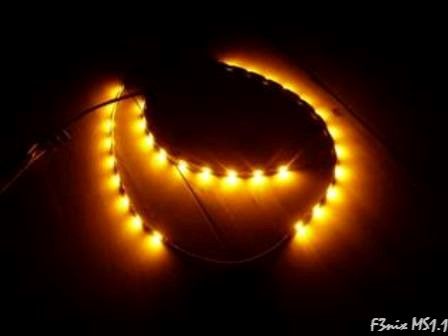
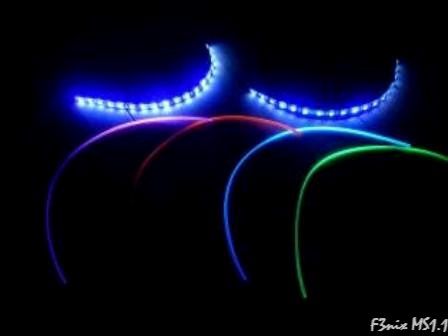
LED Lighting and Custom Cables
9_zps142cd4ec.jpg
10_zpsd72e8366.jpg


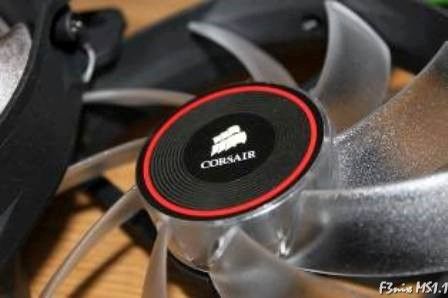
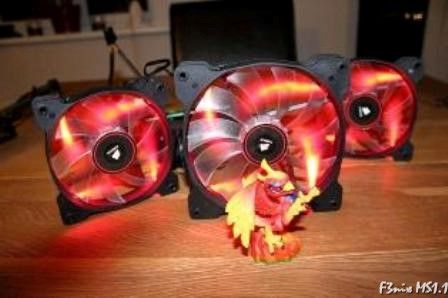
Fans
11_zpsb5122a7b.jpg
12_zpsa06d1cba.jpg


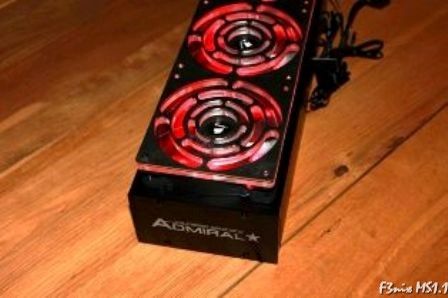
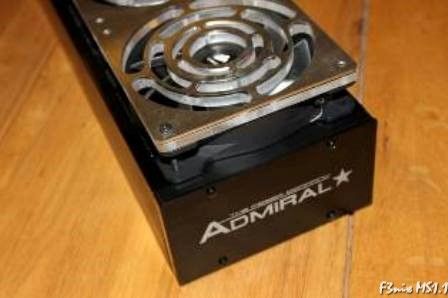
Partial Sponsor of a 360 Admiral Radiator
13_zps0b93fef8.jpg
14_zps737bc0a7.jpg


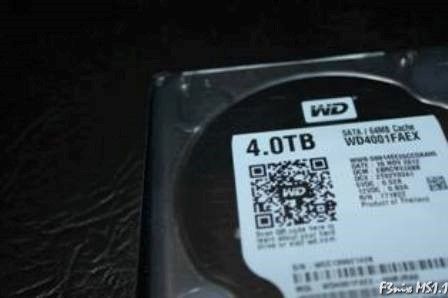
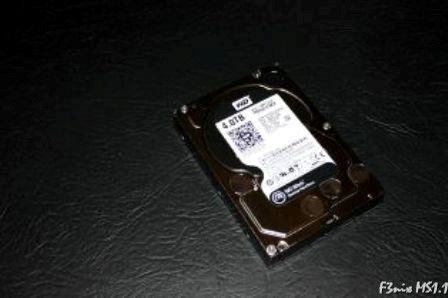
4TB Hard Drive
15_zpsd5369554.jpg
16_zps63c1b825.jpg


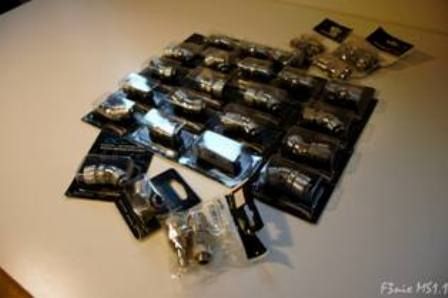
Water Cooling Parts
17_zps166b50b5.jpg
18_zps76f3f281.jpg


PSU and Fans
21_zps3360674e.jpg
22_zps932e2861.jpg


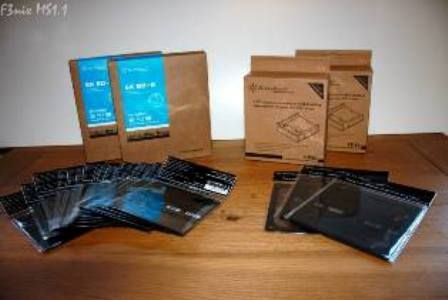
Slim Optical Disc Drives, 5.25" Aluminium Cover Bay and Fan Filters
23_zps7ff13a5b.jpg
24_zps6dcbdc62.jpg


16GB (4096MB 512M x 64-Bit x 4 pcs.) DDR4-2666MHz
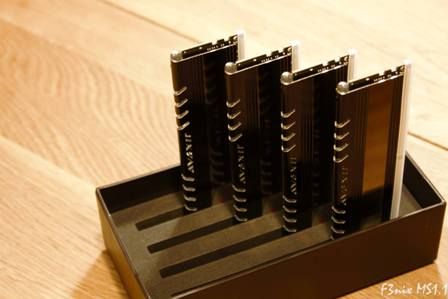
a_zps2642323c.jpg
b_zps0cc762ea.jpg


2 Huge Custom Sized Filters
c_zps04d9fab7.jpg
d_zpsc071afa7.jpg


And some more which unfortunately I cannot mention as they are direct competitors of Overclockers UK
 
Last edited:
Right, let's get this started.

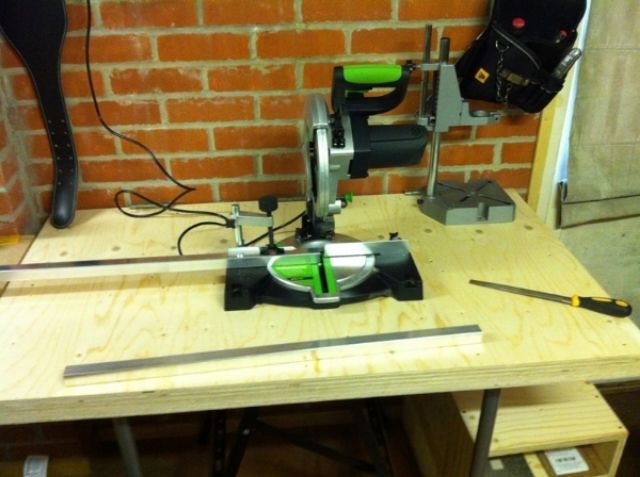
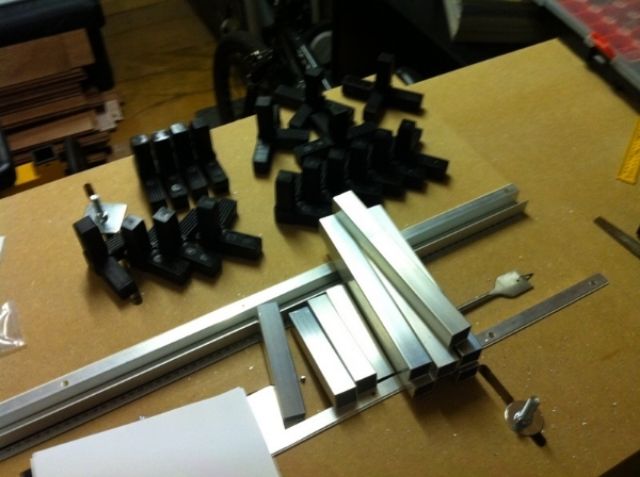
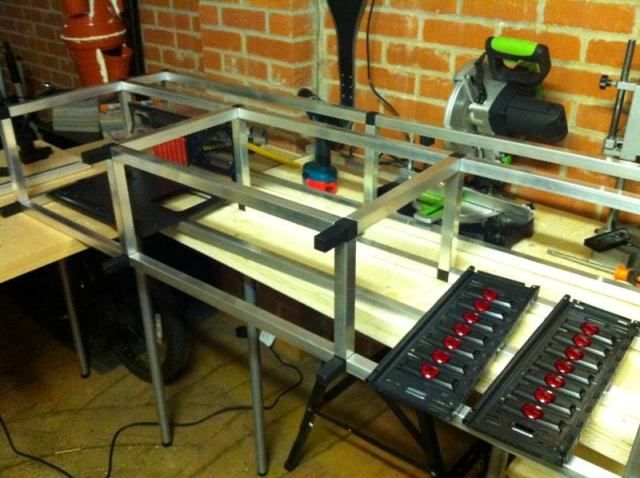
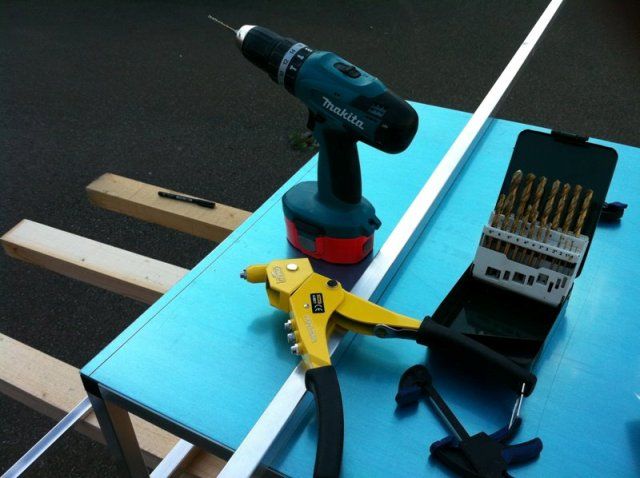
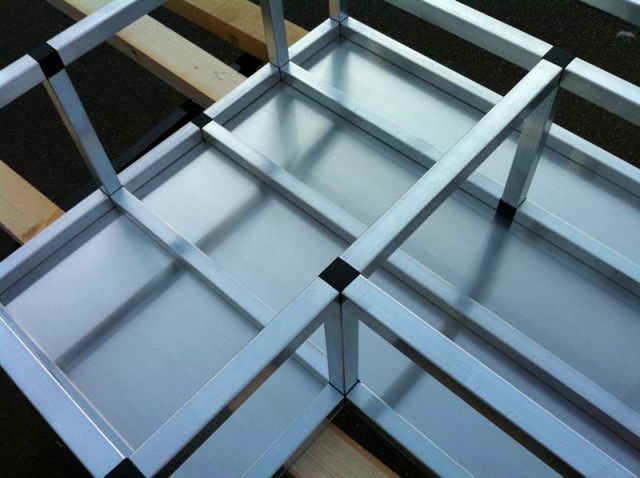
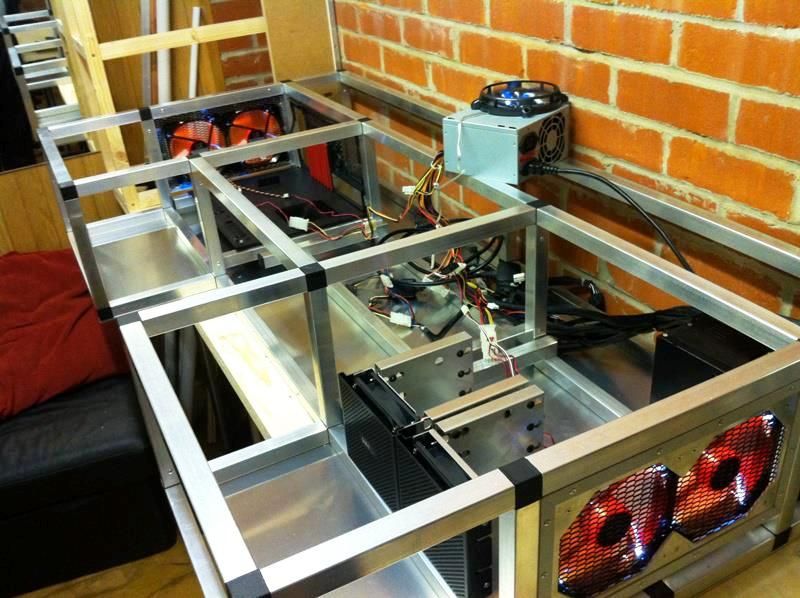
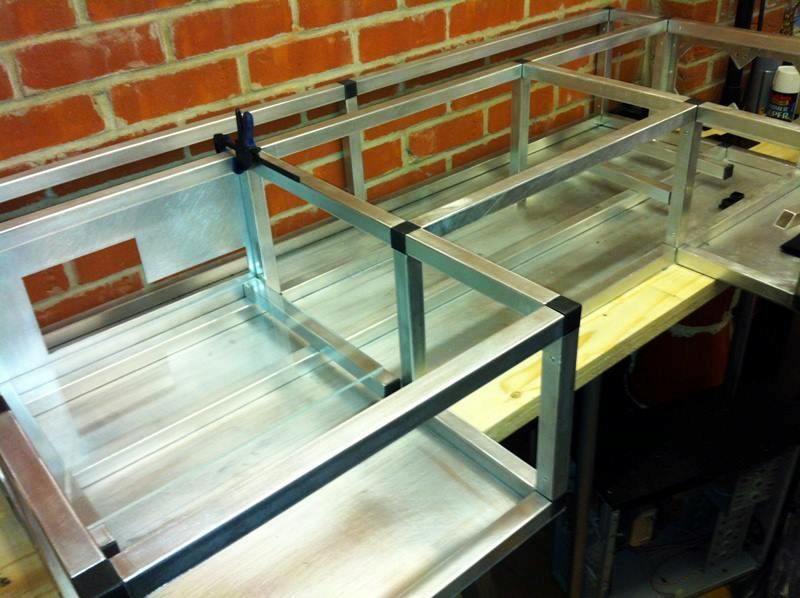
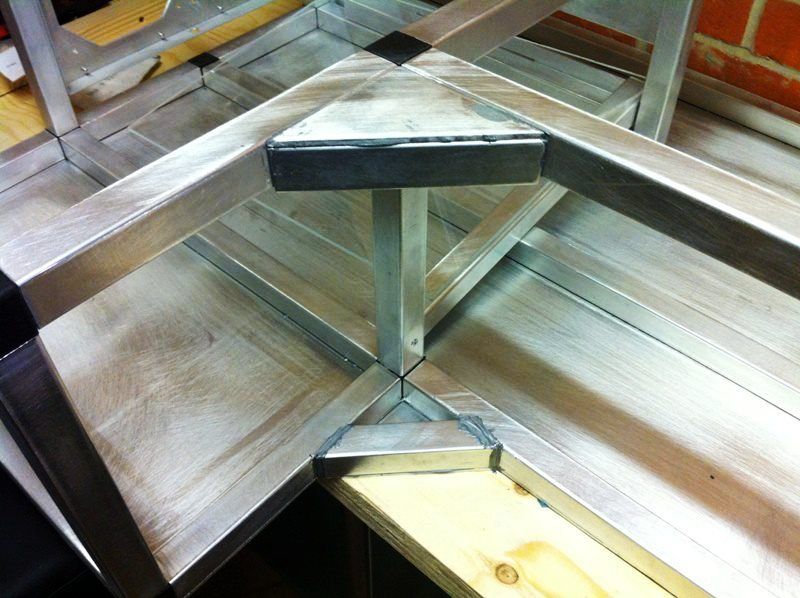
I've used an electric metal mitre saw to cut all the aluminium tubes, plastic connectors to connect all the tubes and rivets to firmly keep the whole frame together.

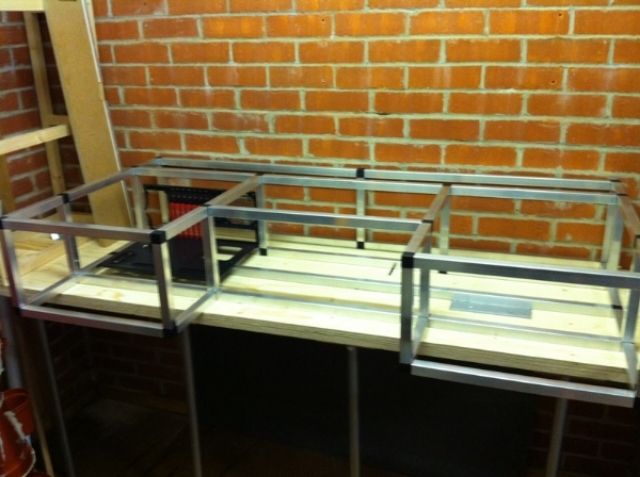
Final result was this.

PicsI001_zpsbc38bf41.jpg

It all starts with the first cut!!!

PicsI003_zpsf1c0c100.jpg


1044316_140117346191373_1472056664_n_zps136d90d9.jpg

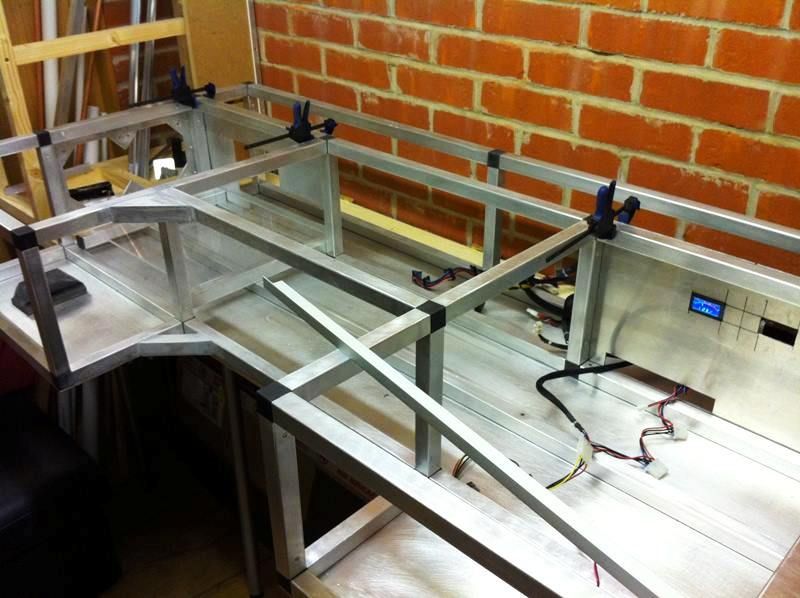
It starts to take shape...

PicsI009_zpsb6c9262f.jpg

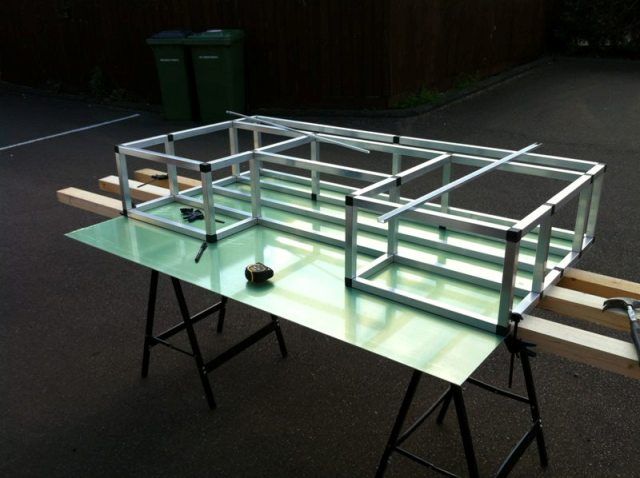
And that's the frame put together, time to move on to the bottom of the frame

1012129_140117709524670_551332939_n_zps2c0b7516.jpg

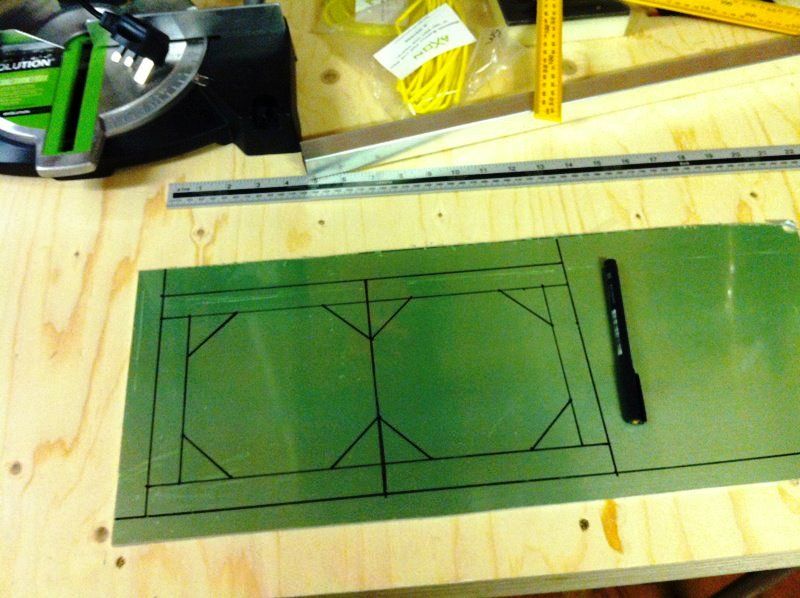
3mm aluminium sheet

1016667_140117796191328_2095729758_n_zps8f7eea96.jpg


1012123_140117849524656_511078809_n_zpsfcaf2e0e.jpg

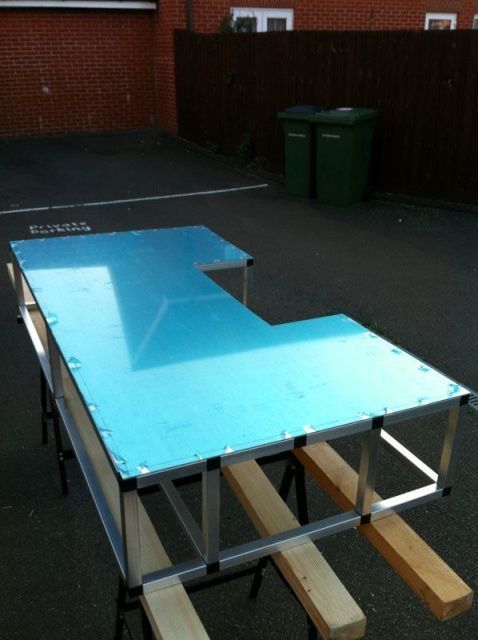
After quite a few rivets this is the result. Looks like a turtle on it's back :D

1044204_140117892857985_2147243235_n_zps09022ddb.jpg


That's it!!! For now...
 
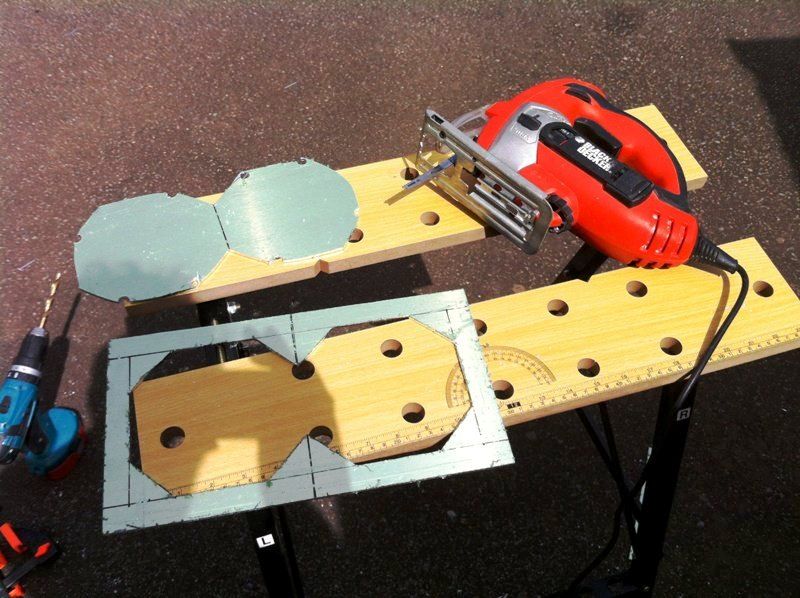
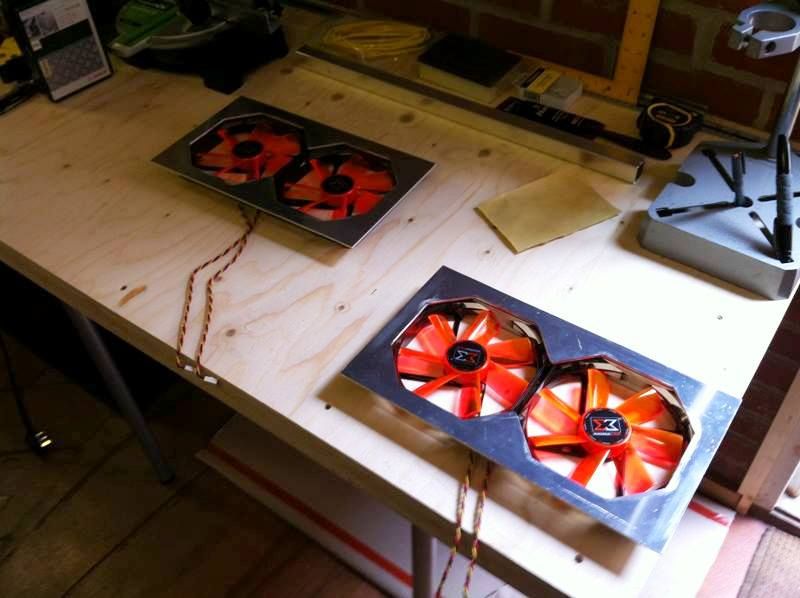
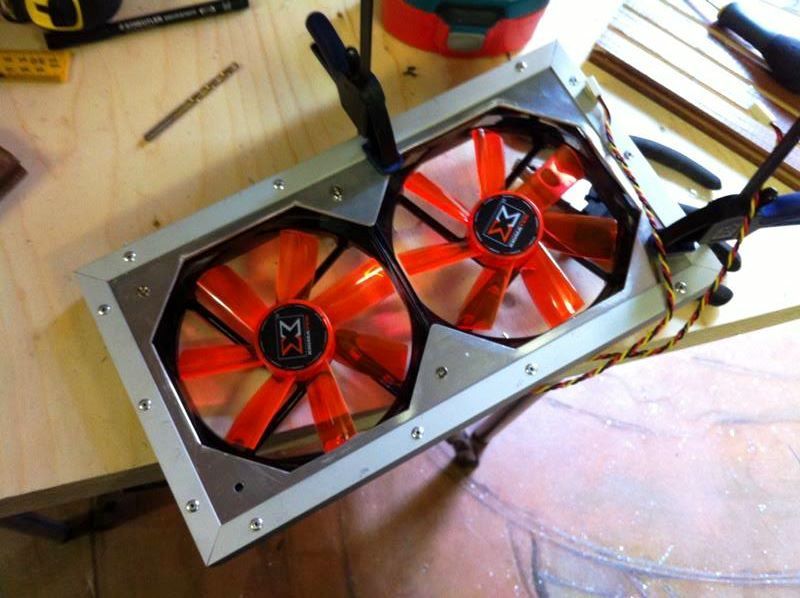
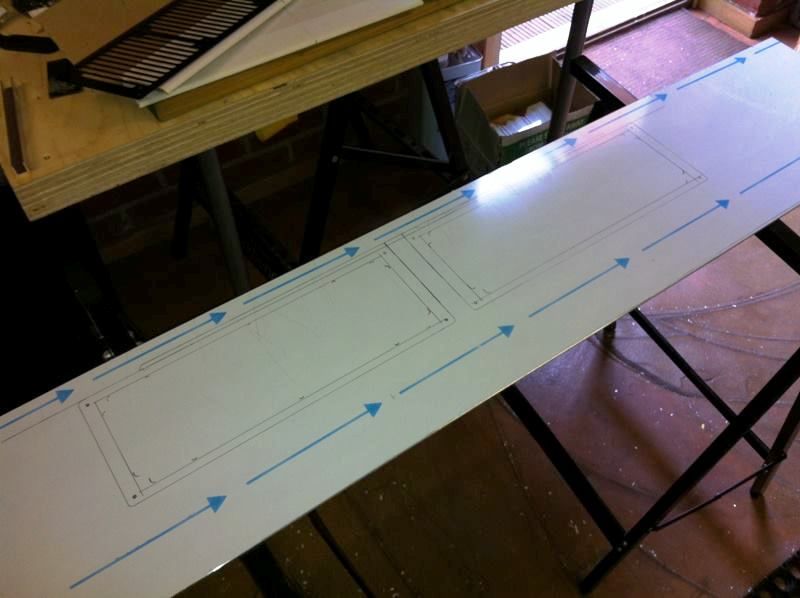
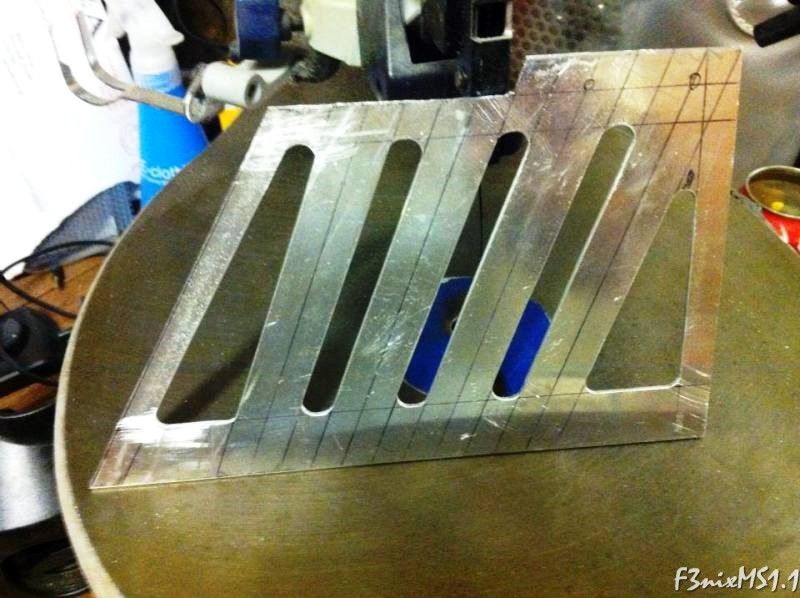
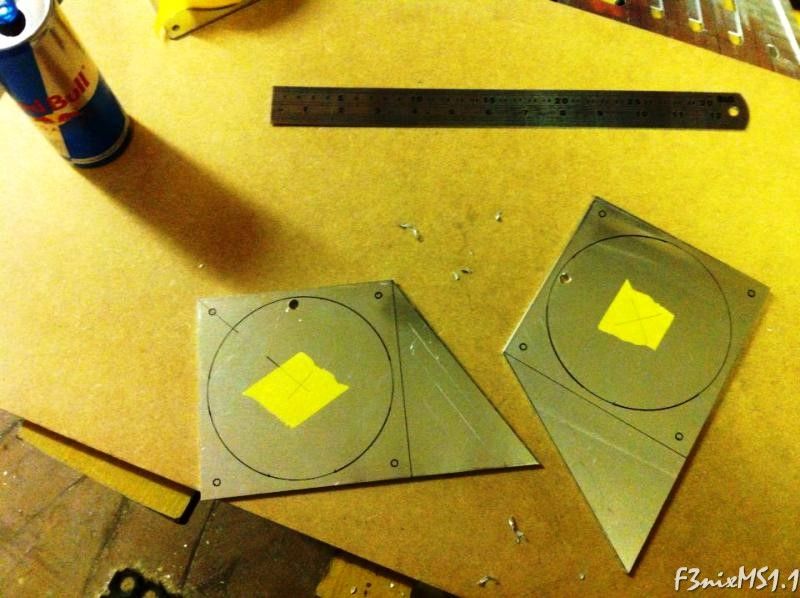
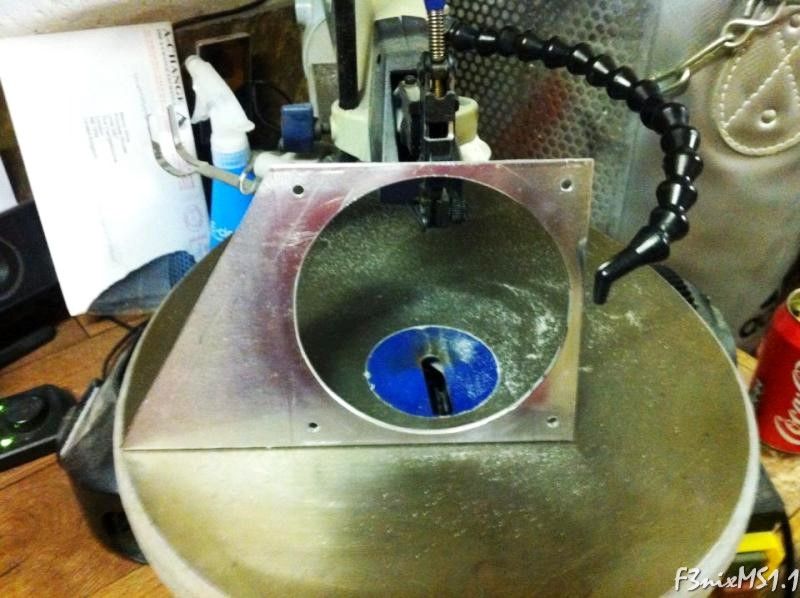
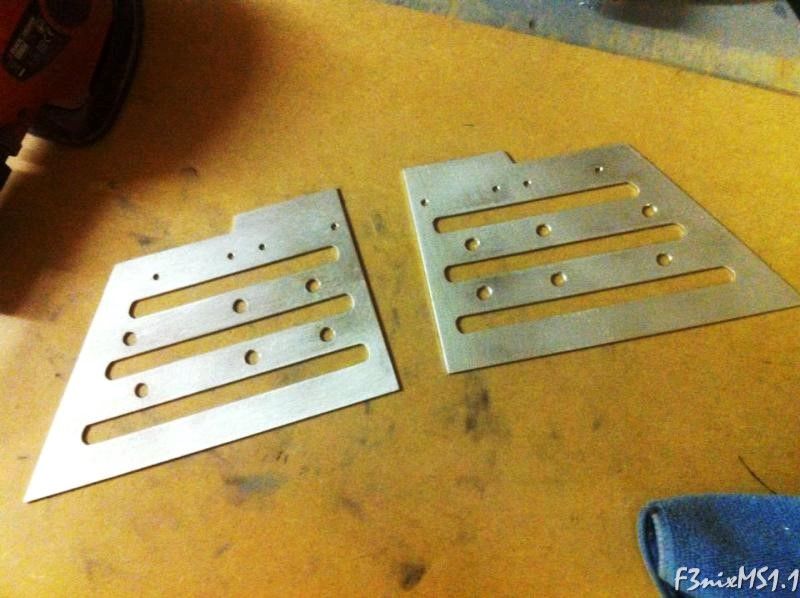
Lateral exhaust fan holders in the making...

1_zpsd14ce595.jpg


2_zps047d6ddd.jpg


3_zpsc471a5ec.jpg


4_zps3375d5f2.jpg


5_zps02c18cac.jpg


All done and fitted to the case. They will actually change in the future but will spare from the pictures then.

The whole project has been a huge learning process, in future will ensure that the planning stage is not skipped as it saves a lot of time and material.

Mod on!!!
 
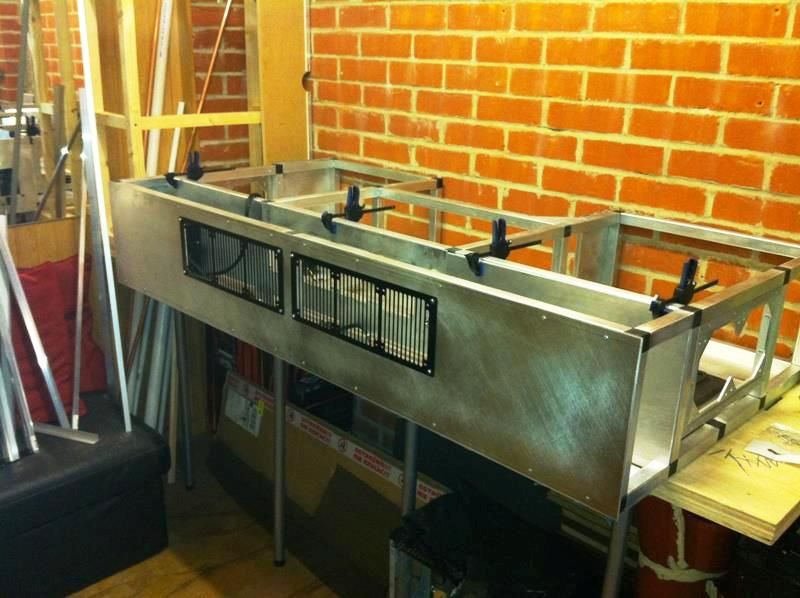
Sanded the the bottom of the case and moved on to the external plates.

I'm showing just a few pictures to give you an overall idea of what was done. There are a lot more pictures in my Facebook FenixMS1.1 page if you're curious enough...

1_zpsdf6aedff.jpg


2_zpsc2a4893b.jpg


3_zpsb5ac2169.jpg


5_zps1045a36e.jpg


6_zpsd4d671a9.jpg


4_zps24198ac8.jpg


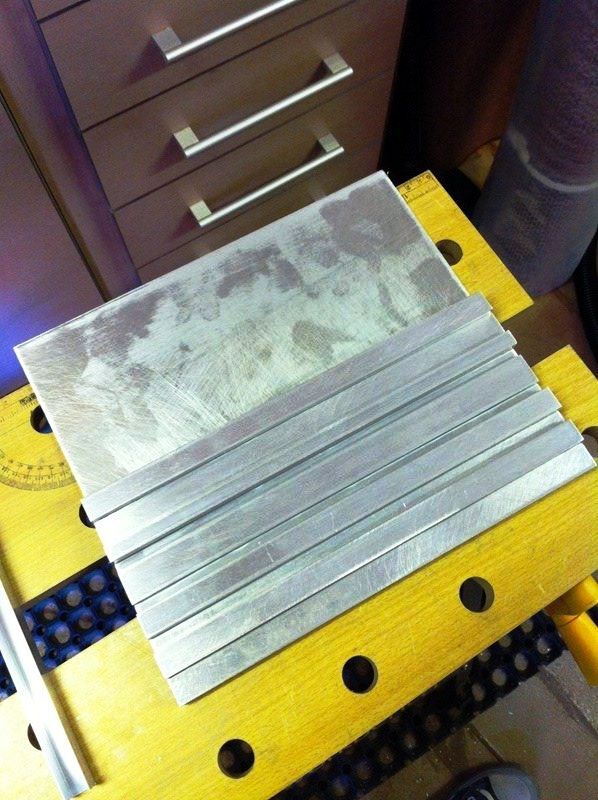
This lateral plates are all made using different sized u channels stuck together using JB Weld.

7_zps3305edd4.jpg


8_zps1293c4d9.jpg


Starting to take a bit of shape now...
 
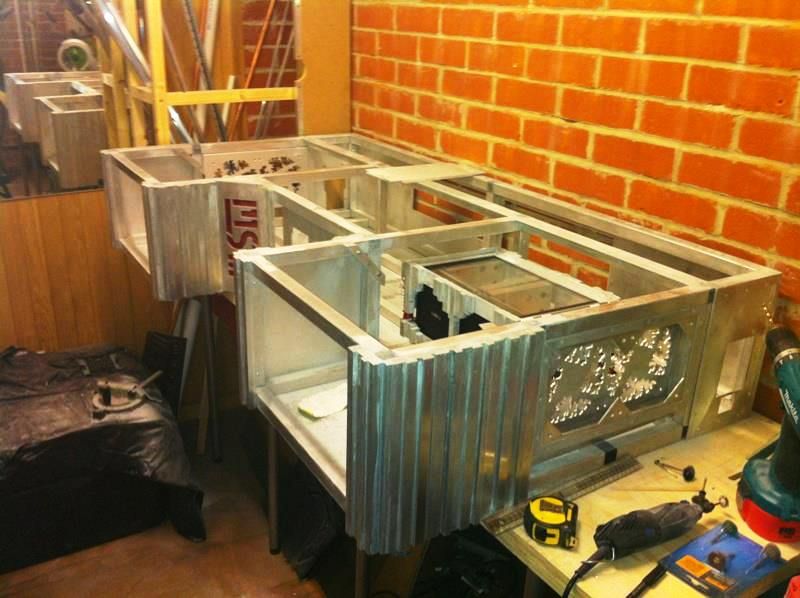
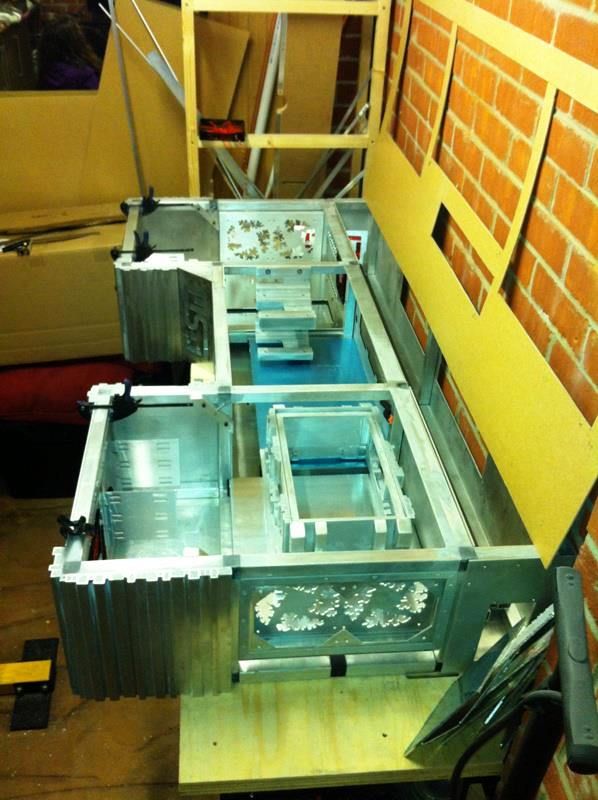
On this update I'll be showing some pictures of the finished external panels and how I double checked measurements to do the oak top.

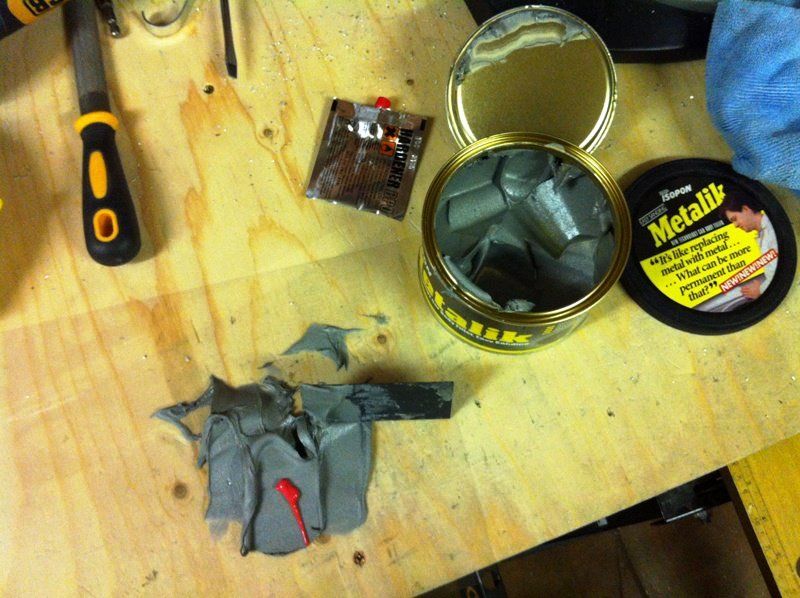
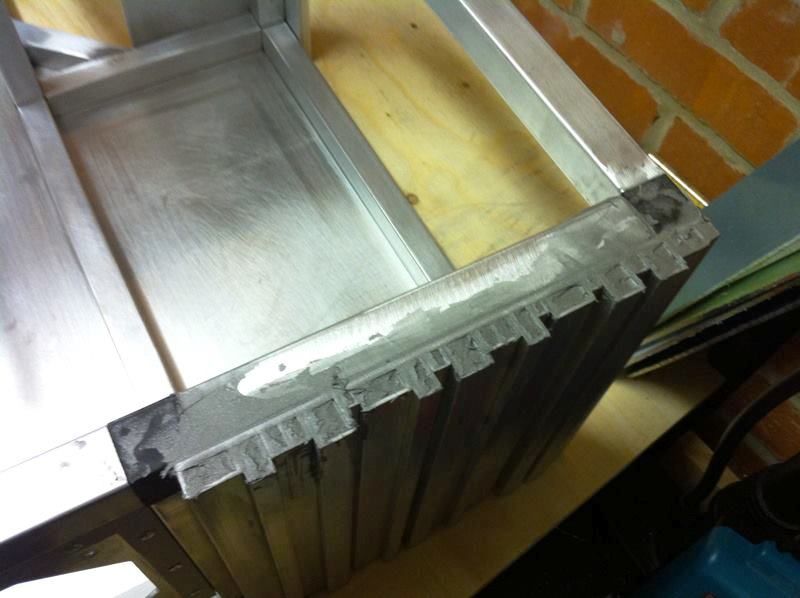
Majority of the external panels were done using aluminium profiles which meant that the top and bottom of those panels had to be filled using Isopon Metalik body filler, lengthy and messy job for sure.

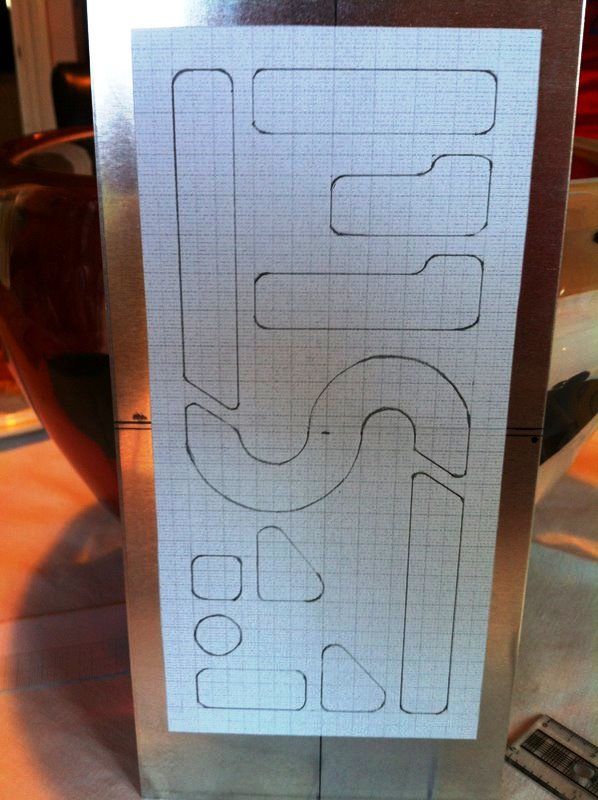
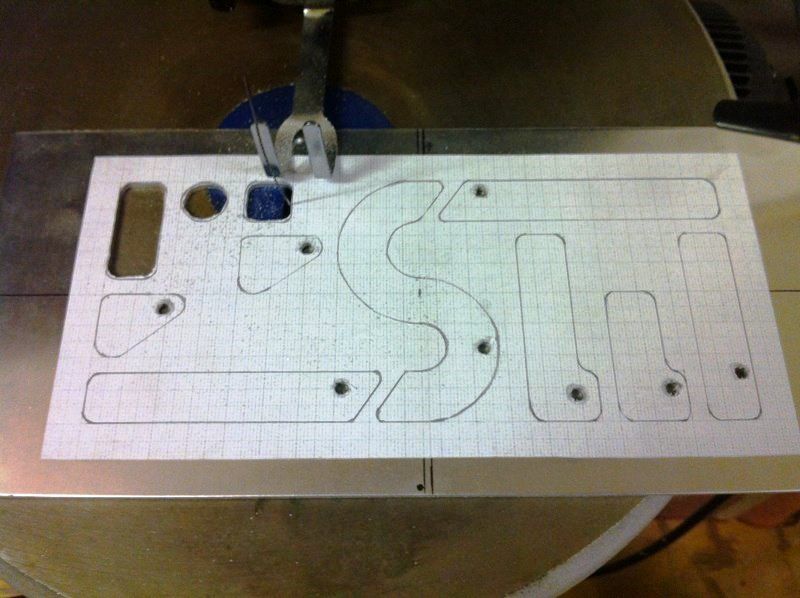
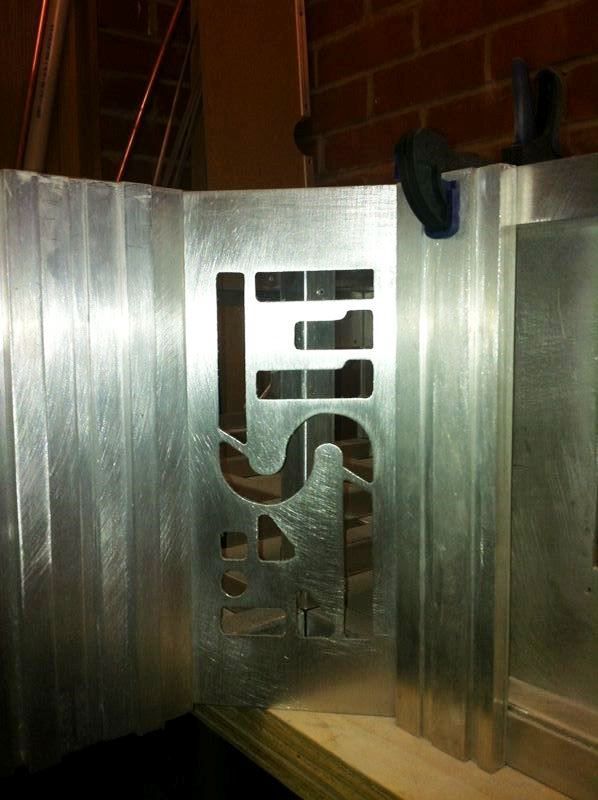
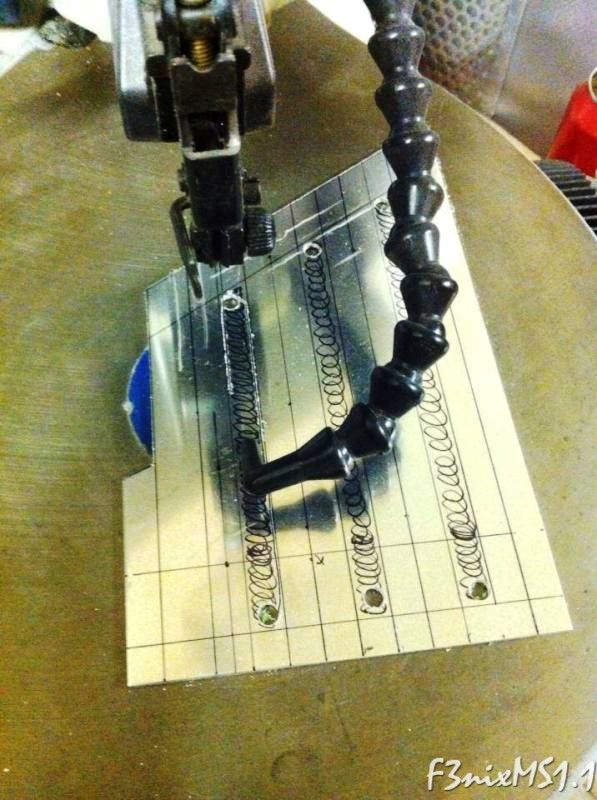
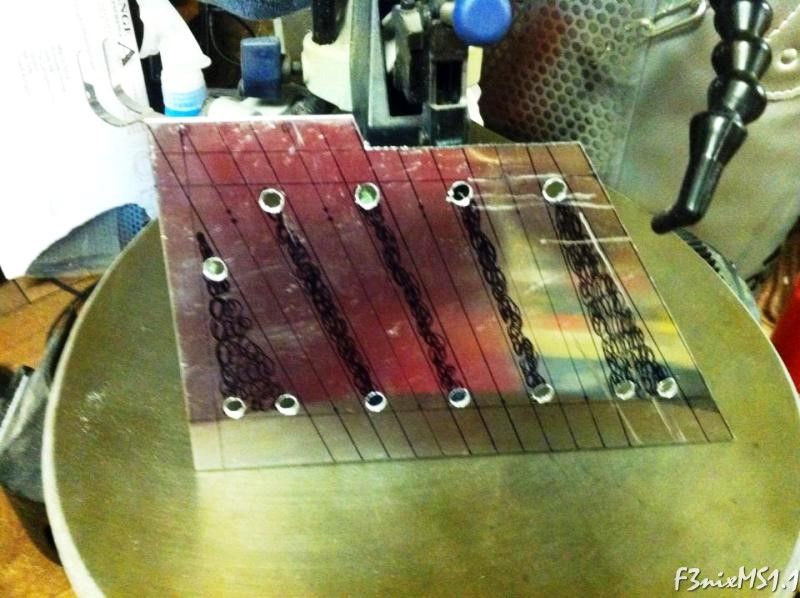
Did the corner panel with the MS1.1 letters from a 3mm aluminium sheet cut to measure, used a fretsaw and needle files to finish off.

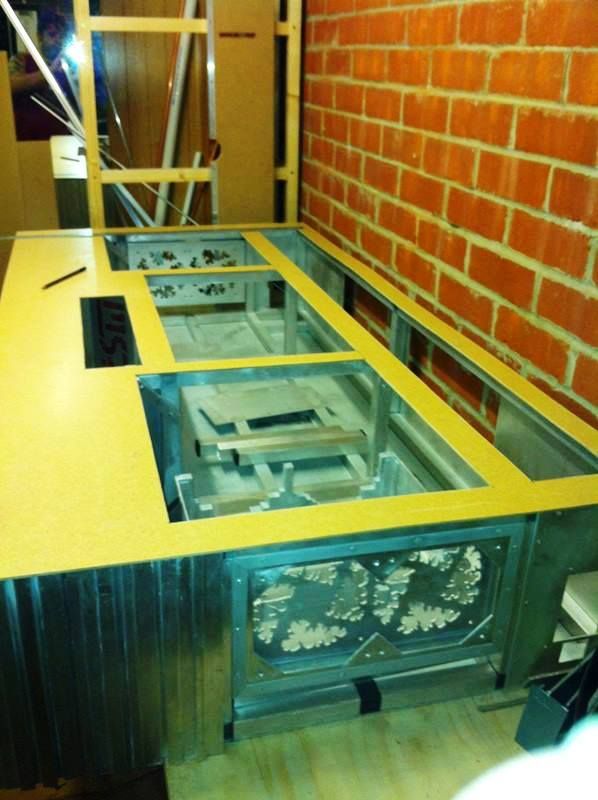
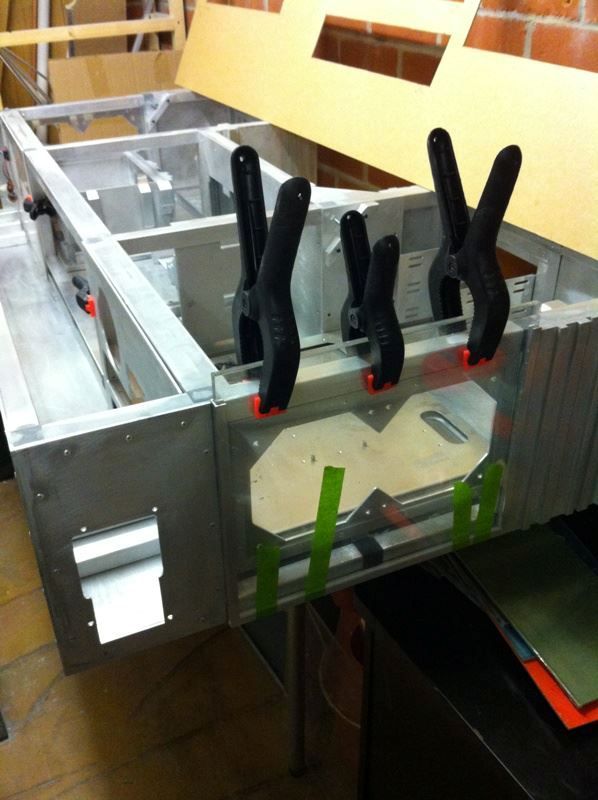
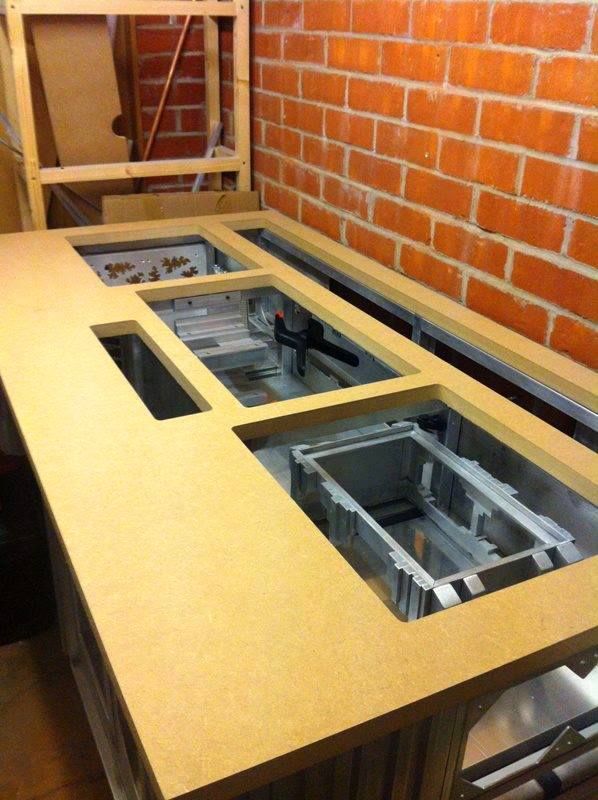
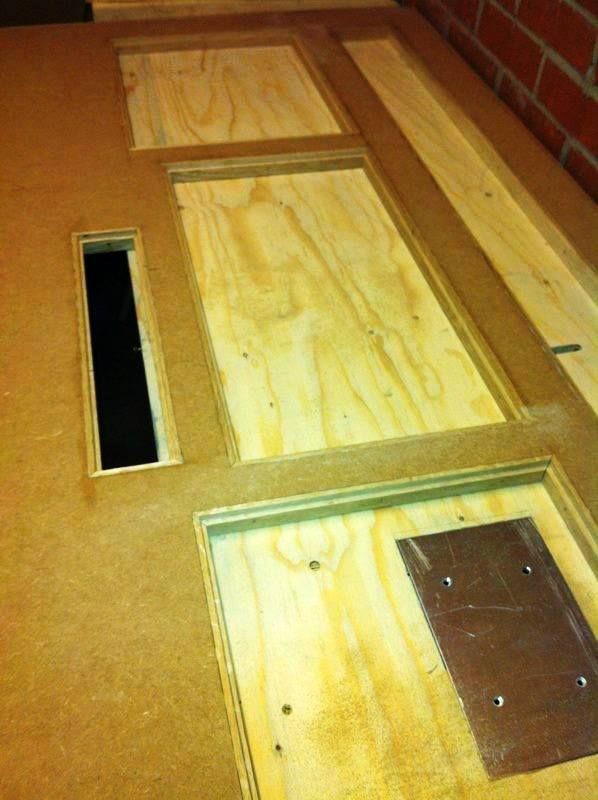
Bought a cheap mdf board just to double check measurements prior to getting the actual oak top done. Glad I did this as one of my measurements was out by 5mm, could have been a very expensive mistake and without doubts very frustrating

You'll be able to see some parts in the pictures that were replaced with more suitable upgrades, many hours of work wasted but I am much happier with the final result :naughty:
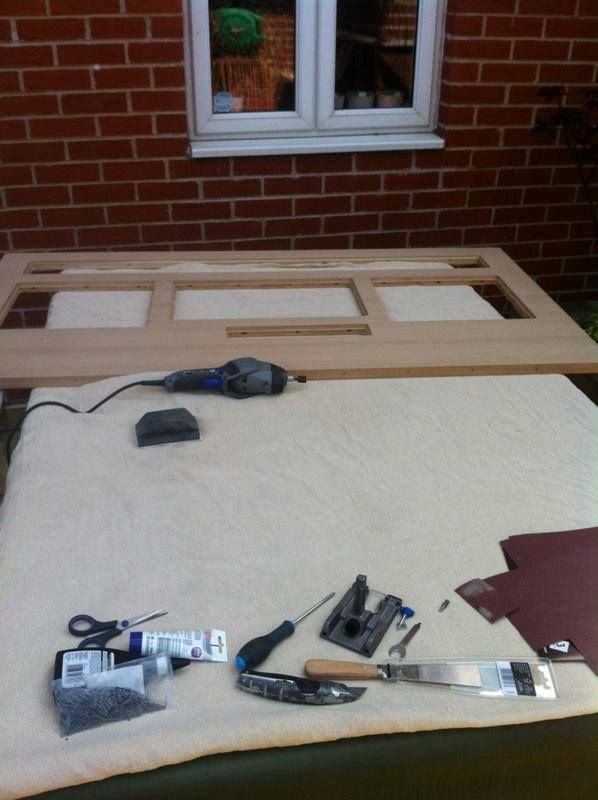
It's funny how easy it is to change your mind during a project and how sometimes it leads to learning new skills. All great stuff!!! lol

0_zpsbf4278a9.jpg


1_zps601d89da.jpg


With the template in place is time to start cutting...

2_zps28a157a3.jpg


... and the final result.

3_zpsc040faaa.jpg


This is the metal filler that I chose to use, really good stuff and very easy to sand.

4_zpscb50b349.jpg


Several thin layers worked great and the final result was a lot better than the above picture, lol.

6_zpscb65bbd9.jpg


And here it is, pretty much finished and ready for painting. Just kidding, so much more to do...

Anyway, moving on to the oak top...

7_zps5a9c6f5d.jpg


8_zps78ed9cc2.jpg


Really happy I bought this cheap mdf board, saved me bucket loads of money in the end.

Till the next update
 
Hi guys. Sorry it's been so long since the last update but been really busy designing the panels for the F3nix pedestal, to be revealed soon.

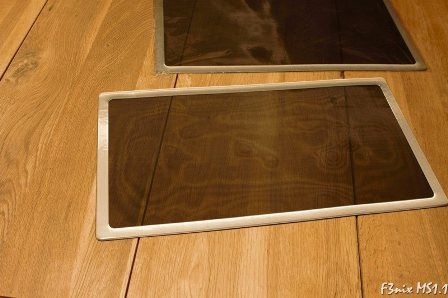
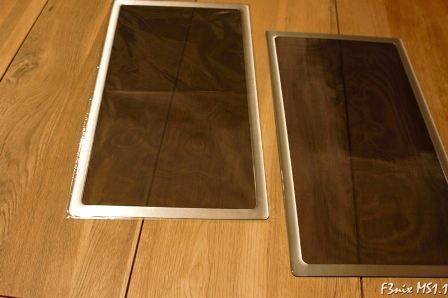
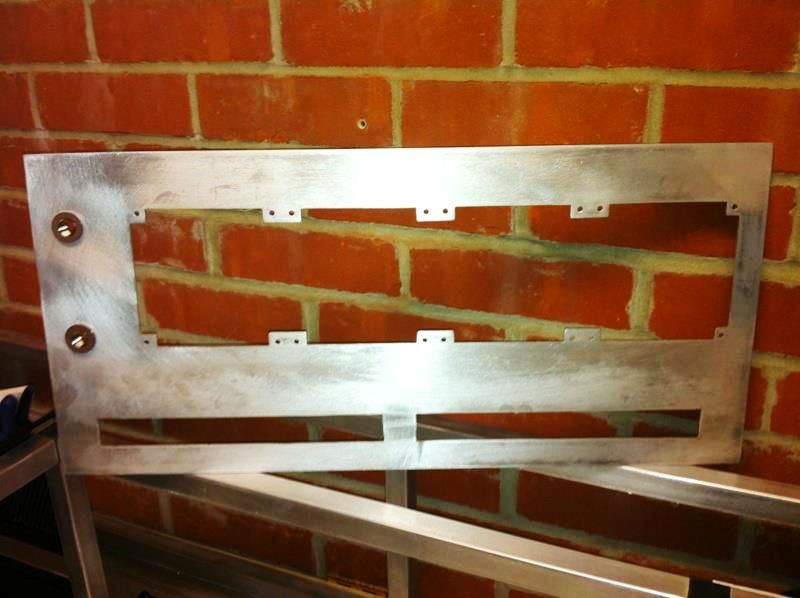
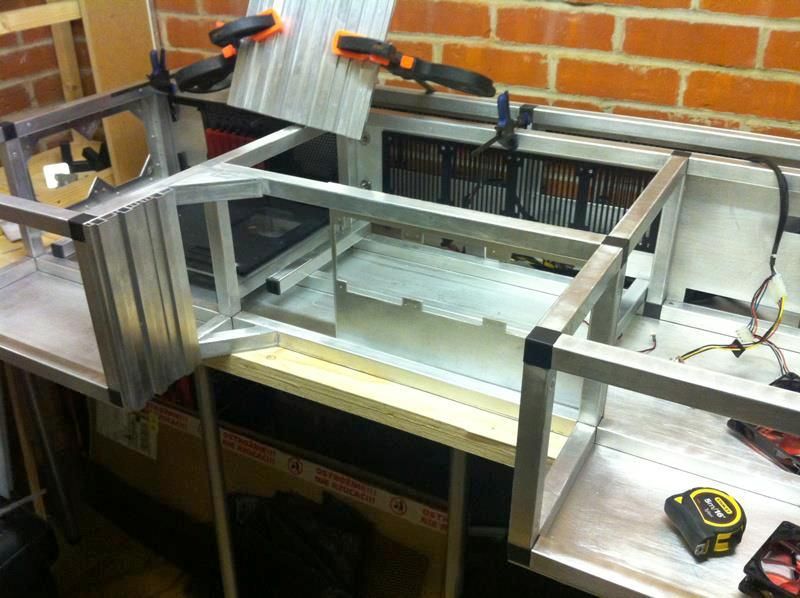
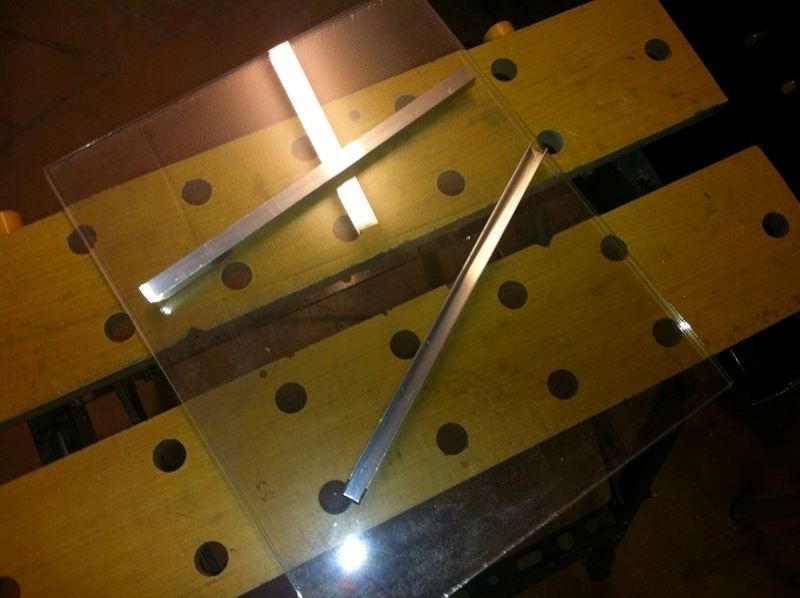
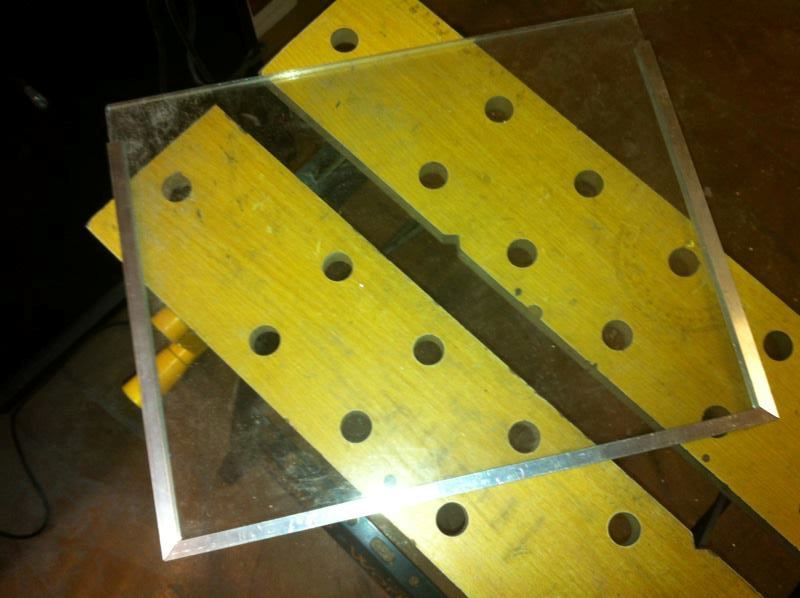
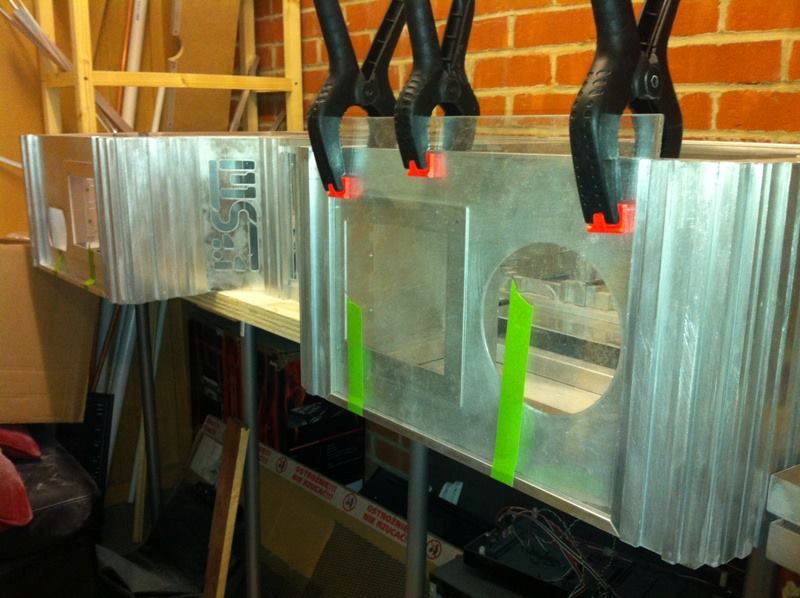
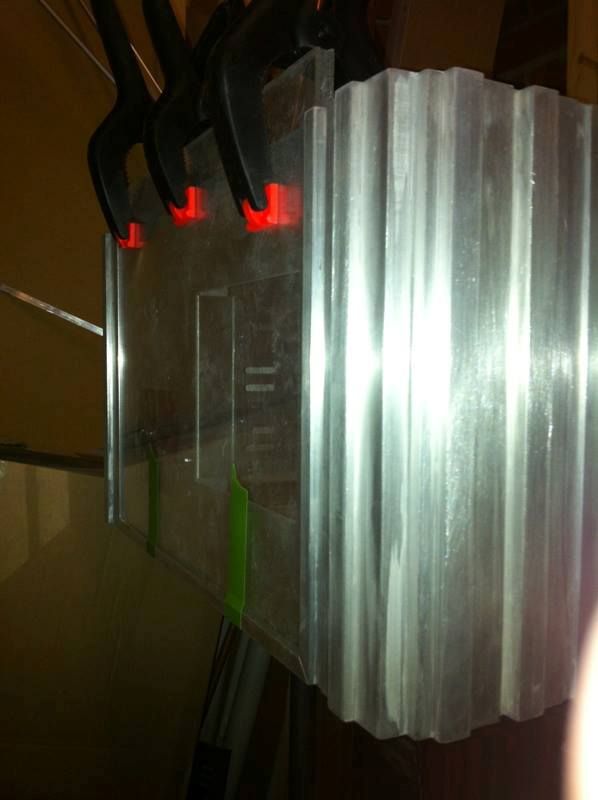
On this update I want to show you how the front and lateral panels of the enclosure will be secure to the aluminium enclosure. They will be really easy to remove/swap as all I need to do is slid them in/out. Nice interchangeable panels for the future :D

I've used aluminium (what else?) u-channels to create the panels frame

1010725_140135806189527_1336640781_n_zps7c91b1a7.jpg


and pretty much goes like this:

1010256_140135919522849_855912557_n_zpse3c0a90f.jpg


JB Weld to secure the frames in place

988498_140136906189417_1345961718_n_zps24484868.jpg


1014263_140136232856151_2122650217_n_zps6fa79aa9.jpg


1010927_140137539522687_1884497158_n_zps3590233e.jpg


There you go, nice and simple. Will be back very soon with more updates.

Mod on!!!
 
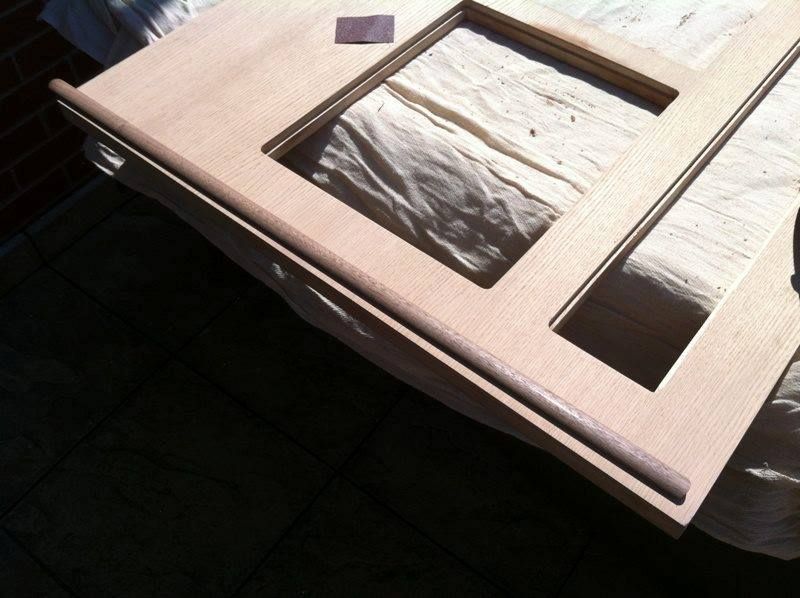
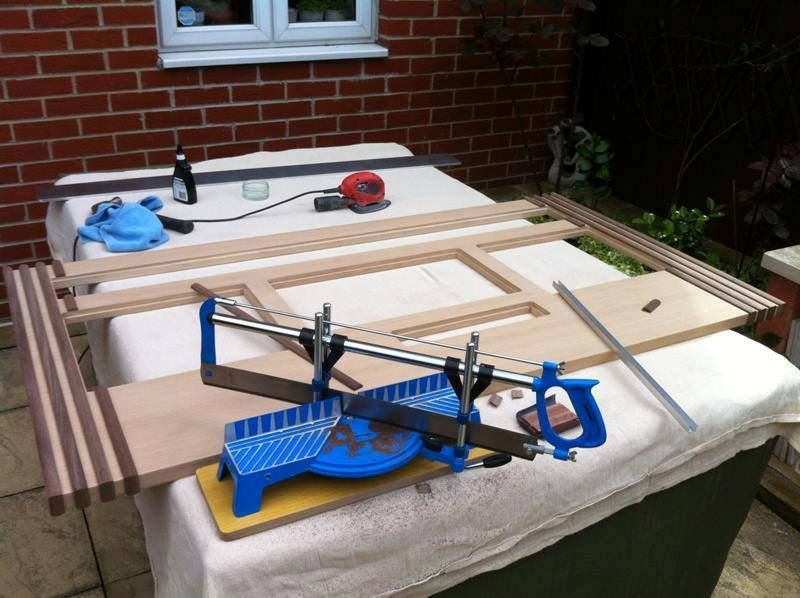
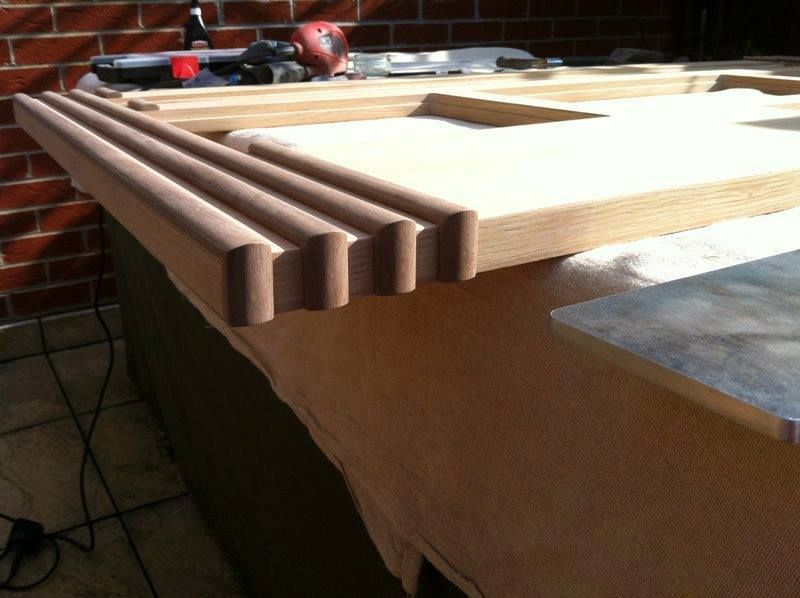
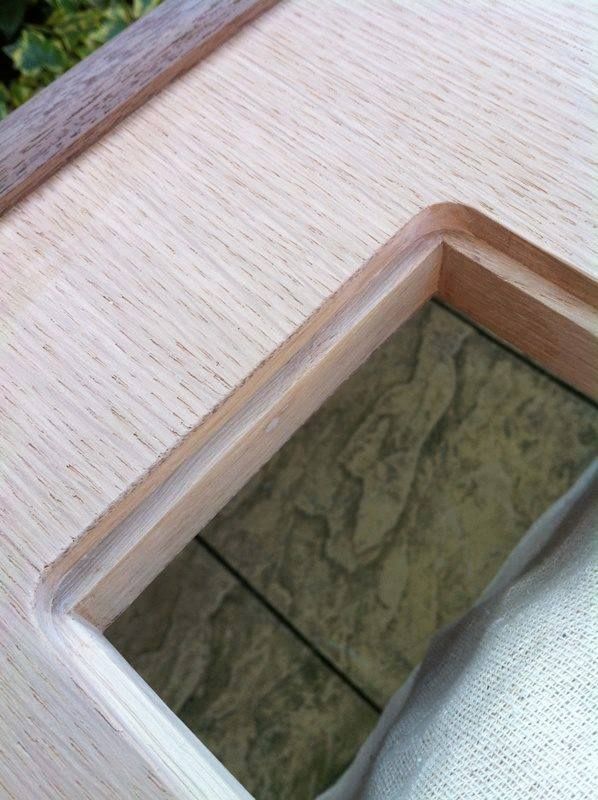
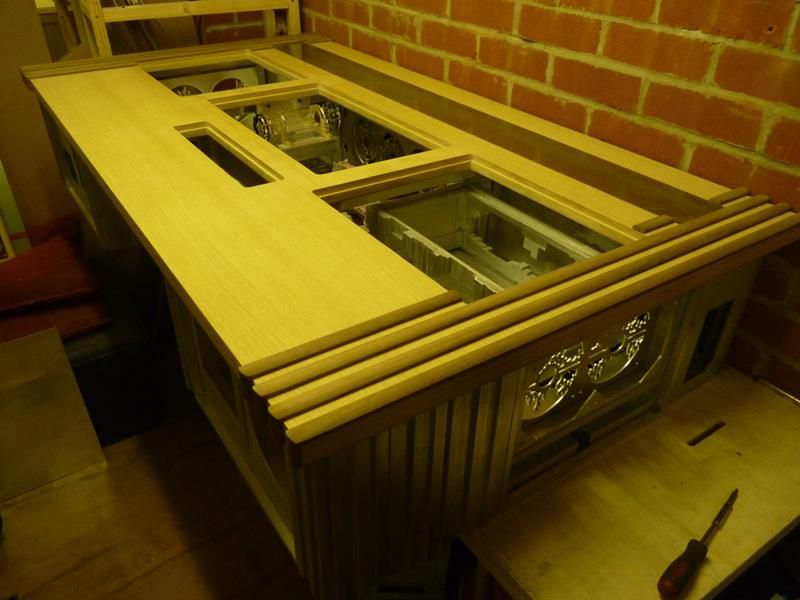
I was advised against using solid oak as to avoid wood warping and shrinking. This could potentially cause major problems as such I decided to go with a MDF core, solid wood profiles for the edges and 3mm european oak veneer. As per usual I will let the pictures below do the talking:

1_zps32cfcde3.jpg

The 18mm MDF core after it was cut

3_zpsb4f06b08.jpg

Used panel pins and wood glue to secure the solid oak profiles to the MDF panel.

4_zps33129f97.jpg

Veneering all done :D

5_zps728812f0.jpg

Some solid walnut mouldings will take care of the colour accent

7_zpsf77c2779.jpg

Pretty much done

8_zps0183f516.jpg

Detail Picture

6_zps337eb89e.jpg

Detail Picture

9_zps612a09fb.jpg

In place with the aluminium cover at the back

Enjoy. Will be back soon with more updates :)
 
It's time to start learning new skills and cad work is something that has always fascinated me. The possibility to design something on my PC and have it done by either a laser cutter or CNC router is something that I just have to try.

Took me a while to get the hang of it but the result was pretty much what the following pictures demonstrate.

The front panel has the Performance PCs logo engraved as they have kindly sponsored some of the water cooling stuff for the build, a huge thank you to Hank Baron :), cheers mate.

Competitor removed

Hope you enjoy the pictures

1_zpsced12373.png

2D view of some of the parts needed

3_zps0c12e571.png


2_zps0764d17c.png


5_zps084573bf.jpg


6_zps758fae30.jpg


Really enjoyed doing this, the prospect of creating something unique is very rewarding. I guess I'll have to do some more parts :)
 
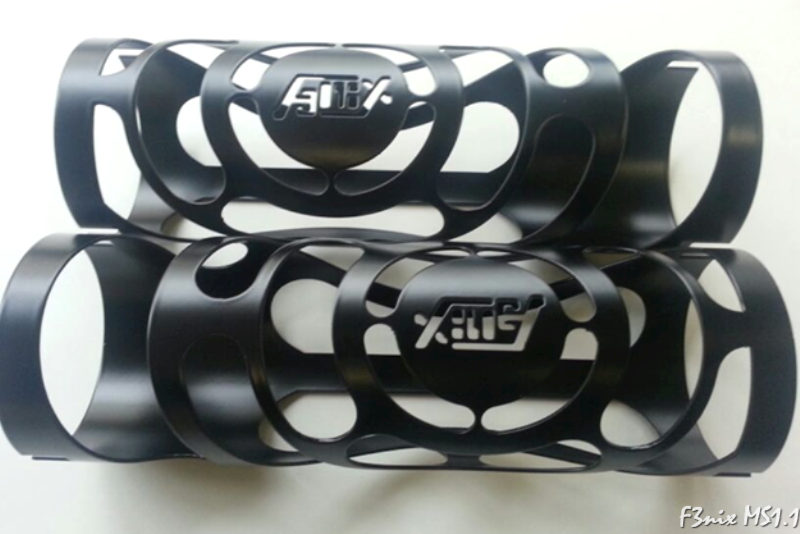
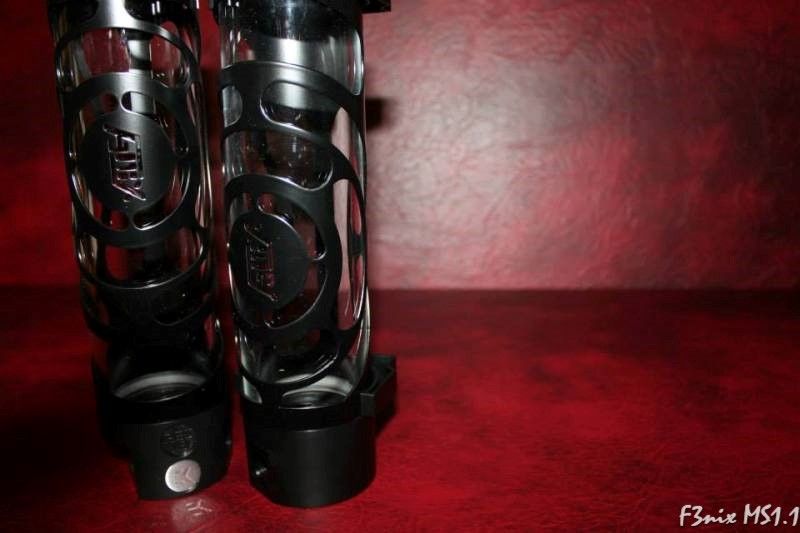
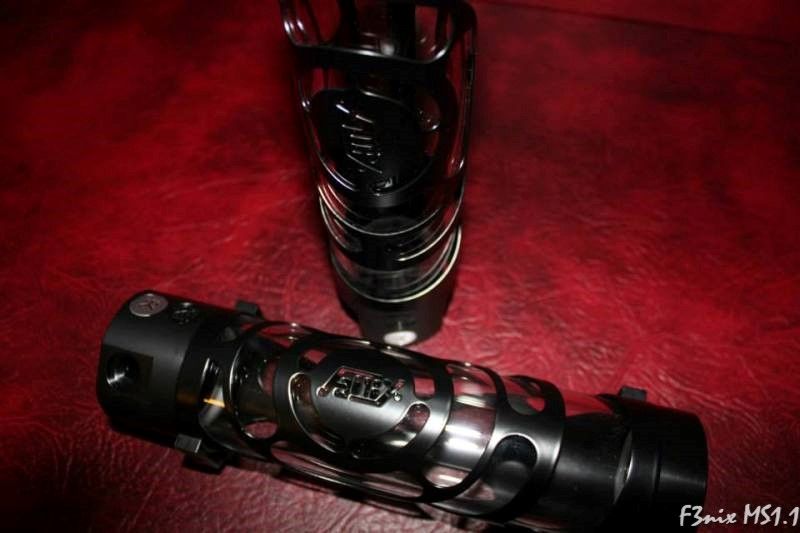
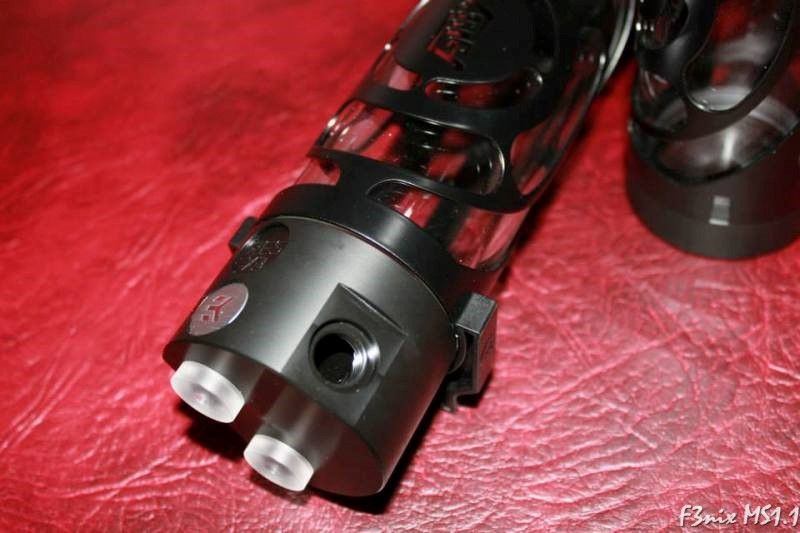
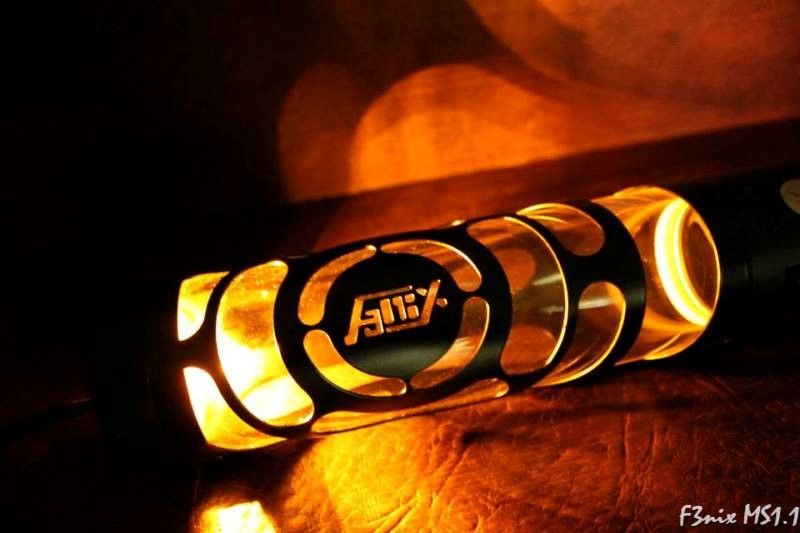
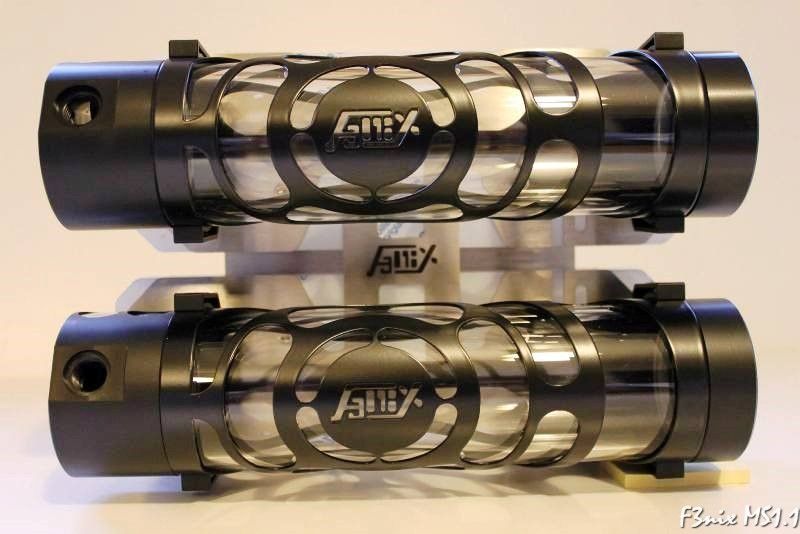
I guess everyone here has heard of the Red Harbinger and the awesome Cross desk that they are commercialising. Some of you may even know about the reservoir sleeves that they created and that I must add look bloody awesome.

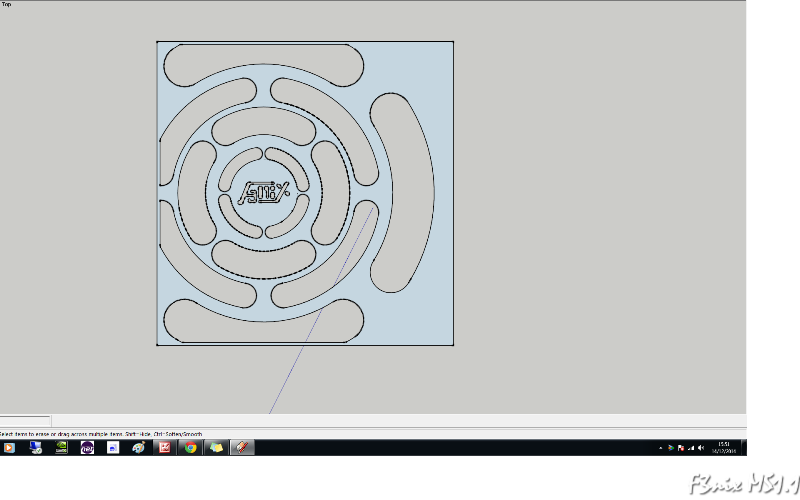
So, why not create something similar but unique to the F3nix desk?

Please let me add that this was only possible as:

E22, Nate George, allowed me to use a very similar design to a fan grill that he sells on his website

Competitor removed

Red Harbinger was kind enough to allow me to use their sleeves idea

[url]www.redharbinger.com[/URL]

Martin Gennat, who was working with The Feser Company at the time, agreed to do a couple for the F3nix on his tube laser cutting machine.

Here's a link for those that are as curious as I am:

https://www.youtube.com/watch?v=UeGVbtrrHjE

Huge thanks to everyone!!!

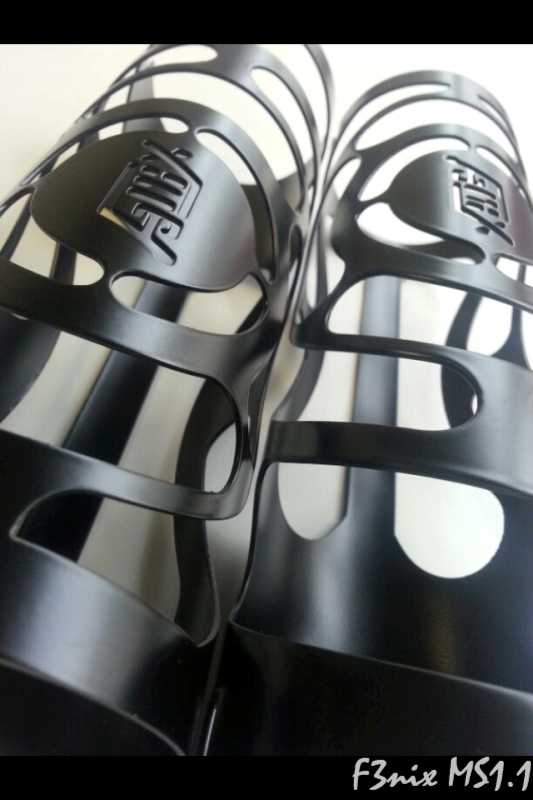
Here are some pictures of the F3nix sleeves

10_zpsab16a822.png

2D view of the finished design

11_zps4da89246.png


12_zps7e6b1a64.png


13_zps9b5f0b96.jpg


14_zps9200a97b.jpg


16_zps42006904.jpg


15_zpse2274b6d.jpg


That's it... for now...
 
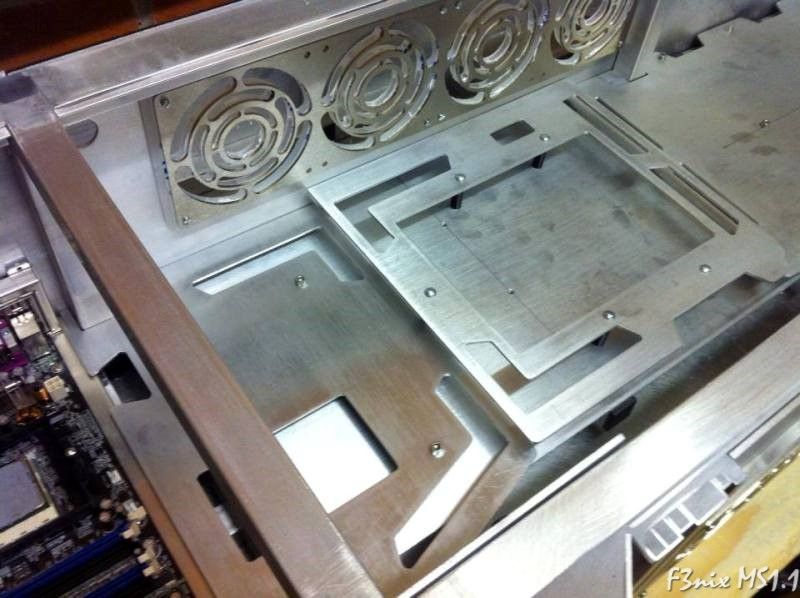
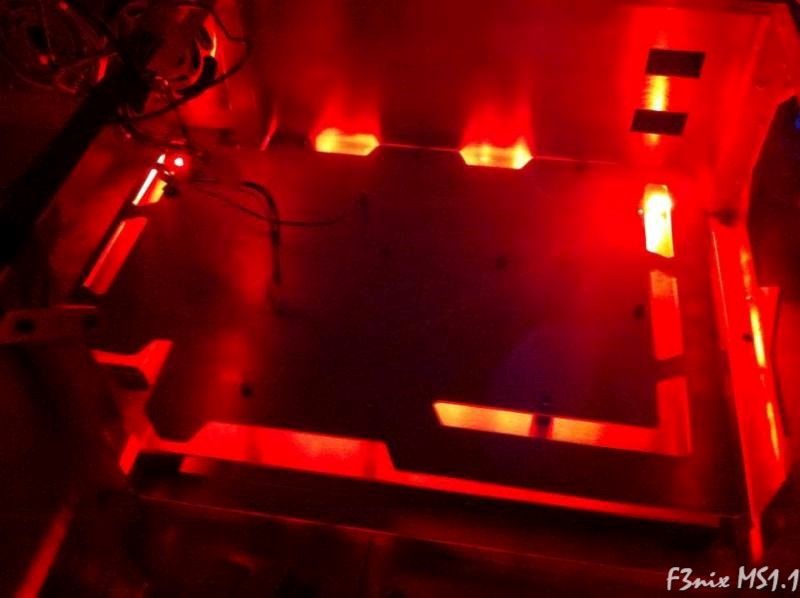
These are the trays that I will be using to hold all the components, as per usual, there were quite a few changes till I settled for the final design.

Really like the effect achieved with some led lights behind. The idea is to have two different led colours, one on each level of the trays

On to the pictures...

1_zps3b062c99.jpg


4_zpsa336e463.jpg


2_zps0eecee96.jpg


3_zpsc251fa34.jpg


5_zps48c4ff53.jpg


7_zps067b66f9.jpg


Till the next update... :D
 
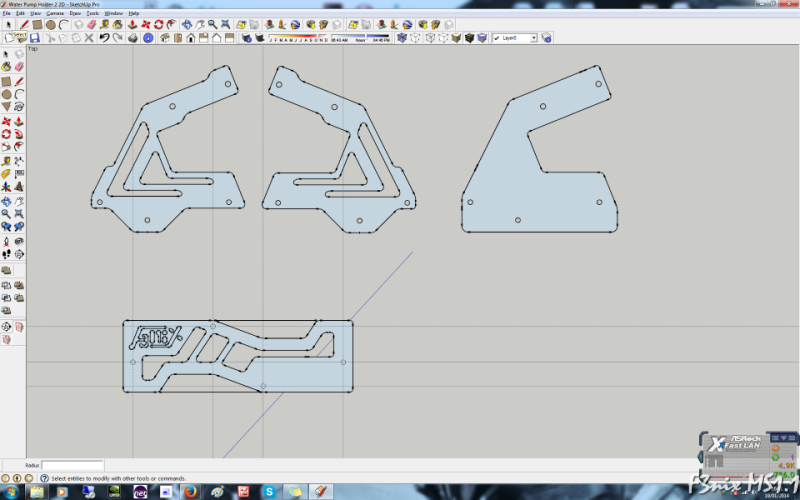
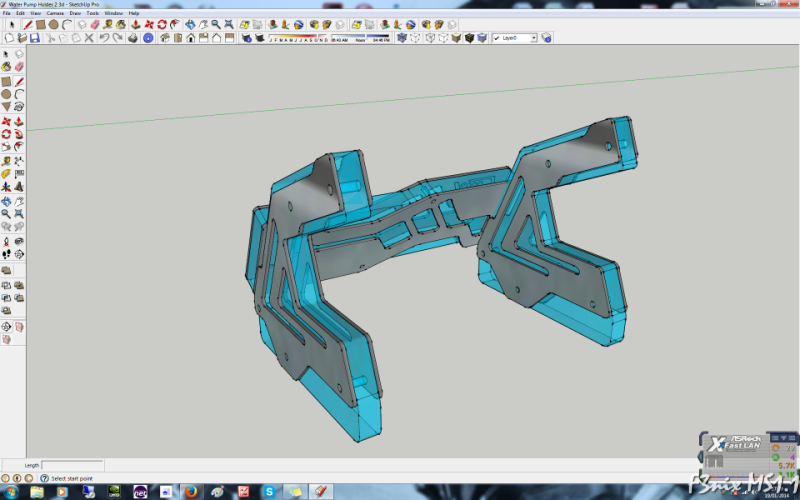
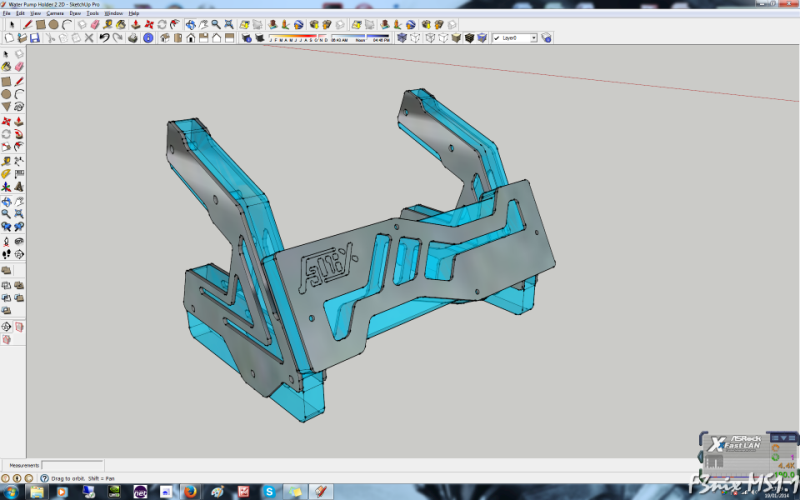
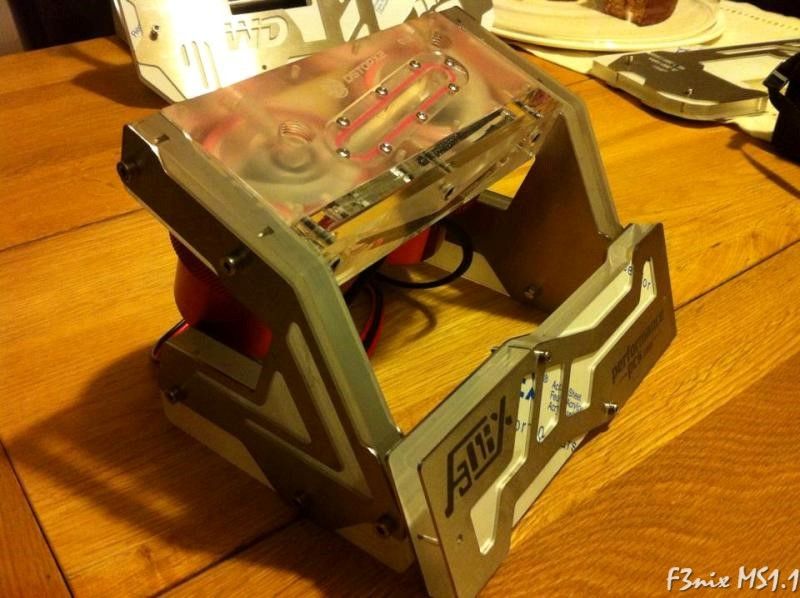
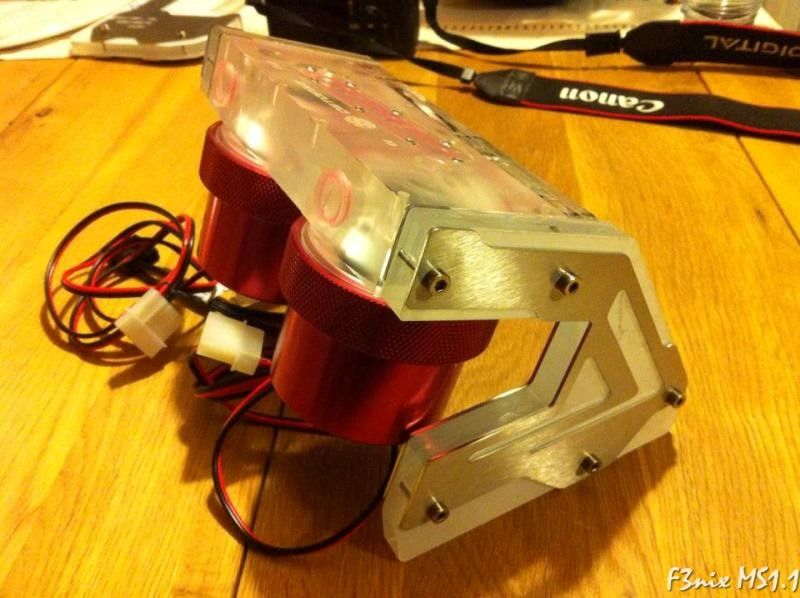
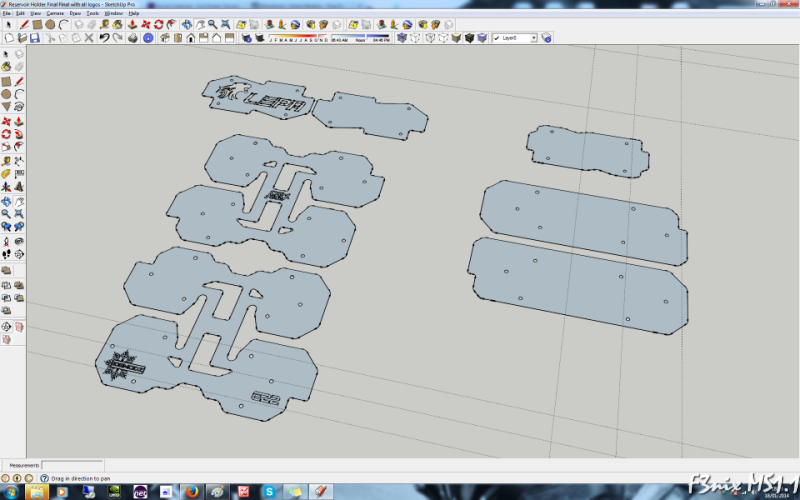
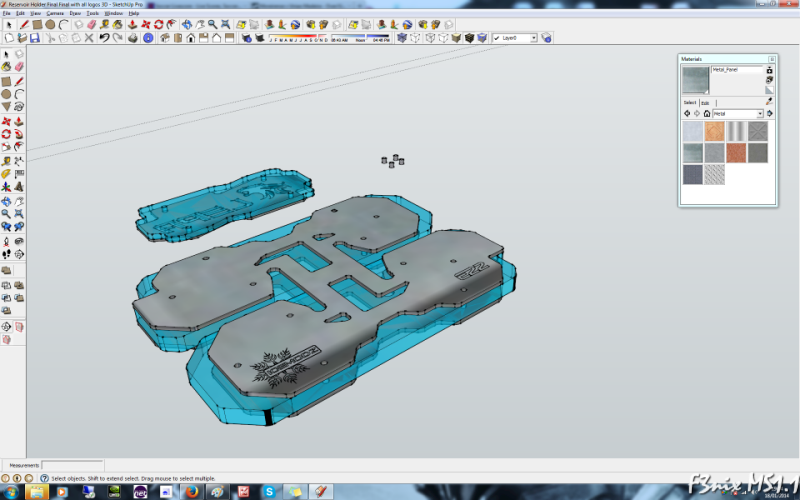
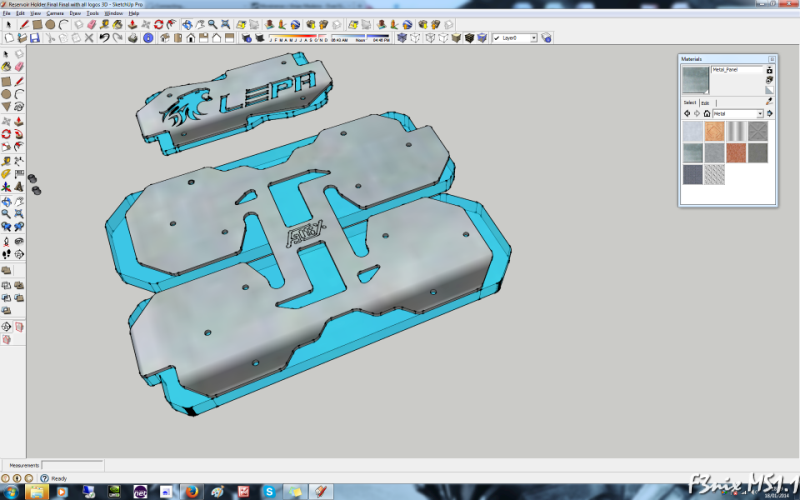
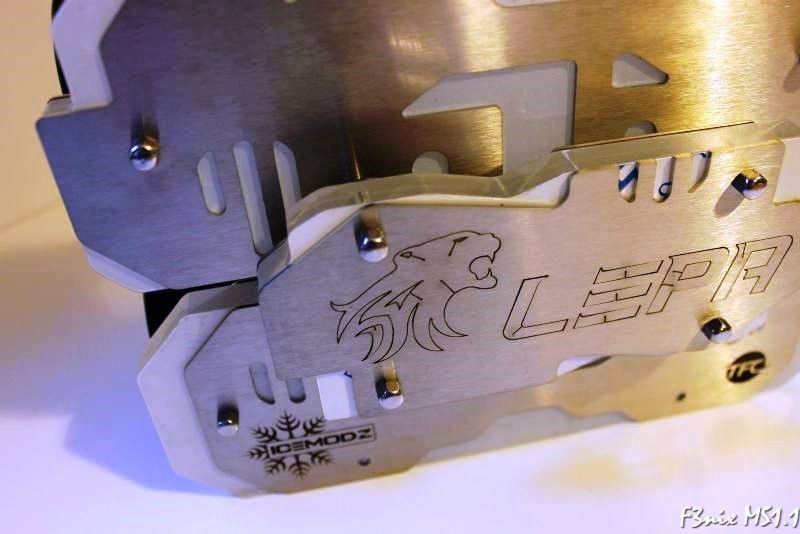
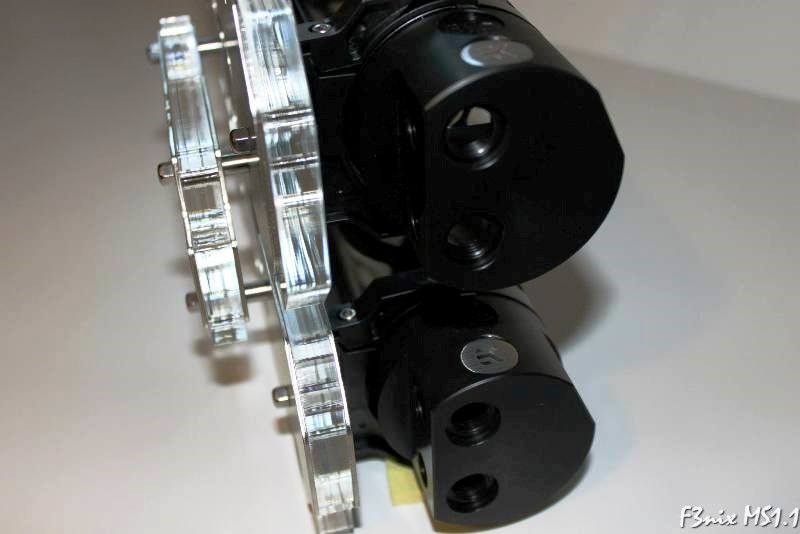
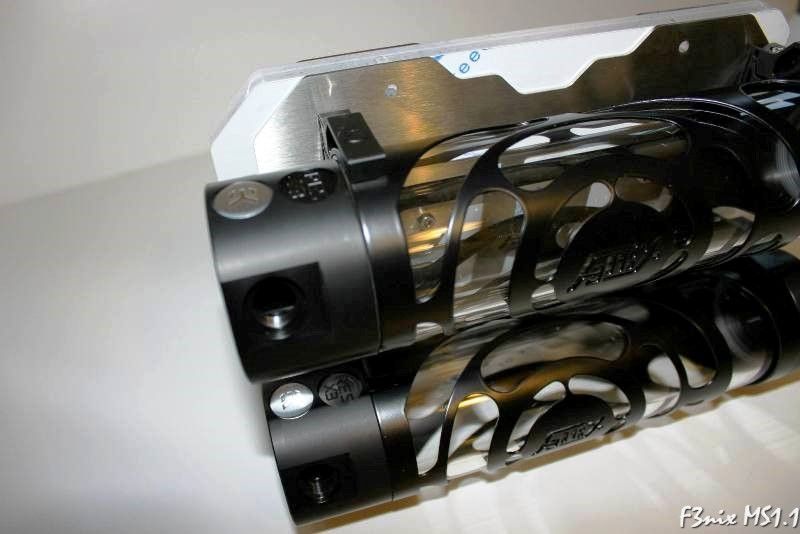
Time to get something done to hold the reservoirs and to give some exposure to my most kind sponsors. Hope you like this guys.

1_zps63ae40d9.png

As per usual it starts with the CAD work. Always difficult to picture the final result whilst working in 2D

2_zps892aeedd.png

Much easier in 3D though ;)

3_zpscc8cca21.png


4_zps54aca71c.jpg

And the final result :D

5_zpsee02cbd9.jpg


6_zps7bf0fc4c.jpg


7_zpsccd40064.jpg


What do you think? I've tried it in the case and fits in really well. Can't wait to get to the assembly stage of the build, will be great to see it all coming together. :D
 
I've had to delete your post where you credit various retailers. Some of them are competitors to OcUK.
 
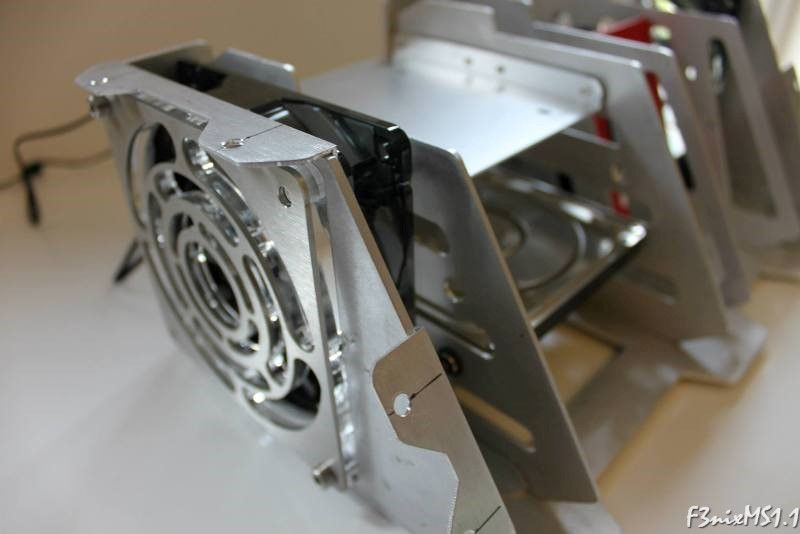
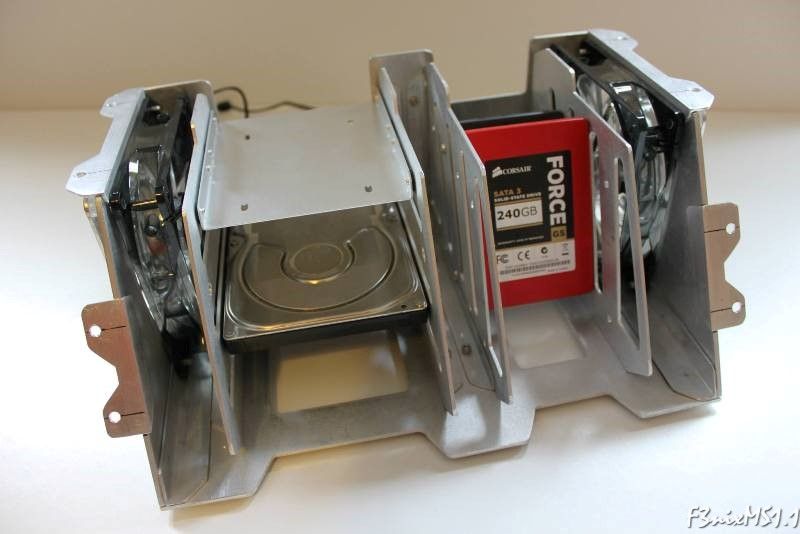
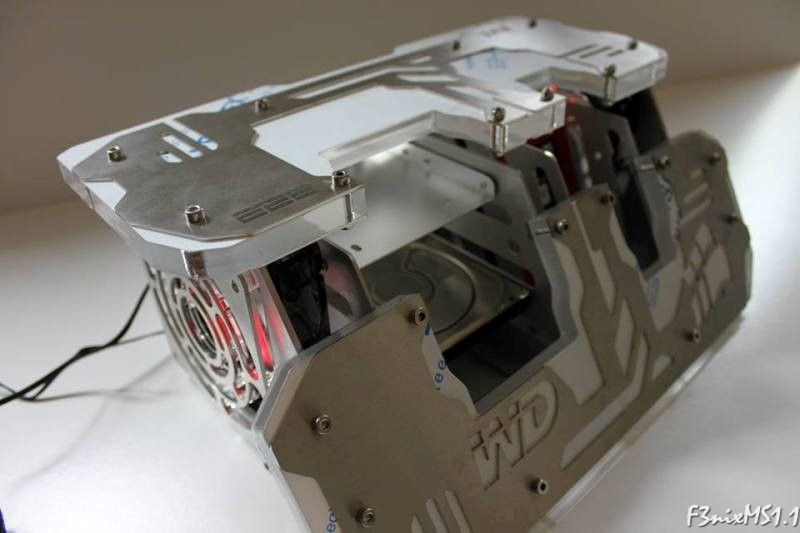
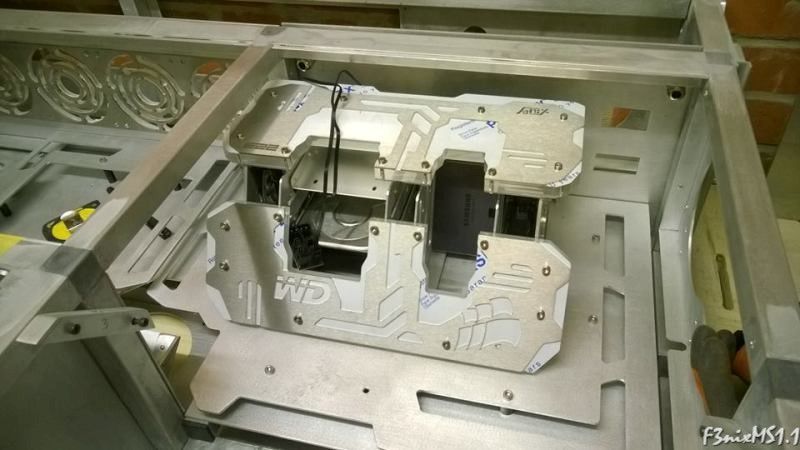
HDD SSD Enclosure

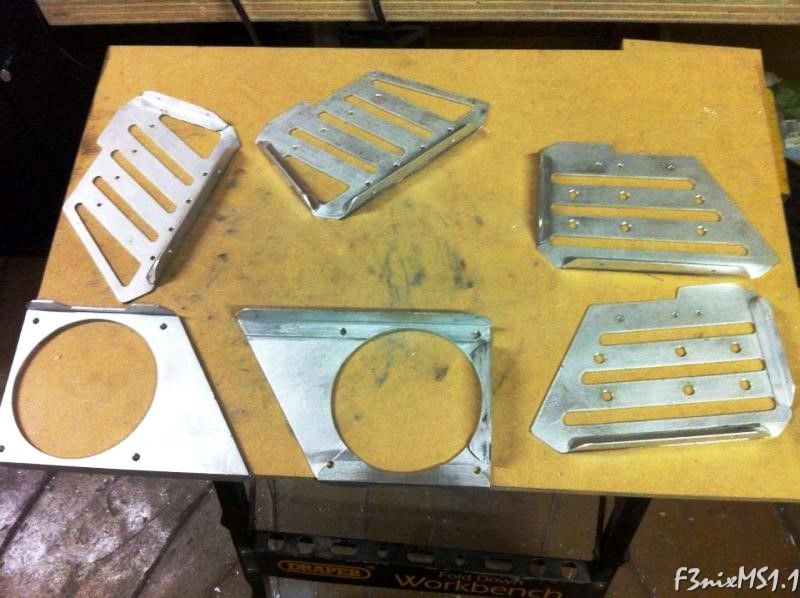
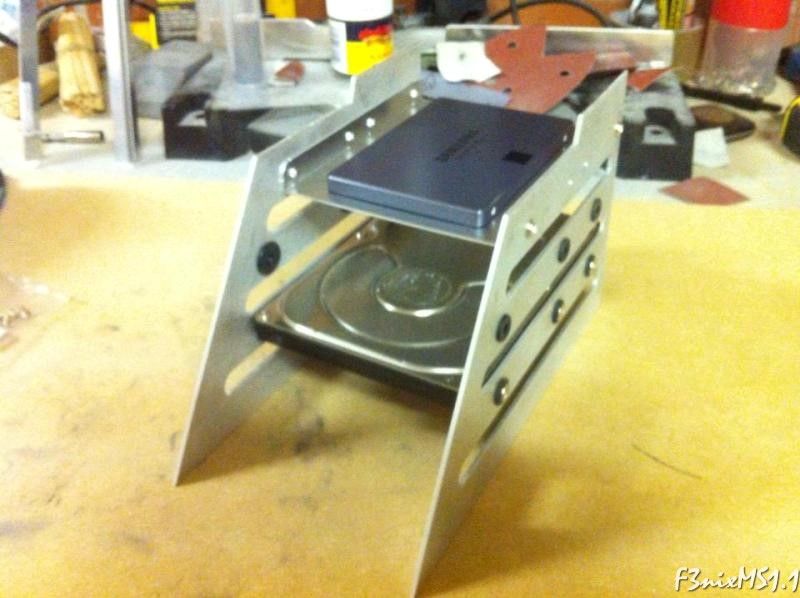
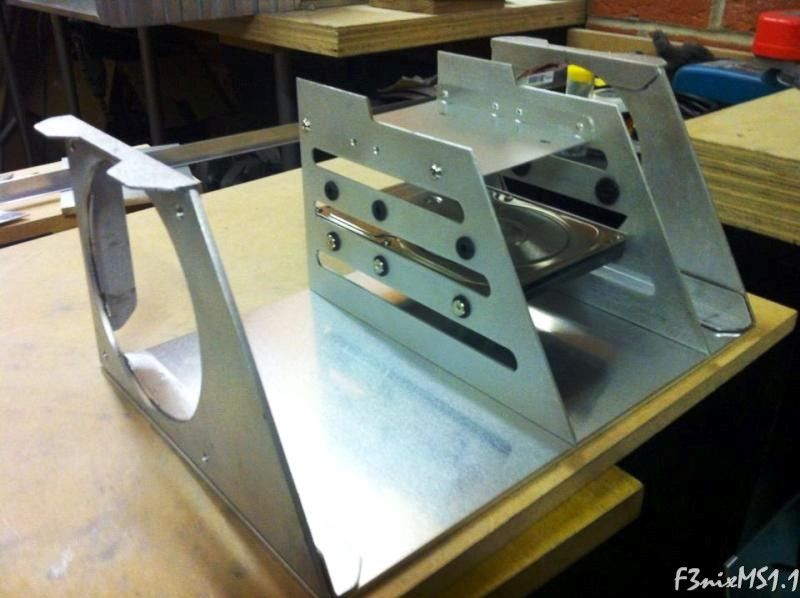
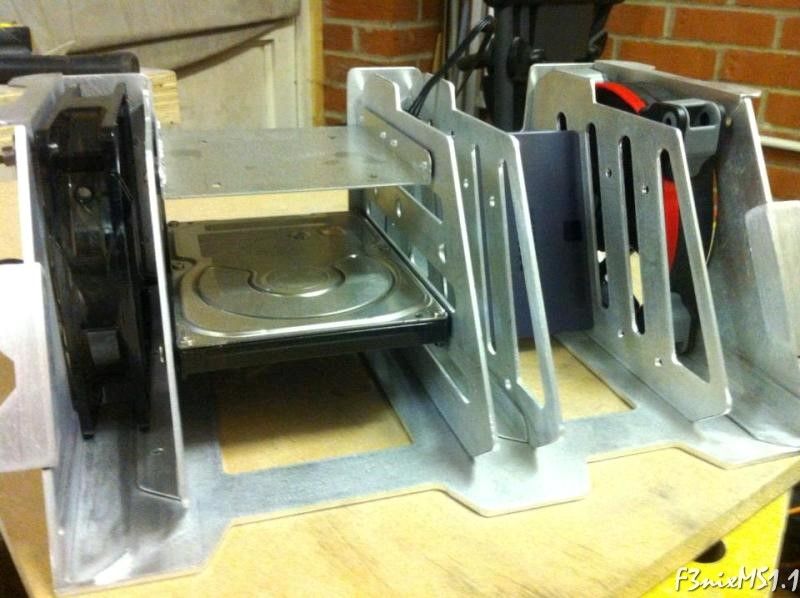
I've seen so many different ways of displaying the HDD's and SSD's but never really saw anything that appealed to me. Normally and due to the lack of space is more of a let's find a small corner where to put them rather than a prominent location where it's beauty can be displayed. After a bit of modding of course ;) ...

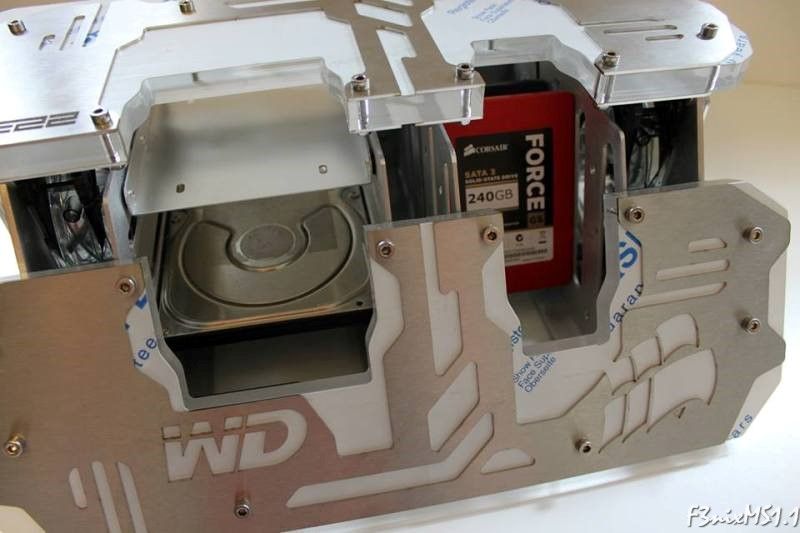
Well, as I have plenty of space in the F3nix I've tried to do something completely different and hopefully something that will appeal to the majority.

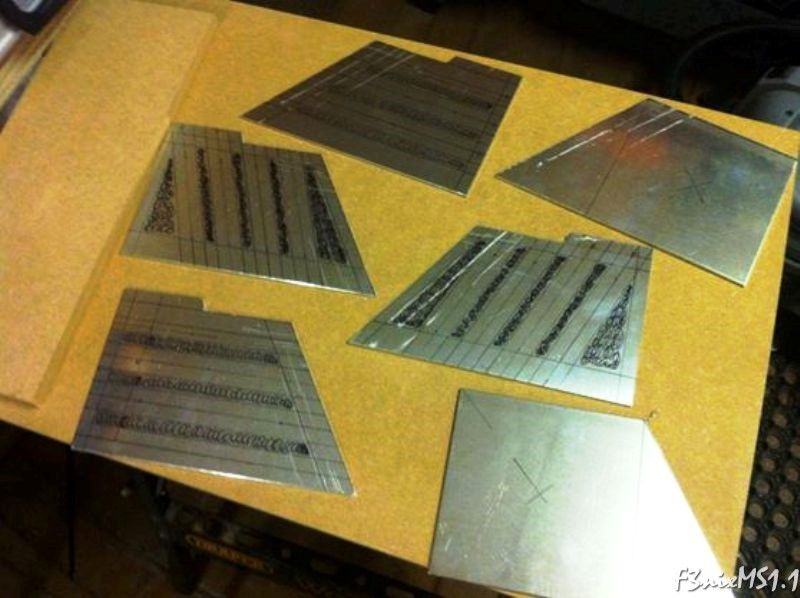
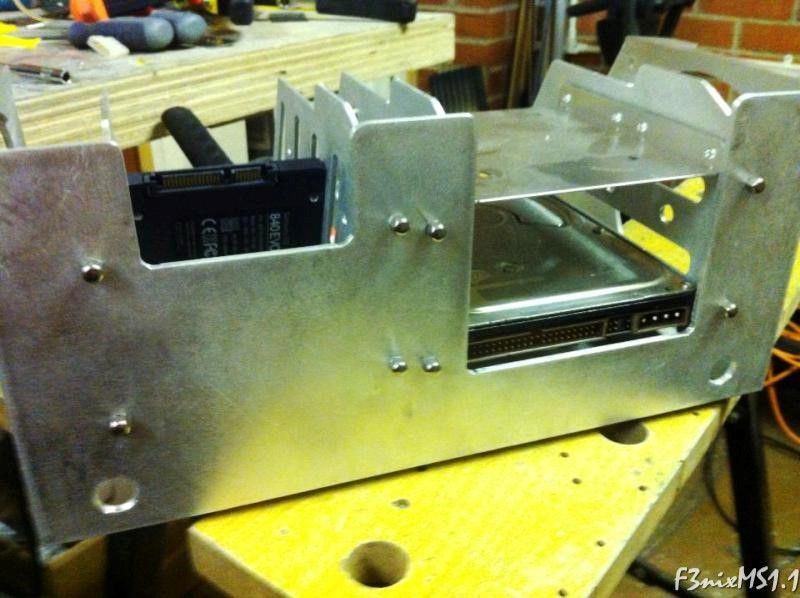
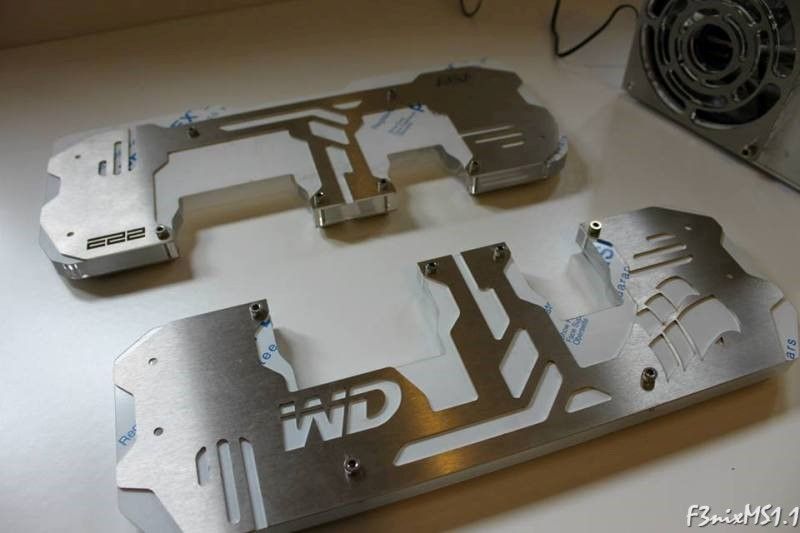
The frame was done using just basic tools as you can see below and what I call the armour was designed in CAD and laser cut.

Hope you enjoy the ride :D

1_zps76f6019e.jpg


2_zpsde66ff7b.jpg

Love my good old fretsaw

3_zpsd958acbd.jpg


4_zpsef4c1a94.jpg

Not bad I think ;)

5_zps2719e89c.jpg


6_zps884ea612.jpg


7_zpsd57da0fe.jpg

Mounting holes drilled and parts sanded

8_zpsaf052e52.jpg


9_zpsefe68ceb.jpg


10_zps1a9d4fca.jpg

Starting the assembly...

11_zpse15161ab.jpg

That's starting to look like something now... :D

12_zps2a3a3d23.jpg


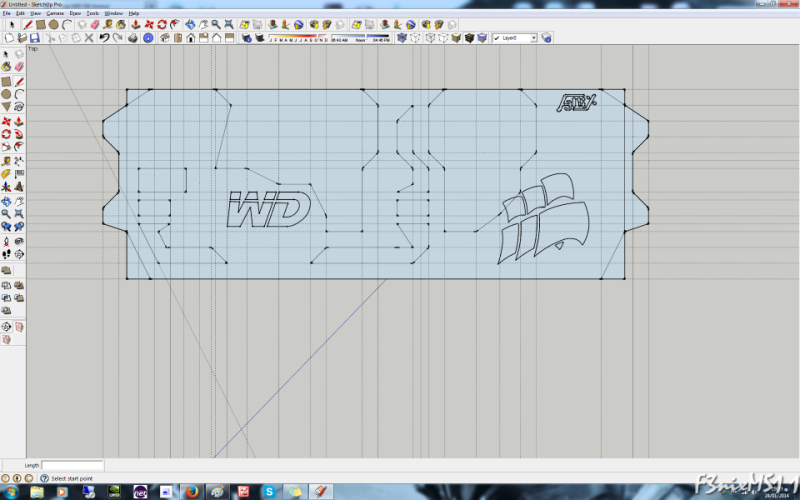
***Moving on to the CAD work and what I like to call the armour***

13_zps57031dc1.png


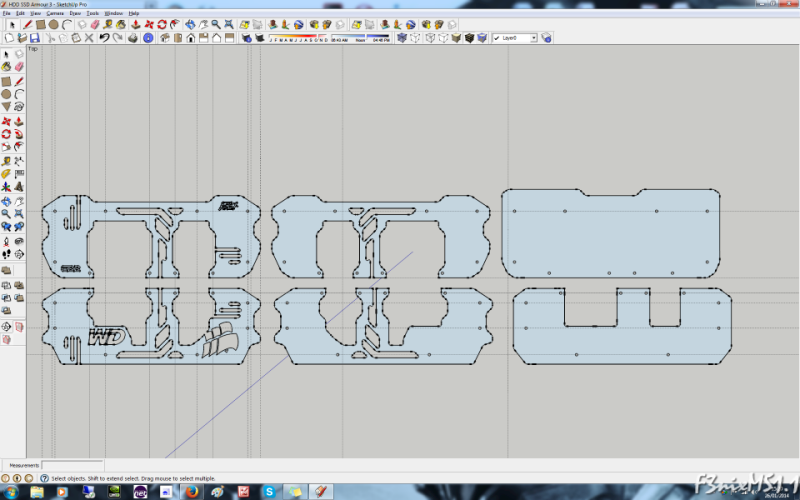
14_zps094ea6d3.png

All parts done and ready for laser cutting

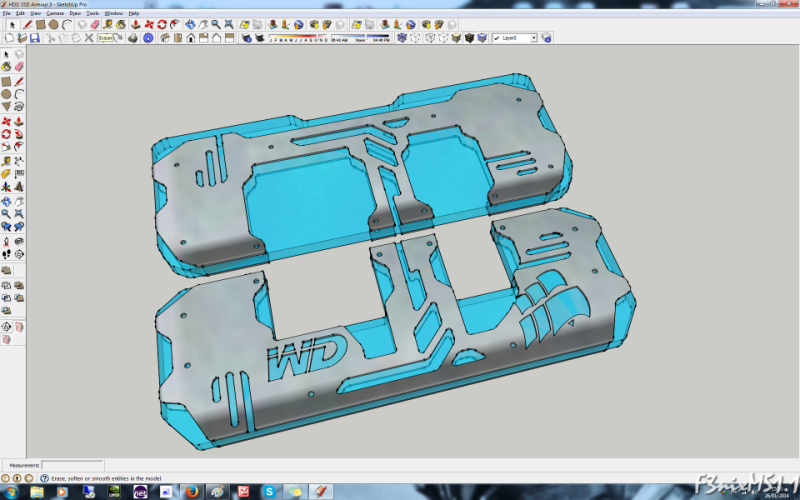
15_zpsa4f5fd74.png

3D View

16_zps3e229784.jpg

Fan grills in place, bet you they'll look cool with the Lepa choppers inside :D

17_zpsf05b3db1.jpg


18_zps3bf9b97a.jpg

And here they are... again very happy with the result and really eager to see what it will look like in place

19_zps90f6730a.jpg


20_zpsd448b35d.jpg


21_zps42d7056f.jpg

Yeah, I like it. ;)

Till the next time guys. Enjoy
 
Wow ! Great design and build quality look superb. Looks like its gonna be a heavy one to move around though, what do you think finished weight will be?

Is all the equipment your own? Wish I had access to that hardware.

Awesome job though, can't wait to see how this goes... Subbed
 

Wow ! Great design and build quality look superb. Looks like its gonna be a heavy one to move around though, what do you think finished weight will be?

Is all the equipment your own? Wish I had access to that hardware.

Awesome job though, can't wait to see how this goes... Subbed

Thanks Pelinox :)

Yesh Colinmcr, really and truly it's a 2 man job to lift it, but it's getting even heavier very soon ; )
 
Back
Top Bottom