

You are using an out of date browser. It may not display this or other websites correctly.
You should upgrade or use an alternative browser.
You should upgrade or use an alternative browser.
F3nix MS1.1
- Thread starter F3nixMods
- Start date
More options
Thread starter's postsvery nice! liking the metal cable combs. subbed
Thanks buddy.
So do you own a laser cutter/engraver? I always toyed with getting one.
Nah mate. E22 does all the cutting for me
Cant wait to see this with components and the loop in it, sterling work good sir
Neither can I mate
Man that is some serious work. Some real quality there. Impressive.
Thanks a lot mate
Im not really keen on desk builds but stuck with this thread.... and hats off to you mate!, quality craftsmanship and great ideas, just excellent all round. Would love to get some tips off you for when I start my scratch build this summer.
Get in touch when you do bud. Happy to help if I can

I'd be in talks with OCUK if I were you about manufacture and distribution of those cable combs....I think people would definitely pay for them. I know I would, especially if they were anodized the right colour
Well, I actually sold a few already mate but having them on OCUK would be just awesome. Wouldn't think they'd be interested though
Jealousy flows through my veins. You're an impressive craftsman
Thanks buddy. Appreciated
Hi guys
There's been quite a bit done before painting the beast but nothing really worth showing as it was mainly fine tuning of some of the parts.
As such, decided that it's best to fast forward this a bit and show you the painting process.
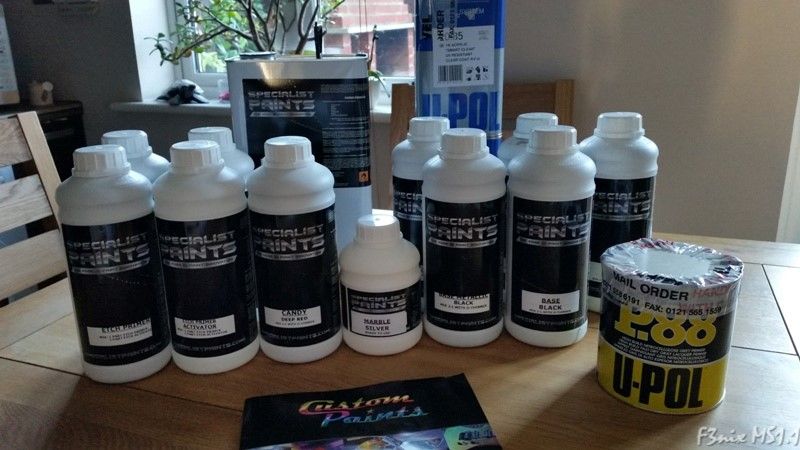
After some research decided that I'd go with some silver marble and deep red candy effects, had some conversations with Paul at Specialist Paint that definitely helped choosing the right combinations to get the right effects.
I'm linking their website as I believe most of you will like what they offer.
http://www.specialistpaints.com/custom-paints
Also, a huge thanks to my good friend Daniel Harper, aka B Neg, who accepted to paint the beast for me. I'll be learning as much as possible along the way as the next build will definitely be painted by me. Looking into air compressors and spray guns already
http://www.specialistpaints.com/custom-paints
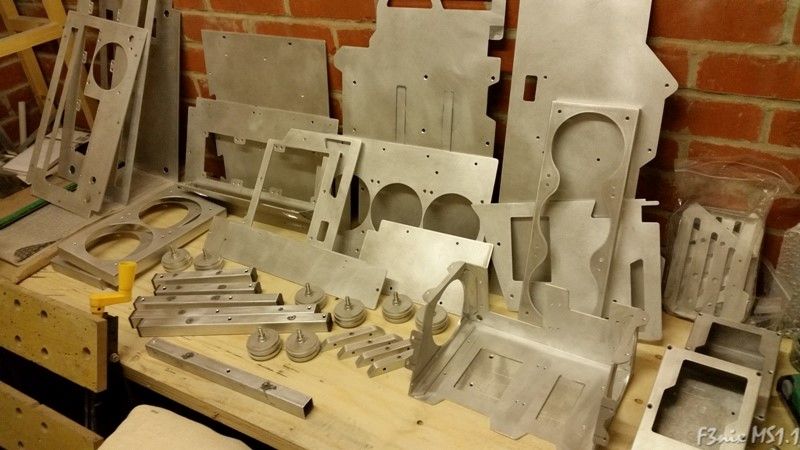
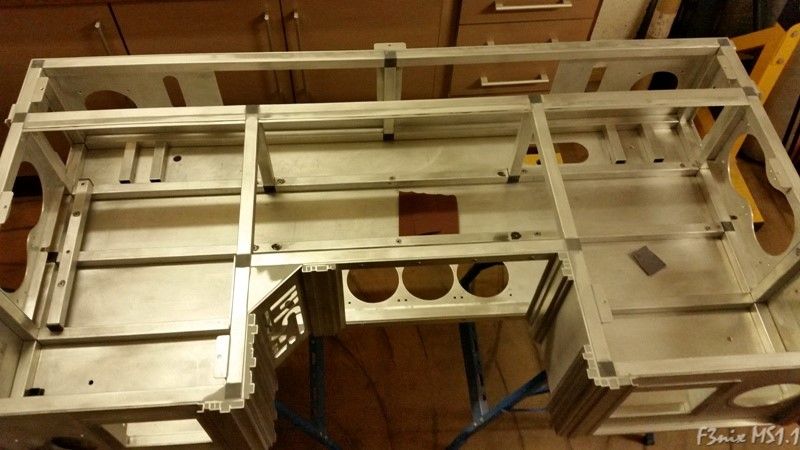
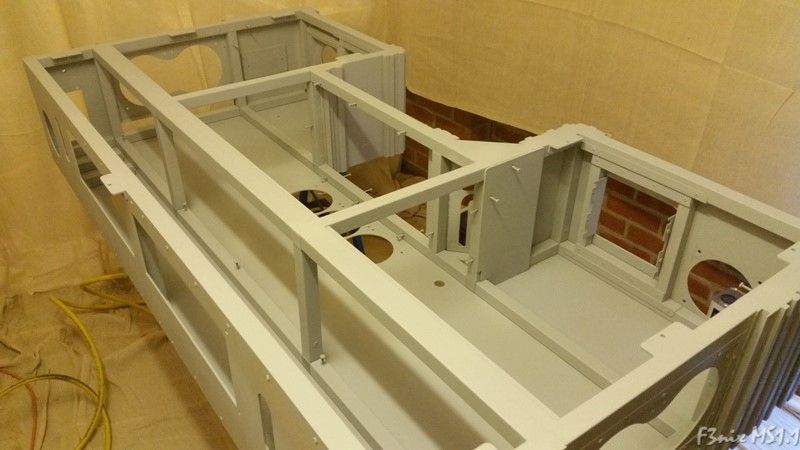
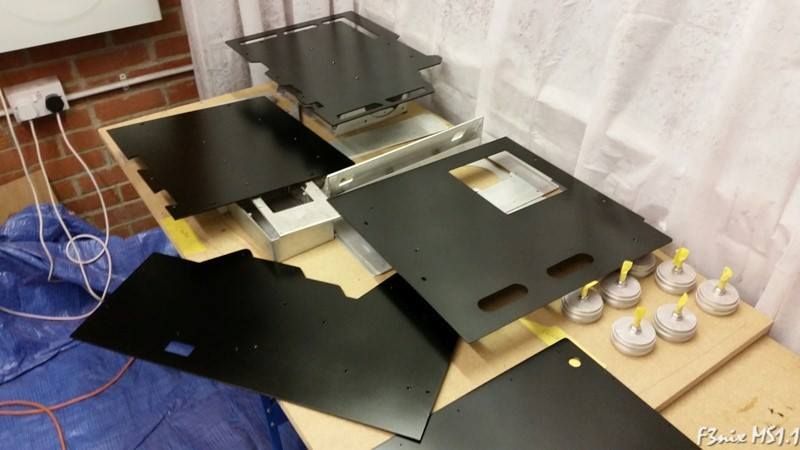
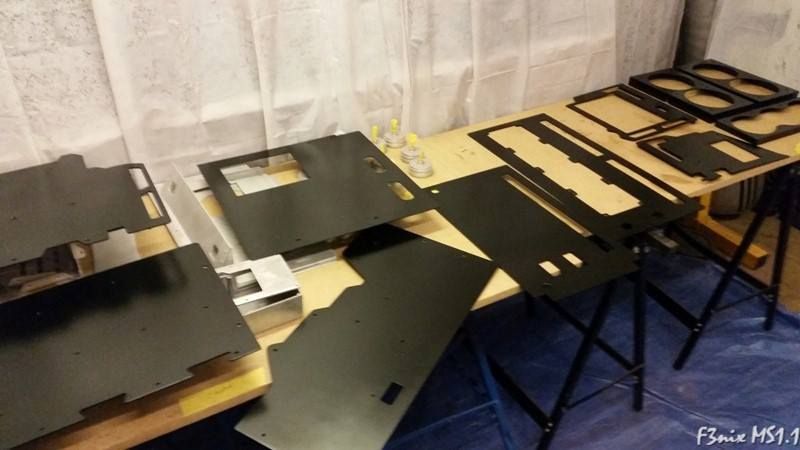
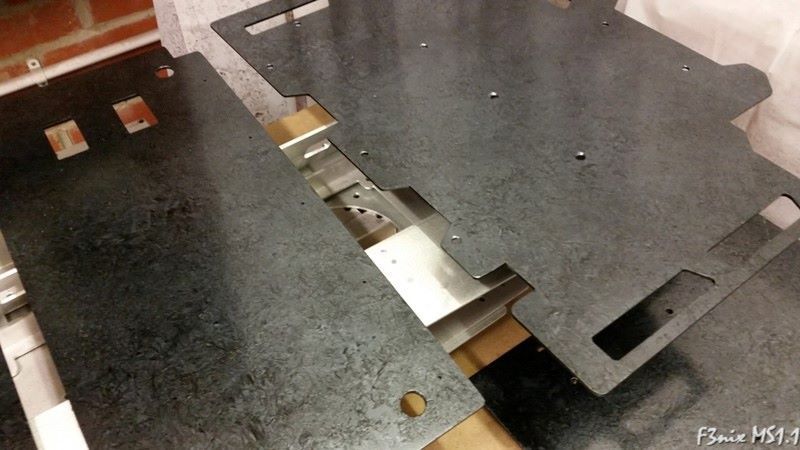
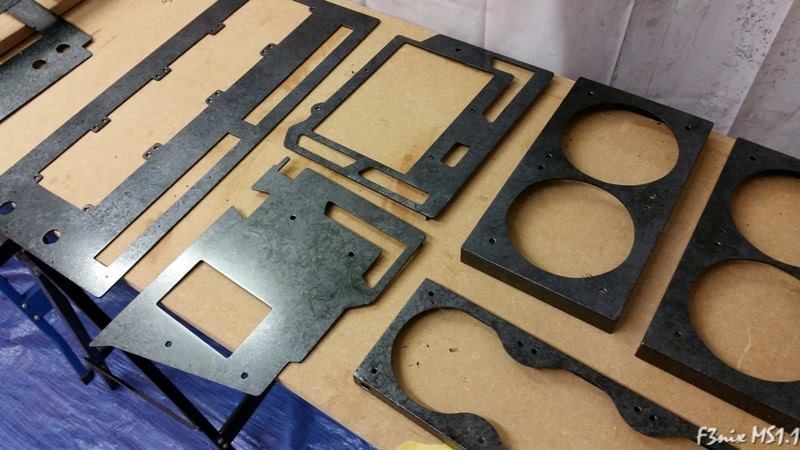
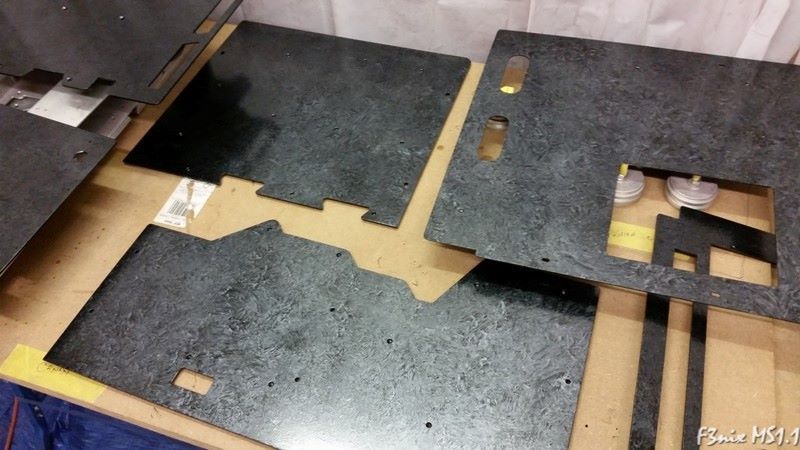
First of all had to dismantle the whole thing. Hadn't seen the enclosure that bare for a long time. However, the amount of parts on one of the work surfaces left me wondering if I should have done a manual to reassemble the whole thing. lol
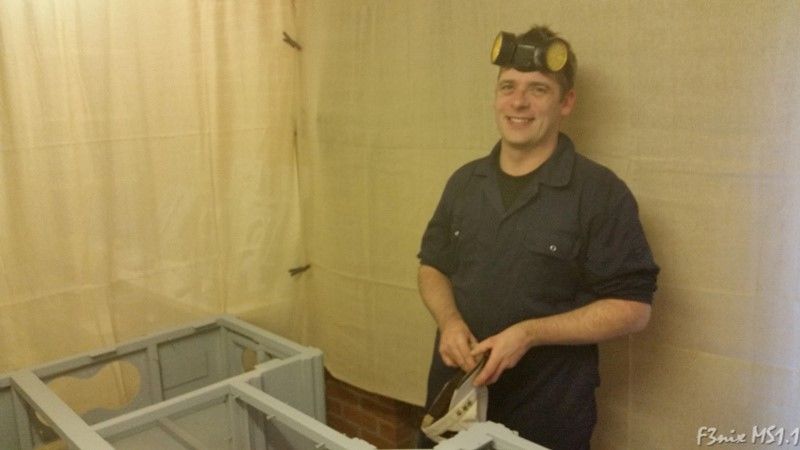
Mr B Neg.
Primer
Black metallic base
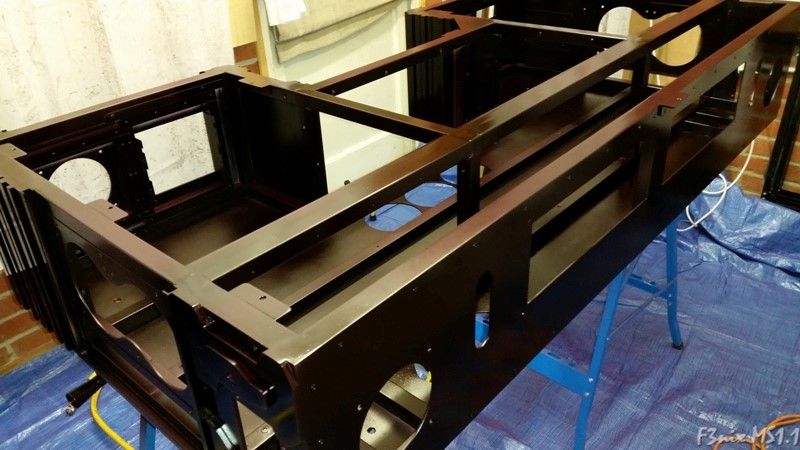
Deep red candy...
And of course, some smart clear to top it off
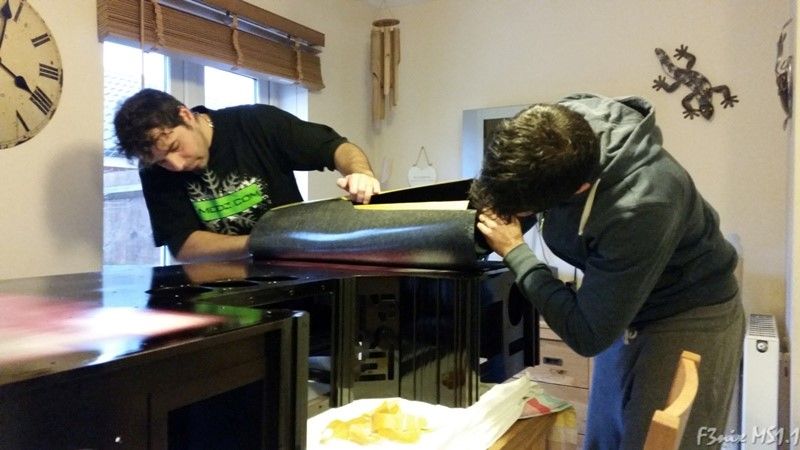
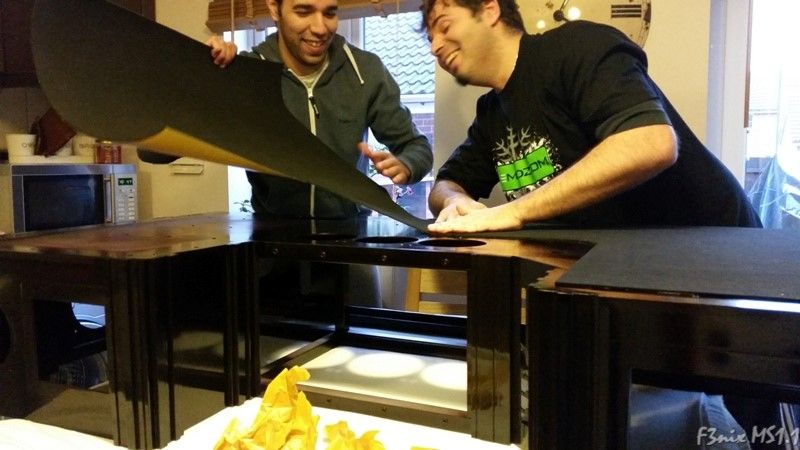
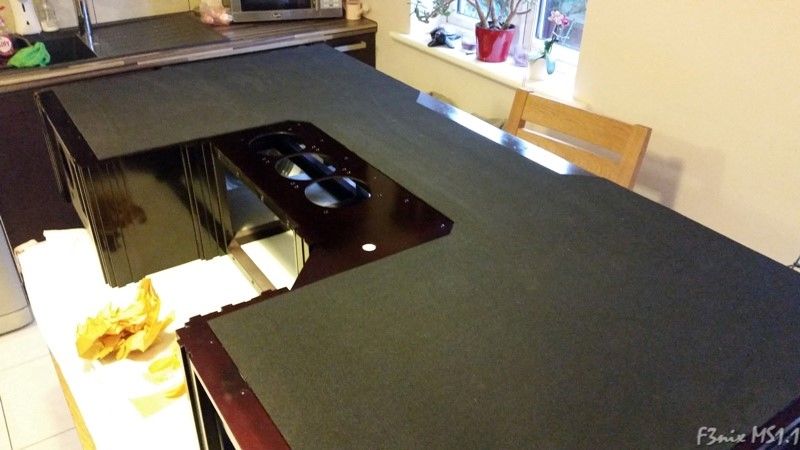
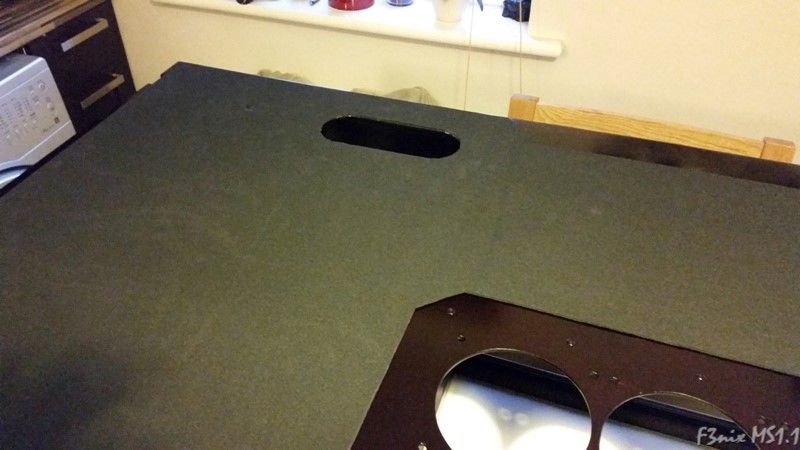
Brought it into the house to apply the neoprene base. Thanks to my brother for the help, would have been hard to this on my own, the neoprene was really big, bendy and awkward to manoeuvre without someone's help. Thanks bro!!!
That's it for now, more updates soon
Mod on
There's been quite a bit done before painting the beast but nothing really worth showing as it was mainly fine tuning of some of the parts.
As such, decided that it's best to fast forward this a bit and show you the painting process.
After some research decided that I'd go with some silver marble and deep red candy effects, had some conversations with Paul at Specialist Paint that definitely helped choosing the right combinations to get the right effects.
I'm linking their website as I believe most of you will like what they offer.
http://www.specialistpaints.com/custom-paints
Also, a huge thanks to my good friend Daniel Harper, aka B Neg, who accepted to paint the beast for me. I'll be learning as much as possible along the way as the next build will definitely be painted by me. Looking into air compressors and spray guns already
http://www.specialistpaints.com/custom-paints
First of all had to dismantle the whole thing. Hadn't seen the enclosure that bare for a long time. However, the amount of parts on one of the work surfaces left me wondering if I should have done a manual to reassemble the whole thing. lol
Mr B Neg.
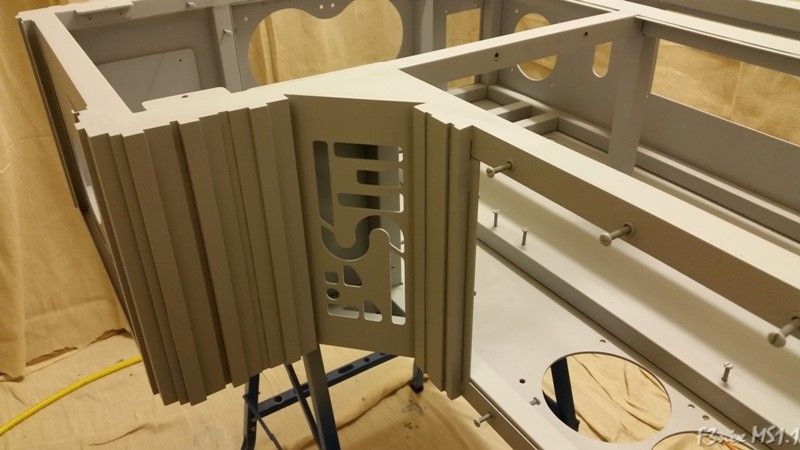
Primer
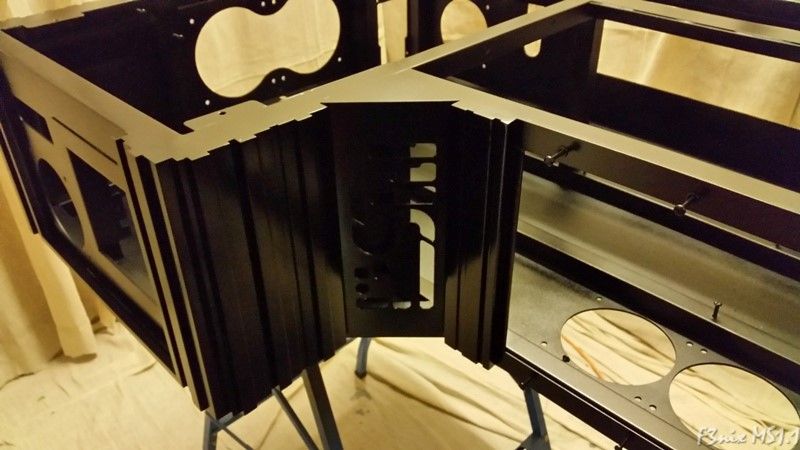
Black metallic base
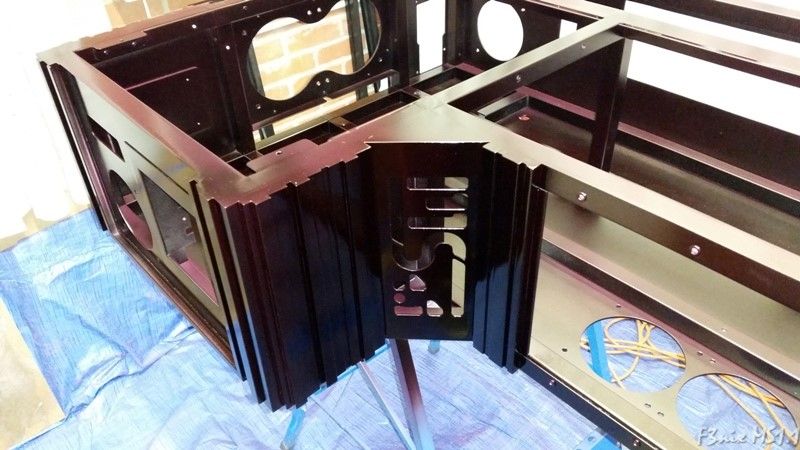
Deep red candy...
And of course, some smart clear to top it off
Brought it into the house to apply the neoprene base. Thanks to my brother for the help, would have been hard to this on my own, the neoprene was really big, bendy and awkward to manoeuvre without someone's help. Thanks bro!!!
That's it for now, more updates soon
Mod on
Soldato
- Joined
- 18 Mar 2012
- Posts
- 5,518
- Location
- Eastbourne
This is just something else. Well done, this is going to be a thing of beauty! I can't even start to imagine how much it weighs.
I wish i had the CAD skills and a Laser cutter to do something like this myself.. Oh and the money!
I wish i had the CAD skills and a Laser cutter to do something like this myself.. Oh and the money!
Jeez that's a lot of parts, glad you got it back together, was there any head scratching or that one piece left over ?
Not yet mate. Painting all the smaller parts you see on the picture, for now just the enclosure has been finished. Pretty confident I'll be able to put it all together correctly
")
This is just something else. Well done, this is going to be a thing of beauty! I can't even start to imagine how much it weighs.
I wish i had the CAD skills and a Laser cutter to do something like this myself.. Oh and the money!
I can tell you that both the pedestal and the enclosure weighed a fair amount. Can't even imagine what it will be once it's all together.
There's a fair amount of stainless steel to go in it...
Cheers guys
Last edited:
The F3nix Wheels
After so much time spent doing the case feet I have decided that due to the weight of the beast and for ease of access to the back the best thing to do would be to have it on wheels. Bit of a waste but better in the end, plus, can always use them on my next mod
After some research I ended up ordering these from Israel. Tell you what, there must be a bit of each country in the F3nix, lol, or almost...
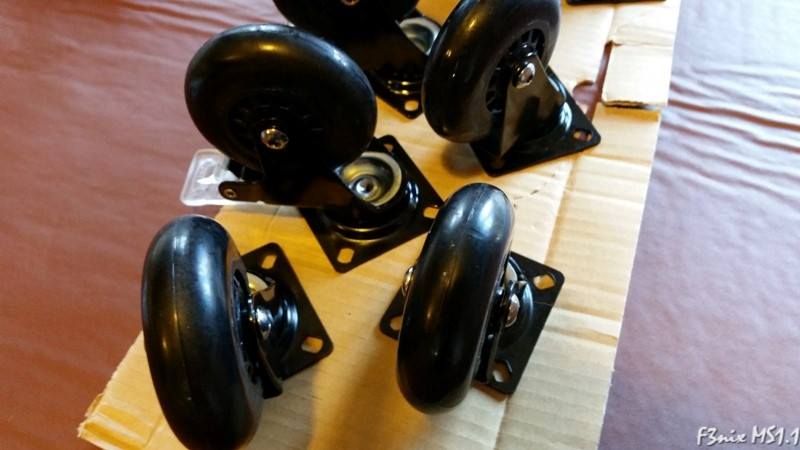
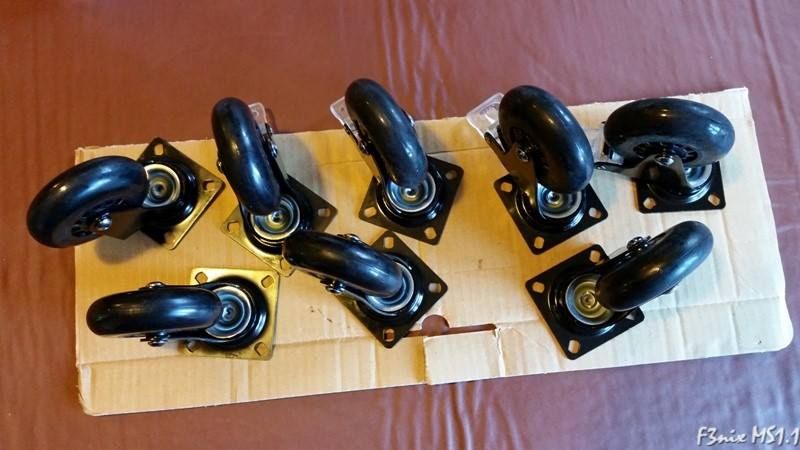
Decided to go for all black caster wheels, the four in the front are lockable
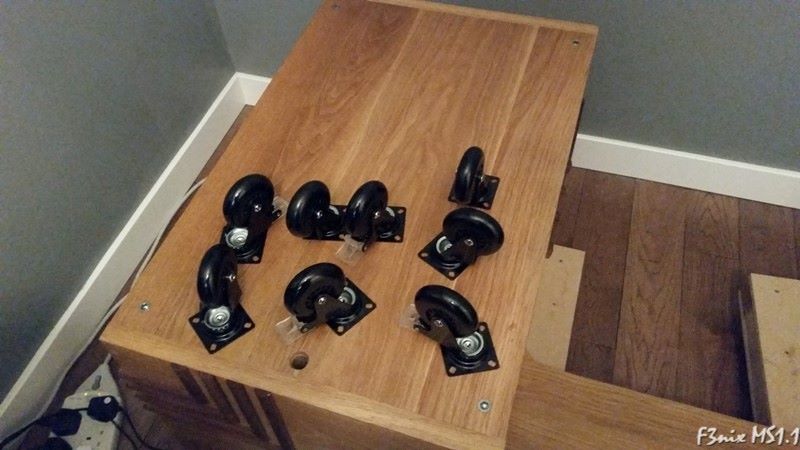
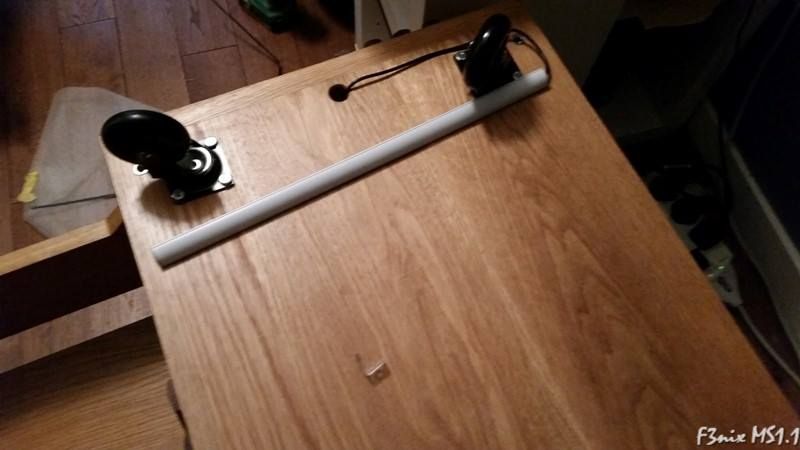
Took the change to install the under desk RGB led lights whilst it looked like a turtle on it's back... lol
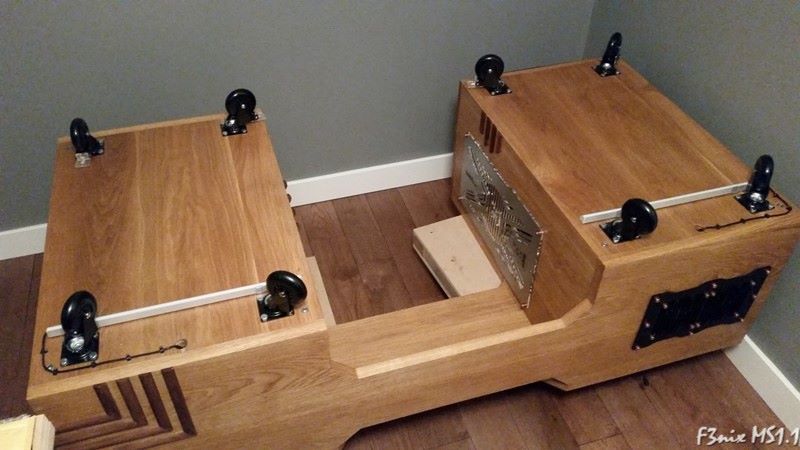
Another picture of the TMNT!!! lol
Mod on!!!
After so much time spent doing the case feet I have decided that due to the weight of the beast and for ease of access to the back the best thing to do would be to have it on wheels. Bit of a waste but better in the end, plus, can always use them on my next mod
After some research I ended up ordering these from Israel. Tell you what, there must be a bit of each country in the F3nix, lol, or almost...
Decided to go for all black caster wheels, the four in the front are lockable
Took the change to install the under desk RGB led lights whilst it looked like a turtle on it's back... lol
Another picture of the TMNT!!! lol
Mod on!!!
Hi there guys
The painting of the F3nix desk continues and is reaching the final stretch. The trays are now being painted a silver marble over black base.
Here are some pictures of the result.
On to the deep red candy parts now and clear coat to finish off...
Black base coat
And the marble effect...
Mod on!!!
The painting of the F3nix desk continues and is reaching the final stretch. The trays are now being painted a silver marble over black base.
Here are some pictures of the result.
On to the deep red candy parts now and clear coat to finish off...
Black base coat
And the marble effect...
Mod on!!!
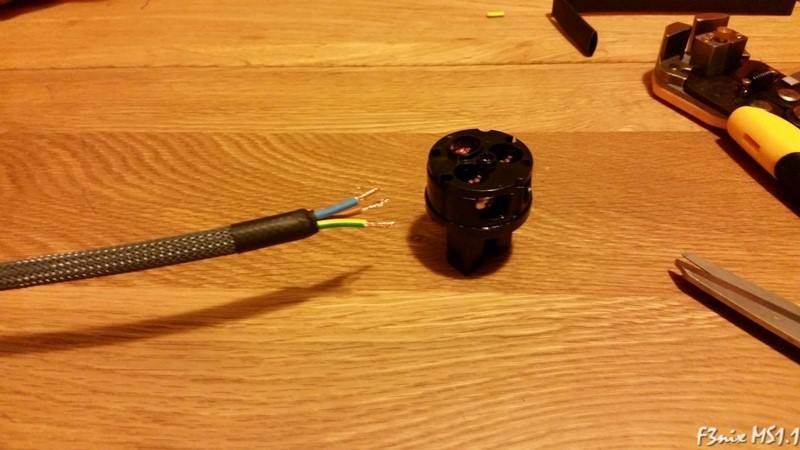
F3nix Power Cords
Time to mod again and it's time to do something about the not so great looking power cords that come bundled with the power supplies.
Two great power supplies deserve two visually striking power cords and that's what I'm aiming for...
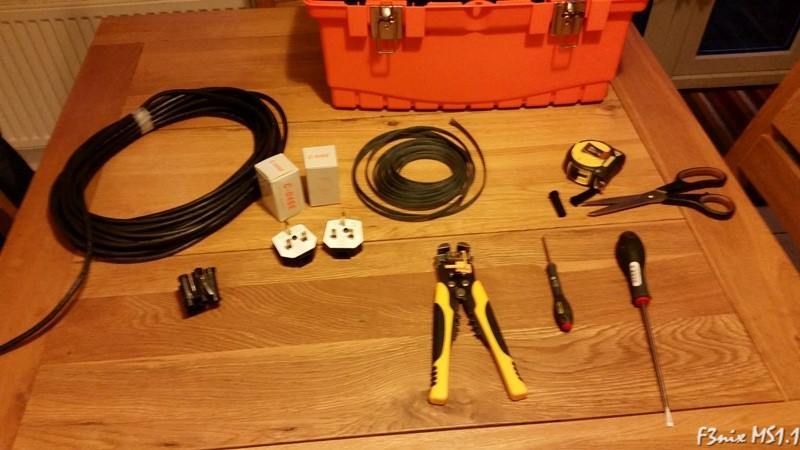
Some of the materials and tools needed...
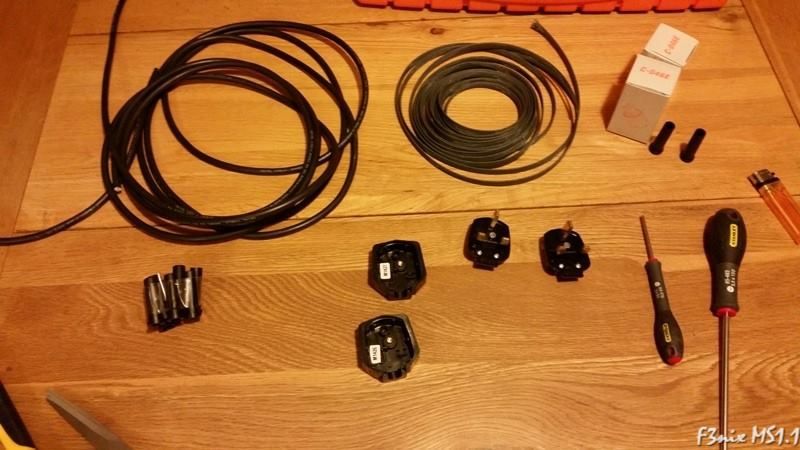
A few other bits and pieces...
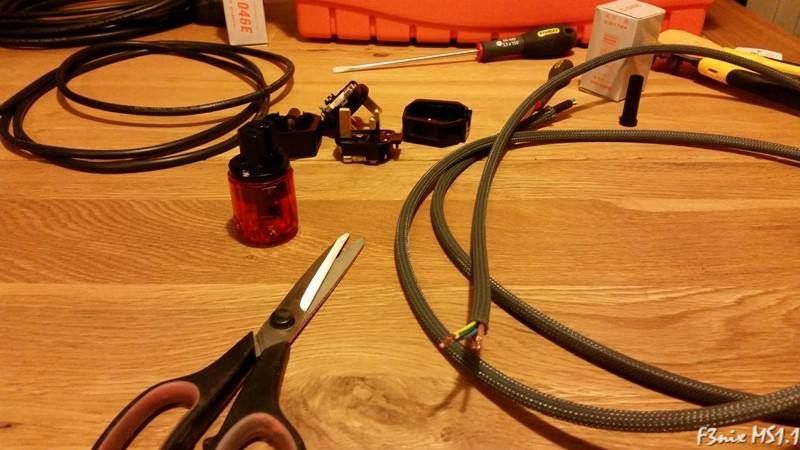
First, used some dark gray 8mm Teleios to sleeve the cable.
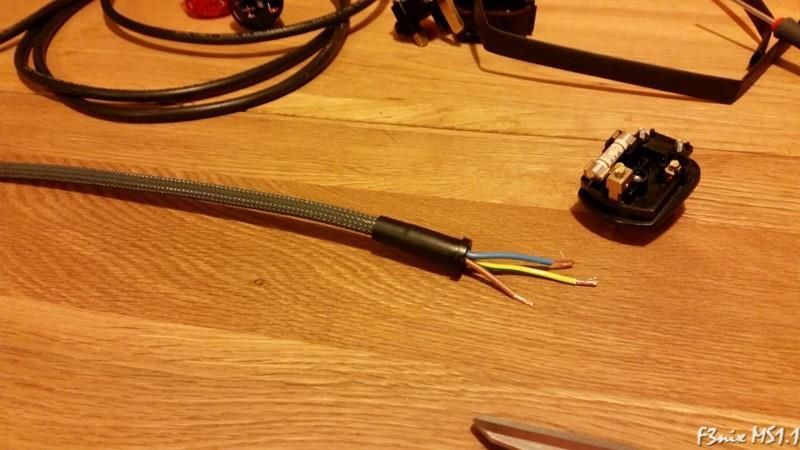

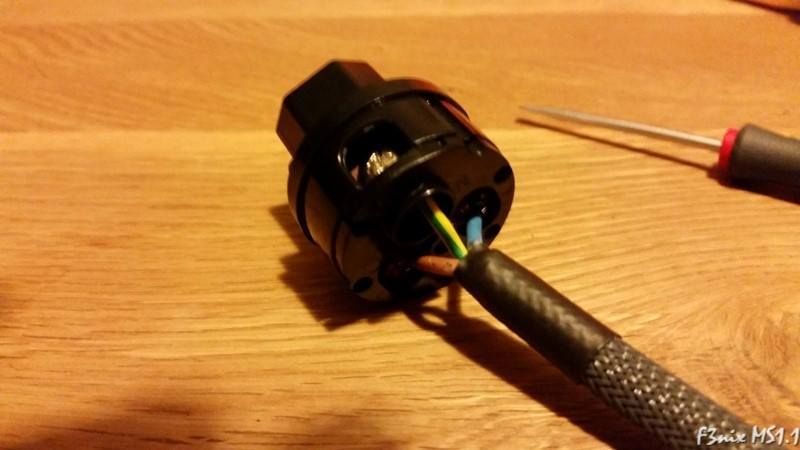
Both connectors in place.
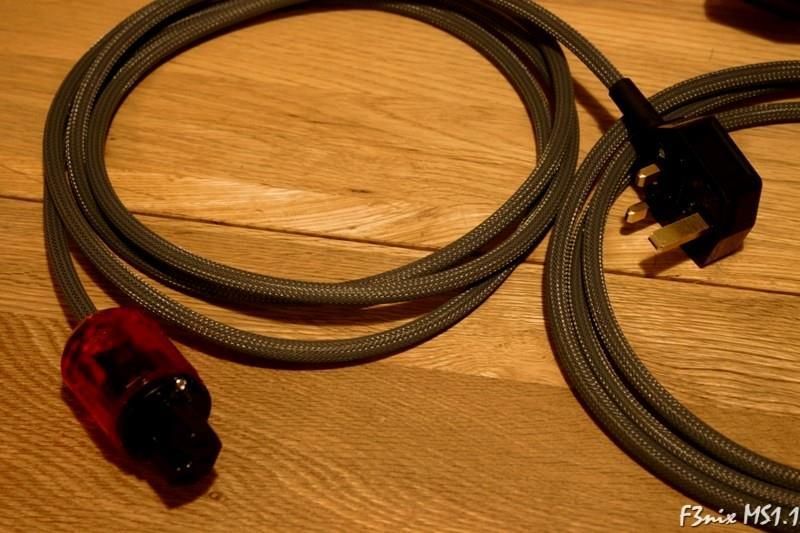
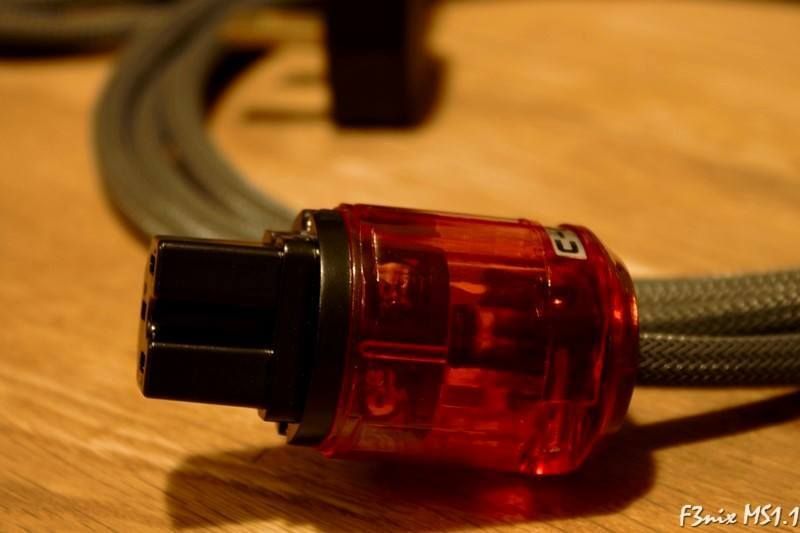
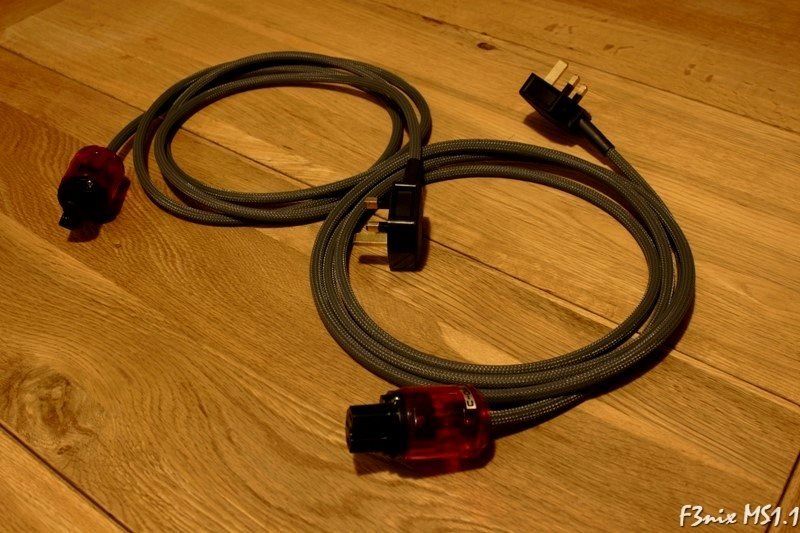
Repeat the procedure and voila!!! Two power cords
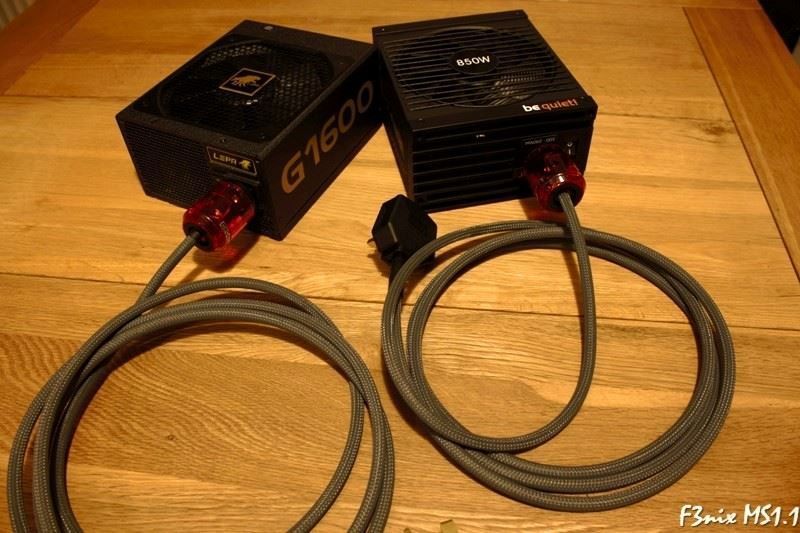
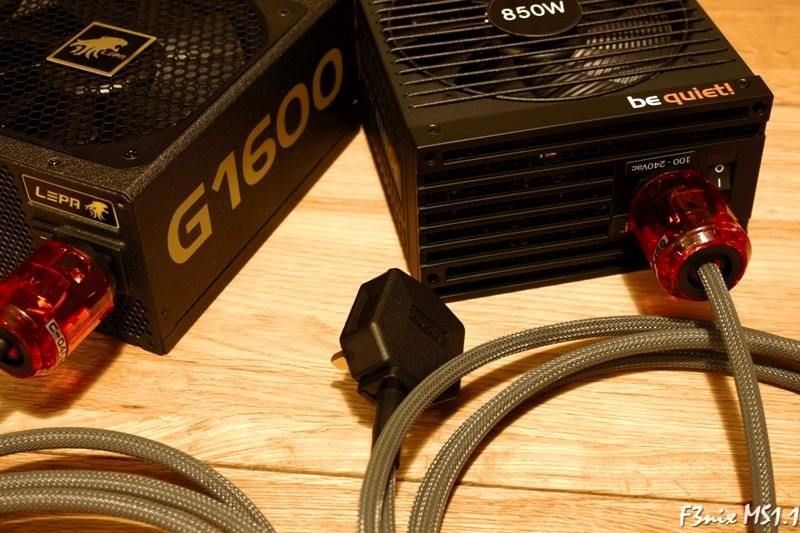
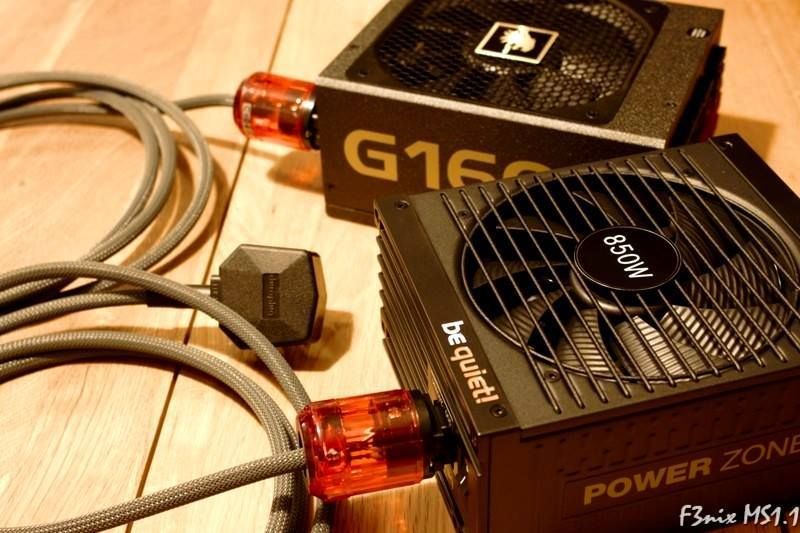
Ready to rock with the LEPA G1600 and the be quiet! power zone 850W
Mod on!!!
Time to mod again and it's time to do something about the not so great looking power cords that come bundled with the power supplies.
Two great power supplies deserve two visually striking power cords and that's what I'm aiming for...
Some of the materials and tools needed...
A few other bits and pieces...
First, used some dark gray 8mm Teleios to sleeve the cable.
Both connectors in place.
Repeat the procedure and voila!!! Two power cords
Ready to rock with the LEPA G1600 and the be quiet! power zone 850W
Mod on!!!
Wow, just... wow... looks fantastic mate, a truly epic build indeed!
What are the 'under desk lighting mods' you're using? Are they mains powered or hooked up to your PSU'S?
Thanks Lugos. They're just rgb strips inside led profiles. They'll hook up to a wi-fi rgb controller which will be powered by one of the PSUs. Cheers mate
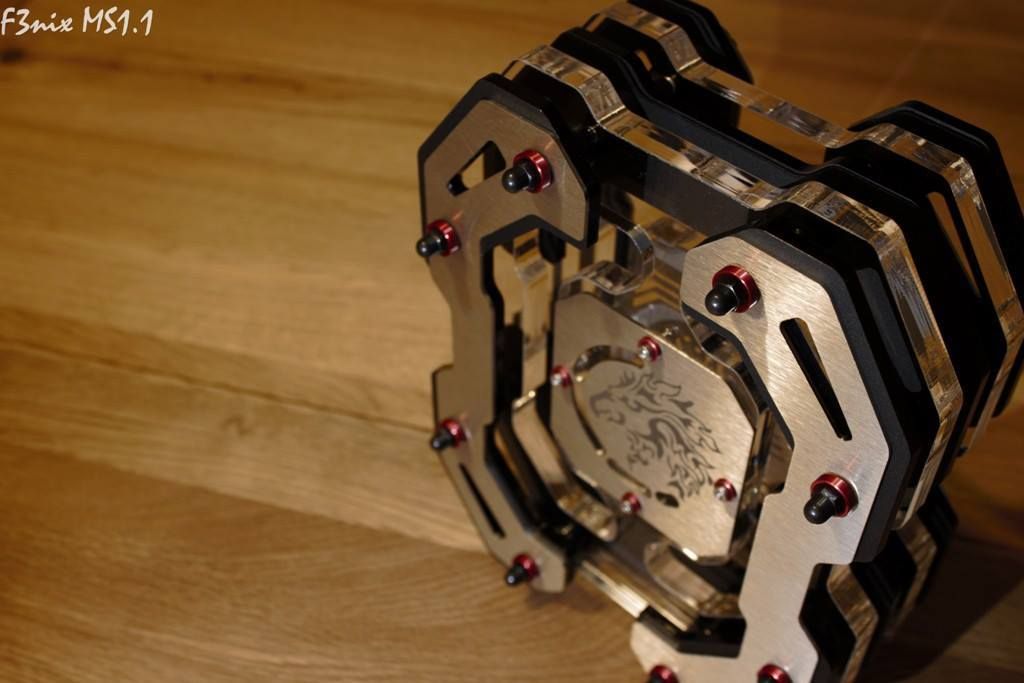
The F3nix Headset Holder
Hello again!!!
Time for a long overdue update, sorry for the delay but been really crazy at work and the work on the desk takes the little free time I'm left with.
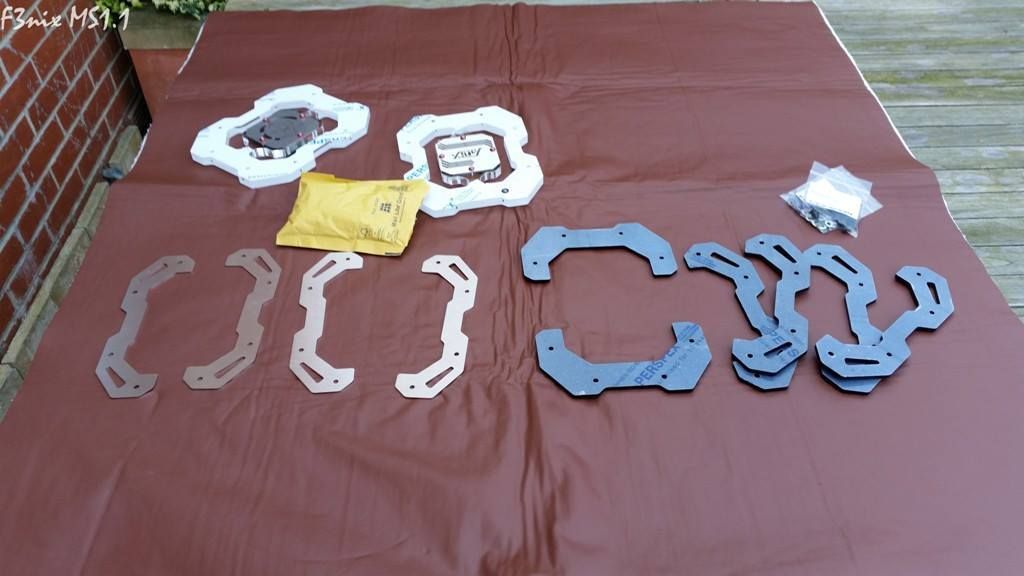
This update is not about the desk but about the need for a headset holder. As I didn't really like anything that it's currently available what's the only thing I could do? Correct, my own one!
Time to do some CAD work

This shows some of designing involved, not all parts are shown on the picture.
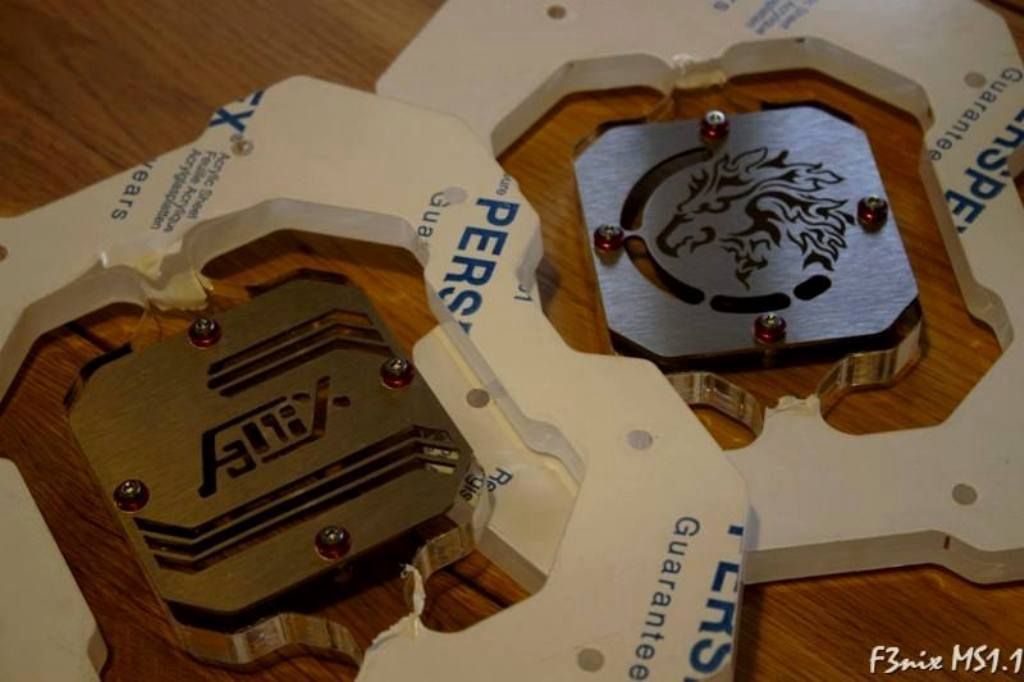
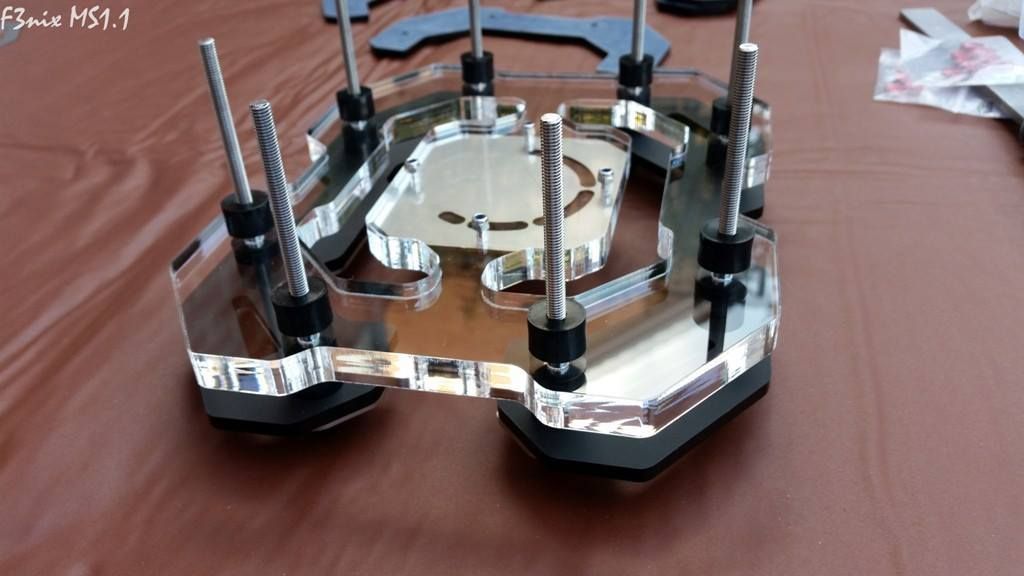
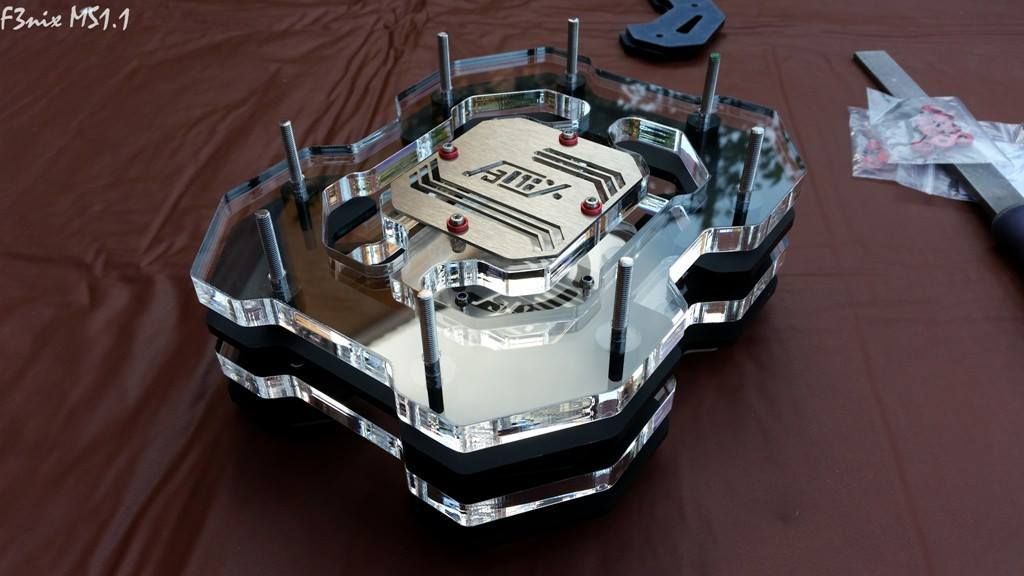
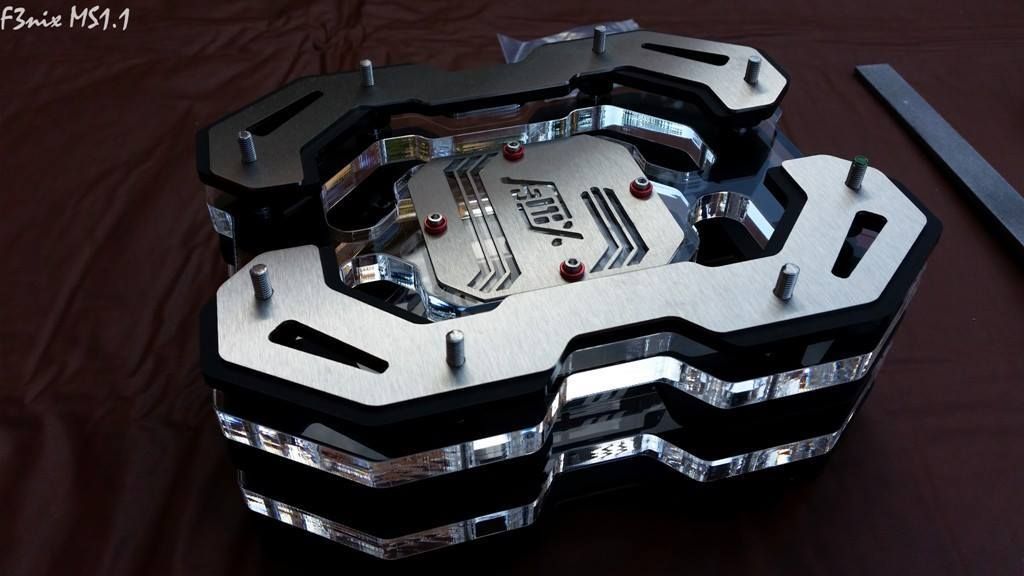
*** Really like this picture***
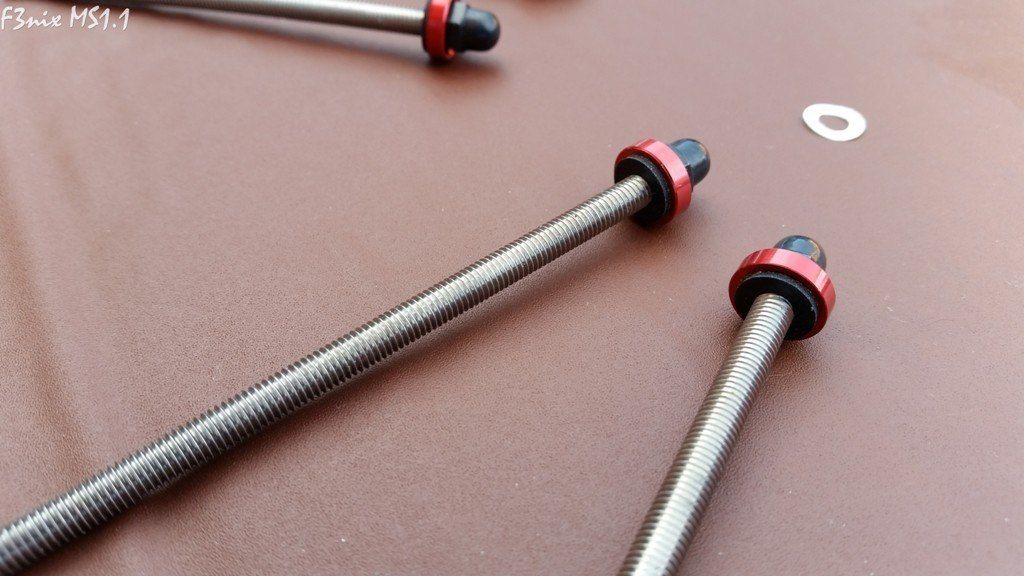
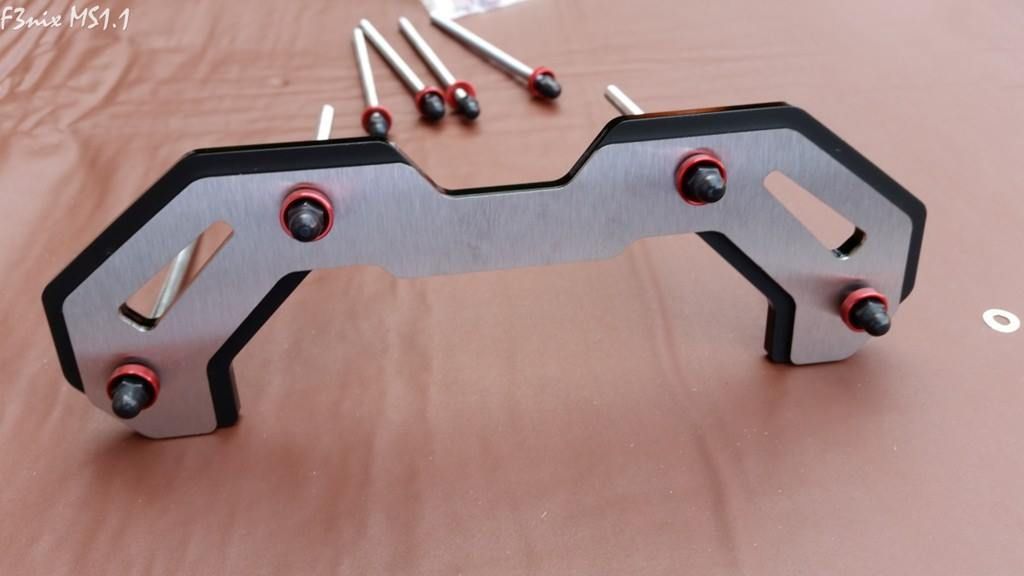
The last few pictures show the assembly of the headset holder. I will not show pictures of a headset on it as that's to follow soon...

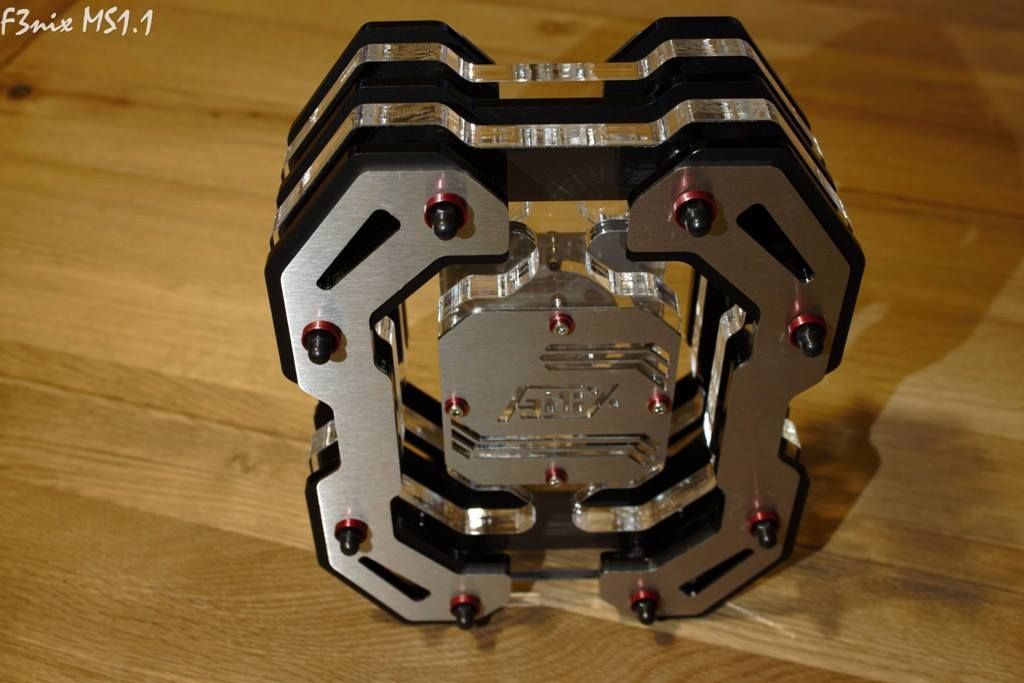
That's it guys. Hope you like it
Mod on!!!
Hello again!!!
Time for a long overdue update, sorry for the delay but been really crazy at work and the work on the desk takes the little free time I'm left with.
This update is not about the desk but about the need for a headset holder. As I didn't really like anything that it's currently available what's the only thing I could do? Correct, my own one!
Time to do some CAD work
This shows some of designing involved, not all parts are shown on the picture.
*** Really like this picture***
The last few pictures show the assembly of the headset holder. I will not show pictures of a headset on it as that's to follow soon...
That's it guys. Hope you like it
Mod on!!!
be quiet! noise absorbing kit
Hi guys
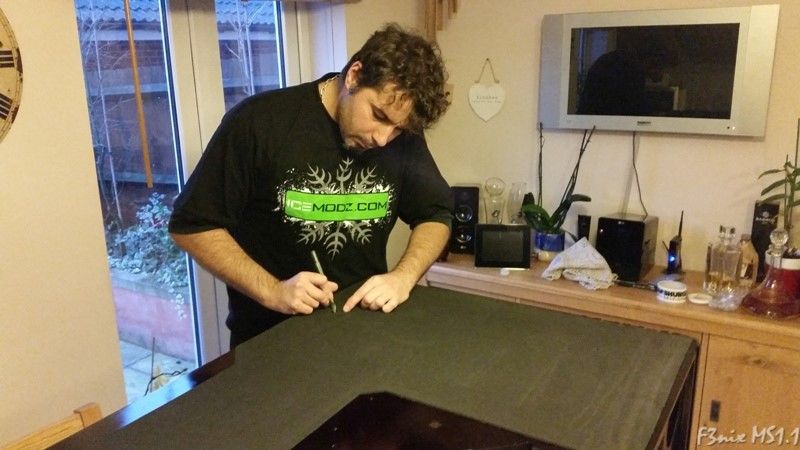
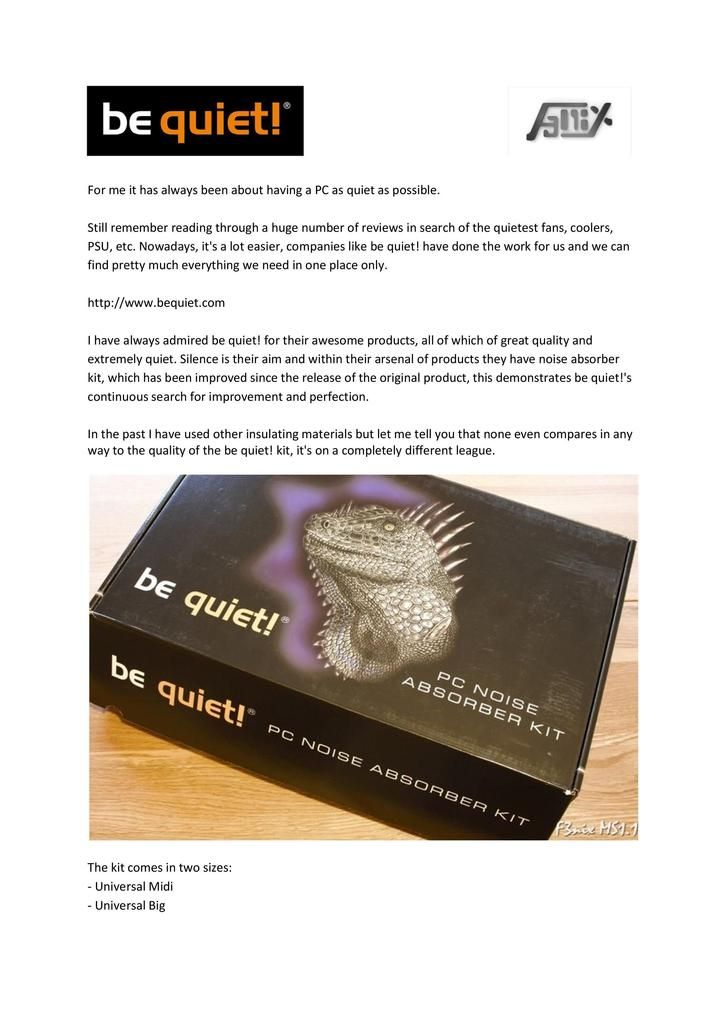
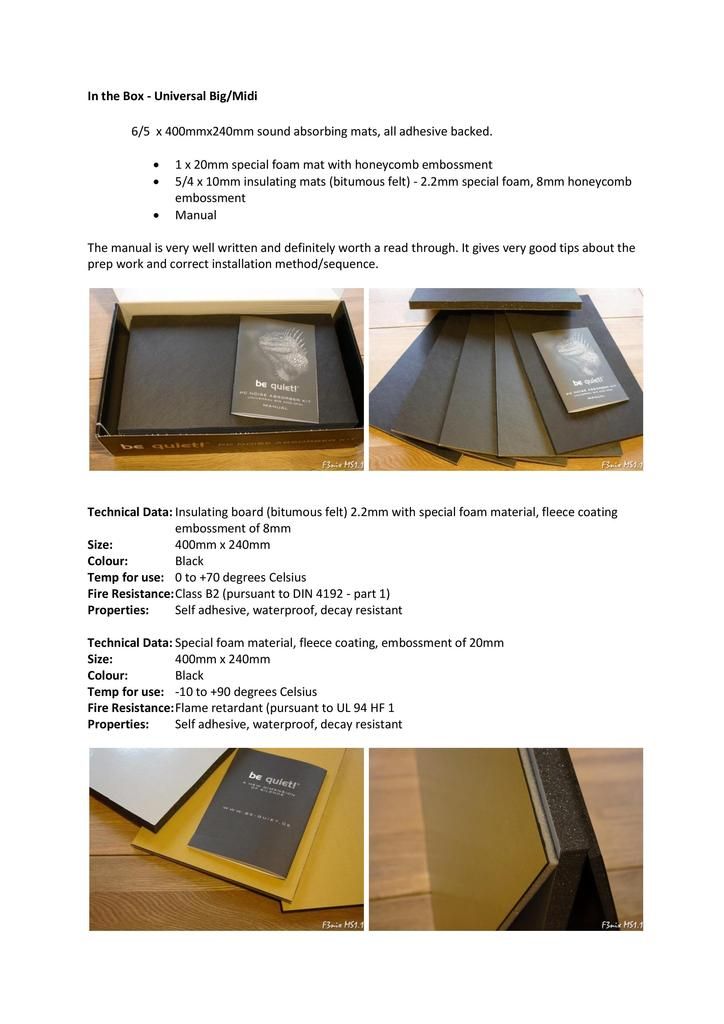
Be quiet! was again extremely kind and sent me a couple of their noise absorbing kits. This stuff is so amazing that I've done a brief overview of the product. Shown on the last 3 pictures
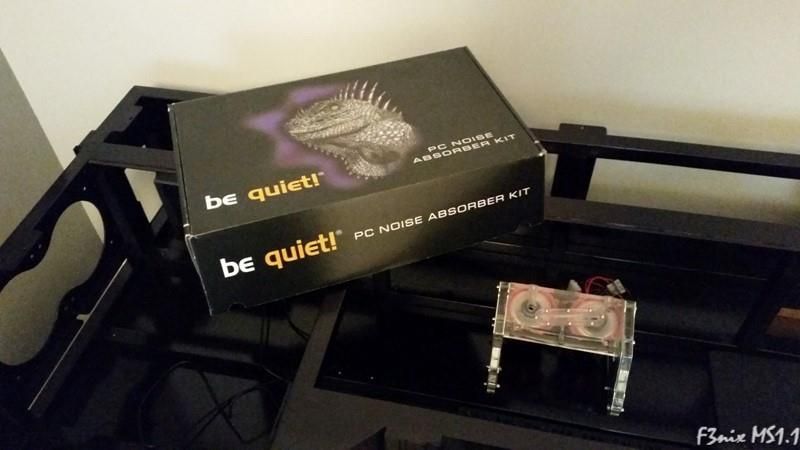
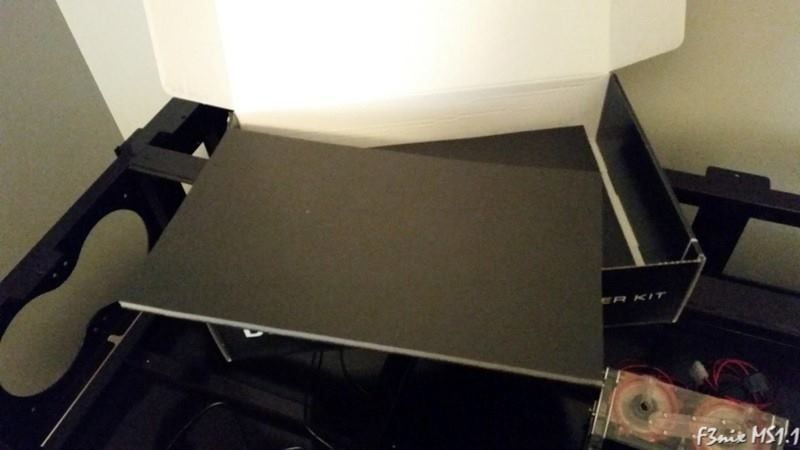

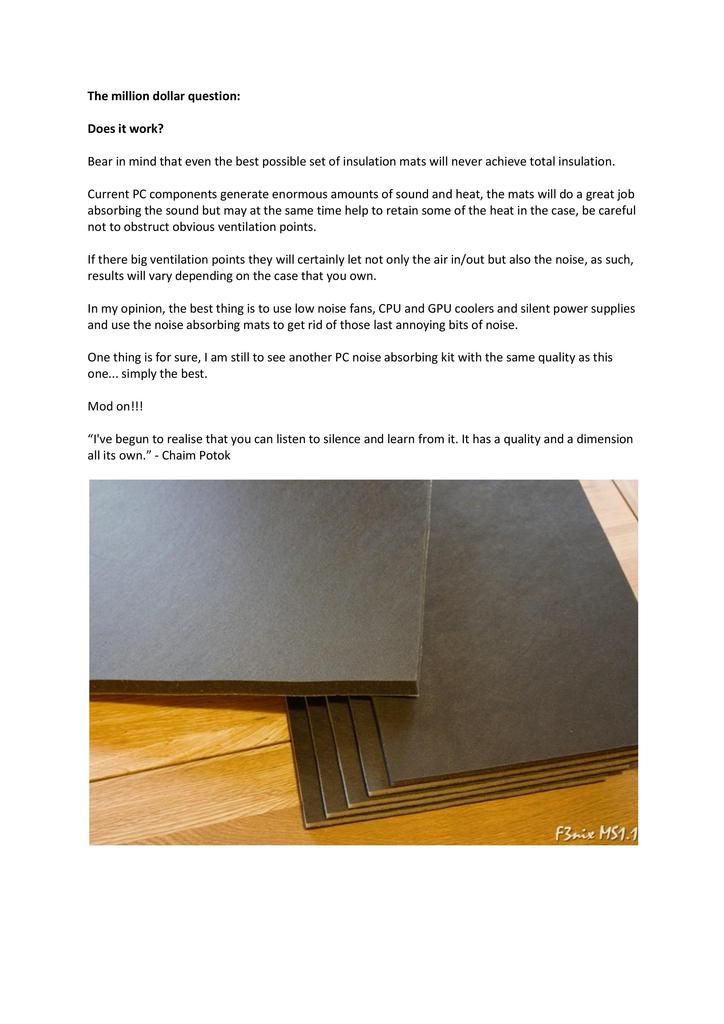
Very thick but very easy to cut to size with a stanley knife
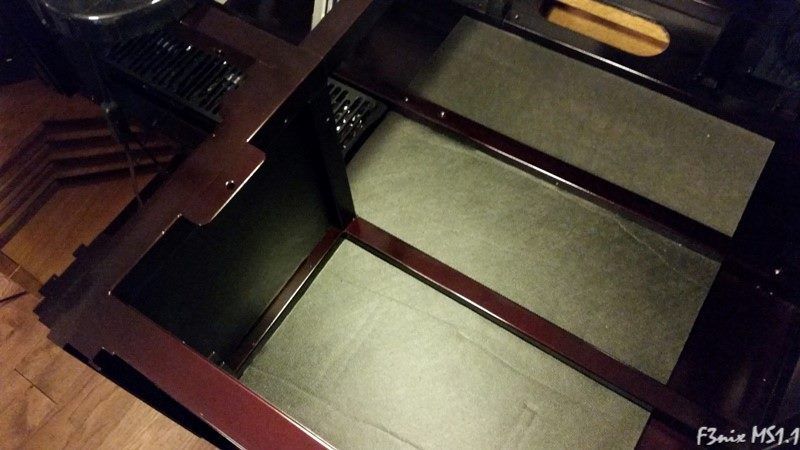
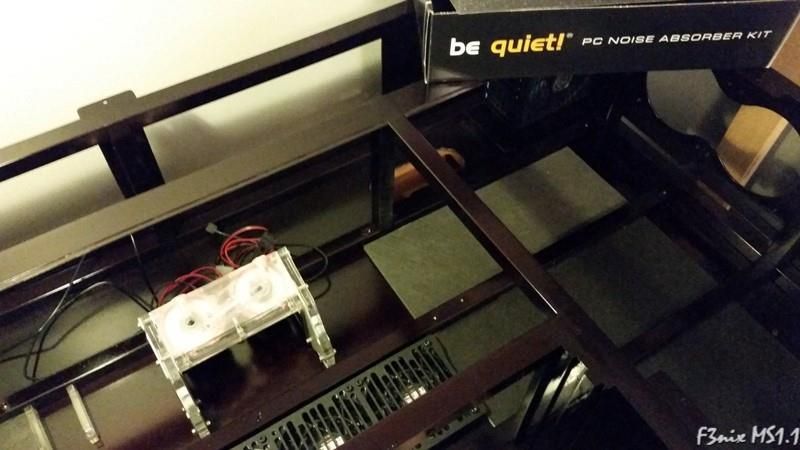
***be quiet! noise absorber kit***
Hope you enjoy it, will be back soon with more updates
Mod on!!!
Hi guys
Be quiet! was again extremely kind and sent me a couple of their noise absorbing kits. This stuff is so amazing that I've done a brief overview of the product. Shown on the last 3 pictures
Very thick but very easy to cut to size with a stanley knife
***be quiet! noise absorber kit***
Hope you enjoy it, will be back soon with more updates
Mod on!!!
Absolutely superb mate, I love those Power cables, that's something I want to do (create my own specific length cables). Any chance you could put a list up of the parts you used, so that others could copy your design
This will be epic ! when you hoping it will be complete ? looking forward to seeing the final product going to be spectacular
Thanks mate. I'm hoping that it will be finished towards August
insane, the amount of parts involved, looks great so far
Yeah, quite a few