FPS-CASE1

Associate
Joined
14 Apr 2015
Posts
45
Location
Cheshire East
Hello! This is my first thread here. I would like to show what I have been developing recently.

FINAL PHOTOS ADDED (28-12-2015)

IMG_0501.jpg


IMG_0494.jpg


IMG_0489.jpg


IMG_0488.jpg


IMG_0497.jpg


----------------

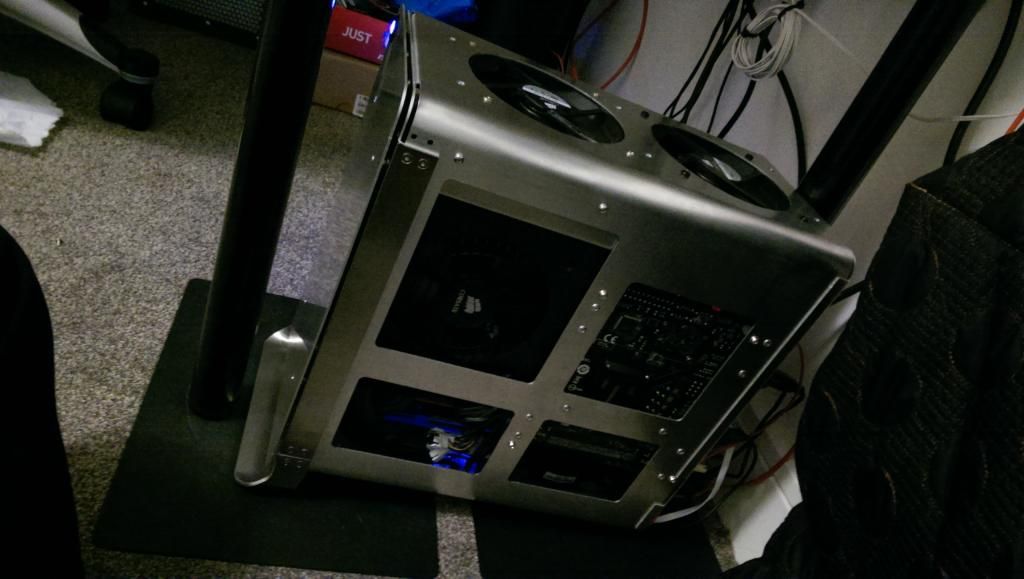
It started with Hadron Air, small stylish and no airflow at all. Took me some time to mod it as I decided to fit ATX power supply inside. Things were so crammed, temps were going crazy.

IMG_0561.jpg


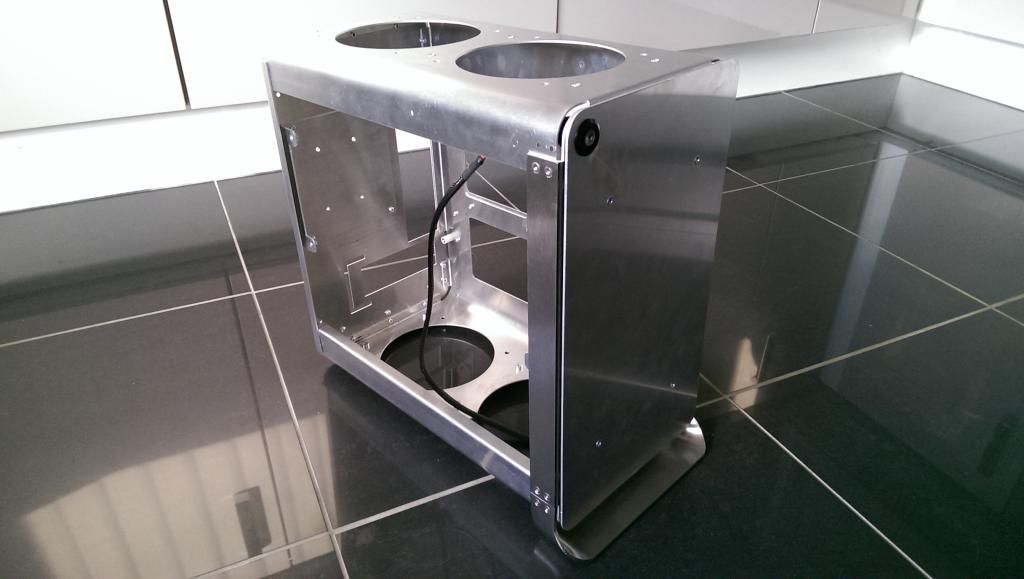
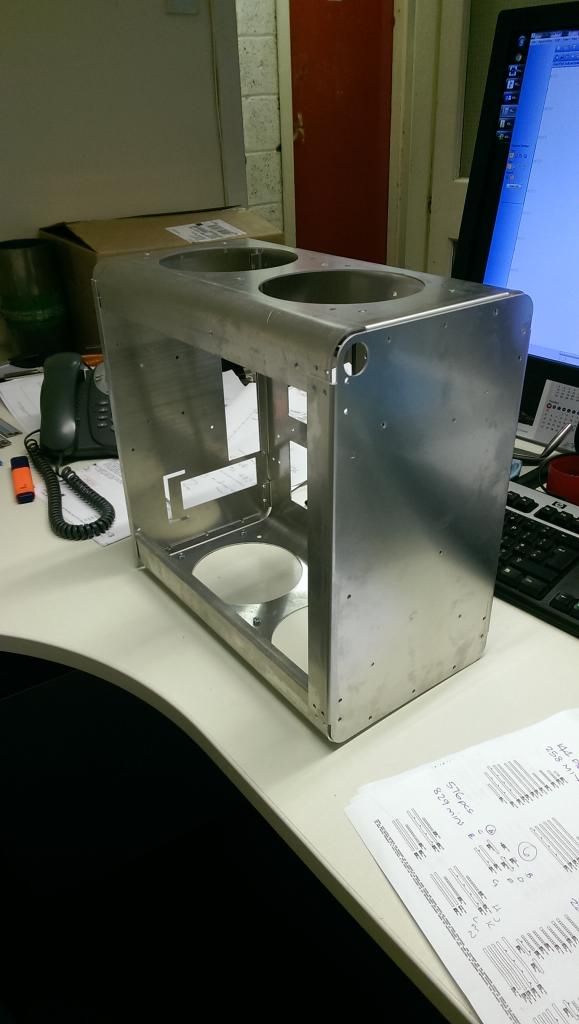
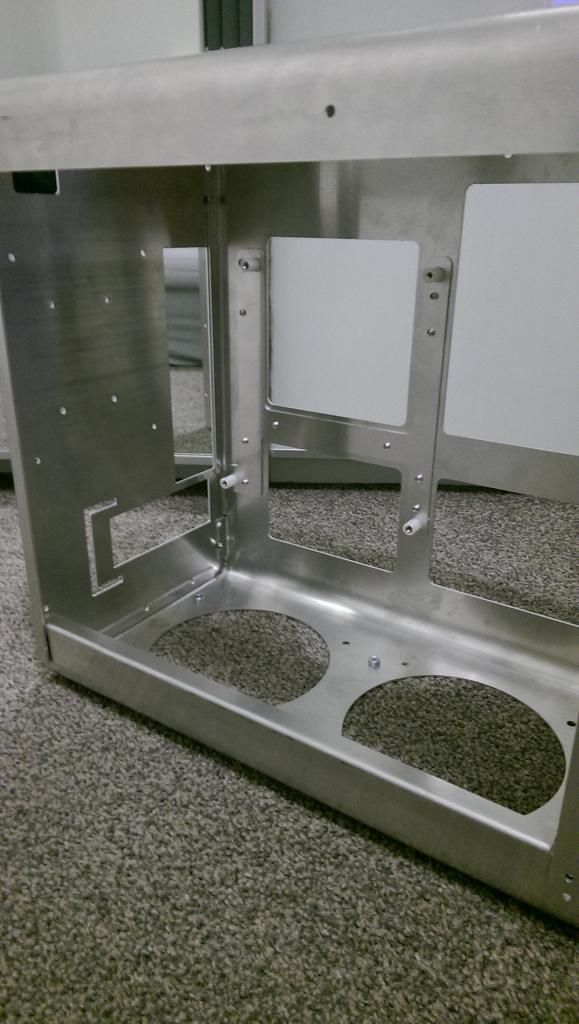
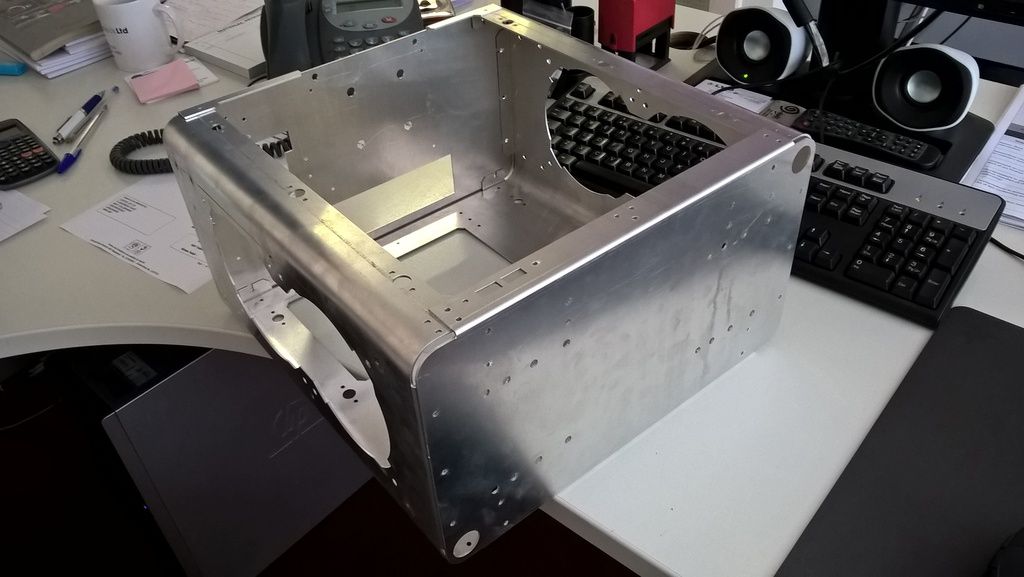
I thought to myself - how hard can it be to make my own case? Since I have access to machinery I decided to have a go, then this came up.
IMAG0505.jpg


IMAG0512.jpg


IMAG0513.jpg


IMAG0516.jpg


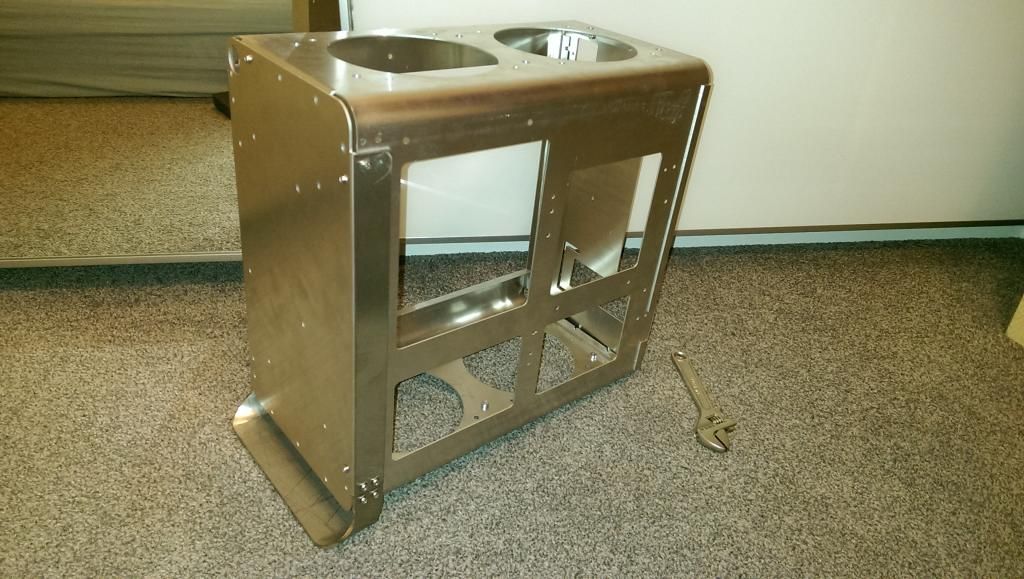
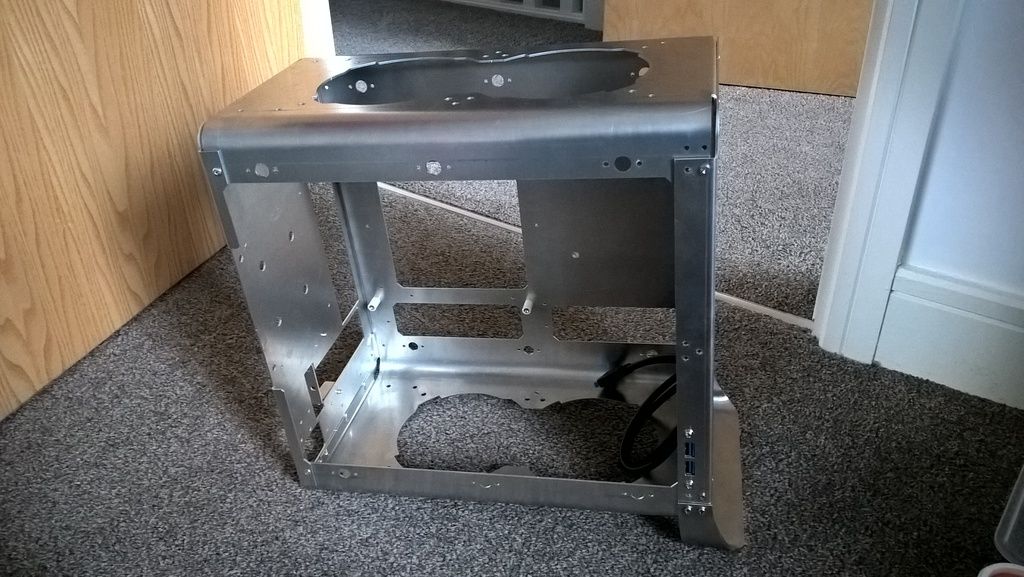
Basic frame worked fine for me so I started to add more things to it.
IMAG0556.jpg


IMAG0562.jpg


IMAG0567.jpg


IMAG0571.jpg


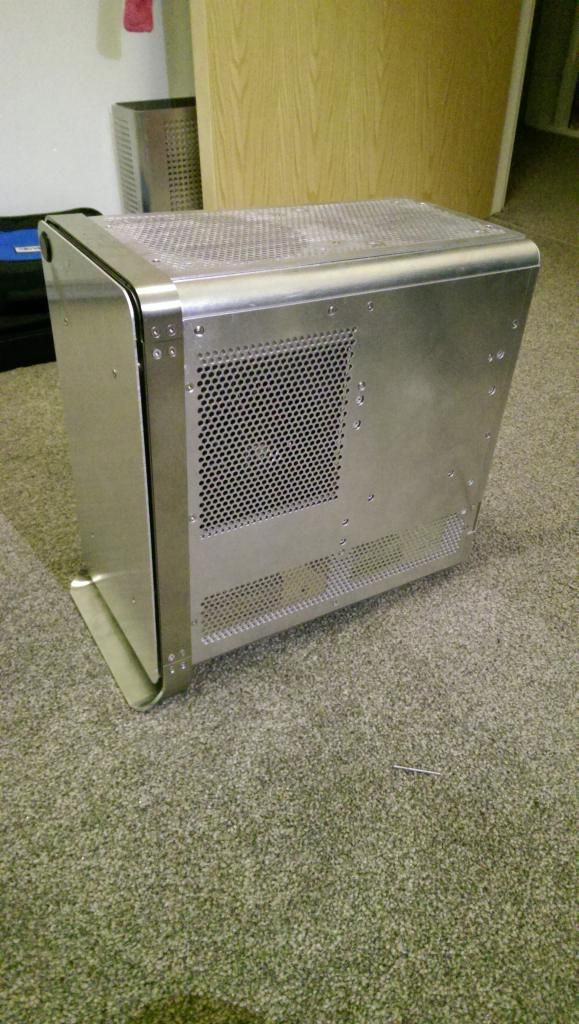
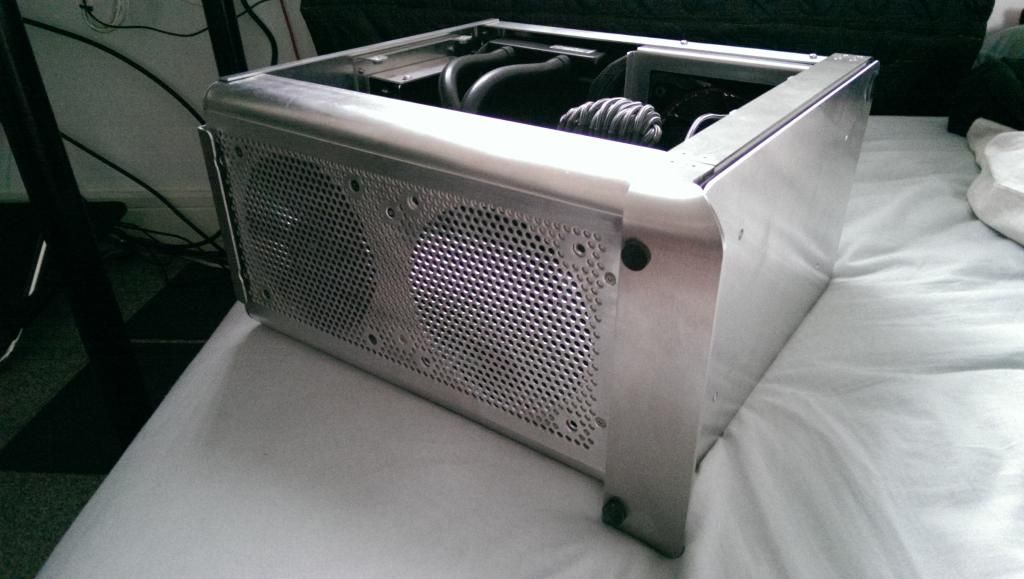
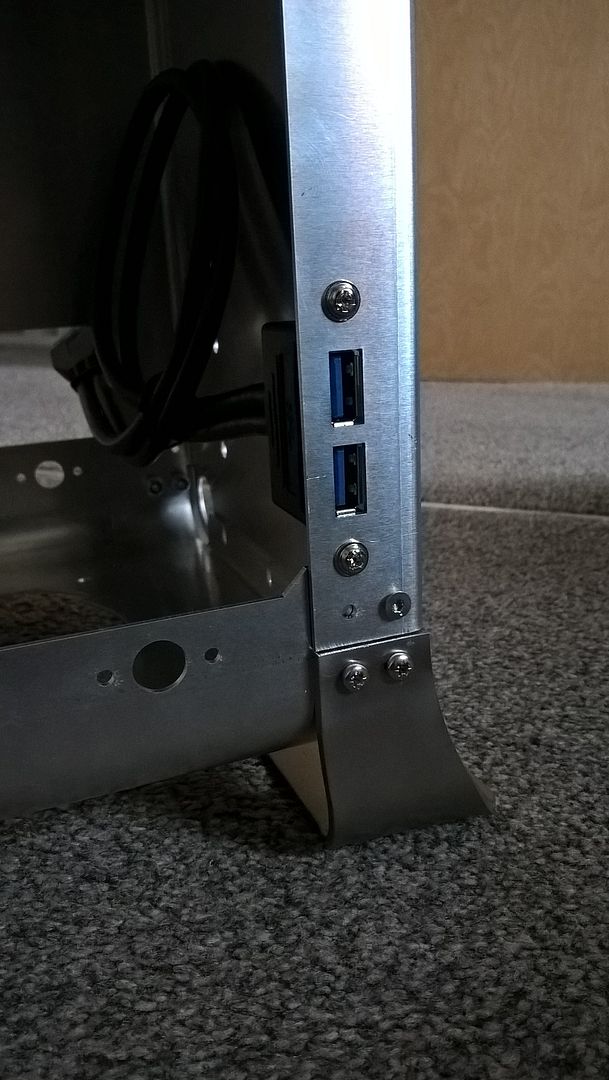
I was quite happy with everything so far, apart from the front foot, which wasn't bent quite as expected. I had to change that and come up with some fan covers.
IMAG0598.jpg


IMAG0579.jpg


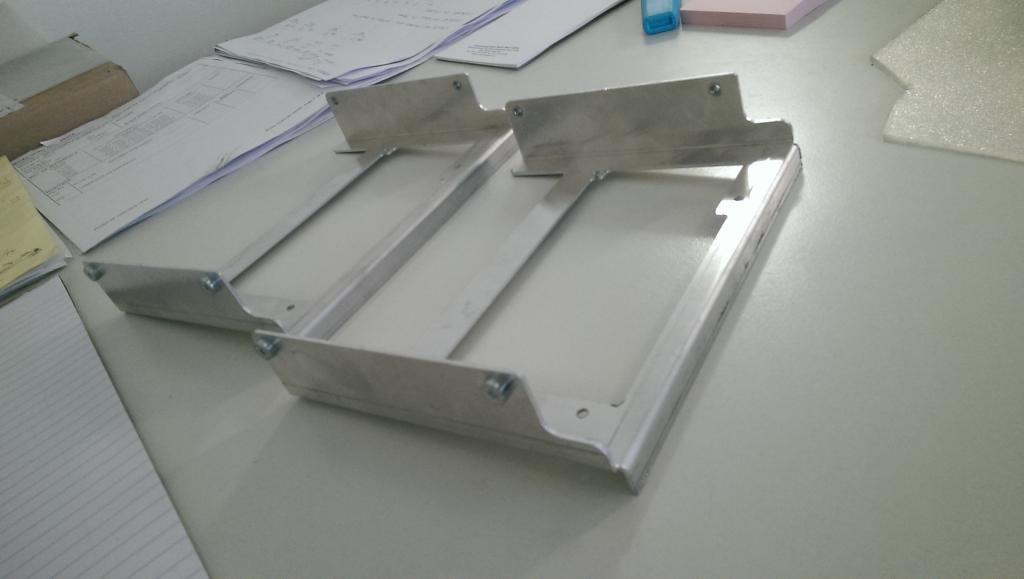
Came up with the idea to mount power supply at 90 degree angle, so new bracket made:
IMAG0634.jpg


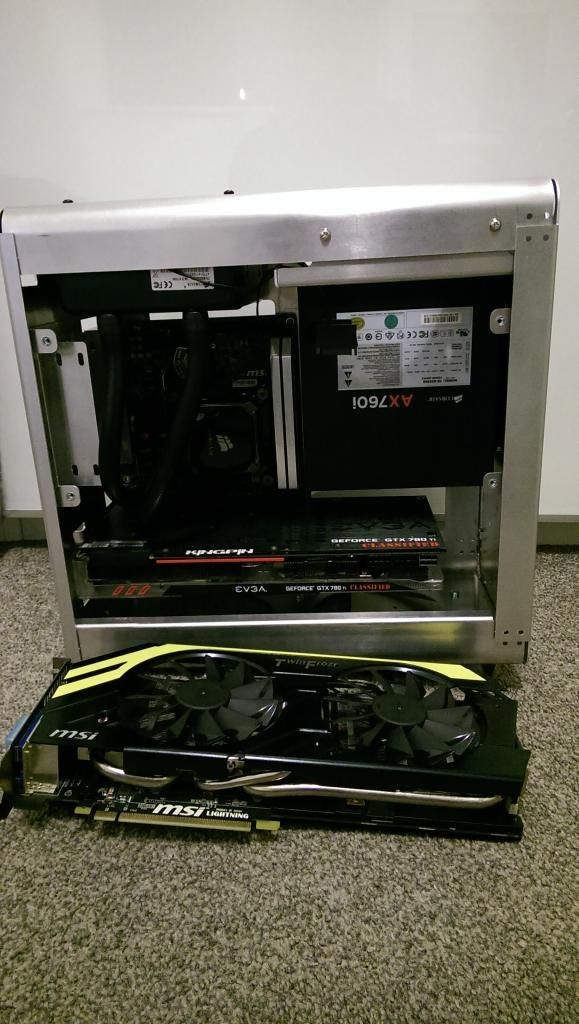
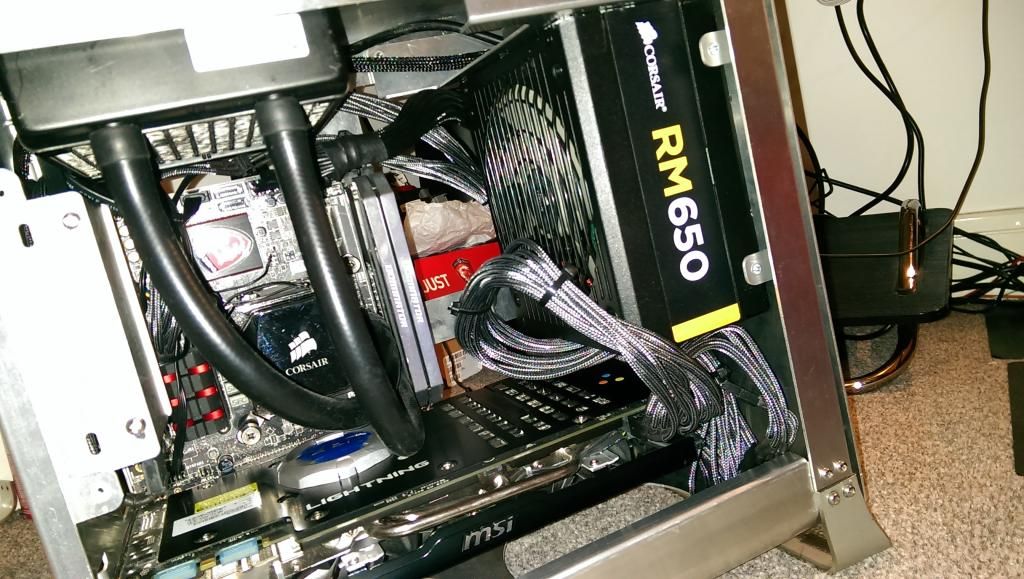
I was also testing my old gtx 770 lightning. Much cooler than kingpin:
IMAG0638.jpg


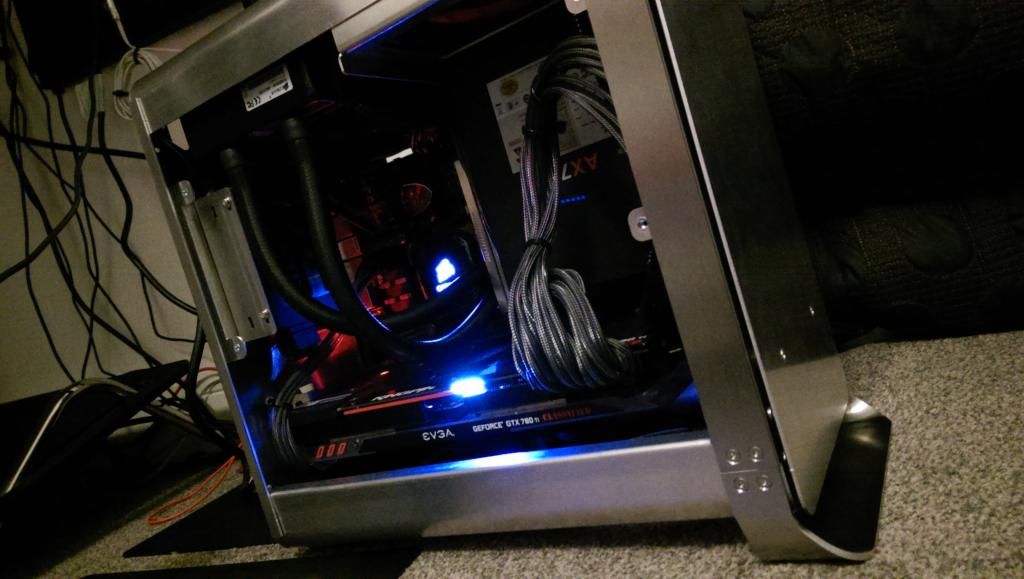
Finally after some time:

IMG_0059.jpg


IMG_0063.jpg


And some better photos with dslr:

IMG_0031.jpg


IMG_0033.jpg


IMG_0039.jpg


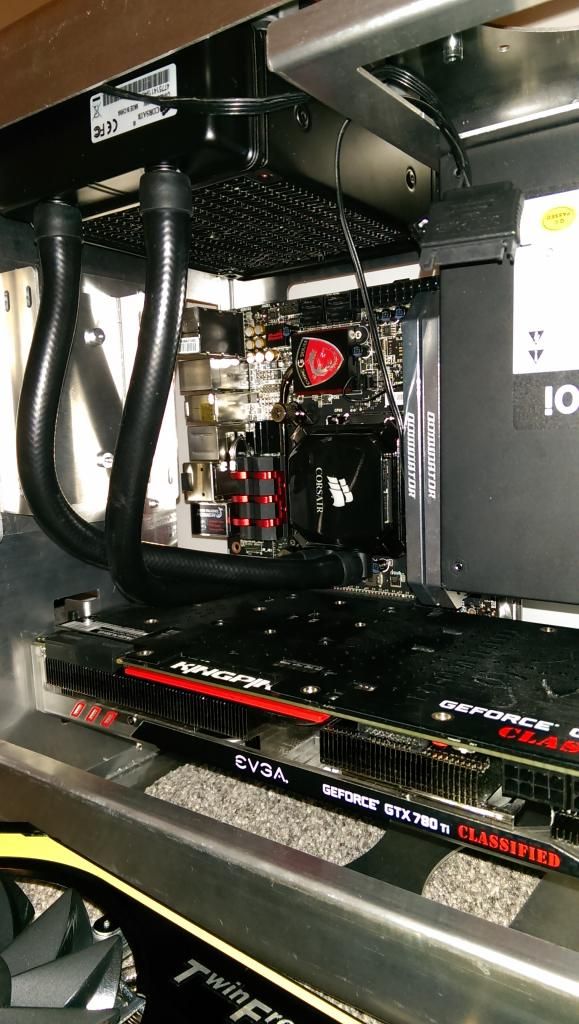
I have also decided to have my H80i on the side, new bracket to fit:

IMG_0158.jpg


IMG_0159.jpg


Stuff inside:
i7 4790K
Z97i Gaming AC
2 x 4GB Dominator Platinum 2133
850 Pro SSD
780ti Kingpin
H80i+Noctua NF-F12 2000RPM PWM
4 x Noctua NF-S12B Redux 1200 RPM PWM


In Battlefield 4 (no OC) with room temp @ 22.5 deg C:

CPU @ 66 deg. C (fan at 90%)
GPU @ 74 deg. C (fan at 70%)


Firestrike - 12049 points:

-CPU @ 4.7 GHz
-MEM @ 2133MHz
-GPU core @ 1270MHz
-GPU mem @ 3542MHz

Max registered temp during benchmark:
-CPU = 67 deg. C
-GPU = 79 deg. C (with custom fan curve in Afterburner with speed @ 80%)

I'm currently working to support water cooling, relocate SSD mounting bracket, some other tweaks.

Let me know what you guys think :D
 
Last edited:
Thanks guys.

There's more work to do on this. It was designed with air cooling in mind hence so many perforations. I want to try water cooling though since I have never done it before.

Top and bottom fans are too far apart for a 240mm rad as it stands, so I need to change that. SSD bracket is going behind PSU on right hand side. I will also try to make a window to the side panel.

Wow that actually looks amazing for a micro ATX.

You must be well proud, wish I had the tools and equipment to do a proper DIY job.

It's actually mITX :)
 
Last edited:
Thanks guys. Every opinion is like gold to me at the moment.

Looks good!

Are you hoping to become a manufacturer or are you thinking of doing bespoke cases for clients?

.... and that's exactly why.

I started this case not with a view to selling, but people started to ask me this. Yes, I think that becoming a manufacturer would be the most amazing thing to happen after my daughter was born :)

I really enjoy it. I have been in sheet metal work for over 9 years. I can't believe I never thought of making my own case.
 
Last edited:
That looks sweet ! So professional and clean looking , good skills !

The front bit looks like the back of an iPhone 4 , was that intentional ? :D


Funny it never even crossed my mind, but it does resemble that iPhone.

Thanks everyone for your opinion. I'm still developing this case and hopefully in nearest future I will be making another prototype. I will be posting some updates, because the list of things I have to change is quite long :)
 
Hi guys! I have some exciting news to share.

I proudly present the sponsor of SFX form factor power supply support in FPS-CASE1 - SilverStone.

silverstone%20logo.gif


I have received SST-SX600G v1.1 unit to play with:

IMG_0309.jpg


IMG_0310.jpg


IMG_0311.jpg


IMG_0312.jpg


IMG_0313.jpg


Although ATX>SFX adapter is included I will be designing a new bracket.

You can expect a lot more water-cooling-friendly case with this power supply. Enjoy the ride :>
 
Last edited:
Just wanted to share some progress.

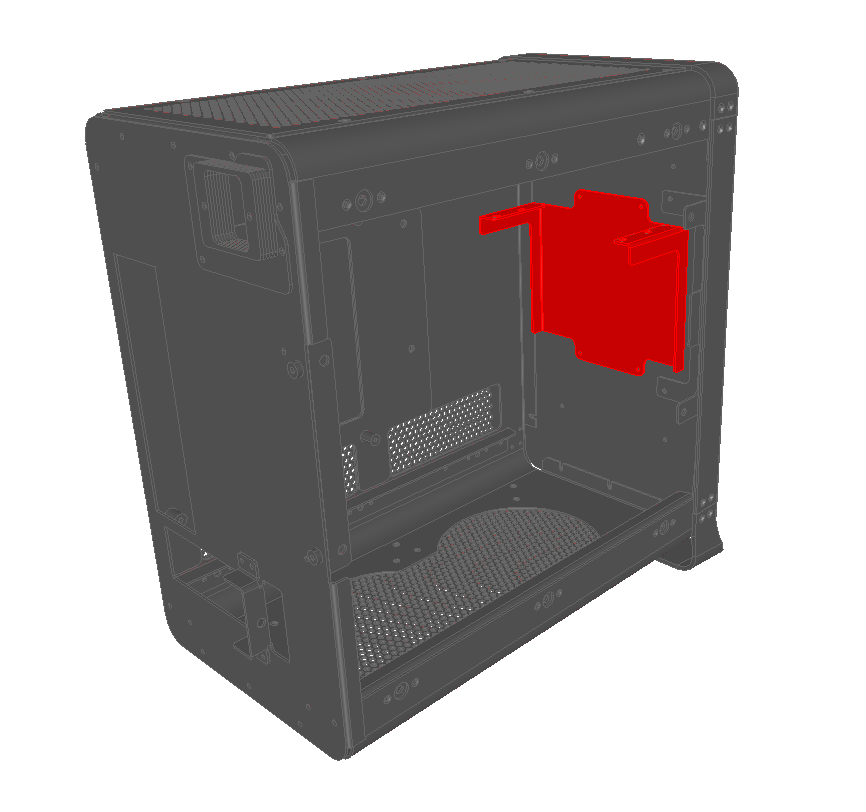
SFX power supply mounting bracket:
pic5_1.png


SSD universal attachment to support up to 4 x 2.5" drives or 5,25" something:
pic3.png


5,25" single bay pump mounting bracket:
pic4.png


Windowed side panel for 2mm thick clear acrylic:
pic1.png


New style reinforced perforated side panel:
pic6.png


New upgraded GPU mount:
pic2.png


Please share your thoughts on this guys. Thanks for looking.
 
Last edited:
Thank you :)

SFX psu will actually allow to install 240x55mm rad at the top with 25 mm fans and 240x30mm rad at the bottom with slim fans if gpu water-block is on to make the card single slot thick.
 
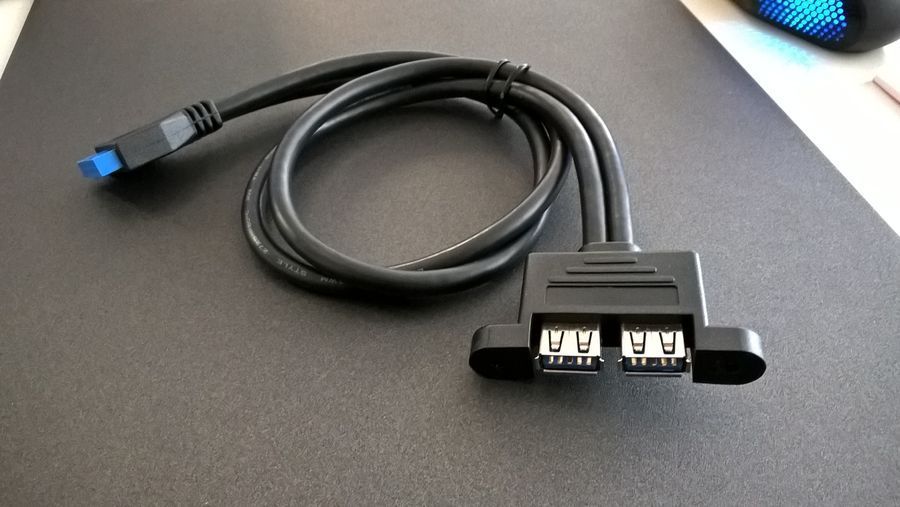
I have made couple of changes, but main thing is that front usb ports arrived on Thursday, finally!

usb.jpeg


...and they are going here:

pic8.png


Edit:
I managed to download some models from GrabCAD. At the top Phobya 60mm thick rad and there is 15mm clearance to motherboard. At the bottom Aquacomputer Airplex 63mm thick and there is 10mm clearance to gpu, which in this case is Titan Z with EK waterblock. I have also re-located the IEC inlet to the bottom of the case.

pic10.png


pic9.png
 
Last edited:
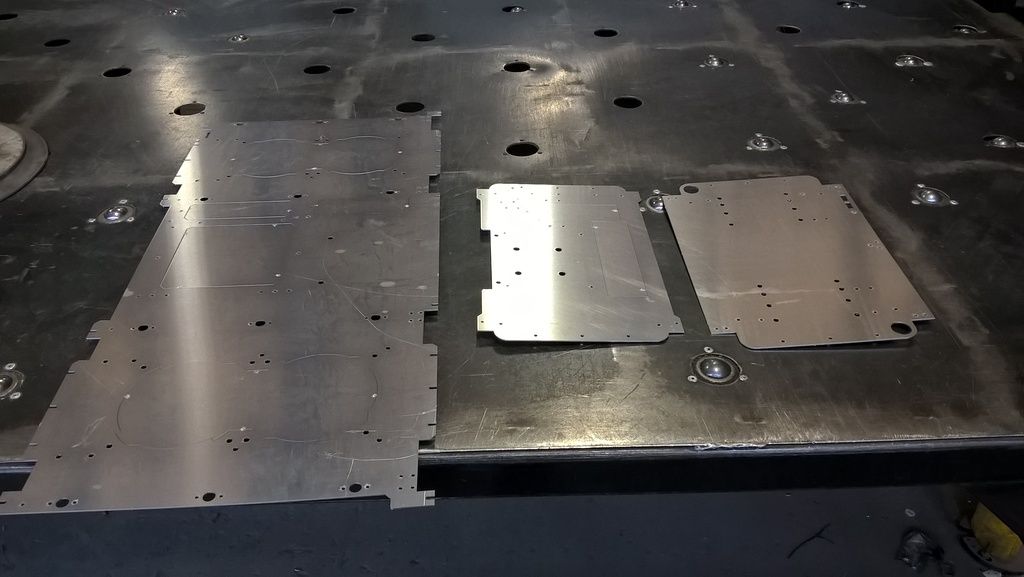
I cut some parts today. I had some material left over from last prototype, so I cut three main parts to prove bending and developed sizes. This will also let me check if motherboard+gpu configuration fits all cut-outs. :D

WP_20150619_13_05_35_Pro.jpg


Also a video of those parts being laser cut. Unfotunately I coudn't get any closer.

https://www.youtube.com/watch?v=l868yopkEoA
 
Last edited:
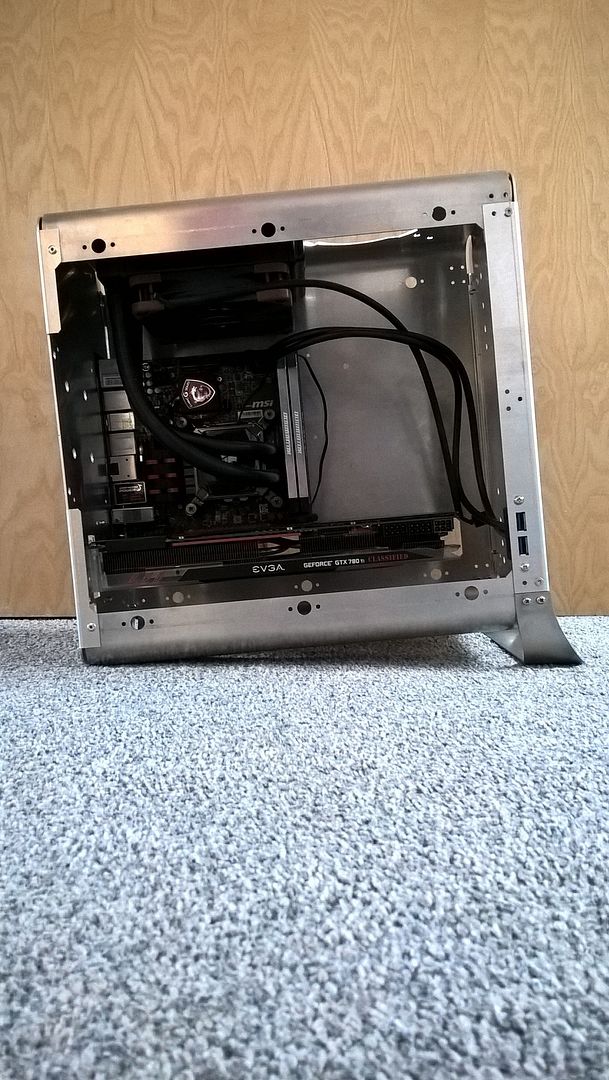
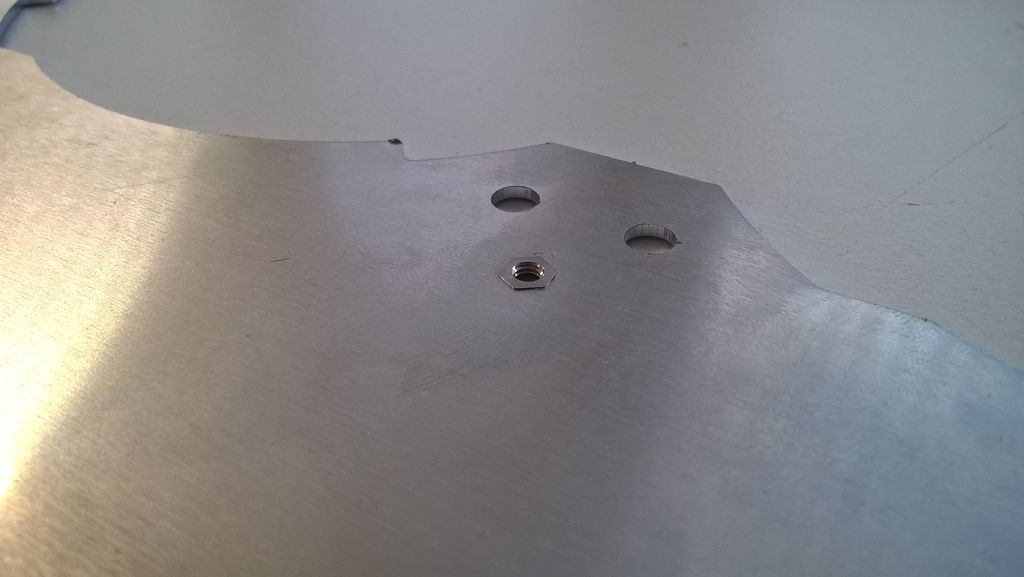
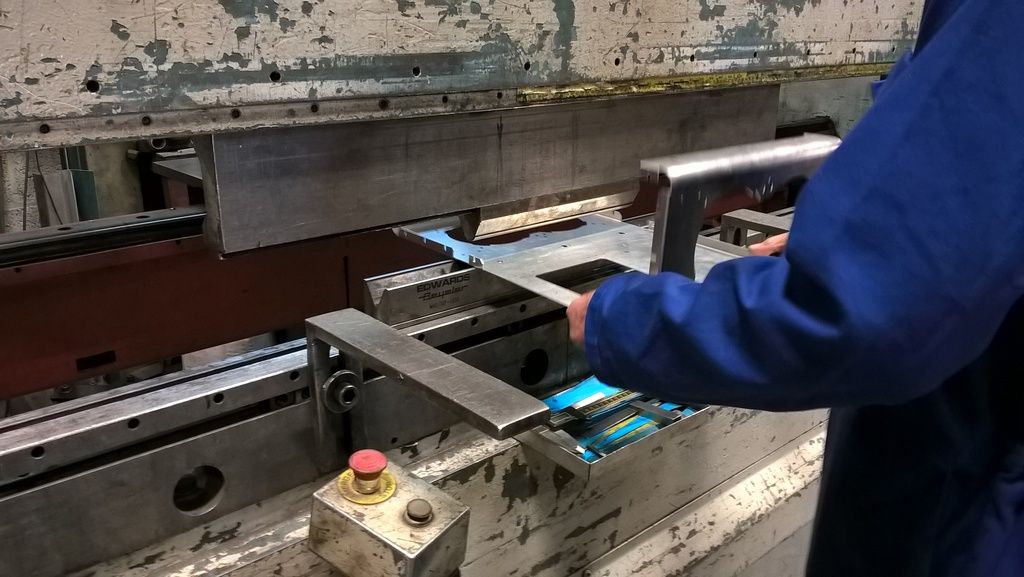
I have been working on the Amada punch machine a bit today. I came up with this idea to use it for pressing self clinching nuts into place. To do this I had to setup a flattening tool to certain stroke, took me a bit of time, because Tools can't mark the sheet either.

So I will put all nuts to already cut component and start the program. This is a lot quicker way of doing it. I reckon I can press 16 flush nuts in about 10 seconds this way.

That's how it came out:

WP_20150622_17_59_12_Pro.jpg
 
Thanks guys!

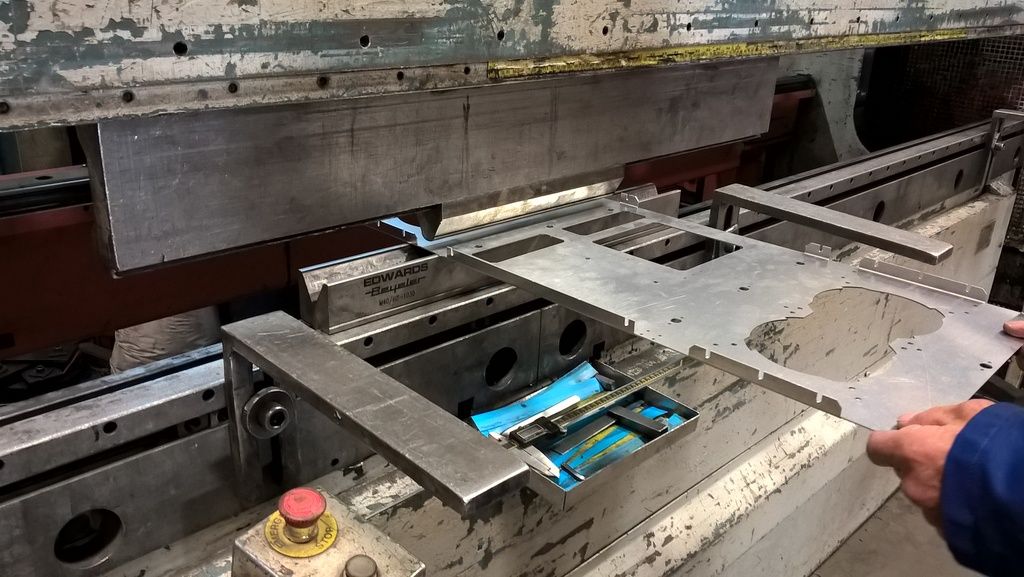
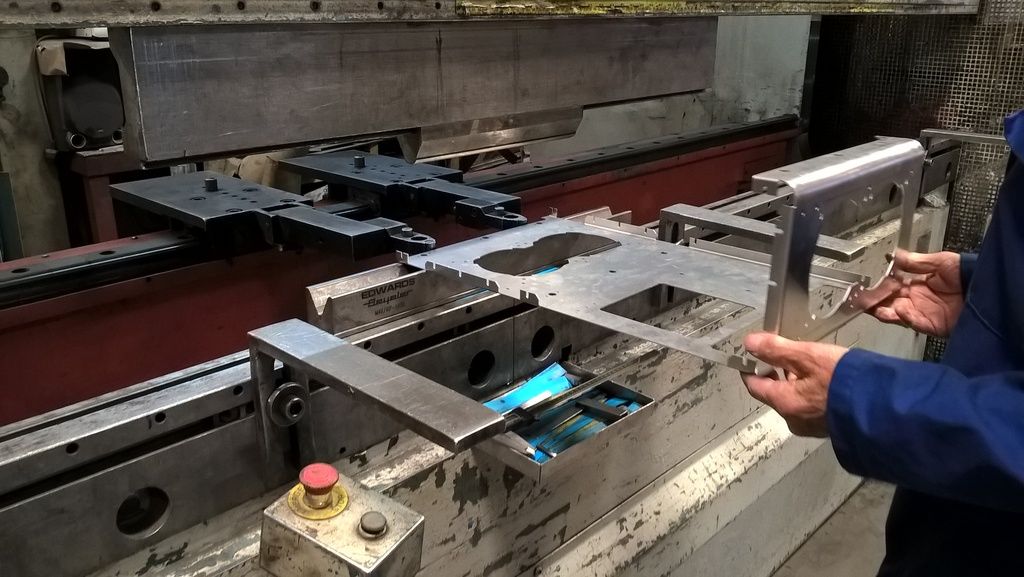
Here's fresh batch of news. I got the test piece bent today. All I can say, it's better than the first prototype I made. A lot more accurate, all holes line up nicely.

WP_20150624_12_06_10_Pro.jpg


WP_20150624_12_06_59_Pro.jpg


WP_20150624_12_07_39_Pro.jpg


WP_20150624_12_32_27_Pro.jpg


WP_20150624_19_22_43_Pro.jpg


WP_20150624_19_33_50_Pro.jpg


Next thing is to strip my machine and test fit motherboard and graphics card. Hopefully all cut-outs line up.
 
Thanks again guys :D

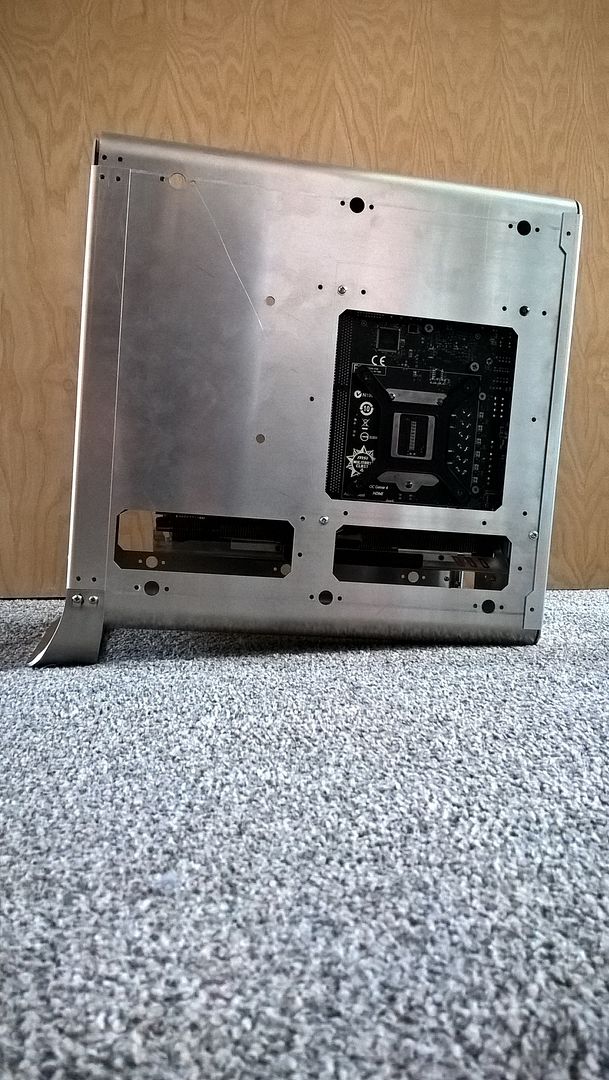
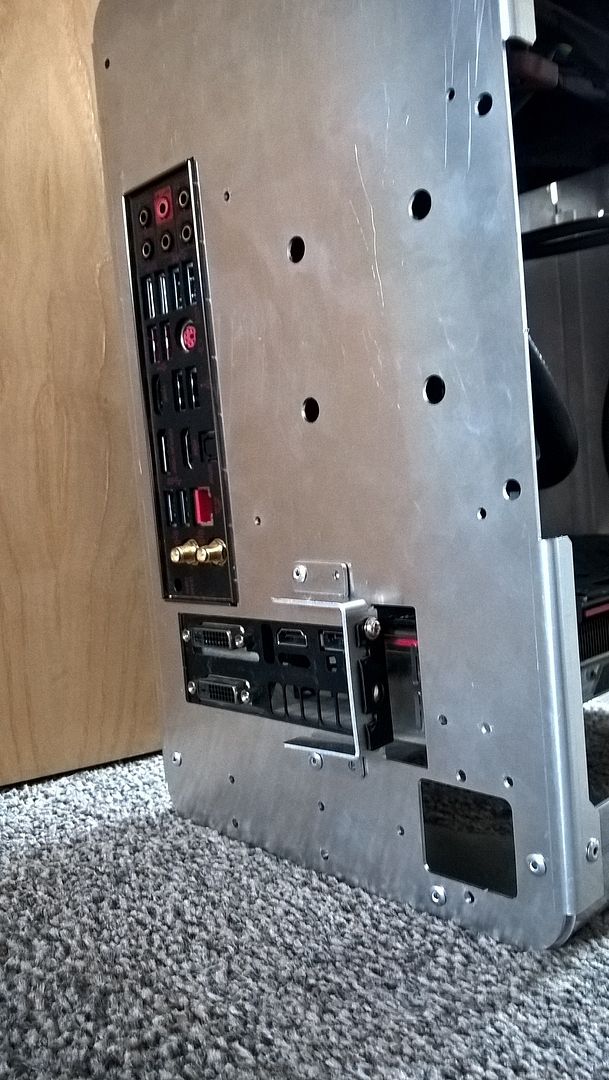
I did some test fitting. Motherboard IO shield finally fits (unlike first prototype), but I'm still not happy about gpu mounting bracket, which wasn't quite bent right. All things to correct. That's what this test was all about.

I have decided to ditch magnets as mounting mechanism for access panel. I don't trust them somehow... :P

WP_20150625_18_25_41_Pro.jpg


WP_20150625_18_26_17_Pro.jpg


WP_20150625_18_26_40_Pro.jpg


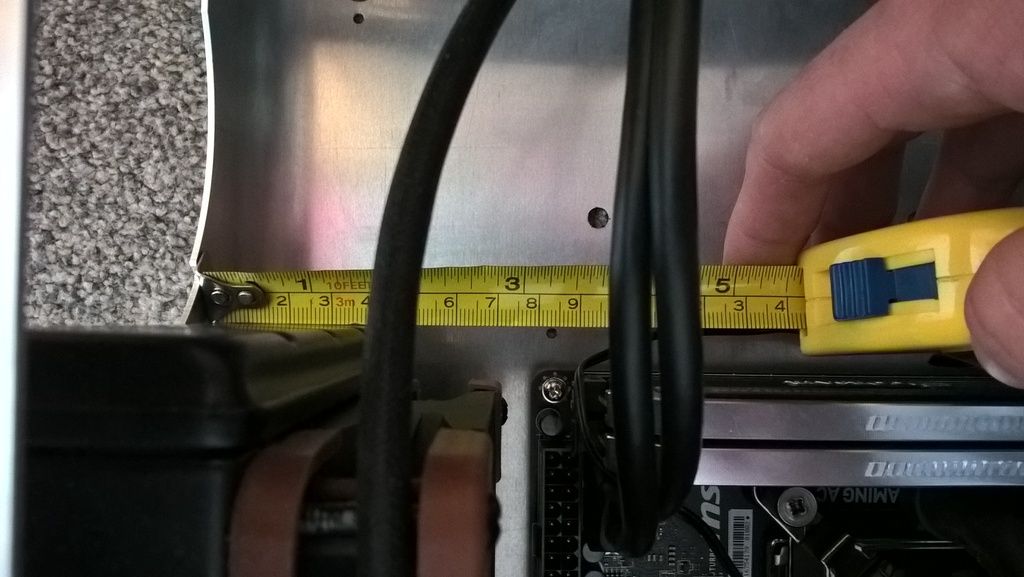
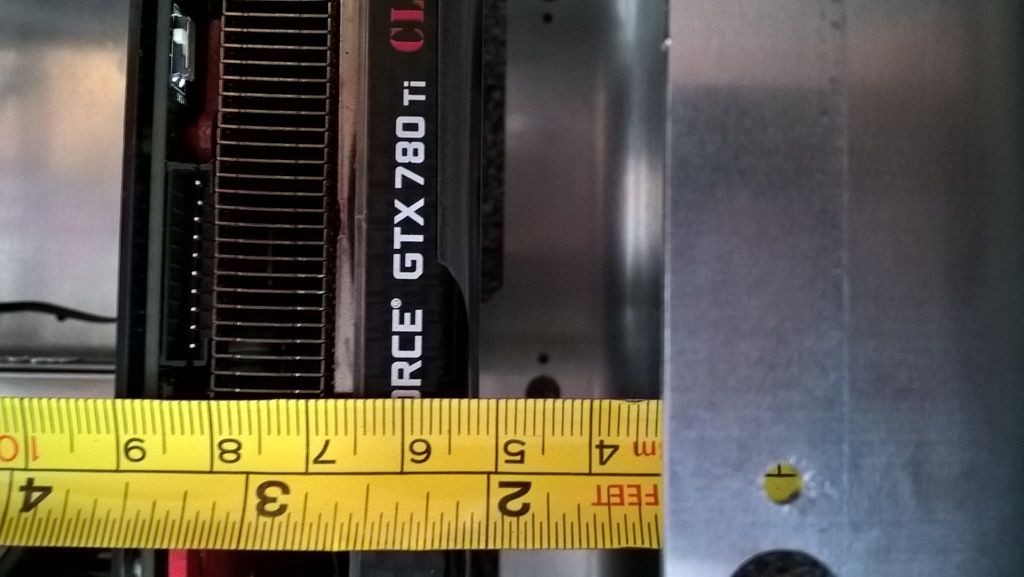
This shows clearance at the top to motherboard:

WP_20150625_18_31_16_Pro.jpg


This is bottom to dual slot gpu:

WP_20150625_18_31_55_Pro.jpg
 
Thank you :D

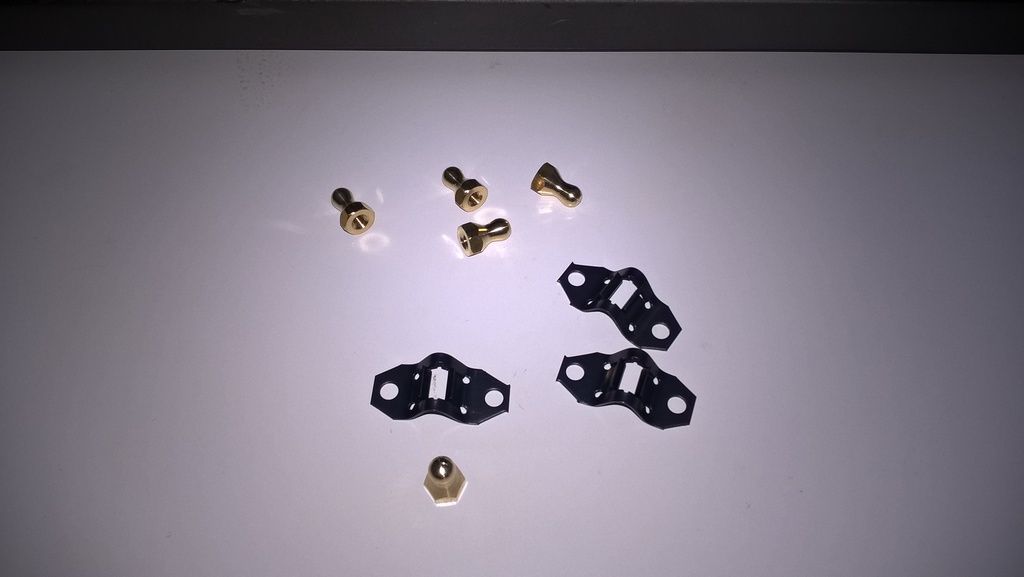
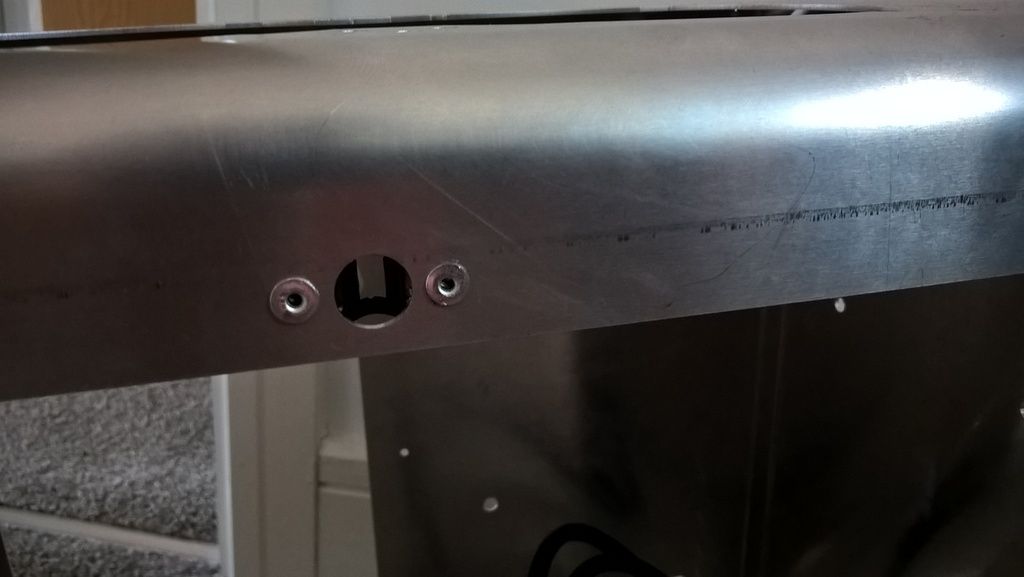
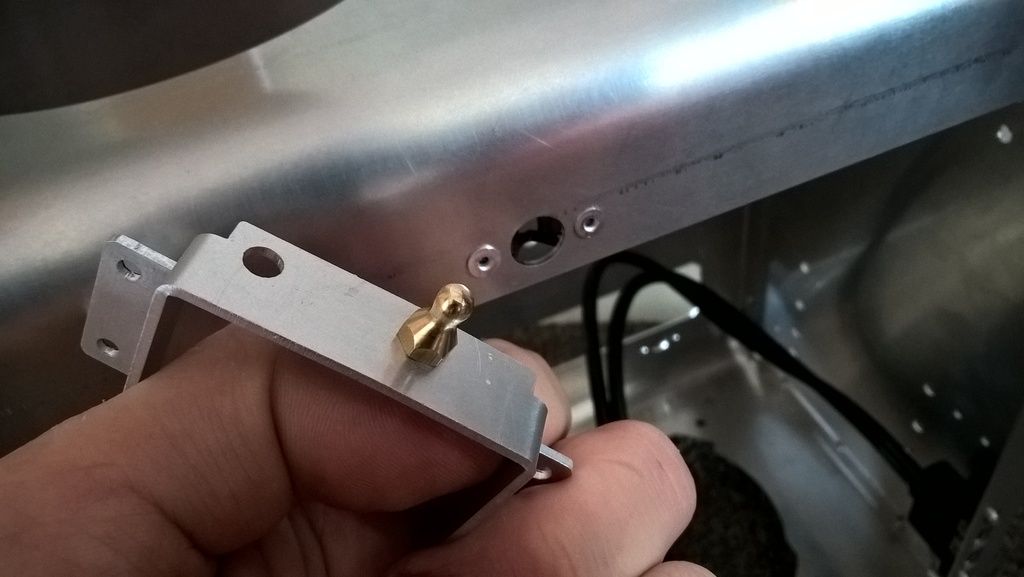
To my great surprise I received some samples today. I had to try it immediately, so I took countersinking bit, did 2 holes and fitted the latch. Stud went to anything that was close. It works great, but there is way to much force required to remove one pin. This is the 6,4 kg option and the other one was 2,3 kg which will be a lot better choice.

WP_20150627_10_18_20_Pro.jpg


WP_20150627_10_40_55_Pro.jpg


WP_20150627_10_41_26_Pro.jpg


I hope I can just leave a link to youtube video like this here (I'm not sure how to make it appear in the thread):

https://www.youtube.com/watch?v=CIXKMWo5gdU
 
Last edited:
Awesome build, so well packaged and put together. :)

Thank you :>

You might just struggle to get access into the case with one of those ;) I'd even go as far to say 2.3kg of force could be too much!

Had a watch of a few of your other videos, you've got some incredible equipment to play with. I can't believe the way it bends the metal, just like it's paper!

I actually noticed that the latch is not quite symmetrical. I'm not sure if it's production fault or deliberate design, but it allows the pin to be tilted to one side when pulled and then it's a lot easier. Nonetheless the 2.3 kg option is a must.
 
Back
Top Bottom