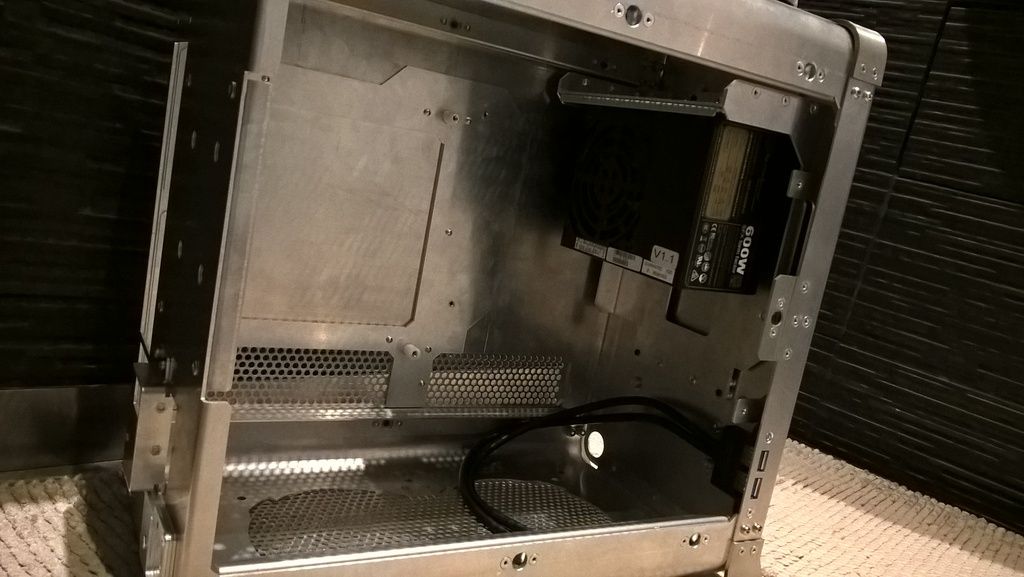
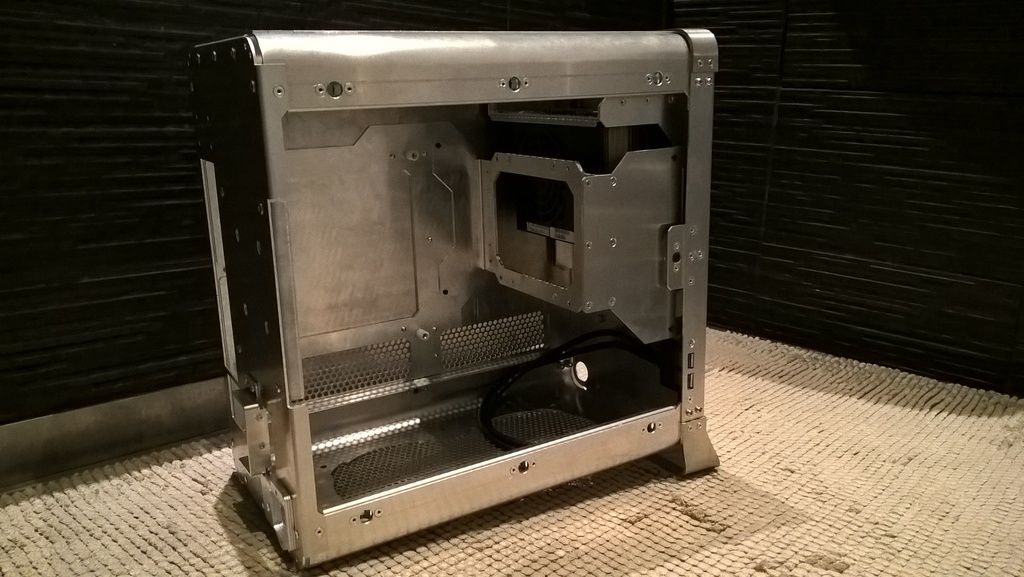
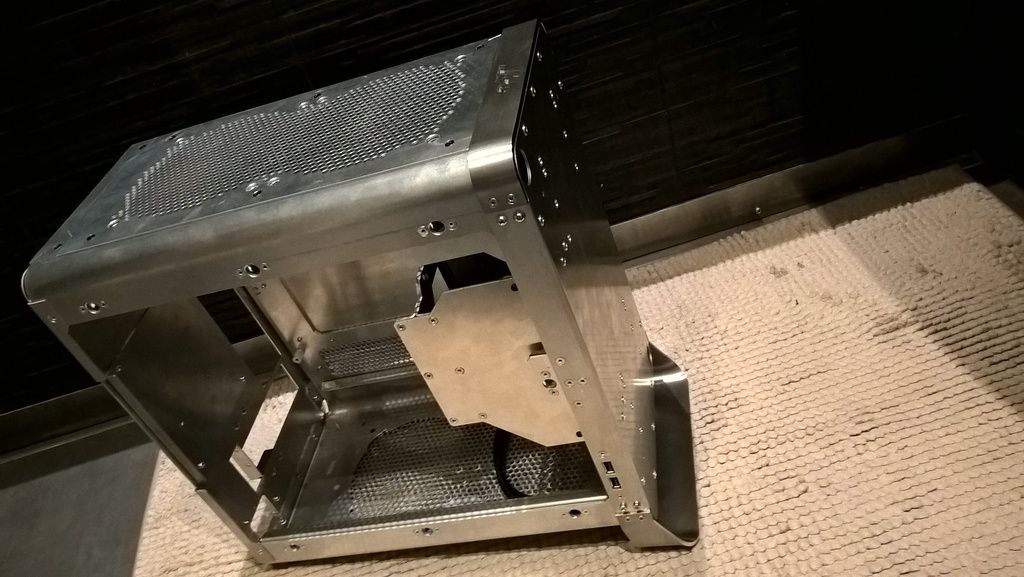
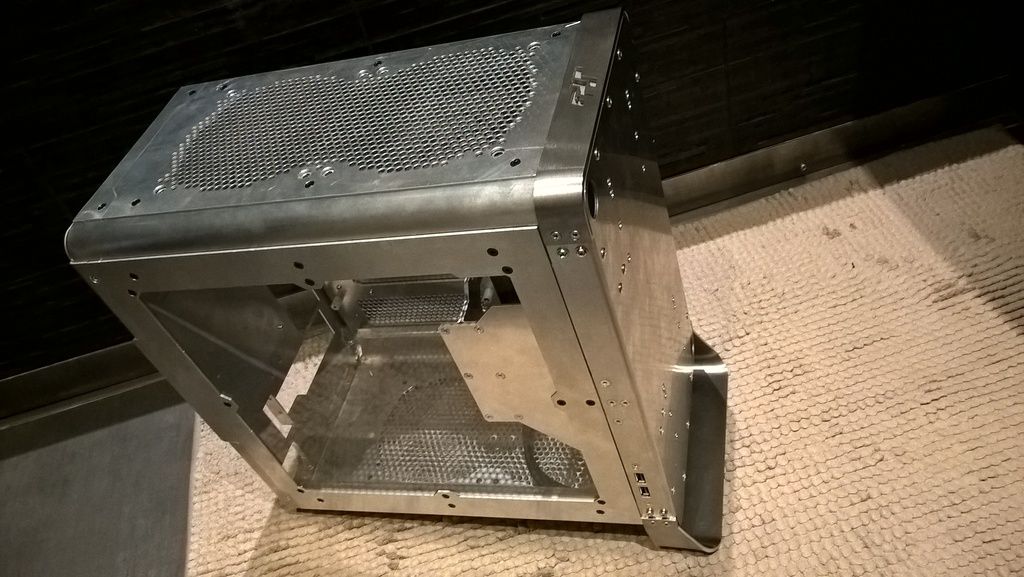
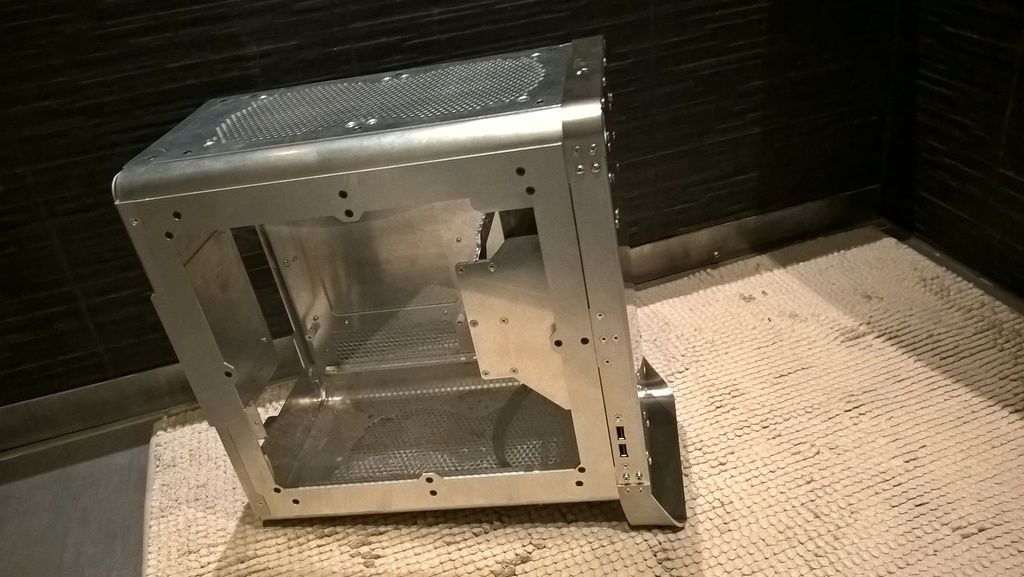
FPS-CASE1

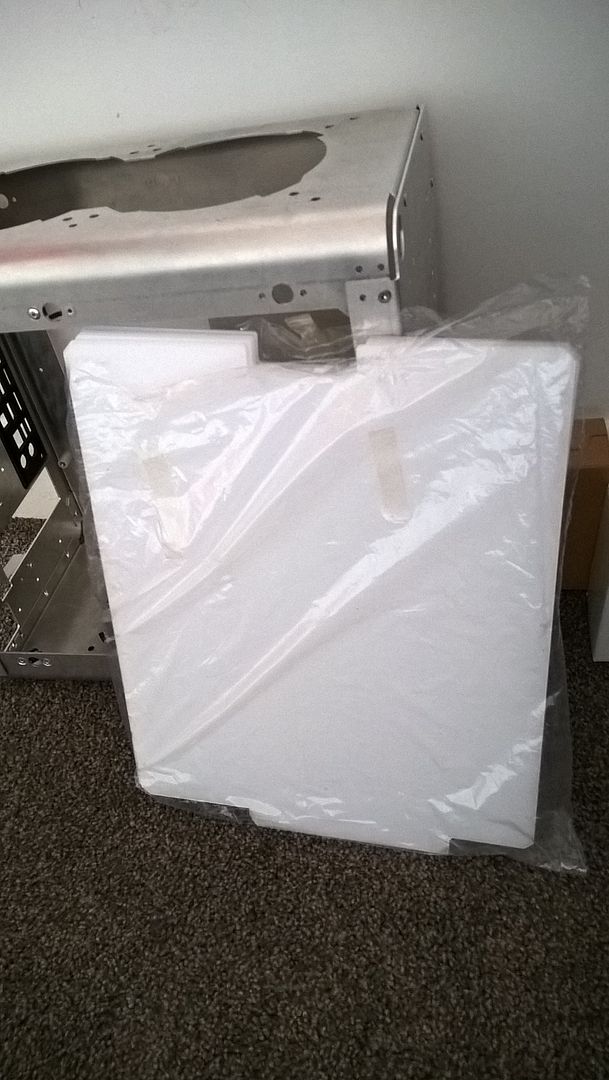
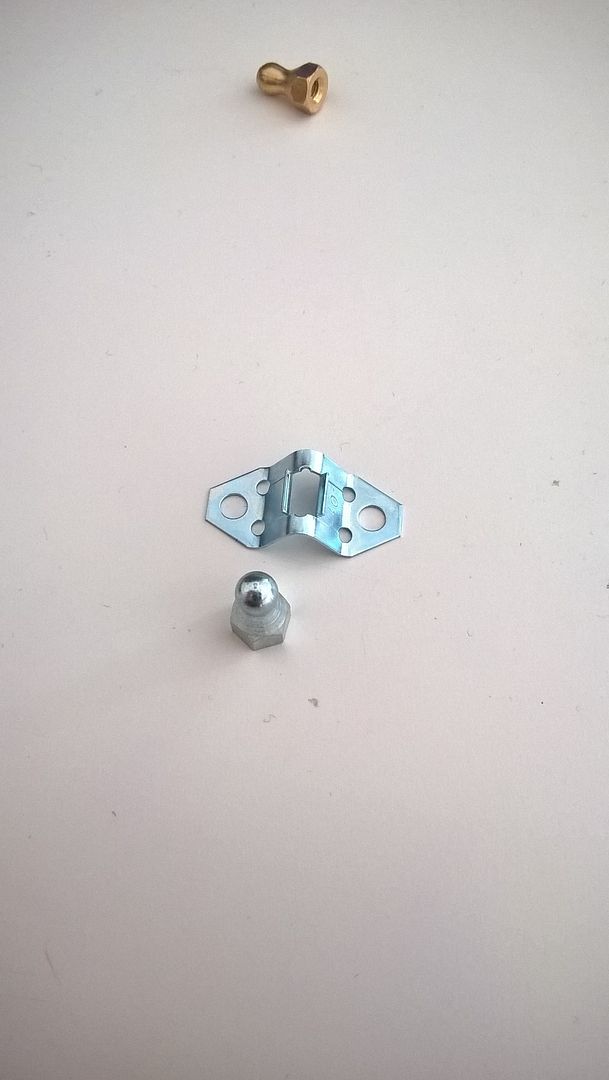
So new latches came in the post yesterday. Tried them straight away. Turns out the brass bolt from previous batch and this new latch are a perfect match. This latch is so much better made and everything in it is symmetrical.

WP_20150703_19_08_23_Pro.jpg


Video of this latch in action:

https://www.youtube.com/watch?v=fAJW3psSFYo
 
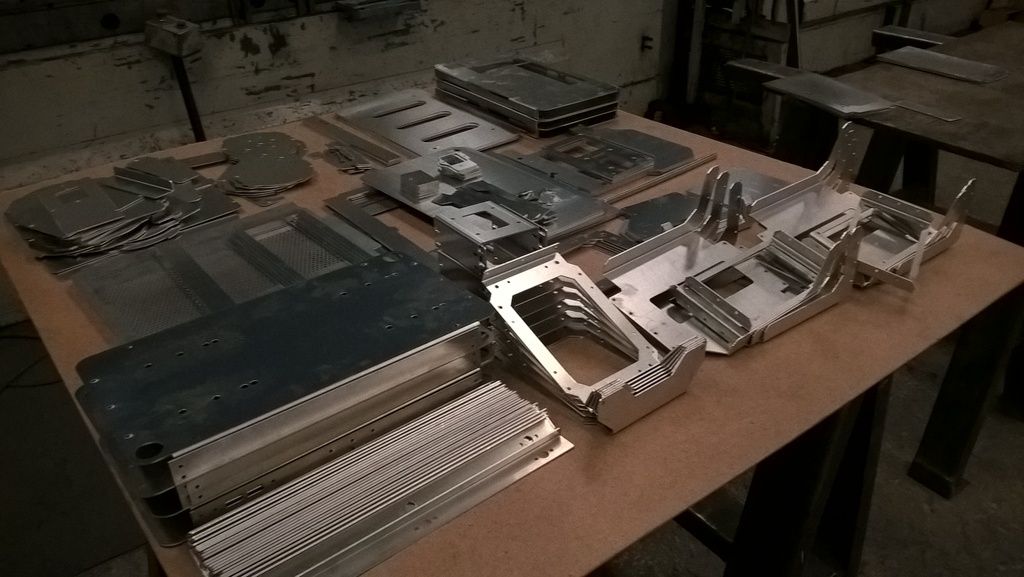
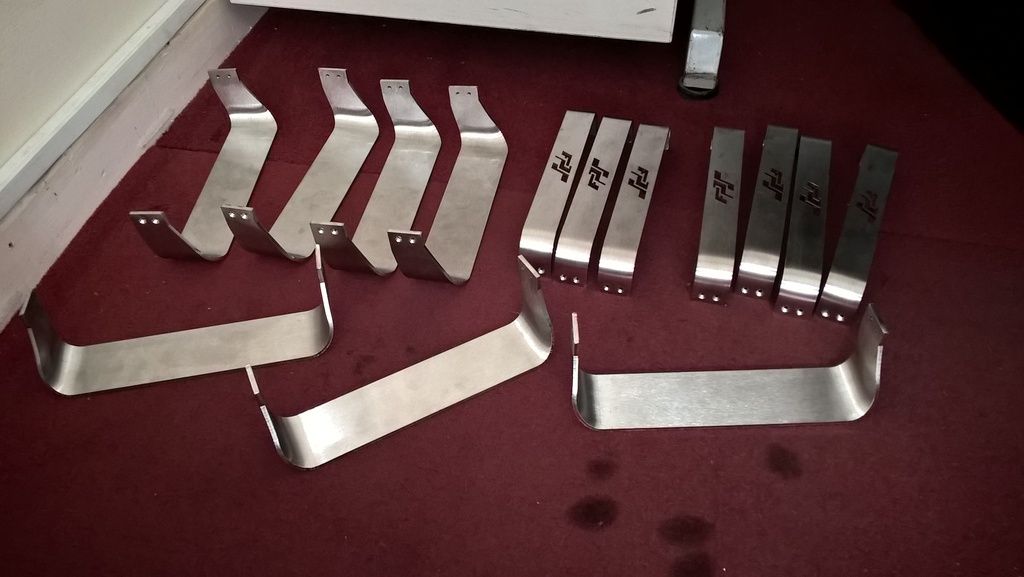
I'm making some prototypes. Two are for myself. I have made more components that I need to be honest. This is no where near any production.
 
Looks great man. How does the door feel when taking it off? Any risk of damaging the acrylic?

Thanks. Door feels absolutely fine. Acrylic makes the whole thing flex, so it stays straight every time.

Looks great! Is it not worth hinging the doors and using 1 latches?

Thank you. That would be a good idea, but I wanted to make sure the door is more "glued" to the case.

Looks great :)

Thanks.
 
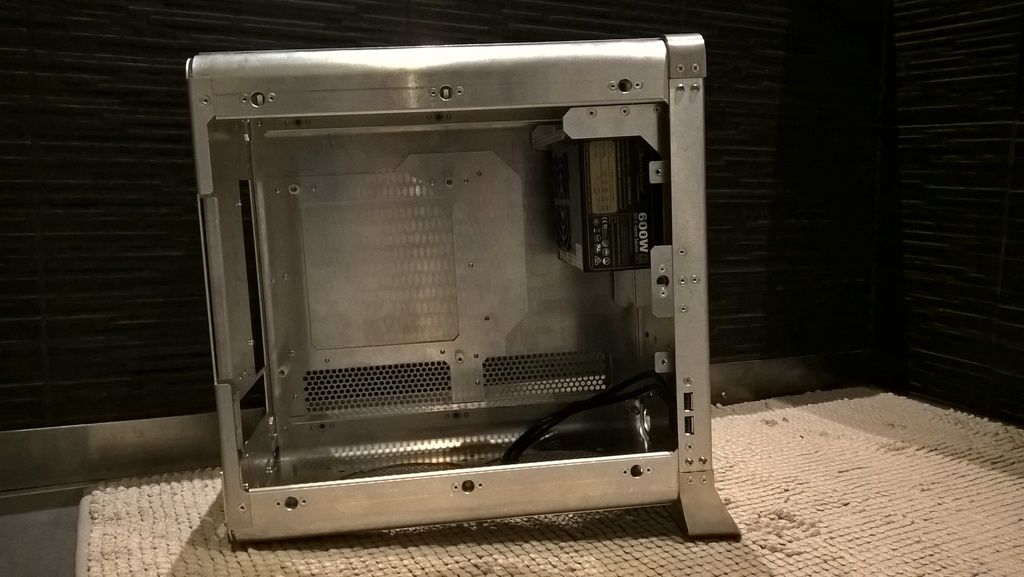
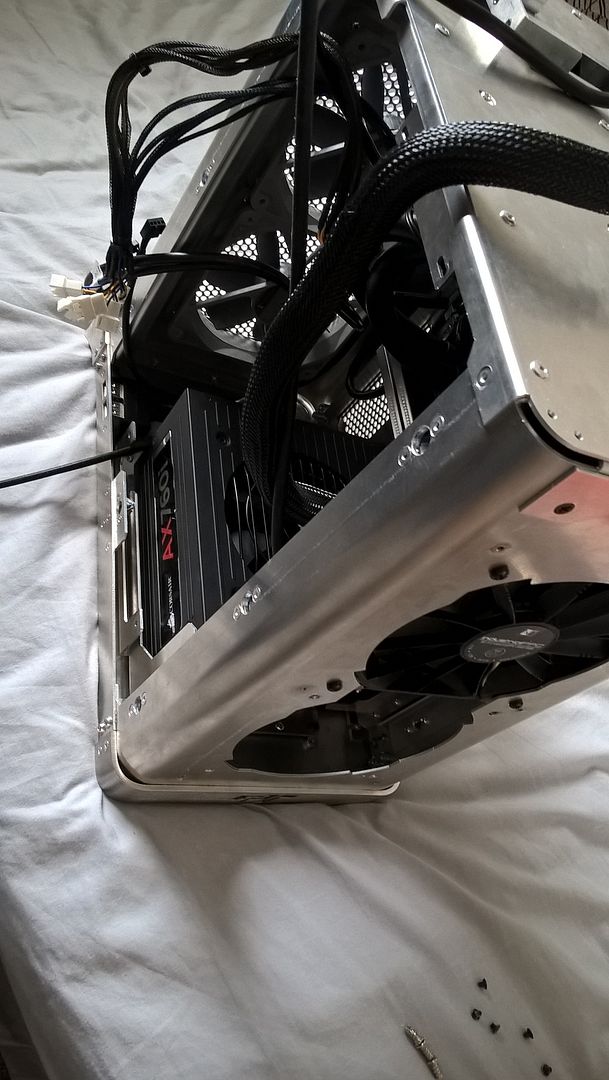
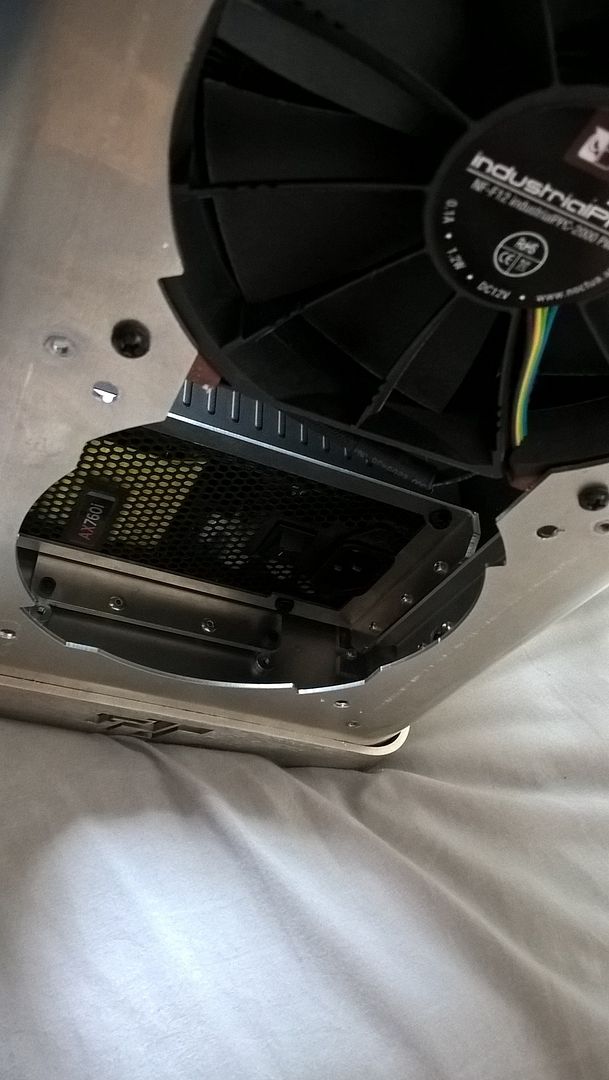
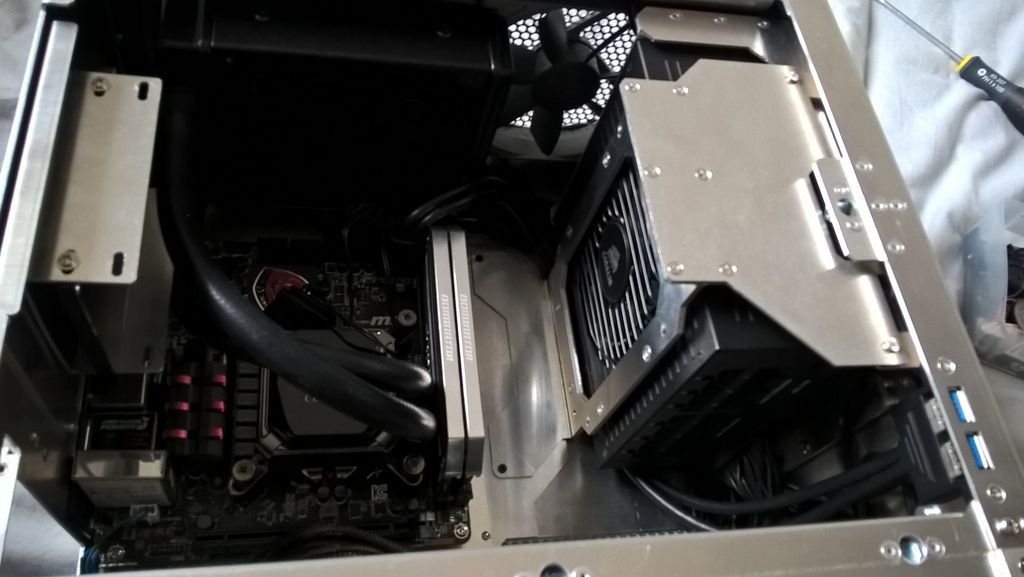
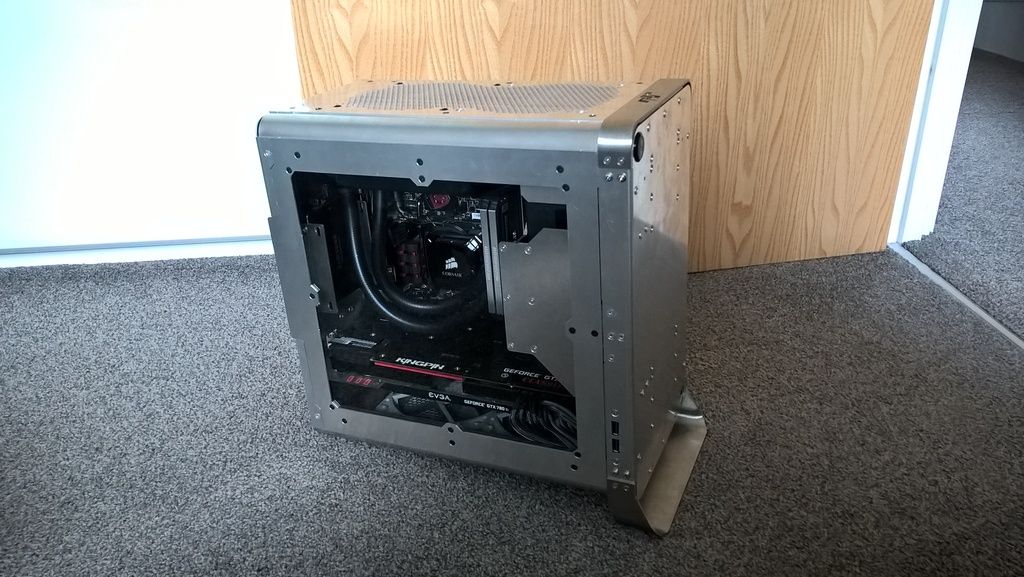
I have nearly assembled one case. Silverstone SST-SX600-G power supply in place:

WP_20150728_21_07_13_Pro.jpg


WP_20150728_21_07_27_Pro.jpg


WP_20150728_21_10_51_Pro.jpg


WP_20150728_21_11_02_Pro.jpg


WP_20150728_21_11_43_Pro.jpg


WP_20150728_21_11_55_Pro.jpg
 
Last edited:
That's looking great! Any plans for the finish you will use or an cosmetic panels?


I'm actually trying to organise paint now. Body will be either black or white textured / rough finish. Grey is an option but not sure yet.

I will start with painting two front panels in Blue RAL 5005 Signal Blue, pretty much like the background of our forum :D.
 
Right, so I tested it. I came across few issues.

1) SFX power supply - cables are way too short for clean install. There are extensions available, which I will be trying in future, but even with these cables I wasn't able to plug my 780ti card as I was short of 1 x 6 pin connector and I didn't have any sort of SATA>PCIE adapter. I had to try my AX760i psu.

2) New PSU mount restricts some cable routing behind power supply, The shroud will have to be slightly redesigned so I can hide all cables behind it.

3) To put everything right I had to follow this fitting sequence: mount psu to bracket, mount psu in with bracket in place, plug extension cable, mount fan over psu, mount fan next to it. Nothing really wrong, but If you have to take something out, it may be a pain.

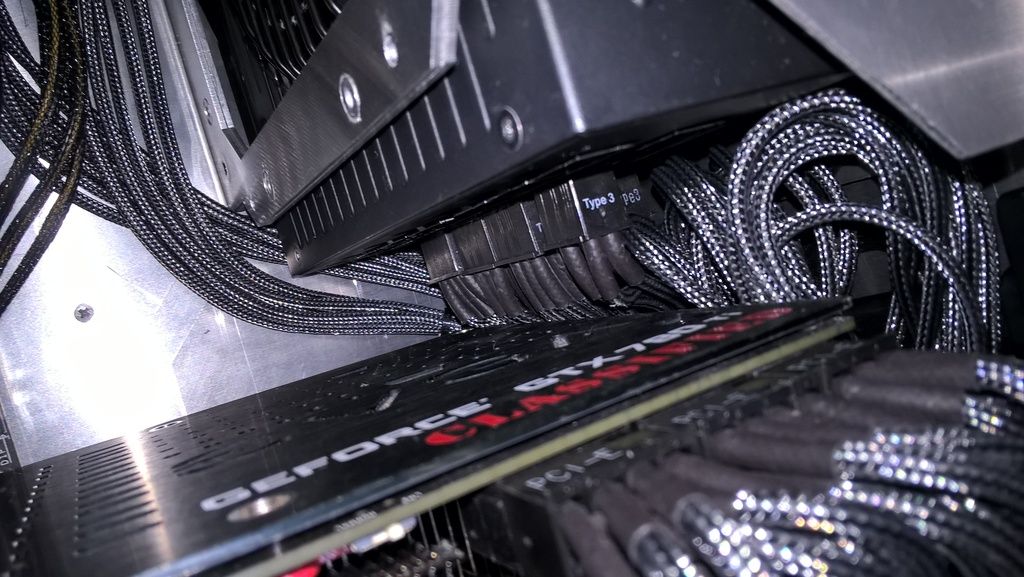
4) PCIE power cable could be A LOT shorter, like 1/4 of the length. I had to cram them behind GPU

5) As I lowered the PSU mount by literally 3mm down, it got really tight at the bottom and big cards like this kingpin struggle slightly for clearance, cables had to be bent.

Apart from these, I'm overall quite happy with how all of it went in. I will be looking out for even shorter PSU, like 150mm long for extra 10mm clearance which will help a lot. If I had thinner fans I could lift this PSU up by extra 10mm which would help - mounting points are there already.

Front USB ports work like a charm, VERY handy to have it :D

Performance wise - I have started this with 4 fans in total. I was expecting temps on GPU to be higher, but they weren't. Maxed Kingpin out at 74 degrees C in Valley. which isn't bad. I have noticed that it just takes longer to cool down. I also noticed that with Window panel, there is a lot more hot air coming through the top.

Checked Heaven benchmark and BF4 as well, Couldn't get GPU or CPU over 74 deg C.

While GPU maintains steady temp with window panel, CPU is higher than previously. Must me less cold air entering the case.

OK guys, I hope you enjoy couple of shots. I have to tidy up a bit in my room now.
WP_20150802_09_29_29_Pro.jpg


WP_20150802_09_29_40_Pro.jpg


WP_20150802_10_15_20_Pro.jpg


WP_20150802_11_11_11_Pro.jpg


WP_20150802_11_17_34_Pro.jpg


IMG_0336.jpg


IMG_0337.jpg
 
Nice. That'd look great with a polish and wax.

Are you going to do the other panels?

Yes, I will have 6 panels, different colours.

Mint little machine, also packs a punch too!

Good job

Thank you :)

Looks incredible, prefer the rough all metal look :)

Thanks :) I have to admit it looks good, but there are micro scratches all over, camera doesn't catch that.

Brilliant scratch build mate and tough call on external finish, there is defo something unique and appealing about the industrial bare metal look...

If you're going to paint, maybe try something a little different? I always fancied using that 'flick paint' you got on TVR's that changed colour from different angles ;)

Thanks man!
I'm leaning more towards robust finish, I will have body painted with heat resistant paint this time.
 
I saw it and i55 and i loved it so nice. really cool

The quality of fabrication and techniques look very professional. That is some great work and well done.

Perhaps you could elaborate on some of the fab techniques being used here? e.g. if lazer cutting, CNC milling or other technique(s). May thanks.

Thanks guys.

This case has been made on laser / punch combination machine like this (Amada EML 3610):

http://www.amada.pl/uploads/pics/EML-3610_perspective_01.jpg

It is capable of both laser and punch and forming operations (non-simultaneously) and it's very fast. I'm lasering all complex shapes, but stuff like simple holes or straight edges are punched with various shaped tools. This machine can countersink holes with single punch hit. I cut all 1.5mm aluminium parts on it.

I also used this machine to fit self clinching flush nuts and self clinching nuts. This is done by pressing those nuts into aluminium sheets with flat die and flat punch with precisely set tool depth. Traditionally this is done one by one. I can clamp one of the parts into this machine and set my program off to do all fasteners in one operation on a single component.

This prototype case has been lasered all round though and all holes have been countersunk by hand (both 90 degree and 120 degree).

Other stainless steel parts were cut on 6kW laser machine from Bystronic.

Bending was done on 250 tonne cnc press brake. This is the most time consuming process.

All parts were assembled by me, including countersinking holes and any de-burring operations as well. After assembly, everything gets powder coated and assembled again.

Some fresh photos:

IMG_0369.jpg


IMG_0371.jpg


IMG_0372.jpg


IMG_0374.jpg
 
Last edited:
Back
Top Bottom