You are using an out of date browser. It may not display this or other websites correctly.
You should upgrade or use an alternative browser.
You should upgrade or use an alternative browser.
Garage Refurbishment
- Thread starter Syla5
- Start date
More options
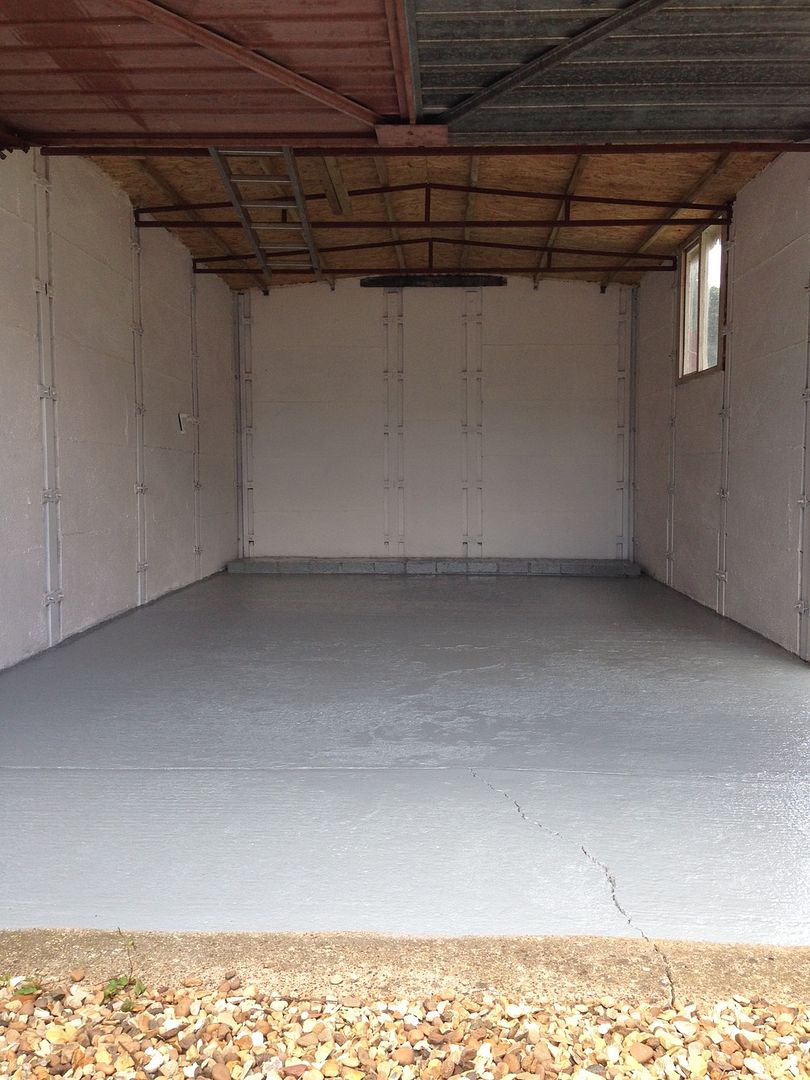
View all postsI haven't filled the gaps they are all just painted white. However I did make sure I sealed a lot of the larger gaps between the block work and outside, just with standard silicone sealant. When I plan on running the electrics I am going to use the gaps to house wooden posts and run the wiring up the wooden posts, better than trying to nail cable stays in to concrete and failing! Some 2"x2" should fit snugly in the gaps.
I am assuming that you are talking about the gaps between the concrete blocks now? If thats the case I did make sure that all the bolts and holding plates were tight as well, maybe you have some loose holding plates that you could tighten up?
The largest gap i filled with sealant was just over 1 cm but most of the gaps between the blocks were no more than a few mm.
I would use sealant rather than filler to get a decent watertight seal.
The largest gap i filled with sealant was just over 1 cm but most of the gaps between the blocks were no more than a few mm.
I would use sealant rather than filler to get a decent watertight seal.
Damn, after heavy rains it would appear i still have a small amount of leakage down 1 side of the garage, thankfully not from the roof but seapage through from the bottom of the ground level block.
On this side of the garage the soil and gravel is above the level of the base, so I am gonna have to get tidying and digging so that i can apply sealant to the exterior to stop the water getting in.
Electricians quotes being sorted for getting power out. Turned in to a bit of a bigger job then originally planned as I plan on getting my main fuse board replace, which in turn has led to contacting the power distribution company to get my main house fuse and fuse carrier replaced as they are very dated.
My walls drill quite easily thankfully. As for the leakage I have successfully sealed the other side of the garage that doesnt have soil higher than the bottom slab connection with great success, so hopefully some digging out and i will be able to seal successfully.
Finally some updates.
The last main steps were making good on the water proofing at ground level, and getting electric through and everything wired in.
The roof does its job perfectly, no leaks at all, but during periods of heavy rain there was water seeping through the tiny gaps between the concrete segments at ground level. I went around sealing from the inside, but this didn't stop the problem completely, so I decided to check down the side of the garage where the water was coming in.
This was an unused space and had been a bit of a dumping ground as well as wild vegetation area. After cleaning up down there and a couple of tip runs it turns out to be a rather reasonable space, so I decided remove the bit of fencing in place and to throw together a gate. Here's the space and the gate, still some tidying to do to make it more usable.
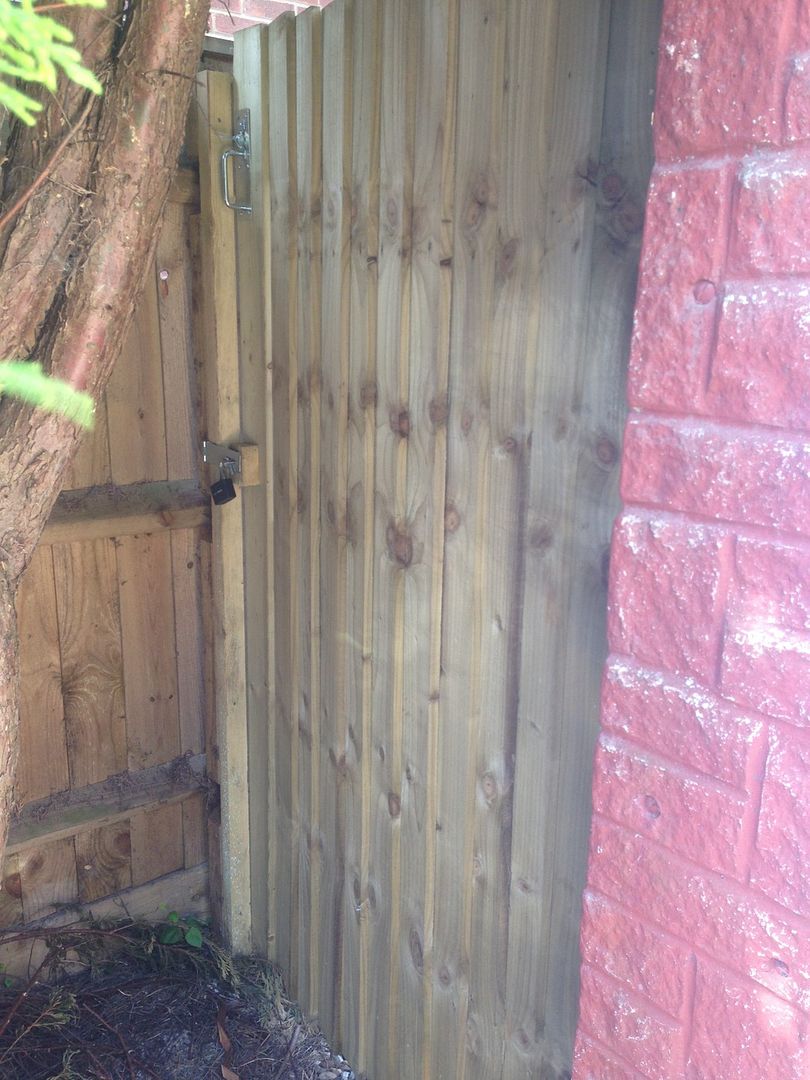
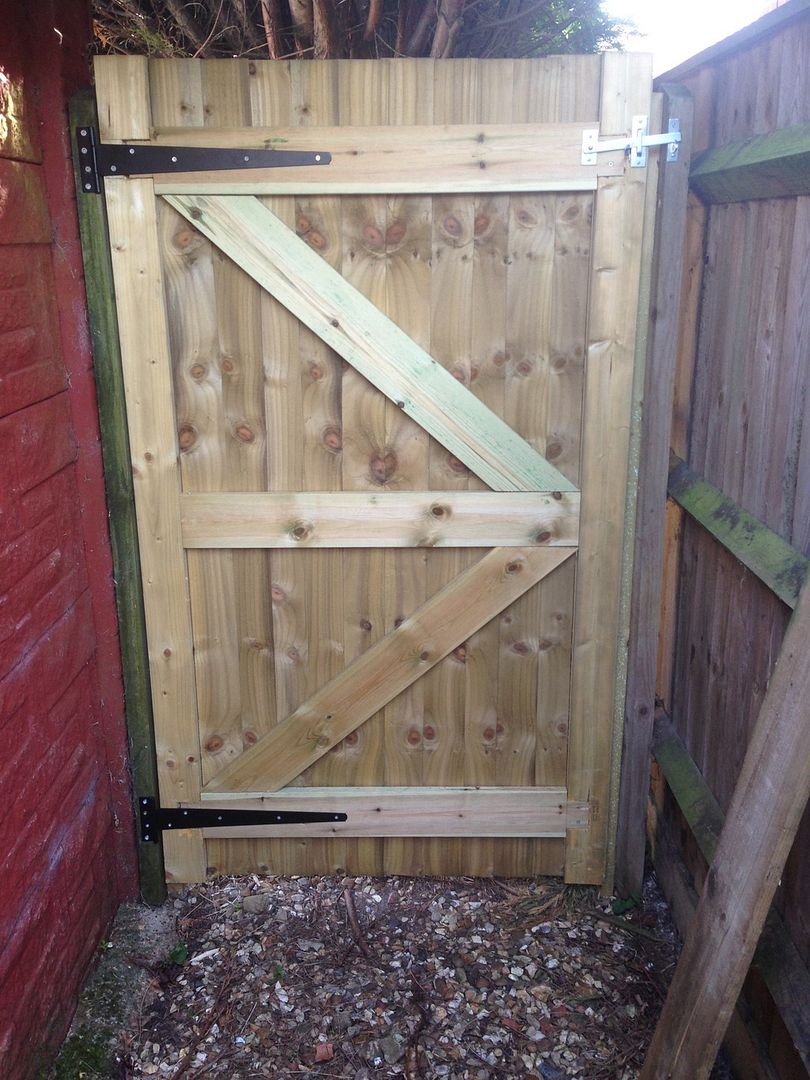
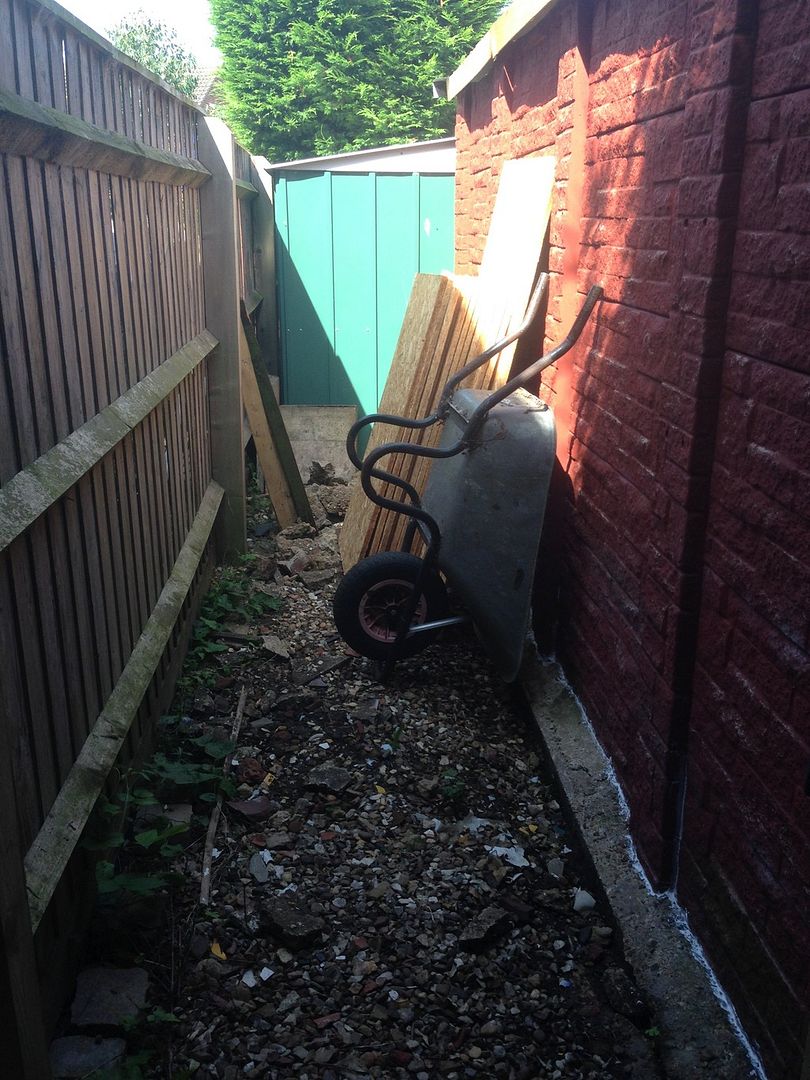
The ground level was actually higher then the garage base and the bottoms of the garage walls, so when it rained heavily, the water would collect against the wall and slowly seep through. You can see in the last picture, I have now taken the ground away from the wall and sealed the base of the wall as well to increase the protection.
On to the electrics, this was supposed to be a simple socket and lighting circuit which turned in to a full fuse board, fuse and isolator upgrade. So may £100 budget for electrics just got blown!
The work was my choice, after considering the options of spurring off a ring main or going directly from the fuseboard I wanted a direct connection. When I checked out the fuse board, I knew it was old, but not as old as it was! The old board was a 60amp capacity 8 way board, there wasn't a spare fuse for the garage and it was already running potentially close to the capacity! Given the state of other electrics in the house I have come across during previous DIY jobs I opted for the replace, upgrade, and future proof approach.
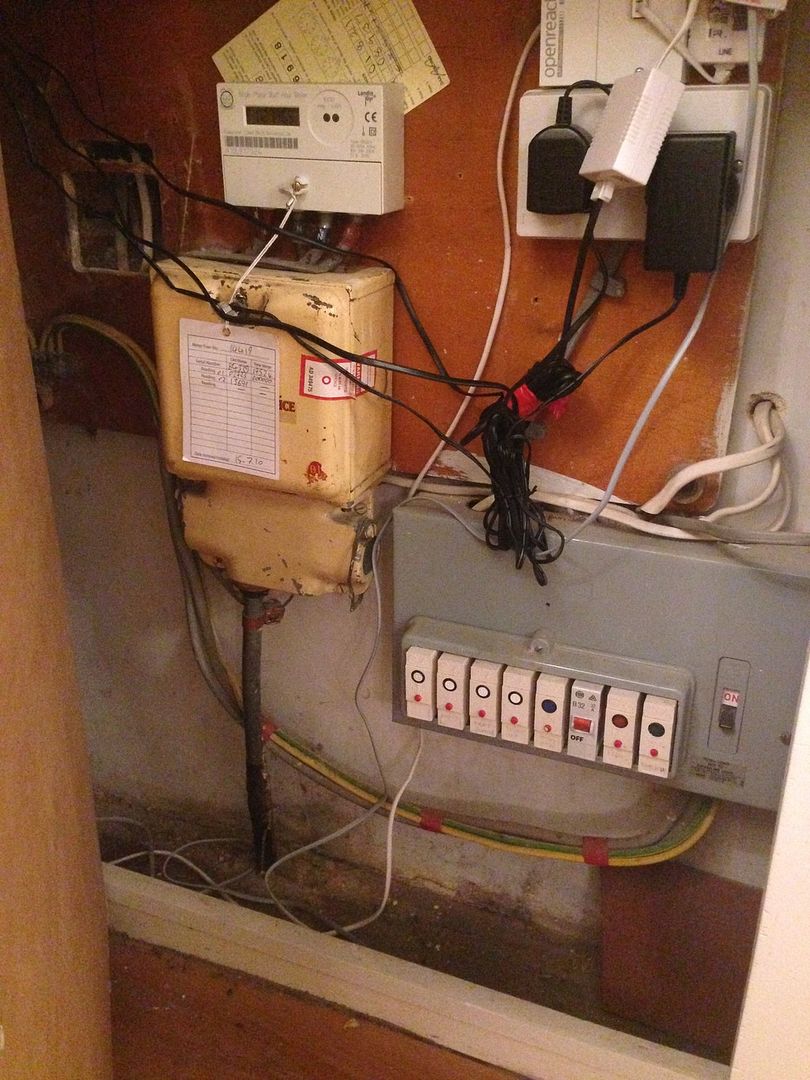
This is what we had in place. with the plan to upgrade the fuseboard, I called the power company about the fuse as this was only a 60amp main fuse. Turns out everything before the meter is their responsibility, and fuse carrier and fuse upgrades are done at their cost! Awesome news, so I booked those in and a two week wait for them to come and do their bit.
Next up was a post meter, pre-consumer unit self isolator, called up n-power and it turns out that this is their responsibility and also at their cost, I love free work. So n-power came and installed their kit and now there's no messing about contacting the power company to remove the seals and fuse when works need to be done.
On to the consumer unit and extra circuit out to the garage this was finally completed yesterday. I dag a trench the previous weekend for the armoured and so the prep work was all done.
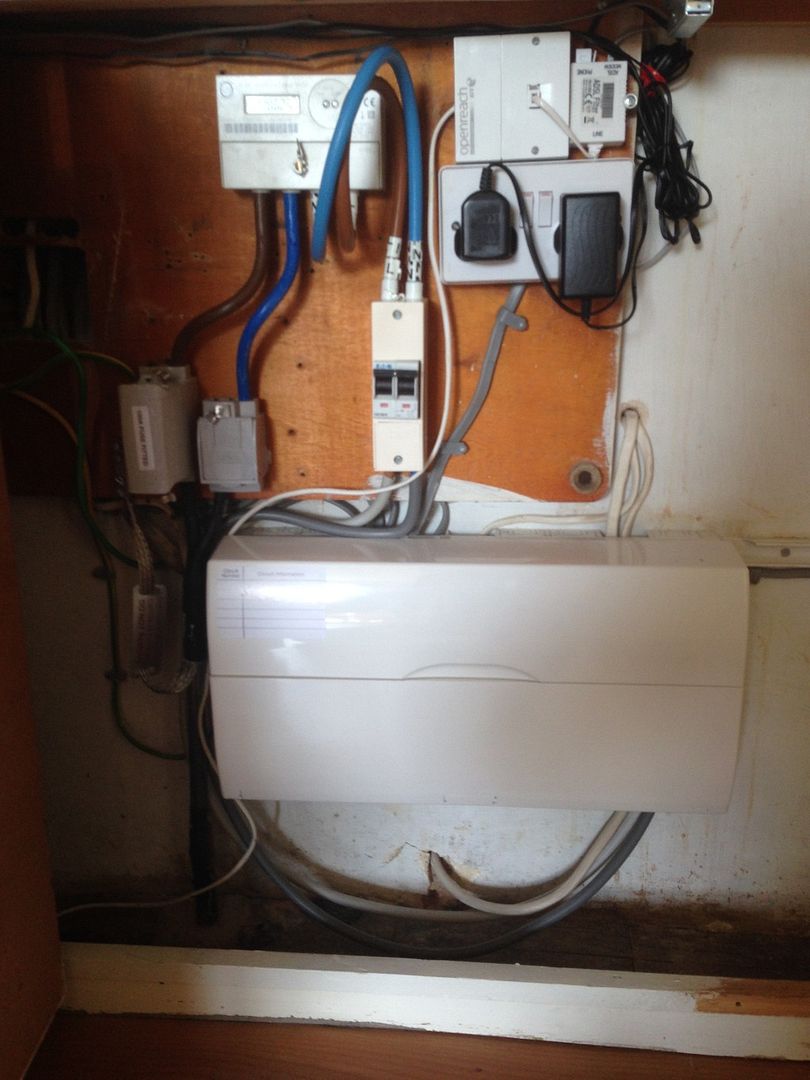
Here's the completed pics of the fuse carrier, fuse, self isolator and 13-way consumer unit work
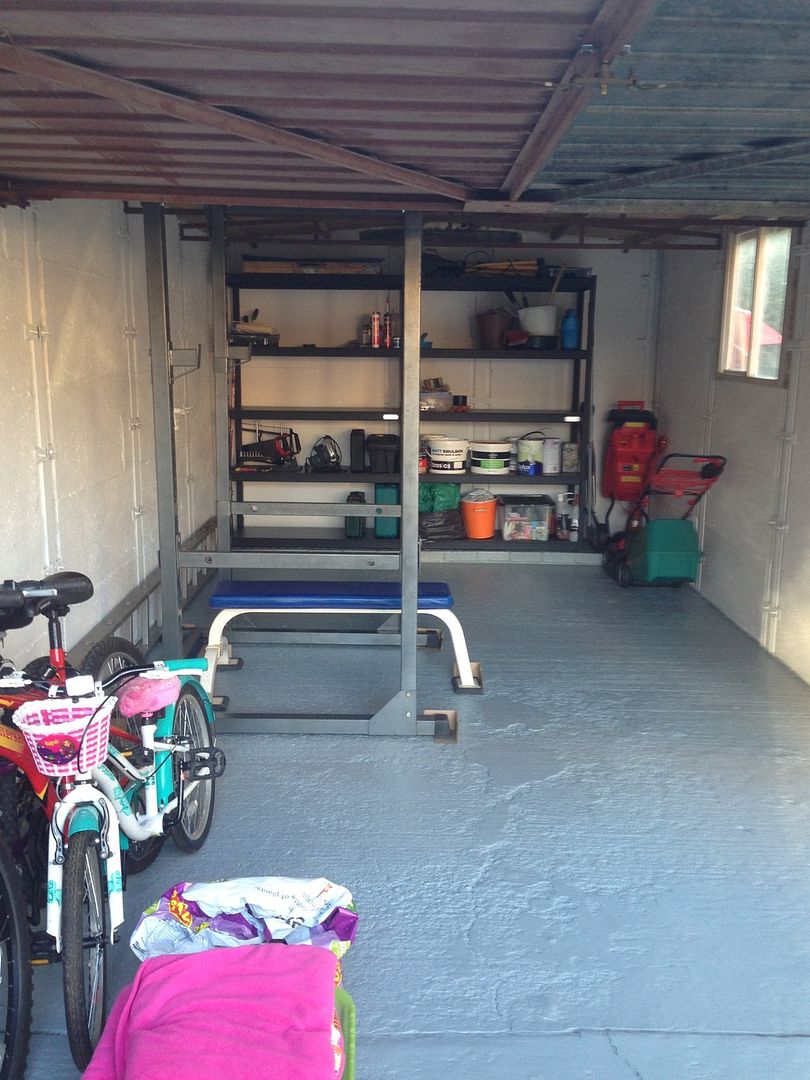
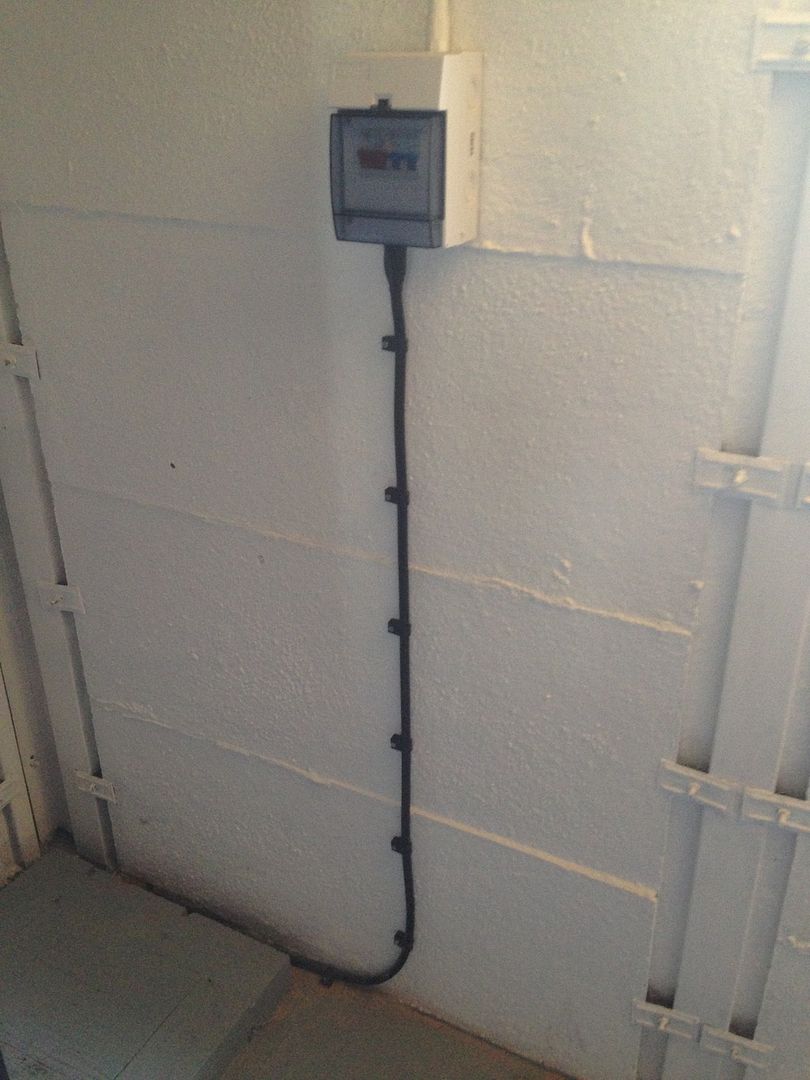
The garage is now wired in with its own 2-way consumer unit, 3 double sockets and 2 lights. No more training in near darkness.
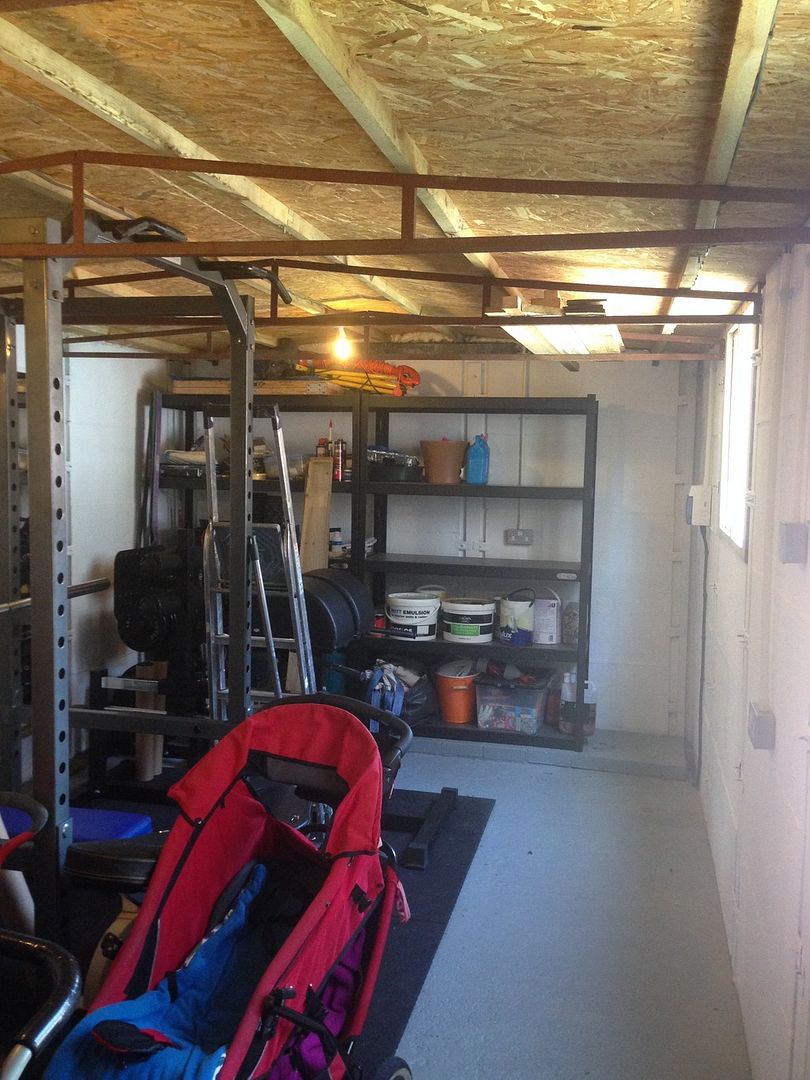
All in the electrics work has cost me £650, adding in the gate £40 and some sealant and tools I had to buy (power drill,socket set) and the £650 I had already spent my total spend on making the garage usable up to around £1550. More then I planned to spend but the main house consumer unit was a must do item and would have needed doing at some point regardless.
The last main steps were making good on the water proofing at ground level, and getting electric through and everything wired in.
The roof does its job perfectly, no leaks at all, but during periods of heavy rain there was water seeping through the tiny gaps between the concrete segments at ground level. I went around sealing from the inside, but this didn't stop the problem completely, so I decided to check down the side of the garage where the water was coming in.
This was an unused space and had been a bit of a dumping ground as well as wild vegetation area. After cleaning up down there and a couple of tip runs it turns out to be a rather reasonable space, so I decided remove the bit of fencing in place and to throw together a gate. Here's the space and the gate, still some tidying to do to make it more usable.


The ground level was actually higher then the garage base and the bottoms of the garage walls, so when it rained heavily, the water would collect against the wall and slowly seep through. You can see in the last picture, I have now taken the ground away from the wall and sealed the base of the wall as well to increase the protection.
On to the electrics, this was supposed to be a simple socket and lighting circuit which turned in to a full fuse board, fuse and isolator upgrade. So may £100 budget for electrics just got blown!
The work was my choice, after considering the options of spurring off a ring main or going directly from the fuseboard I wanted a direct connection. When I checked out the fuse board, I knew it was old, but not as old as it was! The old board was a 60amp capacity 8 way board, there wasn't a spare fuse for the garage and it was already running potentially close to the capacity! Given the state of other electrics in the house I have come across during previous DIY jobs I opted for the replace, upgrade, and future proof approach.

This is what we had in place. with the plan to upgrade the fuseboard, I called the power company about the fuse as this was only a 60amp main fuse. Turns out everything before the meter is their responsibility, and fuse carrier and fuse upgrades are done at their cost! Awesome news, so I booked those in and a two week wait for them to come and do their bit.
Next up was a post meter, pre-consumer unit self isolator, called up n-power and it turns out that this is their responsibility and also at their cost, I love free work. So n-power came and installed their kit and now there's no messing about contacting the power company to remove the seals and fuse when works need to be done.
On to the consumer unit and extra circuit out to the garage this was finally completed yesterday. I dag a trench the previous weekend for the armoured and so the prep work was all done.
Here's the completed pics of the fuse carrier, fuse, self isolator and 13-way consumer unit work

The garage is now wired in with its own 2-way consumer unit, 3 double sockets and 2 lights. No more training in near darkness.


All in the electrics work has cost me £650, adding in the gate £40 and some sealant and tools I had to buy (power drill,socket set) and the £650 I had already spent my total spend on making the garage usable up to around £1550. More then I planned to spend but the main house consumer unit was a must do item and would have needed doing at some point regardless.
Last edited:
Cheers guys, well worth the time.
Danza empty it out for a couple of days and crack on with the paint, or just do the walls even, that way you guys get everything in the middle. Makes a world of difference, even without lights in there, a big 10ltr £10 tub of cheap as chips Matt emulsion will do the job.
Danza empty it out for a couple of days and crack on with the paint, or just do the walls even, that way you guys get everything in the middle. Makes a world of difference, even without lights in there, a big 10ltr £10 tub of cheap as chips Matt emulsion will do the job.


