Ghost...

What could this be? An update? :D

So, I received a lovely couple of things through the post

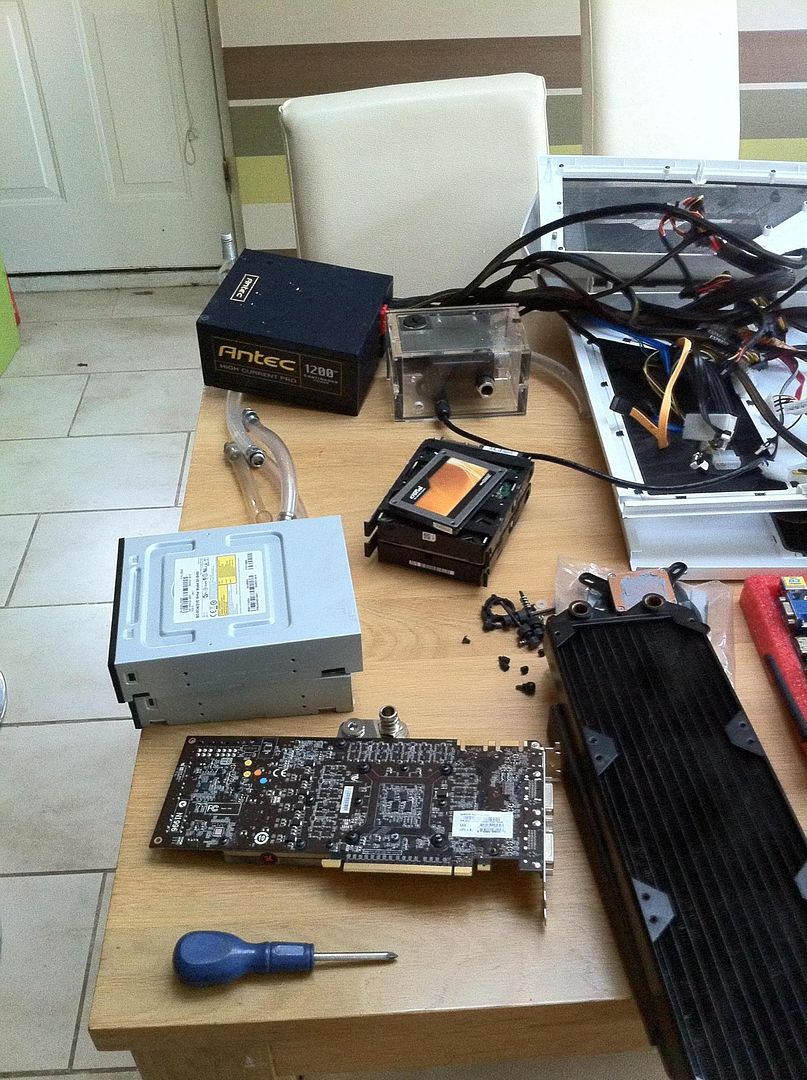
A GTX 580 Twin FrozR II:

IMG_0605.jpg


NOTE: This is only the cooler, the gfx card underneath is my mate's GTX 480 which I spent a long time modding to fit it :)

I also got a waterblock, to make my system even more epic :D

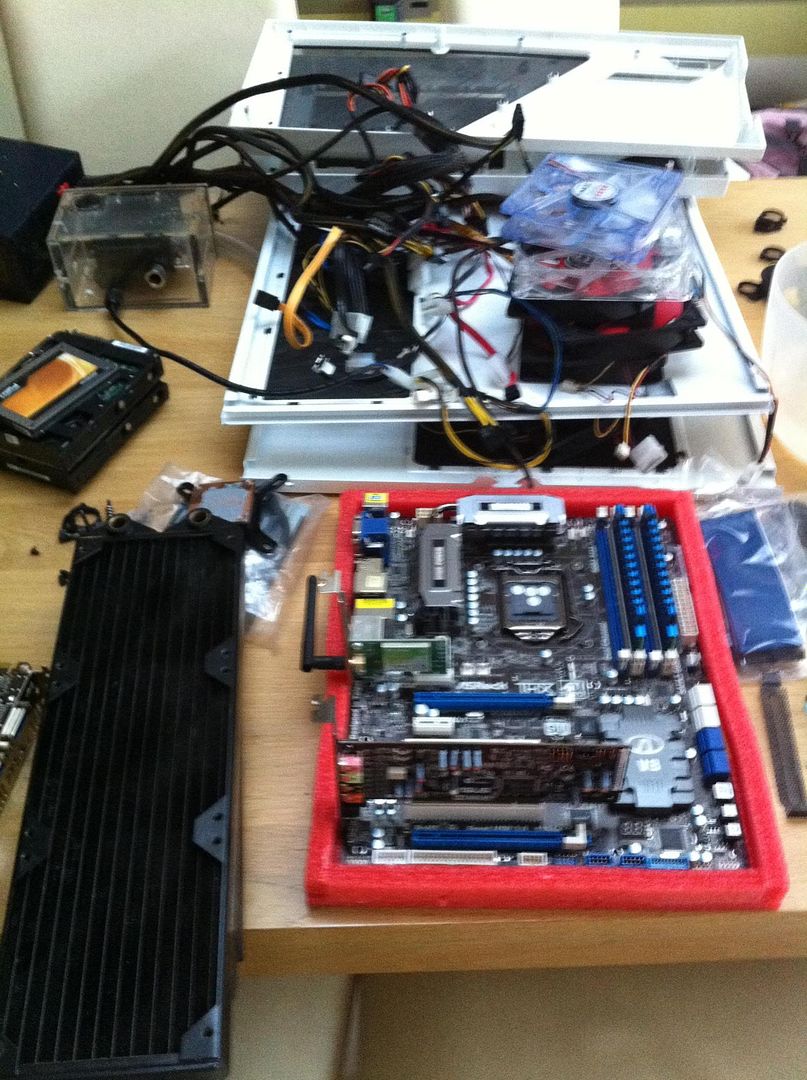
So what do I do? Completely refit the whole system. First overall shot:

IMG_0608.jpg


The lovely red Xilence fans

IMG_0609.jpg


A shot of the CPU block and ram

IMG_0610.jpg


GPU pr0n :D

IMG_0611.jpg


Possibly the best picture I have ever taken (not saying much)

IMG_0612.jpg


Forgot to get a pic of the new 1200w PSU before, so here we are :)

IMG_0613.jpg


Bottom rad

IMG_0614.jpg


Storage and SSD

IMG_0615.jpg


The res from the back

IMG_0616.jpg


Rear of the case

IMG_0617.jpg


MY EYES!!! THE CABLES!!! (Still not tidy, just jammed the side panel back on :D)

IMG_0618.jpg


The res from the front

IMG_0619.jpg


And the pure epicness :cool:

IMG_0620.jpg


So, what do you guys think? Temps have dropped from my Xfire setup, and framerates have scarily increased :confused:

But yeah! Can't think of any upcoming updates for a while! So Enjoy!
 
Trust me and I'l let you know :) I did buy the 580 block from OCUK though.

Had a major leak last night, which necessitated a pipe refit (one of them came off as it was too tight :() and a trip to Wilko's for 5l of deionized.

So a couple more awesomesauce pics :D

Much looser
IMG_0622.jpg


Epic Funnel

IMG_0623.jpg


BLUEEE!!!

IMG_0624.jpg


IMG_0626.jpg


And my thumb, randomly :confused:

IMG_0627.jpg
 
I noticed in your pictures that when u took a picture of your graphics card/waterblock that the tubeing coming in from the top looked like it was pulling and the tubeing did not go down all the way....
 
Really nice build, hows that psu going ? i bought the ocz zx series 1250w but the coil whine is awful, gonna get a refund and was looking at getting the one u have, limited for space as my pump/res is bolted just behind the psu and most of the high end 1000w+ ones are 200mm+ in length and i just don't have that spare space :P
 
Psu is brilliant, had no problems! :)

The waterblock was really easy to sort out, took about 20 mins :)

Guys, awful news, my motherboard has exploded. Literally. The mosfets set on on fire :(

So I'm selling a couple of things, and buying a 2500k and a z68 board :)
 
Probably the attempt at hitting 4.6ghz on an i7 860 that did it :)

But yeah, I have some good news and bad news guys...

Bad news, I won't be able to afford a new CPU till the 1st of June.

Good news, I will also be able to buy a set of Corsair sp2500s.

So, new PC and some **** off loud bass heavy dubstep in the same day :D I'll post a vid when it's all sorted :)

Oh, and, I have a new dremel, so keep your eyes on the thread for some mods to the case ;)
 
I'm thinking of getting that case, I might look into cutting the mesh off as well as that's the only part of the case I don't like too much. Didn't know you could cut it off so thanks, looks amazing mate.
 
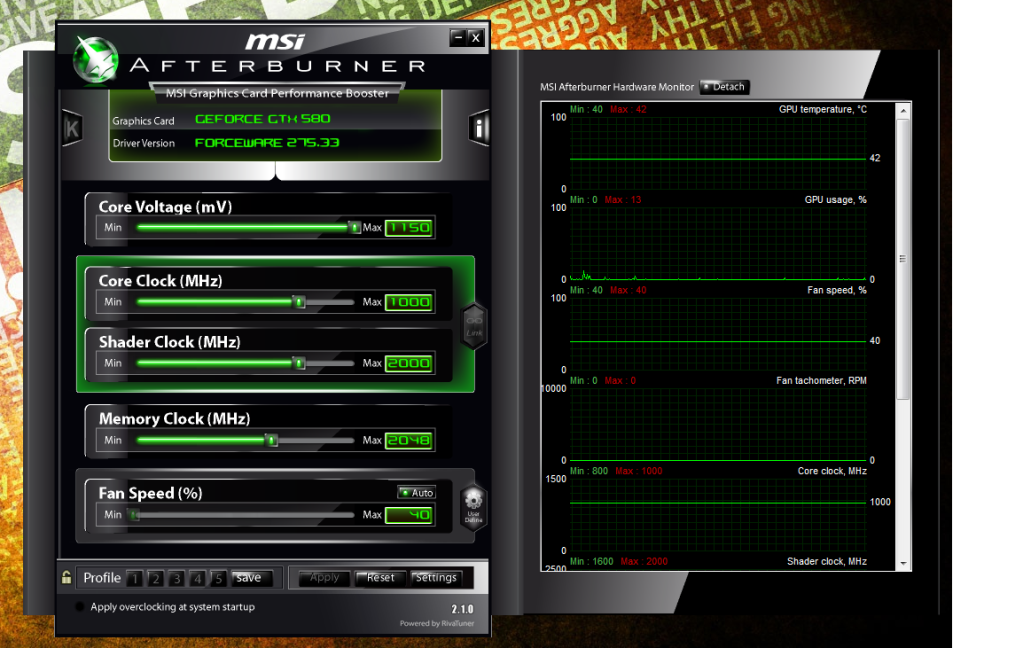
Roight. Some updates! (Even though the 580 has decided to be a bitch :()

So, my new CPU arrived today, So I decided to do a total rebuild! Focusing on cable management, and rad security, not to mention aesthetics :)

First off, a couple of shots of teh partzzzzz (note that a lot of these pictures will also be used in the watercooling sticky :)

IMG_0009-1.jpg


My new mobo

IMG_0010-1.jpg


IMG_0011.jpg


My case, stripped completely bare and the scorch marks cleaned off

IMG_0013.jpg


IMG_0014.jpg


IMG_0015.jpg


IMG_0016.jpg


IMG_0017.jpg


IMG_0018.jpg


The new motherboard in situ :)

IMG_0019.jpg


IMG_0020.jpg


Sound card and wireless card installed, and front panel wired up

IMG_0021.jpg


IMG_0023.jpg


360mm Black Ice rad

IMG_0024.jpg


With fans

IMG_0025.jpg


And installed

IMG_0026.jpg


(note the failed mounting here, this is rectified later)

IMG_0027.jpg


Bottom of the case marked up for new screw holes to fully secure the bottom rad

IMG_0028.jpg


And drilled

IMG_0029.jpg


Top of the case redrilled for better mounting

IMG_0031.jpg


Much better :)

IMG_0032.jpg


Rear 120 installed

IMG_0033.jpg


Front 120 installed

IMG_0034.jpg


As the motherboard has so many fan headers, I could connect all of the rad fans to the top of the mobo without the cables being obvious :D

IMG_0035.jpg


GPU in place

IMG_0037.jpg


Nom

IMG_0038.jpg


Rear USB 3.0 bracket placed

IMG_0039.jpg


Getting a bit busy back here :)

IMG_0040.jpg


Bottom 240mm rad mounted, with fans in Push rather than pull this time

IMG_0041.jpg


The new mounting holes doing their job

IMG_0042.jpg


Drives and res mounted

IMG_0043.jpg


Cable management starting (lolworthy picture on this later :D)

IMG_0044.jpg


24 Pin extension connected

IMG_0045.jpg


HDDs and SSD mounted

IMG_0046.jpg


And connected

IMG_0047.jpg


Power supply in

IMG_0048.jpg


And starting to plug everything in, to work out cable management

IMG_0049.jpg


IMG_0050.jpg


And my EPIC cable management. Warning: may contain sellotape :D

IMG_0051.jpg


Looking nice and tidy :)

IMG_0053.jpg


Hidden a lot of the cables behind the rad, where they won't restrict airflow, and can't be seen ;)

IMG_0054.jpg


Top and front panels replaced

IMG_0055.jpg


And starting to pipe up

IMG_0056.jpg


Lovely CPU block

IMG_0058.jpg


Nice and shiny ;)

IMG_0059.jpg


More tubing connected (note: block is hanging loose due to lack of CPU on sunday night, received it monday :D)

IMG_0060.jpg


GPU connected. Used a lot more hose clips this time, cheers OLDPHART for sending me a couple :)

IMG_0061.jpg


Floor rad connected

IMG_0062.jpg


And all piped up

IMG_0063.jpg


See? You can hardly see the cables this time :D

IMG_0064.jpg


Mocup of where the CPU block will be placed

IMG_0065.jpg


Aaaandd.... Look what arrived yesterday morning? :)

IMG_0066.jpg


TIM

IMG_0067.jpg


Another shot of piping

IMG_0068.jpg


And the CPU and block installed

IMG_0069.jpg


IMG_0070.jpg


Loop filling :)

IMG_0071.jpg


The res, filling up nicely

IMG_0072.jpg


PSU bridger connected, ready to commence leak testing and bleeding :)

IMG_0073.jpg


And of course, my coolant of choice:

IMG_0074.jpg


Proper cheap stuff, 5 quid for a 5l bottle :D

Leak testing

IMG_0075.jpg


IMG_0076.jpg


And all finished :)

IMG_0078.jpg


IMG_0079.jpg


IMG_0080.jpg


IMG_0081.jpg


Well, that's it until I get my 580 problems sorted! I'll use a lot of these pics, plus a short video in my watercooling sticky, so keep an eye out! Not overclocked yet, still getting used to this UEFI black magic thingy :D.

Thanks guys for staying with me till now :)

edit: apologies for some of the more awful pictures, my phone really doesn't like low light :(
 
Last edited:
What keeps happening to the 580, all I've read is the problems you've been having with it?

Also lovely build man, certainly seems you've gone through a lot of hard times to finally get it where it is, good work ;)
 
Back
Top Bottom