MASSIVE PIC UPDATE FROM #109 PLEASE LET ME KNOW WHAT YOU THINK 29/12/12
OK so some of you know that I have been planing on water chilling my rig for a while now, I managed to get very lucky and get a hailea hc -500 http://www.overclockers.co.uk/showproduct.php?prodid=WC-004-HL&groupid=962&catid=2140&subcat=00 for the sum of £183 brand new from the auction site which I was obviously very chuffed about .
.
next I just needed to find the time to do what I wanted to do as I knew it would take the best part of a full day so decided to wait until the Christmas holidays so I wouldn't end up rushing it.
today has been that day but it aint finished because I started at 2 this afternoon and called it a day at 10 when I ran out of battery power in my makita drill trying to get the pipes through the floor.
my rig was as follows before today cooled with a 360 tft rad with 4 x 120 noctuas and 1 x 140 noctua that stopped working about a month back so my cooling has been getting worse the last 2-3 months.....these were cooling my 2700k plus 6990 with EN nickel plated block from EK, the plan is to take out all the fans and rad and leave 1 x noctua 80mm that I have drawing heat away from the drives with the chiller cooling the chip and vga.
I have done a hailea chiller project before which was about 5 years ago now and although it was very successful it was also noisy and I only stayed with it for about 6 months because there just wasn't the parts there is today and I am always looking to tweak and make things better which is difficult when you have to keep draining a loop plus the wife was moaning about the noise of the chiller .
.
this time i have a bigger and better hailea plus its going under the floor as im lucky that way and have enough room to house it under there, the pipes will come up and out the chiller in eheim 19mm id tubing till they get up to the floor then im going to slip a 15mm copper pipe in to the tubing and using a jubilee clip to clamp them together tight. the copper will travel up the wall under the pc area until it meets the 1/2 id pipe coming from my pc but will also have a koolance piece that allows me to split the pipe without losing water or pressure (cant quite remember its proper name)this in effect lets me split the chiller from the pc allowing me to work on the pc for whatever reason.
pics will follow tomorrow as there on my camera and my pc has no cooling.....will leave it there just now as i have rebuilt my hole pc today and its now 11.40pm
been working on this for a few more hours today and its now up and running...harrah
going to start posting pics as evrybody likes pics.
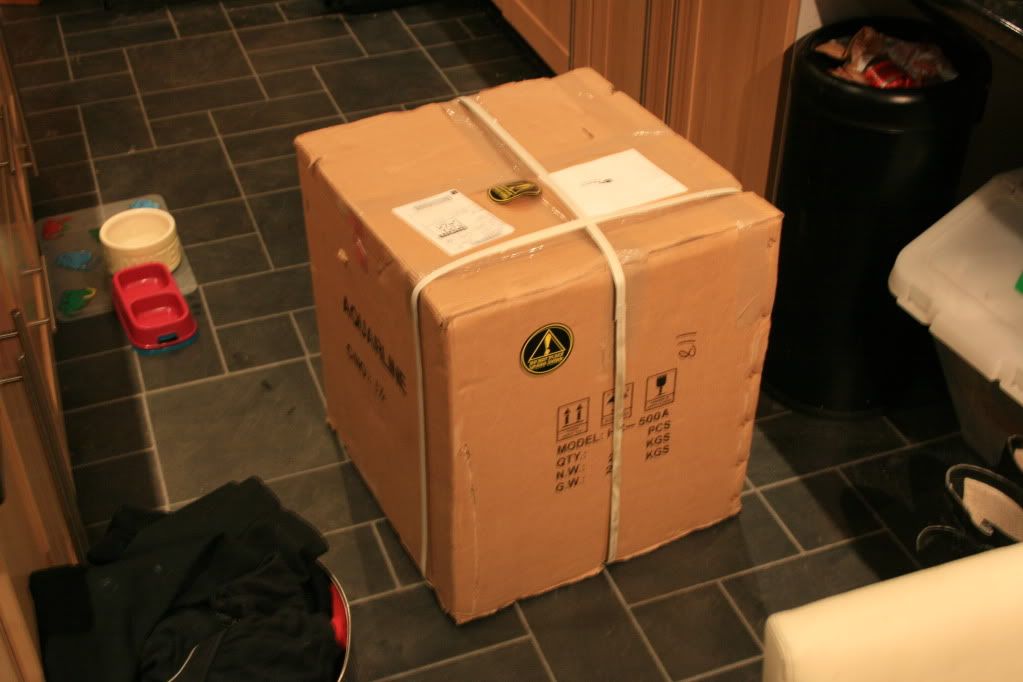
this is the package i received from the seller...at the time it was fingers crossed it wasnt full off packaing peanuts or bricks.
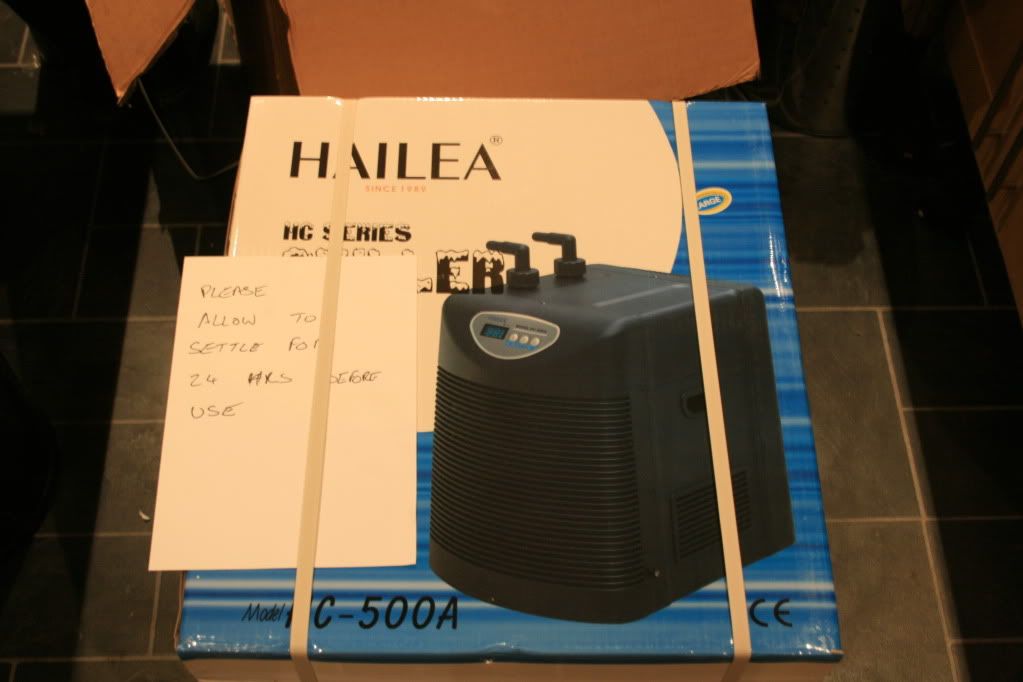
once opened i was delighted to find it was inded a hc-500 hailea chiller and that i had just won a watch
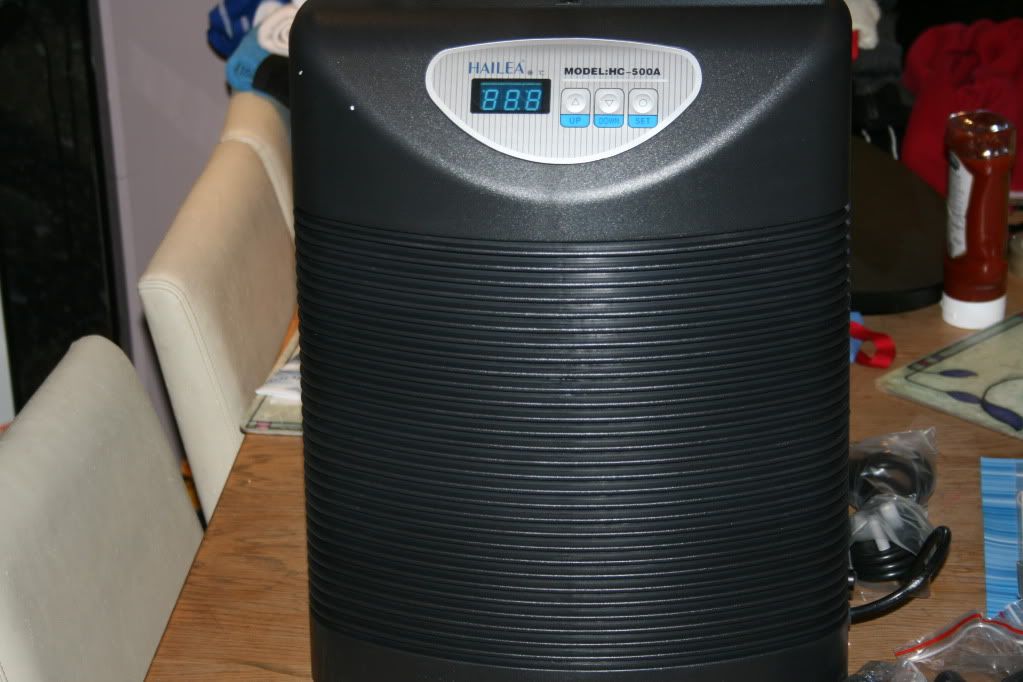
unboxed the chiller looks like this....its not hideous but i wouldnt buy it a drink
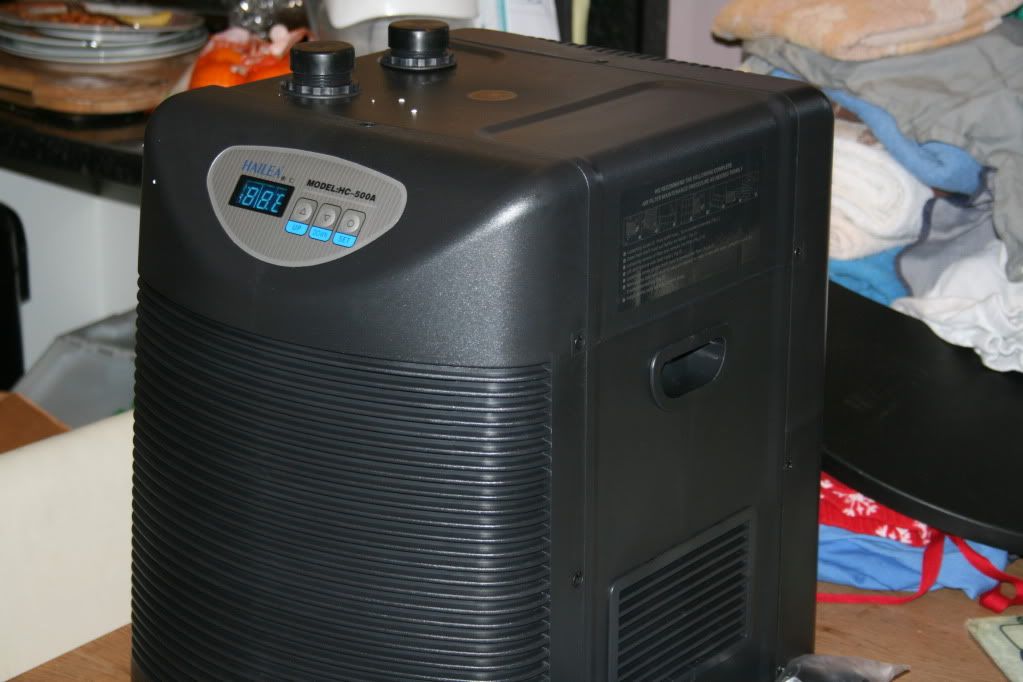
bit of a side profile so that you can see it is as deep as it is wide...its actually deeper
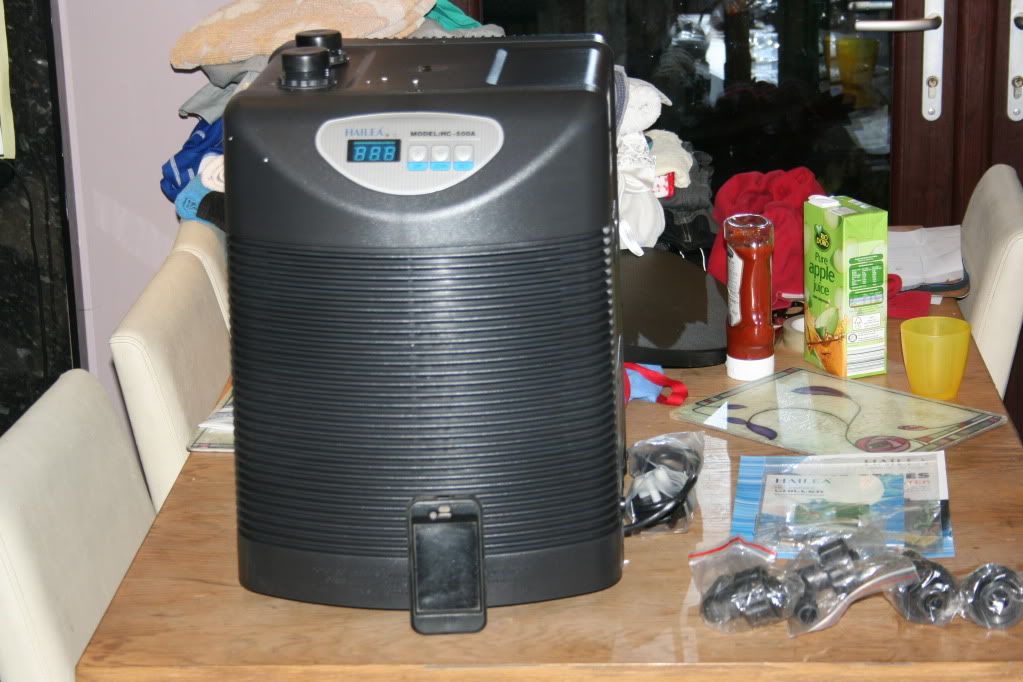
up against an iphone for a sense of scale
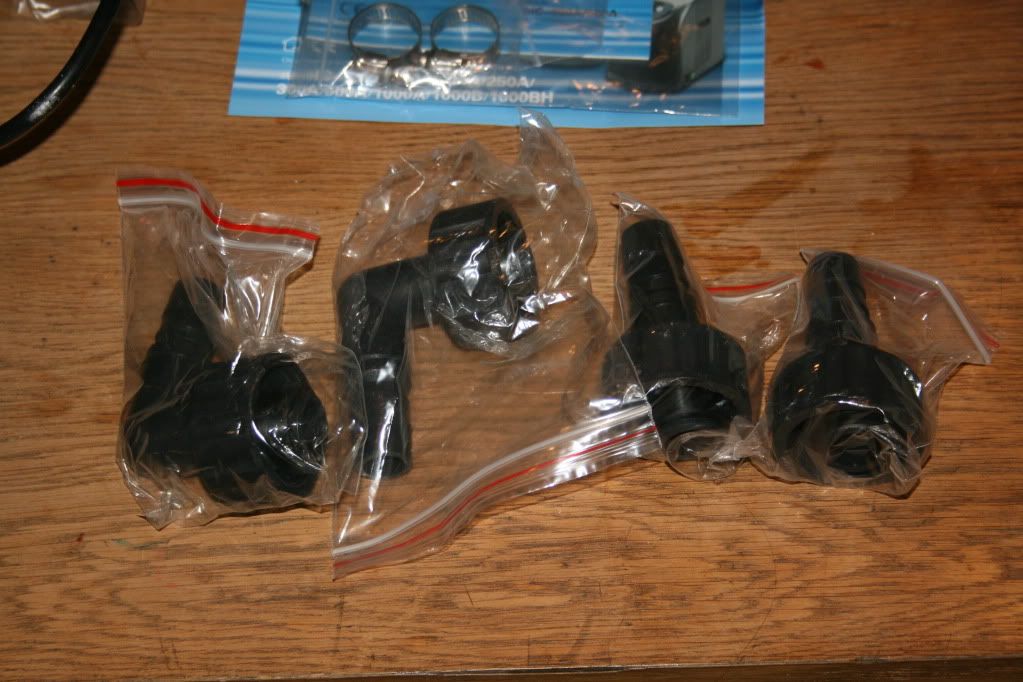
the fittings they give you with it, you get both straight and 90 degree connecters to couple you to the chiller....bravo hailea for not charging extra for the bent ones
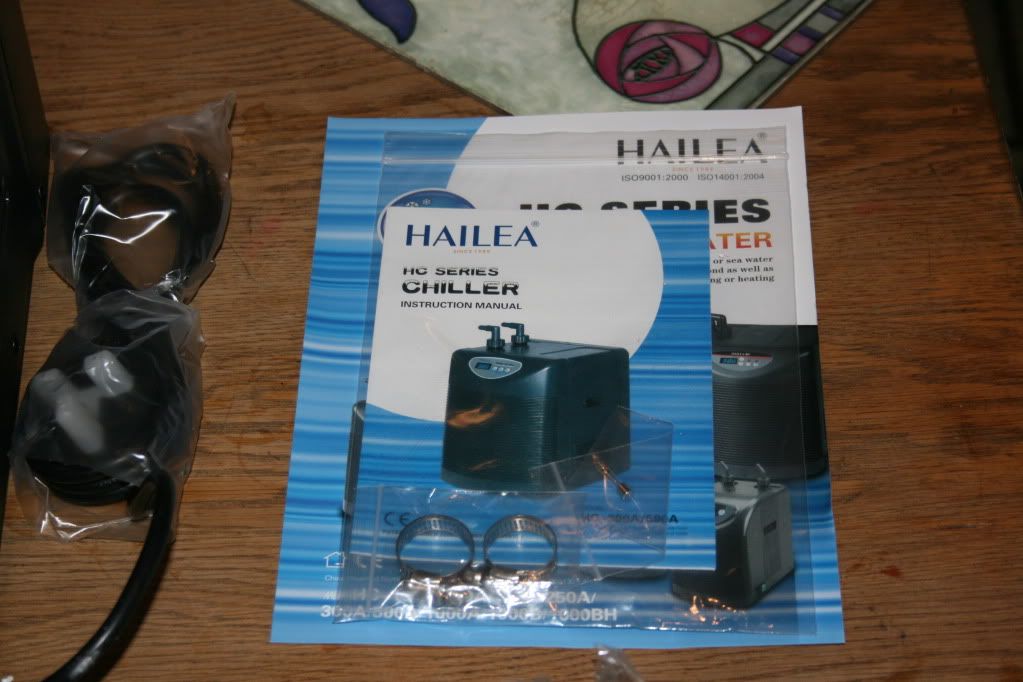
hailea paperwork and 2 jubilee fittings they give you also
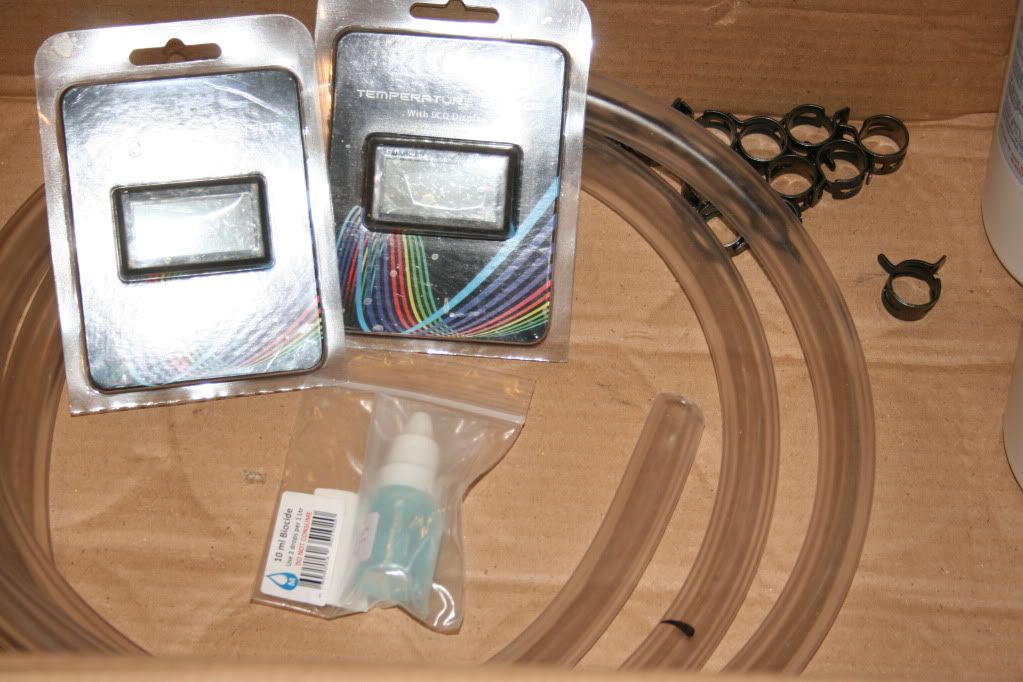
i wanted to be able to see the temps in the tubes so i bought 2 x sensors plus 2 mtrs of 1/2 id tube, some mayhems biocide and some tube clamps that you see in the picture...i ended up not using them because they didnt go over tube and fitting, they would go over tube on its own but when you offered it in to the fitting it wouldnt go on

a closer look at the xspc temp sensor, bought from ocuk these work very very well in my new set up
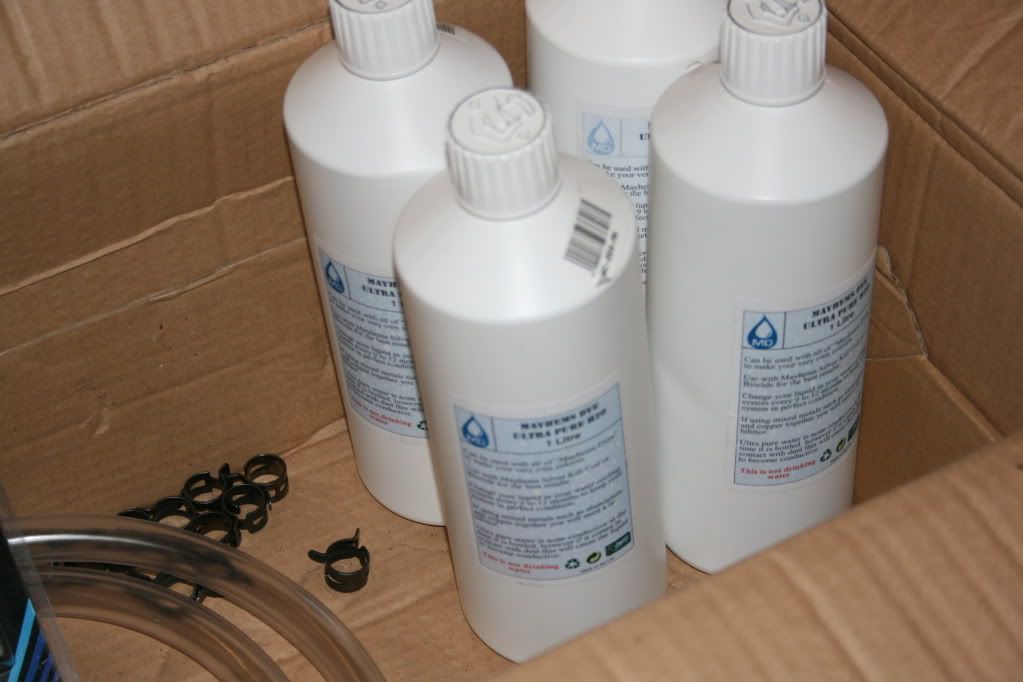
4 litres of mayhems ultra pure sent for free from the good guys at ocuk
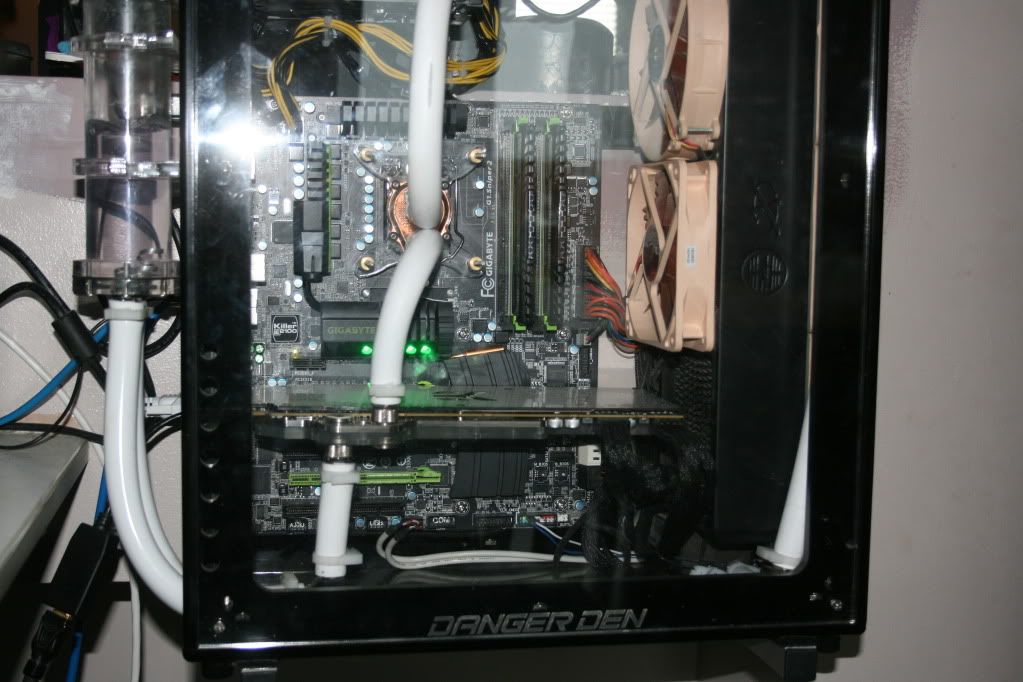
ok so this is my pc prior to stripping it down for a re-build, you can see the rad on the right and the noctua fans (there are another 3 on the other side of the rad).
res external to the case aswell on the left hand side
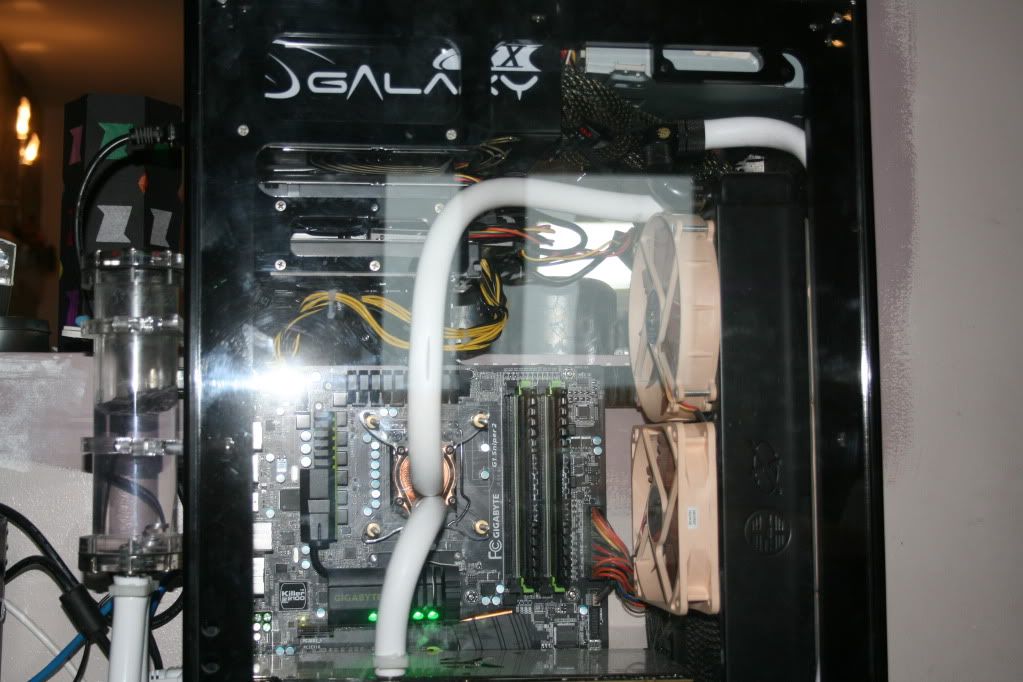
a shot further up the case so you can see the enermax galaxy and the rest
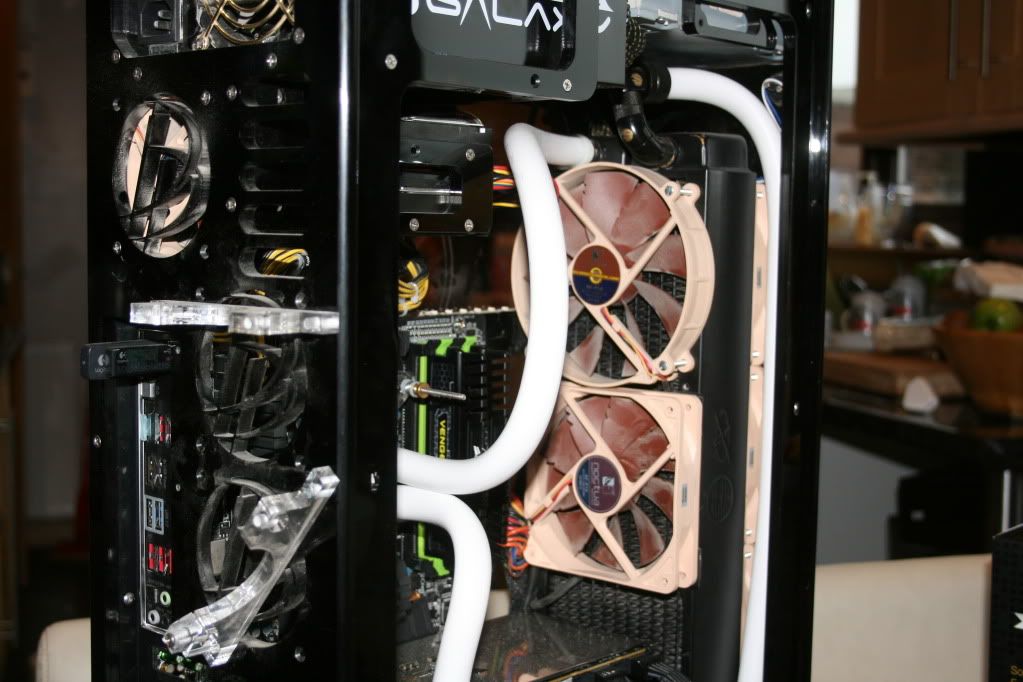
side shot
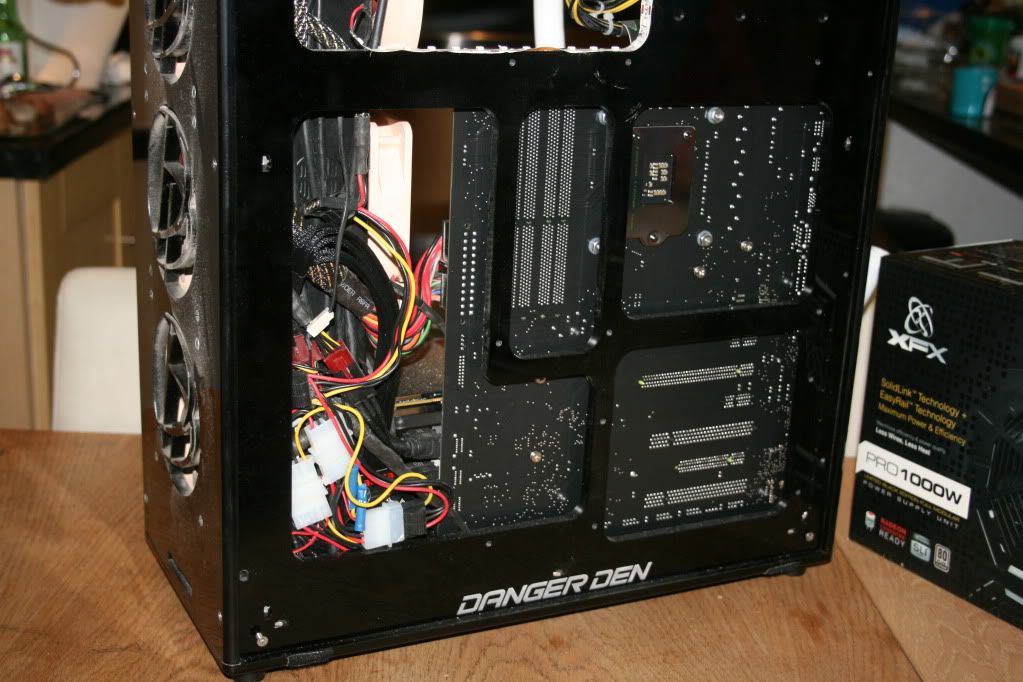
rear shot showing a multitude of sins (hangs head in shame) i used to prior to doing this have 2 lian li led strips in the case and the colour wiring you can see is for that, it has been taken out now just for cable management purpose
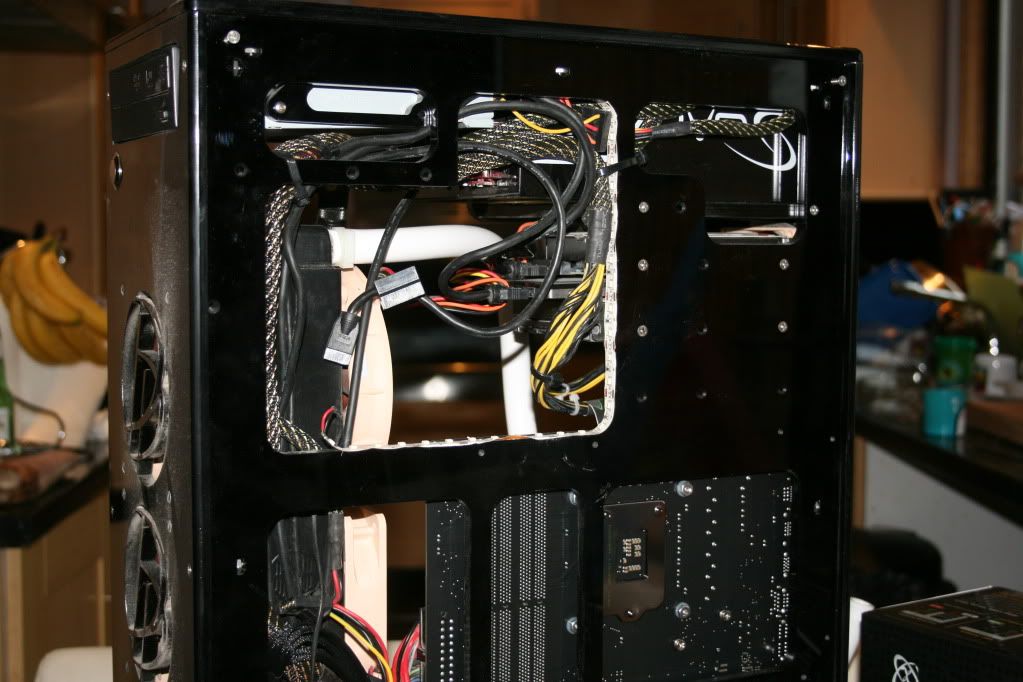
if you look close you can see the led strip running around the curved inside profile in the case
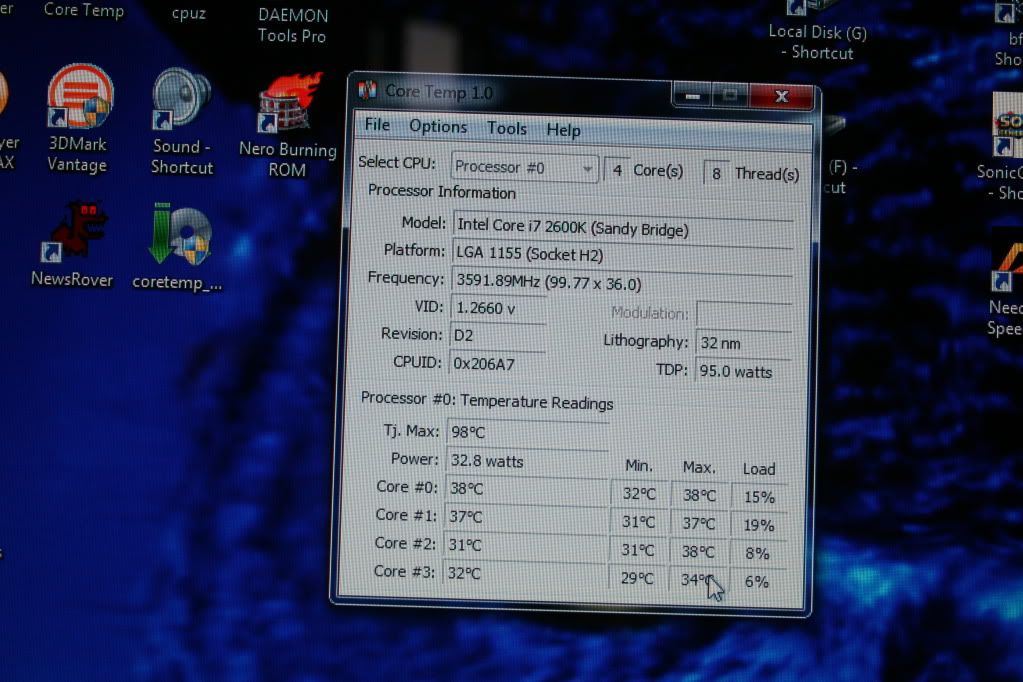
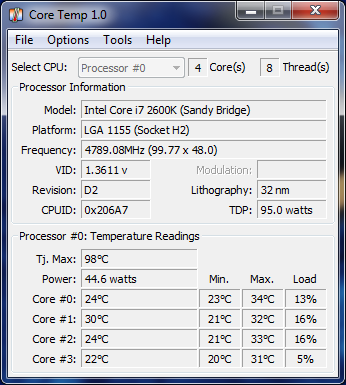
these are my current temps prior to starting using core temp, i have the 2700k and its running at just under 3.6ghz. it will be going much higher soon
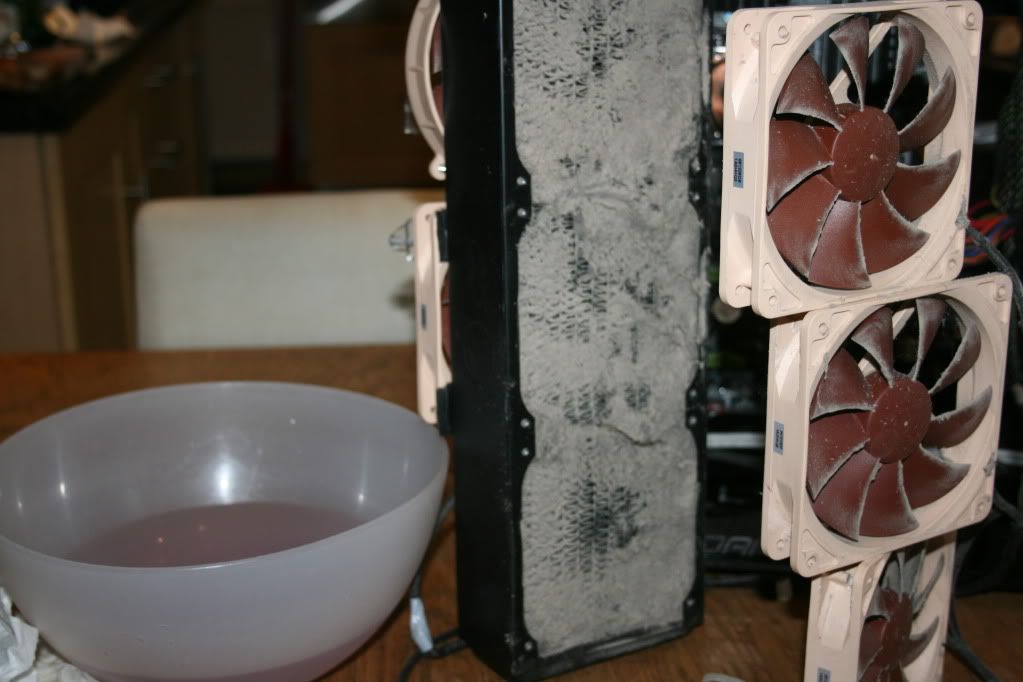
note to people with rads, even when you think there clean there not, i clean the rad often using compessed air but was horrified to find this when i stripped back the rad and fans.
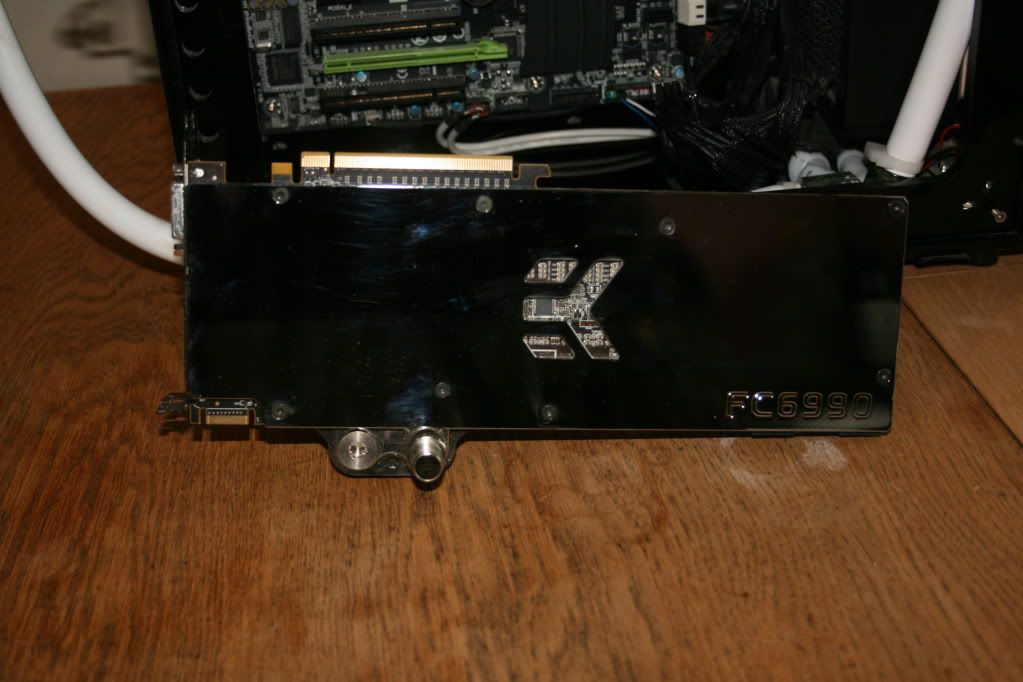
my stunning 6990 EK top cover
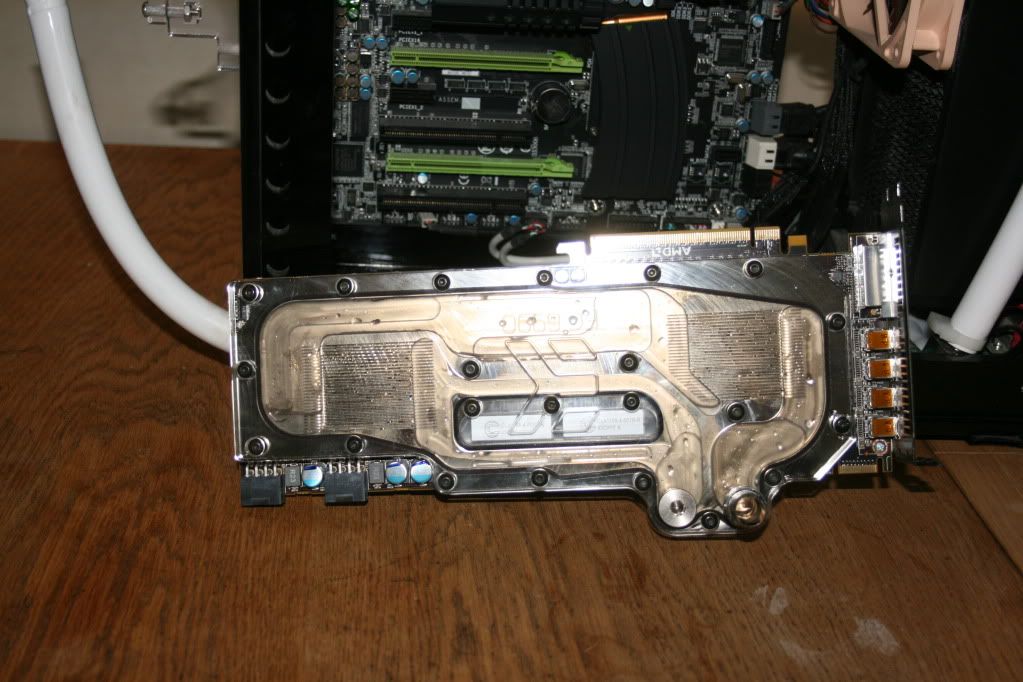
6990 EN nickel plated EK block, man this thing is stunning in the flesh
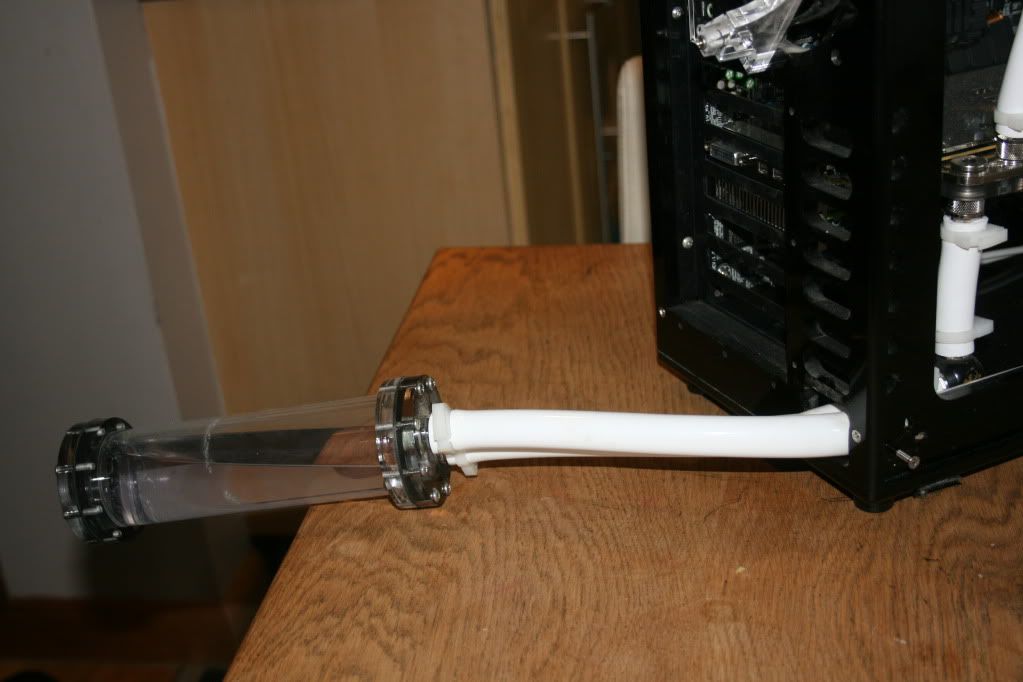
danger den res hanging of the back which is where i drain from
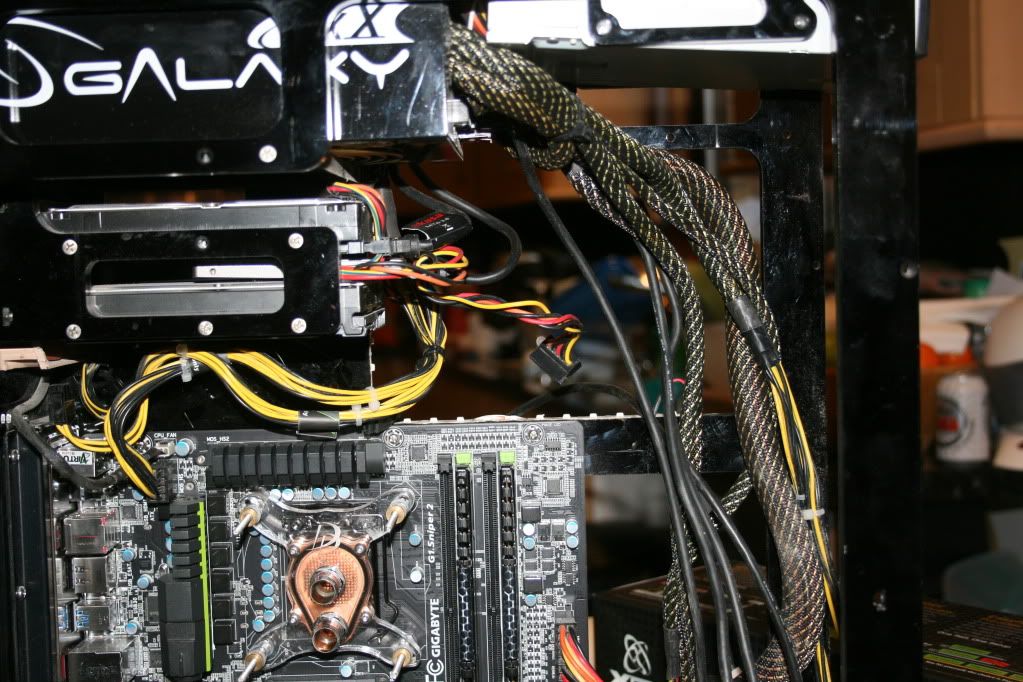
starting to strip down for rebuild, rad has gone and trying to unplug cables as the psu is coming out aswell
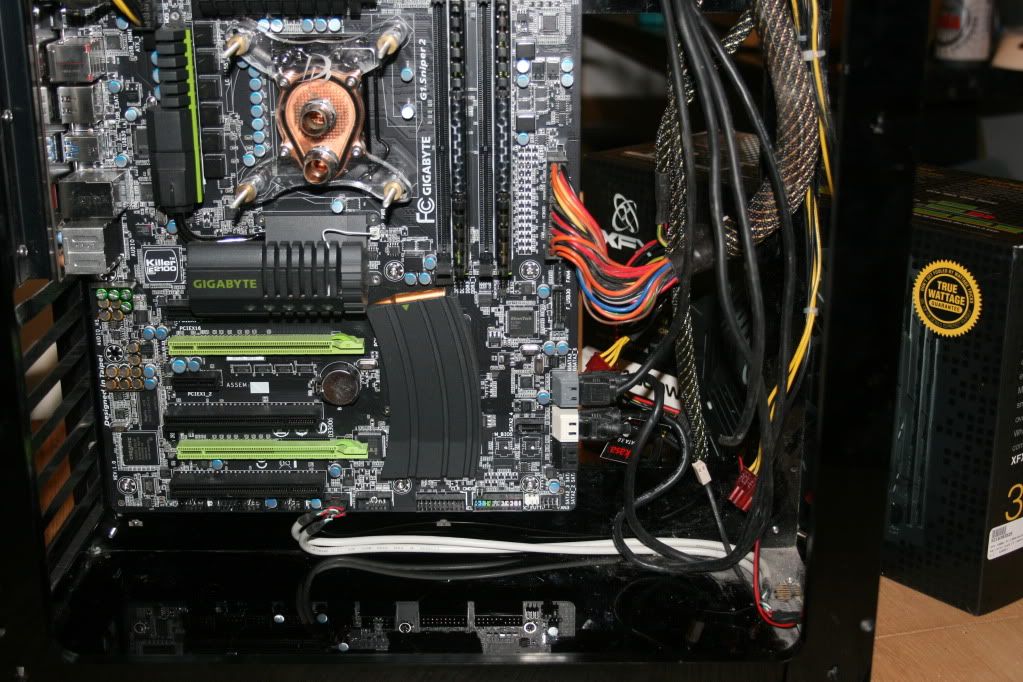
more stripping out
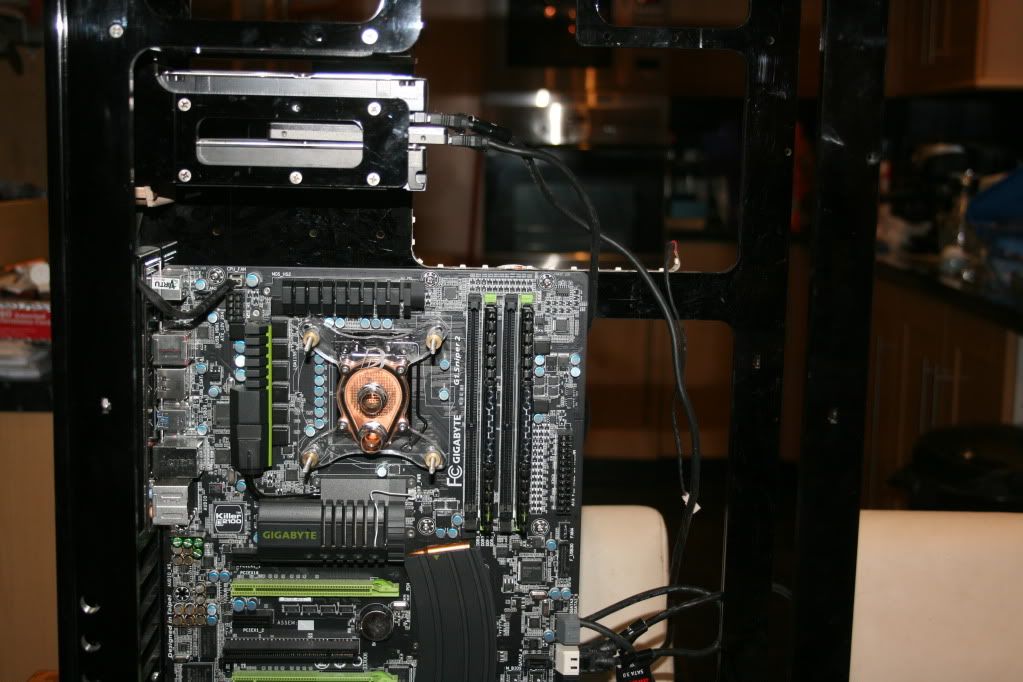
enermax galaxy is out and all cables along with dvd burner
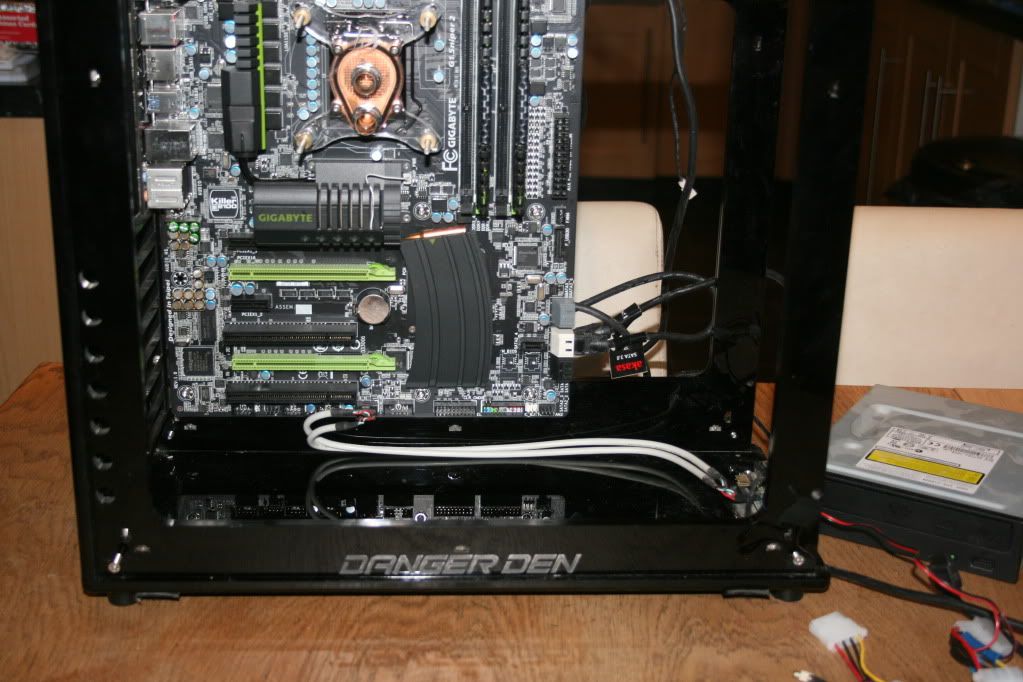
starting to get a bit clearer

swiftech pump that used to be mounted under the rad...this will be going on memebers market soon i have got a d5 laing with EK pump top for the chiller build
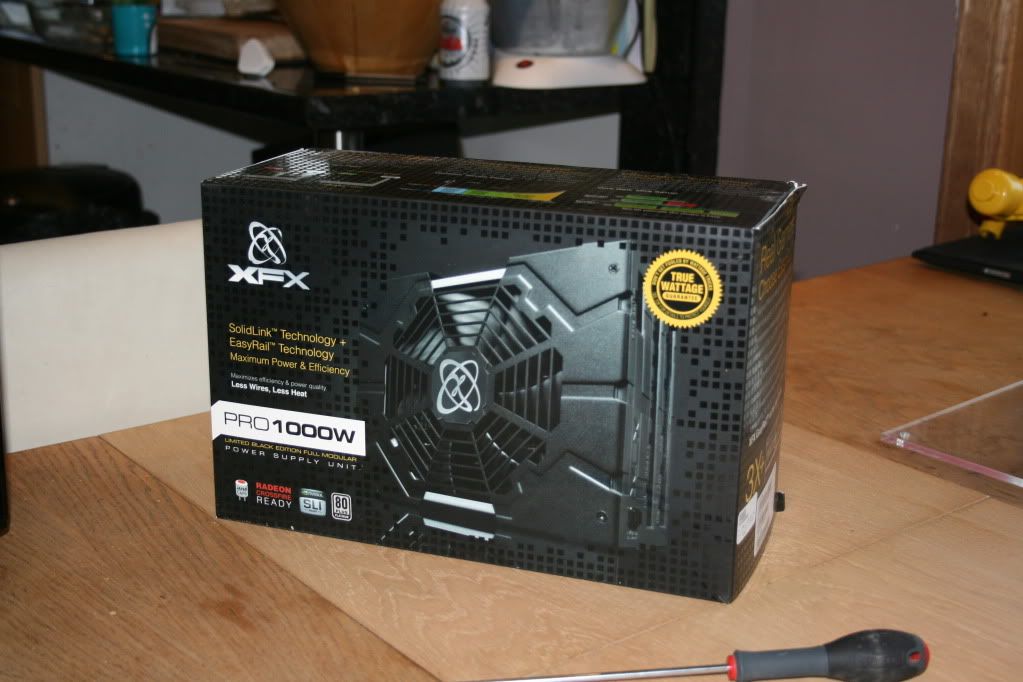
my new psu
xfx fully modular platinum rated 1000w, the enermax is getting on a bit and it was silly long as you can see in the next pic it left me with very little room in the danger den tower 21 case i have
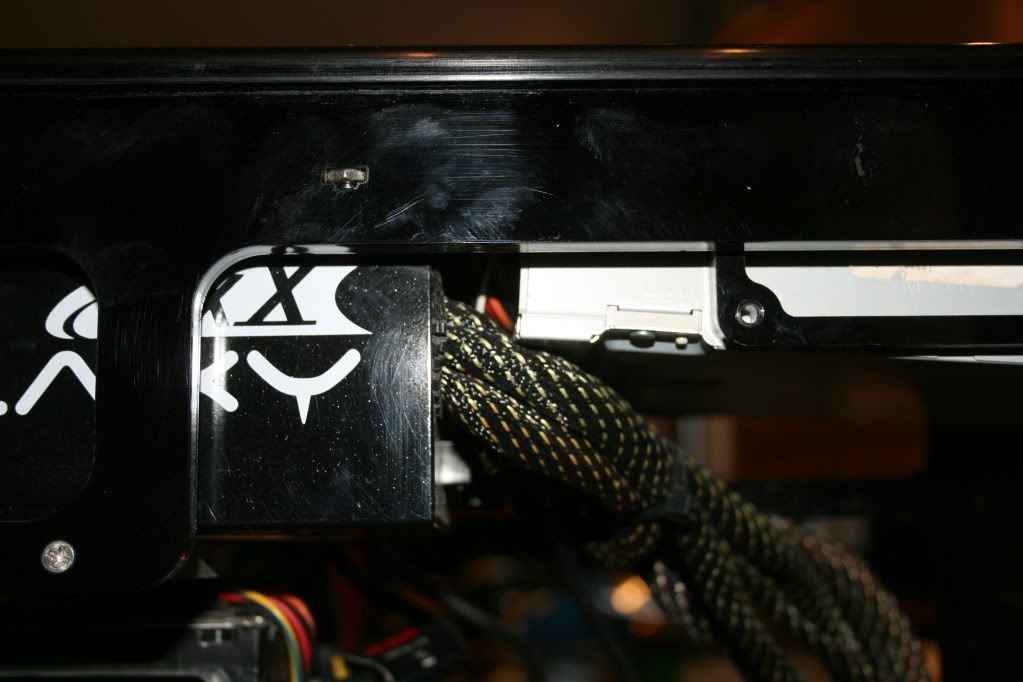
see how tight it is to the dvd burner, makes cable management a nightmare
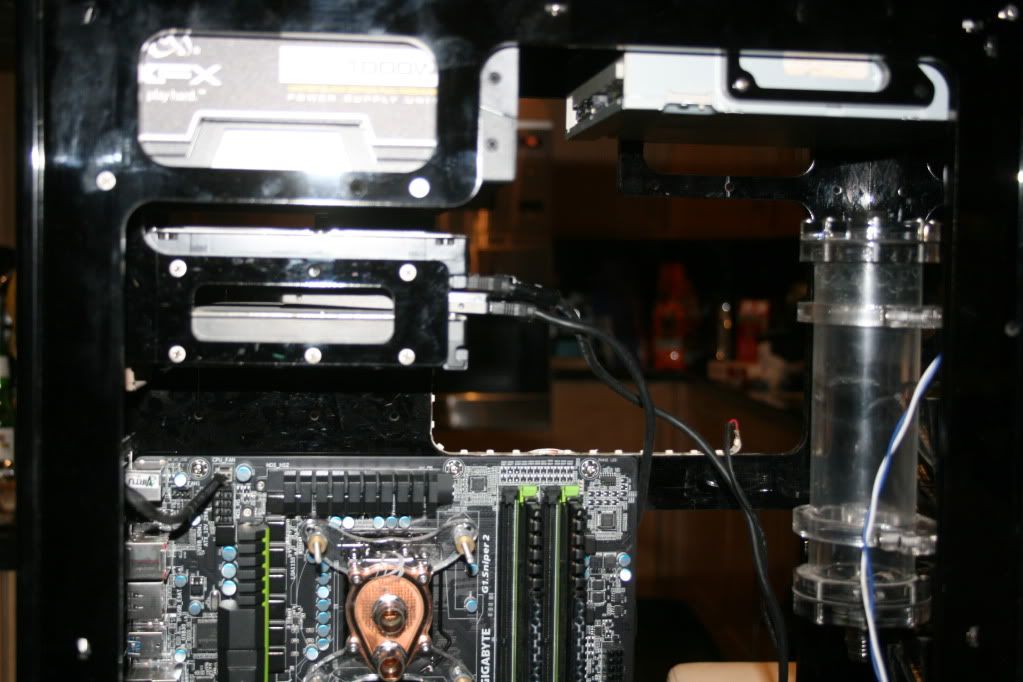
look at the clearance i get with the new psu, mega happy with that the extra 40-50mm makes all the difference
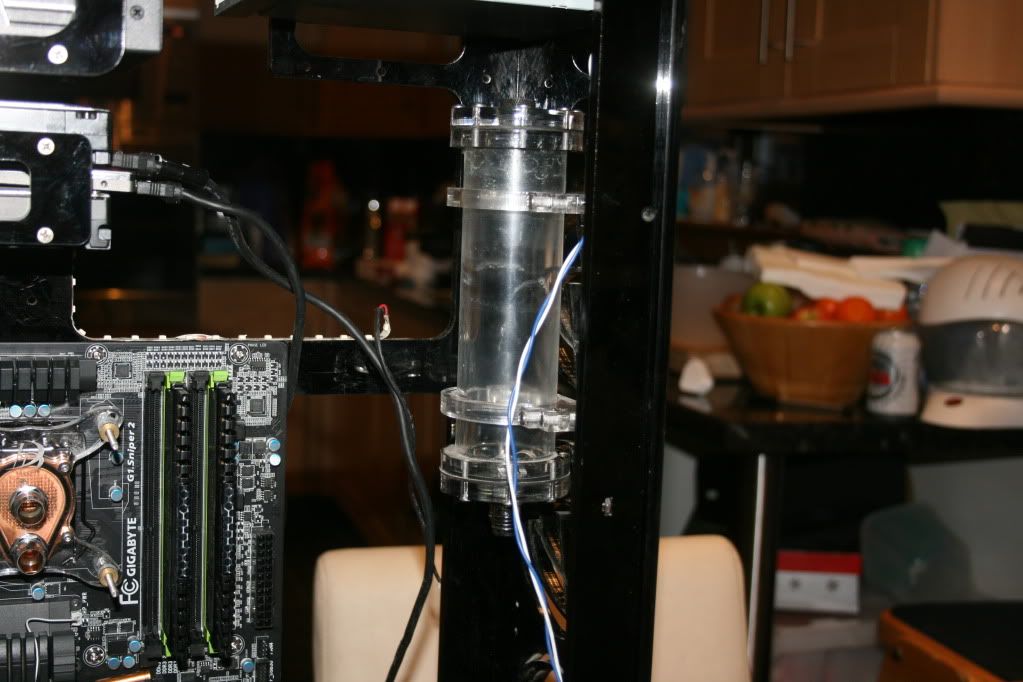
the existing res is now in the case, it has been taken fron the back to the right hand side on the front.i just didnt have the room with the rad in there before to mount it internally
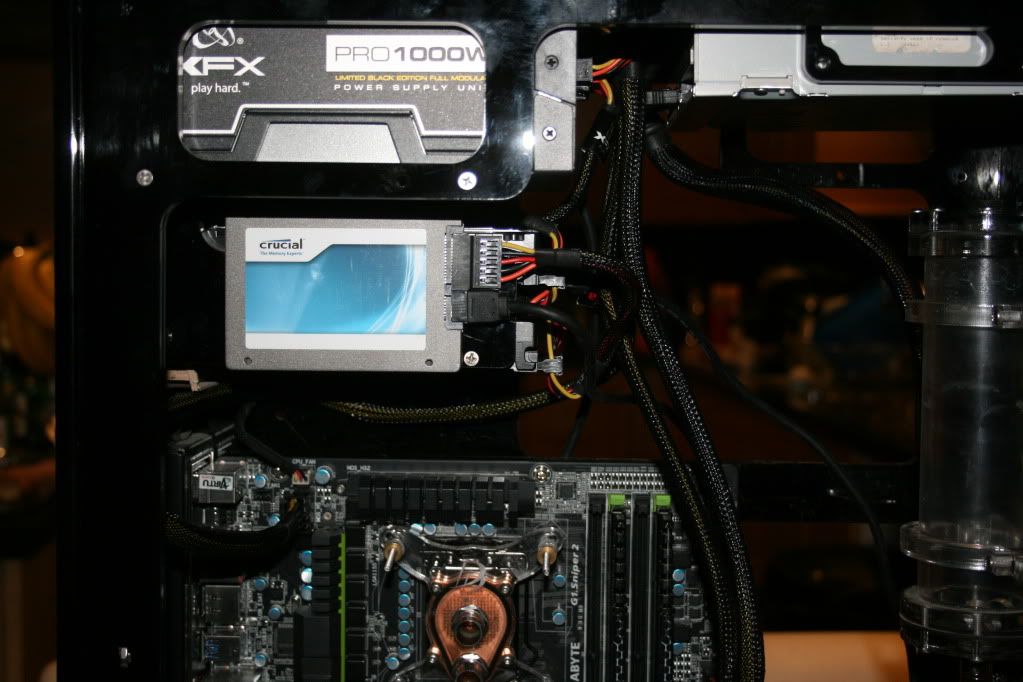
moved my crucial m4 128gb from between the 2 mechanical drives to this new position, i think it looks amazing here
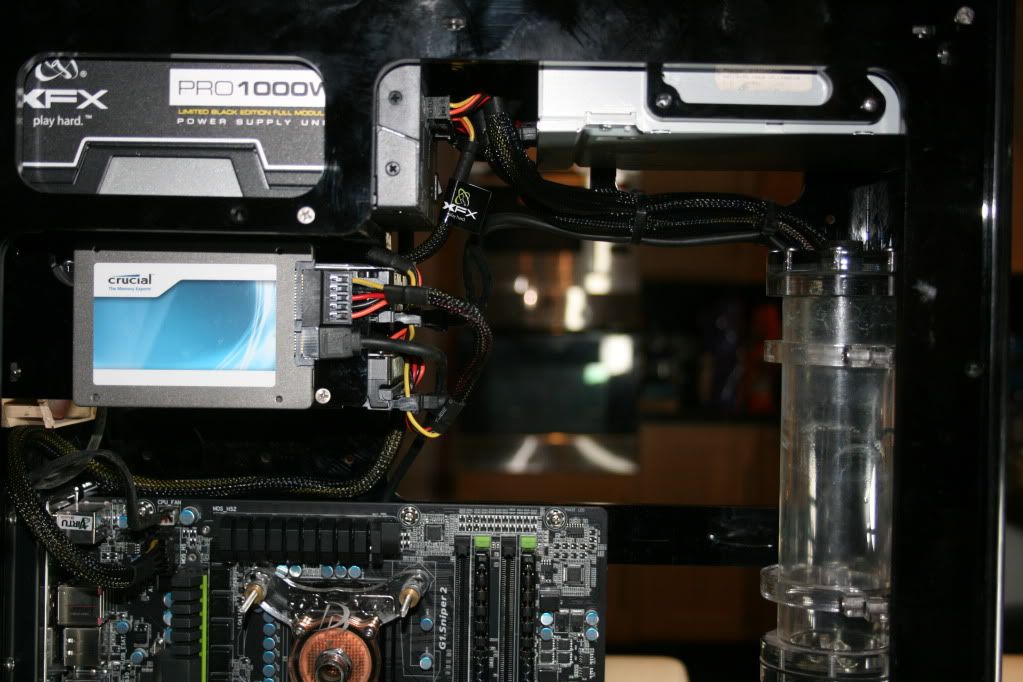
things are starting to come together again
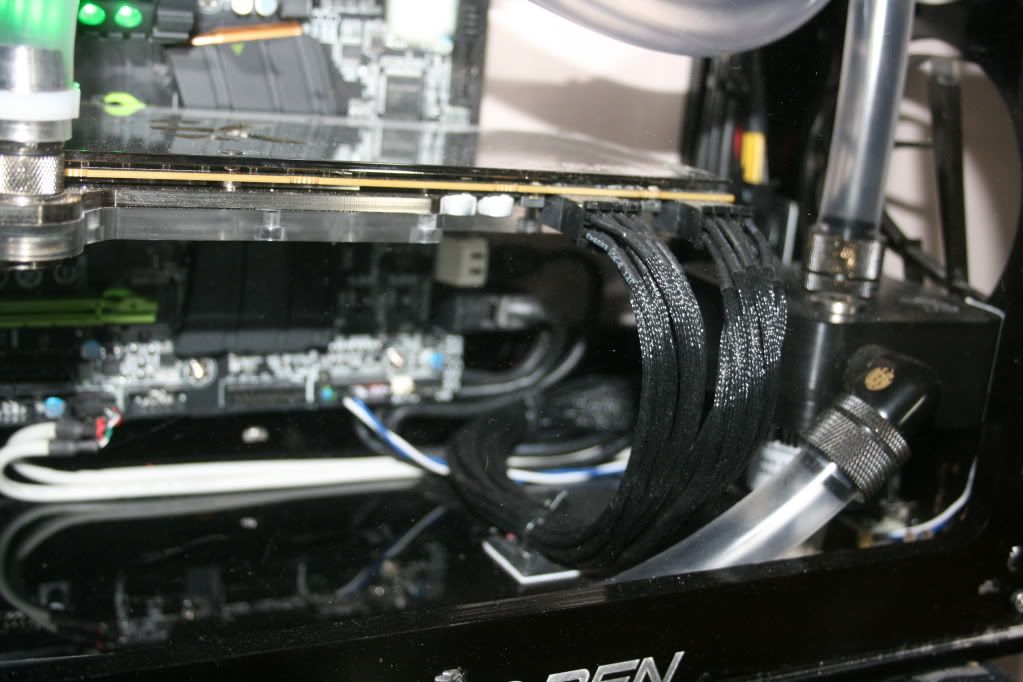
6990 back in and cables dressed nice
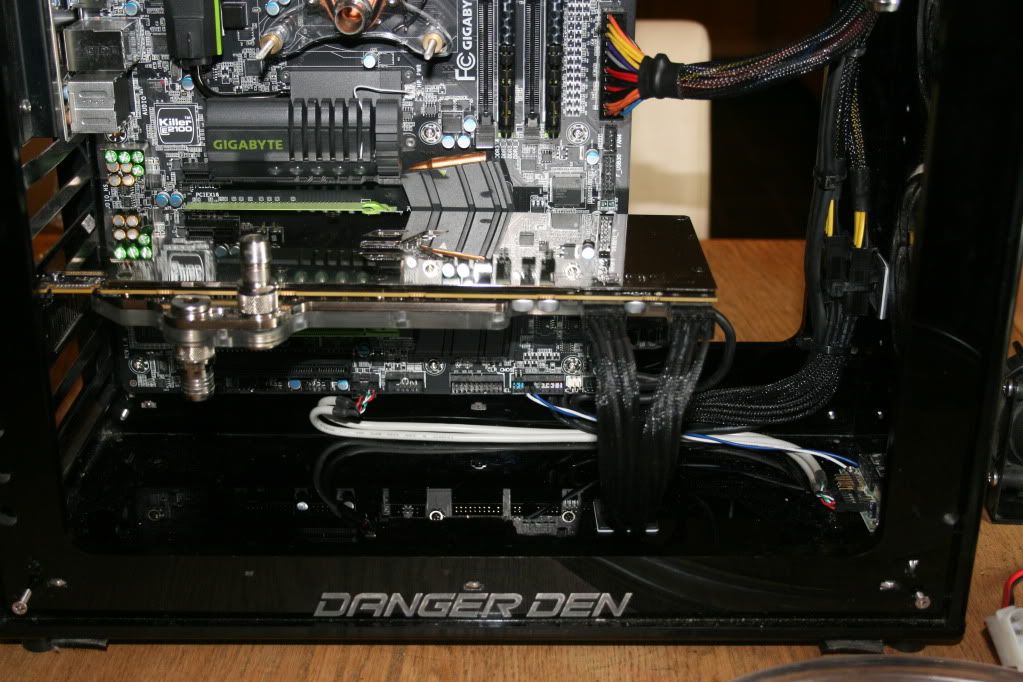
cables kept to one side and tidy
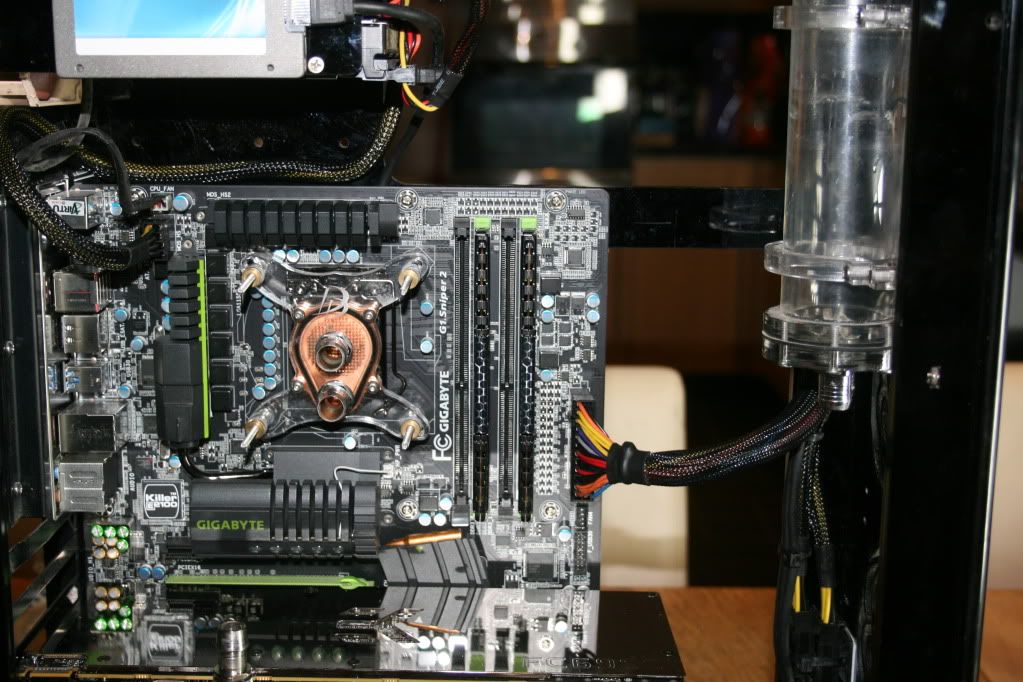
wired and back together, ready now for tubing
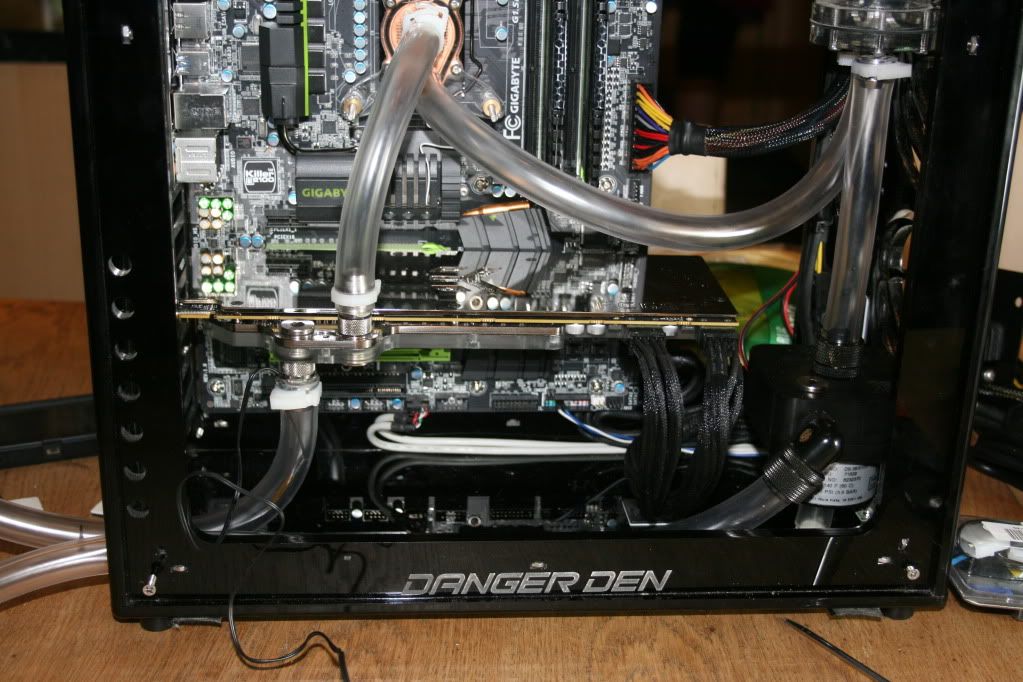
now tubed and nearly ready to be filled
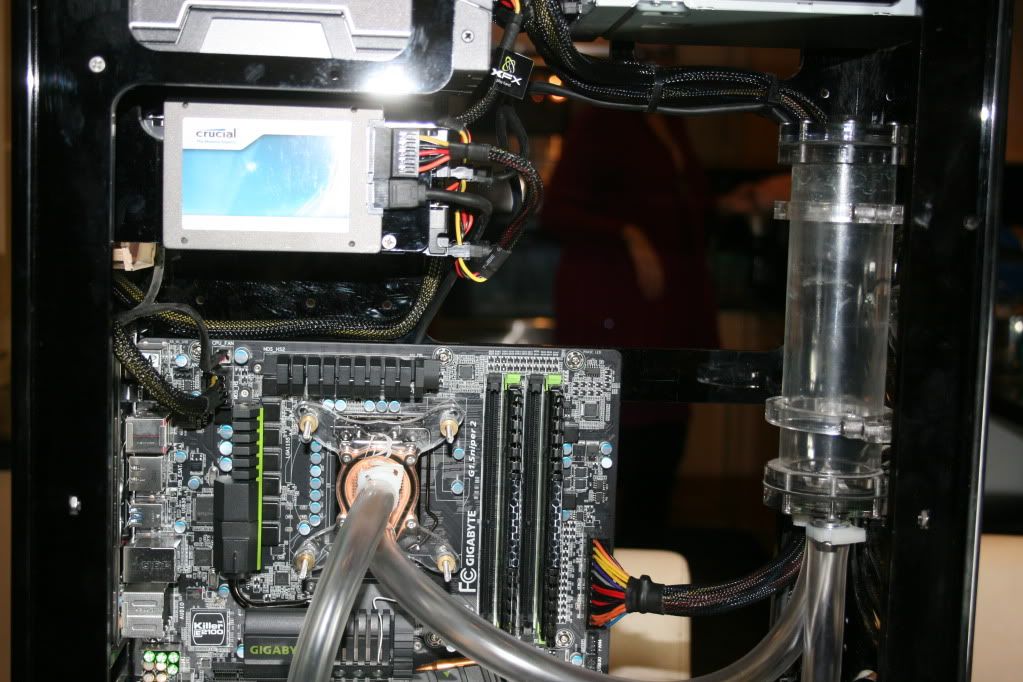
empty res longing for mayhems
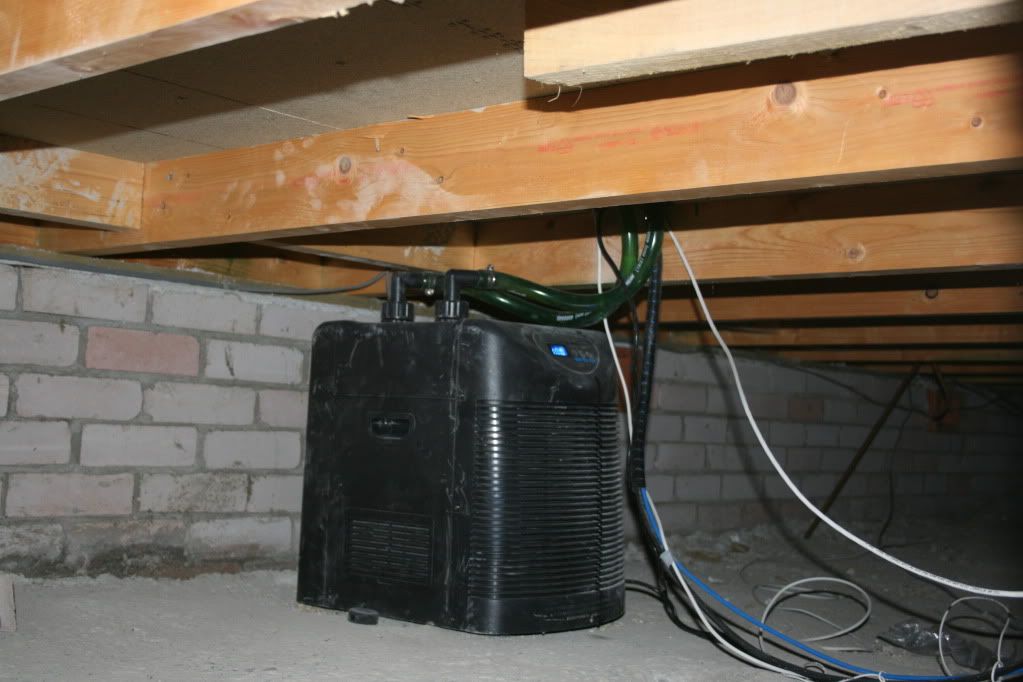
chiller in position under floor, slightly dusty and with a couple of scuffs getting it down there but piped up and ready to rock and roll
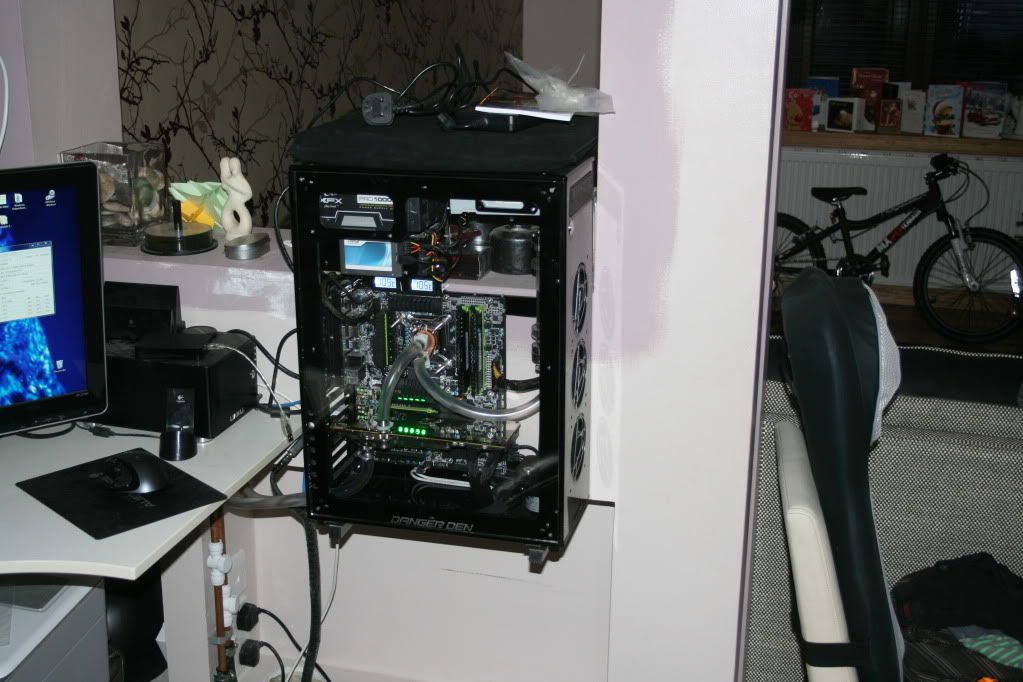
finished pc back on its mounts beside my desk piped and ready to be started
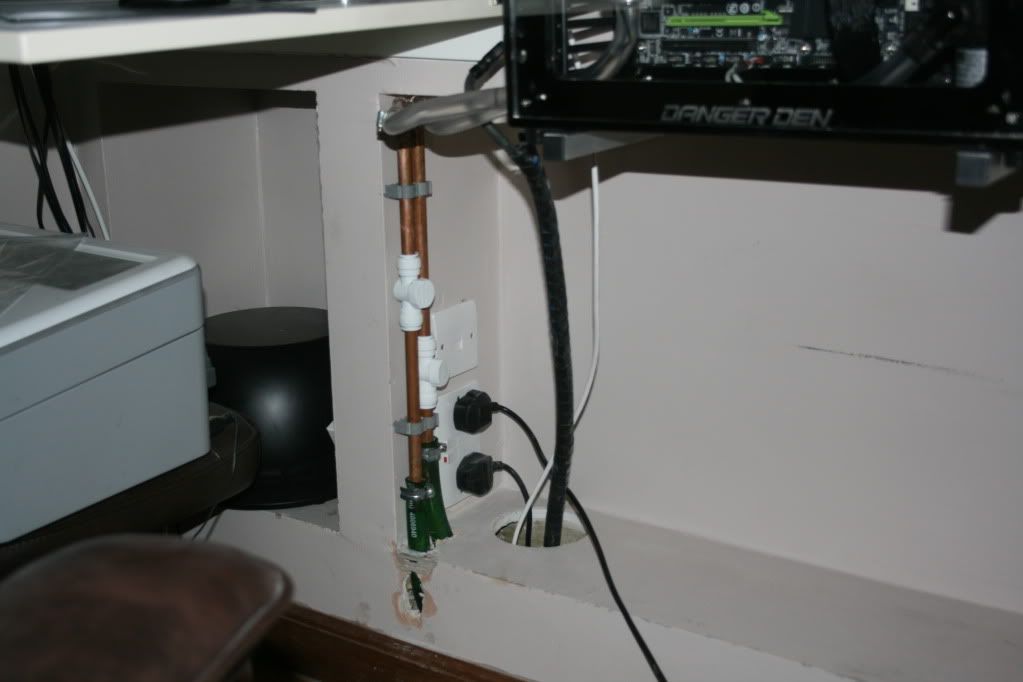
pipework coming from floor, used some copper because i wanted to have some shut of valves in there plus copper will give me an indication of dew point
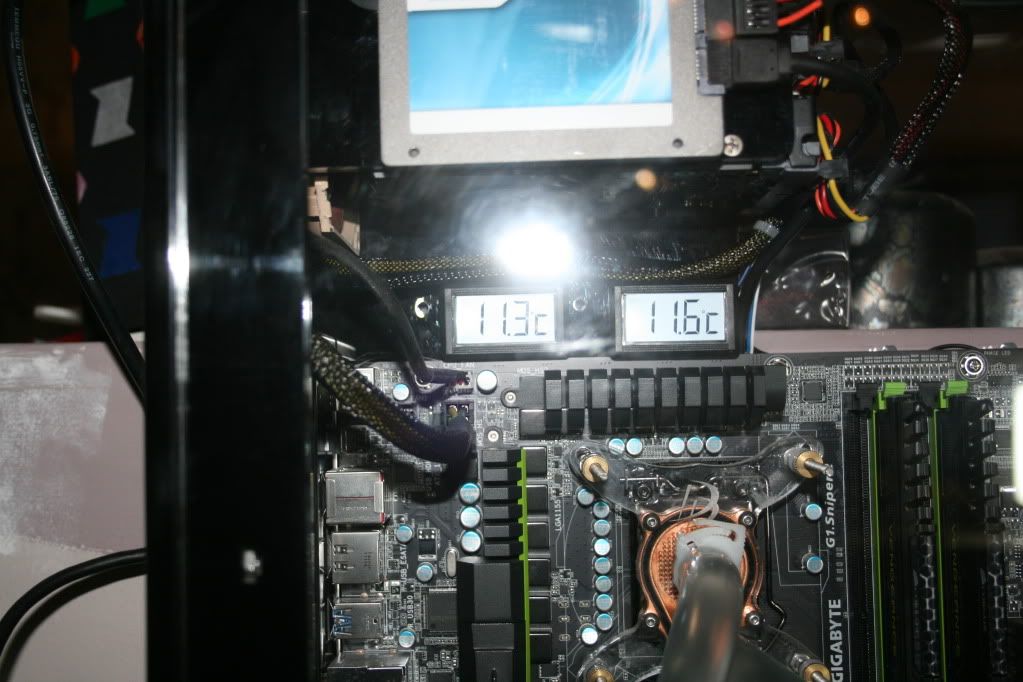
two installed sensors
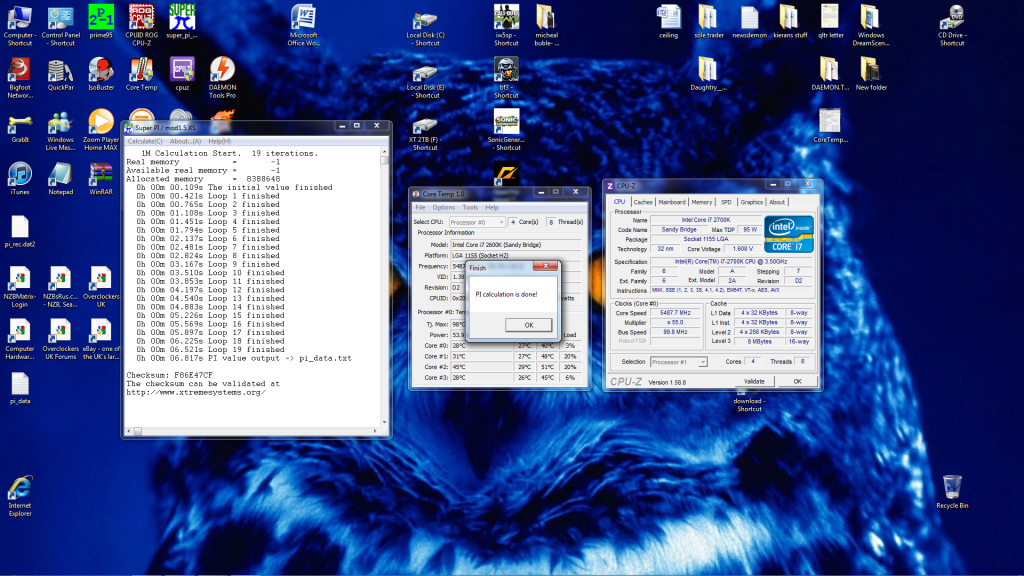
one on the left shows temp coming from chiller and the one on the right shows it once it has been over the 2700k and 6990, i have the chiller set to 10c just now and my 2700k is at 19c 3.6ghz and 30c 3.6ghz on prime 95. as i play i will post more results
OK so some of you know that I have been planing on water chilling my rig for a while now, I managed to get very lucky and get a hailea hc -500 http://www.overclockers.co.uk/showproduct.php?prodid=WC-004-HL&groupid=962&catid=2140&subcat=00 for the sum of £183 brand new from the auction site which I was obviously very chuffed about
 .
.next I just needed to find the time to do what I wanted to do as I knew it would take the best part of a full day so decided to wait until the Christmas holidays so I wouldn't end up rushing it.
today has been that day but it aint finished because I started at 2 this afternoon and called it a day at 10 when I ran out of battery power in my makita drill trying to get the pipes through the floor.
my rig was as follows before today cooled with a 360 tft rad with 4 x 120 noctuas and 1 x 140 noctua that stopped working about a month back so my cooling has been getting worse the last 2-3 months.....these were cooling my 2700k plus 6990 with EN nickel plated block from EK, the plan is to take out all the fans and rad and leave 1 x noctua 80mm that I have drawing heat away from the drives with the chiller cooling the chip and vga.
I have done a hailea chiller project before which was about 5 years ago now and although it was very successful it was also noisy and I only stayed with it for about 6 months because there just wasn't the parts there is today and I am always looking to tweak and make things better which is difficult when you have to keep draining a loop plus the wife was moaning about the noise of the chiller
 .
.this time i have a bigger and better hailea plus its going under the floor as im lucky that way and have enough room to house it under there, the pipes will come up and out the chiller in eheim 19mm id tubing till they get up to the floor then im going to slip a 15mm copper pipe in to the tubing and using a jubilee clip to clamp them together tight. the copper will travel up the wall under the pc area until it meets the 1/2 id pipe coming from my pc but will also have a koolance piece that allows me to split the pipe without losing water or pressure (cant quite remember its proper name)this in effect lets me split the chiller from the pc allowing me to work on the pc for whatever reason.
pics will follow tomorrow as there on my camera and my pc has no cooling.....will leave it there just now as i have rebuilt my hole pc today and its now 11.40pm
been working on this for a few more hours today and its now up and running...harrah

going to start posting pics as evrybody likes pics.

this is the package i received from the seller...at the time it was fingers crossed it wasnt full off packaing peanuts or bricks.

once opened i was delighted to find it was inded a hc-500 hailea chiller and that i had just won a watch


unboxed the chiller looks like this....its not hideous but i wouldnt buy it a drink

bit of a side profile so that you can see it is as deep as it is wide...its actually deeper

up against an iphone for a sense of scale

the fittings they give you with it, you get both straight and 90 degree connecters to couple you to the chiller....bravo hailea for not charging extra for the bent ones

hailea paperwork and 2 jubilee fittings they give you also

i wanted to be able to see the temps in the tubes so i bought 2 x sensors plus 2 mtrs of 1/2 id tube, some mayhems biocide and some tube clamps that you see in the picture...i ended up not using them because they didnt go over tube and fitting, they would go over tube on its own but when you offered it in to the fitting it wouldnt go on


a closer look at the xspc temp sensor, bought from ocuk these work very very well in my new set up

4 litres of mayhems ultra pure sent for free from the good guys at ocuk


ok so this is my pc prior to stripping it down for a re-build, you can see the rad on the right and the noctua fans (there are another 3 on the other side of the rad).
res external to the case aswell on the left hand side

a shot further up the case so you can see the enermax galaxy and the rest

side shot

rear shot showing a multitude of sins (hangs head in shame) i used to prior to doing this have 2 lian li led strips in the case and the colour wiring you can see is for that, it has been taken out now just for cable management purpose

if you look close you can see the led strip running around the curved inside profile in the case

these are my current temps prior to starting using core temp, i have the 2700k and its running at just under 3.6ghz. it will be going much higher soon

note to people with rads, even when you think there clean there not, i clean the rad often using compessed air but was horrified to find this when i stripped back the rad and fans.

my stunning 6990 EK top cover

6990 EN nickel plated EK block, man this thing is stunning in the flesh

danger den res hanging of the back which is where i drain from

starting to strip down for rebuild, rad has gone and trying to unplug cables as the psu is coming out aswell

more stripping out

enermax galaxy is out and all cables along with dvd burner

starting to get a bit clearer

swiftech pump that used to be mounted under the rad...this will be going on memebers market soon i have got a d5 laing with EK pump top for the chiller build

my new psu
xfx fully modular platinum rated 1000w, the enermax is getting on a bit and it was silly long as you can see in the next pic it left me with very little room in the danger den tower 21 case i have

see how tight it is to the dvd burner, makes cable management a nightmare

look at the clearance i get with the new psu, mega happy with that the extra 40-50mm makes all the difference

the existing res is now in the case, it has been taken fron the back to the right hand side on the front.i just didnt have the room with the rad in there before to mount it internally

moved my crucial m4 128gb from between the 2 mechanical drives to this new position, i think it looks amazing here

things are starting to come together again

6990 back in and cables dressed nice

cables kept to one side and tidy

wired and back together, ready now for tubing

now tubed and nearly ready to be filled

empty res longing for mayhems

chiller in position under floor, slightly dusty and with a couple of scuffs getting it down there but piped up and ready to rock and roll

finished pc back on its mounts beside my desk piped and ready to be started

pipework coming from floor, used some copper because i wanted to have some shut of valves in there plus copper will give me an indication of dew point

two installed sensors
one on the left shows temp coming from chiller and the one on the right shows it once it has been over the 2700k and 6990, i have the chiller set to 10c just now and my 2700k is at 19c 3.6ghz and 30c 3.6ghz on prime 95. as i play i will post more results
Last edited:


