HTPC Project [Build Log]

Associate
Joined
14 May 2012
Posts
1,286
Project HTPCube [Build Log]

I've wanted to build an HTPC for a while now.
I have ordered most of the components now and many of them have arrived.

Please note that this is a PC designed to run Steam, and stream games from my desktop and play movies, TV shows etc. It is not designed to be the highest spec, just look good and be as quiet as possible.

But here are the specs of the build:

YOUR BASKET
1 x Zotac GeForce GTX 970 Gaming Edition 4096MB GDDR5 PCI-Express Graphics Card (ZT-90101-10P) £275.99
1 x Kingston HyperX Predator 240GB PCIe x 4 SSD HHHL Form Factor Solid State Drive (SHPM2280P2H/240G) £219.98
1 x Intel Core i5-4690 3.50GHz (Haswell) Socket LGA1150 Processor - Retail £179.99
1 x Asus Maximus VII Impact Intel Z97 (Socket 1150) DDR3 Mini ITX Motherboard £172.99
1 x EK Water Blocks EK-XRES 100 D5 PWM (incl. pump) £84.95
1 x EK Water Blocks EK-FC970 GTX - Nickel £79.99
1 x Corsair Obsidian Series 250D Mini ITX Compact Gaming Case - Black (CC-9011047-WW) £75.95
1 x Corsair Vengeance Pro Silver 8GB (2x4GB) DDR3 PC3-14900C9 1866MHz Dual Channel Memory Kit (CMY8GX3M2A1866C9) £65.99
1 x Silverstone SST-SOD02 Slimline Slot Loading 8x DVD±RW SATA Drive - Retail £54.95
1 x EK Water Blocks EK-FB ASUS M6I - Acetal £49.99
1 x Corsair Fan, SP120 PWM Low Noise High Pressure Fan 4 pin, Dual Pack (CO-9050012-WW) £25.00
1 x EK Water Blocks EK-FC970 GTX Backplate - Black £18.98
1 x Mayhems Pastel - Ice White Coolant 1L £14.99
1 x Silverstone 5.25" Slim ODD Bay with Internal 2.5" Bay - Black (SST-FP58B) £12.49
1 x Be Quiet! Shadow Wings Fan PWM - 92mm £8.99
1 x Mayhems Dye Ocean Blue 15ml £5.48
6 x EK Water Blocks EK-HDC Fitting 12mm G1/4 - Blue £5.45 (£32.70)
1 x E22 Ultra Clear 12/10 Hard Acrylic Tubing 500mm Length £4.99
Total : £1,405.80 (includes shipping : £17.85).


If there is a space in the case I might install the 140mm Radiator which I have kicking around, again this is if there's space in the case when it comes to it.

Total cost of the build so far is less than £800, which I'm quite pleased with.


It will at some stage receive a graphics card to allow me to stream 4k, however until I splash out on a 4k TV I don't really need the HDMI 2.0 connector.

Motherboard size
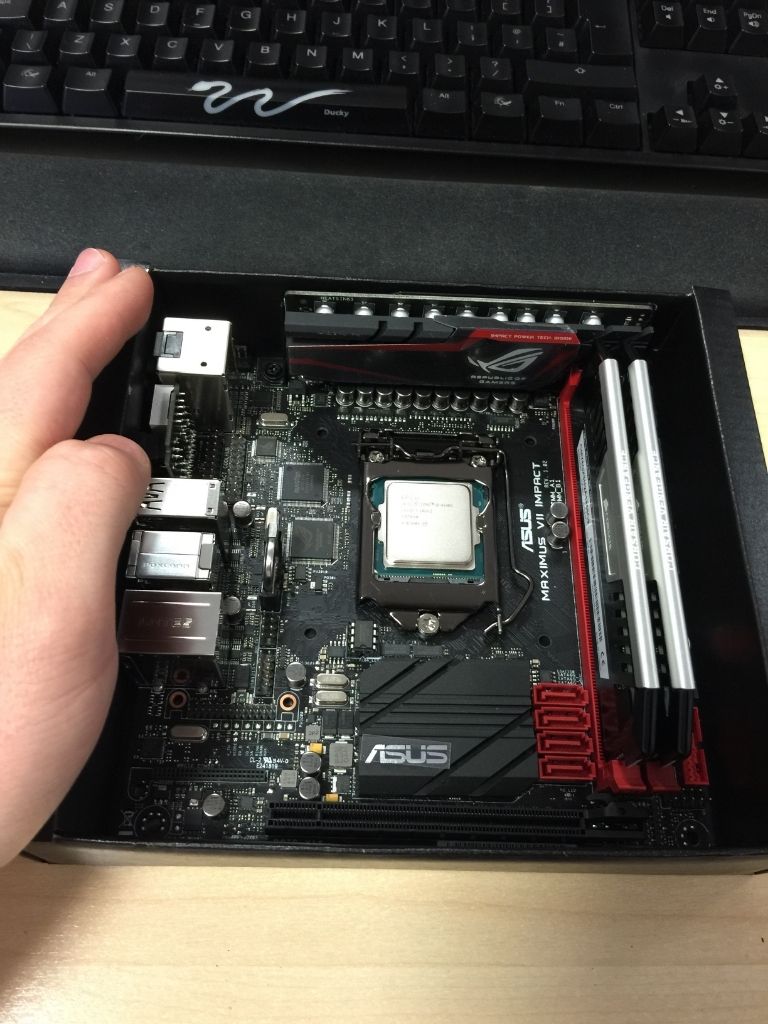
3fcbc995-fa5f-4675-b8d3-ff874c061daf_zpspmdxxegj.jpg~original


Testing the components are all working
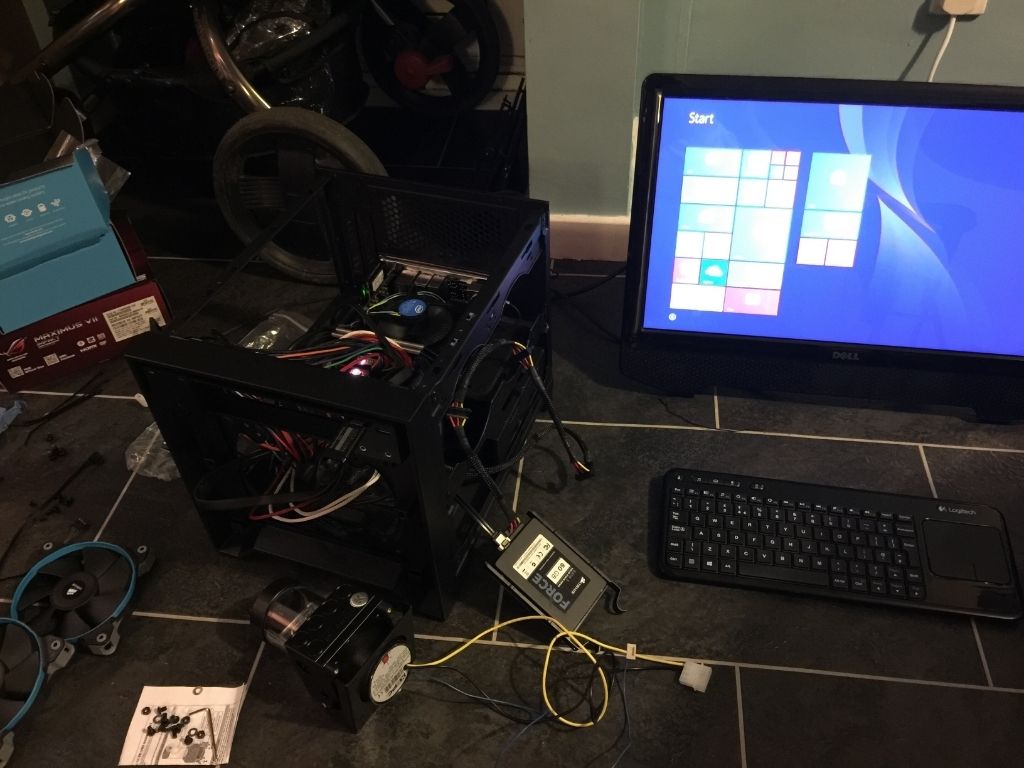
c8e6f726-29f7-4e83-b236-774a9443cc69_zpsnzvw478g.jpg~original


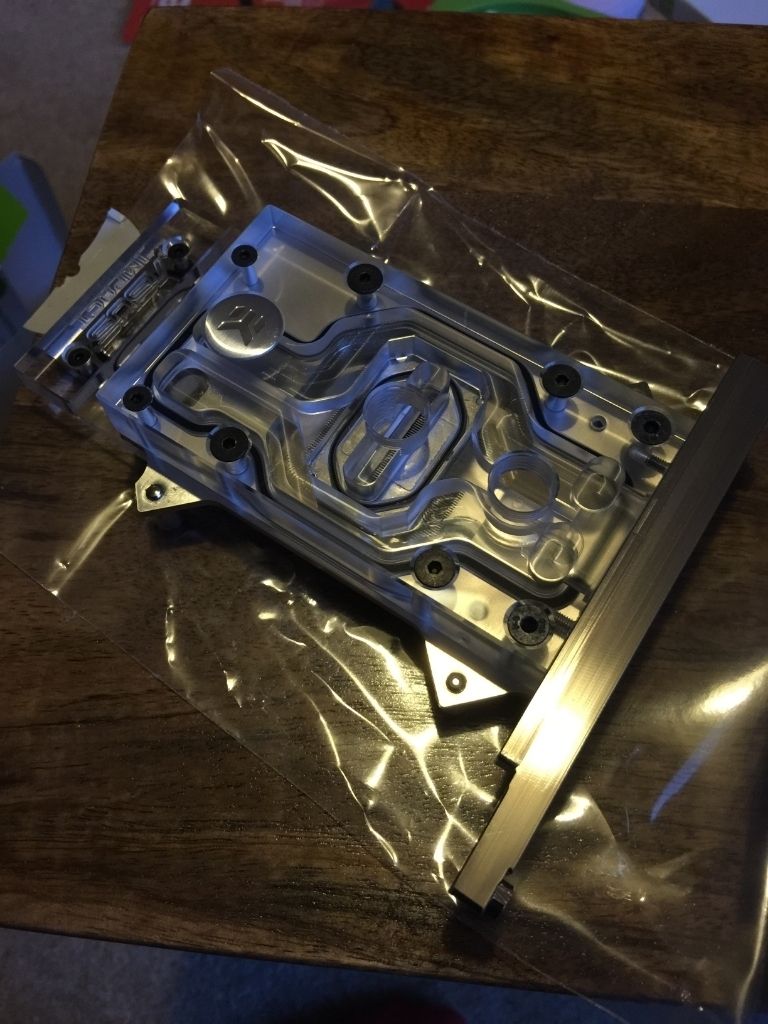
Waterblock
d0461132-13f7-4b8f-a2c2-06198f13eef5_zpswuotzptu.jpg~original


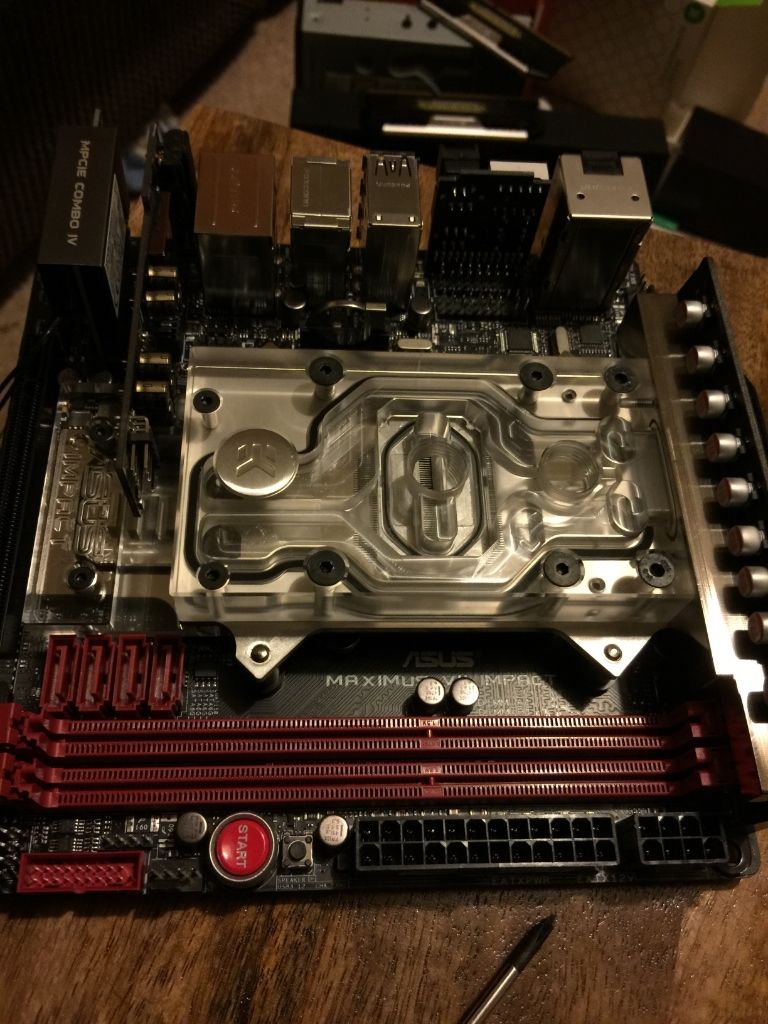
Waterblock post install
b4bb13d4-9945-4282-8800-ac33cfcdfd2e_zpshf3auv6o.jpg~original


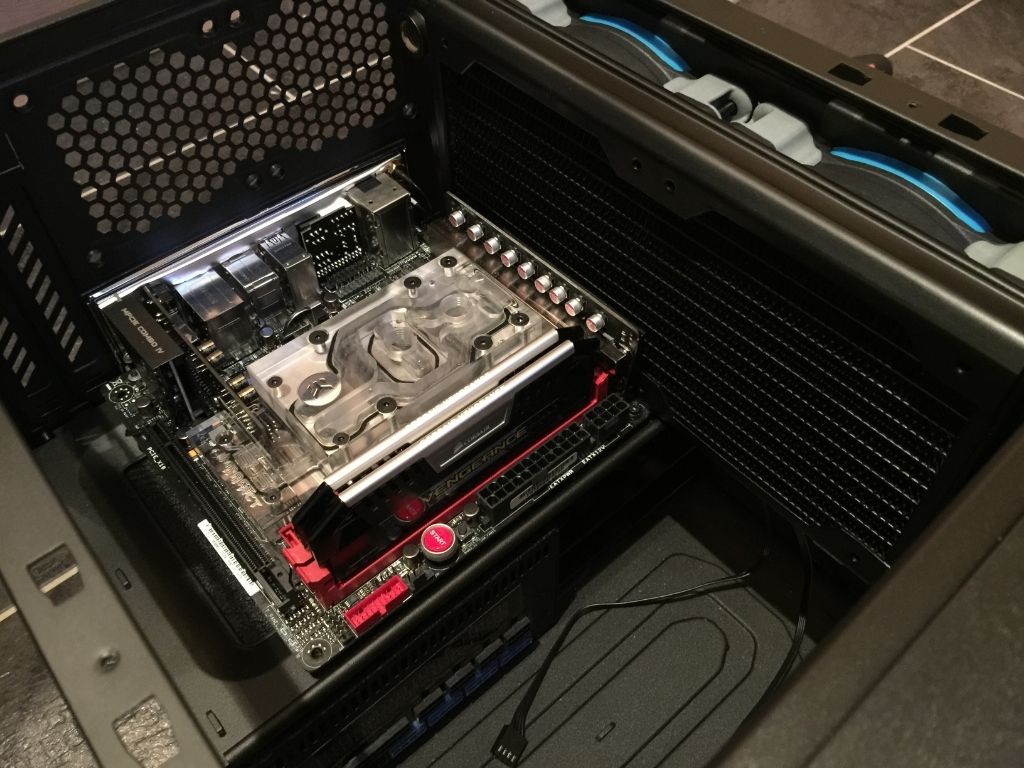
So I have installed the Waterblock on the motherboard and installed this in the case.
Test fitted the radiator and the fans...

This Fan / Rad / Motherboard combo DOES NOT FIT in this case.

I have ordered a Hardware Labs Black Ice Nemesis GTS 240mm X-Flow to replace it.
This should improve the over all pathing of the acrylic anyway, and is more than 10mm narrower than the EK-PE, so hopefully this will fit. If not I'll be buying new fans this evening... SIGH!

YOUR BASKET
1 x Hardware Labs Black ICE Radiator GT Stealth 240 - XFlow £36.98


In terms of colours for this build, I really want to do a blue / white / grey colour scheme, but the Motherboard doesn't really lend it's self to this.
Like this:
A8E5AA8D-1D00-46A7-AE70-3CCB2442B651_zpsagvfc2ib.jpg~original


I'm tempted to see what I can do about painting it along with some of the case and maybe some of the acetal blocks for the Pump / Res combo.
 
Last edited:
You have to follow the Project log guidelines when creating a Project Log

I have updated the initial post with photos, not the best... but they'll have to do for now.

Update:

The Black Ice Nemesis 240GTX X-Flow has arrived and will be test installed when I get home.

Just ordered 6 EK-HDC Fitting 12mm - Blue

Spent a little more time looking into components:
Looking at replacing the Blu-Ray drive I bought with the following: Slimline Slot loading drive
Enclosed this drive enclosure

I think it will tidy up the front of the case significantly I will also install a PCIe m.2 SSD
 
Last edited:
Quite a lot of updates this evening.
Pictures have been taken but it's late and I can't be bothered to resize them all.

First things first. I test fit the new rad and fans, which are tight, but they fit.

addbb6cd-58b2-4a24-ba25-747a5b16be94_zps2r0brxeu.jpg~original


Then I delabled the RAM.

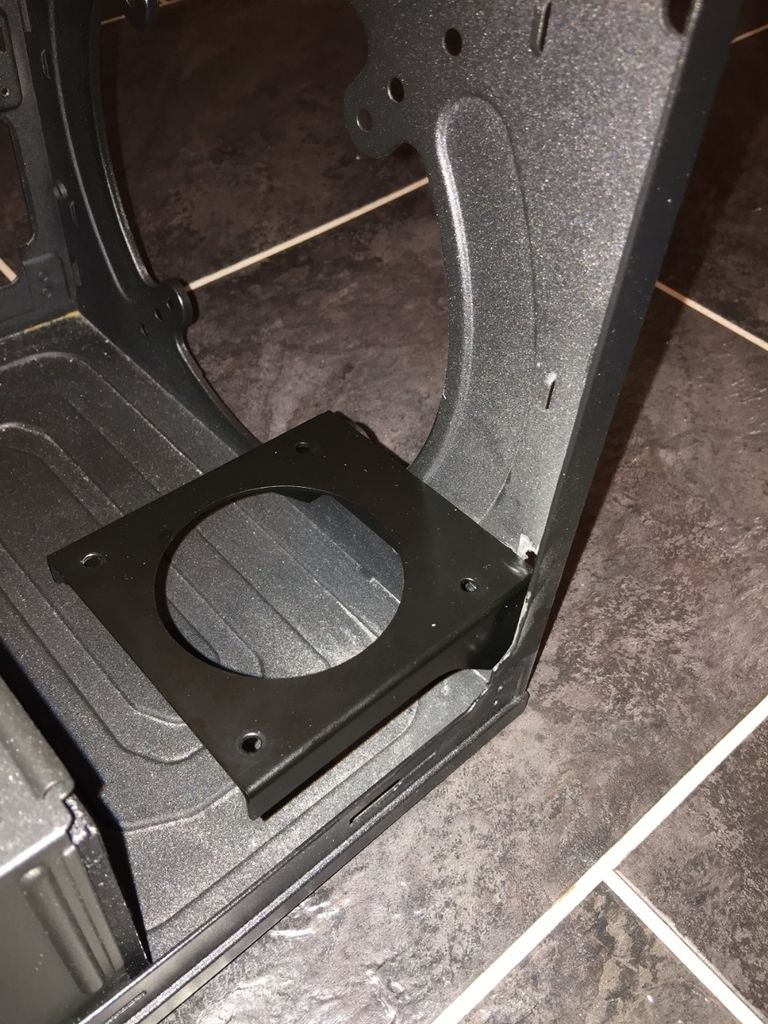
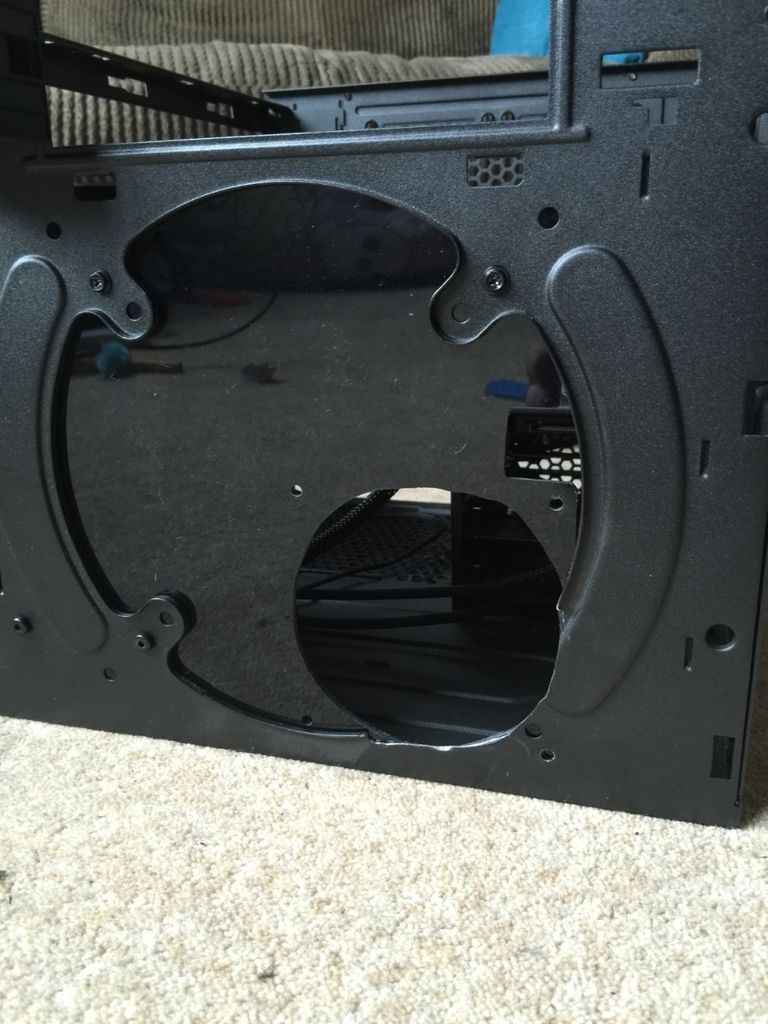
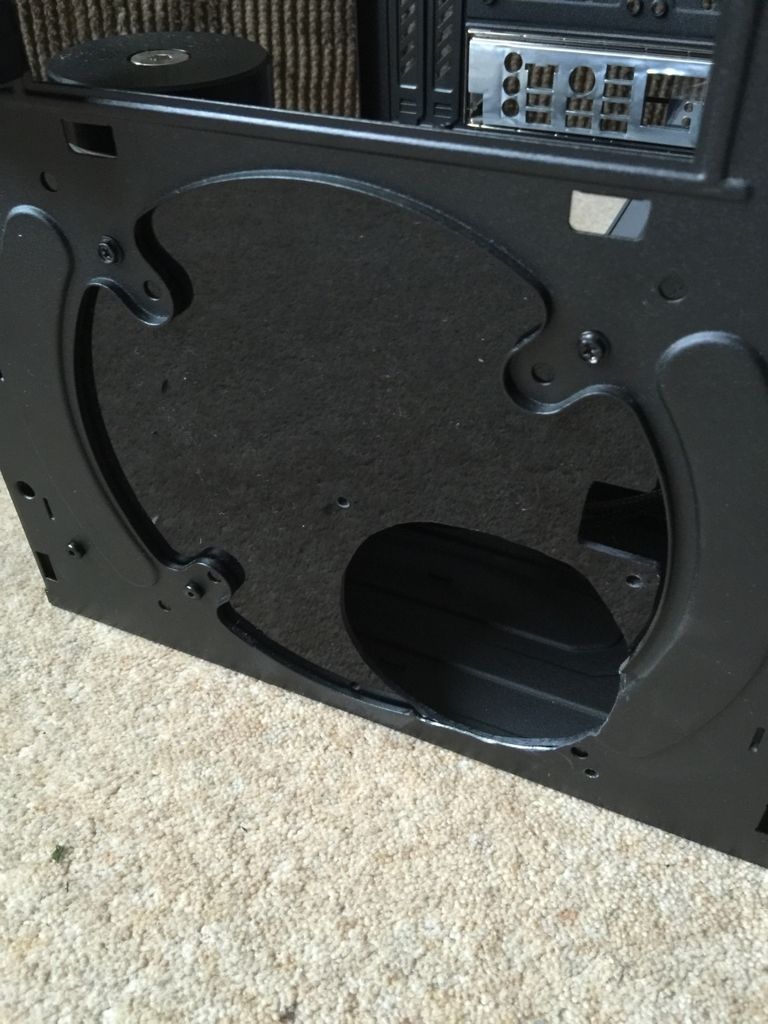
Then I did a minor case mod to fit the Pump mount in place; this involved removing the bottom tab on the case front, the back of the slot which it goes into and a cable routing place.
Oh and drilling a hole!

401d167a-a2a8-4197-bd2f-e7a4a89d9995_zpsutikheqw.jpg~original


With this complete I decided to do some painting....
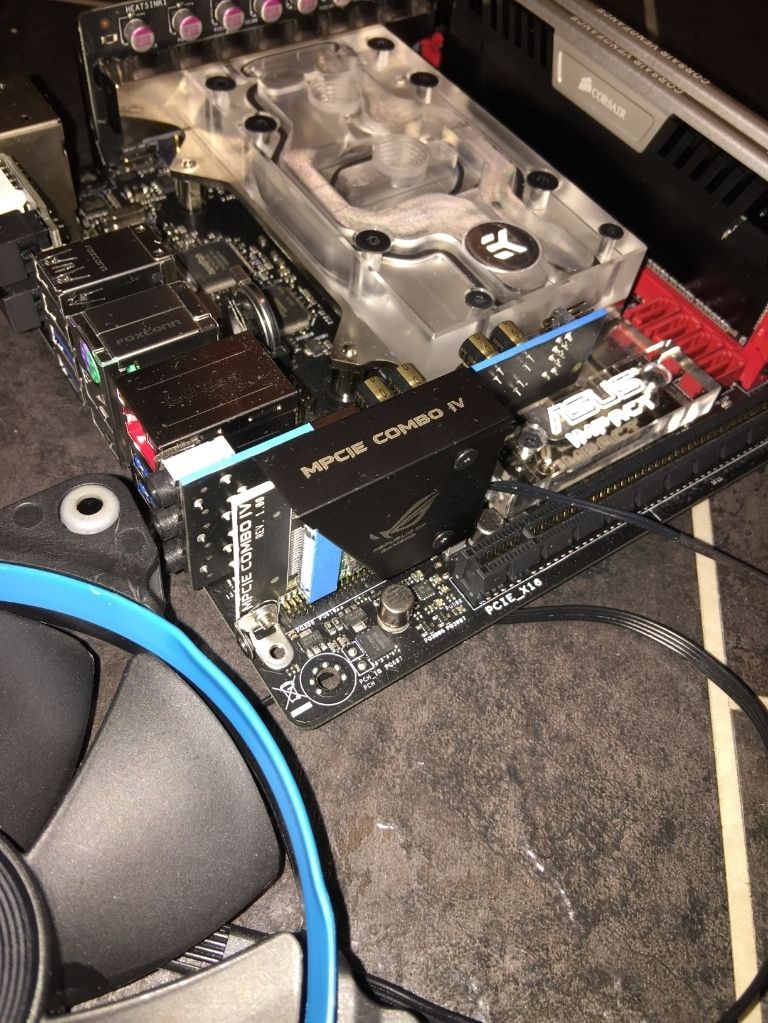
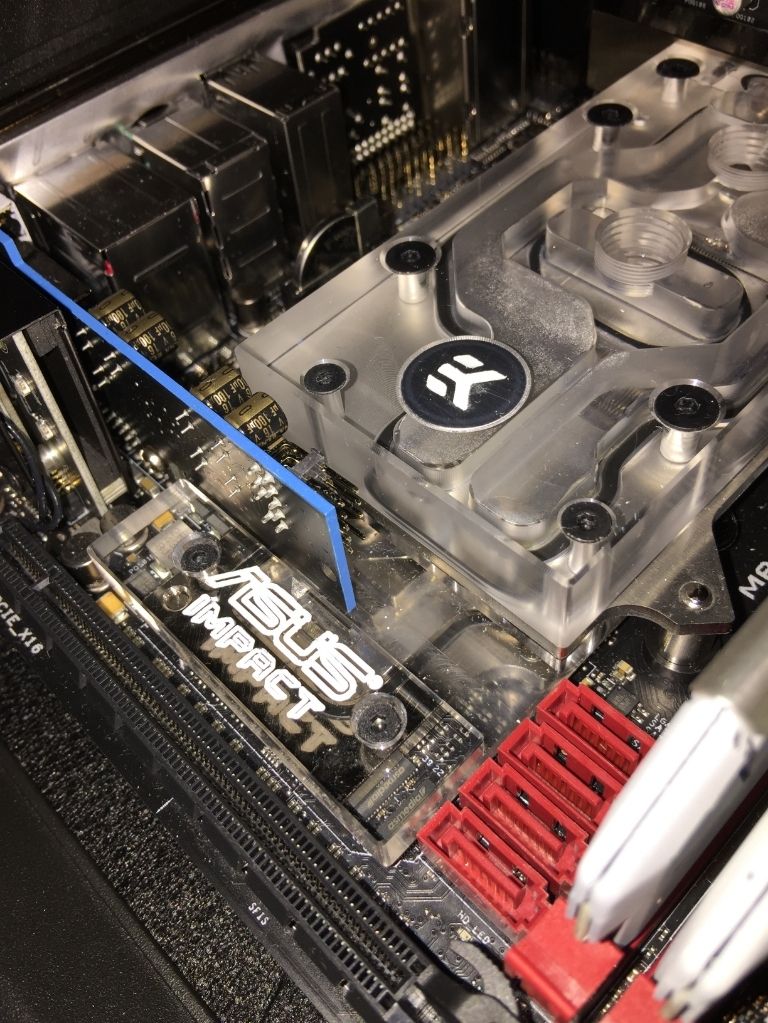
I highlighted the Asus Impact on the waterblock (doesn't look perfect from 4 inches, but from a couple of feet away it looks really good).
Also highlighted the EK logo on the block and put a colour on the edge of the sound card PCB, and highlighted both ports on the PCIe Combo card. The blue is a pretty good match to the fans.

72b92c67-3893-4d23-b554-1f3929ced272_zpsnplp8cgr.jpg~original

7432ced4-0c7e-47aa-8e37-e00c7bf05ec0_zpsmruemav8.jpg~original


I then sprayed the RAM white. I'm not sure about the paint I'm using it's not adhering as well as I'd hoped. I might either buy a different one tomorrow, or sand the faces lightly (maybe both).

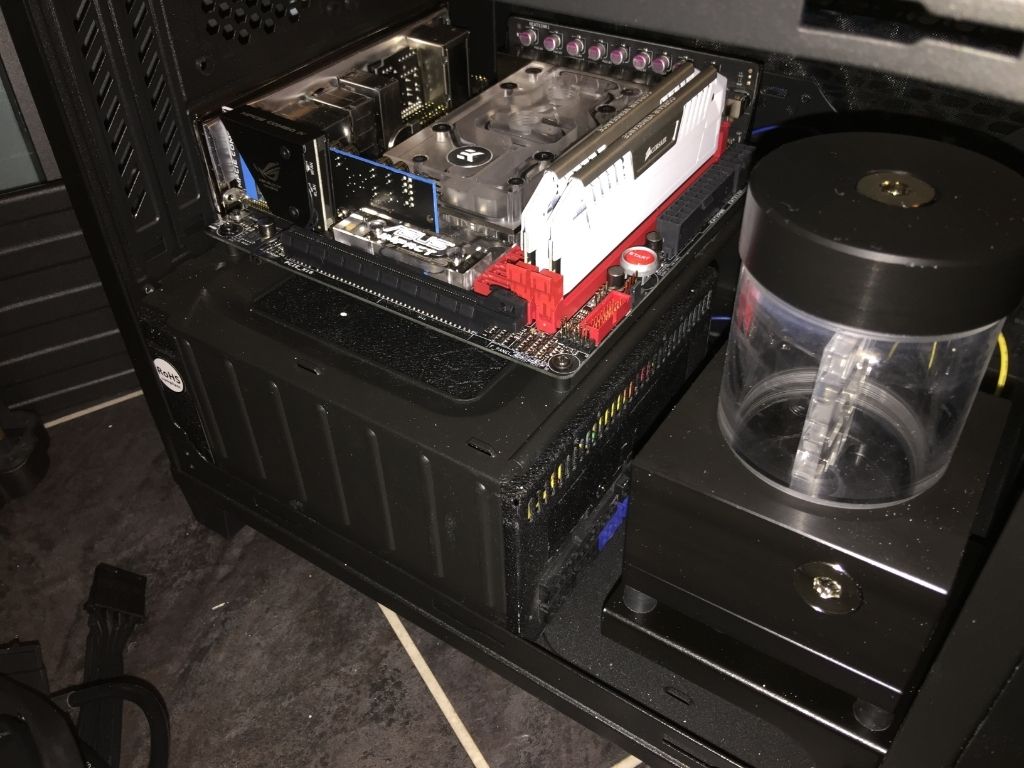
Then I did a test fit of a few components again, realised what time it was, posted this and decided to call it a day...
e1a4ee7b-fb2a-4d32-86b5-1b5932101922_zps44o4eida.jpg~original
 
Last edited:
Looking good mate, like the detailing and added colour.

Glad to hear you're not suffering too much from sleep deprivation!

Thanks, going back to painting the components; I think it's just:
The acetal block for the res / pump
The red sockets in the motherboard
The edges of the rad
and finishing off the RAM.

I'll path up the acrylic tonight.
 
Would love to know the parts & costs you used for this build as I'm looking to do something like this in the future depending on costs.

Yours is looking pretty good so far! Subbed

Component list:
Maximus Impact VII - £190
Intel i5 4690s - £177
Corsair Vengeance Pro Silver 1866 - £63
Corsair SP120 PWM x2 - £25
EK D5 x-Res Top 100 CSQ - £47
Corsair 250D - £75
EK Impact VI Waterblock - £75
Nemesis 240 X-Flow - £40
EK-HDC Fittings x 6 - Blue - £30
Total: £725


Non-Purchased components
SSD - Corsair Force 3 60GB - Spare
PSU - Silverstone Strider 1000w - Spare
Pump - XSPC D5 - Spare


To buy:
Silverstone FP-58B Drive bay - £12
Panasonic UJ265 Slim Slot Loading Blu-ray - £60
240GB Kingonston HyperX Predator SSD - £200
4GB GTX 970 - £260
EK FC970 GTX Backplate - £20
EK FC970 GTX Nickel full cover waterblock - £80
EK-HDC Blue fittings x 4 - £20
Drain port - £20
Total: £675

Total Cost once completed: £1400
 
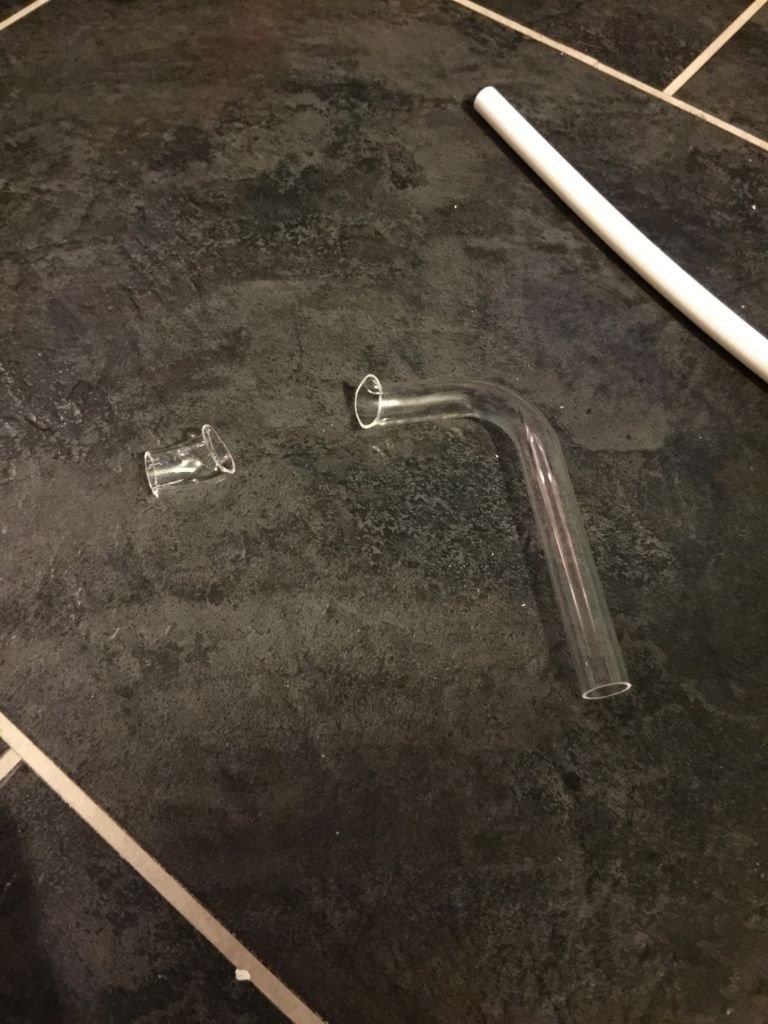
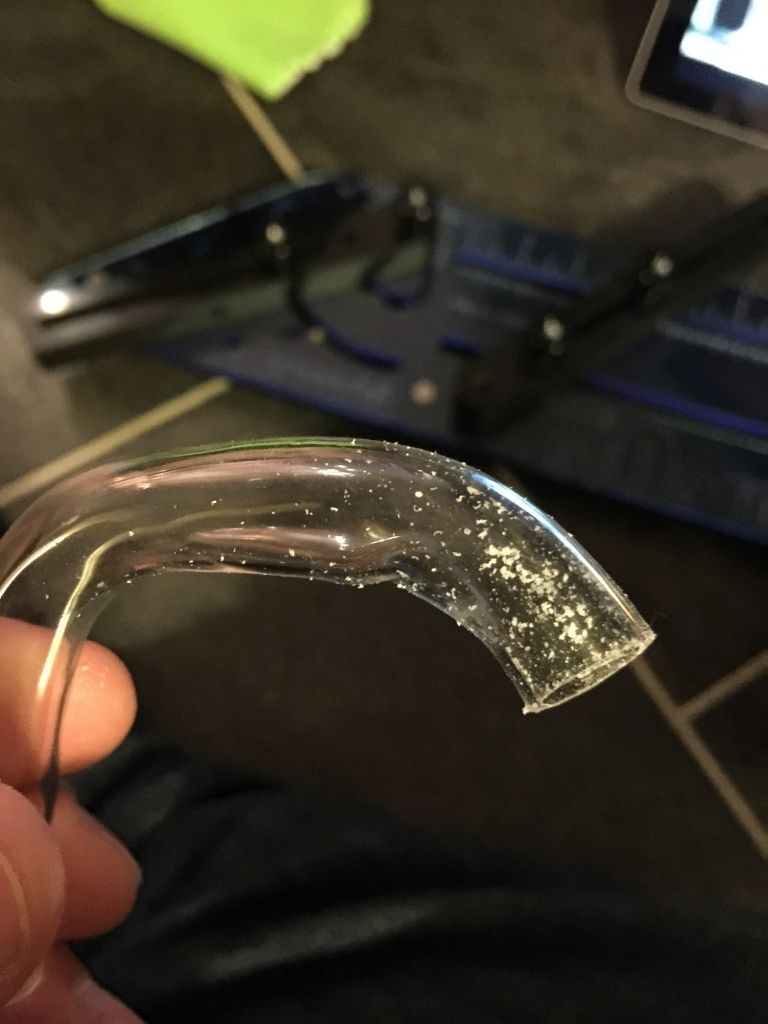
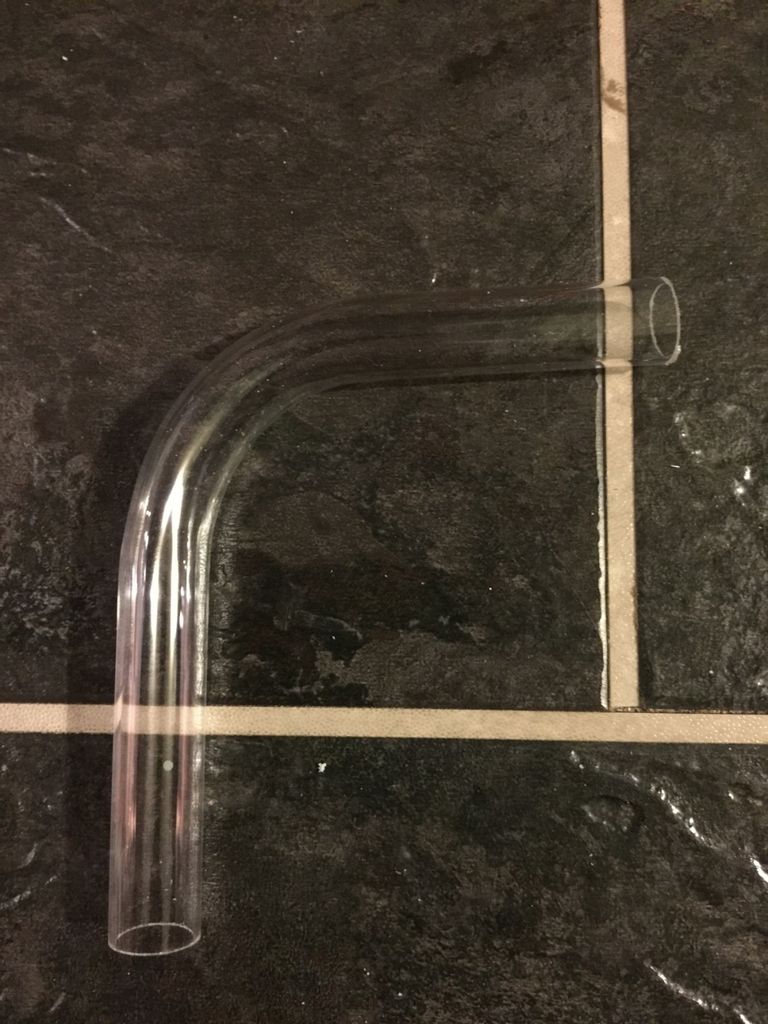
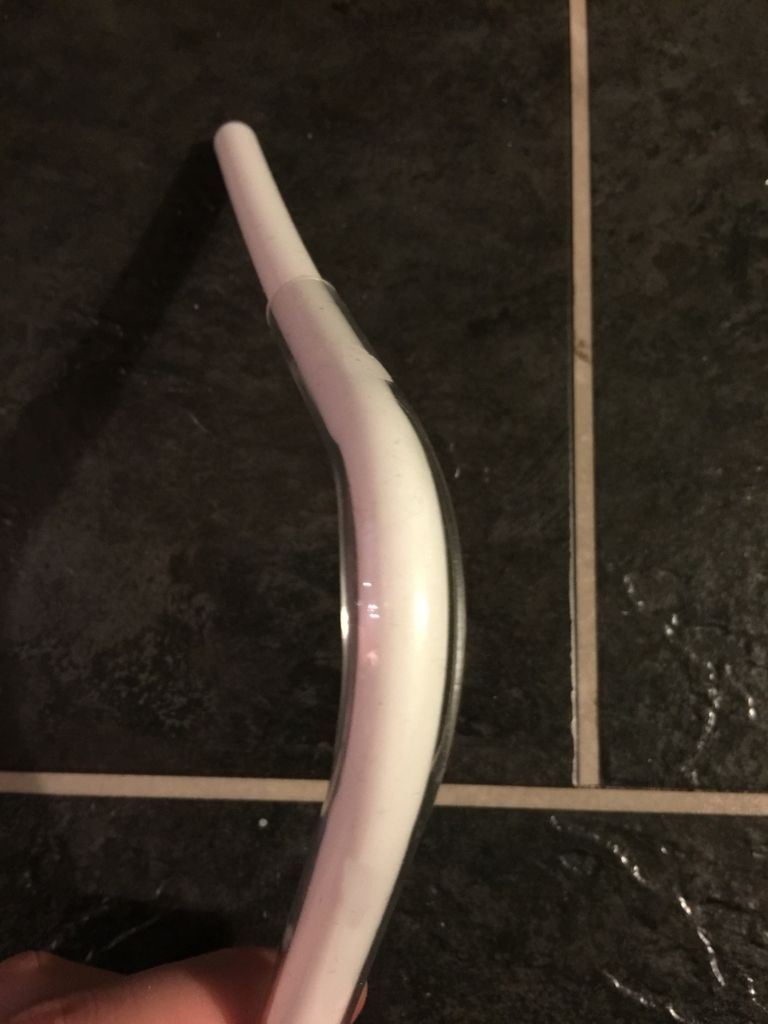
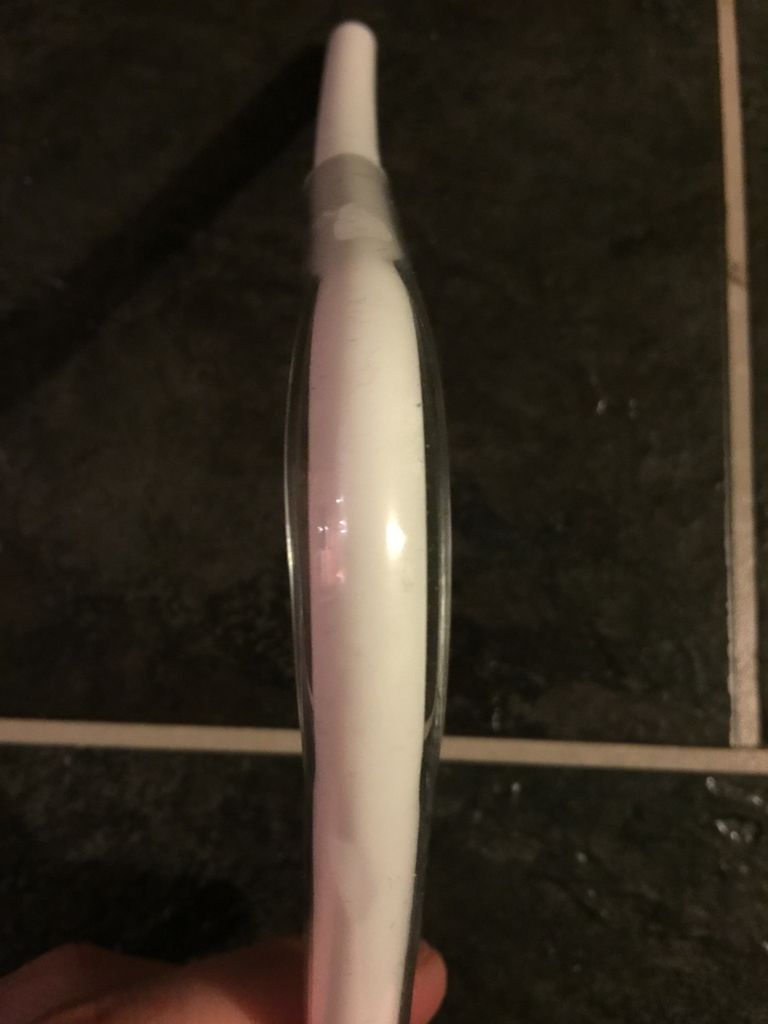
Apparently bending acrylic is harder than I first thought!

Messed up the first attempt again having issues resizing photos so they will be up shortly

ee51ce0c-d733-4aaa-9b8f-a2008972af79_zps5ql3nain.jpg~original


Edit: second attempt is still a little "bulgy" around the bend; I think I'm being impatient!

Sigh...

319eb69d-7b85-4ea8-b091-27b36790021c_zpsojoswvjs.jpg~original
 
Last edited:
oh wow thanks for that friend! mine is similar to yours when i get round to it, i also have a 970 but i plan to use the full waterblock. and im undecided on what to do with the cpu as i have a g3258 as a stand in right now, defo not gonna waste my time putting that under water :) also undecided on case :confused:

but thankyous!

No problem, always happy to try and help.
 
Thanks I'll give it a shot tomorrow.
I had some better results on the last one I did, but there was still some creasing in the bend.
It's probably not heating evenly.
I will try with a lower heat tomorrow!
 
Started sleeving up some of the cables for the pump and the front panel last night...

However I've decided that all of them are WAAAAAAAAYYY to long.

So instead of that I'm going to choose a path for all of them, and trim them to the correct length.
One of the other things I had issues with was the fact that the Impact VII has a custom pinout for the FPIO connections; and as such has it's own little USB type header on the motherboard to allow this connection, but this extension is only about 2" long and I'm really not sure how I'd sleeve it to make it look good.
So in trimming down the cables I'll take out all of the 2 pin connectors and solder the wires together instead then sleeve the whole loom as one; which should tidy the whole structure up.

Anyone got advice on sleeving USB connections?

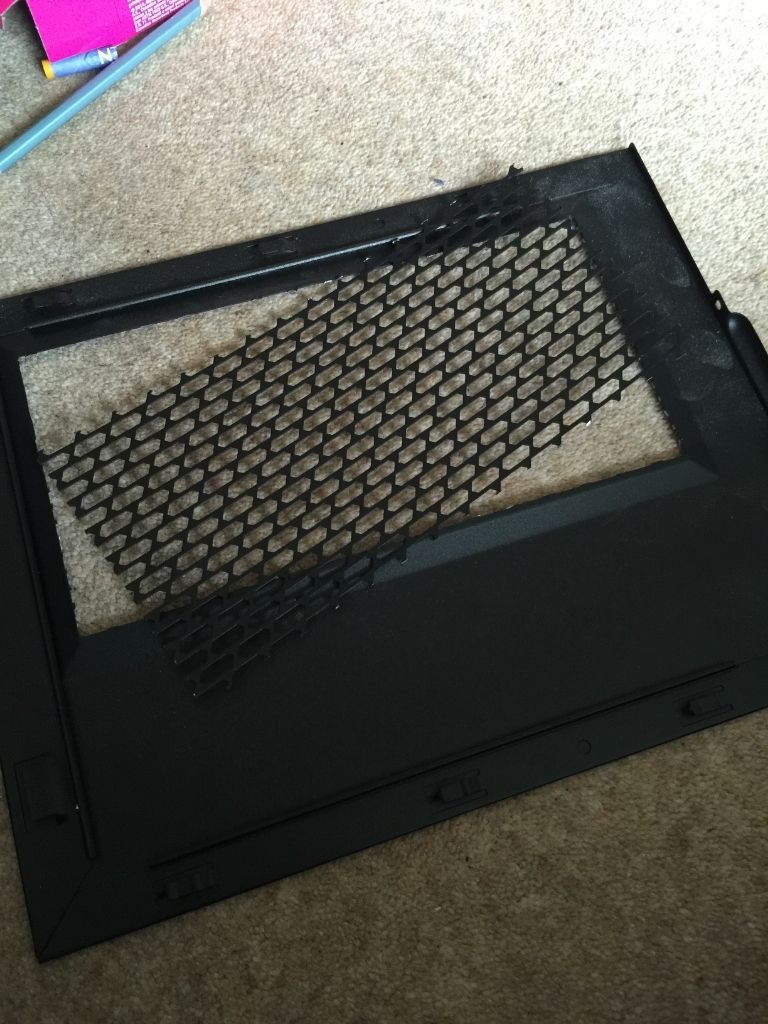
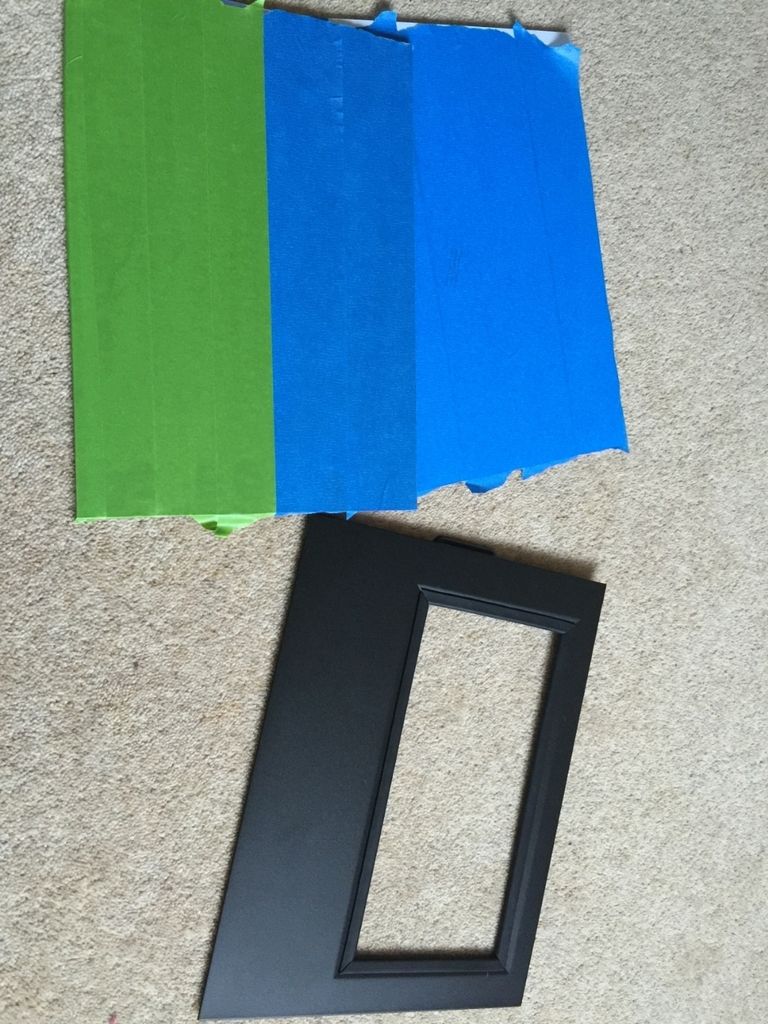
Also I'm considering doing a side window mod on this case (replacing the fan grill) which thickness acrylic should I be using for this? 3mm?

And no.... that's not on the radiator side of the case!
 
Last edited:
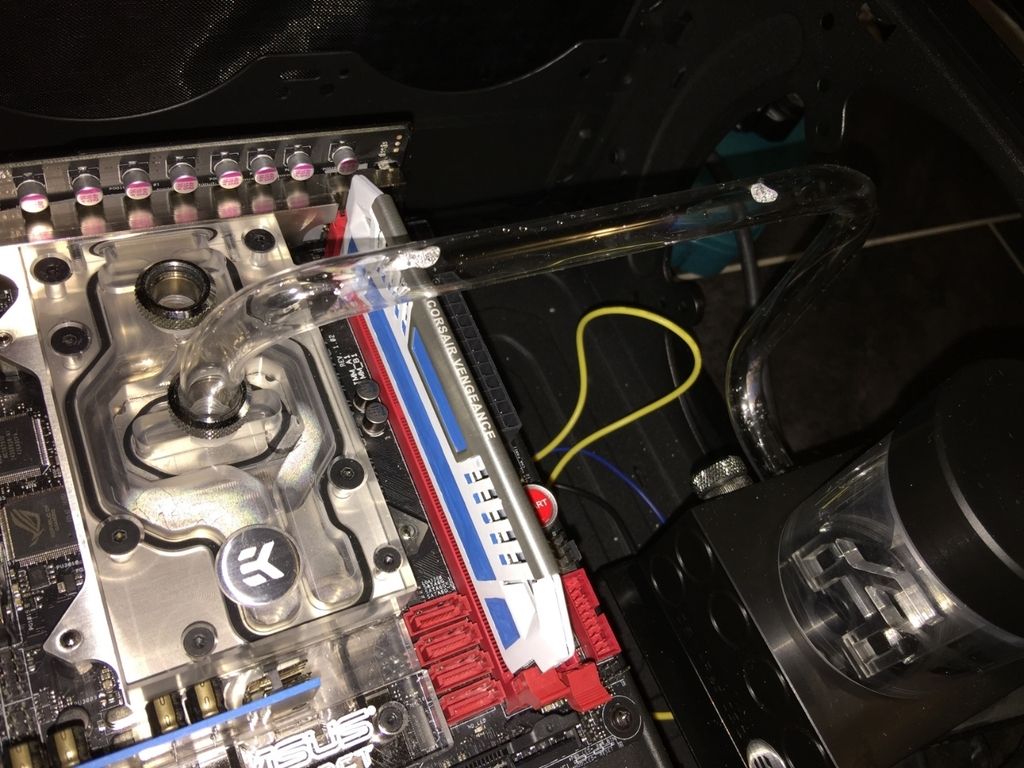
Technically from the sides the bends look good...

58c19340-8d05-4f52-9555-90cd17e91ede_zpsinzf5cbl.jpg~original

However from the top they are bulging...

bf1898f7-4ea8-4da2-921d-42809615b4d3_zps76y71xk0.jpg~original


01e61e79-e0c8-49f6-bc6f-e4bc40281d4f_zpsc3c1dx9t.jpg~original


Any ideas?

Window mod is coming on well... just need to sand it and install the acrylic!

38a39486-3f16-4213-8074-c78163d0c0f9_zps23drhka5.jpg~original


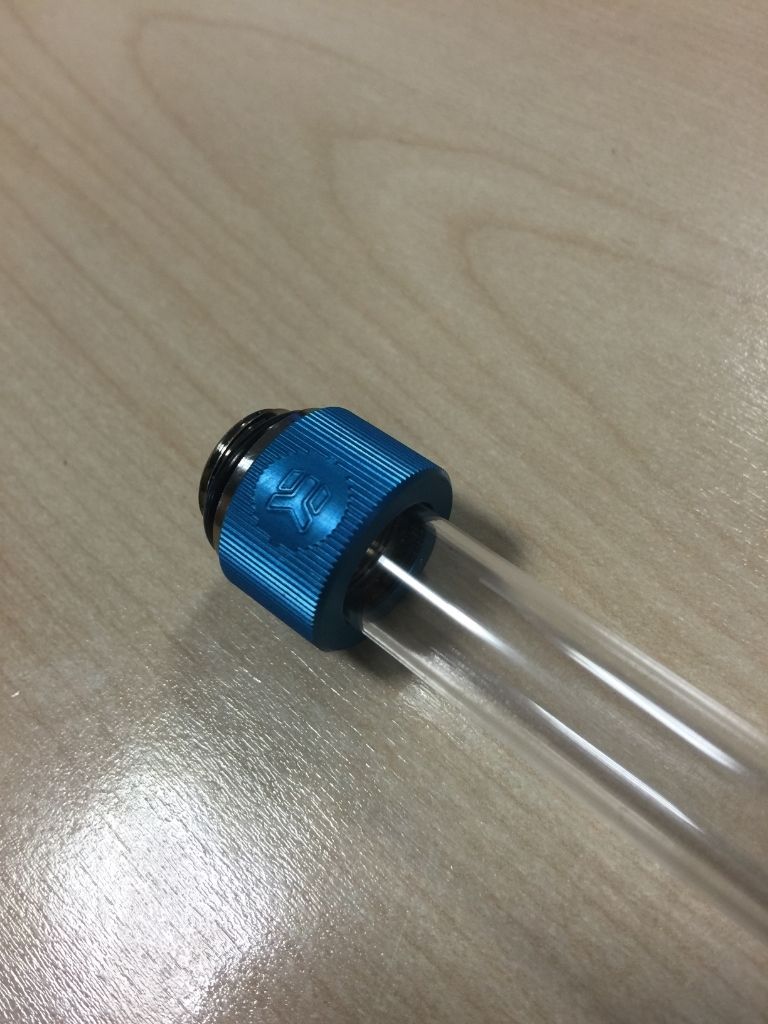
And the fittings look good!!

3eade80d-5579-4b1b-8cdb-92dc4a4ec7df_zpsr07ka3wp.jpg~original
 
Apologies for the lack of updates on this recently, but I haven't really done very much in the last few days.

I have ordered the sleeving, heat shrink, cable combs, fan splitter, exhaust fans, acrylic sheets and the rubber U channel to go around the window.

Unfortunately this is totally holding me up since one of the sheets of acrylic will sit behind the pump which means that I can only do one of the pieces of tubing.
There's no point doing any of the cabling until I have the fans / sleeves and I can't do the window until the channel and the acrylic turn up...

*sigh*

I have however done a few more test fits of the rest of the components and also run prime 95 for 15 mins.
The results of this worried me somewhat.
Now I'm only running one fan on the radiator (since I don't have the splitter yet) and the case was open.

Prime 95 on full blend for 15 mins gave me a top CPU temp of 31c and a top VRM temp of 32. That's with just one radiator fan running...
Ambient temps were around 19-20c.
I guess I'm just not used to a chip with a TDP of 65W; rather a 130W overclocked 4960K...

On the other hand I need to replace the power supply because the fan is noisy.

I'm looking at this one: Nightjar 520w PSU PSU
Anyone know anything about it?
 
The fans, acrylic, and cabling turned up yesterday but I had a lot going on so I'm hoping that measuring and cutting the acrylic sheets should be this evenings task.
86de3c5e-f333-4f79-b9a5-582f4c6872aa_zps03plpja4.jpg~original


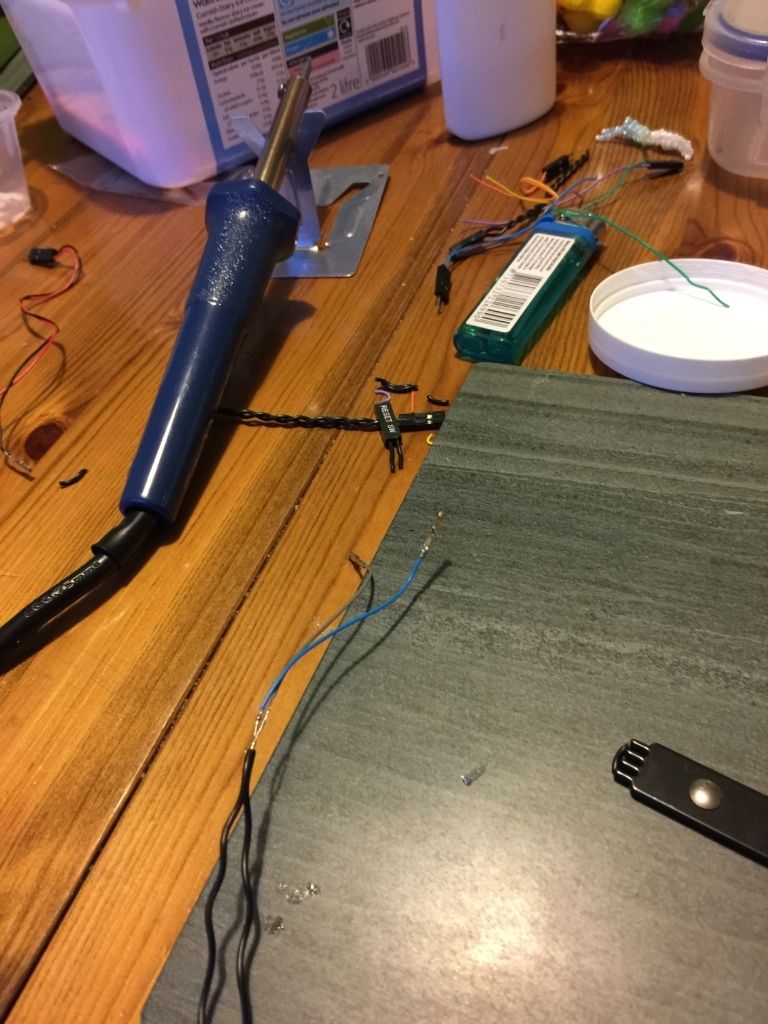
I've spent some time resoldering and shortening the front panel cables so that it uses a single USB header to connect to the motherboard.
db3eec0b-2861-4163-a86c-1debd8e03e83_zpsiil1mylh.jpg~original


I then shortened the pump cables and wired it direct into the PSU rather than using both cables, this is partly down to aesthetics and partly down to practical reasons around space and cable management.
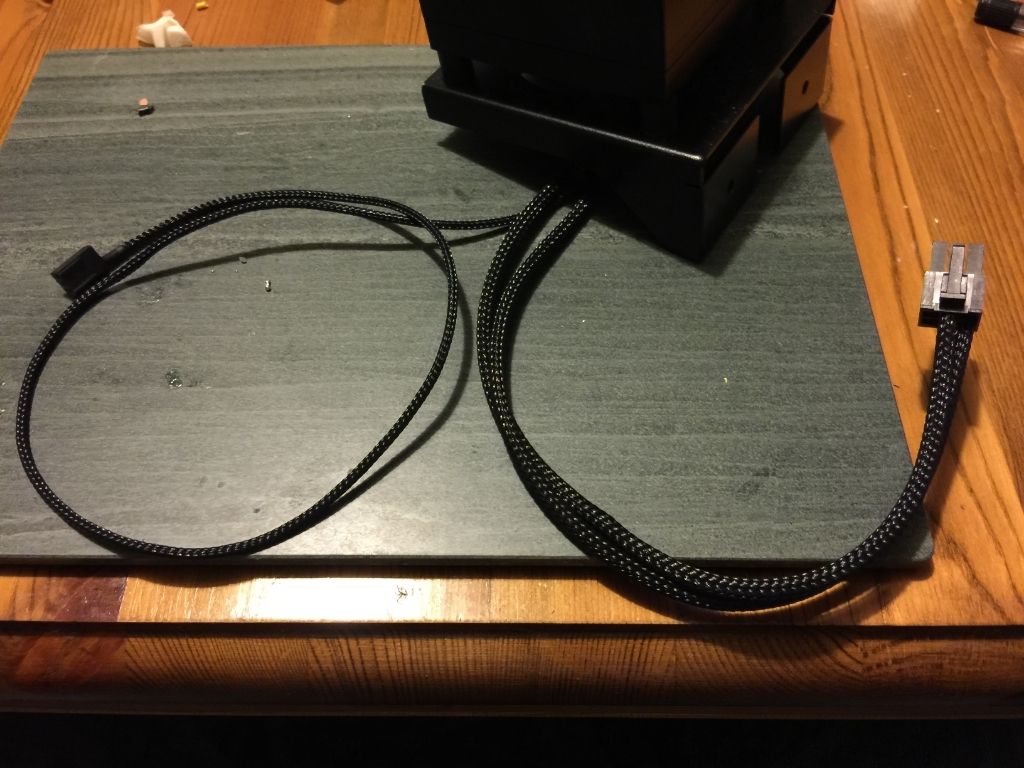
These were then sleeved
3c81205d-ec59-43fd-bbab-9893c3358652_zpsqx219rvy.jpg~original


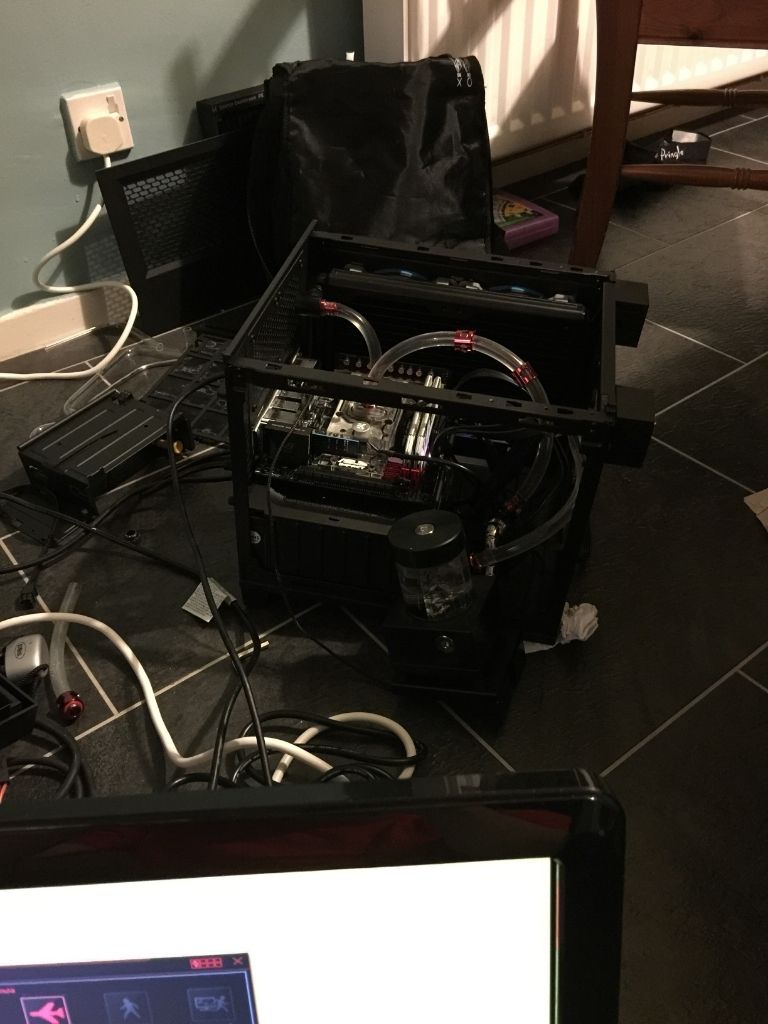
Testing that the whole build is working using some spare fittings; also needed to test the loop after re-soldering the pump straight into the PSU rather than using a molex connector.
a9080d77-f7ea-46ff-8195-026e079fd00f_zpsqboa8t0e.jpg~original
 
I've been really busy lately and I'm still waiting on the sleeving arriving and the cable combs and stuff...

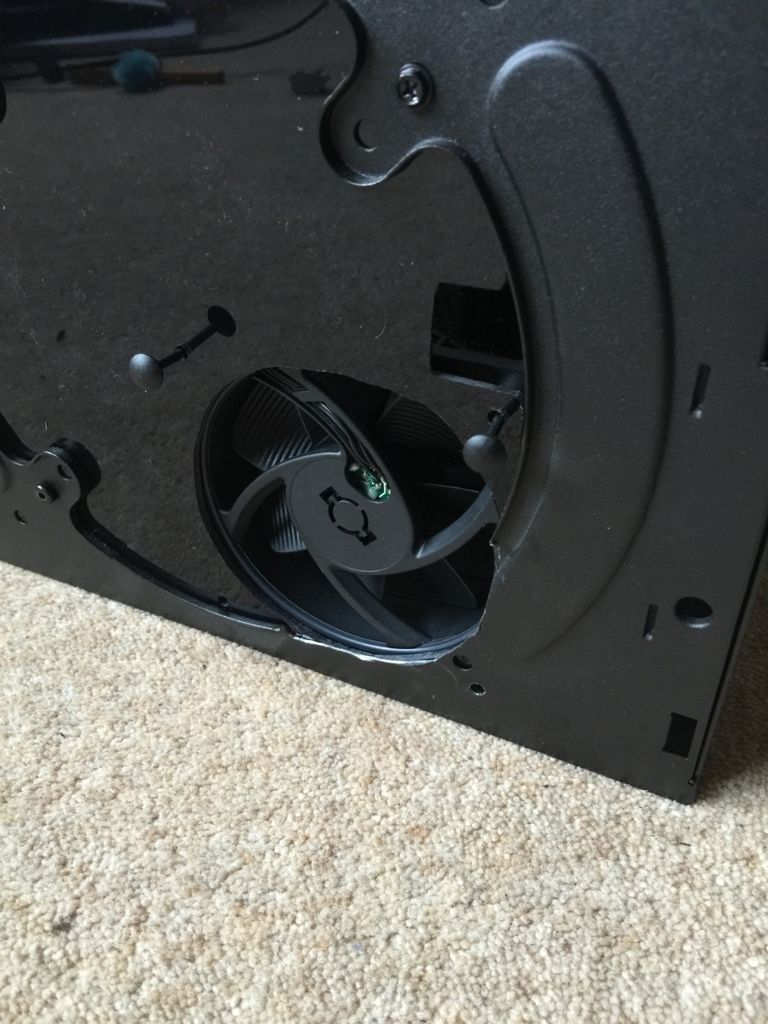
But I did spend last night playing with some acrylic and a dremel ohhhh and the case a little bit too...

All ready to mark up the acrylic sheets:
7acad629-d2b7-4c38-bd52-66f9b65aad63_zpsp5tslgug.jpg~original


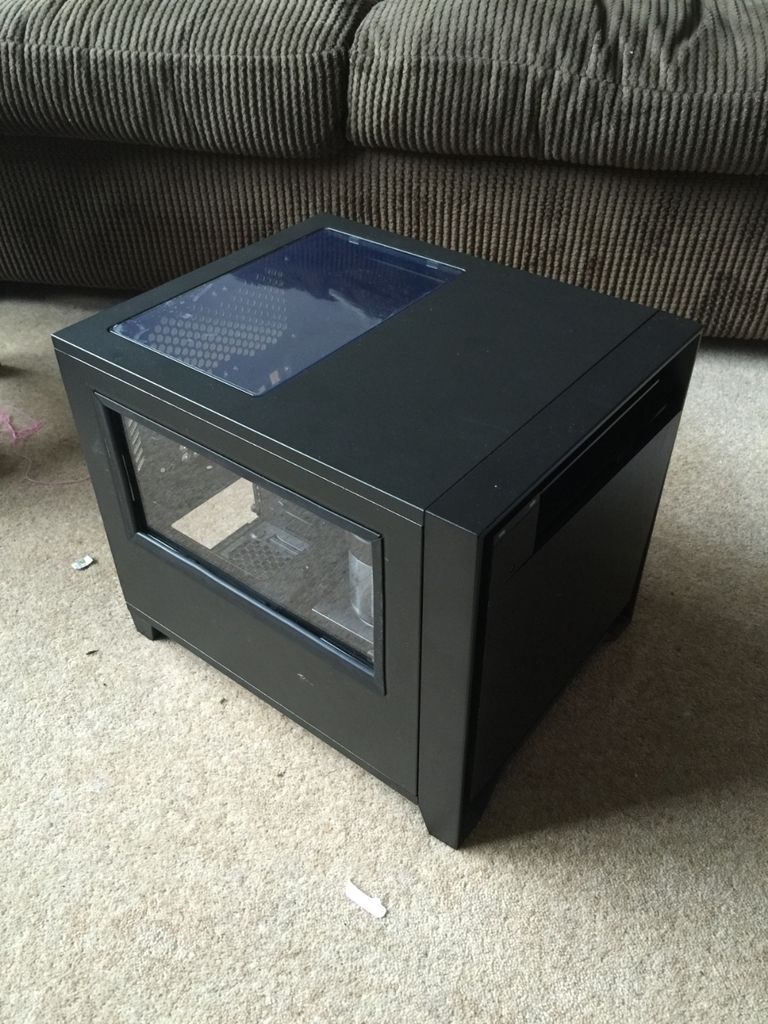
Window mod completed and case assembled:
b57d4065-8f74-4c8e-8f41-71b9dc062f23_zpsahootfjl.jpg~original


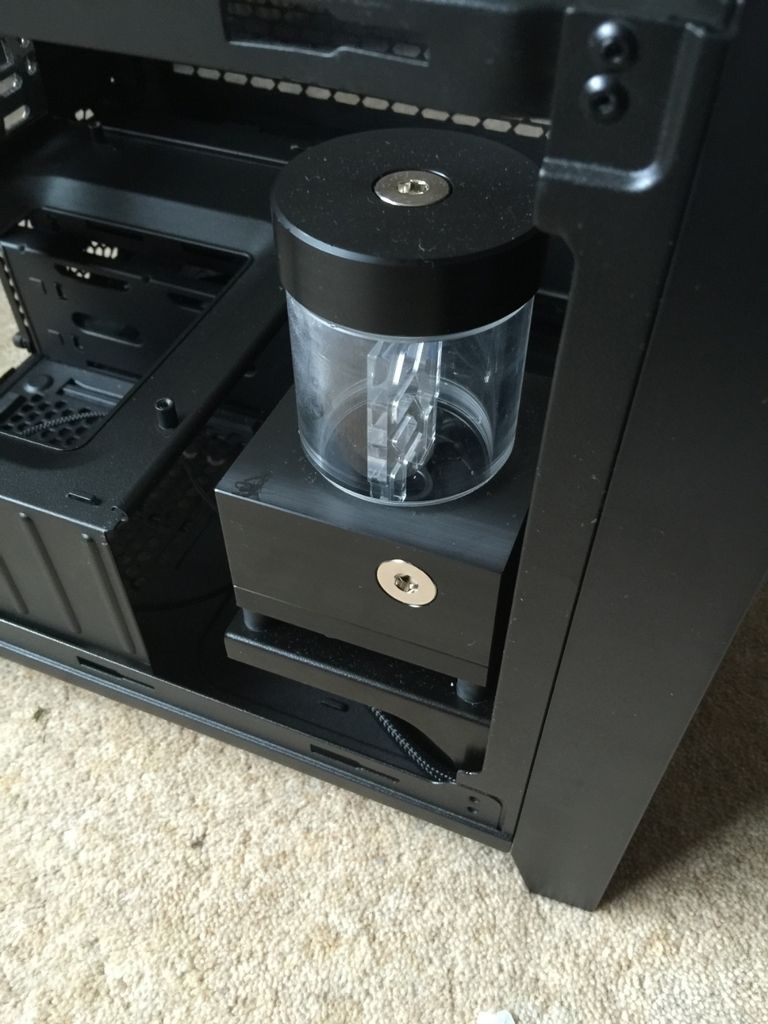
The reservoir and pump in it's final resting place:
4ee60115-7523-49fb-8af6-c6066850e717_zpsisbetpd1.jpg~original


Acrylic fitted:
72a59806-a308-4e2f-abac-c82c4617c110_zpsmatydlid.jpg~original


a1b3dce6-c006-4790-8c49-c7978024fc5d_zpsr2tbcc1q.jpg~original


Test fitting the fan into it's new home:
ccf39e63-87bc-4918-97db-1e4155425a71_zpsrsqbiyrj.jpg~original


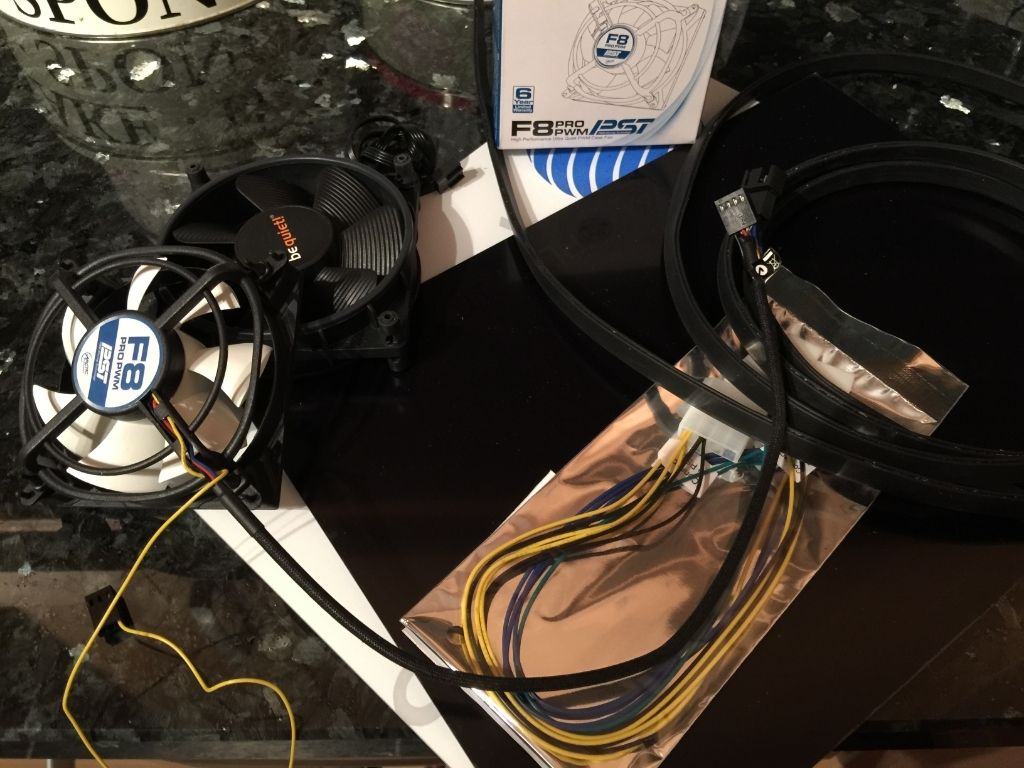
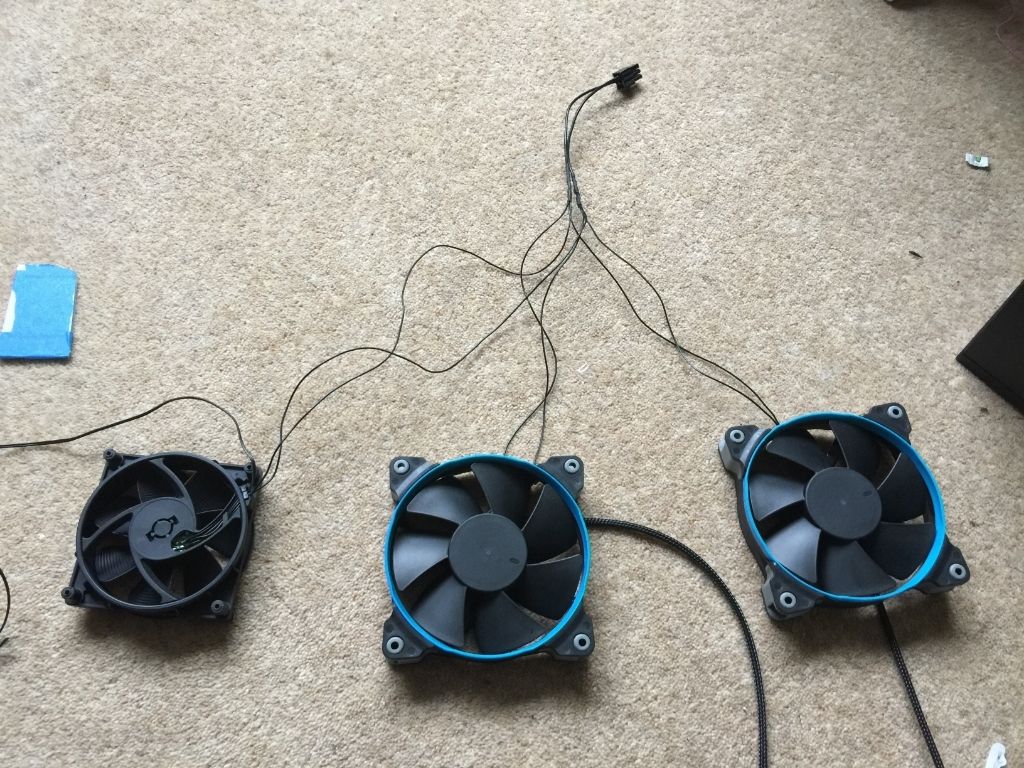
Once this was completed ii spent some time rewiring the fans:

3918b735-99ae-4f24-bf8a-e06b432c77c7_zpsozurk4ym.jpg~original

Then I discovered a small issue (with no plugs I can't sleeve them) so I'm going to have a rethink tonight.
 
Last edited:
Thanks :)

Haha, I haven't retried it since I took a lot of advice.

Since I needed to get the acrylic sheet in the front of the case (pushing the pump an additional 3mm into the case) I haven't done anything with the acrylic tubing.
I have taken a lot of advice over the last week or so, so hopefully the next attempt will look perfect ;)

The black acrylic sheet in the front shouldn't be seen from any angle it's only really a fan / pump / res mount.

In other news my sleeving and everything else has arrived at home... so that's my next few evenings sorted!!
 
Last edited:
I know, it needs tidying up...

I will be sanding it down to get some better edges on everything!

I wanted to test fit and I was very aware I hadn't got any posted photos /updates for a while so felt I should get something up.

Tonight is likely to be the ATX cabling since it has all now arrived; which I'm pretty excited about.

There's still a lot to do and I kind of feel like I'm leaping around the build a little trying to do what's interesting next all the time rather than what logically should come next!
 
I always like to start work on a cable I'm not using yet; and I thought I'd go into a little more frequency with my photos over the rest of the build.

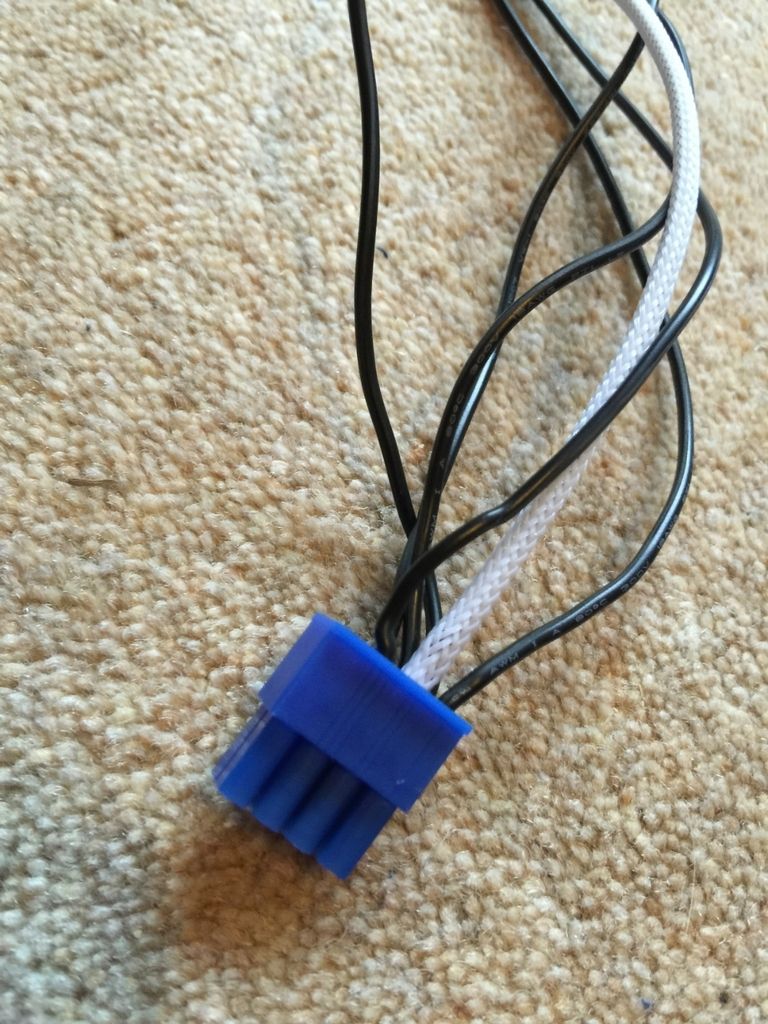
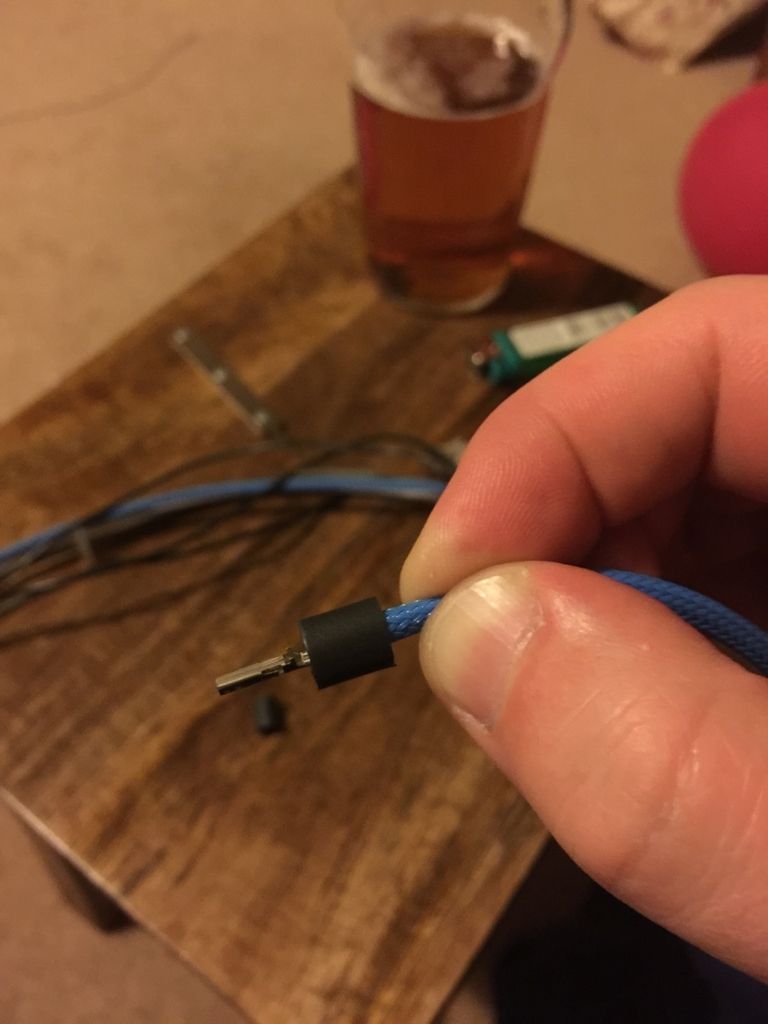
The first wire (and my first attempt at heatshrinkless braiding) has just been completed...
49c82b5f-d9a8-407c-95b2-fa25a3b11ecd_zps5jcenlln.jpg~original


f7e6423f-c4c6-46f7-8ef9-a4d2e76a8686_zpsbzhvw4td.jpg~original


Getting ready to melt the sleeving onto the contact:
5cb6fb78-7a3a-400e-85bb-cc4729e2ad5f_zpskx2flwit.jpg~original


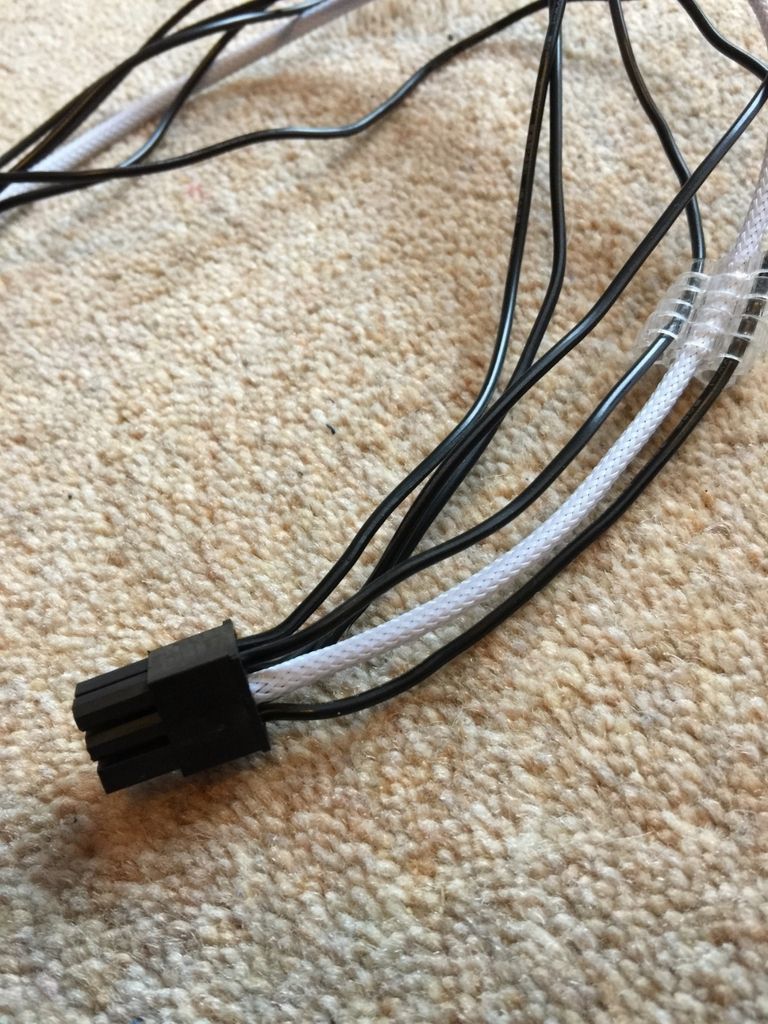
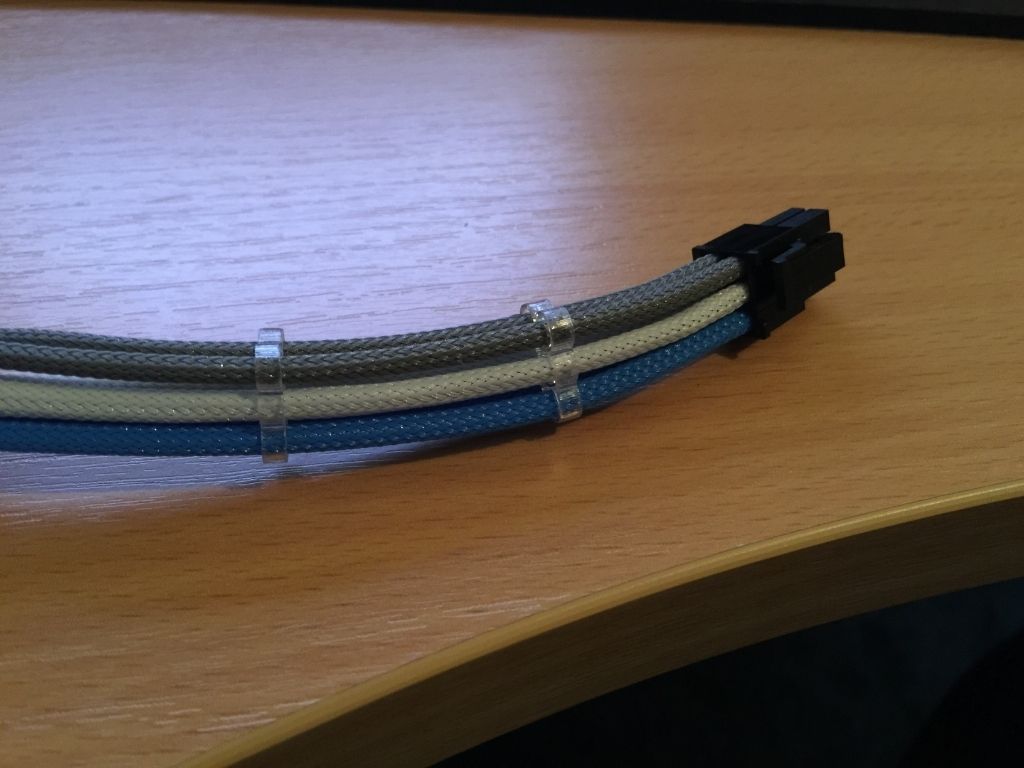
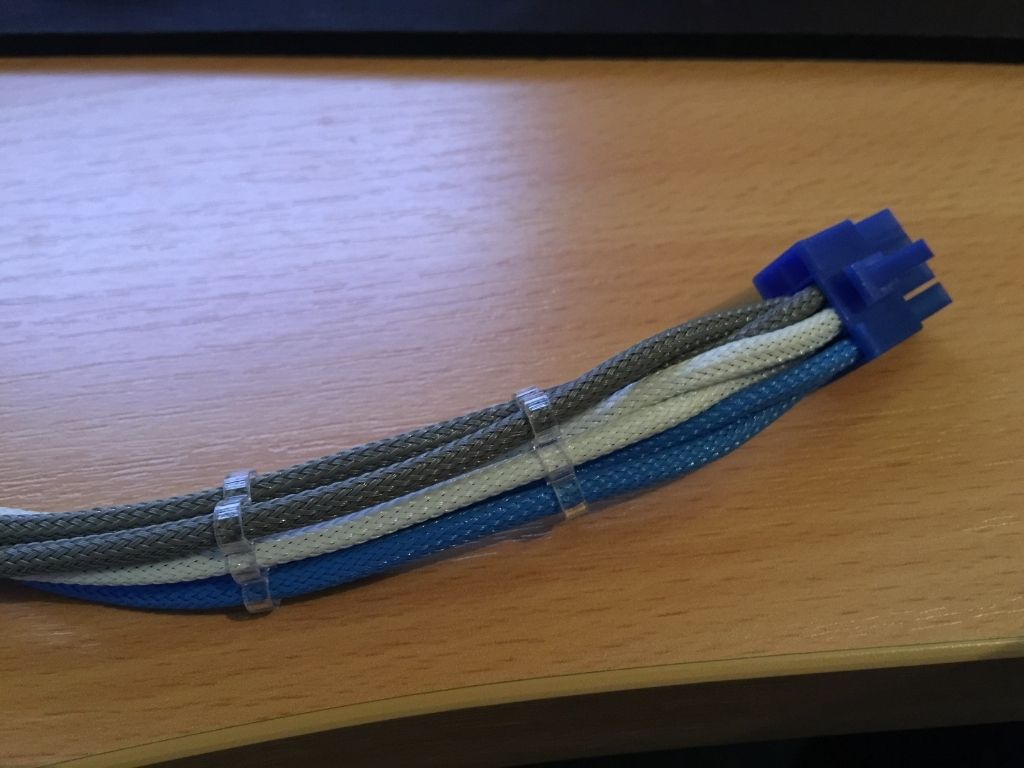
The completed PCIe Cable (I'm going to be using a 970 I think so I have only done a 6 min PCIe cable for now.
c5812a12-d03b-4527-b964-a5e8888eb796_zps4nh6nueh.jpg~original


2ab72037-7953-4edf-b1de-f96095e6381f_zpsbfpd8gew.jpg~original


The cables do swap sides into the second connector:

PCIe Card connector
12
34
56
78

Power Supply connector
78 or 21
56 43
34 65
12 87

Which made it really awkward so I had to do the above for the connector into the powersupply (which shouldn't be seen anyway) but I couldn't come up with a better way to handle this...
 
Last edited:
Back
Top Bottom