- Joined
- 14 May 2012
- Posts
- 1,288
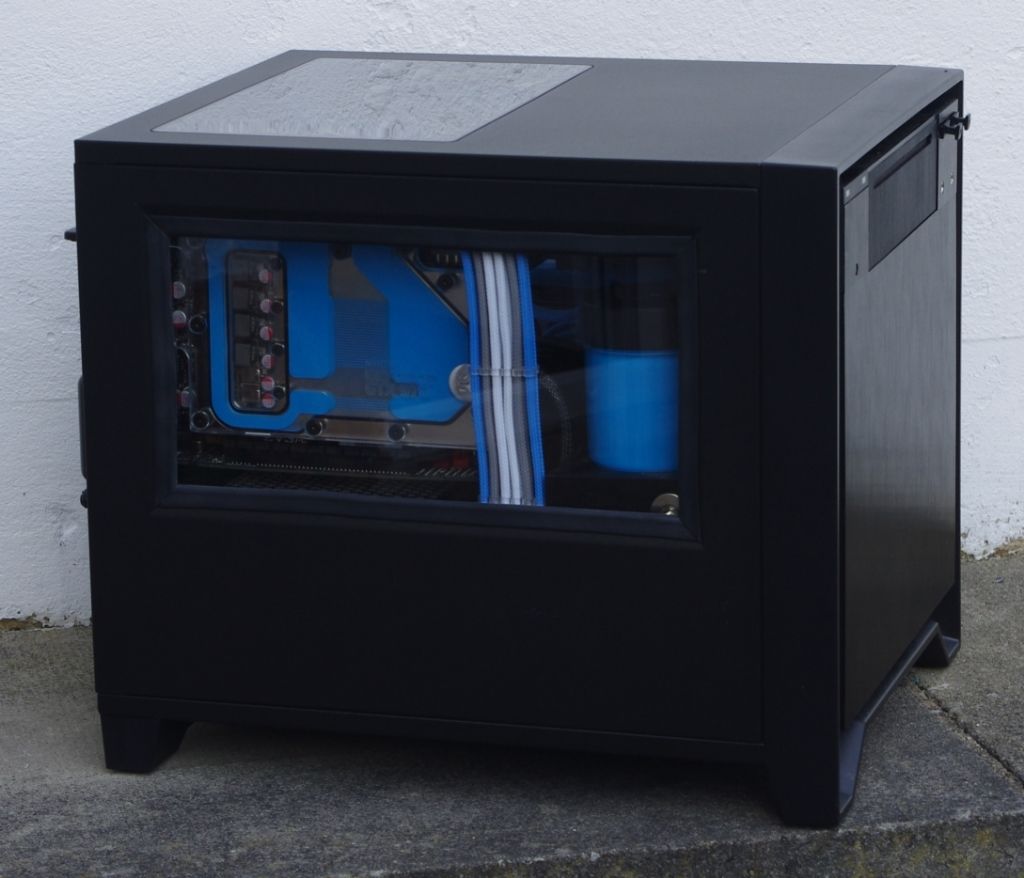
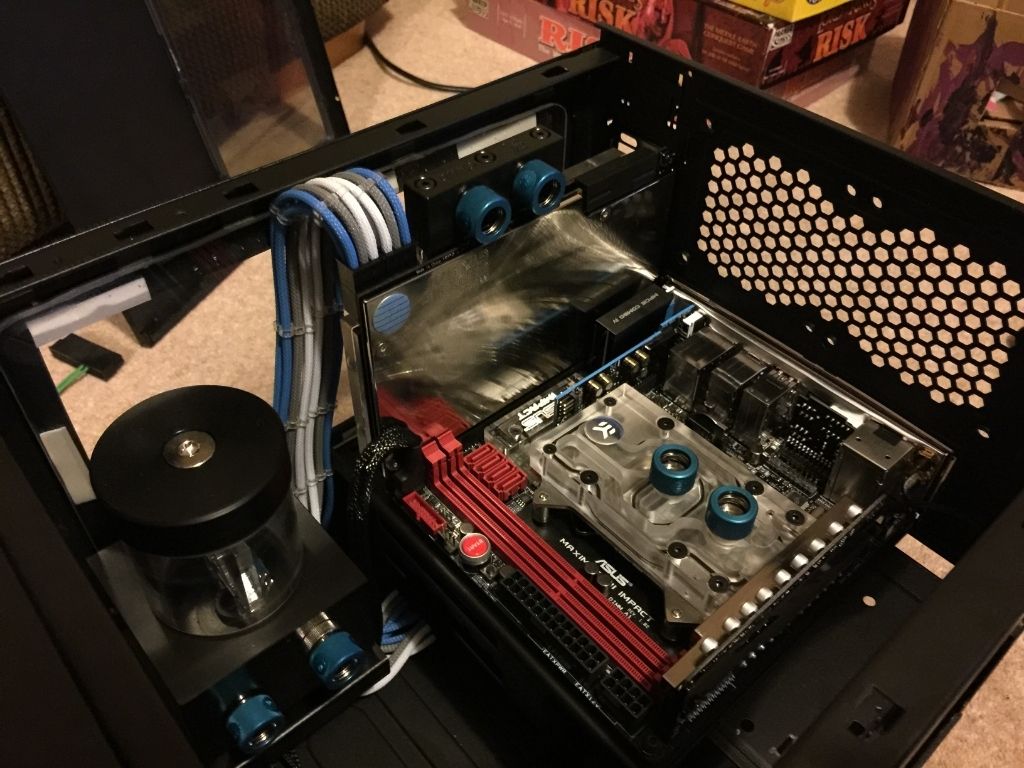
After much deliberation the following was ordered this morning:
YOUR BASKET
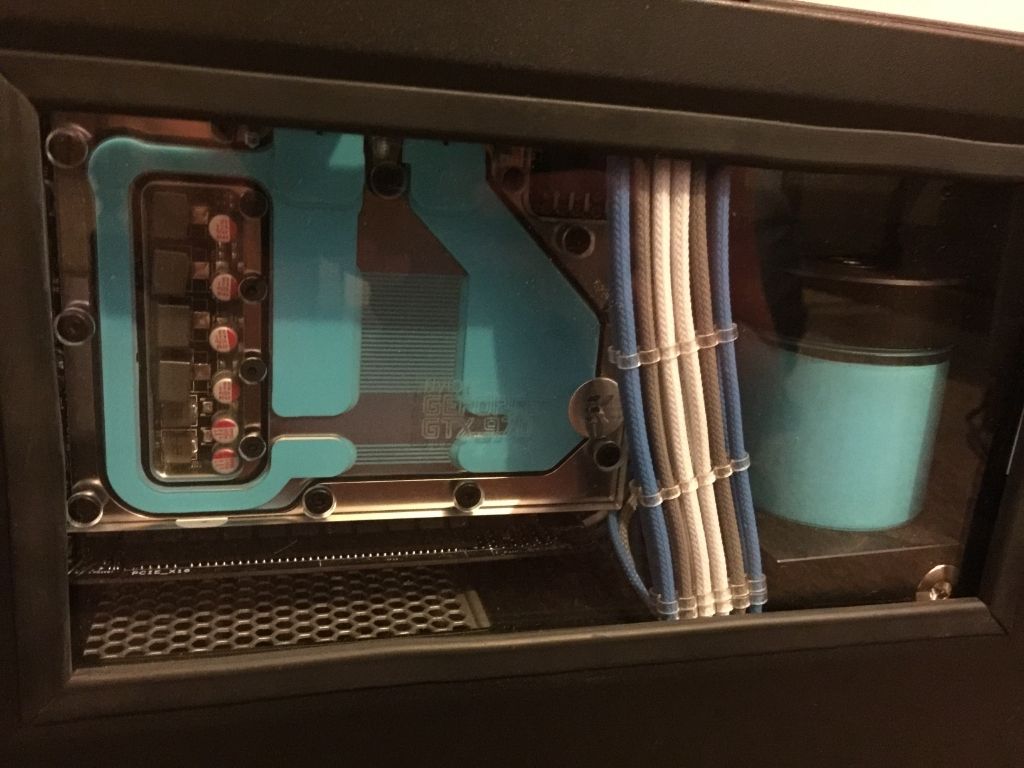
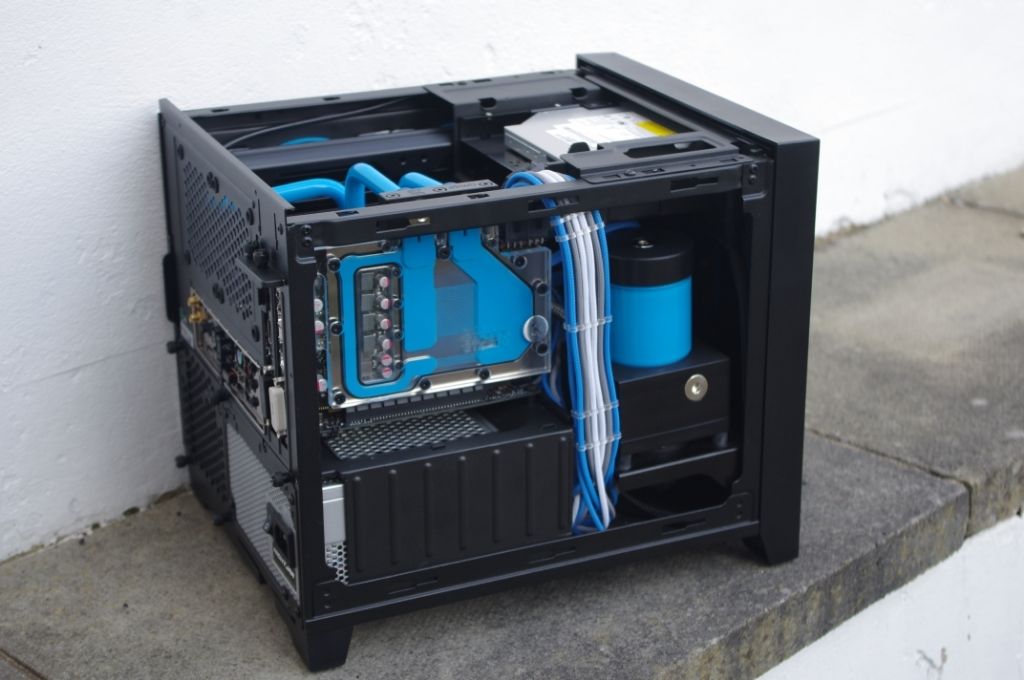
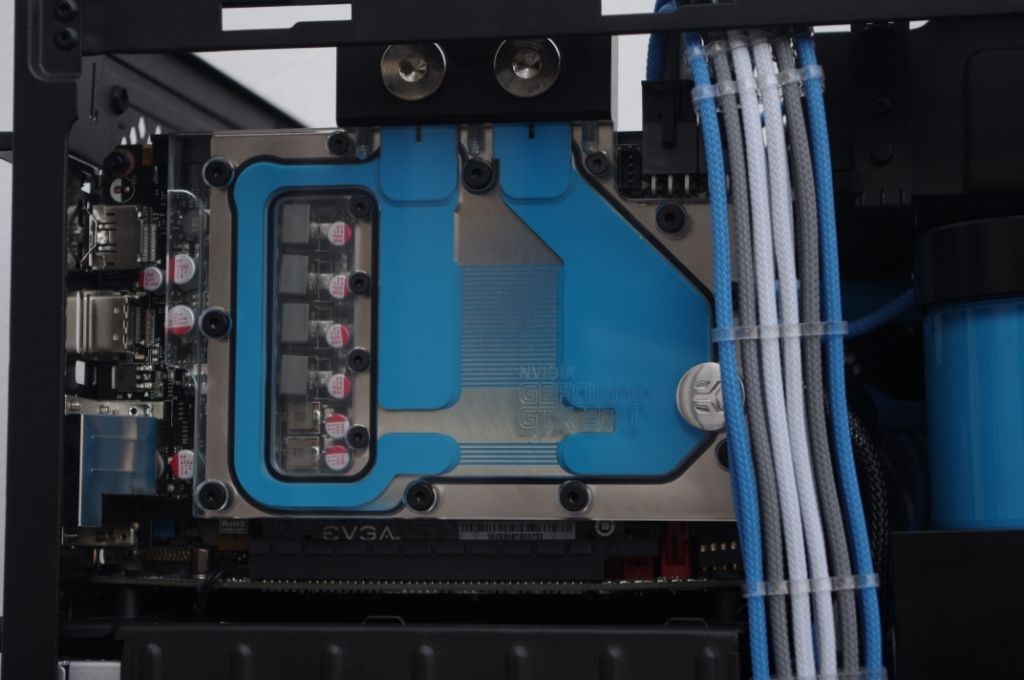
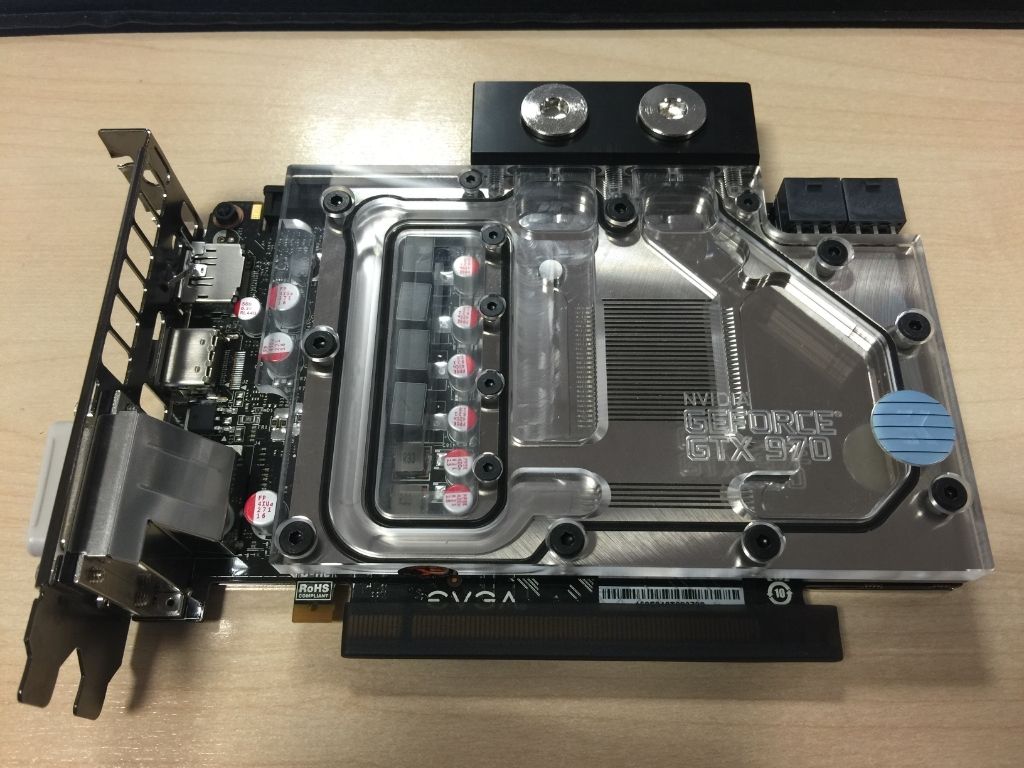
1 x EVGA GeForce GTX 970 Superclock 4096MB GDDR5 PCI-Express Graphics Card (04G-P4-1972-KR) £299.99
1 x SilverStone NightJar 520W Zero dBA "80+ Plus Platinum" Fanless Power Supply (SST-NJ520) £109.99
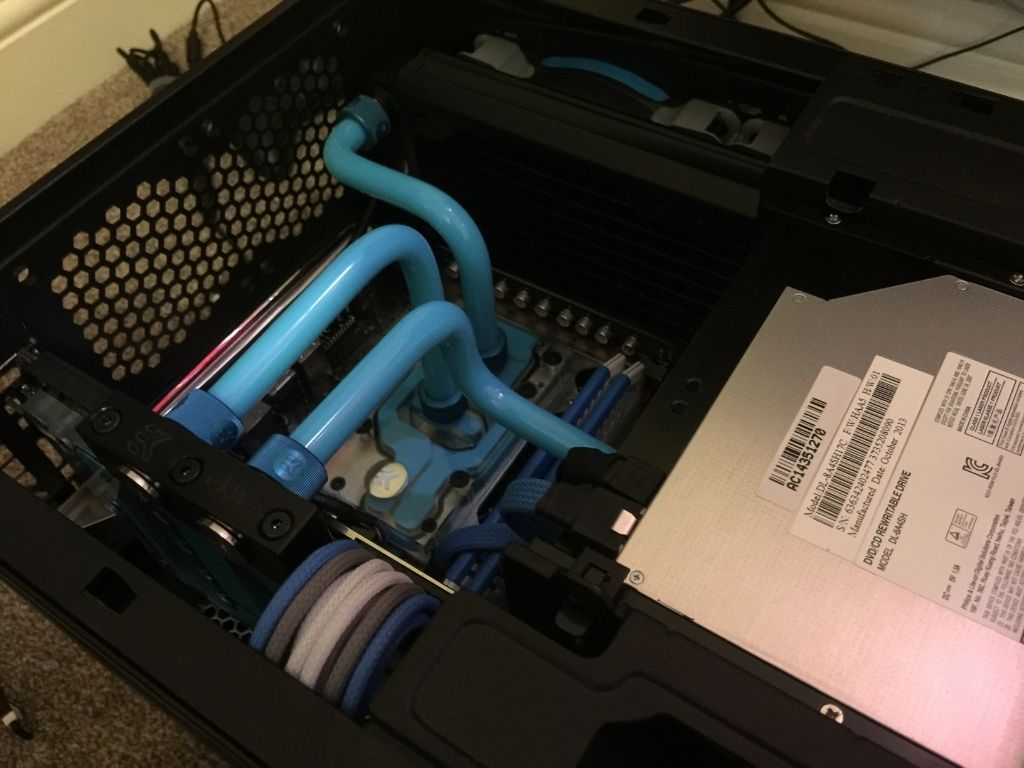
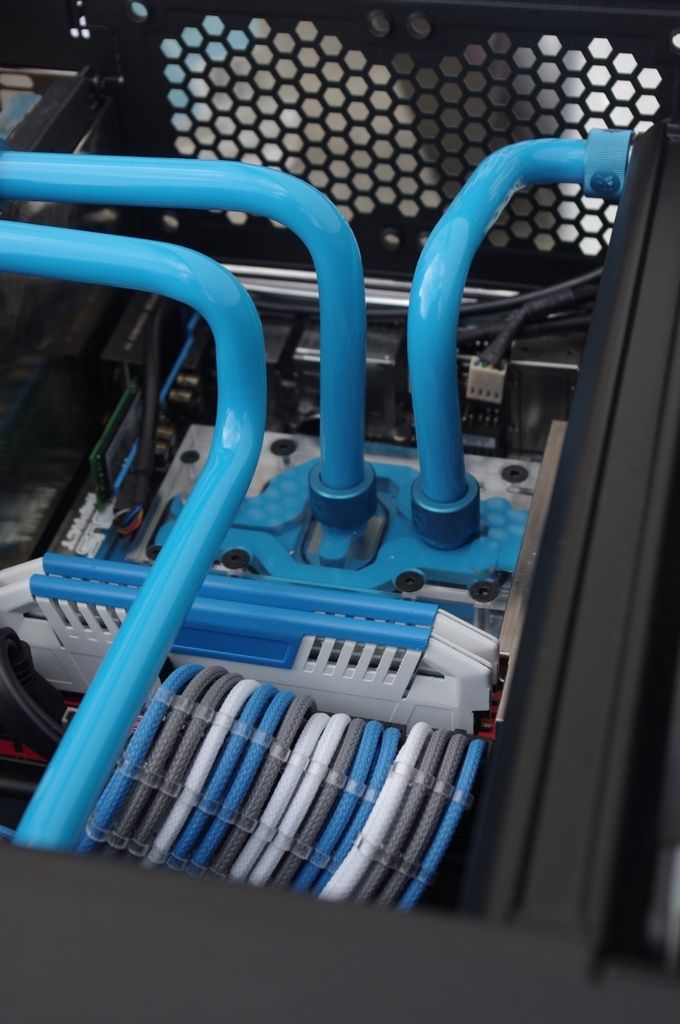
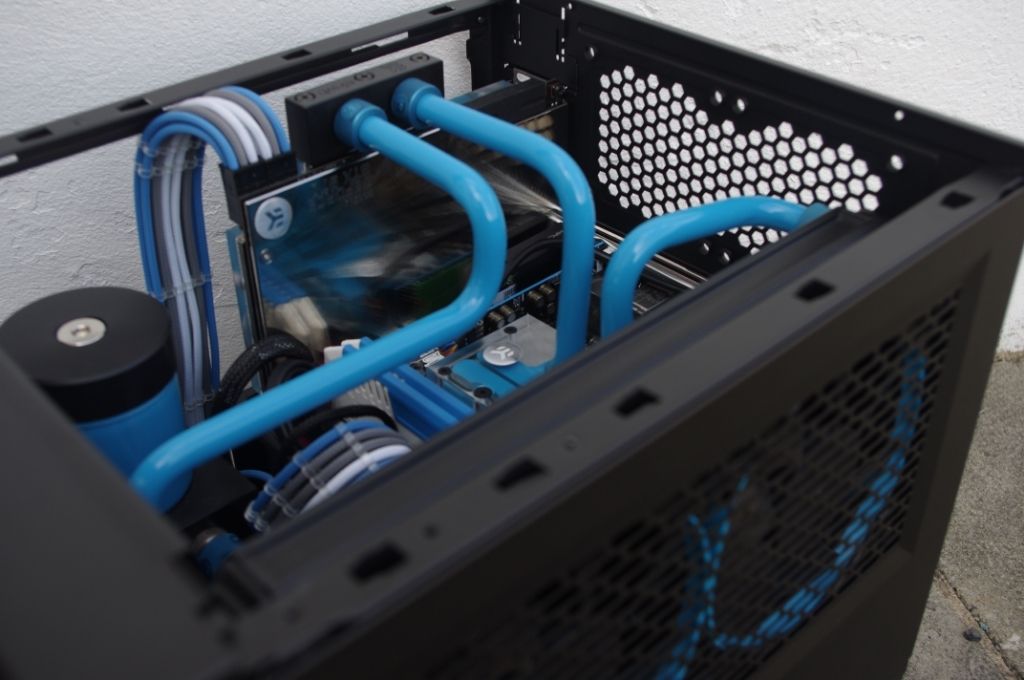
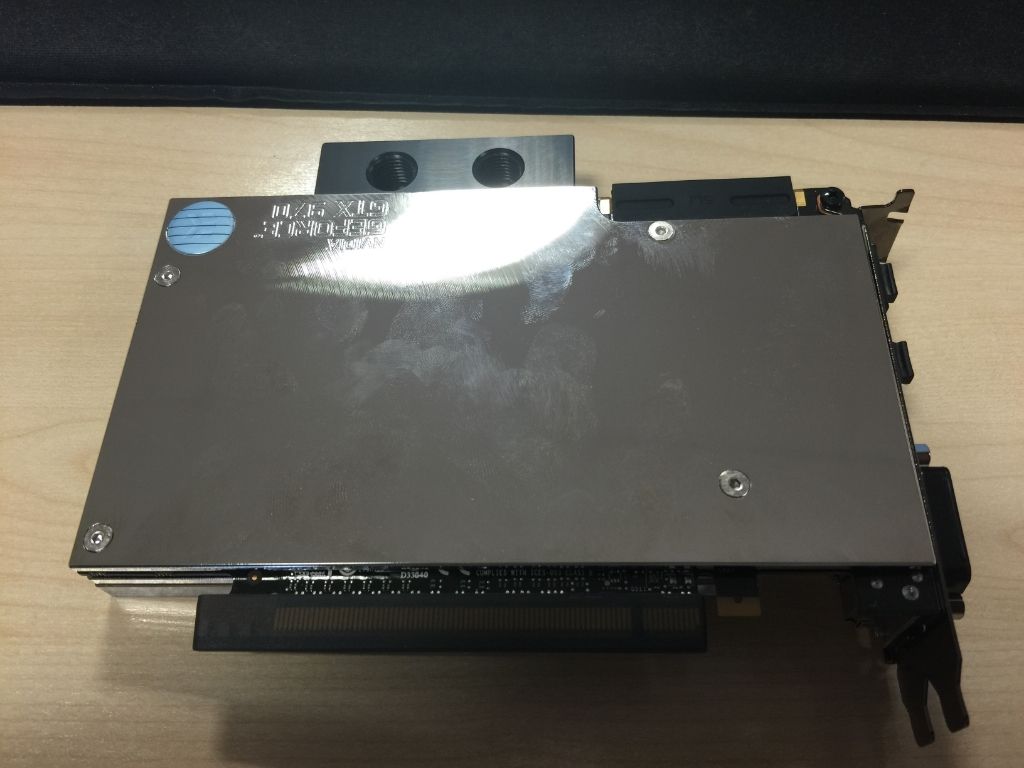
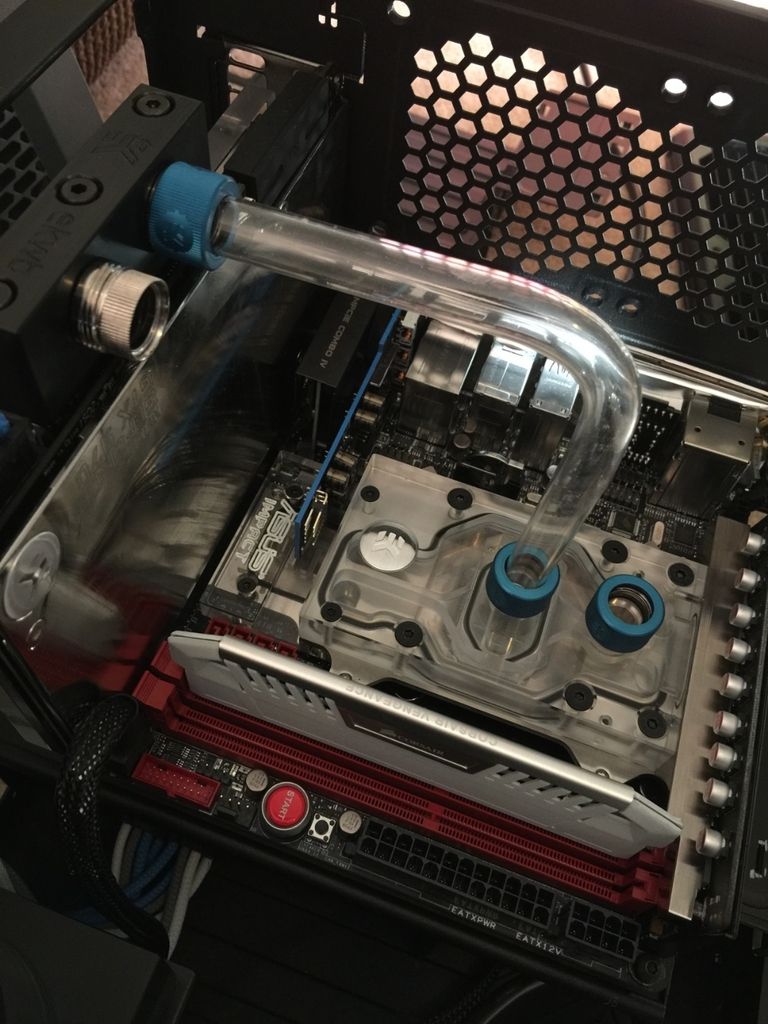
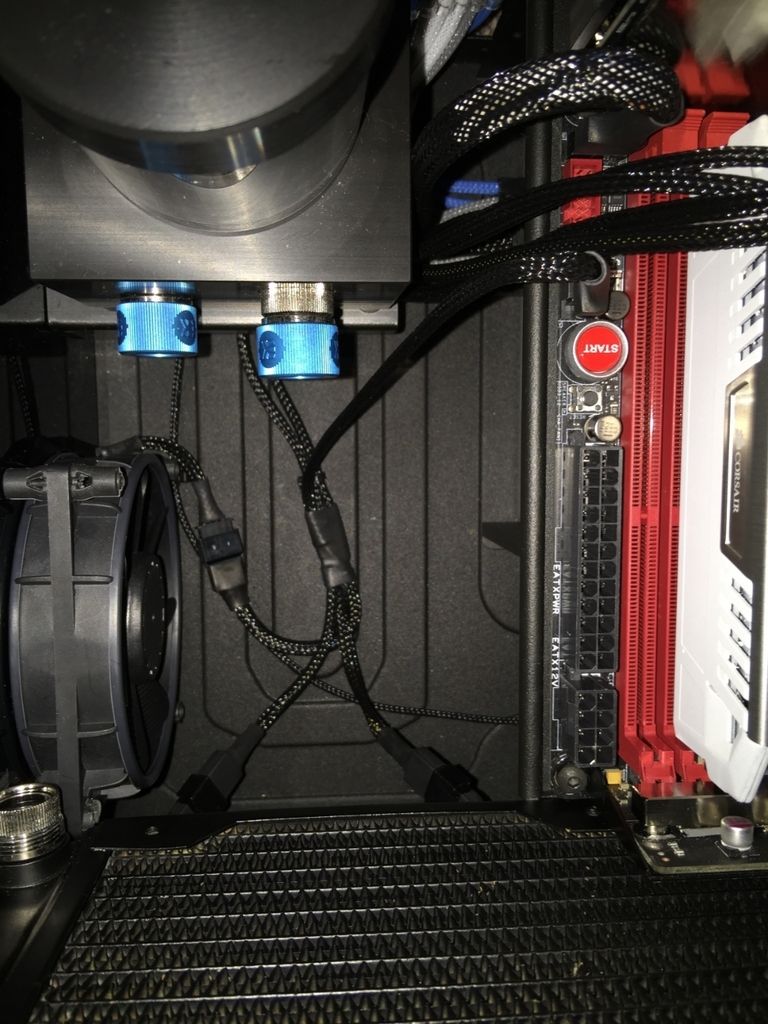
1 x EK Water Blocks EK-FC970 GTX - Nickel £79.99
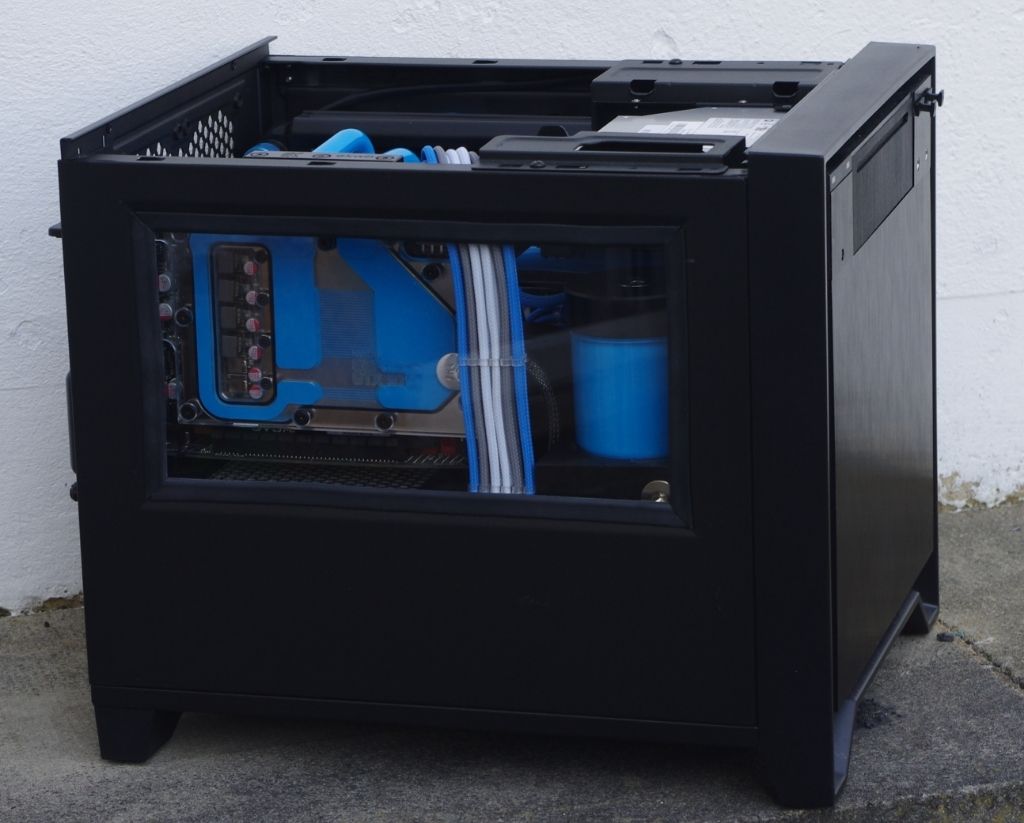
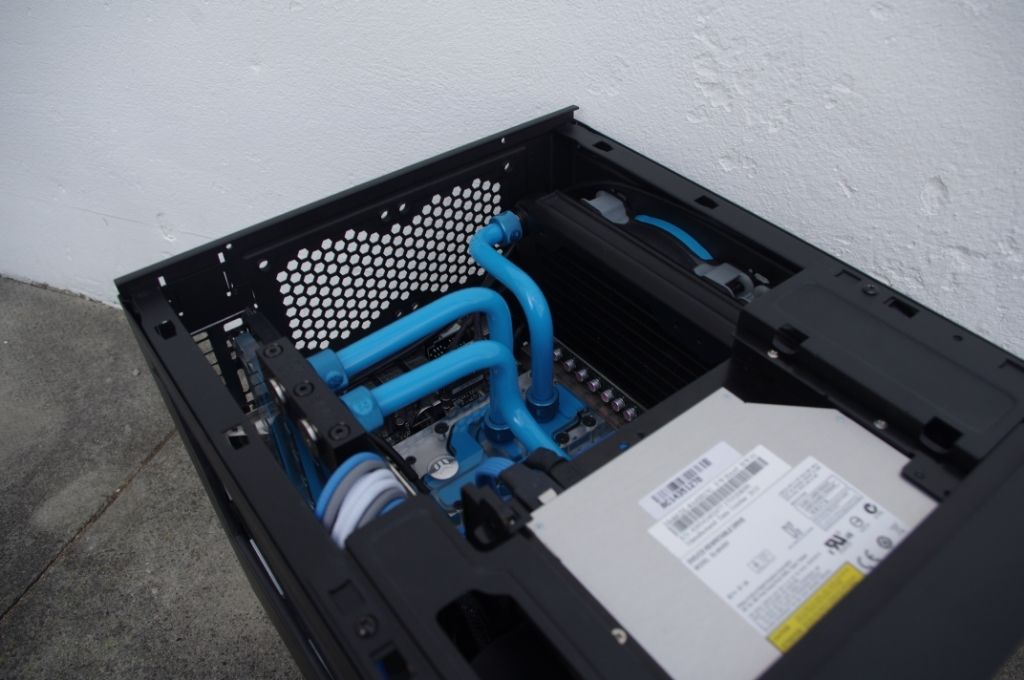
1 x Silverstone SST-SOD02 Slimline Slot Loading 8x DVD±RW SATA Drive - Retail £54.95
1 x EK Water Blocks EK-FC970 GTX Backplate - Nickel £20.99
1 x Silverstone 5.25" Slim ODD Bay with Internal 2.5" Bay - Black (SST-FP58B) £12.49
2 x EK Water Blocks EK-HDC Fitting 12mm G1/4 - Blue £5.45 (£10.90)
Total : £598.90 (includes shipping : £8.00).


Which has been dispatched and will arrive tomorrow morning!!
Other than the PCIe SSD that's everything ordered for this build, but since I have the SSD's to support it I can't really warrant over £200 for the additional speed it will offer.
I also ordered some Aquaero RGB LED strips for my main build. Which means I should be able to pull my BitFenix strips out of it.
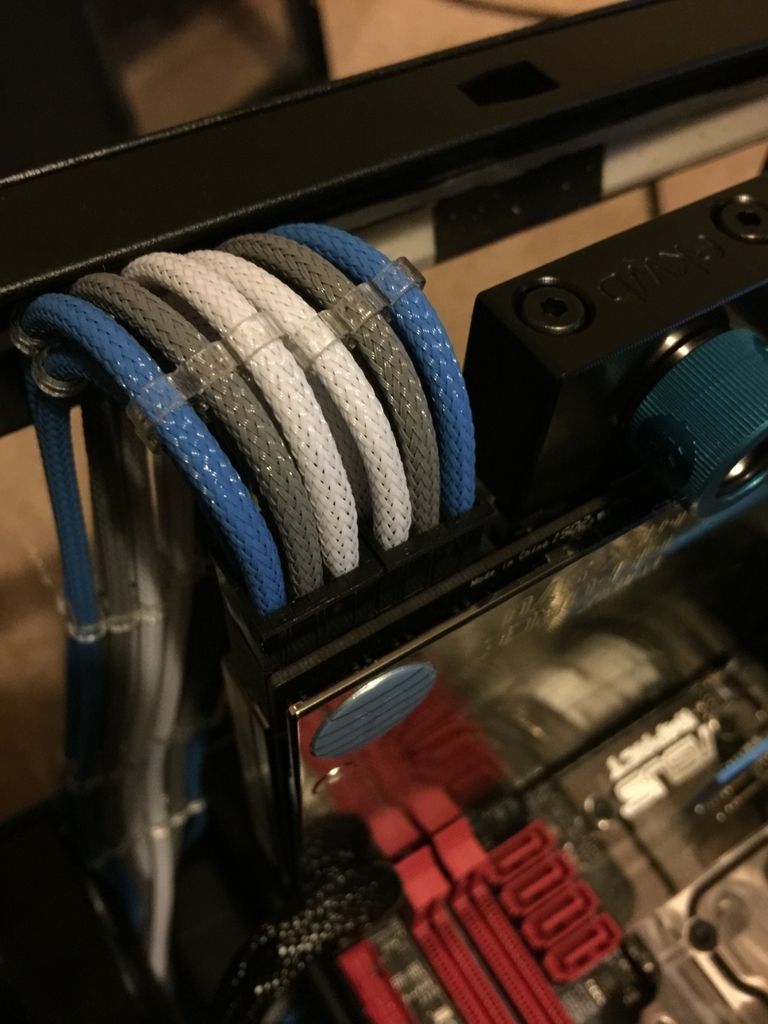
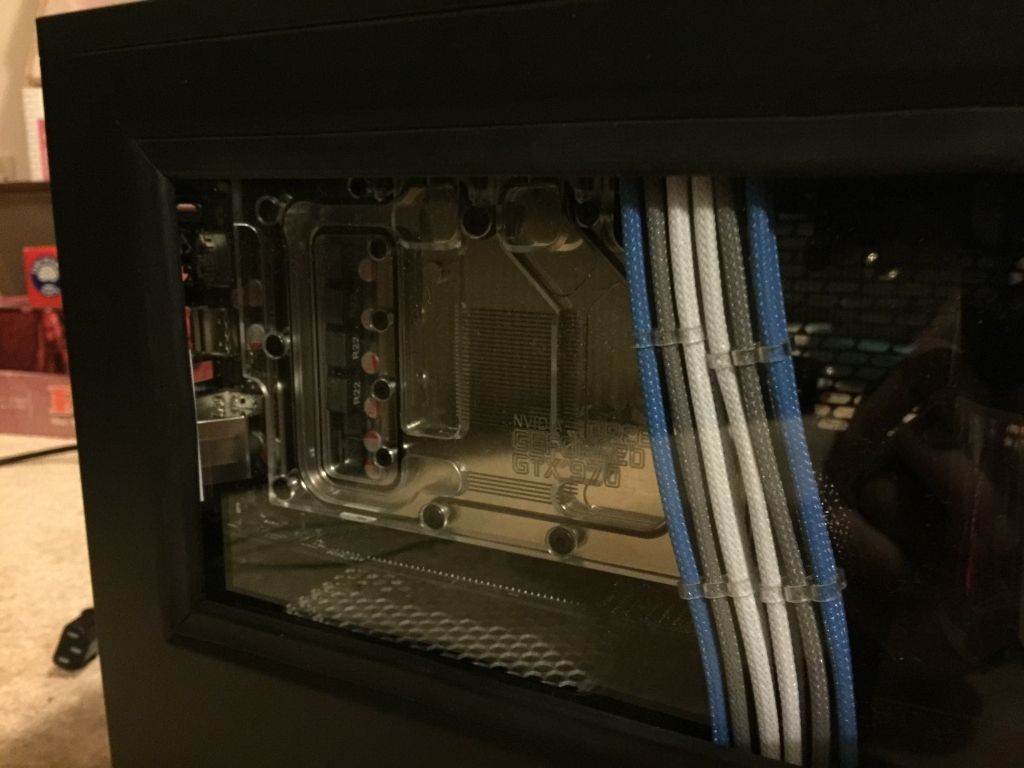
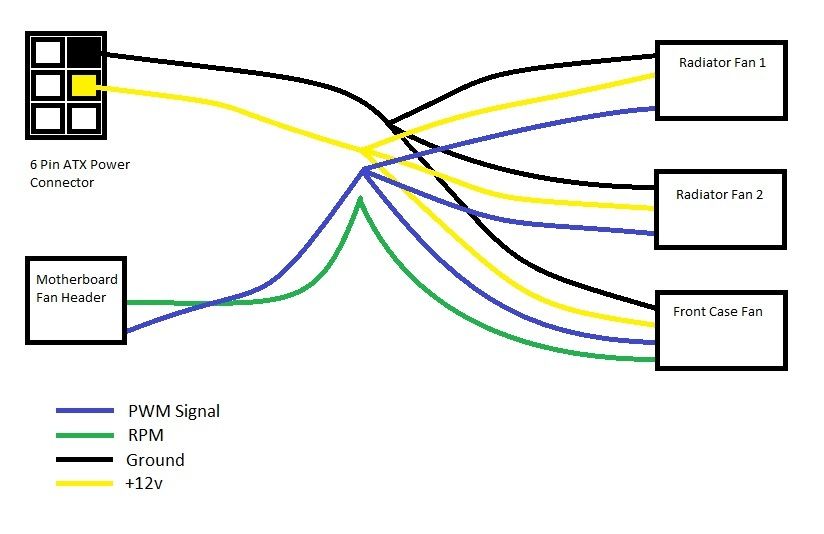
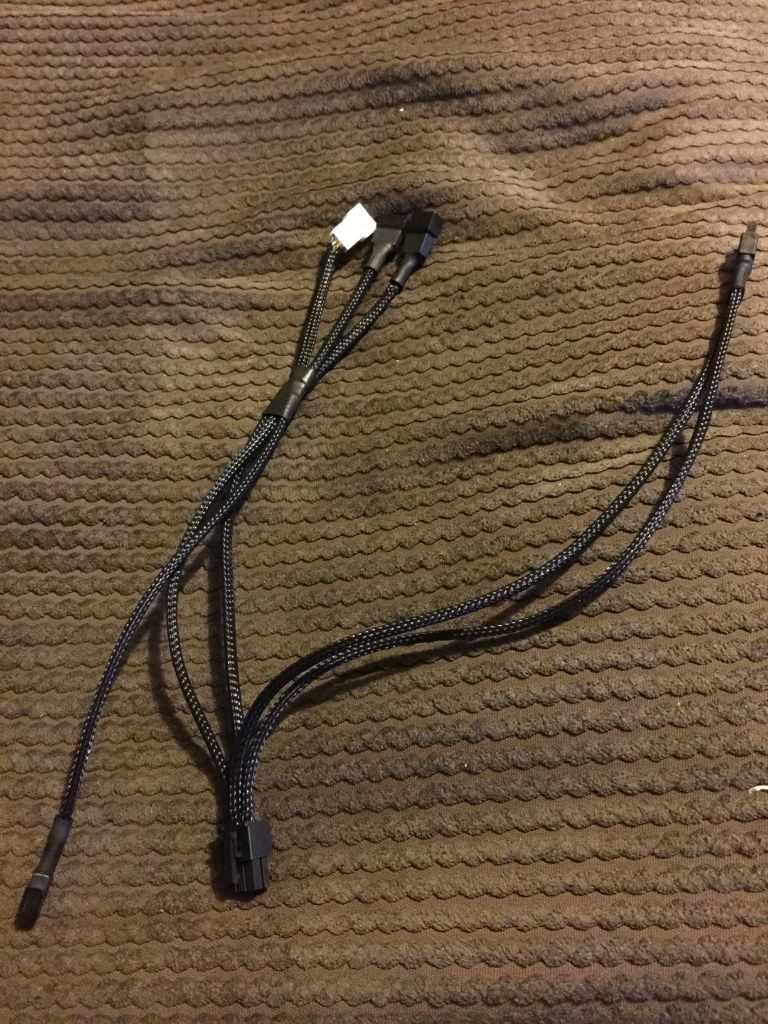
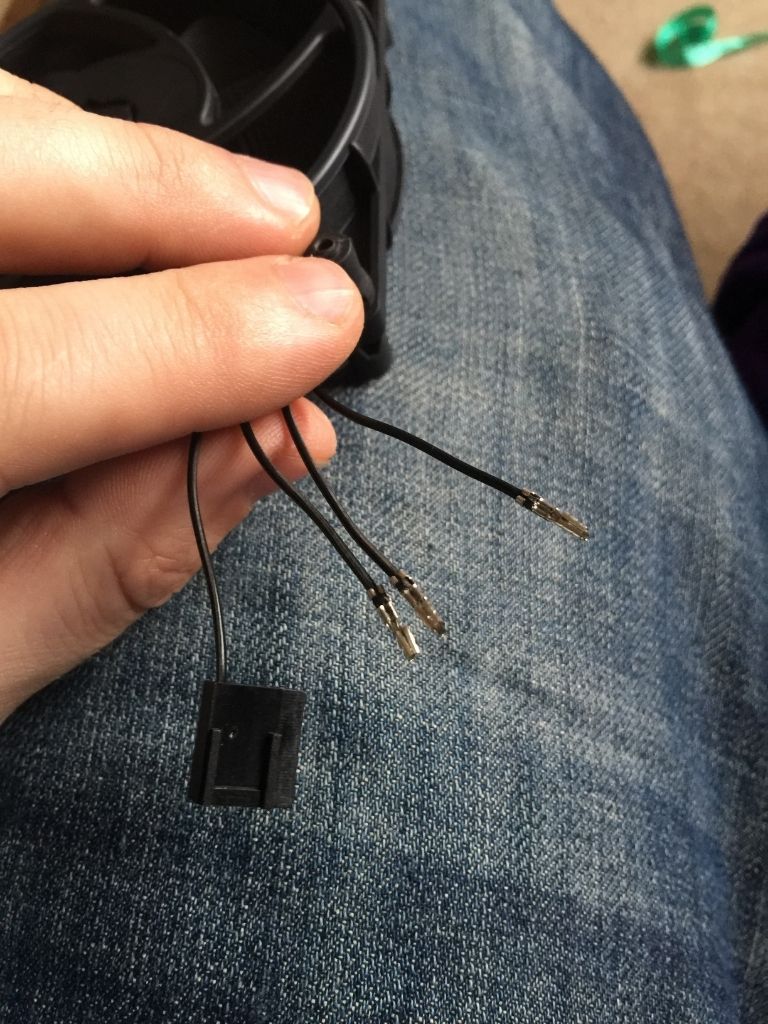
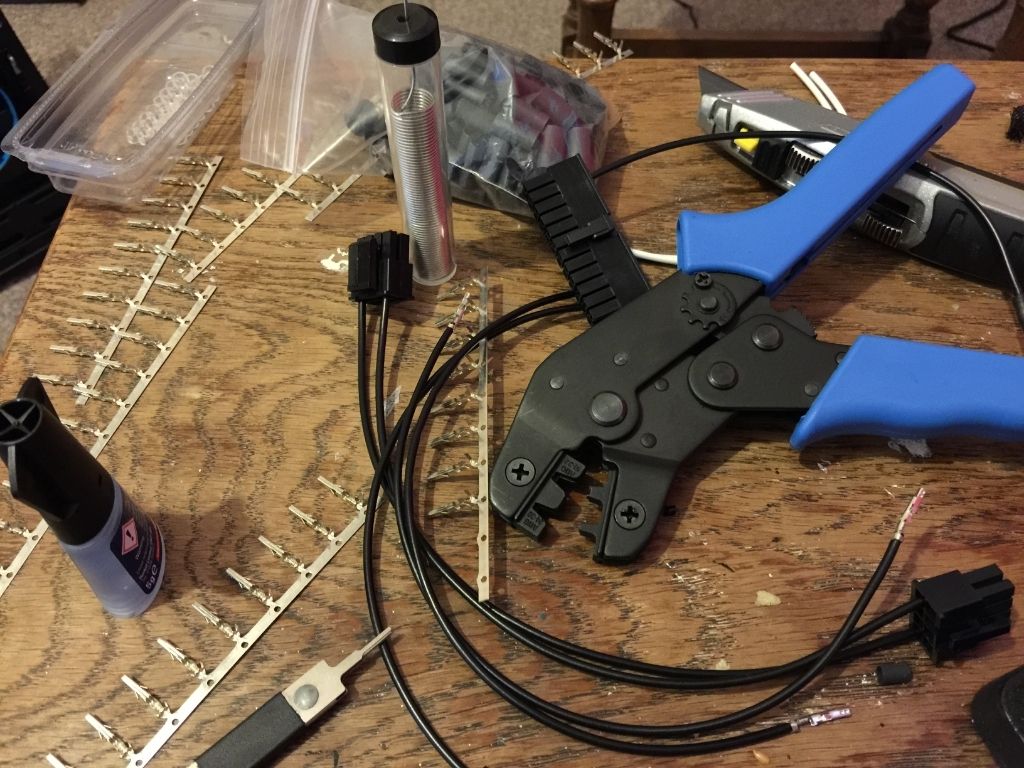
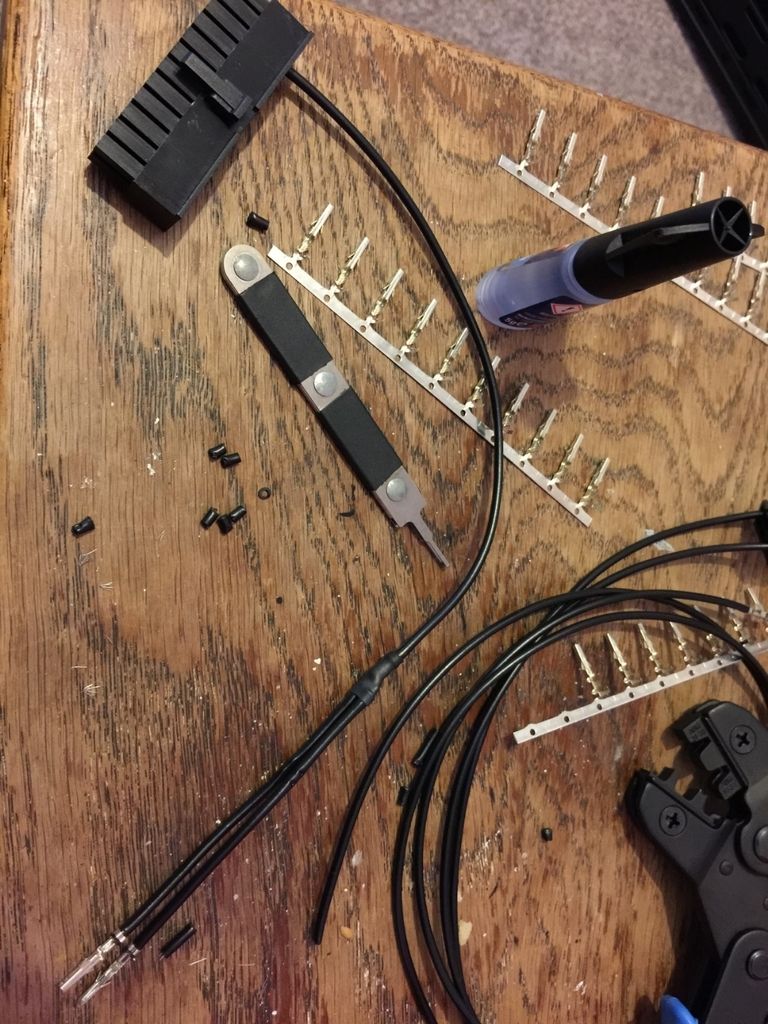
With the impending arrival of a new PSU I have paused sleeving until I can confirm that the pin out is the same.
YOUR BASKET
1 x EVGA GeForce GTX 970 Superclock 4096MB GDDR5 PCI-Express Graphics Card (04G-P4-1972-KR) £299.99
1 x SilverStone NightJar 520W Zero dBA "80+ Plus Platinum" Fanless Power Supply (SST-NJ520) £109.99
1 x EK Water Blocks EK-FC970 GTX - Nickel £79.99
1 x Silverstone SST-SOD02 Slimline Slot Loading 8x DVD±RW SATA Drive - Retail £54.95
1 x EK Water Blocks EK-FC970 GTX Backplate - Nickel £20.99
1 x Silverstone 5.25" Slim ODD Bay with Internal 2.5" Bay - Black (SST-FP58B) £12.49
2 x EK Water Blocks EK-HDC Fitting 12mm G1/4 - Blue £5.45 (£10.90)
Total : £598.90 (includes shipping : £8.00).
Which has been dispatched and will arrive tomorrow morning!!
Other than the PCIe SSD that's everything ordered for this build, but since I have the SSD's to support it I can't really warrant over £200 for the additional speed it will offer.
I also ordered some Aquaero RGB LED strips for my main build. Which means I should be able to pull my BitFenix strips out of it.
With the impending arrival of a new PSU I have paused sleeving until I can confirm that the pin out is the same.
Last edited:


")