i7 Skeleton build and mod log

Associate
Joined
2 Jan 2009
Posts
1,737
Location
Lincolnshire coast
Photo0413.jpg


I'd been saving for an i7 set up for a while (haven't we all) so being as I was going to be taking it all apart I thought i'd go the whole hog.

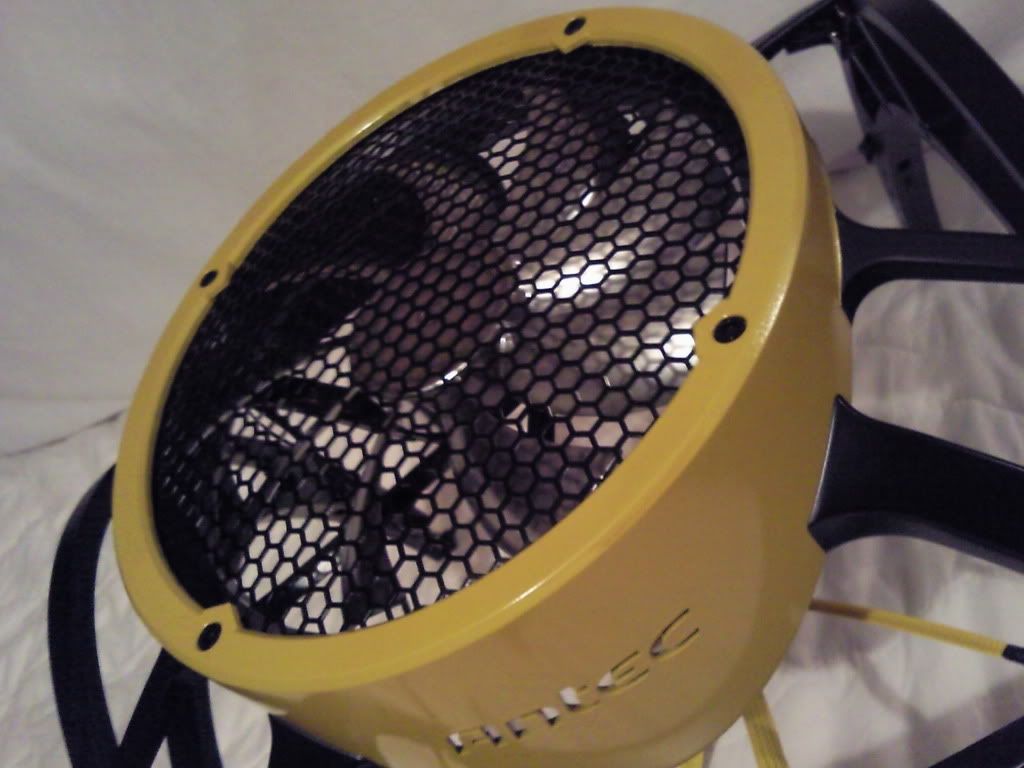
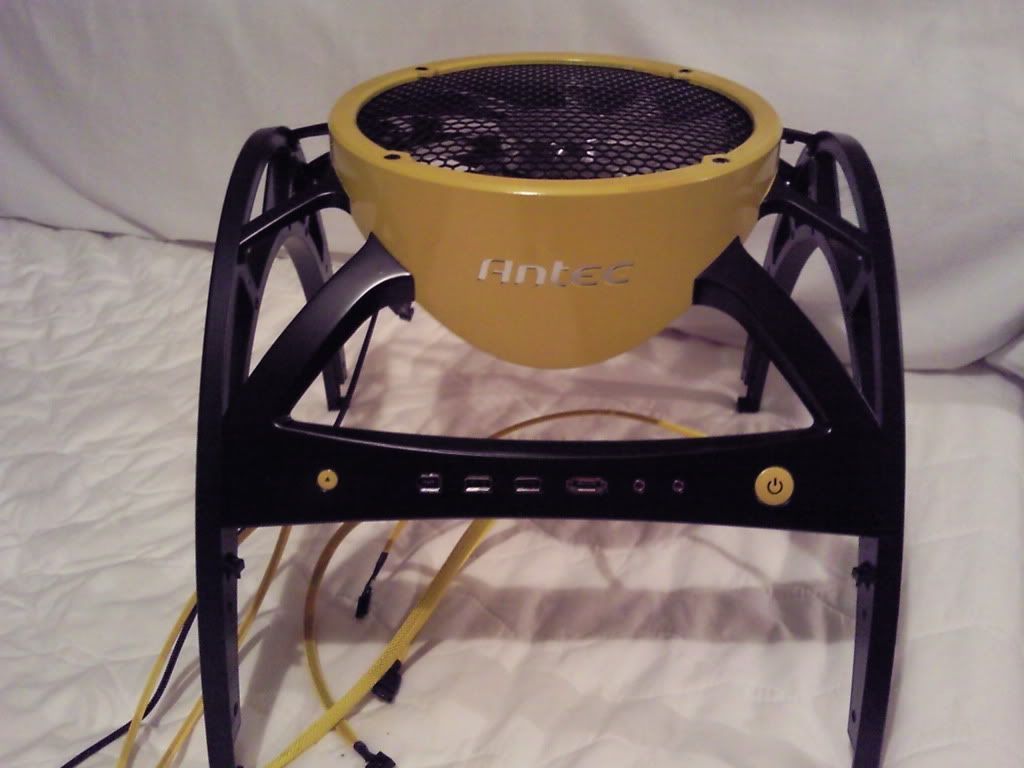
The Skeleton has always strck me as appearing very "industrial" in its appearance, looking like some sort of turbine cooling device that ought to have a big yellow warning sign on it. It's this "warning" theme that led to the colour scheme of the build.

I started the mod about a month ago, working at weekends and in the evening. It's just about finished now, with some spraying and assembly yet to happen but I thought i'd post what i'd done so far.

I should perhaps point out that I've never built a rig from scratch before although I have transplanted my old rig into the skeleton case. Neither have I ever modded anything before beyond adding a few ccfls or braiding a cable or two. I've learned quite a bit along the way (especially about spray painting) but as a beginner I'd appreciate any hints and tips as to how I could have done things differently.

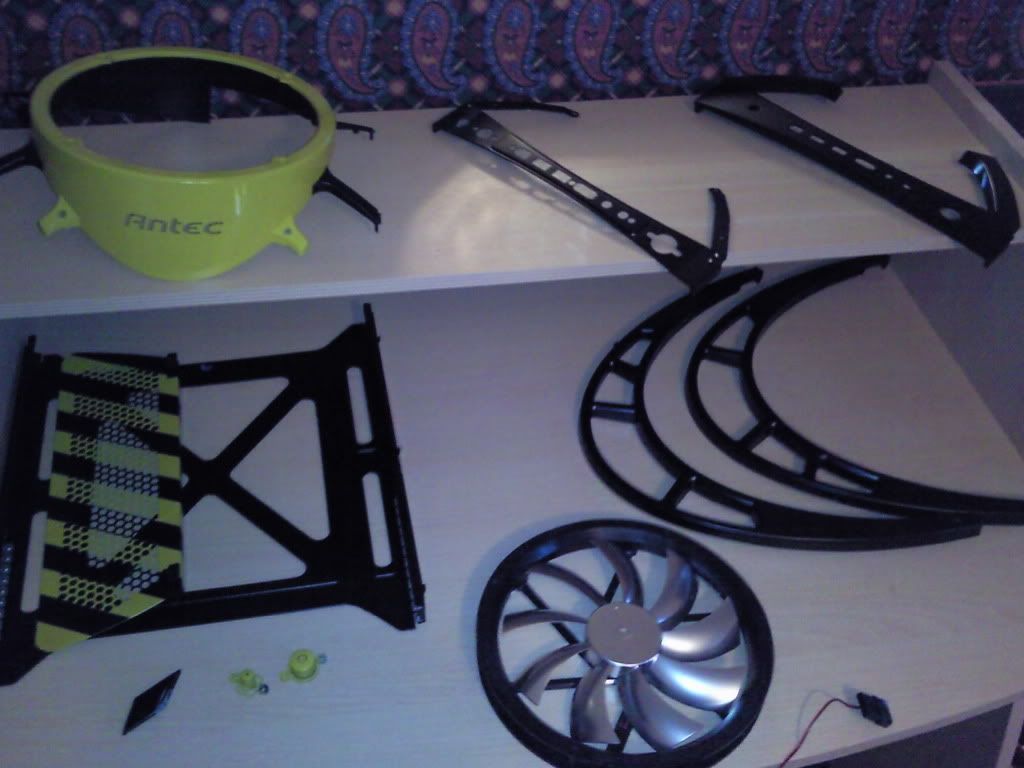
here's what it looked like as I took it all apart
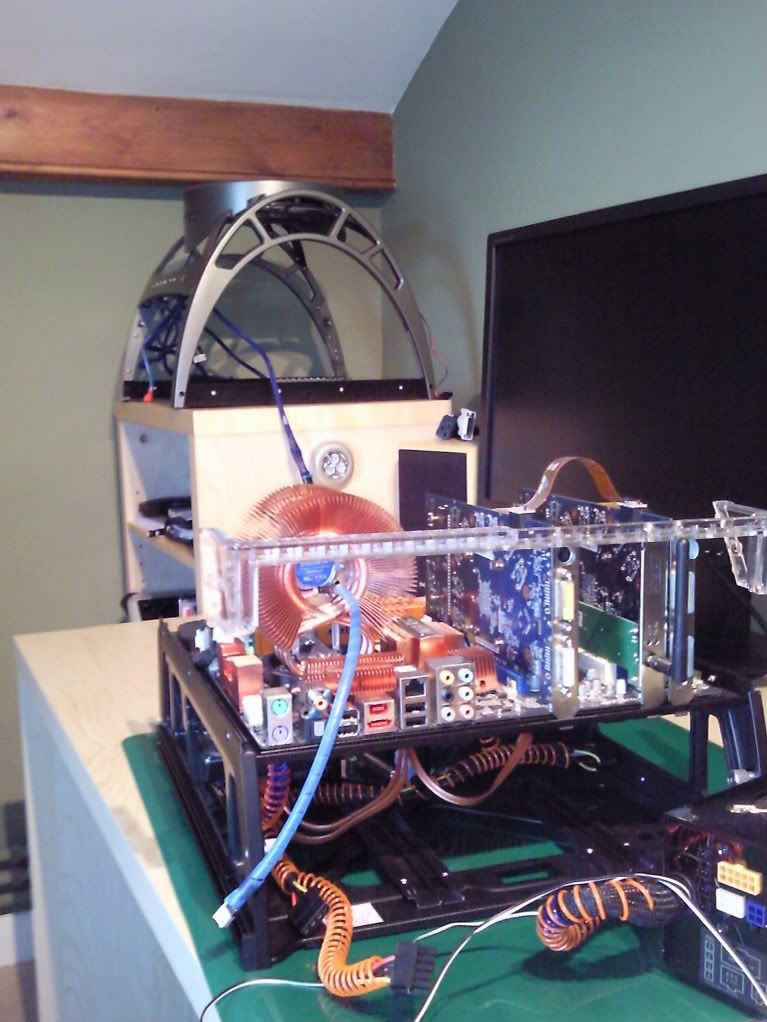
Photo0306.jpg


Stage 1
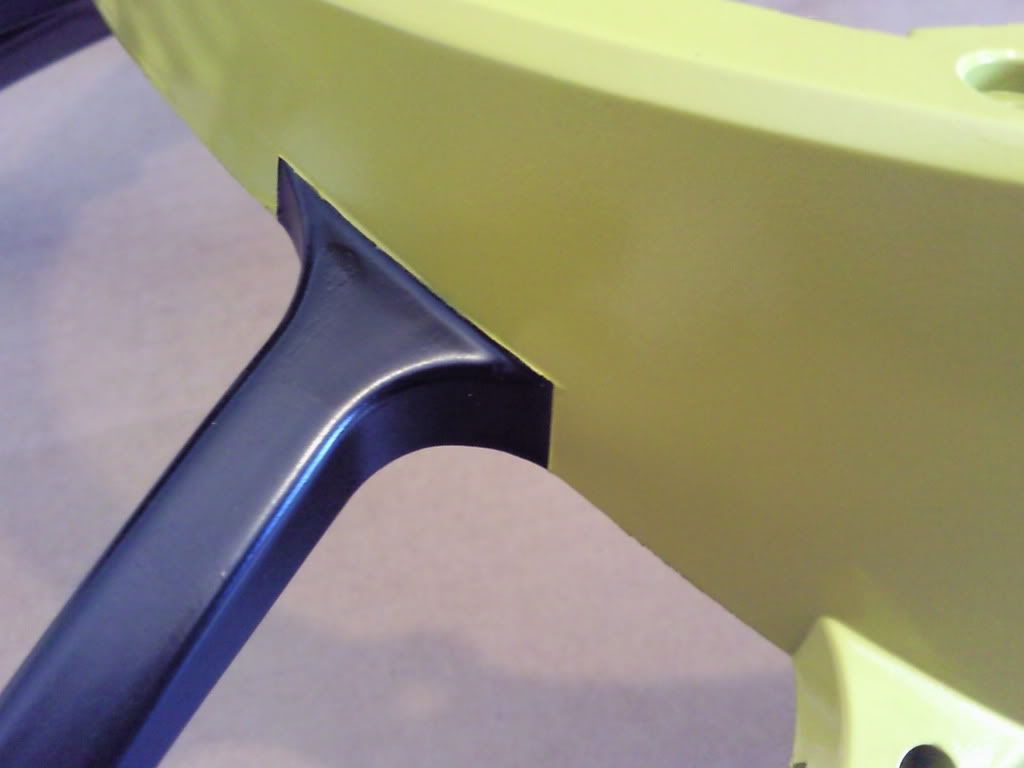
Cut the cowling to accomodate fenrir cooler.
there's 157mm of clearance between the CPU and the underside of the "big boy" fan. The fenrir is 156mm in height. so I had to be fairly accurate with my cutting, but first I had to buy a dremmel (been looking for an excuse for a while

Photo0320.jpg


Photo0321.jpg


Photo0323.jpg


Lesson learned No 1 When you cut plastic with a dremmel it melts!!!


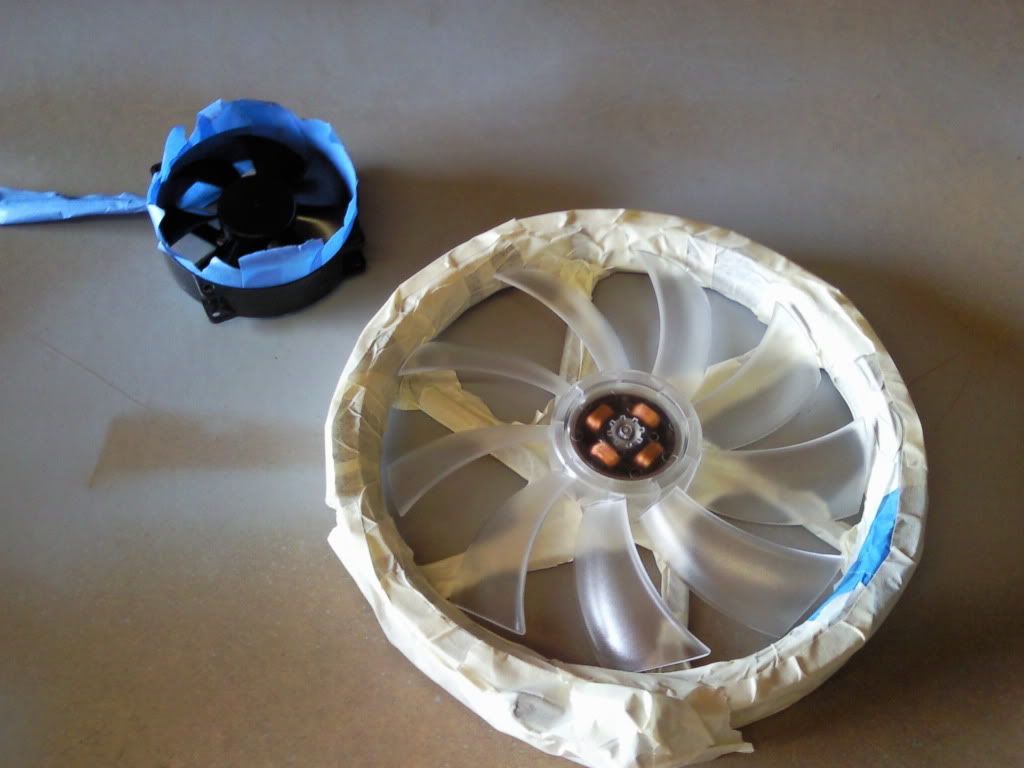
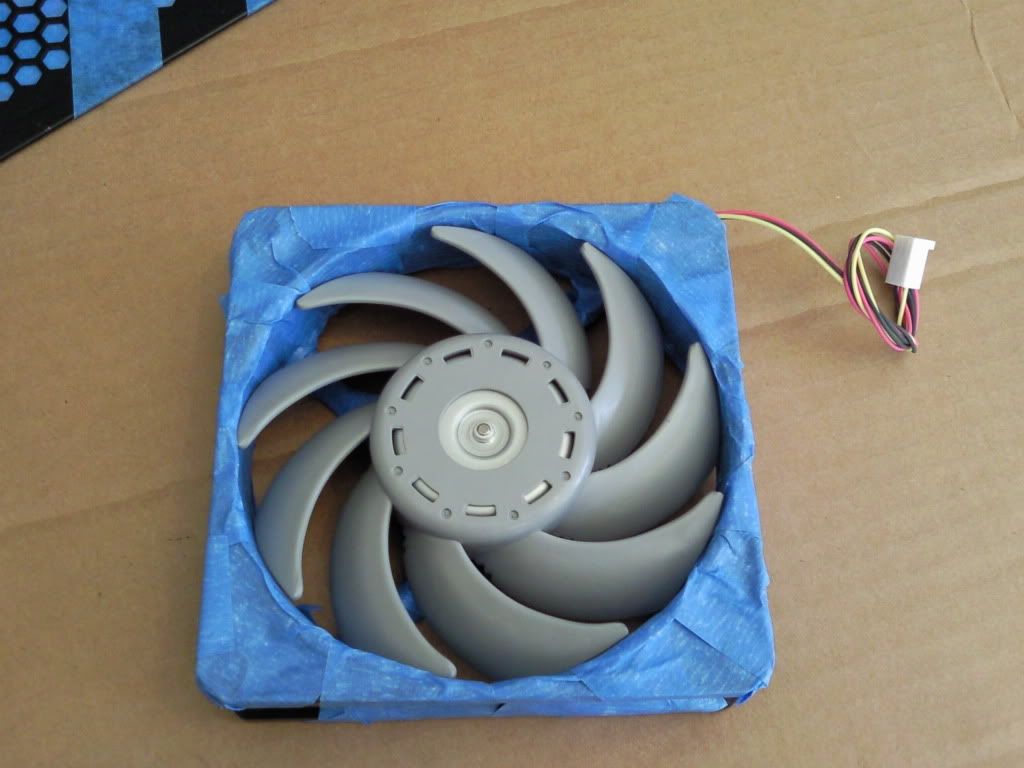
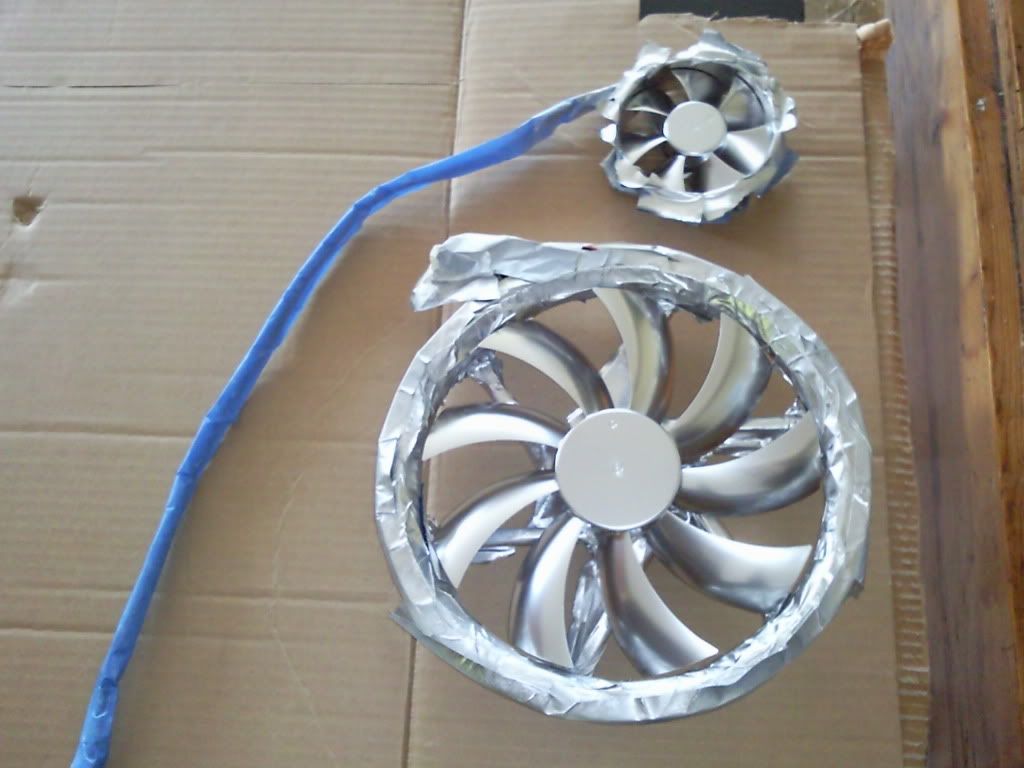
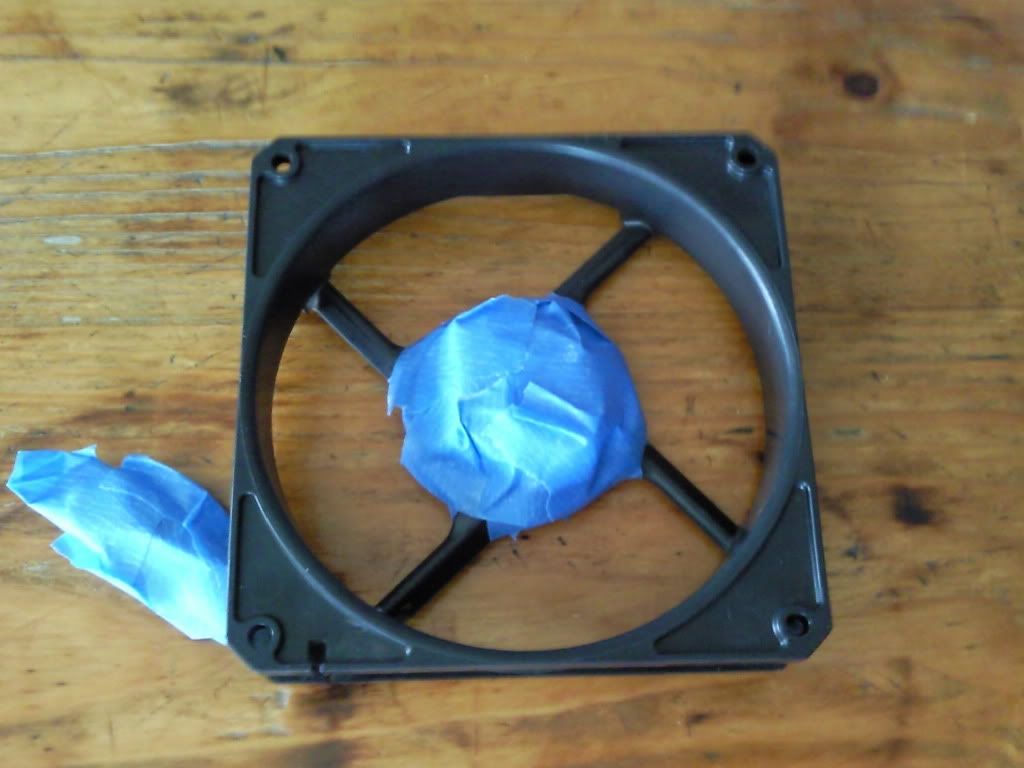
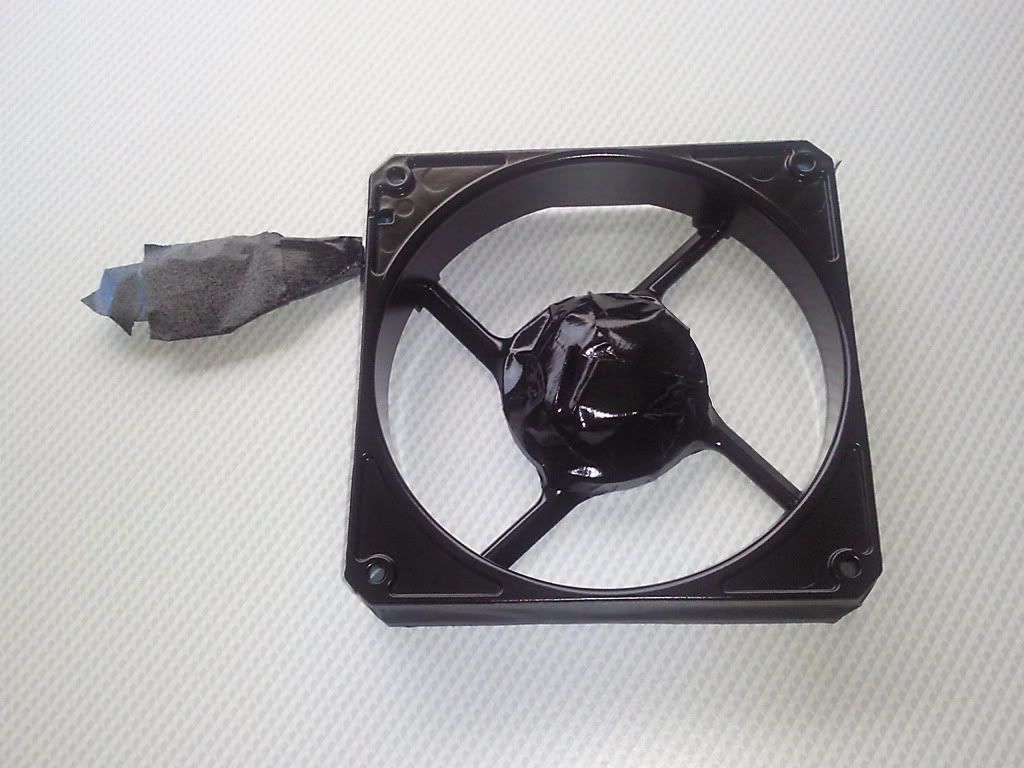
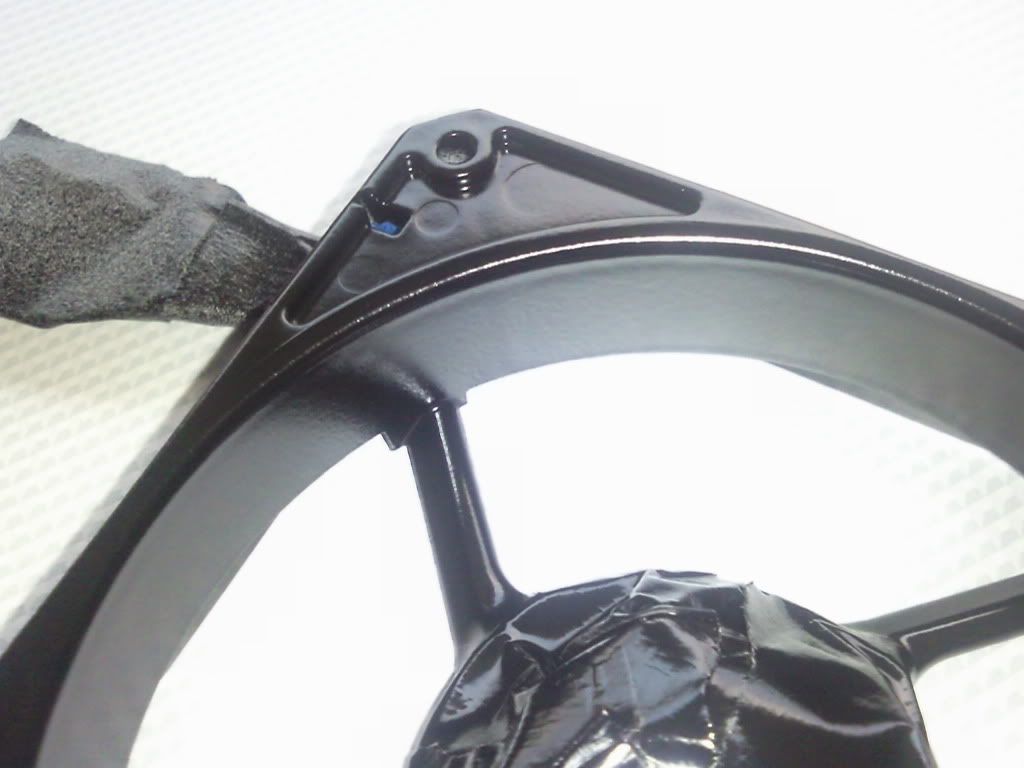
I then took the whole thing to bits and set about masking ready for spraying. Anybody who's ever masked a fan will know what a pain in the rectum it is.
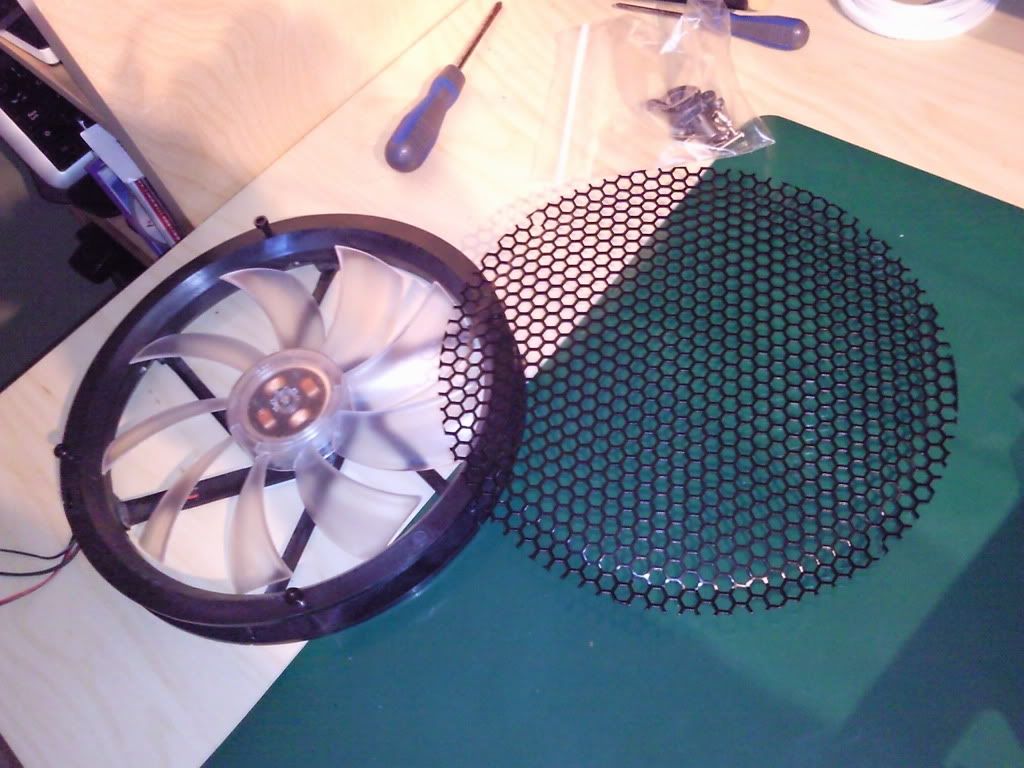
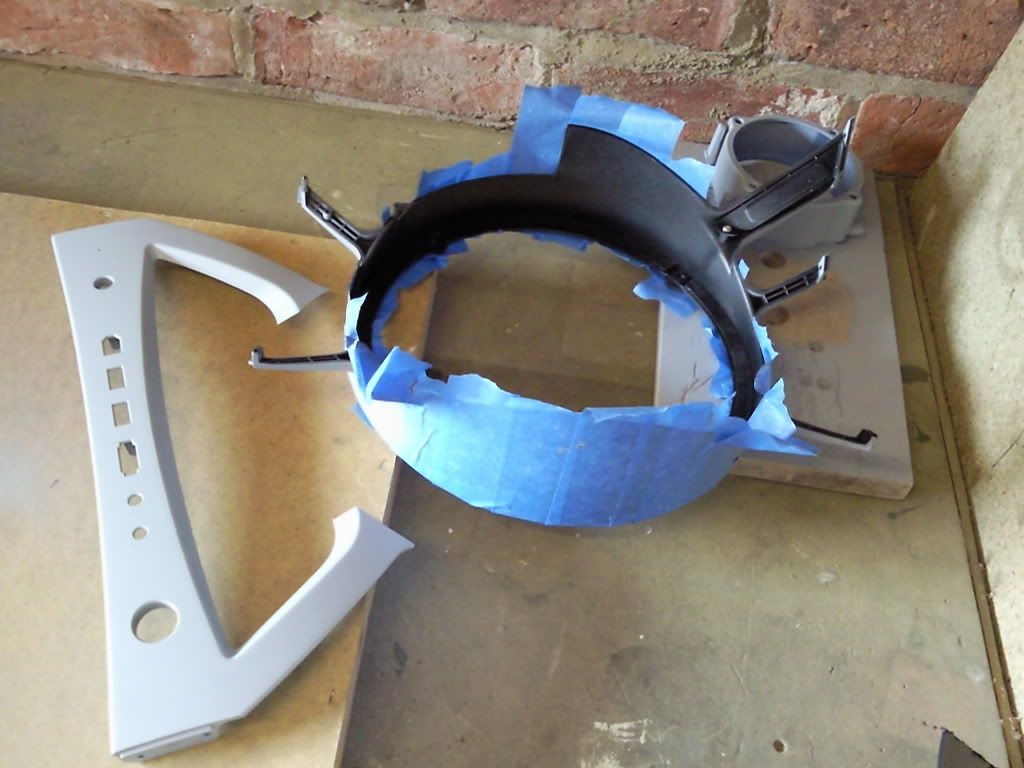
Photo0319.jpg


Photo0328.jpg


Photo0327.jpg


Photo0377.jpg


Photo0331.jpg


Photo0376.jpg


never really spray painted before, apart from the odd bus shelter in my youth so very steep learning curve

Lesson learned No2 Dust is the enemy

Lesson learned No3 sand between coats for a better finish

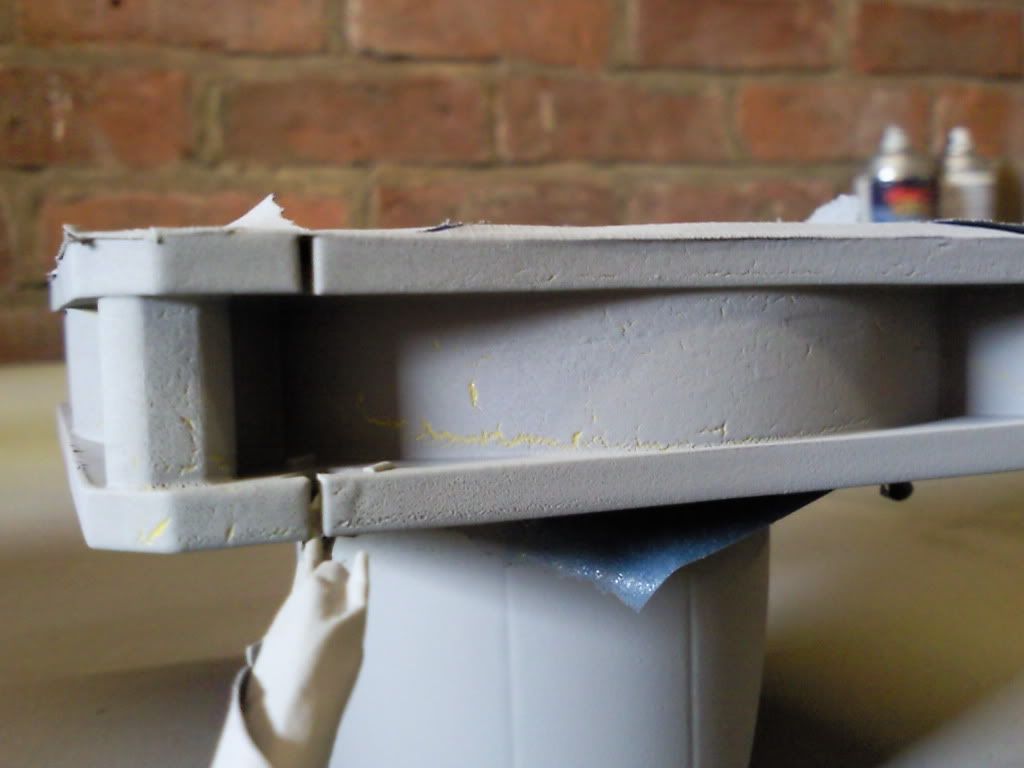
lesson learned No4 don't be tempted to touch it between coats as grease from your fingers from handling the job between coats causes the next coat to crackle when it dries in the areas you have touched it. You then have to sand it all back to the plastic base and start again.
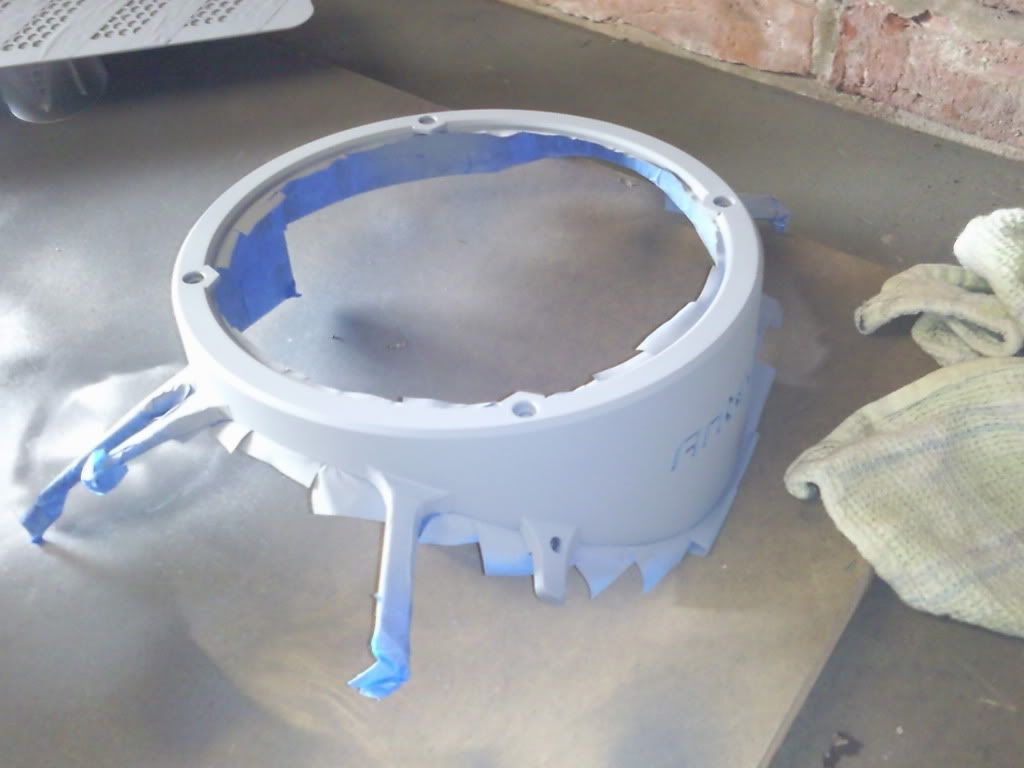
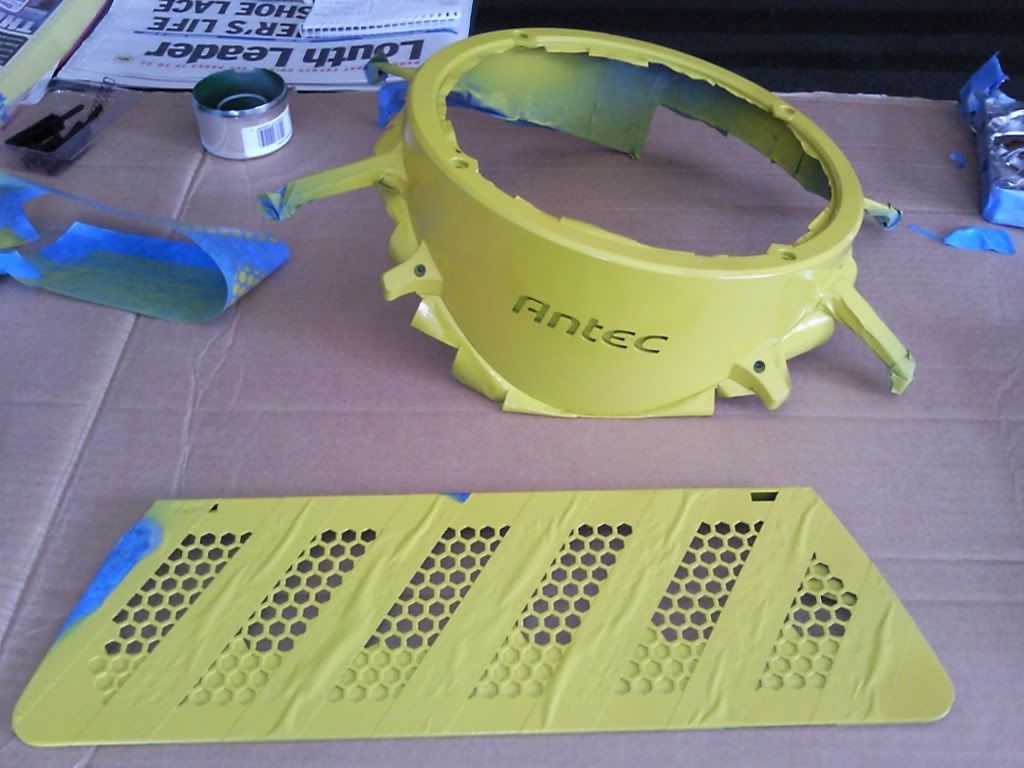
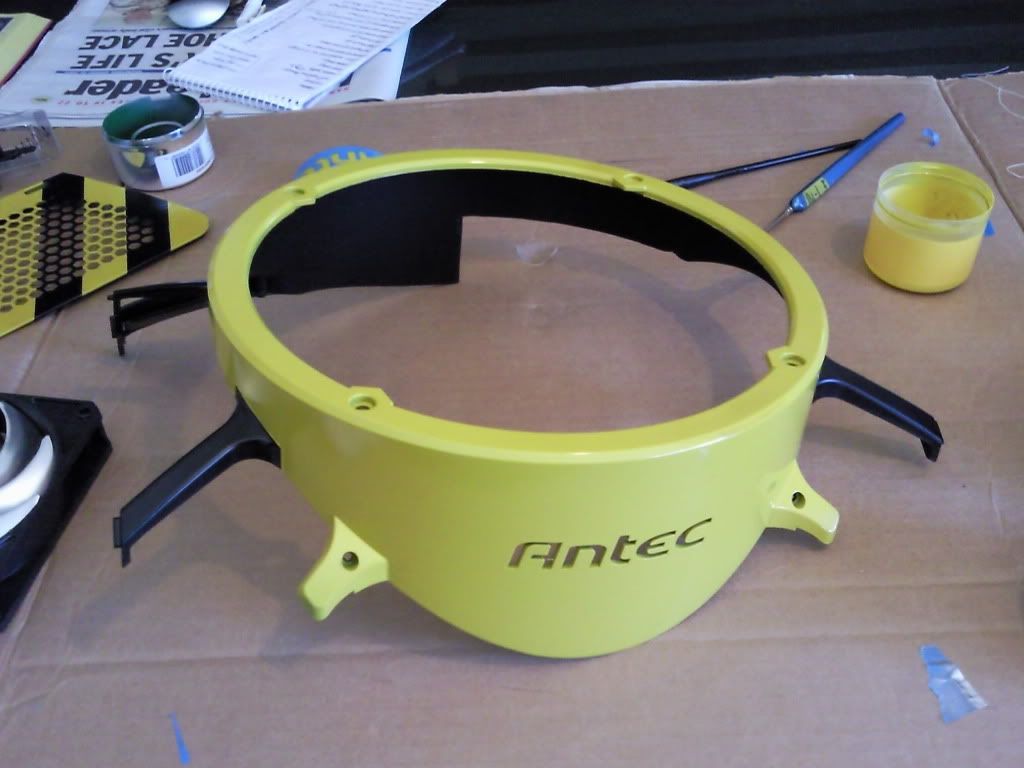
Photo0385.jpg


Photo0392.jpg


Photo0398.jpg


Photo0397.jpg


Photo0332.jpg


Photo0336.jpg


Photo0408.jpg


Continuing the black and yellow theme I re braided all my cables (very theraputic). I also quite like the look achieved when putting anti kink coil over braided cable, I know it's not what it's for, but like I say I happen to like the look.
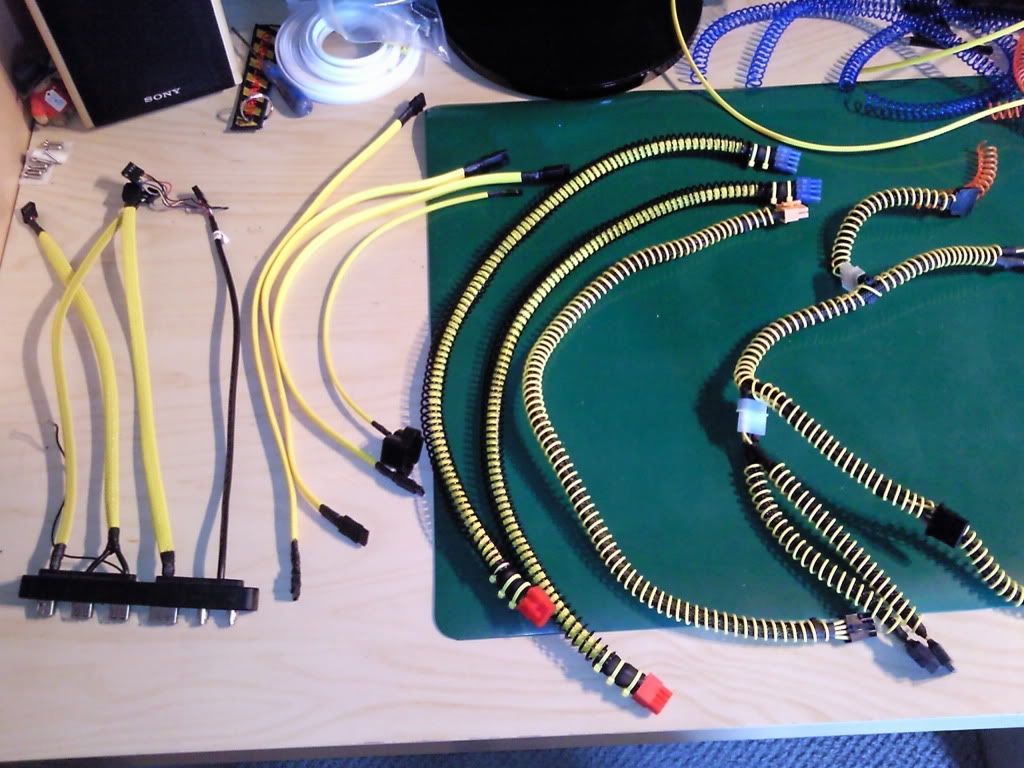
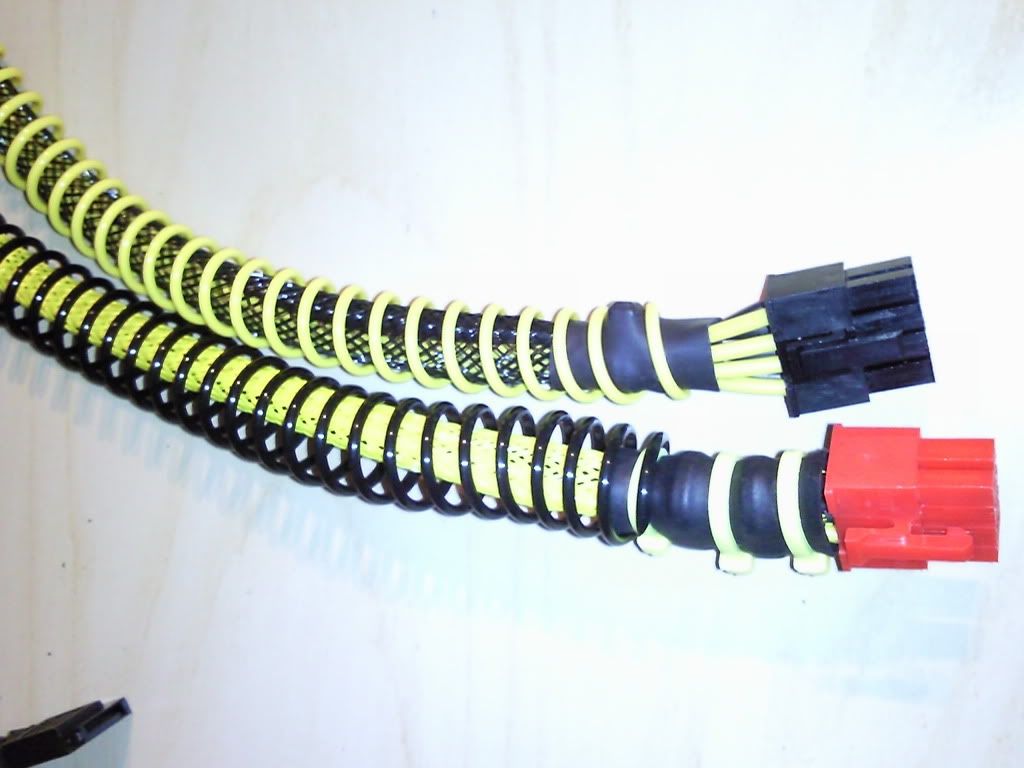
Photo0347.jpg


Photo0349.jpg


I also modded a Corsair Airflow fan as part of the build

http://forums.overclockers.co.uk/showthread.php?p=14970908#post14970908

So that's pretty much where I'm up to now. Just got to get it all back together and working!!!
 
Last edited:
Cheers maduser

Like the black and yellow sig, for some reason I can't quite put my finger on it appeals to me

Having pretty much worked out what I want where I'm just about to start braiding the cables for the ccfls

The main body is pretty much together now, hope to post a few more pics either later tonight or tomorrow eve.

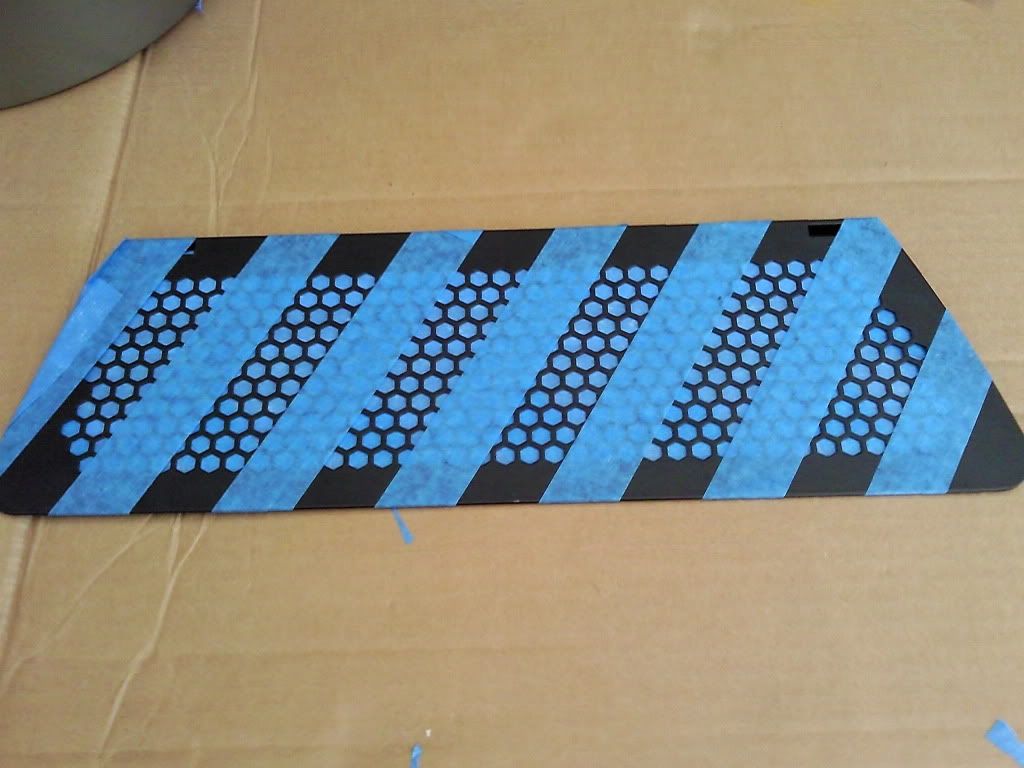
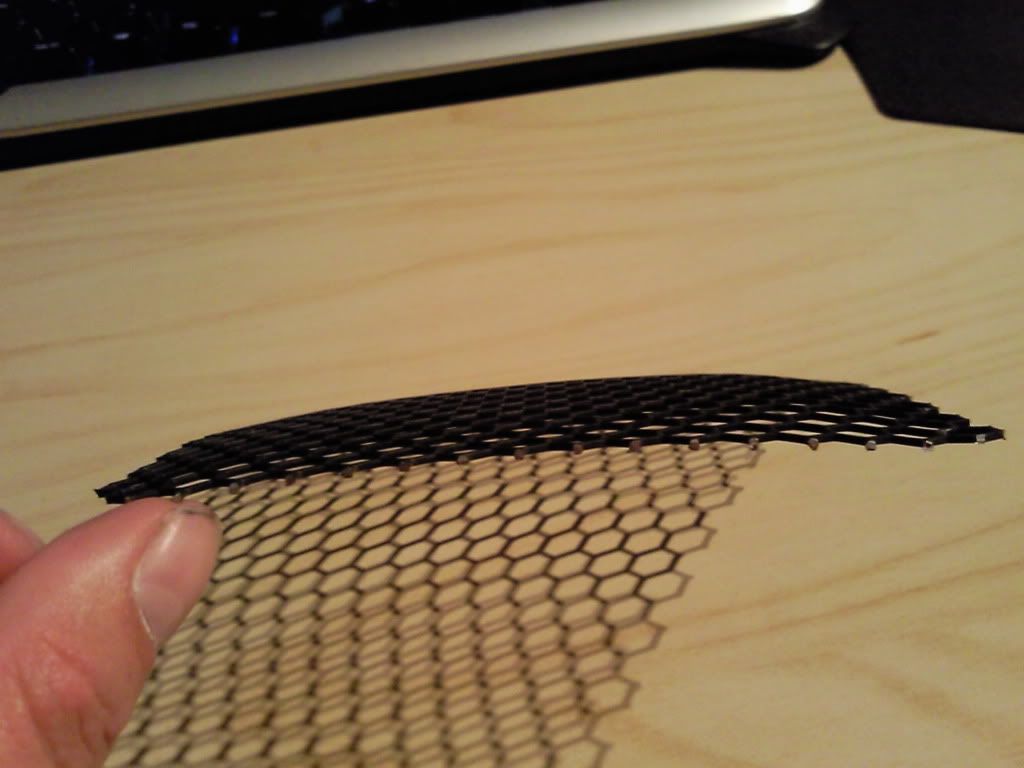
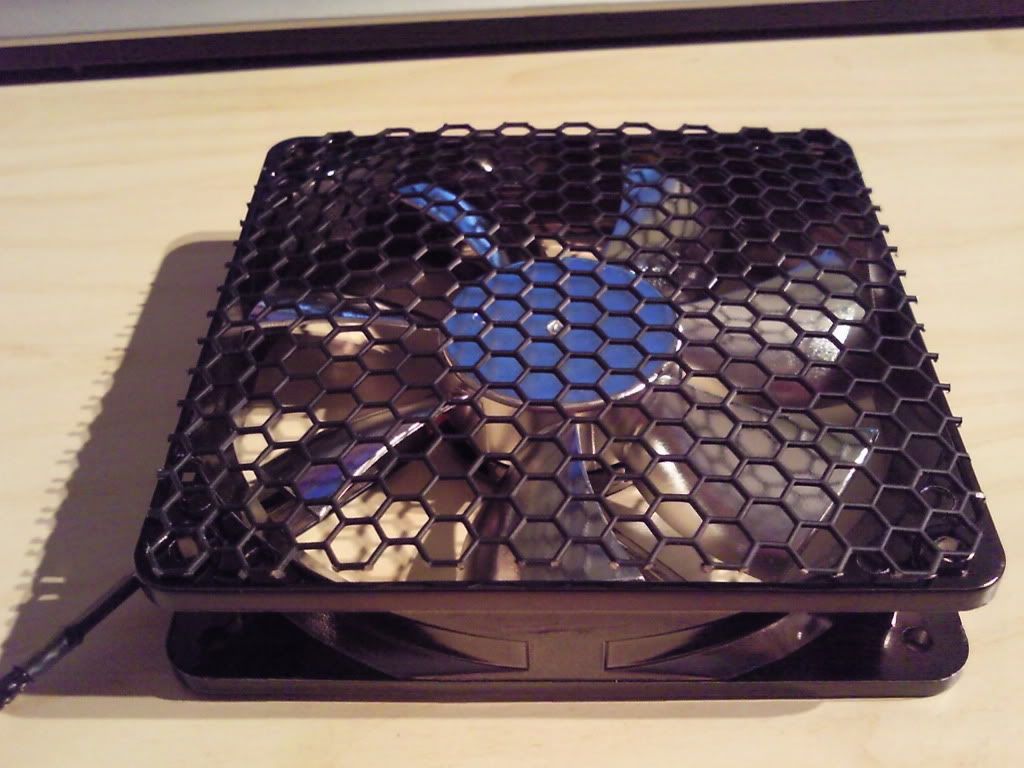
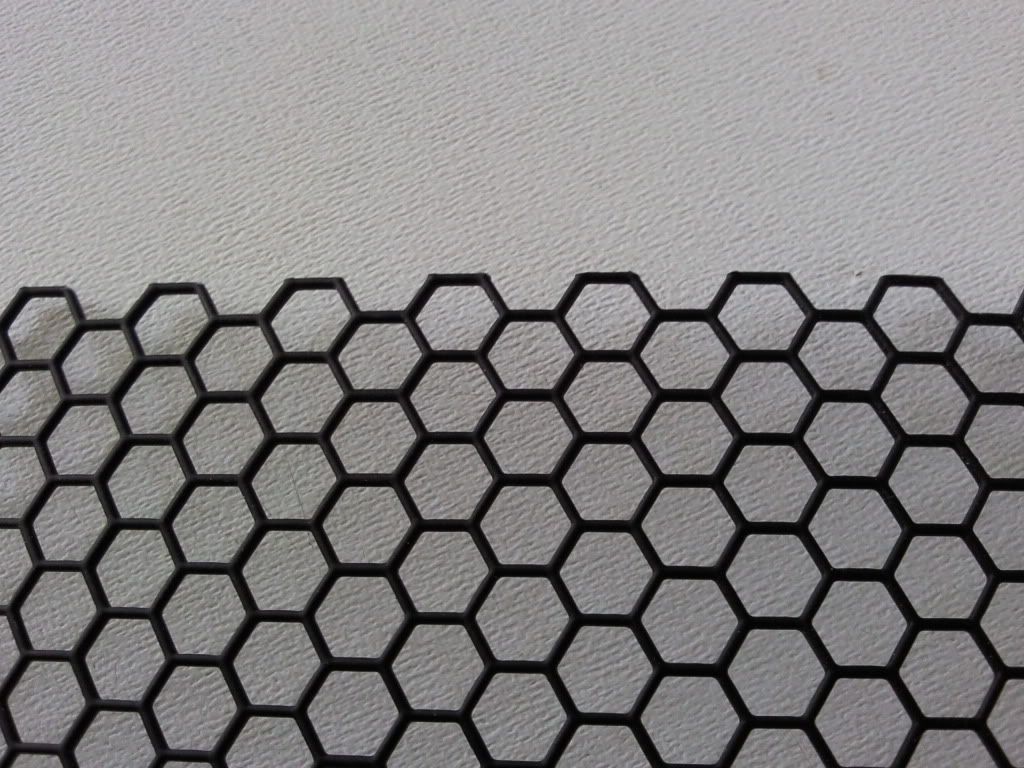
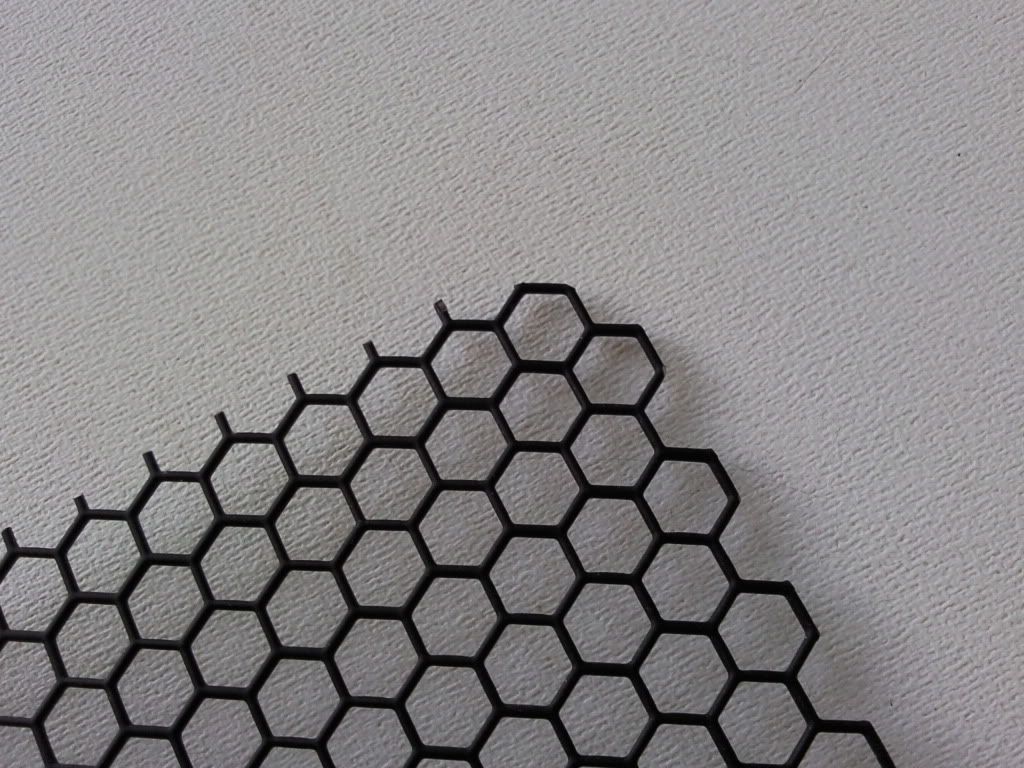
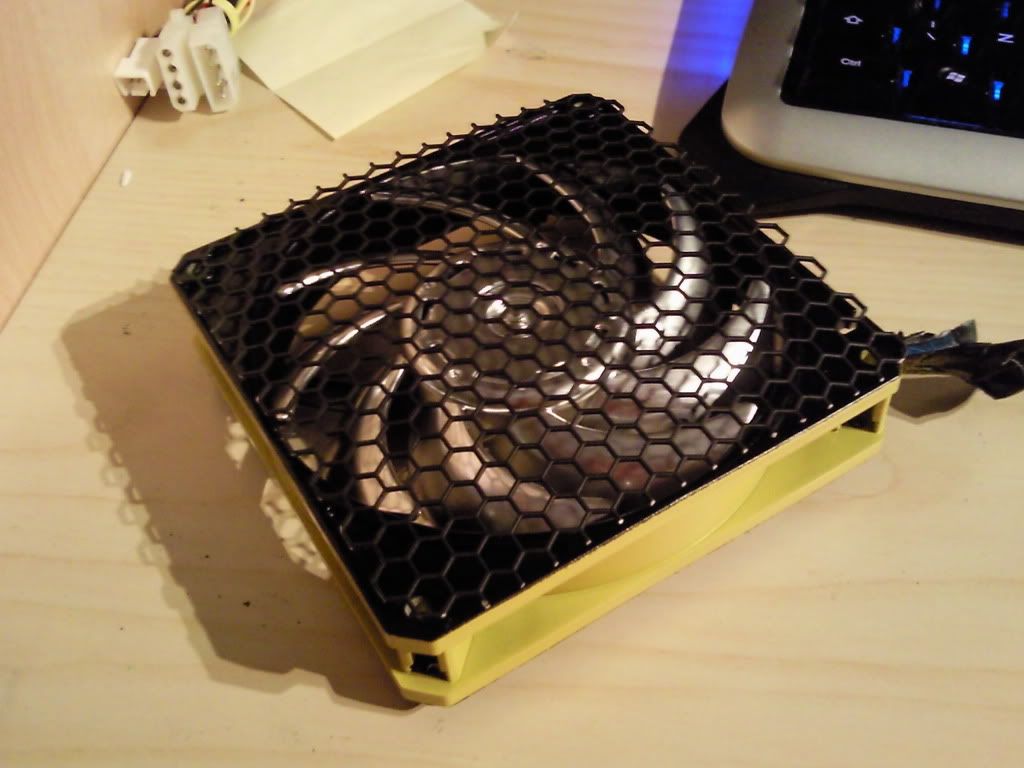
Amongst other things spent time today fabricating a hex mesh grill for the cpu fan. Its not finished yet as I still have to sand and touch up the bare metal edges where it was cut. I spent ages trying to work out how to get the slight domed effect to it so as it would sit slightly proud of the fan. in the end I pressed the cut square into the inside of a fruit bowl which as the metal is quite maliable moulded it to the right sort of shape. It scratched the fruit bowl quite a bit, but having put the fruit back it'll be a while before my wife notices (I hope)

I'd welcome thoughts on how to bring this into the black and yellow theme as i'm undecided.
Do i spray the front surface yellow and leave the rest black,
Do I spray the whole thing yellow
Do I leave the front black and spray the rest yellow
Or something else

Photo0423.jpg


Photo0420.jpg
 
Last edited:
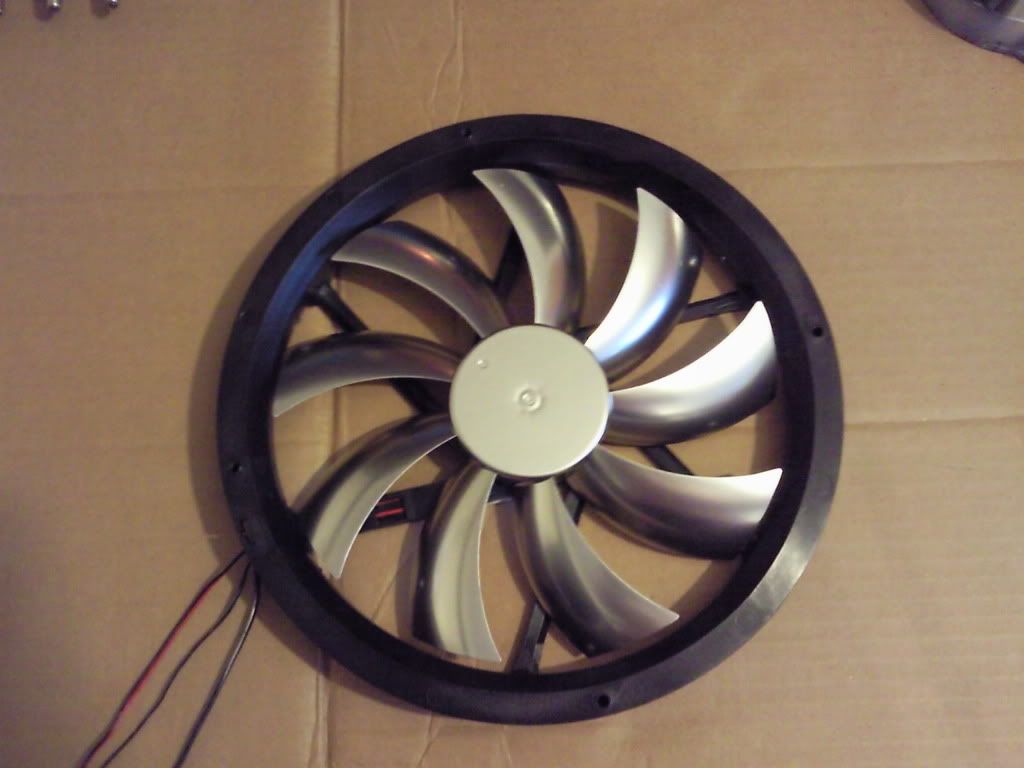
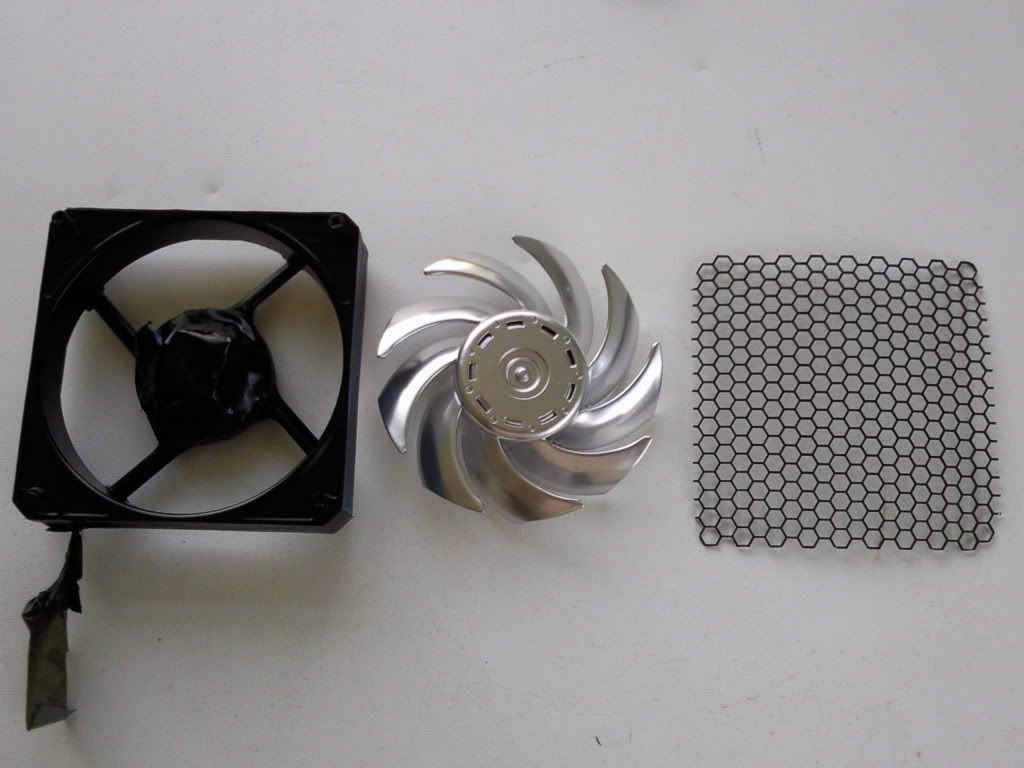
Big lesson learned No5 If you pop out the rubber bung on the back of pretty much any fan and prise off the little plastic circular clip then you can take the fan blades out of the housing, and don't need to spend weeks of your life masking them up.

Wish I'd known this before I'd started

trying to remain calm.....
 
Last edited:
For best results its a good idea to strip it down to component parts (happy to give advice on taking apart etc). Lots of screws, all different sizes.

You've got a fair bit of sanding ahead of you, as the arched frame and cowling etc have a slightly textured finish to them, to achieve high gloss look you'll need to take it back to the black plastic underneath and then down to a 800grit paper.
 
A bit more work done over the weekend, I've now assembled the main frame work, with no screws left over (always a good sign

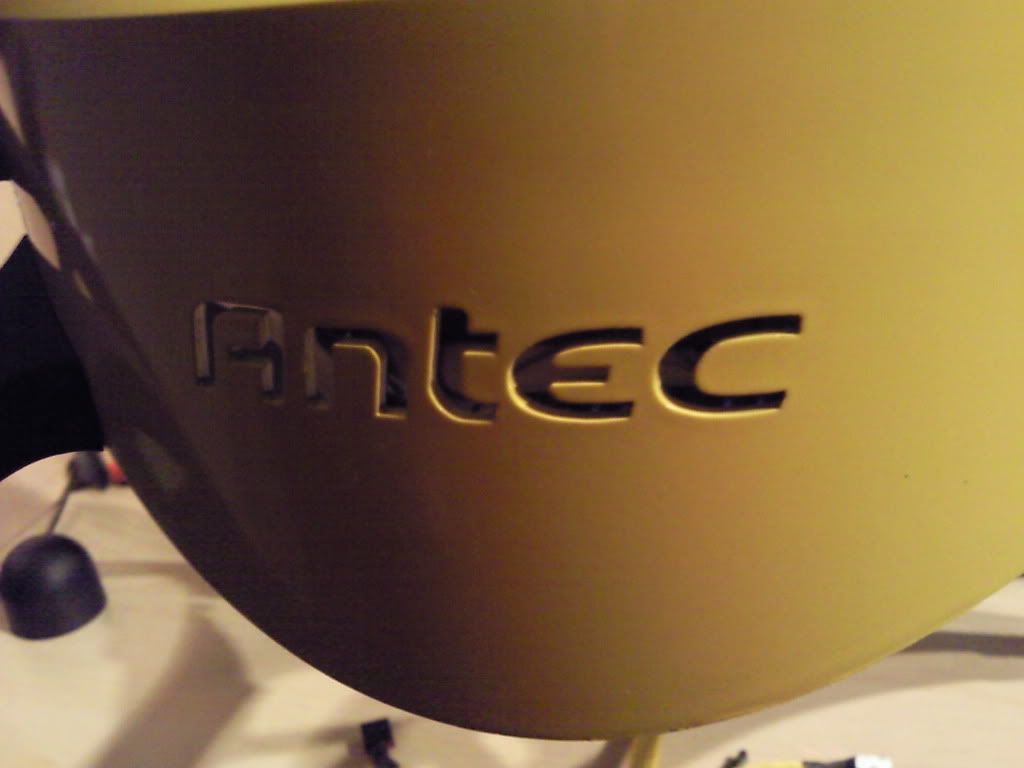
I've also decided to paint the CPU fan housing yellow in keeping with the other fans. I've actually swapped out the PWM fan that came with the fenrir for a scythe gentle typhoon 1450. It's a mush quieter fan, and should hopefully knock a few degrees of my temps.

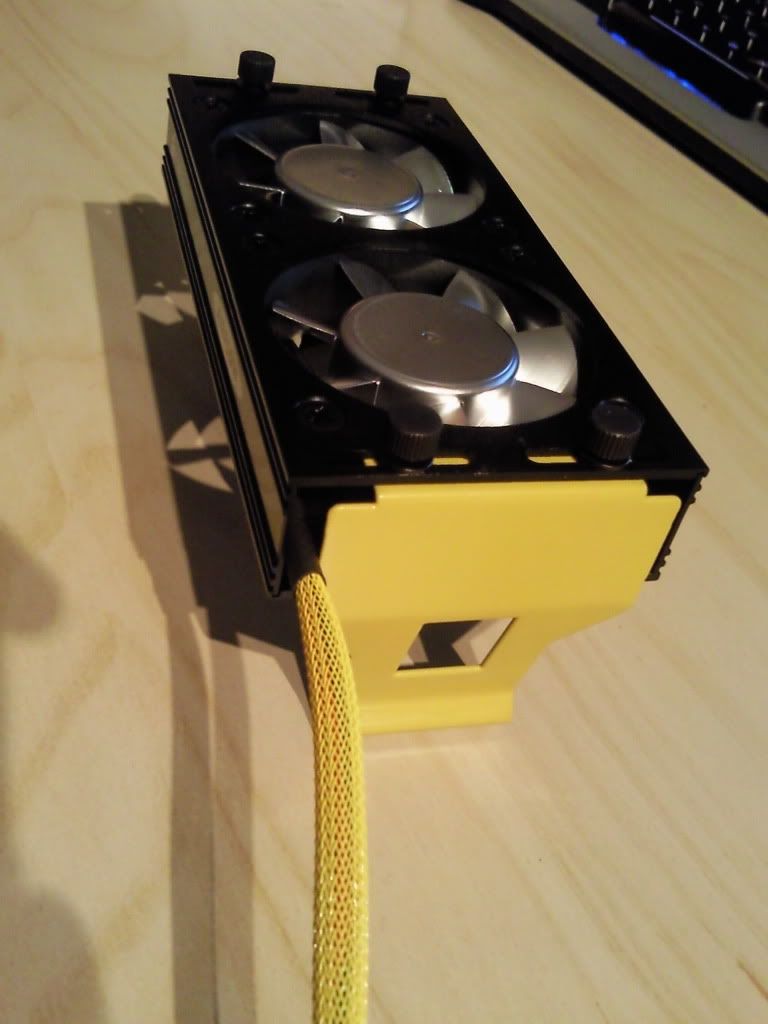
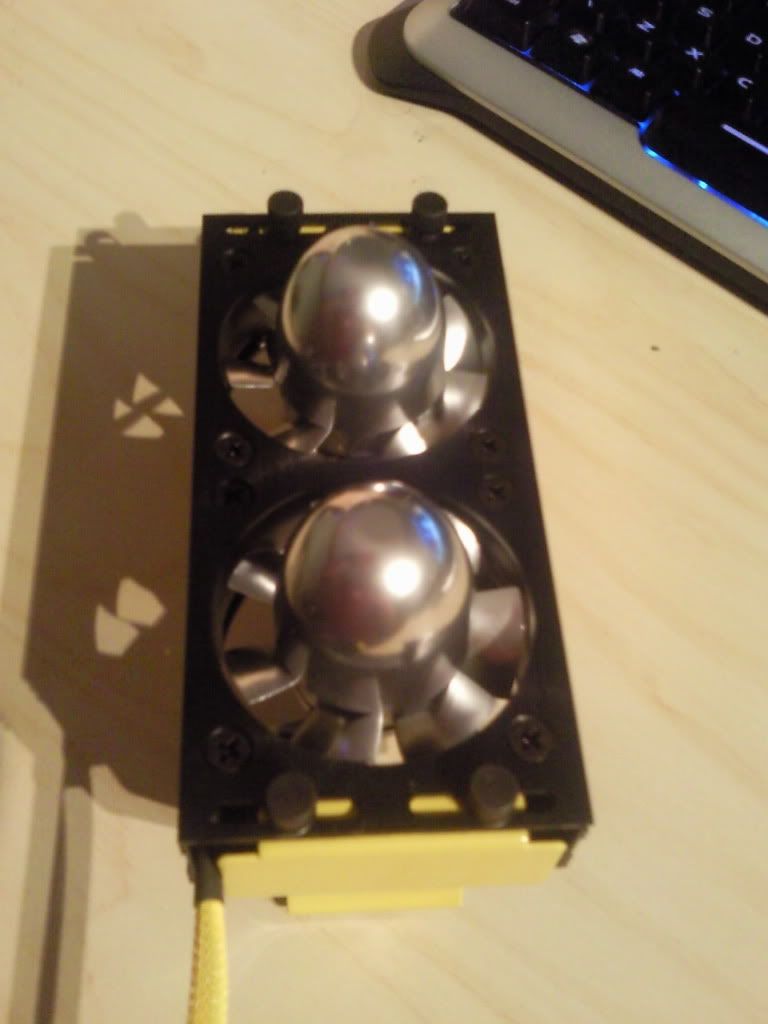
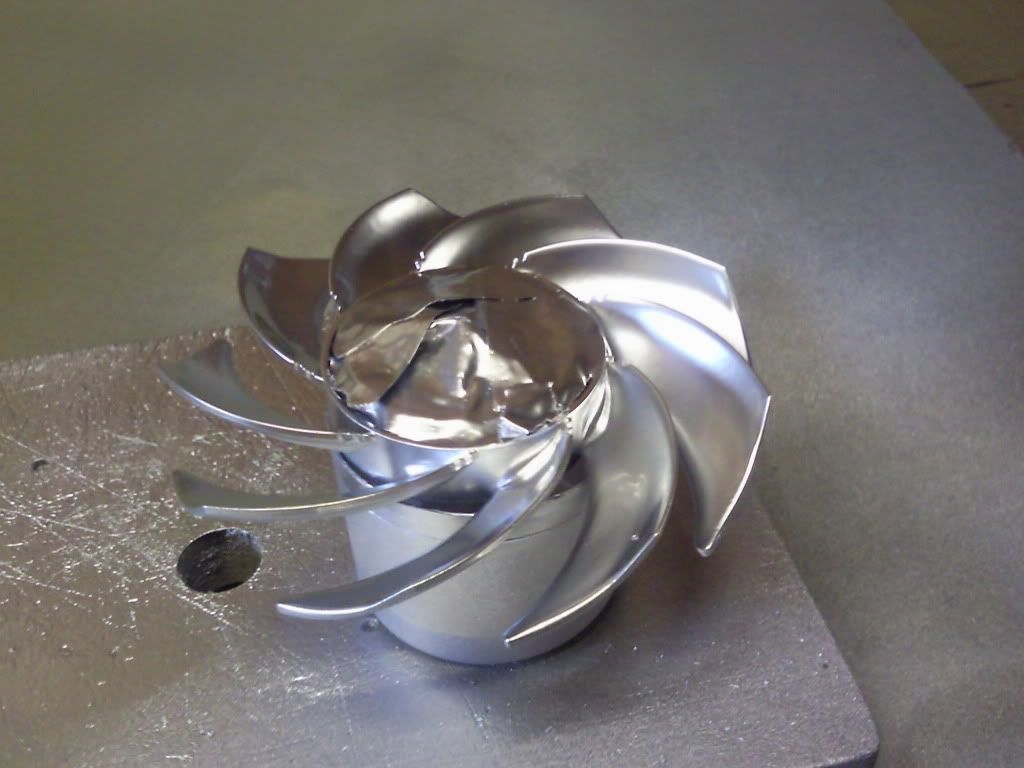
Also decided to try out the turbine mod on my RAM cooler, so have been spraying them aswell.

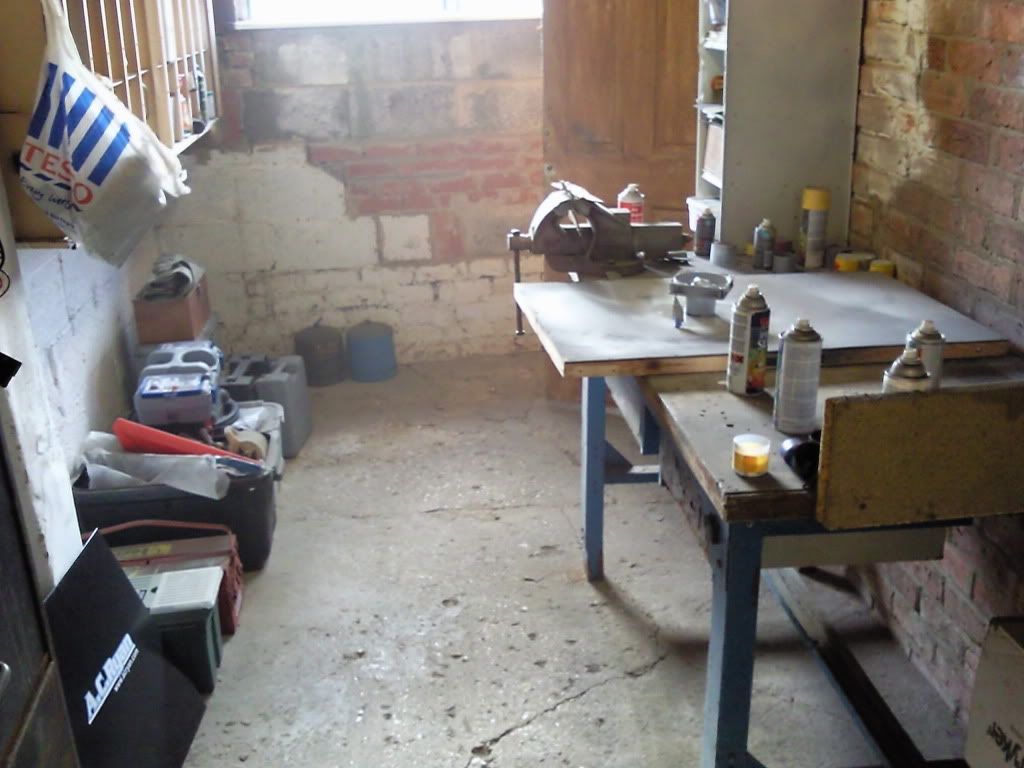
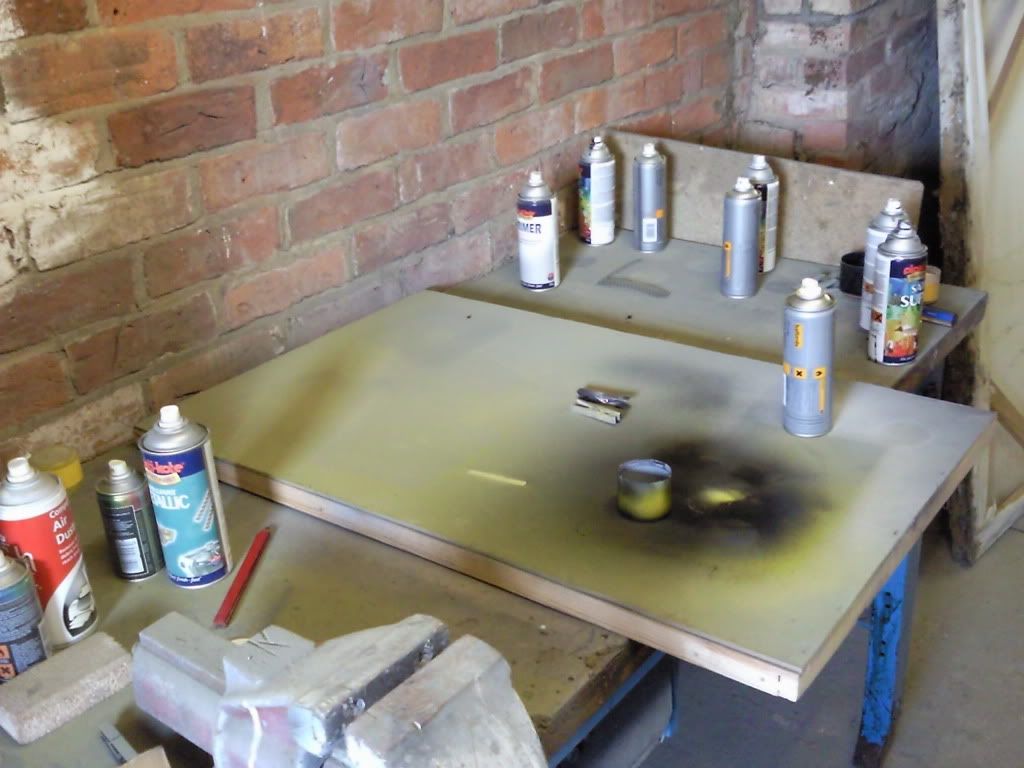
The last photo is a shot of my sprayshop/workshop/bit at the back of the garage, with the caseing for the scythe having just been painted

Photo0431.jpg


Photo0430.jpg


Photo0425.jpg


Photo0427.jpg


Photo0428.jpg
 
what spray paint is that? it has come out really nice.

I used halfords grey coloured plastic primer, with plasticote satin black from B&Q. the yellow is another Halfords product and is actually Rover "inca yellow" I tried a few yellows, including the plasticote one you can see in the back ground, but the rover one was the best colour for me. coverage and ease of use wise they're all the same really.
 
many thanks for positive feed back, nice to know I'm going in the right direction

Not much action tonight, I sprayed the CPU fan casing last night, and was hoping to re mask and apply the yellow coat tonight but it's just not dry enough yet. i've also modded my RAm cooler and have been yoying with the idea of adding in turbine effect spinners to the blades. I've had a bit of a go using the lids off of a certain ladies deodorant (got a few funny looks in tesco looking for cans with pointy lids) but i'm not sure....they kinda look too big maybe...what do you think?? If the ideas sound but the product is wrong I might source some propper spiners from a model aircraft shop or something

Open to suggestions


Also many thanks coldzero, you're my first ever "subscribed"

A few photos


Photo0437.jpg


Photo0439.jpg


without spinners

Photo0418.jpg


With spinners


Photo0443.jpg
 
tend to agree with the comments, i'll try cutting them down and see how they look. if it's a disaster i've not lost much.

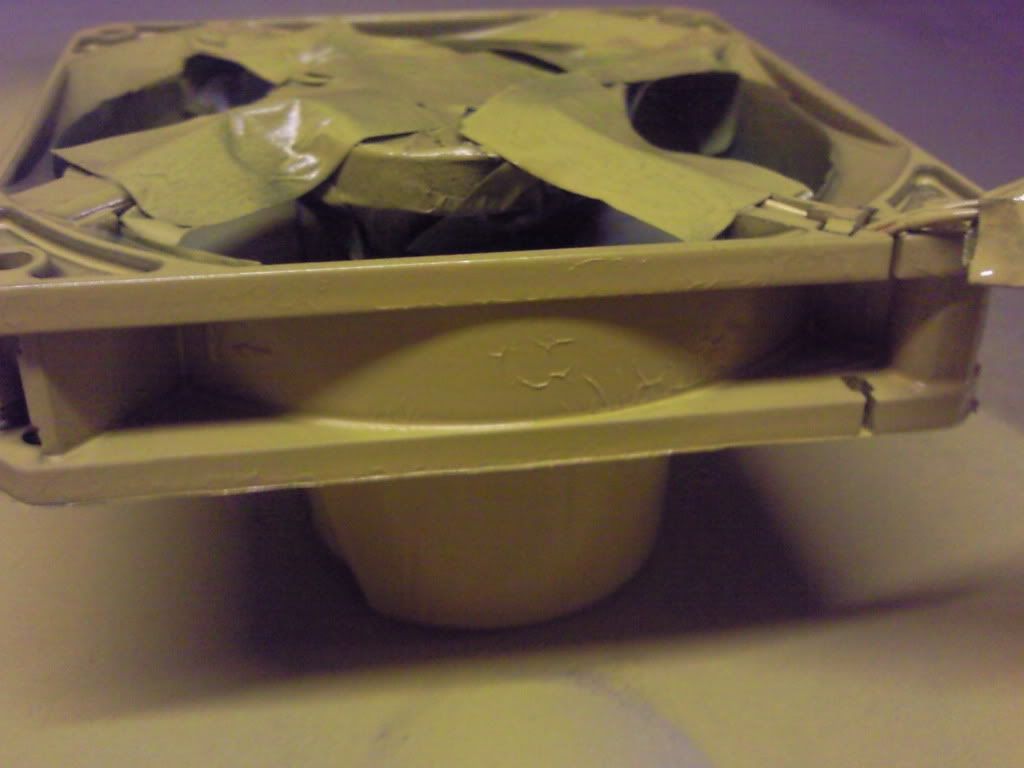
Talking of disasters, painting hasn't gone too well tonight.


Photo0449.jpg


Had this problem before and although i'm no expert, from searching the old interweb I understand it's down to invisible amounts of grease on the surface to be sprayed causing a reaction. The yellow has previously been quite a tolerant paint, but the black was a sod for it. I know i'm gonna have to strip it back to bare plastic and then re undercoat and start again.

to answer an earlier question, the whole thing apart from the under tray area that mounts the PSU MOBO and dries etc is made from a very rigid plastic. The struts and front cross member housing the power buttons etc have steel reinforcing struts. the shape also lends a degree of strength to it.
 
Thanks for all the great advice guys, has to be well up there in the "lessons learned" log. Had a sand down and re undercoated tonight but it has reacted again... slipping ripping zarg barg ding dong!!!!

Looks at failed paint job....

Looks at bin...

Away for weekend so will update later

Thanks for all the support and suggestions
 
Busy weekend and a 2 day hangover, thanks to a family wedding reception, but i'm back into it now.

Decided to scrap the original fan spray job as with repeated spraying and sanding to remove the crackling problem it was starting to look a bit of a state.


Photo0467.jpg


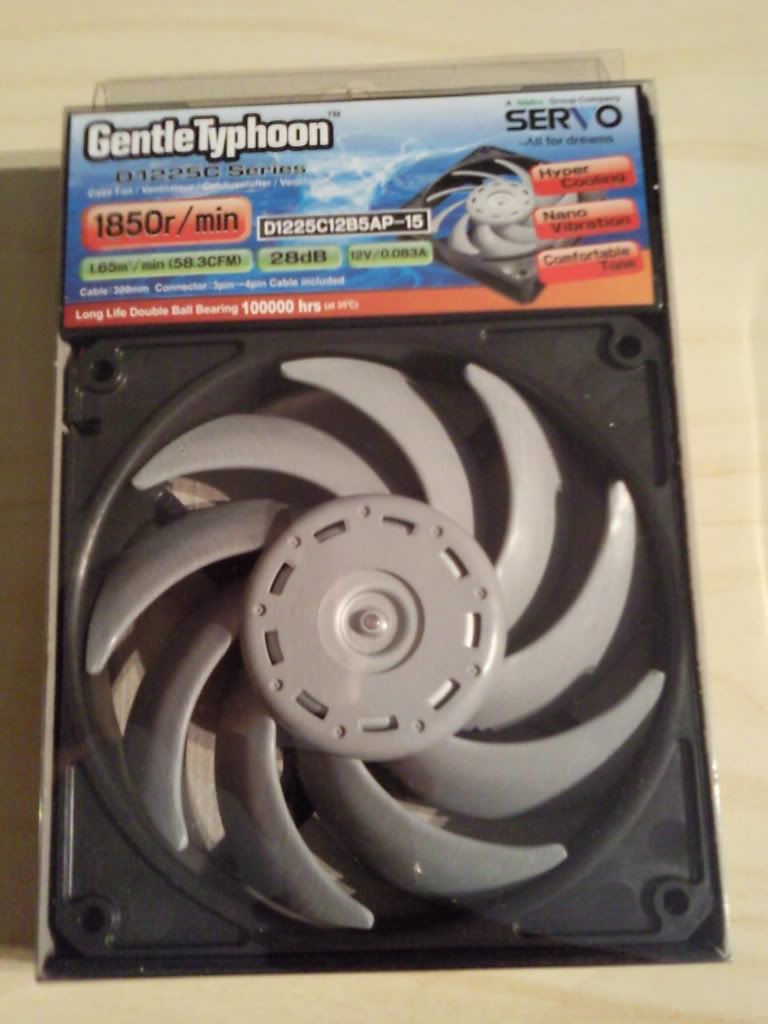
new fan arrived today, went for the gentle typhoon but this time the 1850 rpm model.

Photo0469.jpg


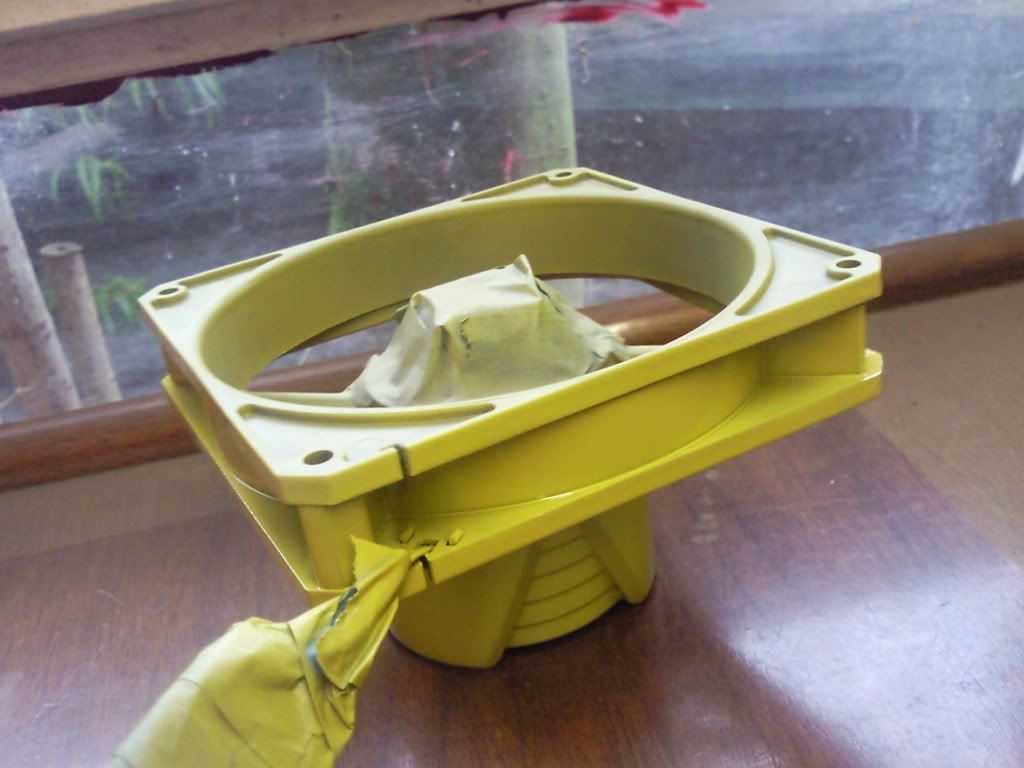
taken apart (now I know how) primer and first top coat. Decided to spray yellow first then mask and spray the black


Photo0471.jpg


Photo0470.jpg


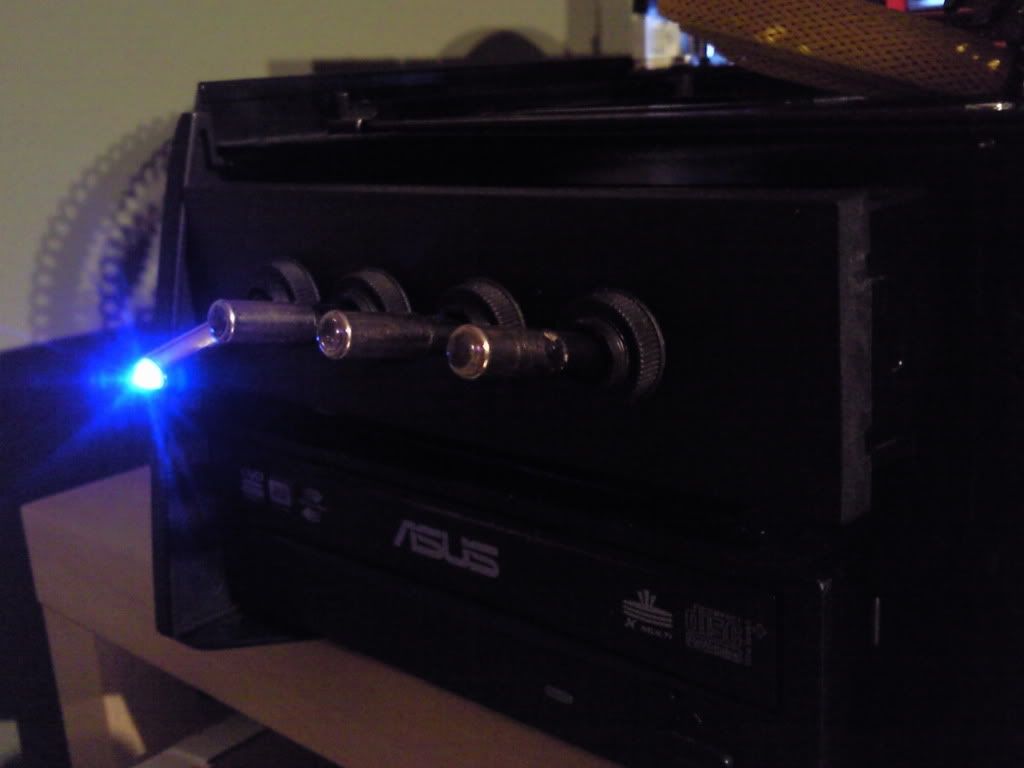
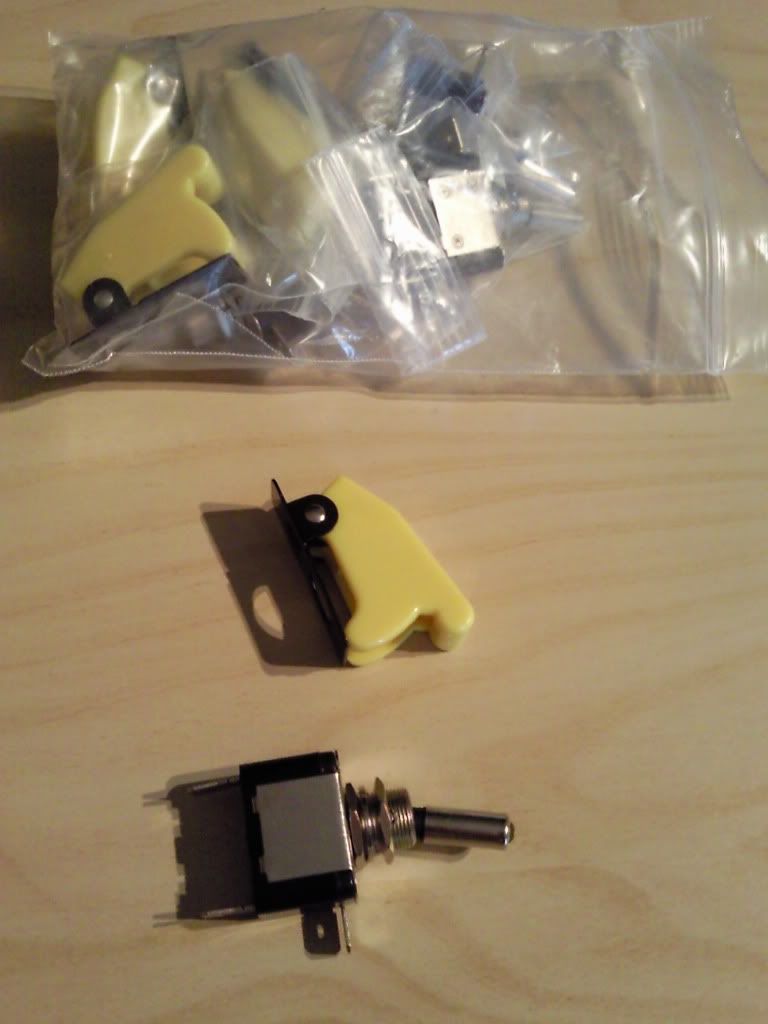
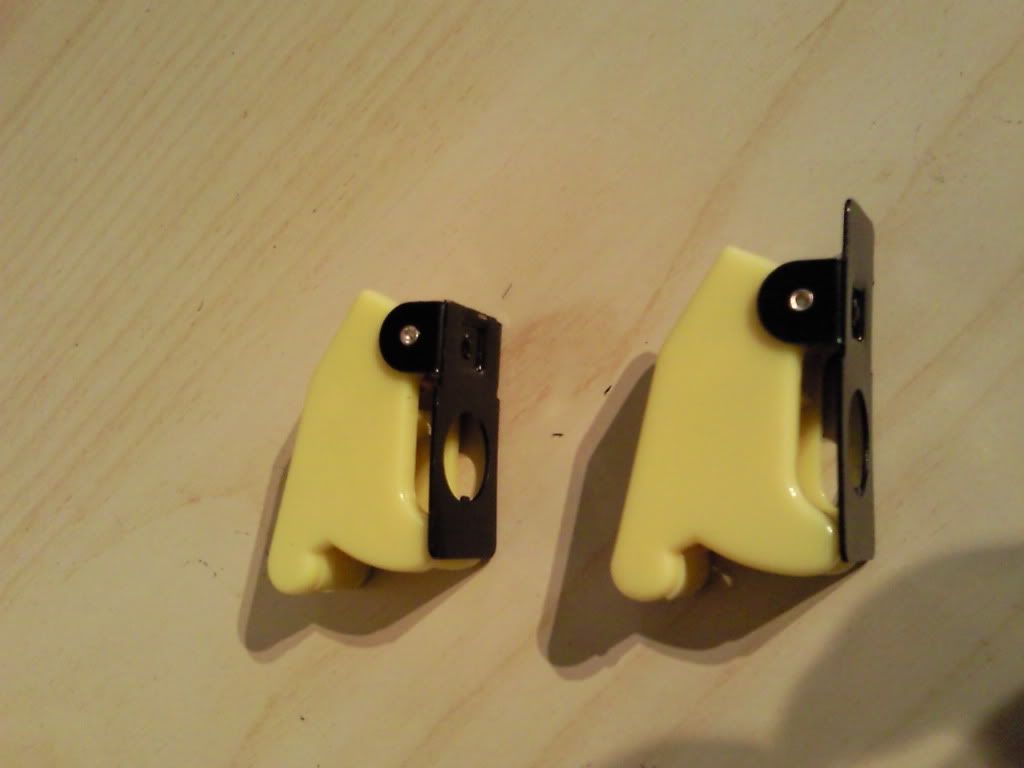
I also wanted to alter the appearance of the switch panel I built as part of my original build a year or so ago. I have managed to get some military style switch covers complete with yellow LEDs in the ends. Now all i've got to do is work out how to wire them up as the pin layout on the back is not the same as the ones I already have in place.

Photo0473.jpg


Photo0468.jpg
 
what does the switch panel control?

It controls the various ccfls LEDs and fans I will have on the unit. It's a carry over from the original build, but i'm giving it a re-vamp for the new build.

As this case is "open" there are times (such as gaming in the dark) when I don't really want it all lit up.


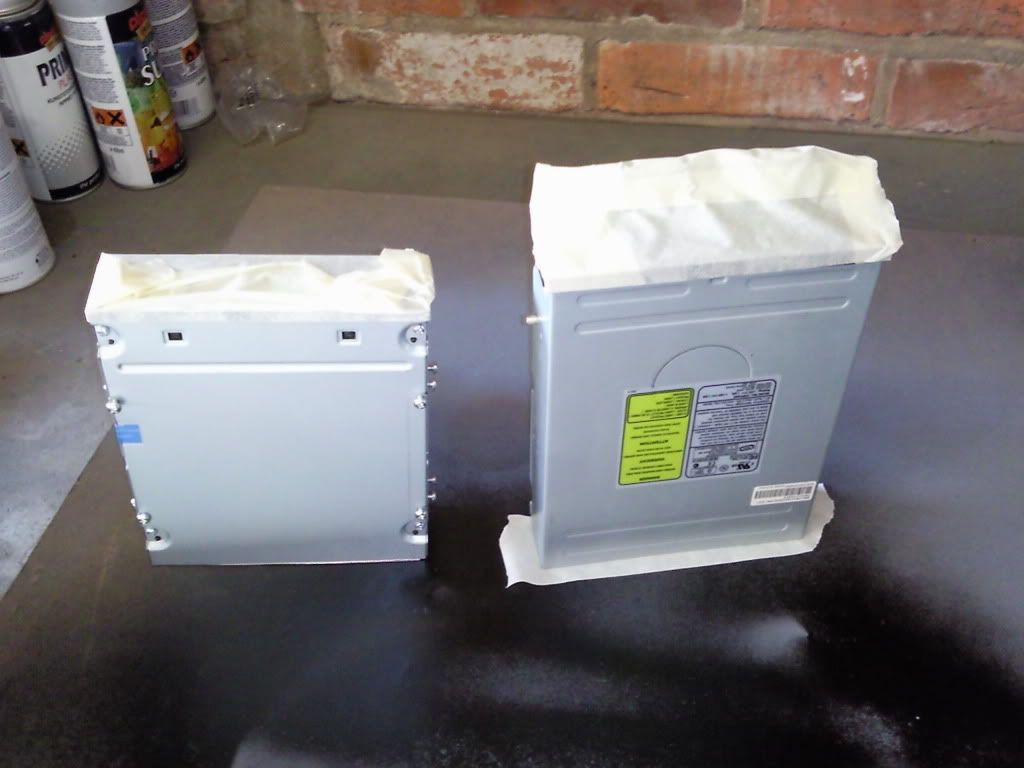
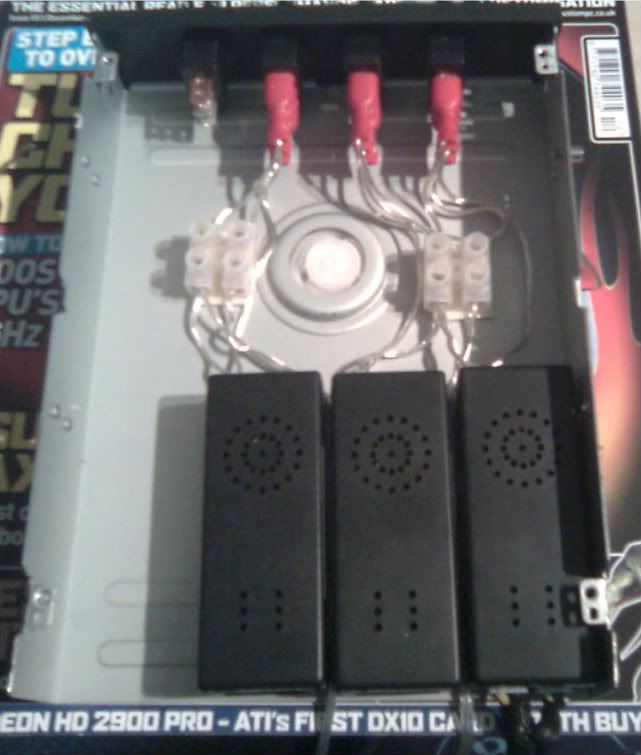
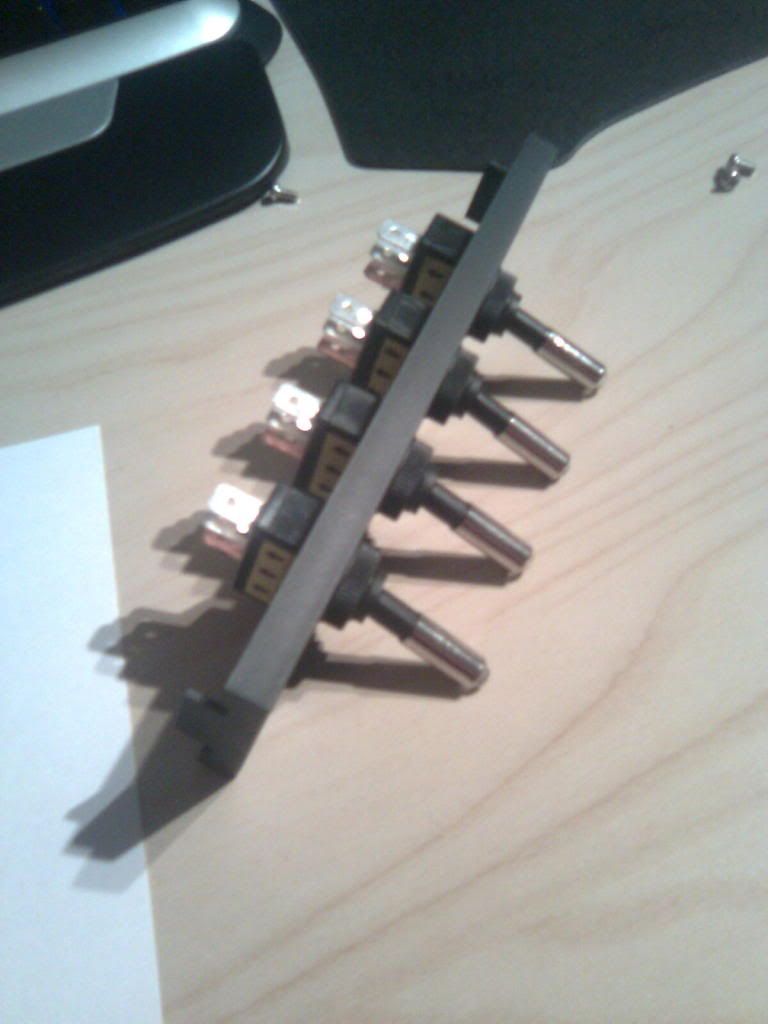
A few picks of the switch unit as part of the original build. I constructed it from an old CD RW drive casing, using a drive bay blanking panel as the front. I chose to do it as I wanted something that looked "industrial" but didn't want to go as far as steam punk. The inverters will stay but the switches will be changed out for the new ones with their covers and as the terminals are not in the same places on the new switches I will need to re wire a bit.

Final coats went on the new typhoon tonight, and fingers crossed no reactions this time. I've got another 1450rpm one on the way and am thinking of trying a push pull config, but the fenrir only has grooves for a single side mount.


Open to suggestions?????


Image014-1.jpg


Image077-1.jpg
 
was it plastic primer which worked for you?
thanks

used grey plastic primer from the big orange car parts place.

Now the weathers turned a bit cooler i'm warming all paints for a few mins in hot water prior to spraying as this helps the paint flow more evenly from the cans. I tried the plastikote grey primer at an early stage in the mod when I was testing paints and didn't find it nearly as good, but that was just my own personal experience, i'm by no means an expert.
 
You can still encounter "bloom" problems when going from warm to cold. My understanding is that bloom is essentially caused by changes of temp causing microscopic condensation within the paint as it dries, I think it mainly effects 2pack paint but can happen when using cans.

Advice would be to spray in the warm if you can, but if not then in the cold if you have nowhere else to do it, but warm the can a little first to aid flow. It's not too cold at the moment, but it will take an age to dry.

i've been undercoating and top coating today and it's all been fine
 
I painted (sprayed) an MG Midget one afternoon. After the paint had cured for a couple of hours we pushed it out of the garage so we could get the next car in. A few hours later I checked on the MG and it had bloomed on every panel! Looked horrible!
That was quite a few years ago though (just reminded myself how old I am!). We never did it again :)

Did exactly the same one with an old series III Landrover. painted a gorgeous grey blue, really cold outside at the time, opened the garage doors at the end and sttod there admiring our work, only to have the cold air hit it and bloom the lot. It now looks like it's covered in a chalky layer. Comes up nice if you T-cut it, but it reverts in a few days or so.
 
are you doing this indoor or outdoor?
(ventilated)

I'm doing all my painting indoor as I think the dust risk is less there. you could spray out door but it is getting cooler these days and the risk of bugs and stuff landing on the job is greater than indoor.

Be warned if using a shed or garage, the dust the spraypaint generates will land on everything. You can get round it by setting yourself up a little spray tent by using polythene sheeting, but if you do, please be very aware of the danger from the fumes. If you're not to bothered and it's all your crap that the paint spray dust is landing on then no need to bother.

Shouild have a few more pics tomorrow, as will be top coating several things.

Also planning on taking my switch box apart and trying to work out how to wire up the new LED toggle switches.
 
been busy spraying again

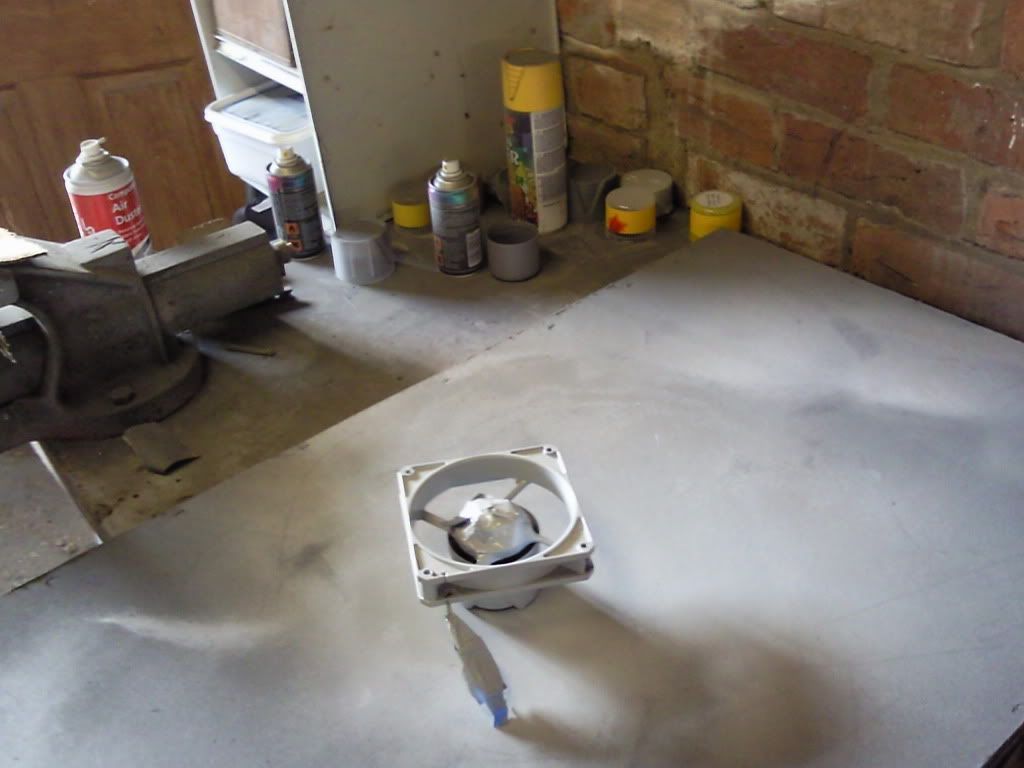
A few pics of the work shop where I seem to be spending half my life at the moment, for those asking how I do my spraying


Photo0481.jpg


also been working on the switches, had to cut of part of the back plate

Photo0477.jpg


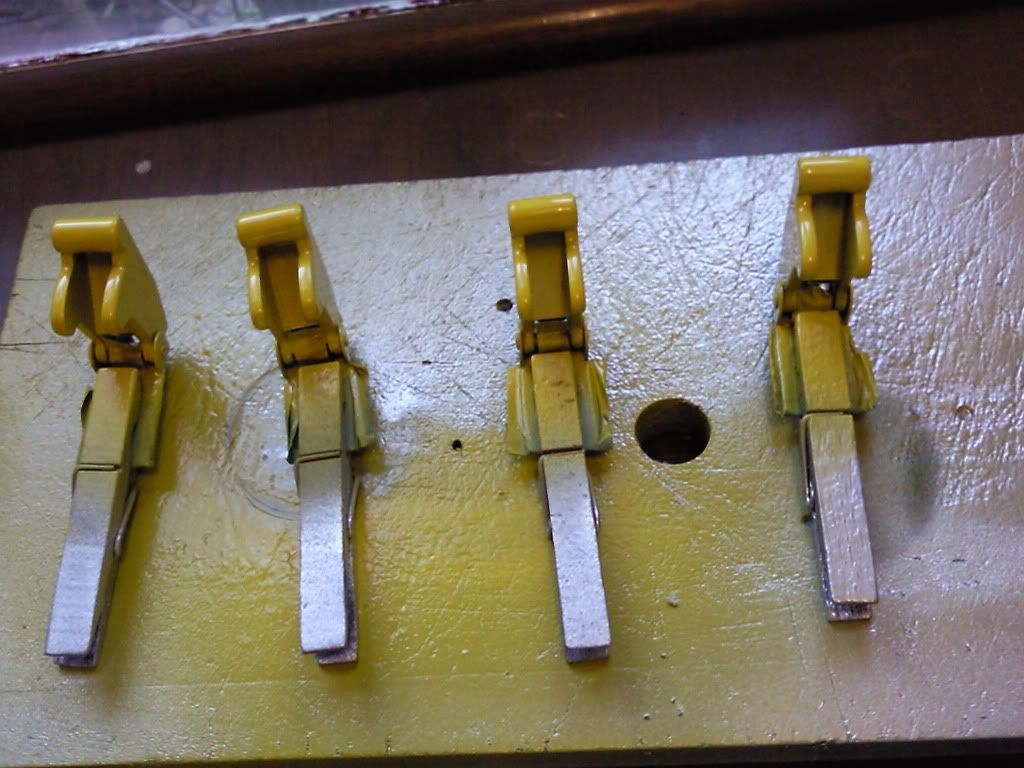
Wasn't hapy with the shade of yellow so decided to spray them also (bit worried I might be getting slightly too anal about this)

Now have visions of someone who's keyed in "anal" into searh engine and is thinking ??????


Photo0479.jpg


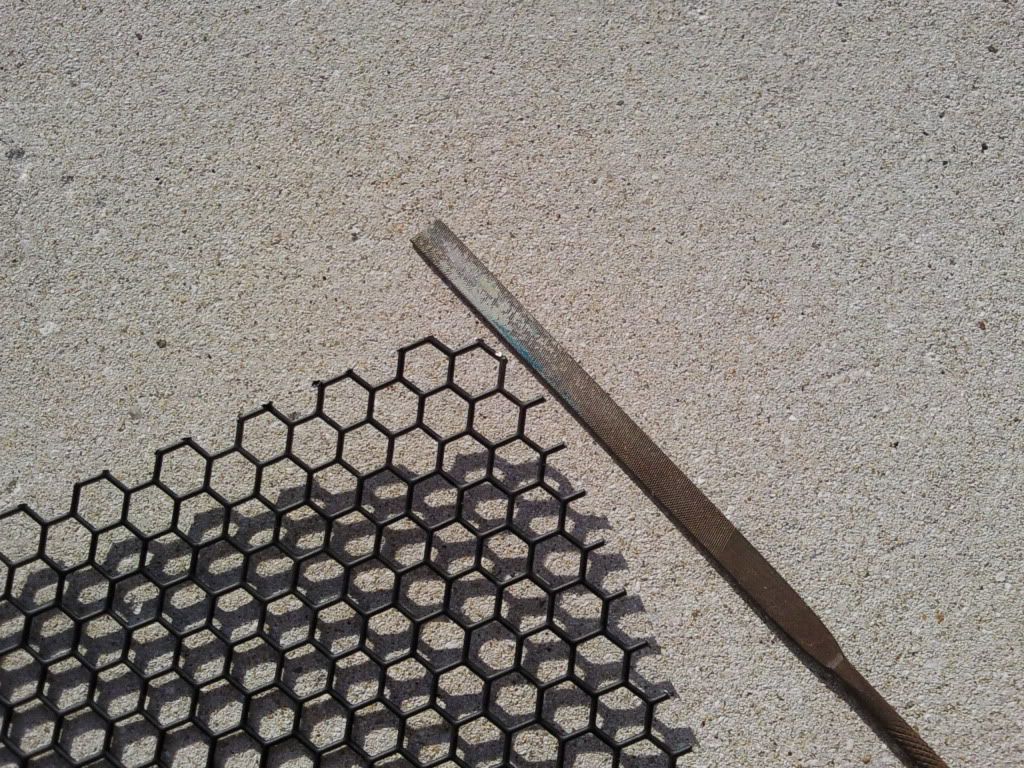
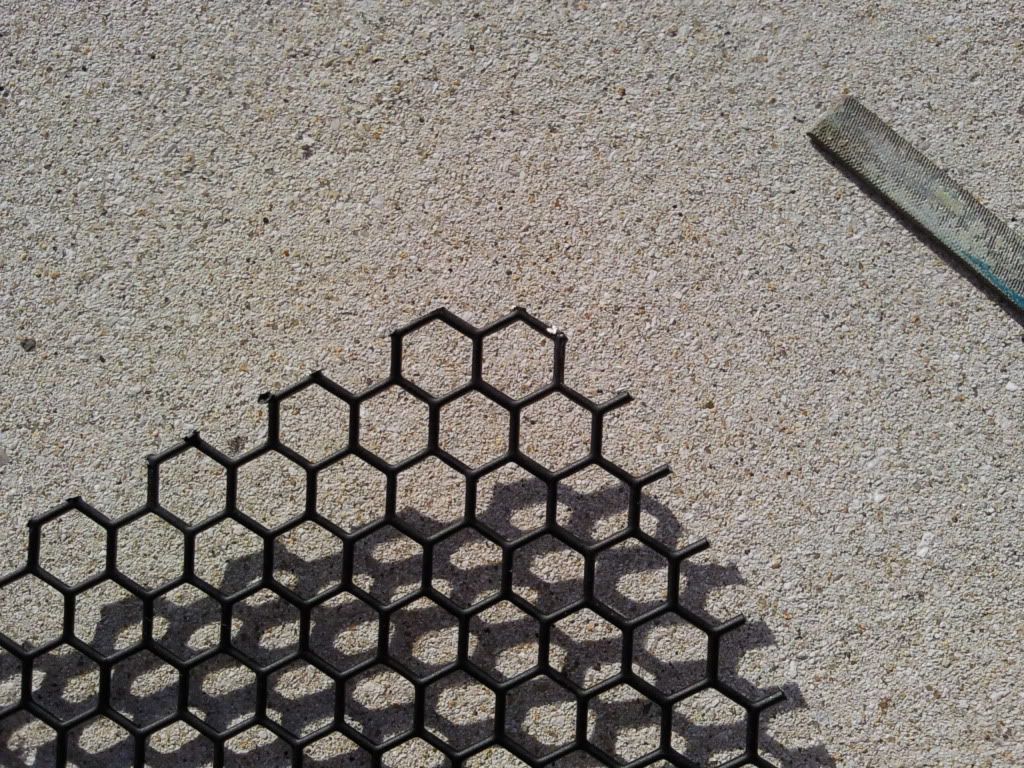
Needed to file down the mesh that will cover the CPU fan

Photo0484.jpg


Photo0483.jpg


After filing

Photo0487.jpg


Photo0486.jpg


Photo0489.jpg


Now need some advice

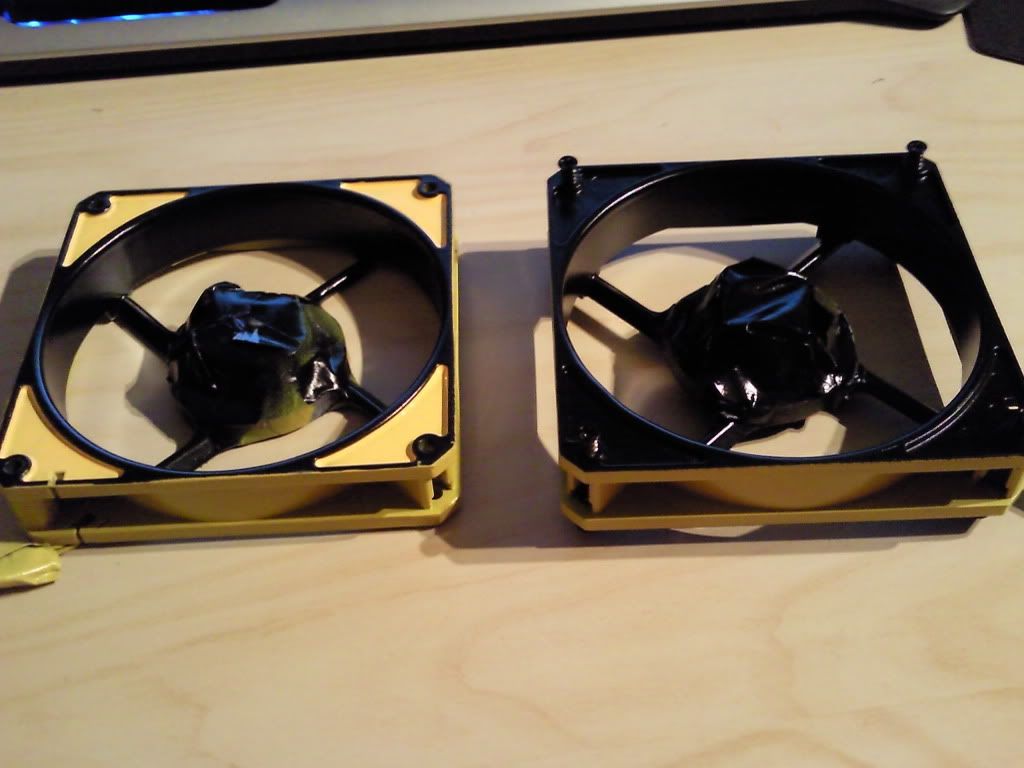
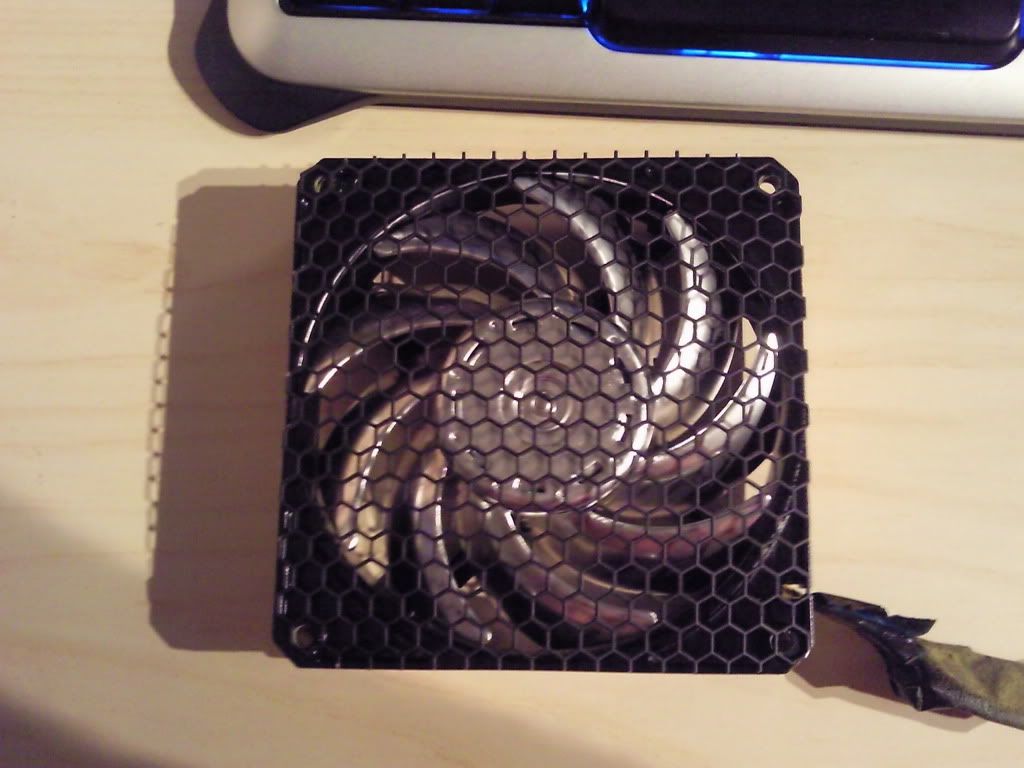
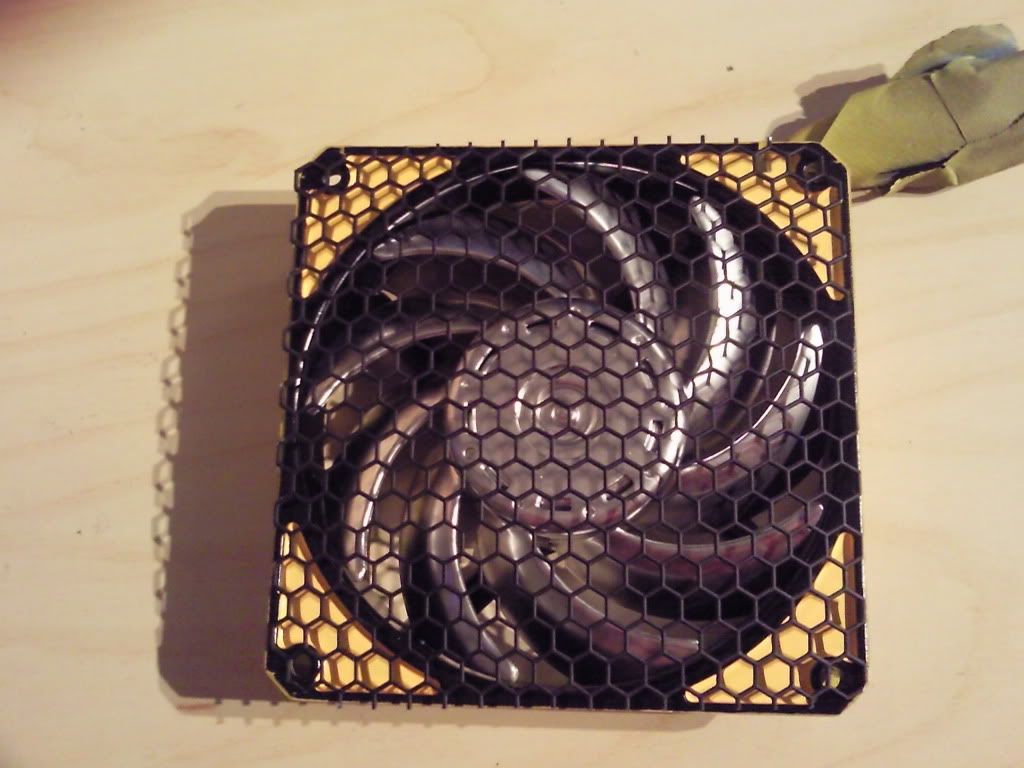
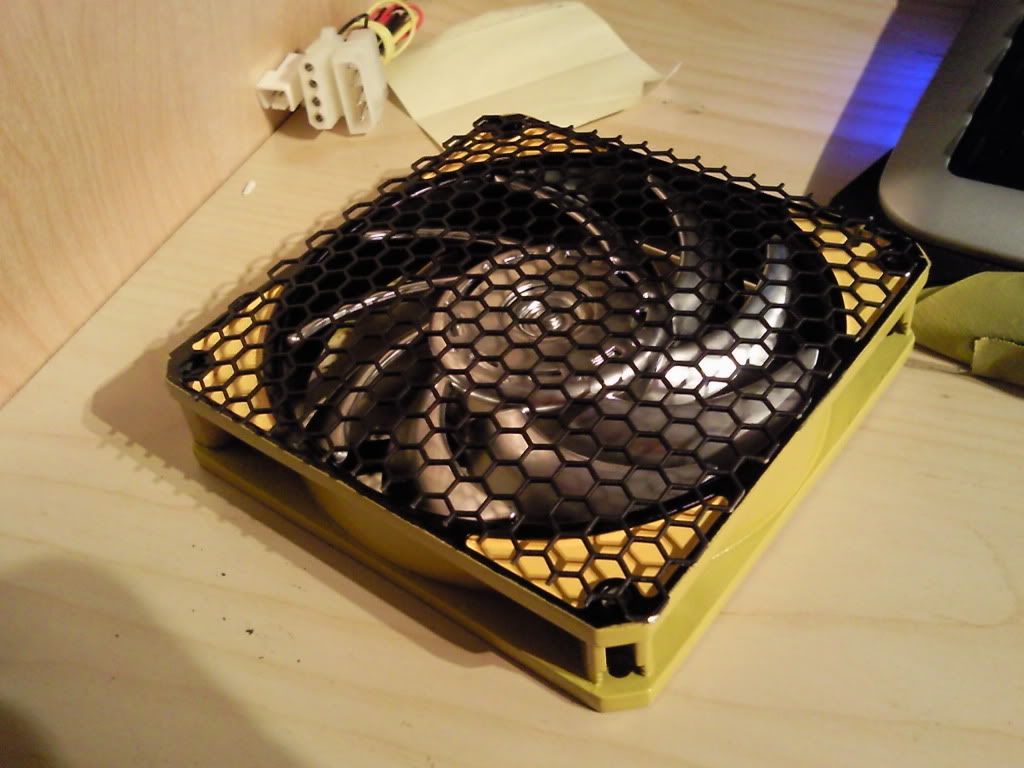
I've managed to just about salvage the first typhoon spray job, and have added some yellow highlight. the other is the new typhoon without the highlights. the fan will be silver, and the grill hex black

Photo0489.jpg


Question is which looks best???

yellow high lights or straight black

Photo0492.jpg
 
many thanks for feedback

Only just in from work and have been otherwise engaged last 2 nights so apologise for lack of activity.

Will try to get fans assembled tinight, perhaps tomorrow as I think you're right in that we need to see it that way to decide
 
Back
Top Bottom